
Fine line pieces are everywhere on feeds right now, and that glossy fresh look hides a common reality. Many of the tiny Demon Slayer motifs that get saved and shared will soften faster than people expect, especially on wrists and inner forearms. If you want a design that still reads crisp a few years out, choose placement and line weight with longevity in mind. Below are 17 pretty Demon Slayer tattoo ideas that balance style with how they age.
1. Fine line Nichirin sword on the inner forearm
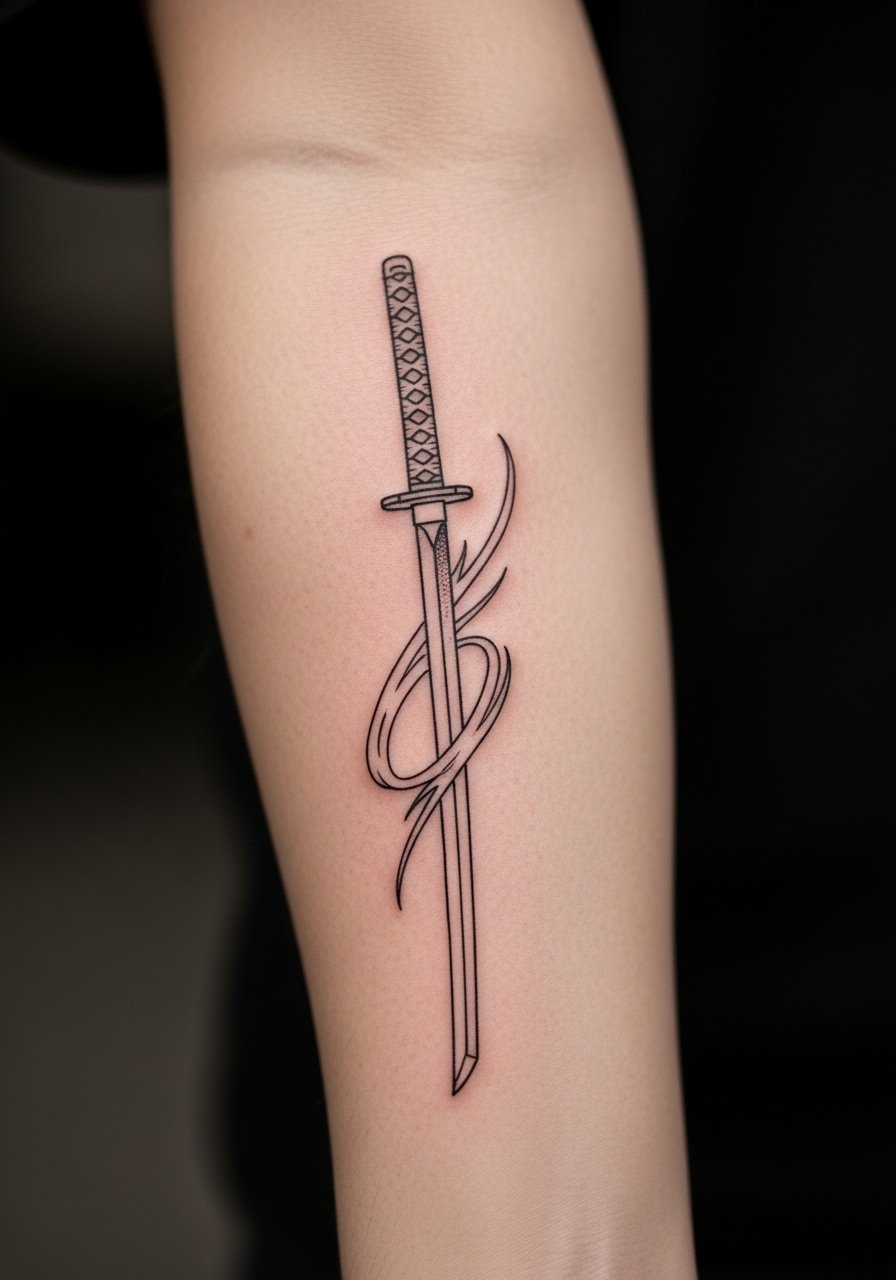
I warn people up front that fine line swords look delicate at first but can blur on active forearms. From what I've seen, this design works best at 2 to 4 inches with slightly bolder main outlines and single-needle detail inside the blade. Tell your artist you want intentional spacing around cross-guards so the linework does not merge as it heals. Pain is mild to moderate for the inner forearm and a session is usually one sitting. A common mistake is asking for hair-fine lines everywhere. Ask for a bit of weight on the primary lines and expect a touch-up at year two or three. Show it off with a cotton roll sleeve tee that you can roll to reveal the forearm cleanly for photos.
2. Neo-traditional Tanjiro portrait on the upper arm
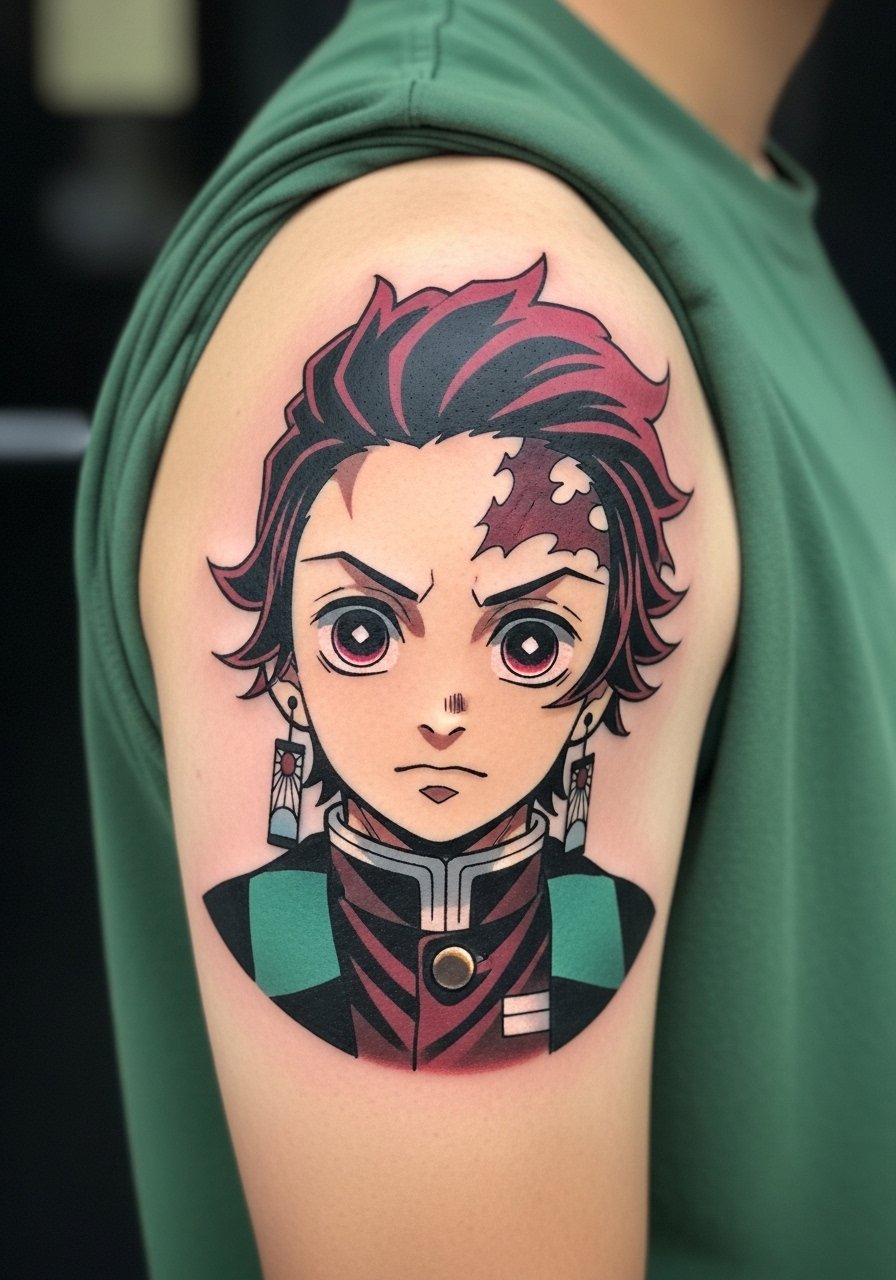
This style reads like a painting and holds up because the outlines and saturation are intentional. Plan for two to three sessions and expect moderate pain on the deltoid. Bring reference photos that show the haori pattern at different angles, and ask the artist to map the face at eye level so the portrait reads right when your arm hangs naturally. The biggest mistake is shrinking a portrait down too small. At 4 to 6 inches you keep expression and contrast. Over time the color softens into warmth rather than vanishing if the black outlines are strong. For the session, wear a sleeveless muscle tank so your shoulder stays fully exposed without fuss.
3. Blackwork breathing symbol on the collarbone

Collarbone blackwork looks impressive and photographs well, but it is also a placement with unique movement. Expect moderate pain for the area near the bone and one session for a 3-inch emblem. Artists are split on fine detail here. One camp says bold, solid black is the path to longevity. The other camp says precise fine line with controlled depth can settle fine. Name where you land in that debate in consultation so the artist can choose needle grouping and spacing accordingly. A common mistake is packing too much internal detail into a tiny symbol. For evenings out, pair the piece with an off shoulder blouse that frames the collarbone without covering it.
4. Watercolor Nezuko flower mask on the outer thigh

Thighs are forgiving on size and movement, which is why watercolor washes work nicely there. Expect two sessions for a 4-inch colorful mask with soft gradients. The main aging risk is environmental exposure and friction from tight clothing. Ask the artist to include strong black outlines or contrast points so the watercolor has anchors as it fades. During the session wear loose drawstring shorts or high waist athletic shorts so the artist can access the outer thigh without denim pressure. If you gain or lose significant weight, the wrap-around parts of the haori or mask will change more than the central motif.
5. Minimalist Hashira insignia on the wrist
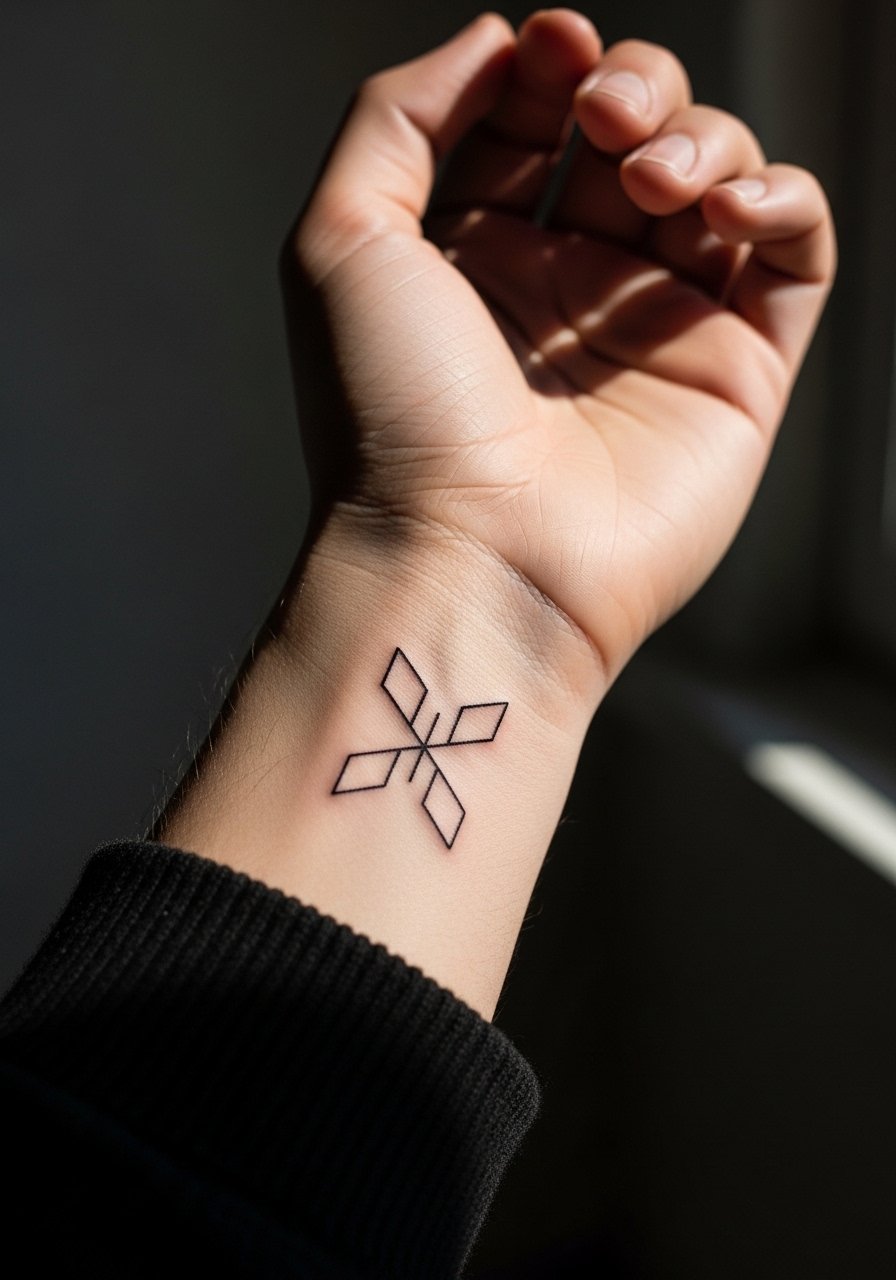
Tiny wrist symbols have a high visibility payoff but they live in a harsh friction zone. Expect sharp sting during the session and a short one-sitting appointment. The common regret is going too tiny with intricate geometry. When the wrist is too small the linework softens within a year. If you want subtlety but longevity, ask for slightly stronger outlines and plan on a touch-up at 12 to 18 months. Hands and wrists face daily washing and rubbing, so avoid ultra-delicate dot work in that area. Think about stacking a thin cuff or bracelet opposite the tattoo to balance the wrist without covering the design.
6. Micro-realism Inosuke boar mask on the calf
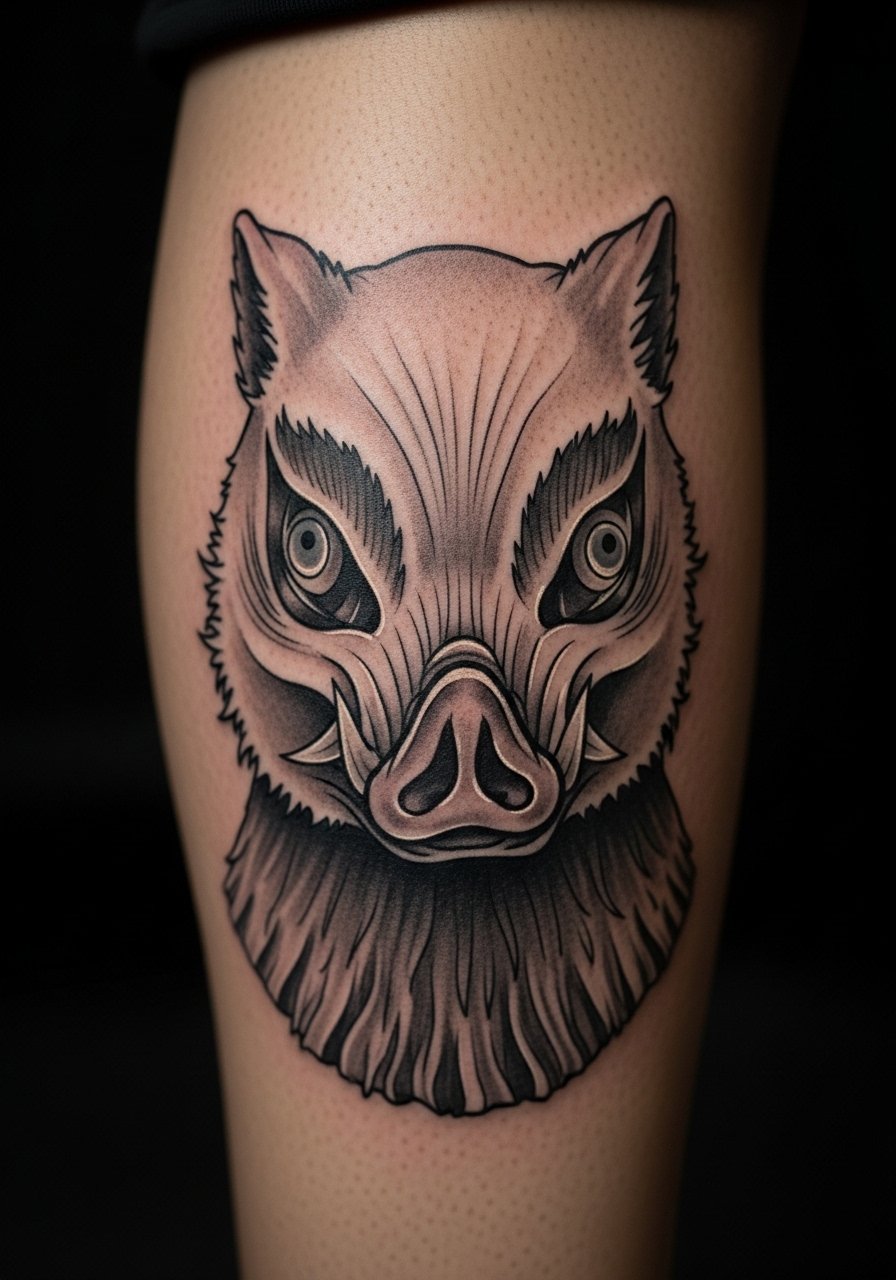
Calf placements let micro-realism breathe because they move with the leg and provide a flat canvas. Expect three sessions for a highly detailed 5-inch mask and moderate pain during longer passes. Tell your artist you want tight black-and-gray contrasts so the tiny hair and snout details remain readable at 6 months and beyond. A common mistake is over-texturing for the size. For showing the piece off, cropped joggers or rolled cuff jeans keep the calf visible without rubbing the fresh ink during daily wear.
Studio Day Picks
Those forearm, collarbone, thigh, wrist, and calf pieces above each ask for slightly different prep, so a few targeted items make the session and the first week easier.
-
CeraVe healing ointment. A thin, non-greasy option many people use on blackwork symbols and small color patches during the first few days to reduce clogged feeling while keeping moisture balanced.
-
Japanese aftercare balm. Favored in artist forums for thin, drapable coverage on micro-realism and portrait sessions that need light layering.
-
Aussie tea tree spray. A gentle anti-itch spritz some folks like for watercolor washes on legs where scabbing can feel tight during summer.
-
Bepanthen alternative. Budget-conscious option commonly discussed for maintaining moisture on larger pieces that see friction from clothing.
-
H2Ocean spray. A saline spray useful in the first week for cleansing fine line swords and delicate portrait edges without over-wetting the work.
7. Ornamental wisteria vine starting on the shoulder

Shoulder starts are ideal for building a sleeve over time and for wisteria motifs that flow. Plan a multi-session build, usually three to four sessions for a 6-8 inch initial chapter. Pain is manageable on the shoulder but increases as you approach the upper arm and bicep junction. Tell your artist you want the vines to have negative space between blossoms so the piece can integrate future elements without overcrowding. A frequent mistake is requesting dense shading in the first pass. For the session, a sleeveless muscle tank gives access without fabric tugging and keeps the shoulder relaxed.
8. Traditional Zenitsu lightning bolt on the upper back

Upper back pieces photograph well and hide easily under shirts, which makes them forgiving for first-timers. Expect two sessions for a bold 4-inch bolt and moderate discomfort when the needle crosses bone near the spine. The strength of this look relies on solid fill and strong black outlines, not on tiny internal detail. The common mistake is shrinking the bolt so it reads like a smudge at distance. For placement, make sure the bolt follows your trapezius line so it flows with shoulder movement. Touch-ups at year two are common for brights like yellow that lighten faster in sun-exposed areas.
9. Ignorant style Muzan silhouette on the ribcage
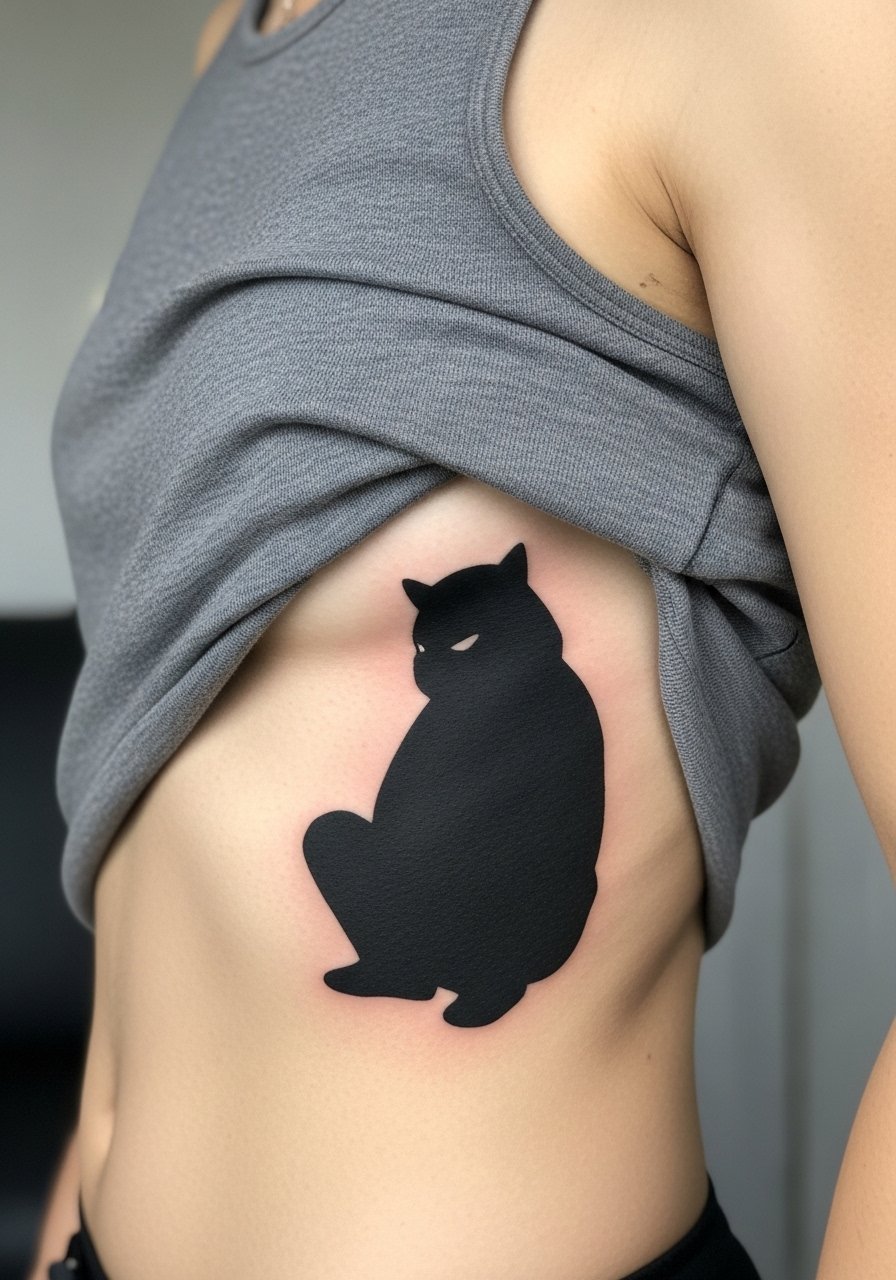
Ribcage work is for people who accept higher pain for intimate results. The ignorant silhouette uses heavy black and will age into strong presence if the coverage is dense. The controversy about fine line on ribs applies here too. One group says the constant stretch and compression around ribs blurs tiny lines within two years. The other group points out that bold black silhouettes are far less vulnerable. If you want this edgy look, ask for solid blocking rather than micro-detail. Expect one to two sessions depending on size. Wear a loose tank you can lift without pulling to make the session easier.
10. Fine line butterfly crest on the ankle
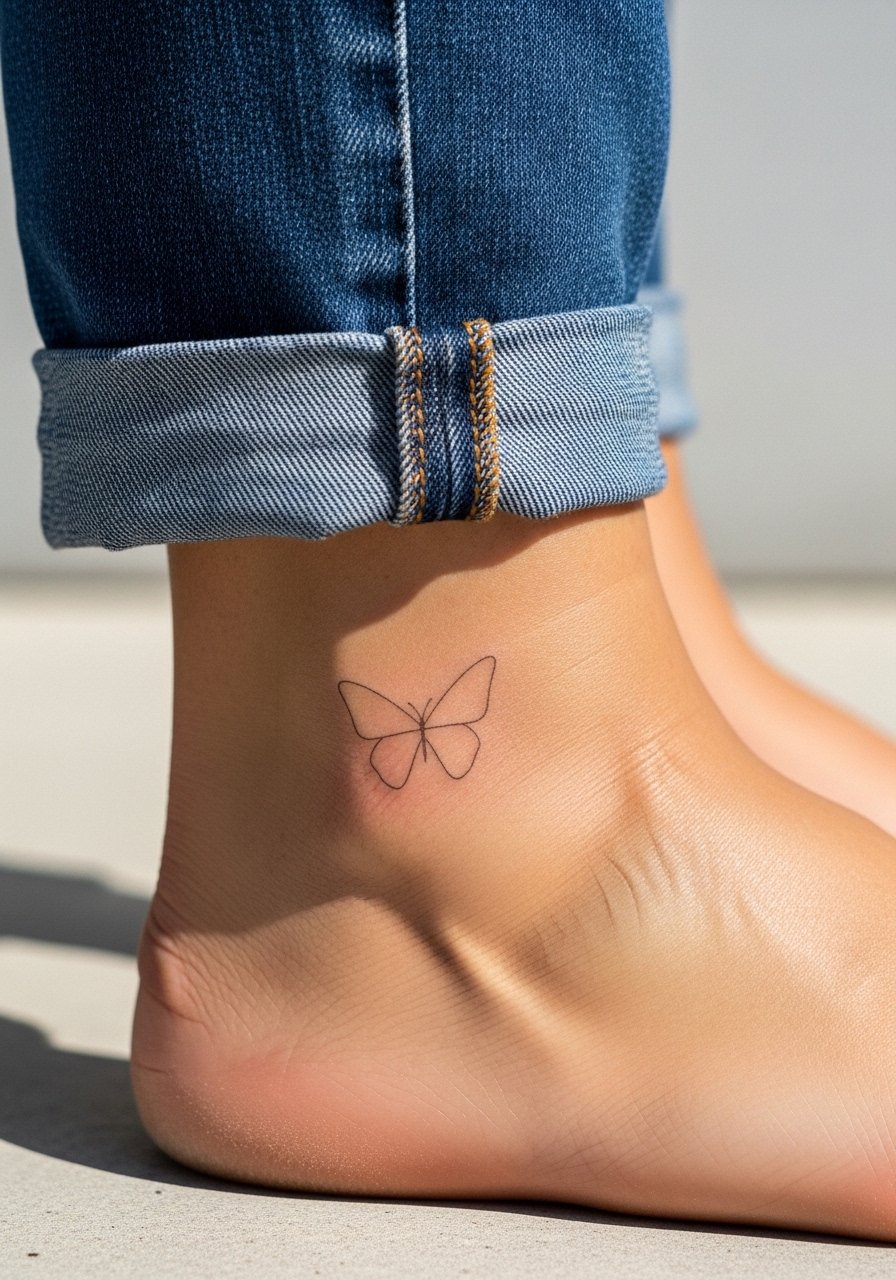
Ankle placements are great for dainty motifs, but they sit in a friction zone and near bone. Pain can spike near the ankle bone and sessions are short. Keep the butterfly crest at about 2 inches with crisp negative space. A common mistake is adding dense stipple shading too close to bone, which can lead to spotty healing. For longevity choose slightly stronger outlines and avoid heavy soft shading immediately adjacent to bony areas. Pair the finished ankle with sandals or cropped pants for seasonal show-off looks.
11. Black and gray flame breathing pattern on the side neck
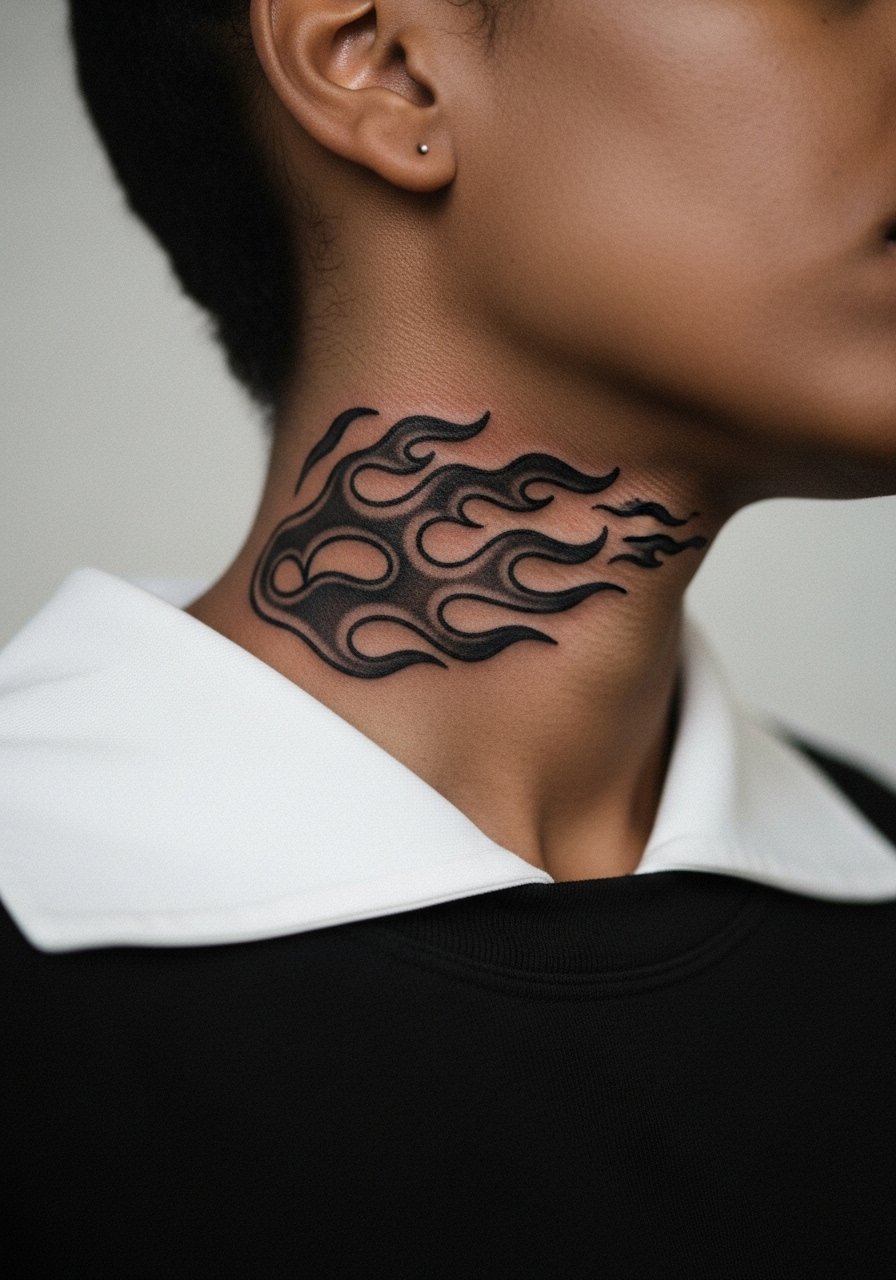
Neck tattoos read bold and vertical pieces suit the anatomy there, but pain and social visibility are factors to weigh. Expect two sessions for a 3-inch shaded breathing pattern and an intense sting when the needle nears thin neck skin. The blowout risk is higher on the neck because lymphatic tissue and movement can blur delicate shading. Ask for slightly firmer linework in the anchor areas and plan for sunscreen after healing if you wear open collars. Professional considerations matter, so think through visibility before committing. Hair up and a wide-neck shirt help during the session.
12. Neo-traditional full Corps uniform on the outer thigh
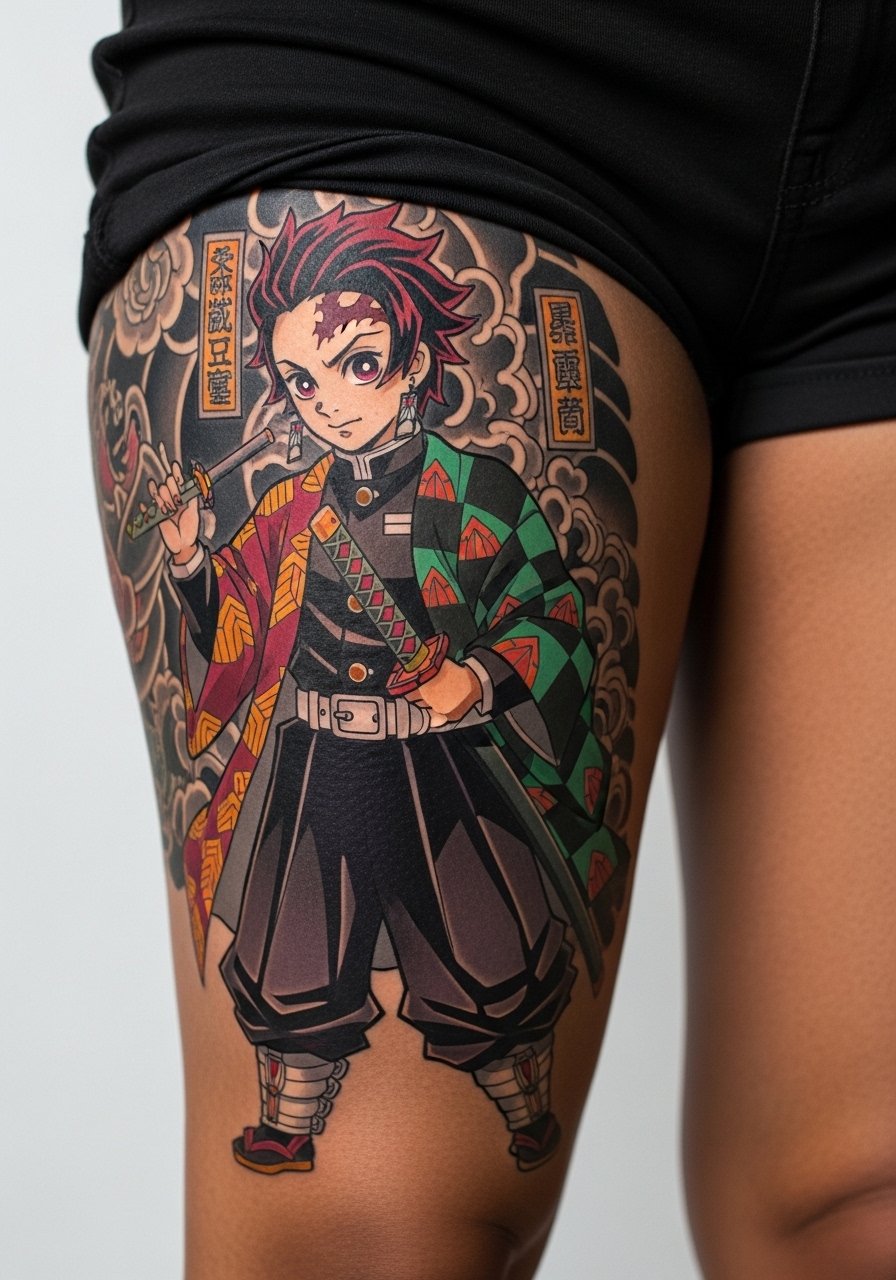
Thigh canvases let storytellers build immersive pieces that wrap with movement. A 6 to 8 inch uniform will need multiple sessions and carries moderate pain. Prioritize strong black anchors around the haori pattern so color retains a readable silhouette over time. A common error is squeezing a full uniform into a too-small rectangle. For show-off looks pick high-waisted shorts or a wrap that lets the haori appear during summer. A practical option is an olive green shorts pairing that complements the color palette.
13. Nichirin sword with phased metal colors for symbolism
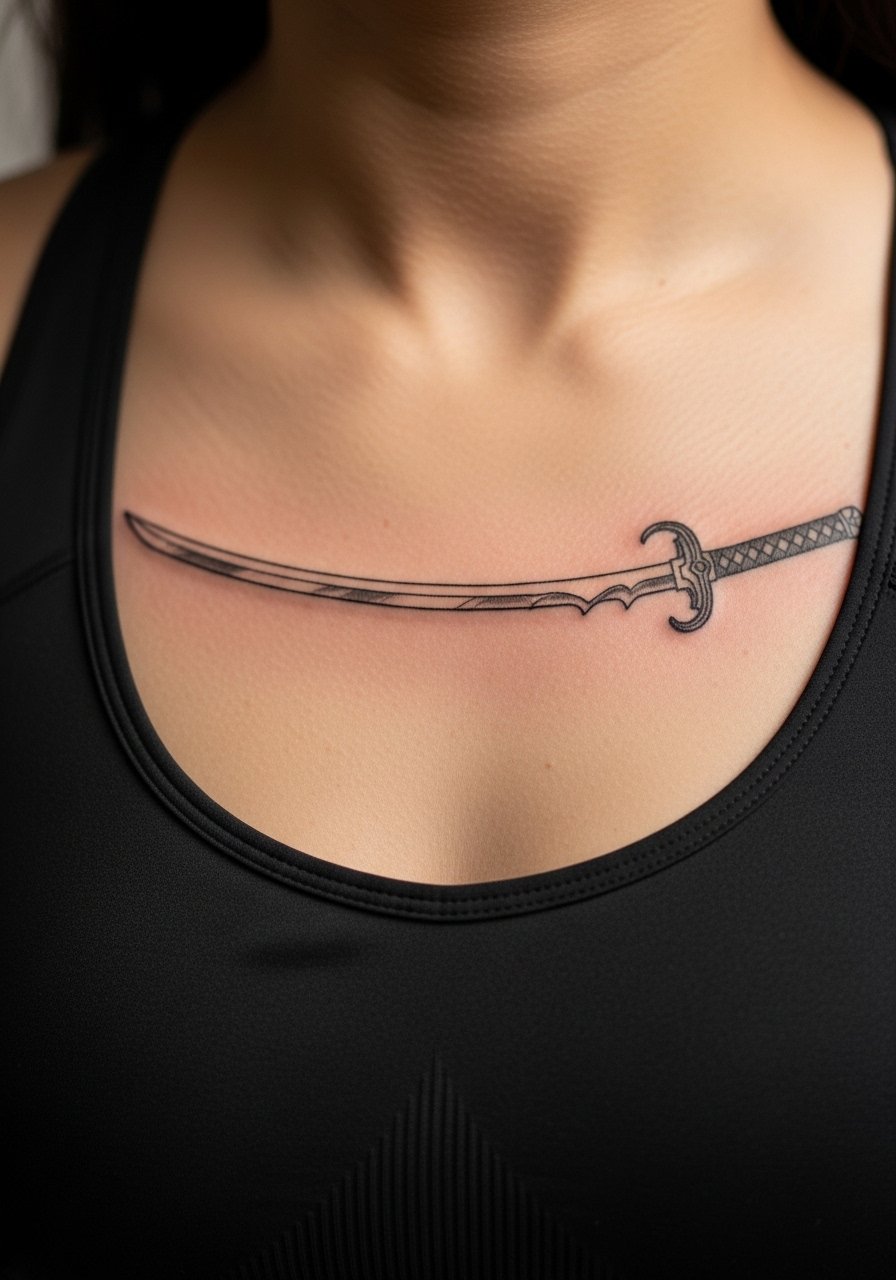
This idea uses a single sword with a color progression from water-blue near the hilt to sun-orange at the tip for layered meaning. Expect one to two sessions depending on size and the required blending. The sternum area rates higher on pain because of bone proximity, but the result reads symmetrical and deliberate. Tell your artist you want clean color transitions and ask them to map the gradient on your skin tone before inking. The common mistake is asking for subtle color shifts without considering saturation anchors. A fitted sports bra or wide-neck shirt helps during the session so only the centered chest area is exposed.
14. Pairing Demon Slayer motifs with anti-fade UV sleeves for outdoor fans
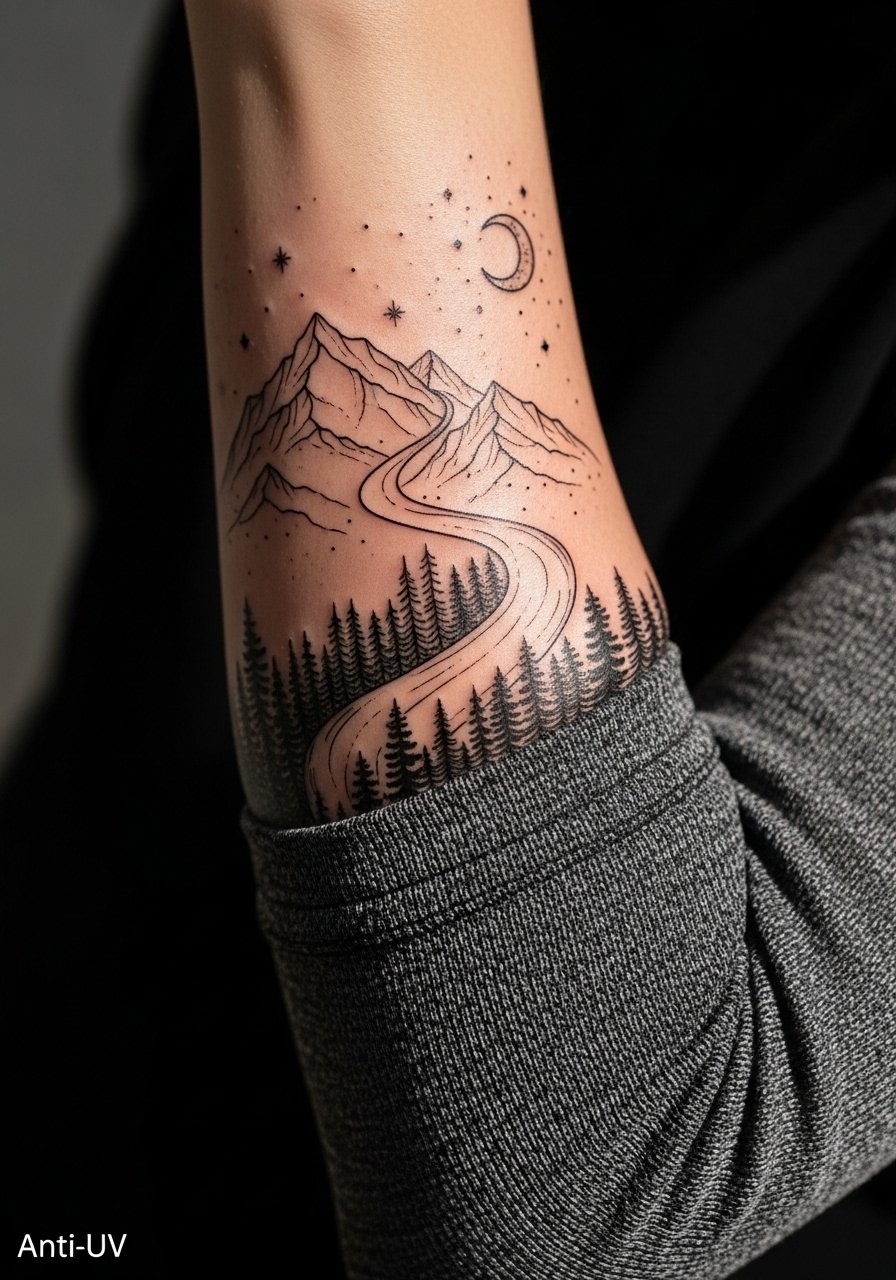
For folks who spend a lot of time outdoors, pairing visible forearm or calf pieces with anti-fade UV sleeves is a practical aesthetic. The sleeve reduces UV exposure and limits friction during long outdoor days. It also keeps fresh color from premature fading in summer months. If you want this approach, look for breathable UV fabrics and test for chafing before long hikes. The sleeve works best on pieces that you want to preserve rather than constantly re-tint.
15. Ribcage breathing symbol hidden under sports bra for athletes
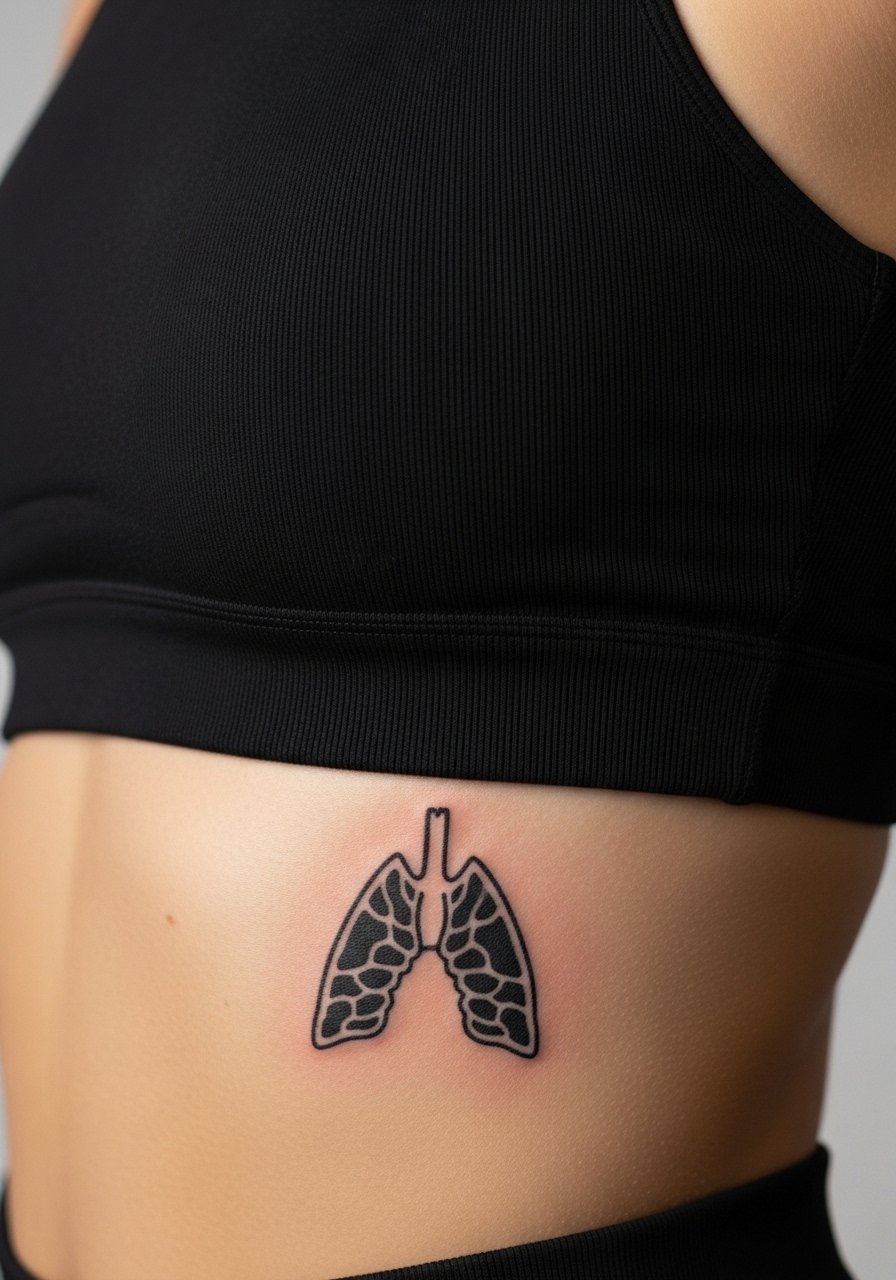
Ribcage placements can be hidden during workouts and revealed in the pool or on trail runs. Expect one session for a bold three-inch symbol and high pain during the process. For athletes, keeping the symbol just below sports bra lines avoids direct compression and reduces chafing while running. The mistake is placing a fine, high-detail symbol where repeated stretching will blur edges. Consider a compact bold design and plan to wear a high neck sports bra that conceals the piece when needed but can reveal it for photos.
16. Dark-skin optimized Nezuko mask with white ink highlights on the thigh
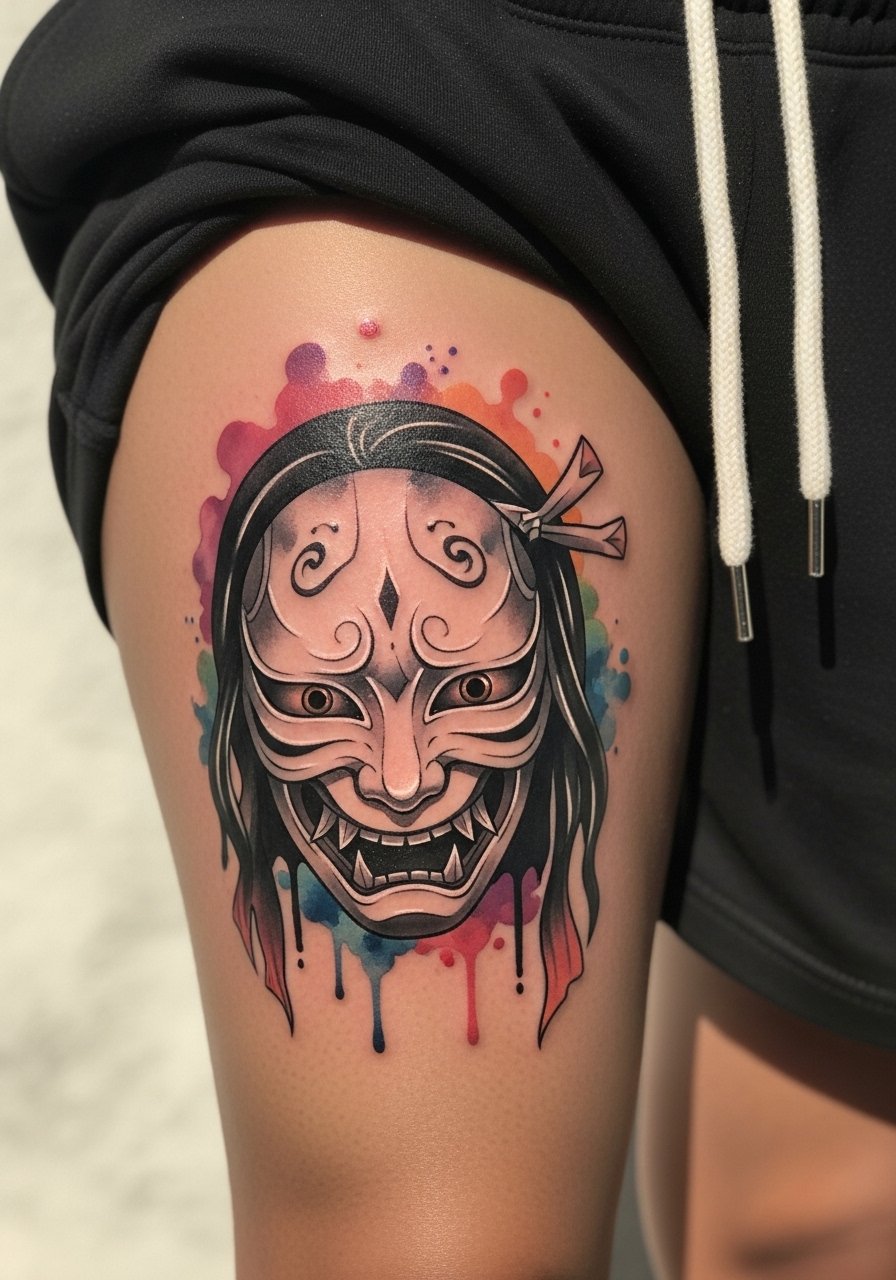
Artists and clients have been experimenting with white ink highlights and stronger black anchors to make color pop on darker complexions. For this thigh piece plan two sessions and ask to see the artist's healed work on similar skin tones. The main tip is to prioritize contrast rather than relying on pastel washes alone. A mistake is expecting the same saturation that shows up on lighter skin tones without adjusting line weight. For sessions wear loose drawstring pants so the artist can roll the leg without pressure.
17. Full haori wrap-around sleeve on the thigh that moves with gait

A wrap-around haori design uses the thigh's natural curve to create motion when you walk. This is best for committed projects because it requires multiple sessions and is sensitive to body shape changes. Discuss weight fluctuation and future plans with your artist so the pattern follows muscle and natural stretch zones. The common mistake is trying to force a linear sleeve onto a curved thigh without accounting for gait. Expect touch-ups in the first two years if the wrap sits across high-compression zones.
Frequently Asked Questions
Q: Will a fine line Nichirin sword on my forearm blur faster than a bolder sword?
A: Fine line on forearms tends to soften sooner because of constant sun and friction. Choosing a slightly stronger outline for the main silhouette and asking for spaced internal details helps preserve the design. Plan a light touch-up at year two if you want the original crispness restored.
Q: Do watercolor Nezuko pieces need different session prep than blackwork symbols?
A: Yes. Watercolor pieces usually need multiple sessions for layering and rely on saturated anchors to keep wash areas readable. Blackwork symbols can often be completed faster but need dense fill to avoid patchy aging. For thigh watercolor, wear loose shorts so the artist can access the area without denim pressure.
Q: How do I decide between ribs and sternum for a breathing symbol placement?
A: Ribs give a longer, flowing canvas, but ribs move more and often hurt more. Sternum placements are more central and can be more painful near bone. If you want longevity and plan to hide the piece during sport, ribs set below sports bra lines work well. Ask the artist how their work on each area has healed before booking.
Q: Are there visible differences in how portraits age on dark skin?
A: Portraits can read beautifully on darker tones if the artist uses high-contrast outlines and considers highlight placement. White ink highlights are one option but they behave differently over time. Ask to see healed photos on similar skin tones during consultation rather than relying on filtered images.
Q: Should I use temporary numbing for a long Tanjiro portrait session?
A: Numbing is a personal call. Some artists and clients use topical numbing to get through long portrait passes. Others avoid it because it can change skin response. Bring the question up with the artist early so you both agree on timing and the product if you plan to use it.
