
Fine line mantras are everywhere on saved boards, and the problem is not the look. The problem is the mismatch between the tiny scale people want and where they put the ink. Fine line text on commuter wrists gets constant sun and friction, and it often needs a touch-up long before you expect it. Read on for 21 small ways to carry "everything happens for a reason" that balance visibility, longevity, and outfit pairings so you book the right one.
1. Tiny Fine Line Script on the Inner Wrist
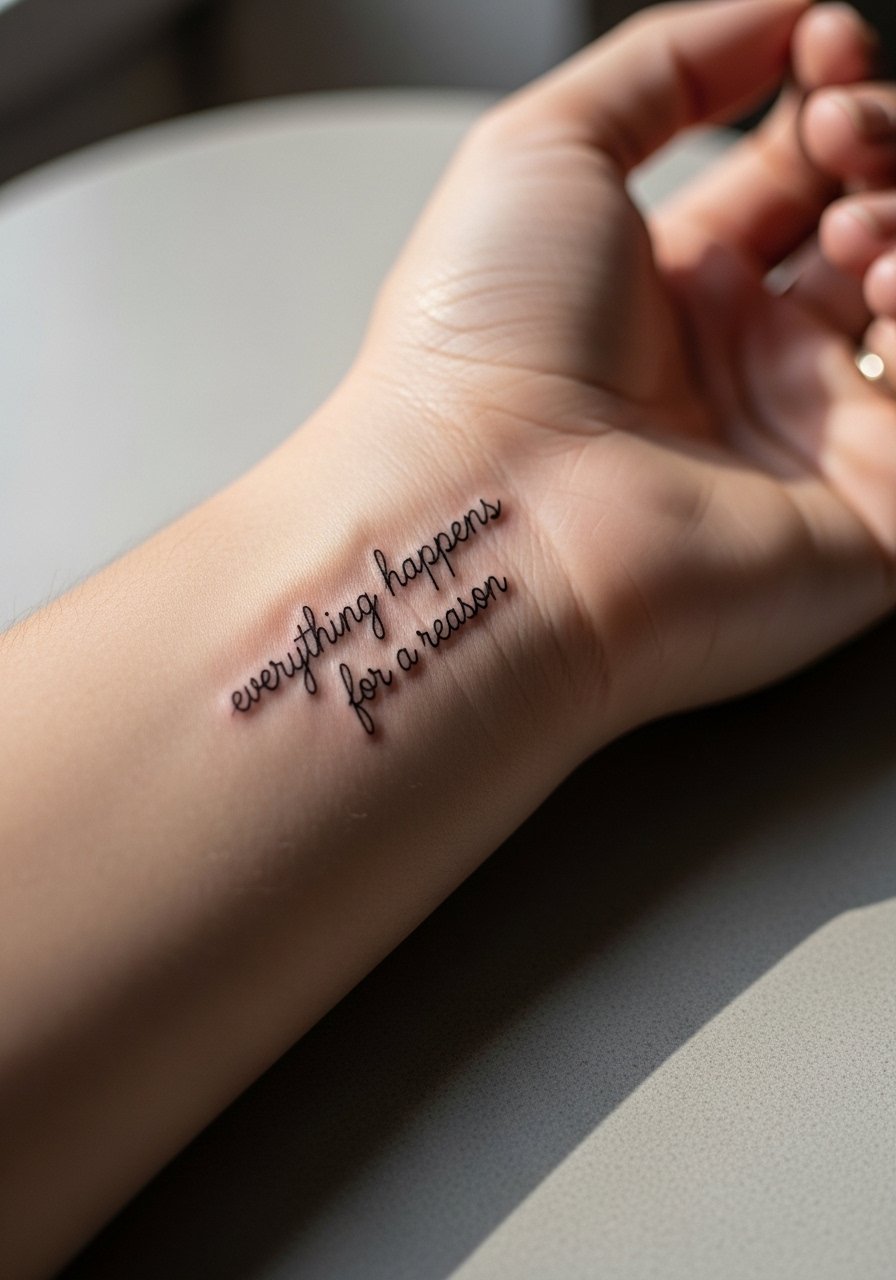
I see this option in almost every consultation and for good reason. It reads during the day without shouting and the pain is mild for most people. Tell your artist you want 1 to 1.5 inches of type at a single-needle weight and ask for slightly heavier linework than the faintest option so the letters hold for longer. Common mistake is asking for ultra-tiny cursive and then placing it on the outer wrist where sun and watch straps wear it down. Expect a quick 20 to 40 minute session and plan a touch-up around year two if you use it daily. For showing it off, keep sleeves rolled with a rolled cuff blouse or a thin leather cuff bracelet on the opposite wrist.
2. Micro Cursive with Heartbeat Underline on the Collarbone
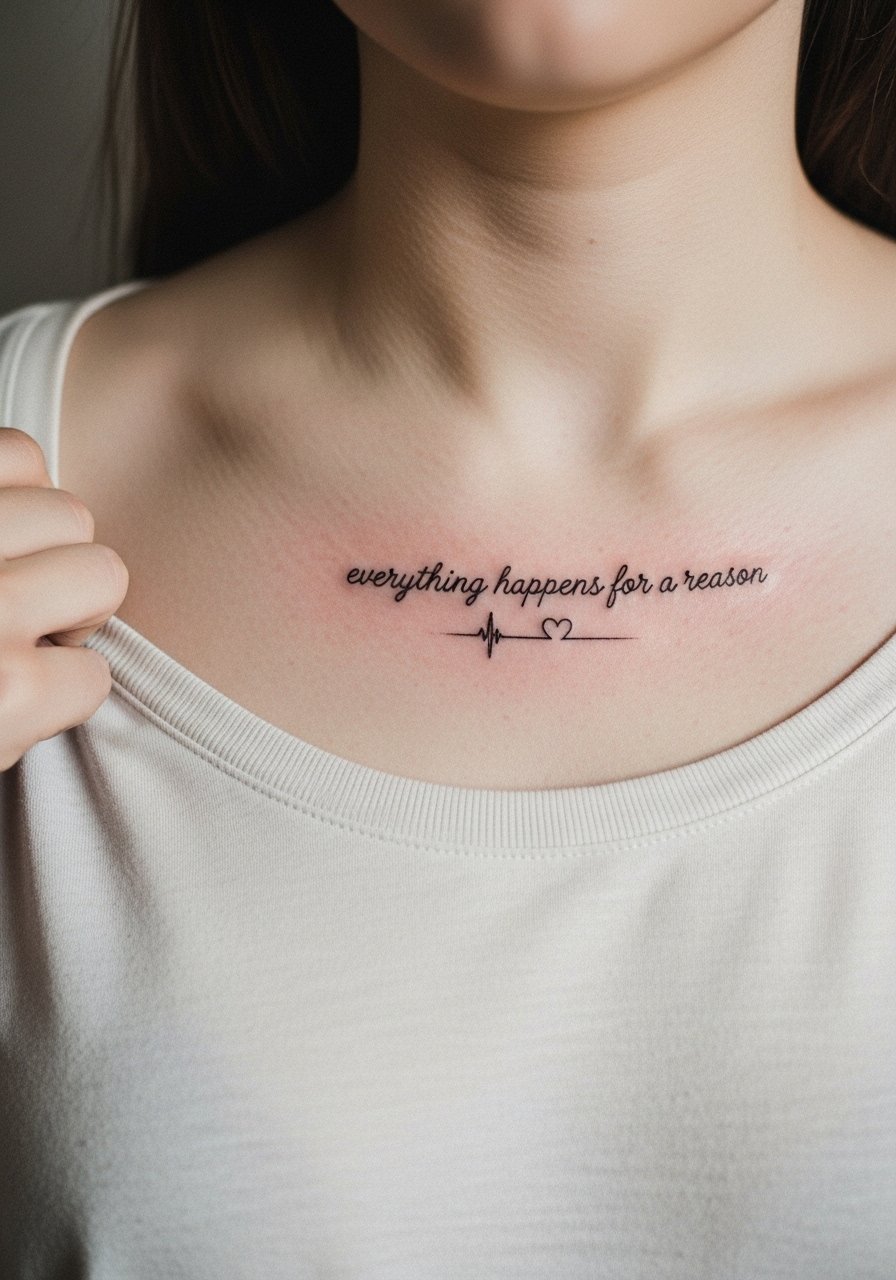
Collarbone placements are flattering and they move with clothing. The area tolerates micro cursive better than hands or fingers because it sees less friction. During consultation, ask for a 1-inch height and request the underline to anchor the phrase visually. The ribbing from shirts can pull at the area while healing so wear a button-front shirt or a loose tank the day of the session. Expect a short session and very mild pain. If you want color pops, specify tiny accents so the text remains the focal point.
3. Minimalist Dotwork Acronym Behind the Ear
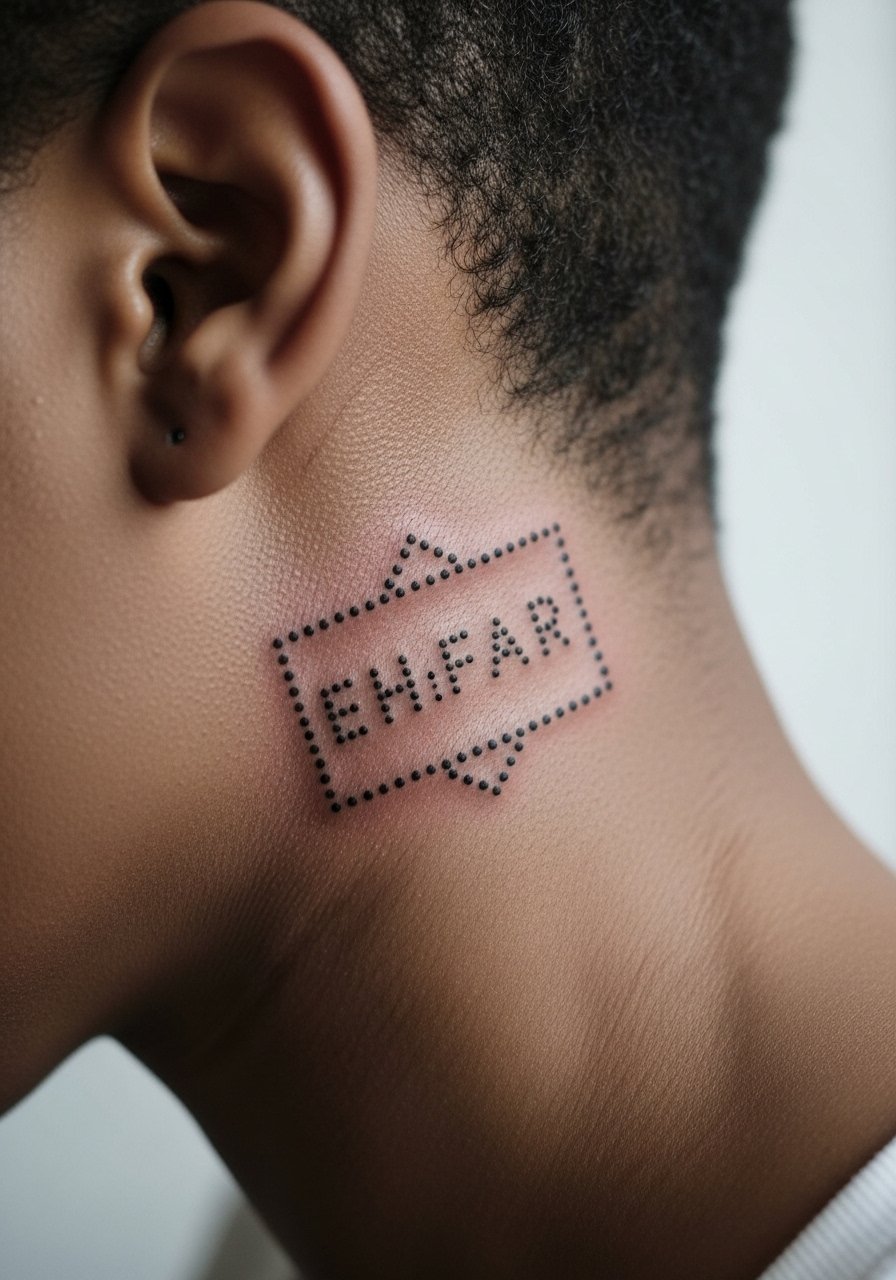
A behind-the-ear acronym is an excellent discreet option if you want something private yet playful. Ask for dotwork spacing to form legible letters at 0.5 inch scale. The common mistake is packing dots too tightly which turns into a gray blur after healing. Hands-on note about hygiene and comfort, bring a hair clip so the artist can see the placement without hair getting in the way. Styling for reveal includes a high ponytail or a hair claw clip to keep hair off the area. Behind-ear heals quickly but request healed examples from the artist on similar skin tones.
4. Fine Line Wave Motif Wrapping a Phrase on the Inner Forearm
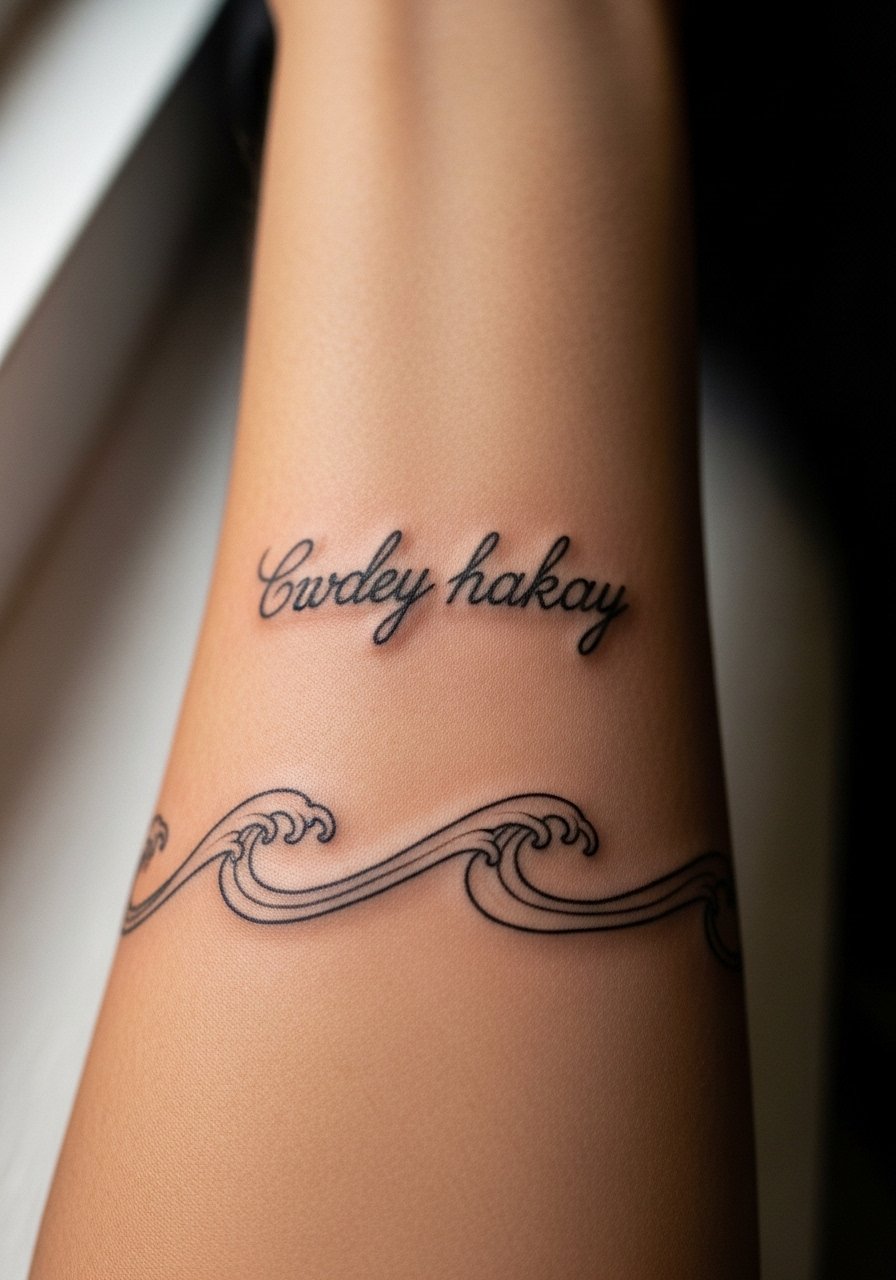
The inner forearm gives space for a flowing layout without the friction small wrist pieces face. The text benefits when integrated into a wave or flowing motif because the negative space prevents cramped letters from merging over time. Tell your artist you want 2 inches of horizontal width and that the wave should breathe around the letters. A common aging scenario is text that sits directly against dense shading. Avoid that by asking for open spacing and stipple shading if shading is needed. For session wear, roll up a linen rolled sleeve shirt so the arm lies flat.
5. Neo-Traditional Feather with Embedded Script on the Shoulder Blade
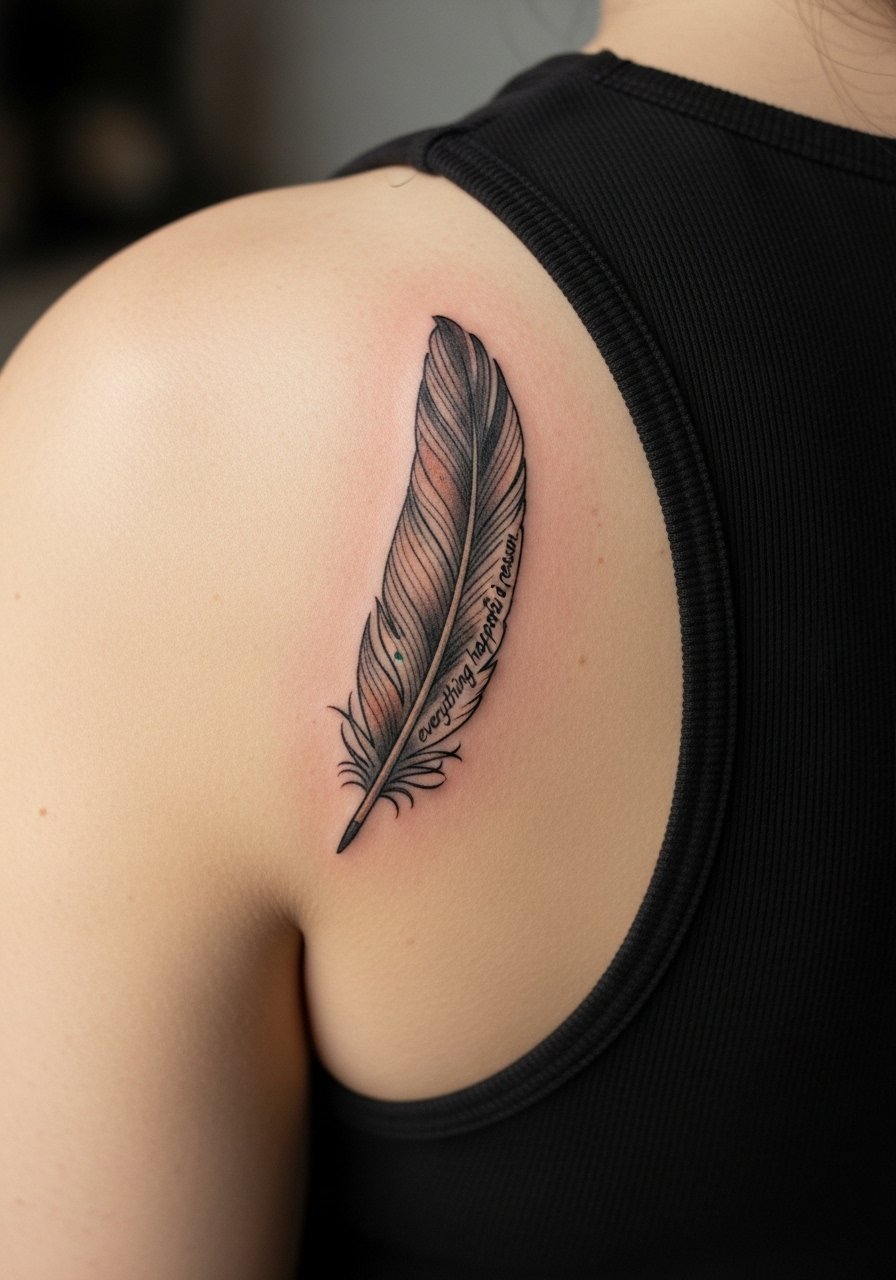
Shoulder blade pieces let you add color accents without overwhelming the text. The skin there is forgiving for small color pops but watch for oversaturation in tiny fills. During consultation, request thin black outline with small color accents, and say you want the script nestled along the quill so it follows the feather curve. The session is approachable for most pain scales. For showing it off, pair with a low-back crop top or a tank. Be careful with heavy sun exposure on colored bits in summer.
6. Blackwork Mandala Encircling Tiny "EH FAR" on the Ankle
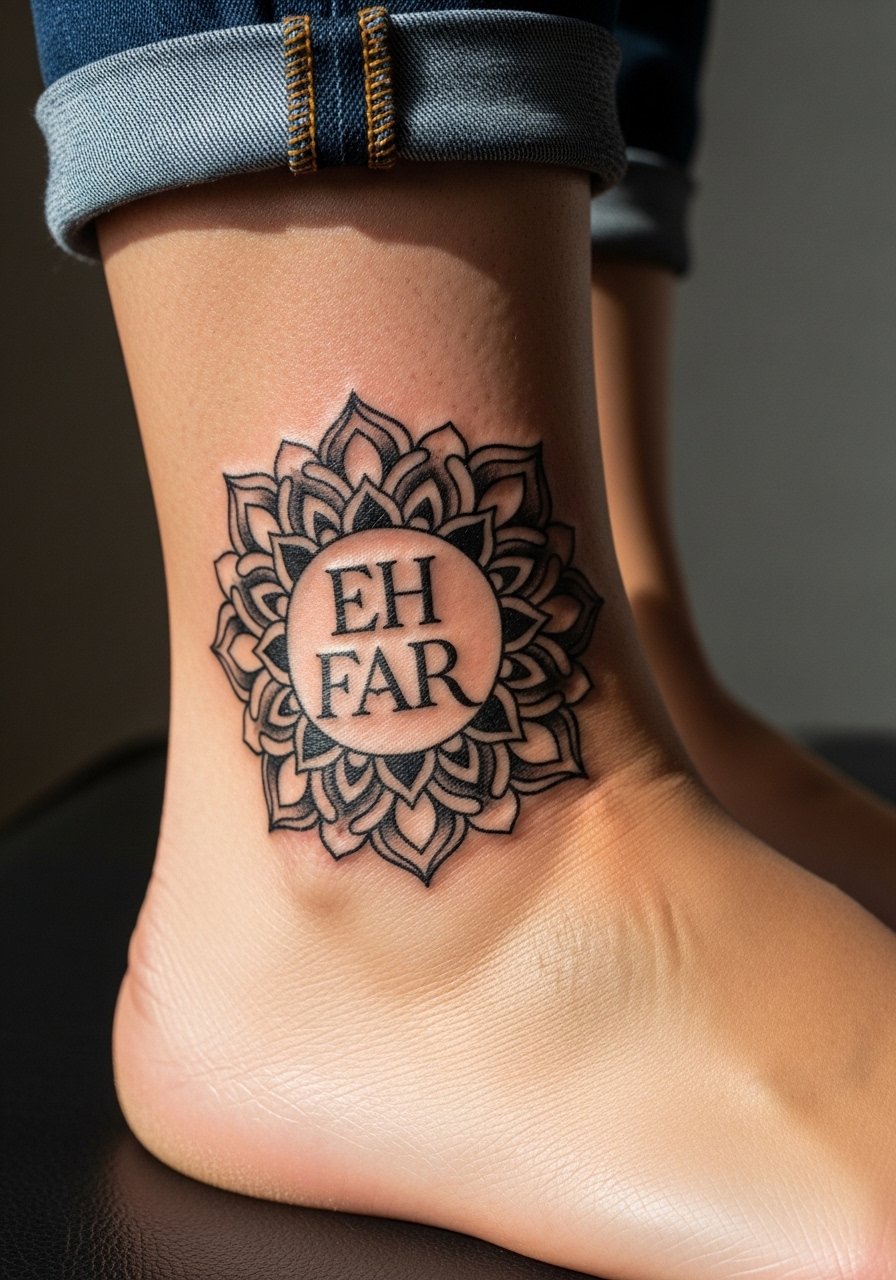
Ankle blackwork gives bold contrast that holds well in a small footprint. Heavy saturated black beats faint linework here due to footwear and socks rubbing. Tell your artist you want a one-inch diameter mandala with negative space between petals so the pattern does not merge. The common mistake is over-detailing such a small circle which leads to blotchy healing. Pain is low to moderate and the session is brief. Style with cuffed jeans or strappy heeled sandals for easy visibility.
Pre-Session Essentials
The wrist, collarbone, and ankle pieces above all ask for small tools to smooth the session and the first week.
-
Badger Tattoo Balm. A lighter balm many people prefer in colder months because it soaks in faster than thicker butters, which helps avoid clogged pores around small collarbone pieces.
-
Recovery Ink Pen. For spot maintenance on tiny fine line areas between major touch-ups, it helps maintain visual clarity on cautious fading.
-
Hada Labo Lotion. Ultra-light moisture for humid climates, useful after an initial ointment period so wrist and finger pieces stay hydrated without heavy residue.
-
Indie Black Lotus Salve. A gentle herbal salve some people prefer on blackwork minis to reduce inflammation without overly greasy layers.
-
CeraVe Healing Ointment. A non-comedogenic alternative to petroleum that many with sensitive skin find less likely to cause breakouts during collarbone and shoulder blade heals.
7. Watercolor Galaxy Fade into Script on the Ribcage

Ribcage watercolor looks dreamy but is one of the higher pain and higher fade-risk placements for fine color. Expect a longer session and stronger temporary swelling. Ask for the watercolor to be applied as soft washes that do not crowd the letters. The controversy around watercolor versus blackwork is real here. One camp worries that watercolor will fade into a bruise over time. The other camp says careful saturation and zone placement keep color readable for years. If longevity is your priority, ask to mix a thin black outline or stipple anchors around the phrase. For session wear, bring a zip-up hoodie you can open partially.
8. Ignorant Style Block Lettering on the Outer Calf
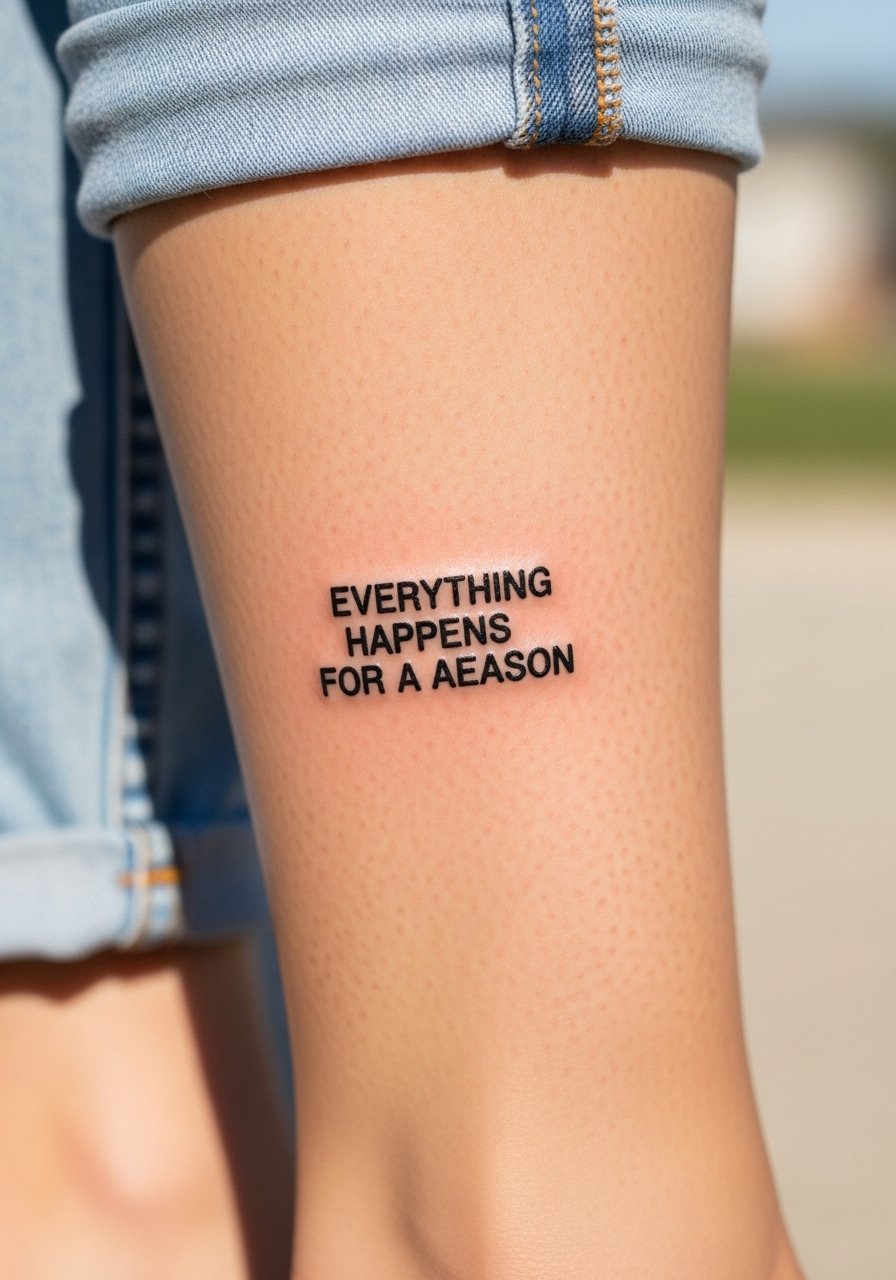
The ignorant style shrinks well into tiny formats because the bold strokes age into a graphic presence rather than blur. If you like ironic contrast, go for block caps at 1.5 inches height. Tell the artist you want firm stroke weight and minimal internal ornament. Common mistake is asking for too thin a fill, which can fade unevenly on legs that see sun. This placement is easy to show off with shorts and looks great with cuffed socks or a high-waisted denim short in summer.
9. Ornamental Vine Border with Cursive Down the Spine

Spine pieces read as vertical jewelry when scaled properly. The skin stretches more on the spine so avoid ultra-fine dense text. Ask for 2 inches of vertical space and request the vine to leave clear margins around letters. People often make the mistake of stacking tiny cursive without lateral breathing room. Sessions are moderate on pain and you will need to lie prone. For show-off moments, a halter dress or low-back top frames the piece without revealing too much.
10. Traditional Anchor with Scroll Banner on the Inner Bicep
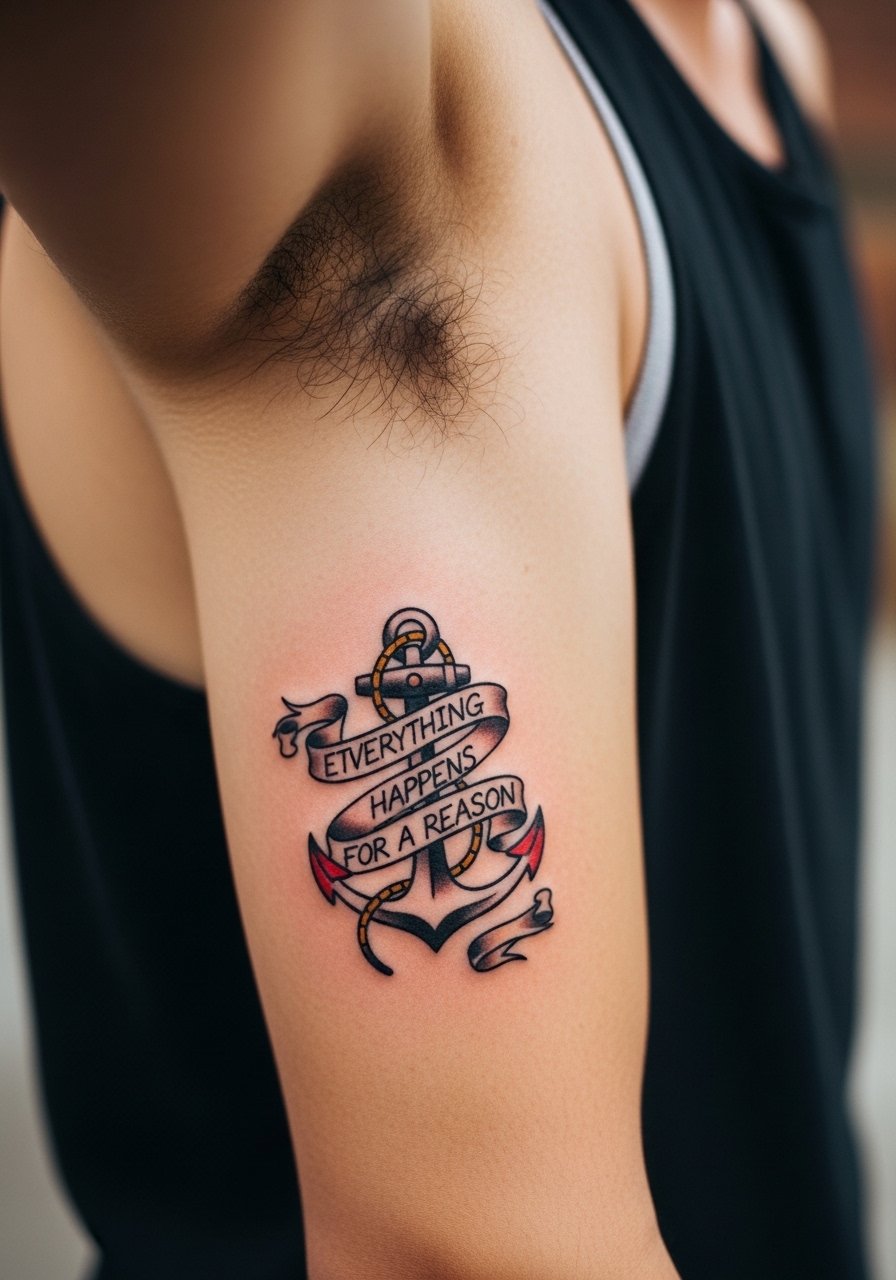
Inner bicep is forgiving for tiny neo-traditional shapes and the banner motif hides a compact phrase well. Tell your artist you want clear negative space within the scroll so letters do not sit on shaded fields. The inner bicep can sting more than outer arm and the skin may be more tender post-session. Avoid asking for dense color fills inside the banner at tiny scales. For the session, wear a loose button-down shirt you can slide aside without stretching the area.
11. Micro-Realism Hourglass with Dripping Sand Acronym on the Neck

Neck work reads bold even at small sizes, but it requires a careful consultation because visibility is high. Ask for micro-realism shading kept minimal and for the letters to be placed within negative space to avoid muddiness. The neck heals with slightly more scab formation and needs sun protection after healing. If you work in a conservative environment, remember visibility may matter. A thin choker-style necklace can sit above a small neck phrase for a curated look.
12. Micro Dot Constellation Shaping "EH FAR" on the Upper Thigh
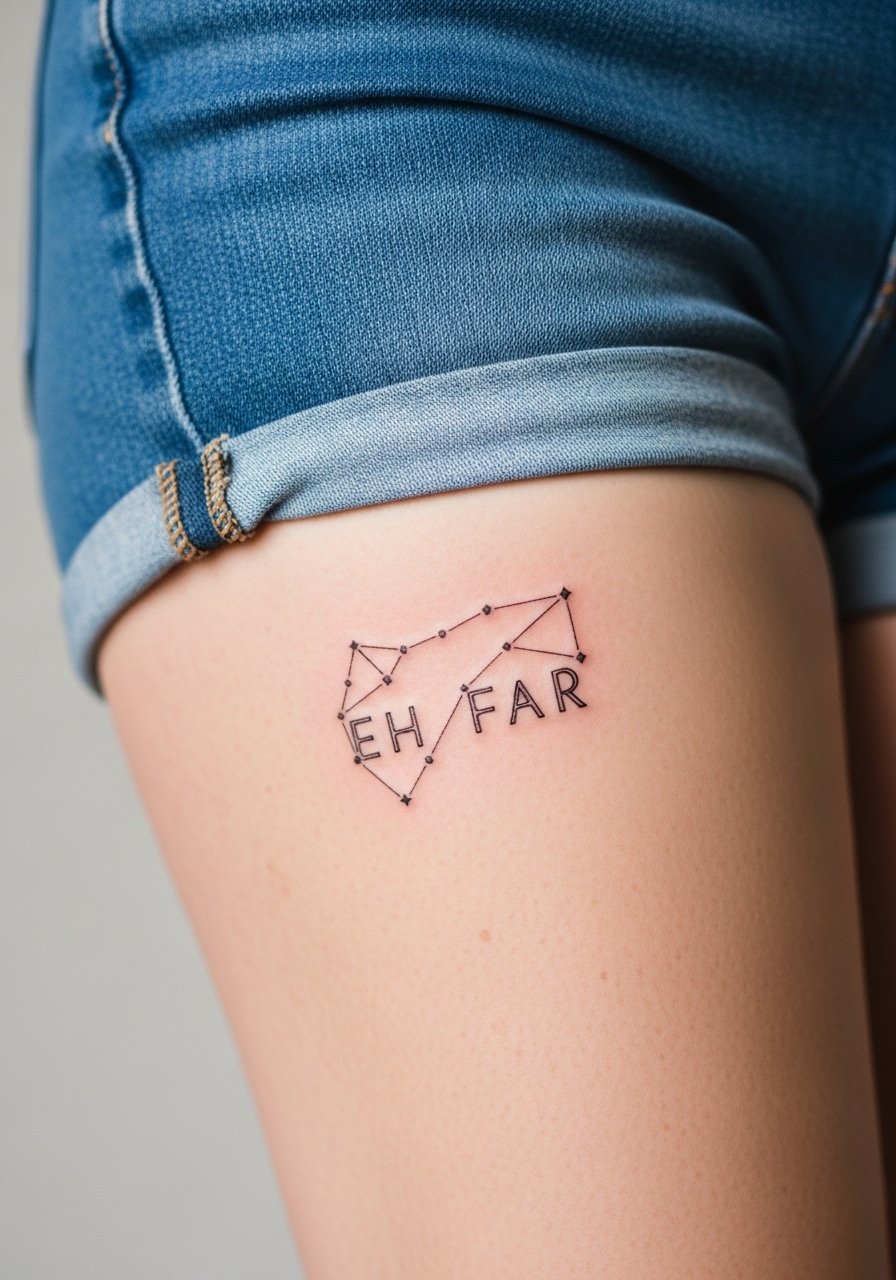
Upper thigh offers a canvas that avoids daily friction from clothing if you choose the right placements. Dot and line constellations read well and the dark points maintain contrast on medium to light skin. Tell your artist the exact span you want and where it should sit relative to clothing seams. Healing is usually uneventful if you avoid tight waistbands for the first two weeks. For session wear, choose high-waisted bottoms or a wrap skirt so the area is accessible and not compressed.
13. Patchwork Minimalist Arrow Piercing Script on the Finger
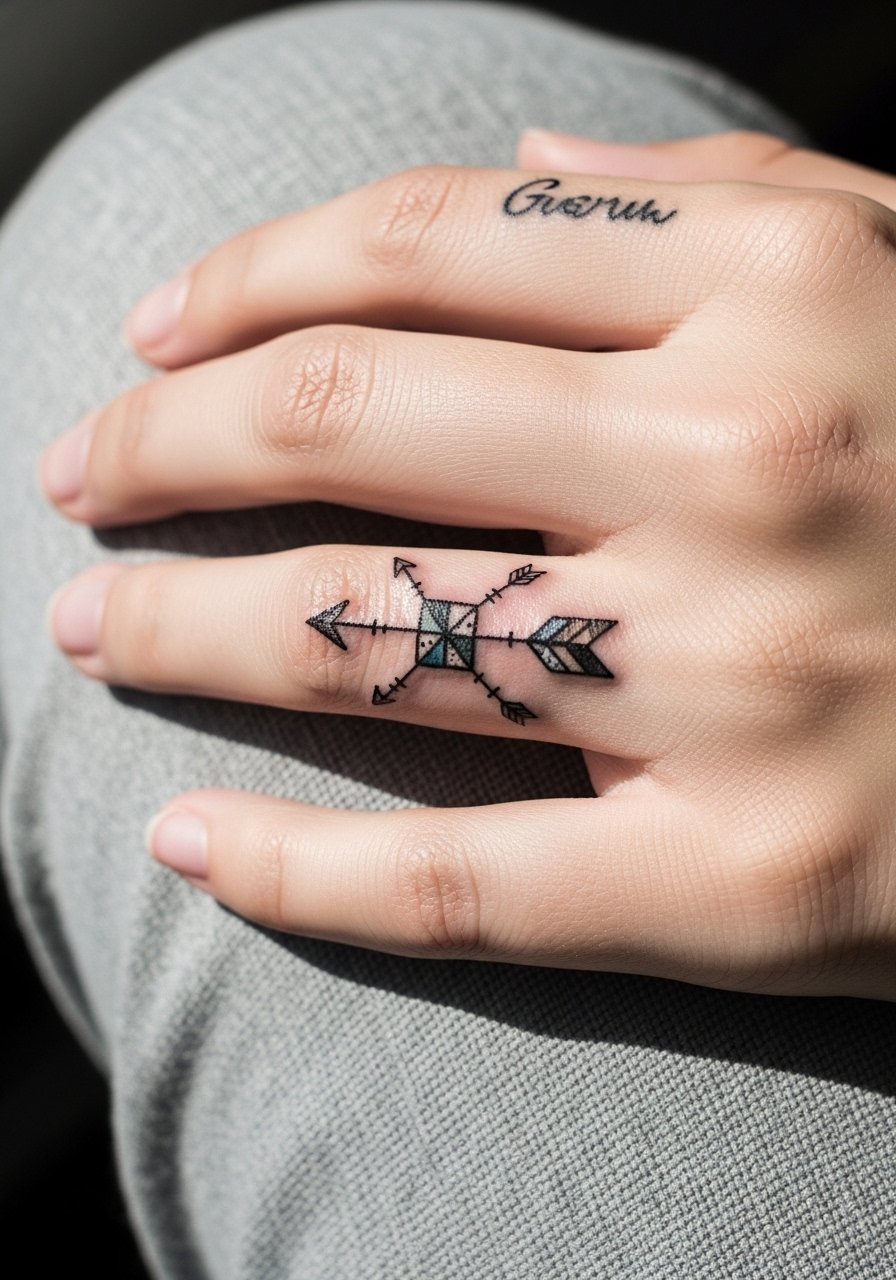
Fingers are high wear zones and fine line work there tends to blur faster. If you insist on a finger piece, ask for bolder line weight and accept that touch-ups will likely be needed at six to twelve months. The biggest mistake is requesting the thinnest possible script in an area that gauges constant washing and rubbing. Session pain is low but healing calls for extra attention. For daily aesthetics, keep nails neat and consider a nude nail polish to balance the look.
14. Tiny Blackwork Mandala Ankle Wrap for High-Contrast Reads
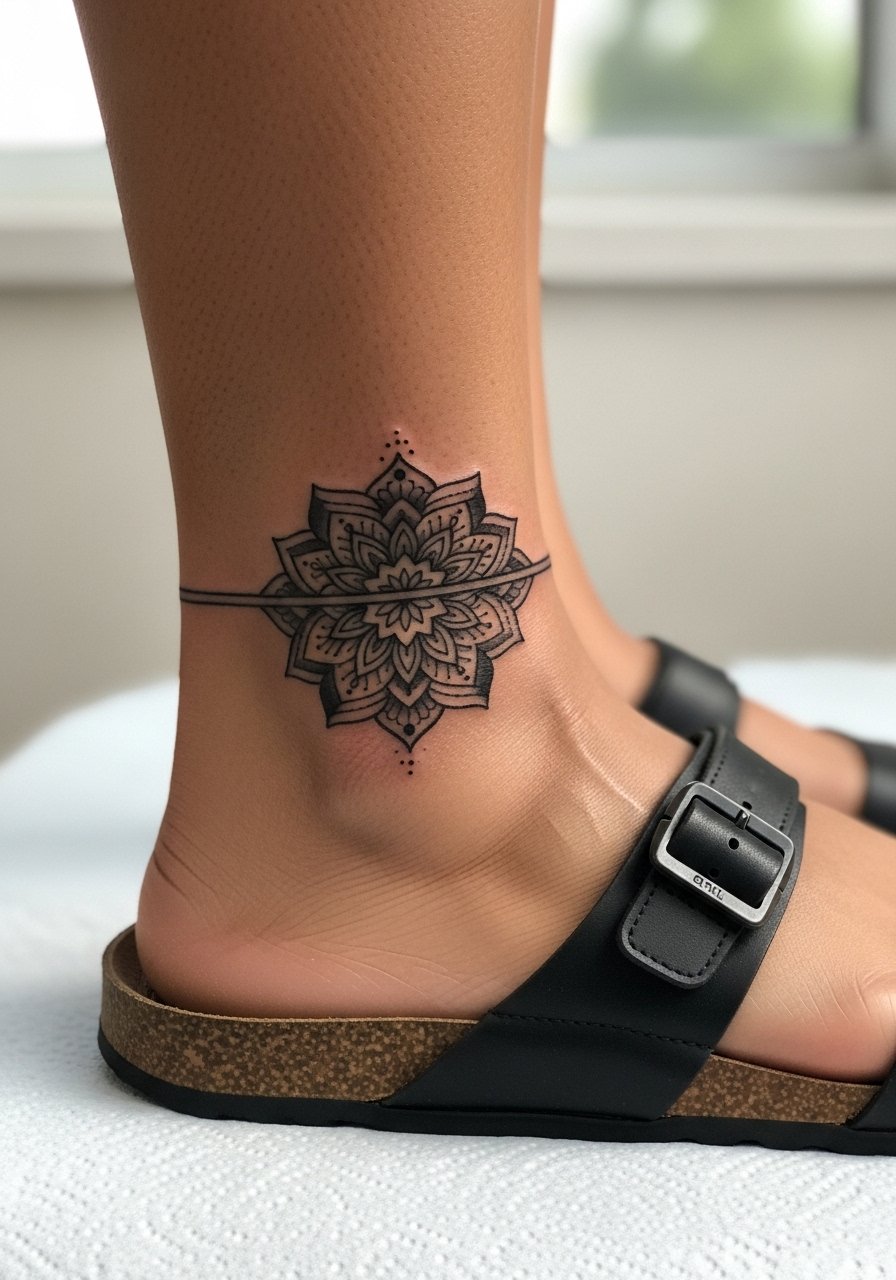
A blackwork band around the ankle benefits from solid fills and negative space to prevent loss of definition over time. Tell your artist you want clear petal spacing and that you prefer fewer micro-details at the edges. Boots and socks will rub the area, so plan footwear carefully during healing. For summer visibility, pair with strappy sandals. Expect a quick session and strong initial contrast that softens into a confident silhouette as it heals.
15. Tiny Wave Script Behind the Ear with Subtle Color
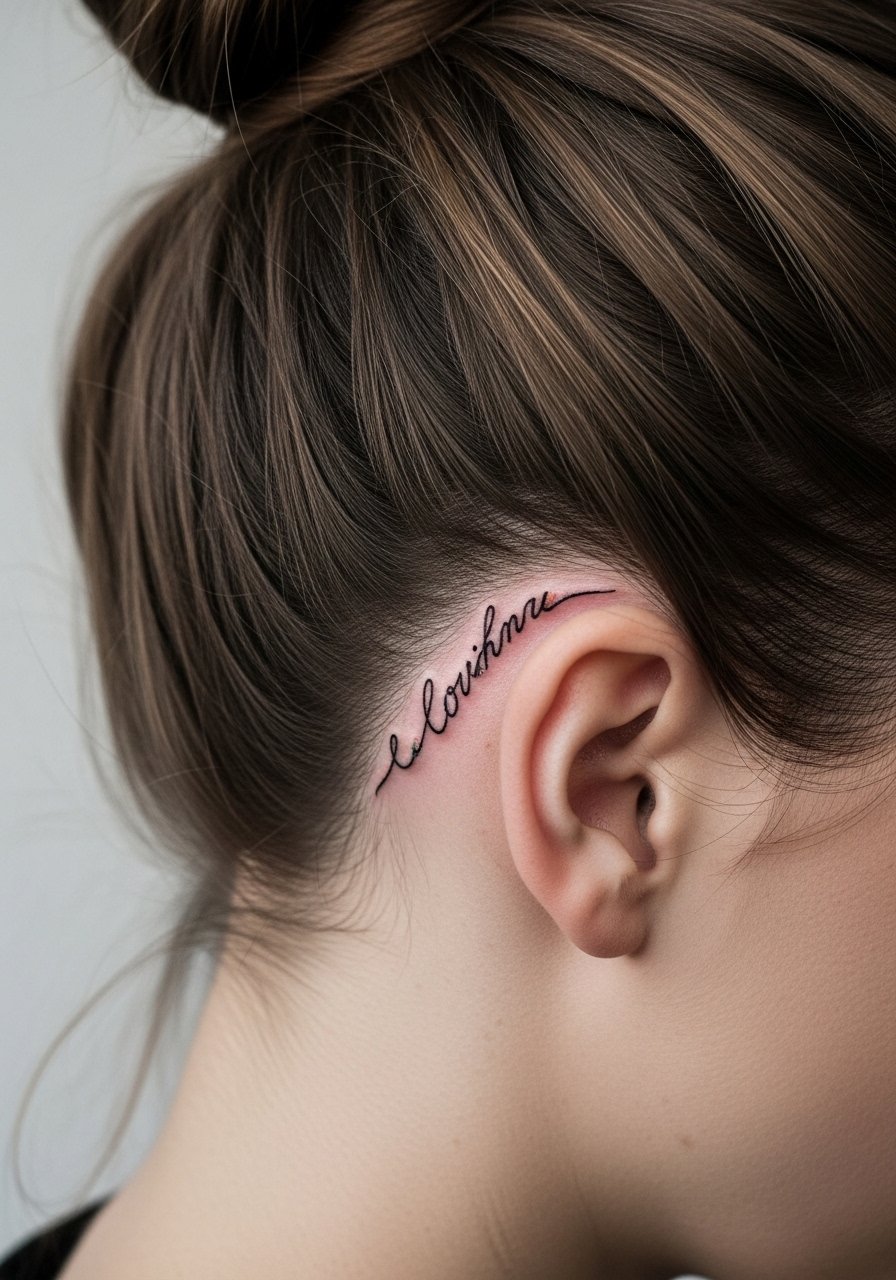
This placement keeps visibility private but playful. Ask for color as specks rather than fills so the linework remains the primary focus. The behind-ear area has thin skin and can be sensitive during application. Use a hair clip for the session and keep the aftercare area clean. For reveal, loose waves or a high ponytail holder bring attention to the spot without overexposing it. If you are curious about UV-reactive ink, mention it explicitly in consultation so the artist can advise on safety and longevity.
16. Knuckle Letters for a Punchy Mini Mantra
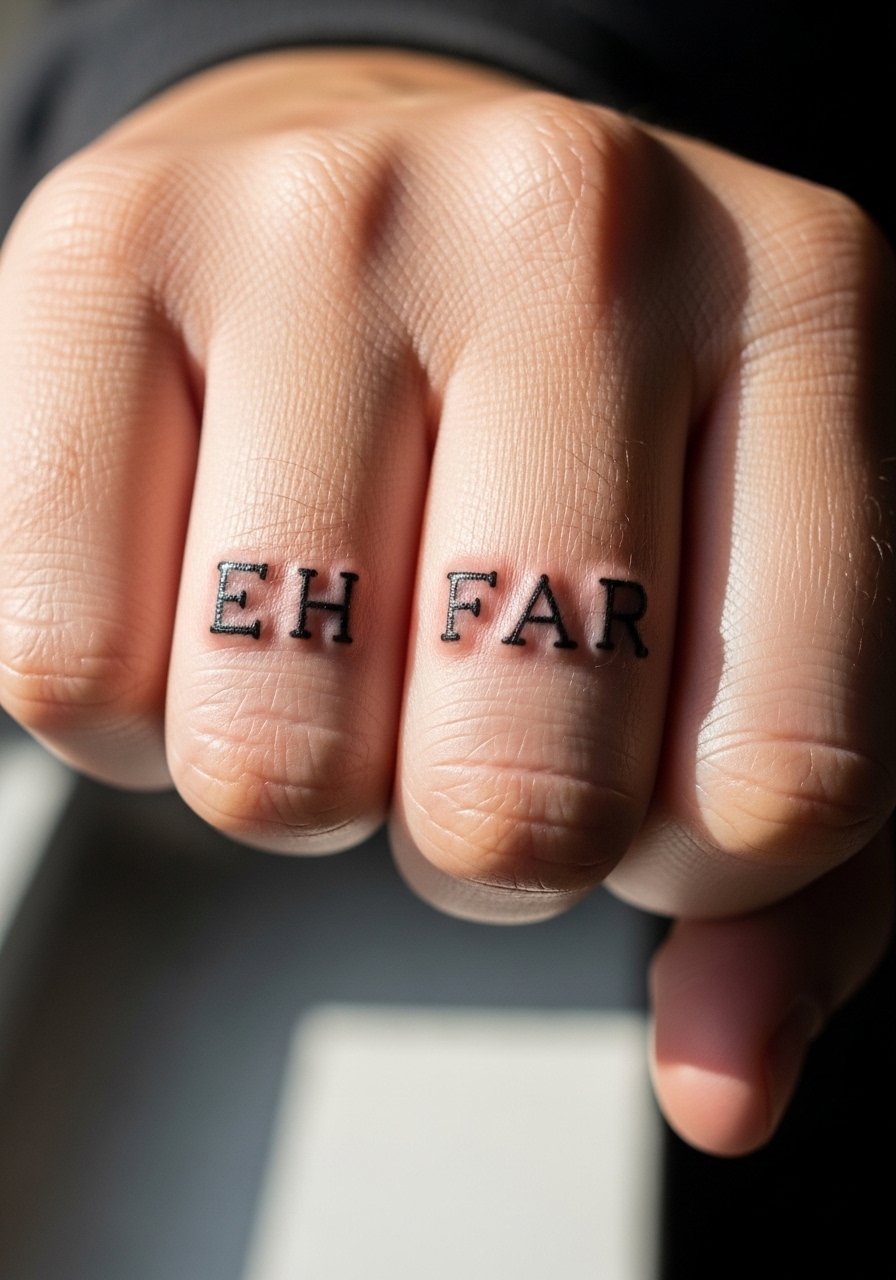
Knuckle tattoos are high-visibility and high-fade. They work when the letters are bold and slightly larger than you think necessary. The common mistake is demanding extremely small script there. Expect touch-ups in the first year and avoid tight gloves during healing. Also consider career visibility before committing. The session feels quick but a bit sharper than flatter skin zones. Clean hands often and moisturize sparingly while healing.
17. Tiny UV Reactive Script Hidden Under the Wrist

UV-reactive ink appeals to people who want a discrete day look and a secret night reveal. It requires an artist experienced with UV pigments and an honest discussion about clarity over time. One raid of caution is that UV pigments can behave differently by skin tone so ask for healed examples on similar skin. The inner wrist location keeps the piece private during day while letting it glow under blacklight. For session wear, a cotton tank top offers access without rubbing.
18. Morse Code Dots for a Hidden "EH FAR" Message
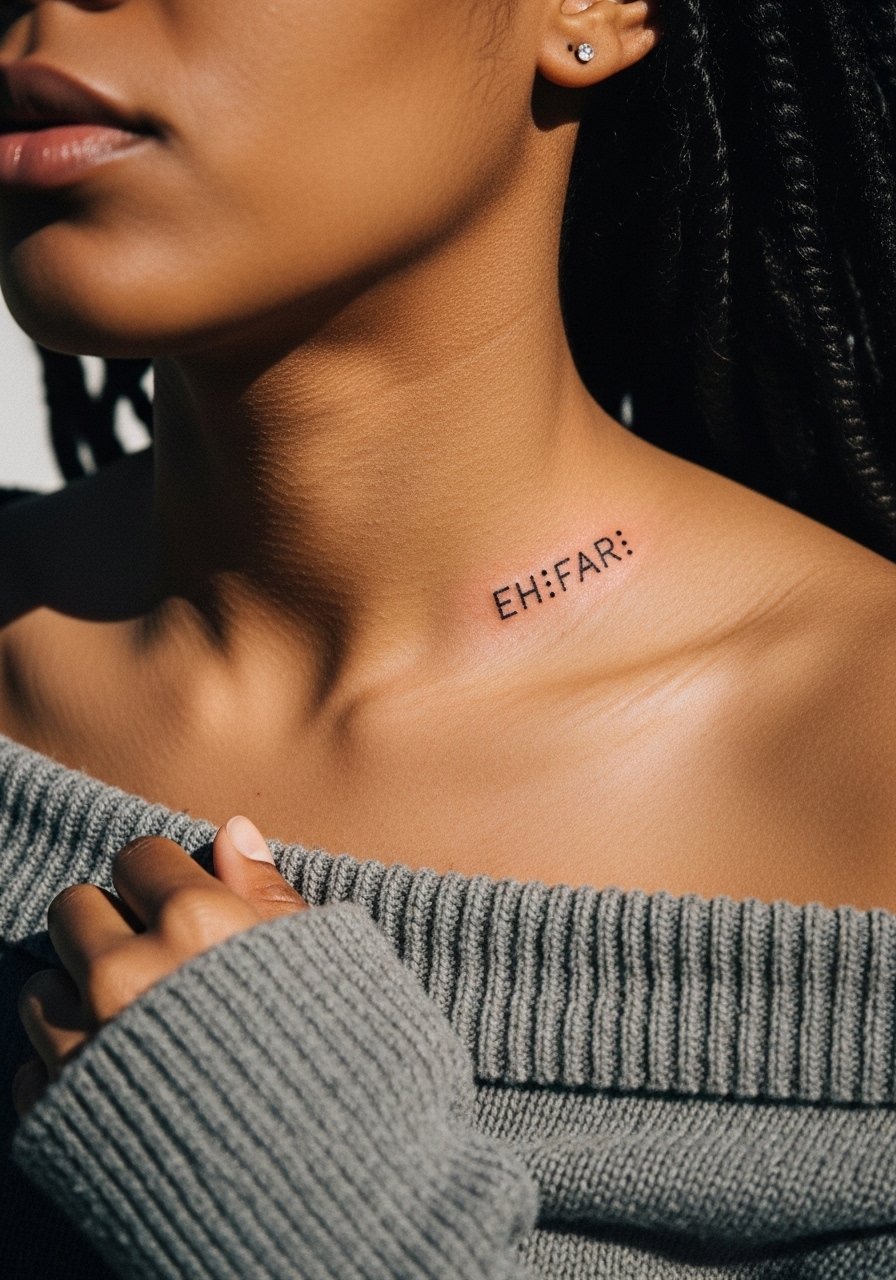
Morse code is a compelling way to keep the phrase private. It reads as a graphic line from a distance and reveals meaning up close. Ask your artist to use slightly larger gaps between dots than standard so each point heals distinctly. The common mistake is cramming the sequence too close which merges into a smudge. For show-off moments, pair with an off-shoulder sweater or strapless dress that reveals the line.
19. QR Code Tattoo that Links to a Voice Note of the Phrase

This modern twist turns the phrase into an interactive moment. The QR needs precise contrast and proper sizing so it scans. Discuss scannability with the artist and test a printed transfer on your skin in different lighting before inking. The mistake people make is shrinking the code below a scannable size. For session wear, roll up a linen sleeve shirt so the forearm lies flat for crisp linework. Expect a slightly longer setup time to confirm the transfer.
20. Tiny Constellation That Spells the Acronym on the Ankle
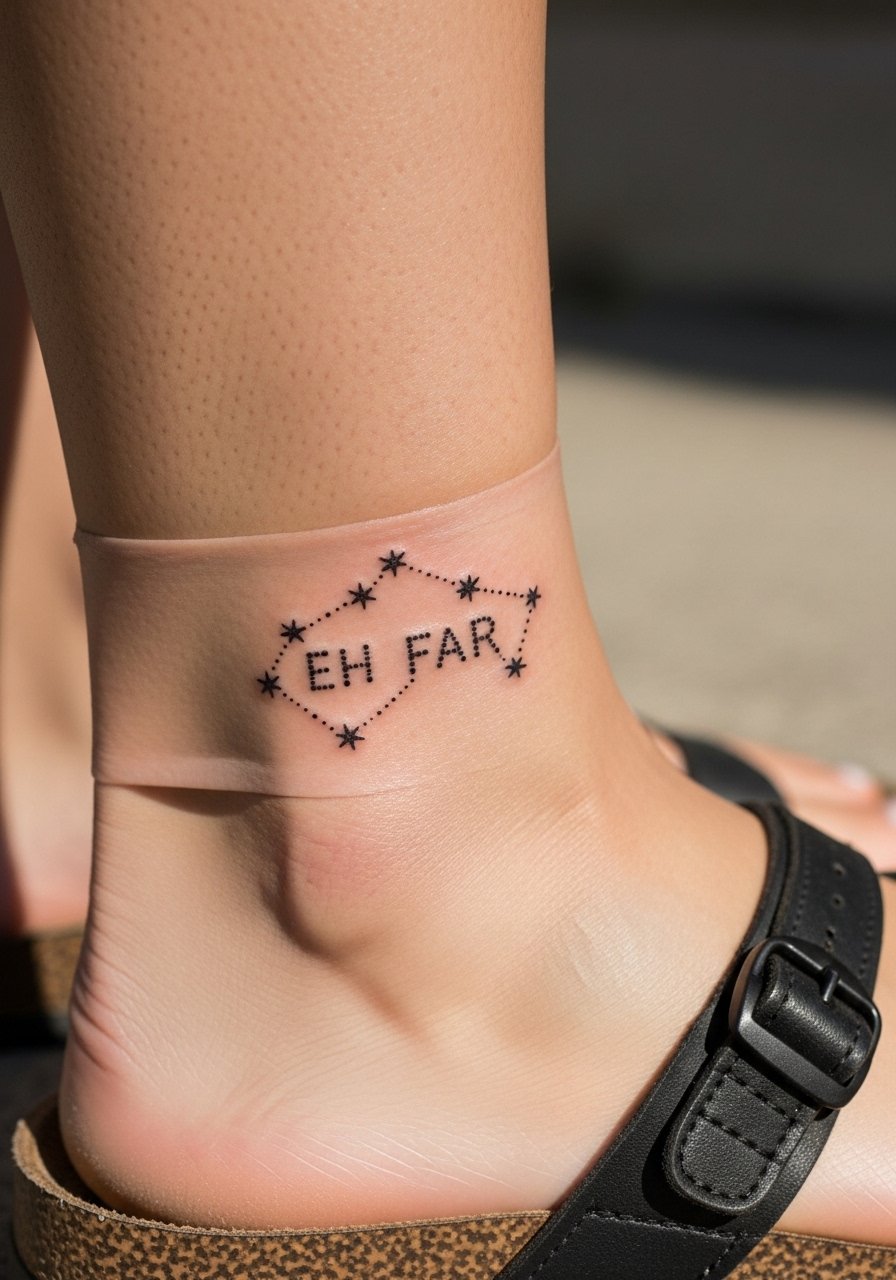
Constellation designs turn the mantra into a navigation metaphor. The dot and line method is forgiving on small scales and keeps the look airy. Tell the artist you want spaced dots with straight connector lines and request slightly larger dots than visual-only reference images suggest. The ankle placement will see shoe friction so avoid placing dots where straps will rub during the first month. Pair with cropped jeans or strappy sandals for visibility.
21. Patchwork Tiny Arrow with Script on the Side of the Rib
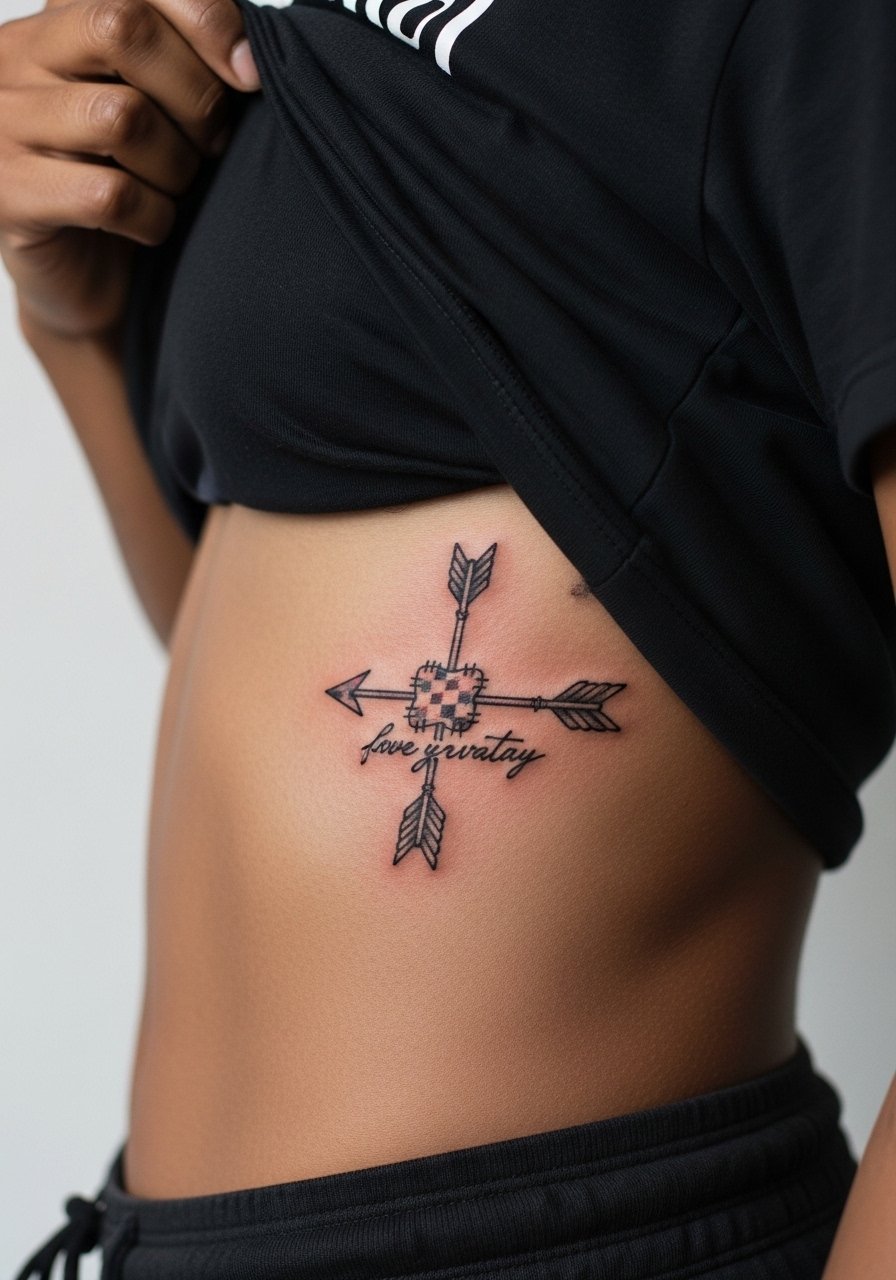
Rib placements are dramatic and they also come with stronger pain and stretch considerations. This patchwork arrow solves future coordination issues for larger back pieces because it reads as a modular element. Ask for the arrow to have clean negative space where the letters intersect so you avoid muddiness. The controversy around fine line on ribs is present here. Some artists say the area stretches and blurs lines quickly. Others say careful depth and spacing will preserve fine detail. Bring that up in consultation and ask to see healed rib examples from the artist. For the session, wear a cropped tee that you can lift without strain.
Frequently Asked Questions
Q: Will tiny fine line text on my wrist blur into a smudge after a year?
A: It can, especially if the lines are extremely thin and the site sees constant friction or sun. I've noticed wrists that encounter daily straps, typing, or sunlight usually need touch-ups sooner than forearm or collarbone pieces. Ask for slightly heavier line weight and plan a six to twenty-four month touch-up window depending on use.
Q: Which placements keep "everything happens for a reason" legible the longest?
A: Denser blackwork and areas with less friction last longest. Inner forearm, shoulder blade, and ankle with solid black components tend to hold up better than fingers or outer wrists. Also rotating placement away from joints and straps reduces early blowout risk.
Q: How does skin tone affect the choice between fine line and blackwork for this phrase?
A: On darker skin tones, bold fine line or blackwork often reads clearer after healing than the faintest single-needle type. Ask an artist for healed examples on similar skin and consider a slightly bolder line rather than pushing the smallest possible script.
Q: Is Saniderm or dry healing better for tiny text tattoos?
A: Artists split into two camps here. One camp prefers occlusive films for faster, cleaner initial healing with less scab. The other camp prefers air exposure to avoid trapped moisture. The right choice depends on your daily routine and the artist's experience with the chosen method. If you live in a humid place, the occlusive approach may help; if you sweat a lot, ask the artist what they recommend based on their healed work.
Q: Can I get a small phrase in UV ink safely and expect it to last?
A: UV inks require an experienced hand and honest expectations about longevity. They can fade differently from standard blacks and are more dependent on aftercare and sun exposure. Request healed examples and discuss long-term maintenance with the artist before booking.
