
Fine line tattoos dominate Pinterest and Reels right now, and the same pieces that rake in likes can blur faster than people expect. Trends look incredible fresh, but longevity depends on placement, spacing, and whether you plan for touch-ups. This list balances what’s trending with what actually holds up on skin, and it starts with the micro compass shapes that work best for wrists and small canvases.
1. Minimalist Single-Needle Compass on Inner Wrist
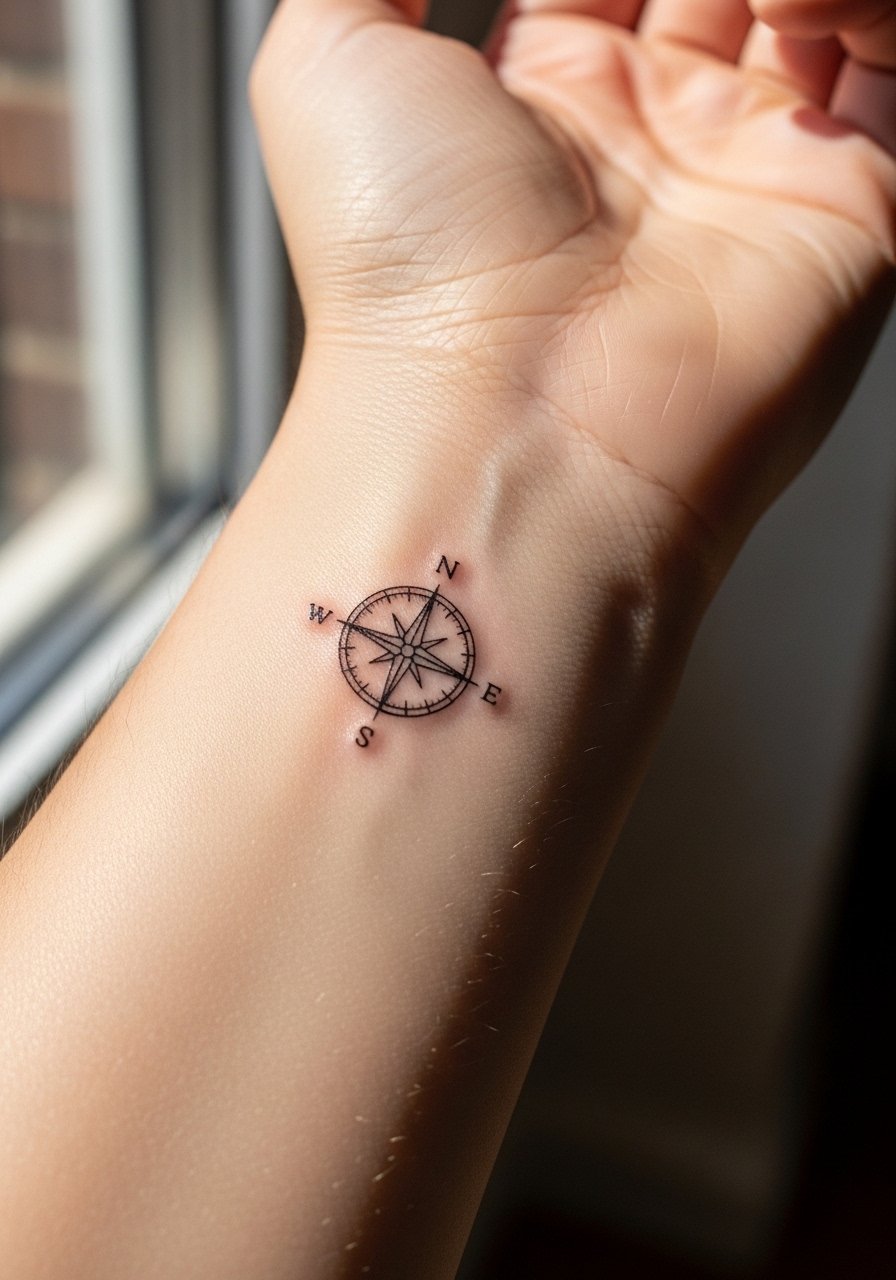
This is the micro compass most people picture when they search micro compass tattoo design. Expect short session time and mild to moderate discomfort on the inside wrist. Tell your artist you want single-needle lines with a hairline north point and slightly more spacing between the directional arms so the design does not merge at year two. The common mistake is squeezing extra detail into a 1–1.5 centimeter area. For the session, wear a sleeveless tank so the artist has clean access and you can sit comfortably. Healed, the linework should read crisp if the needle depth and spacing are correct. Plan for a touch-up around year two for fine line work on the wrist.
2. Traditional Nautical Compass Rose on Ankle
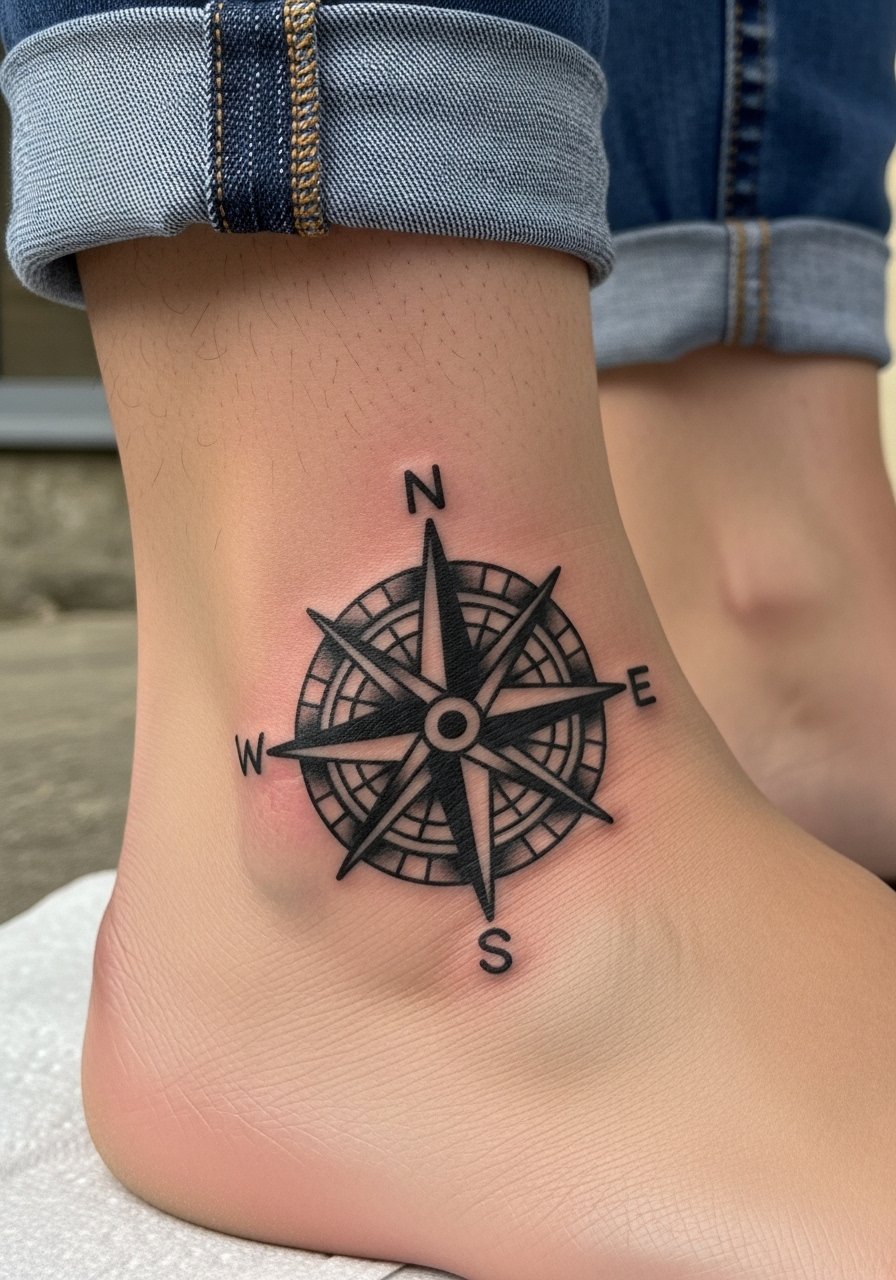
Bold outlines and saturated blackwork help this small compass stay legible on an ankle that sees a lot of friction. Pain is low to moderate here. The biggest aging issue is wearing shoes and socks that rub the area during the first month. During consultation, ask for cleaner, slightly thicker outer lines and a gray wash rather than tiny micro detail inside the rose. For showing it off, pair the placement with cuffed ankle jeans and canvas boat shoes to lean into the nautical vibe. Expect one session for a 2.5 to 3.5 centimeter ankle rose and a possible touch-up at 12–18 months depending on activity.
3. Geometric Abstract Compass on Outer Forearm
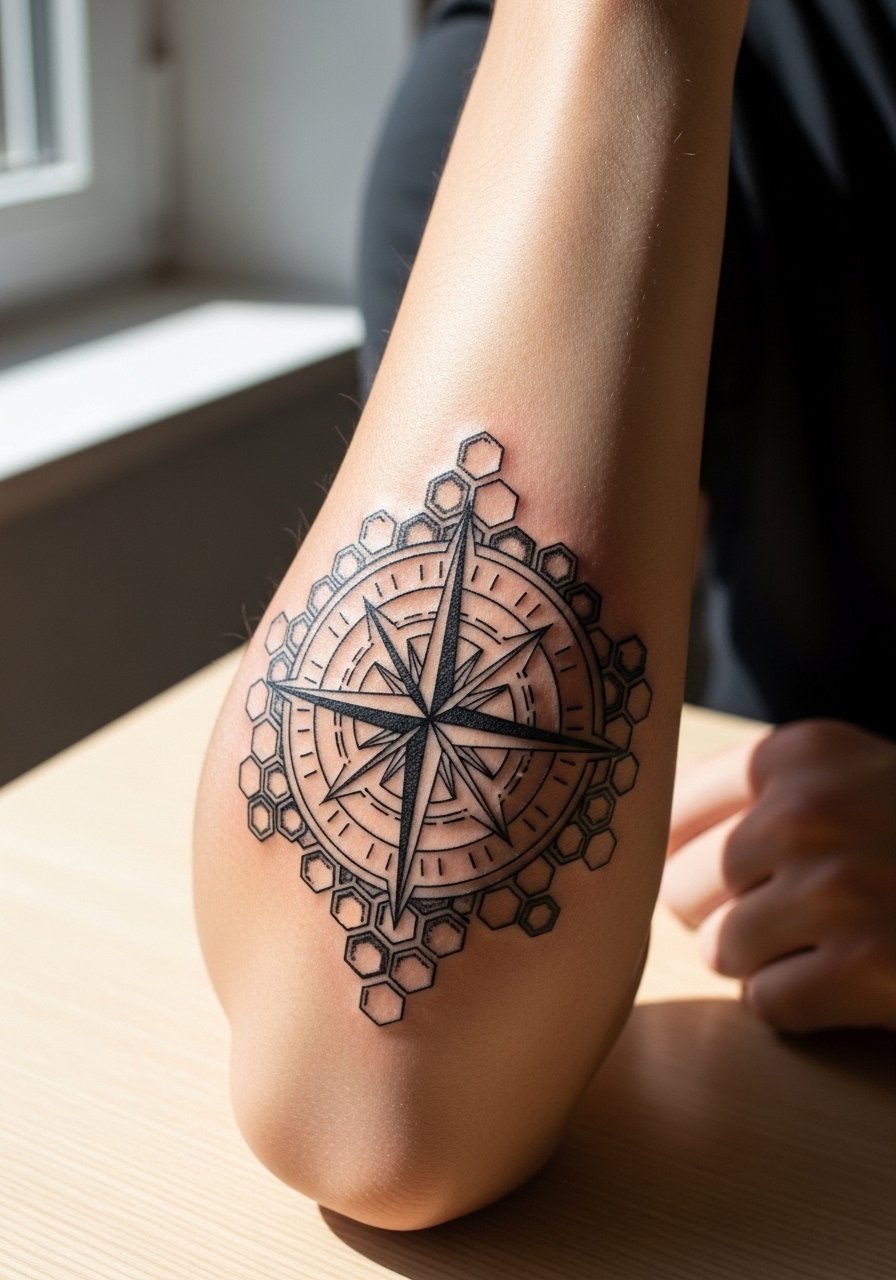
A geometric compass plays well on the outer forearm because there is space for pattern and negative space. This spot tolerates tighter lines better than wrists or ankles. The key consultation note is to tell the artist where you want negative space so the pattern does not turn into a solid shape over time. The common mistake is scaling geometric motifs too small. For daily style, wear a fitted henley with sleeves you can roll to frame the geometry. Expect one session and mild discomfort during shading if stipple or whip shading is used. Geometric blackwork tends to age better than color on small scales.
4. Fine Line Compass Without Frame, Near the Collarbone
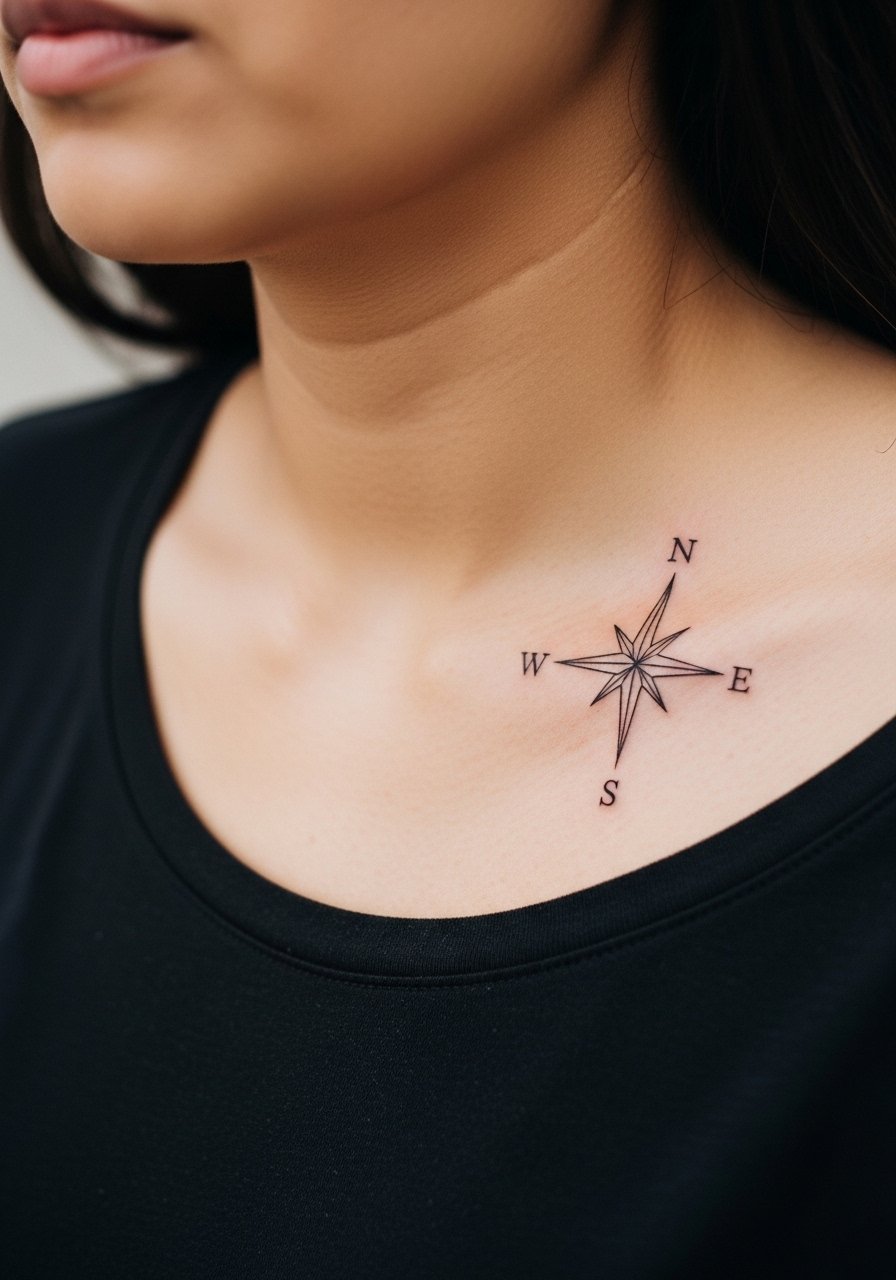
This frameless arrow approach reads ultra minimal on the collarbone when done with careful spacing. Chest and collarbone skin moves differently than forearms, so pain and stretching during movement matter. Artists debate whether fine line on the collarbone will hold two years without touch-up. One camp says the thin skin blurs lines, the other says proper depth and spacing will keep it fine. Tell your artist you prefer small monospace arrows rather than a boxed rose. For evenings out, pair the piece with an off shoulder blouse so the linework sits above the fabric. Expect moderate pain and a likely touch-up window at year two for most fine line collarbone pieces.
5. Watercolor Compass Splash on Upper Arm
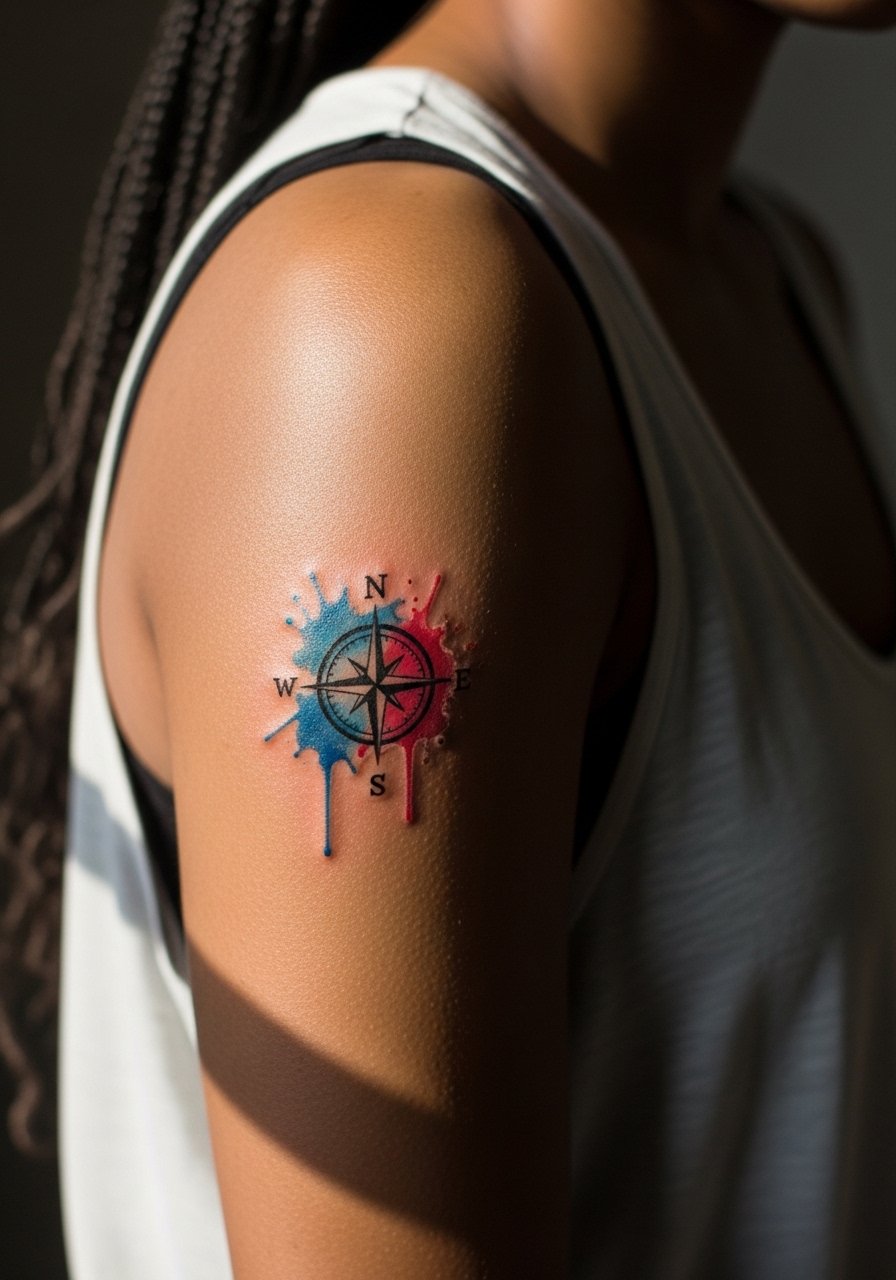
Watercolor compasses look painterly but they demand careful scaling. The upper arm gives room for color to breathe so bleeding is less obvious than on smaller spots. The trade-off is color tends to soften over 6–18 months. If longevity matters, request the artist anchor the watercolor with a small black outline for the compass center. A common mistake is packing watercolor behind a micro compass under 2 cm because the pigment can spread in fine areas. For the session, wear a loose tank top to expose the shoulder and keep healing easy. Expect two sessions if the artist layers color, and budget for a color refresh after a couple of years if you want vibrancy retained.
6. Micro Compass with Subtle Shading on Inner Bicep
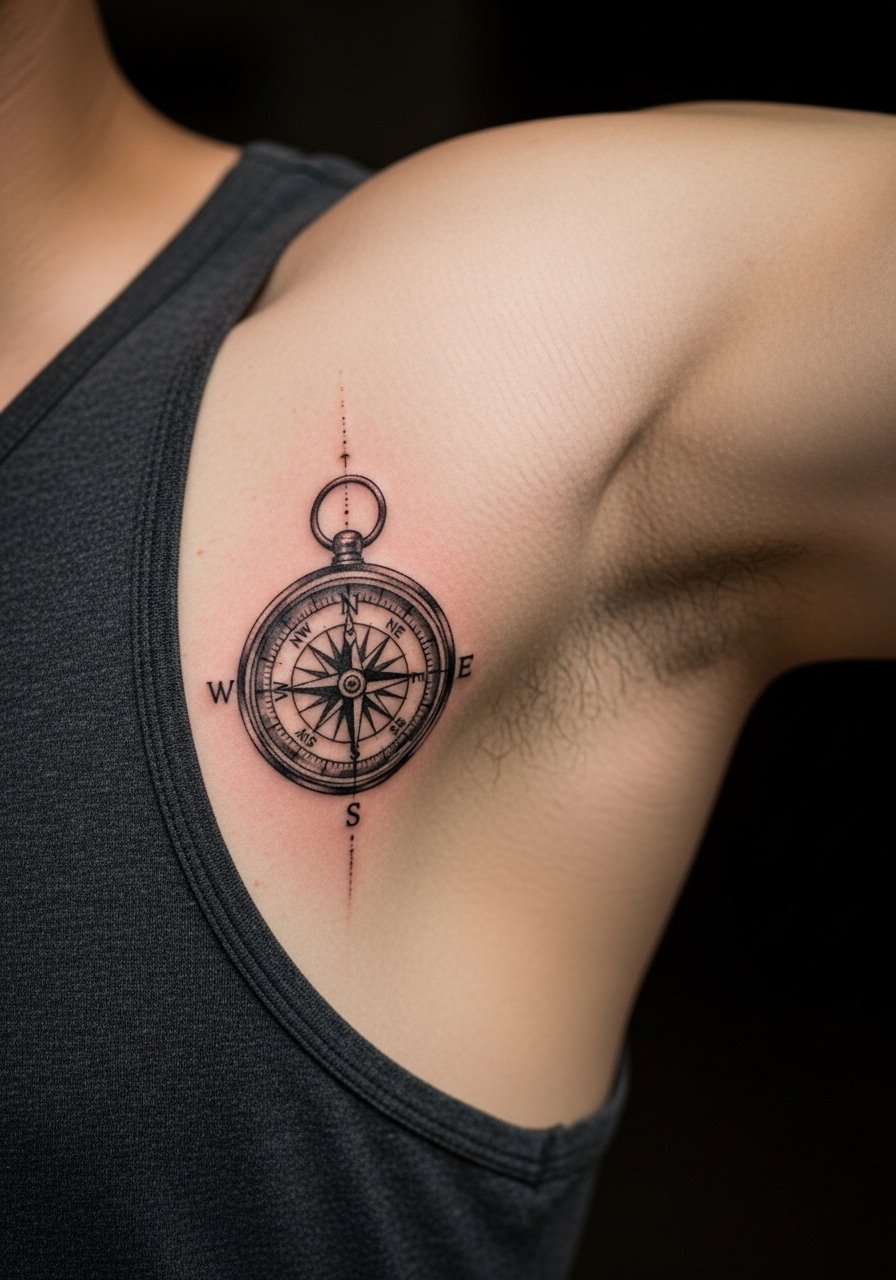
The inner bicep is forgiving for micro-realism because it avoids constant friction. Pain can be moderate as you hold the arm position for the session. Tell your artist you want shallow stipple shading instead of dense gray wash to preserve texture over time. A mistake to avoid is asking for dense contrast in under 2 centimeters. For the appointment, wear a loose short-sleeve button-up you can move aside comfortably. Expect one session and a touch-up at 12–24 months depending on how much UV exposure the area receives.
Studio Day Picks
The wrist and inner arm pieces above heal differently from leg or chest work, so a few compact supplies smooth the session and the first week.
-
Stencil transfer paper kit. Lets you preview line placement on small areas like the inner wrist and collarbone before the needle hits skin.
-
Topical numbing cream. Applied 45 minutes before reduces the sting on sensitive spots like the inner bicep or collarbone without changing how the artist works.
-
Thin protective film roll. Useful for ankle and finger placements where friction and washing can disturb healing in the first week.
-
Fragrance-free gentle body wash. Cleans the area during showers without irritating the delicate linework that micro compasses depend on.
-
Aquaphor healing ointment. A thin layer in the immediate days after ink helps prevent cracking on wrists and inner arms while the skin starts to settle.
7. Compass and Map Overlay, Micro on Back of Neck
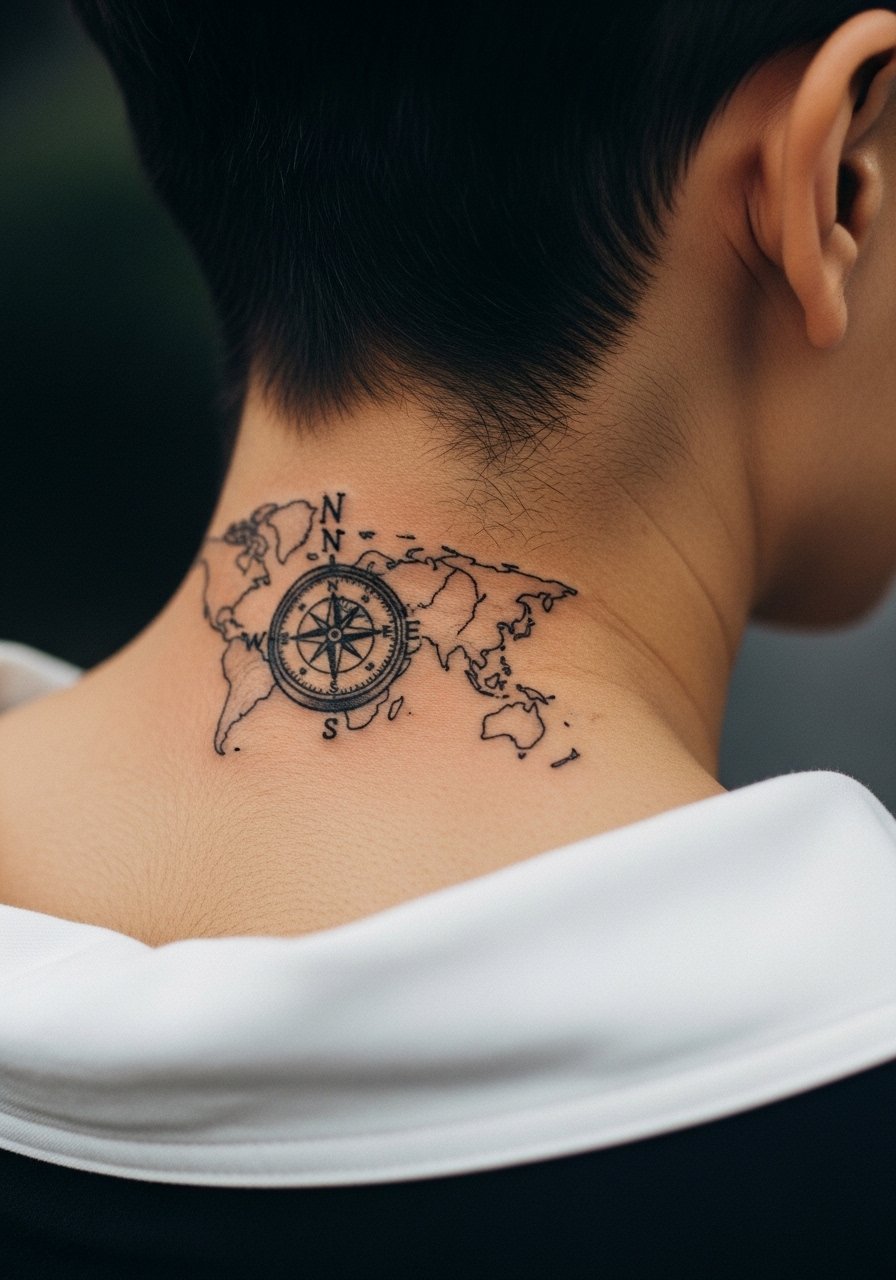
A map overlay reads like a tiny story when scaled carefully. The back of the neck is a sensitive area for visibility and future career considerations, so plan placement thoughtfully. For stability, keep the map lines very sparse and rely on a strong compass center. The usual mistake is cramming a detailed map into a 2 centimeter square which becomes a gray smudge over time. For session-day wear, choose a wide-neck shirt you can pull aside so the artist works cleanly. Pain on the nape is moderate, and touch-ups are common if you want map lines to remain distinct after a few years.
8. Frameless Arrow Compass on Inner Ankle
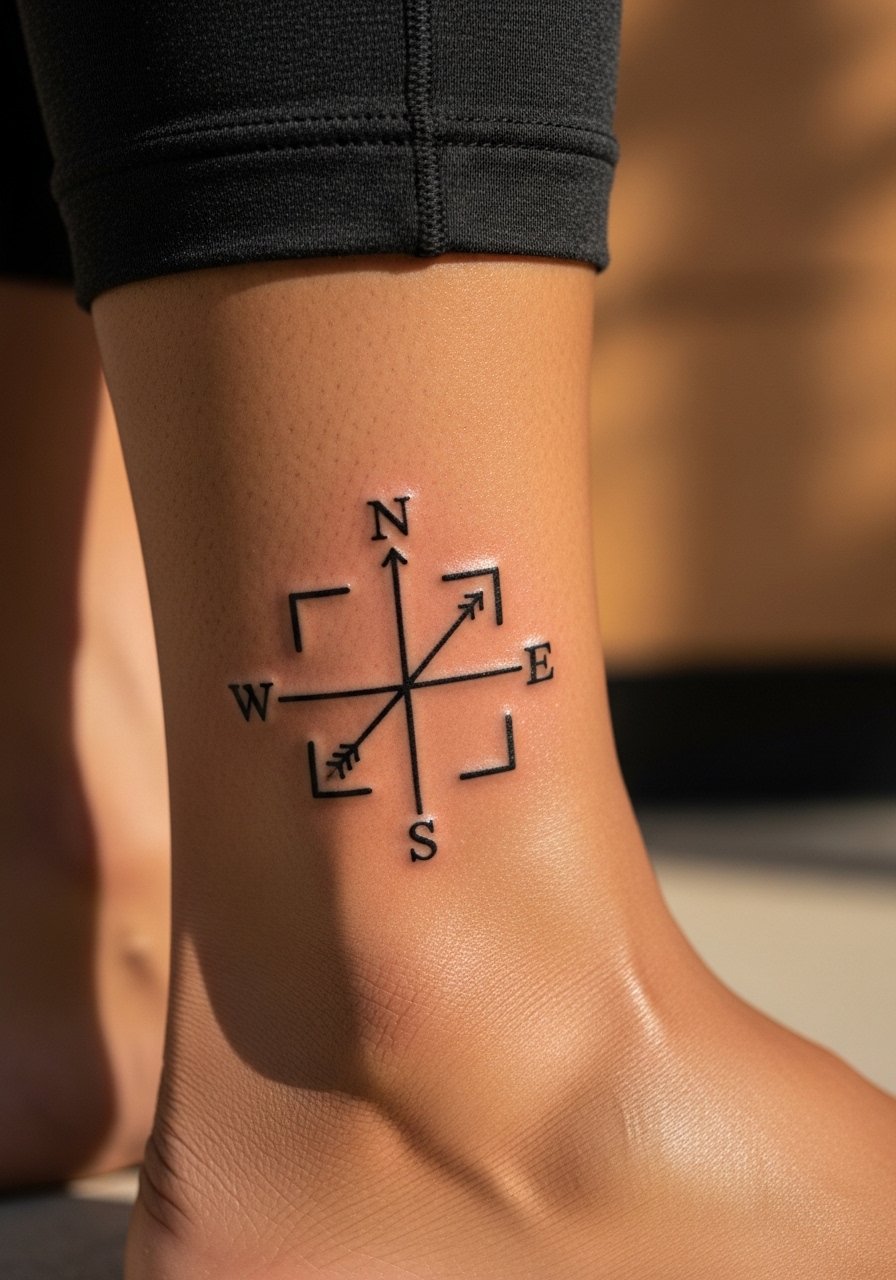
The frameless arrow concept uses only directional markers so it can survive as a true micro design. Inner ankle can distort with swelling or footwear, so the inner side is often more stable than outside ankle. The common error is requesting extra tiny decorations around arrows that age poorly. For session comfort, wear shorts and consider cropped straight leg pants for easy access and minimal rubbing afterward. Expect low to moderate pain and a touch-up at 12–18 months if you walk a lot or wear snug socks during healing.
9. Compass Rose Scaled Down to 2cm on Outer Forearm
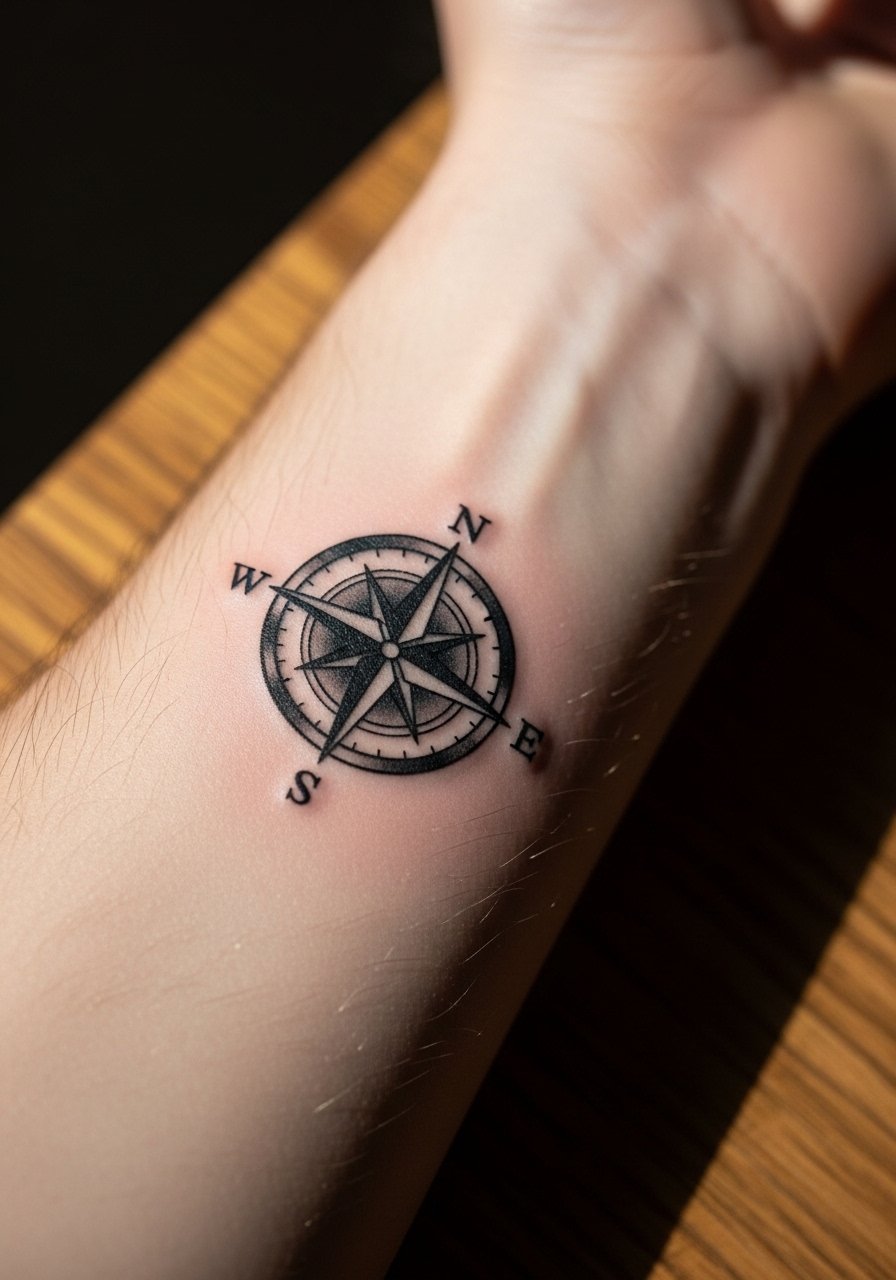
Scaling a compass rose down is a balancing act. Outer forearm tolerates a tighter rose better than the wrist because there is room for negative space. The mistake is including tiny filigree inside the center which blurs by year two. Tell your artist you want a simplified traditional rose with bold outer ring and a restrained inner point. For styling, roll up sleeves or wear an olive green henley to let the design sit against plain fabric. Expect one session and a possible touch-up if daily abrasion is high.
10. Honeycomb Geometric Compass, Calf Placement
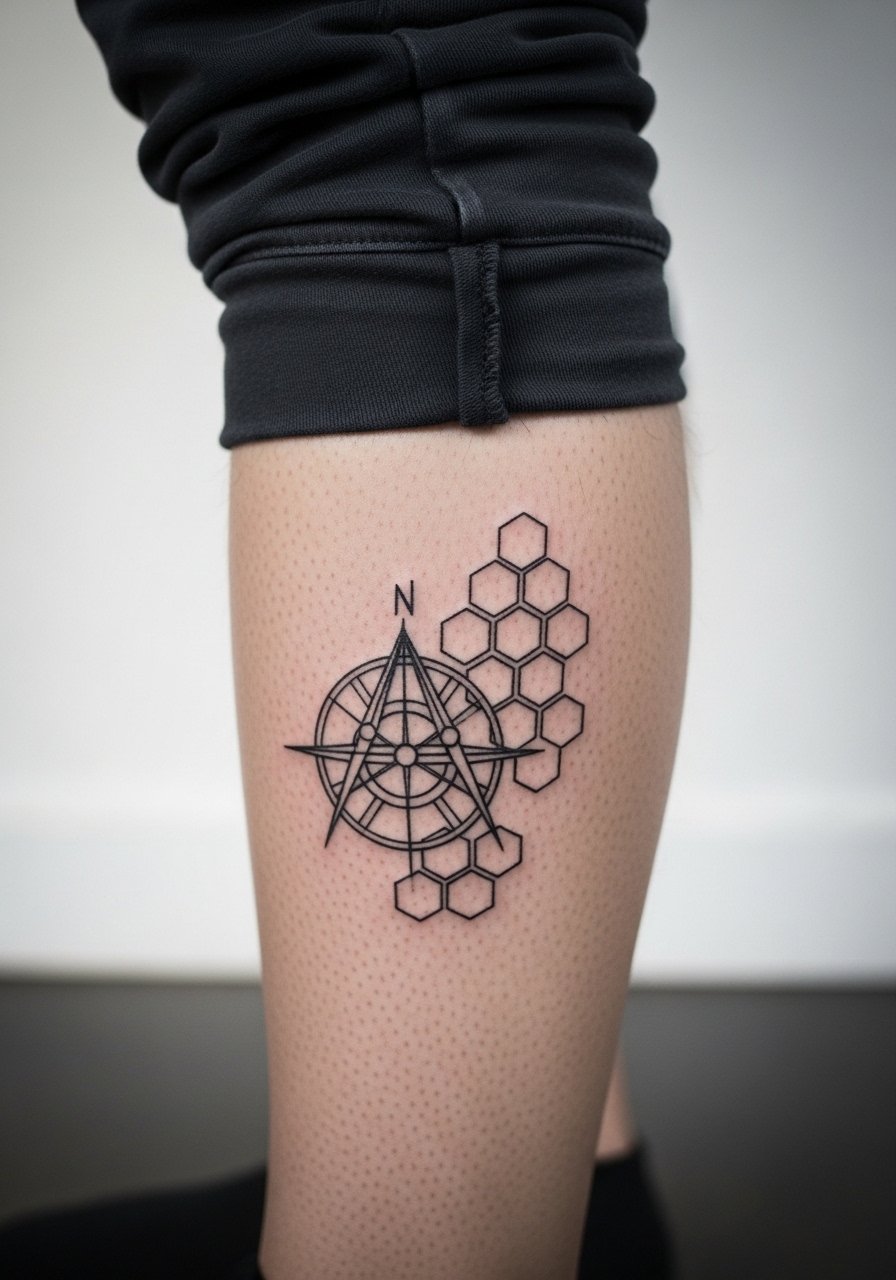
The calf is a great canvas for abstract geometry because the area sees less constant bending than ankles. Artists who like sacred geometry often add a honeycomb field to hint at structure. The error to avoid is shrinking the honeycomb cells too small. During consultation, request larger cell spacing so the negative space remains visible after healing. Show-off pairings include rolled jogger pants and shorts. Expect mild discomfort and clear linework longevity if you limit sun exposure.
11. Tiny Directional Lines Only, Finger Edge
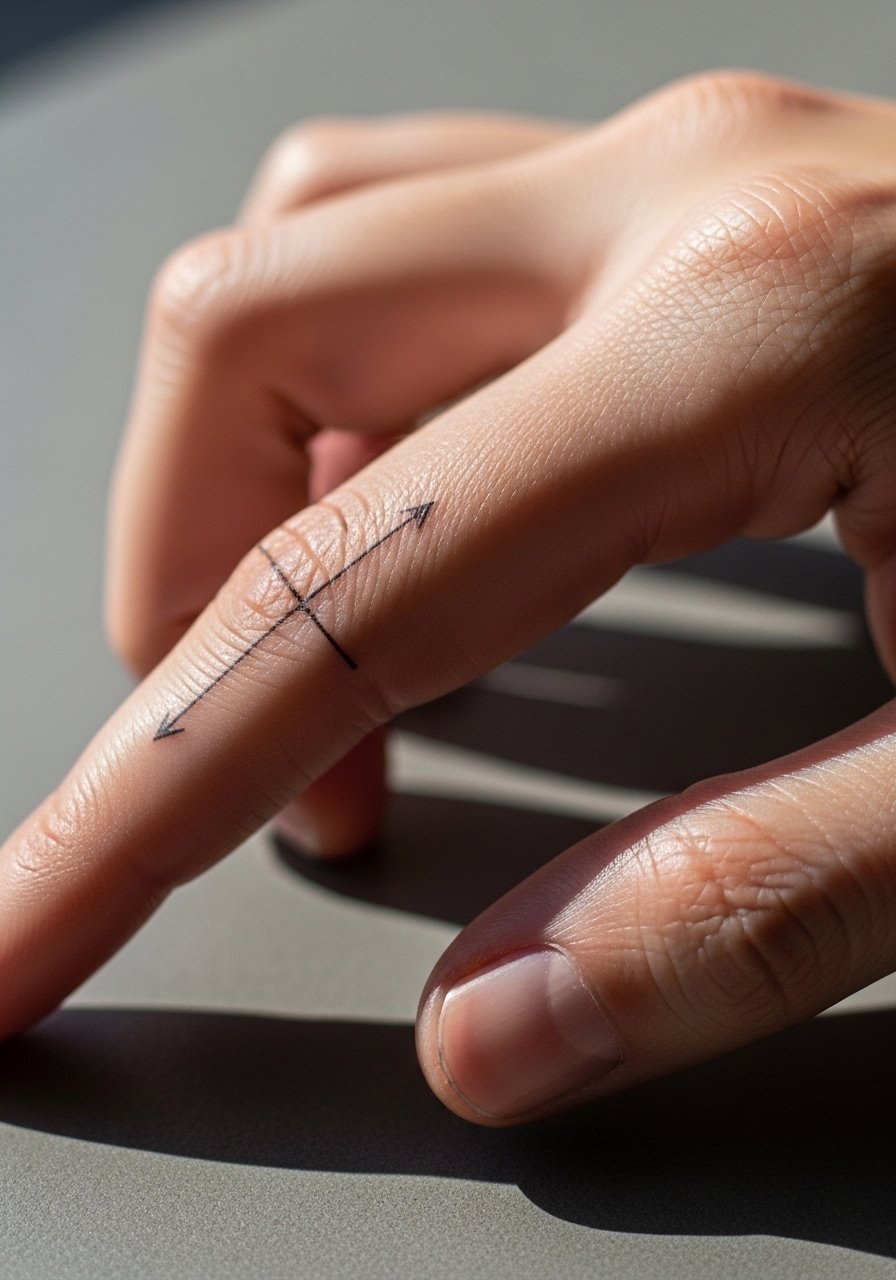
Finger tattoos are noticeable but they face heavy wear from washing, typing, and sun. The small directional line approach uses minimal ink to reduce blowout risk. The biggest mistake is placing micro work on the fleshy pad where blowouts happen quickly. Tell your artist to run the lines on the lateral edge of the finger and to expect fade requiring touch-up. For the appointment wear short sleeves and keep hands clean. Finger micro work often needs touch-ups within 12 months because of constant friction.
12. Compass and Star Constellation on Upper Thigh
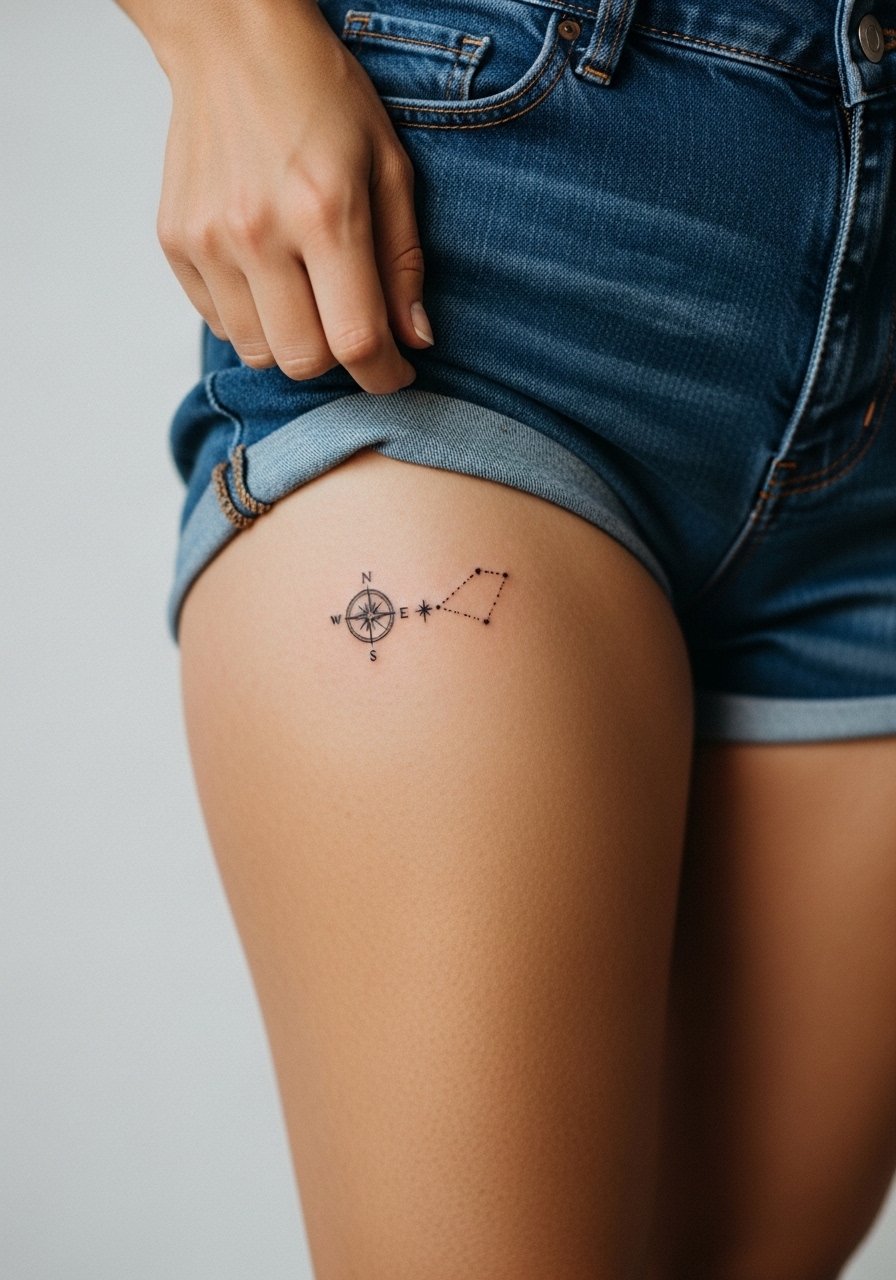
Upper thigh placement gives a hidden but rewarding spot for slightly larger micro pieces. Pain ranges moderate to high depending on compression. This combo reads personal and is easy to hide for professional settings. The mistake is asking for ultra-fine star dots too close to the compass which can blur together. For the session, wear high-waisted shorts so the artist can expose only the target area. Expect a single session for a 3–4 centimeter composition and low friction during healing compared with ankle placements.
13. Botanical Compass Accent at Hip
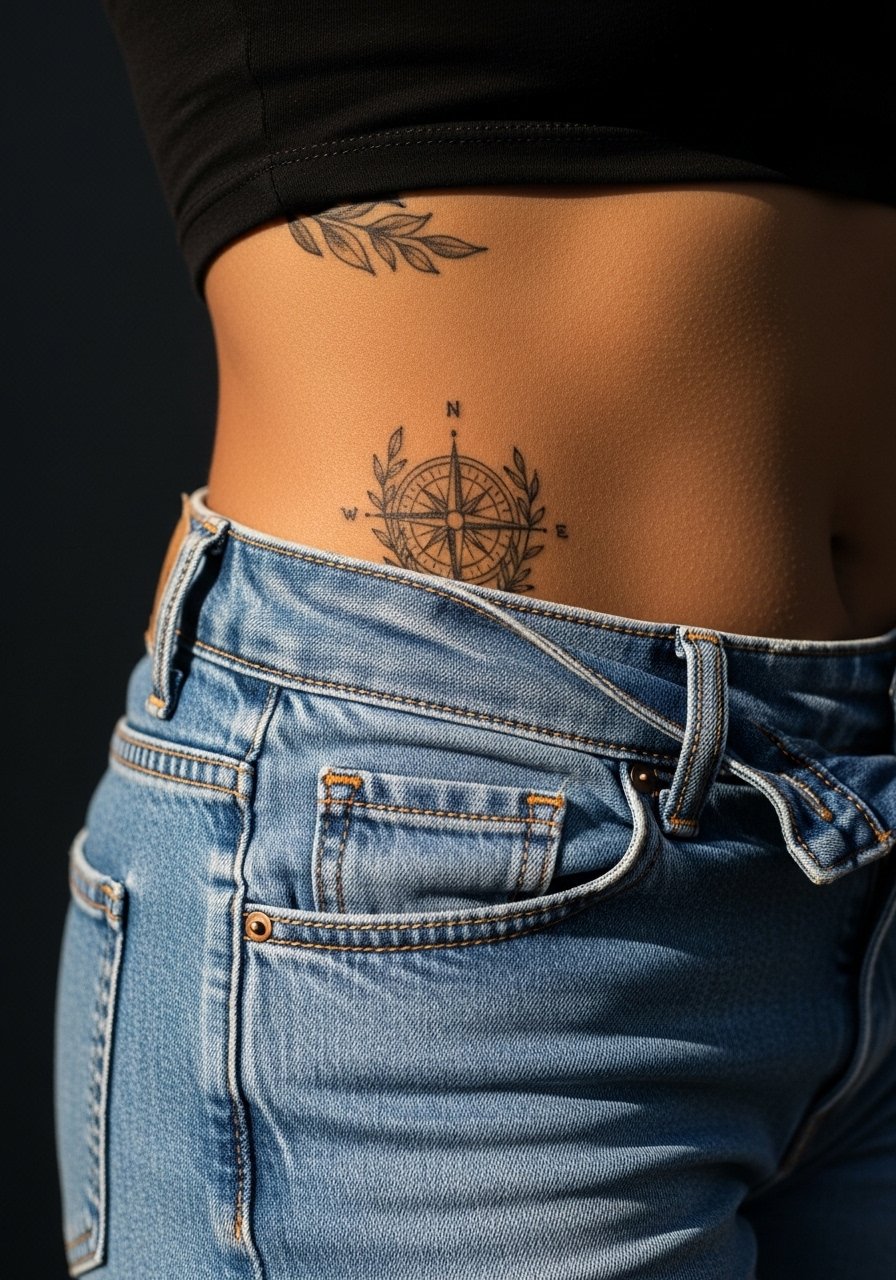
Hip tattoos balance visibility and intimacy. A micro compass with tiny leaves around it looks feminine without being flowery. Sensitive skin and movement at the hip can cause lines to stretch, so avoid tightly packed leaf details. Ask for slightly bolder main points and very light linework for accents so the central compass holds. For recovery wear high-waisted denim or comfortable bottoms that do not press on the area. Expect moderate pain and a lower likelihood of blowout than hand or finger placements.
14. Micro Map Coordinates Compass Above the Wrist
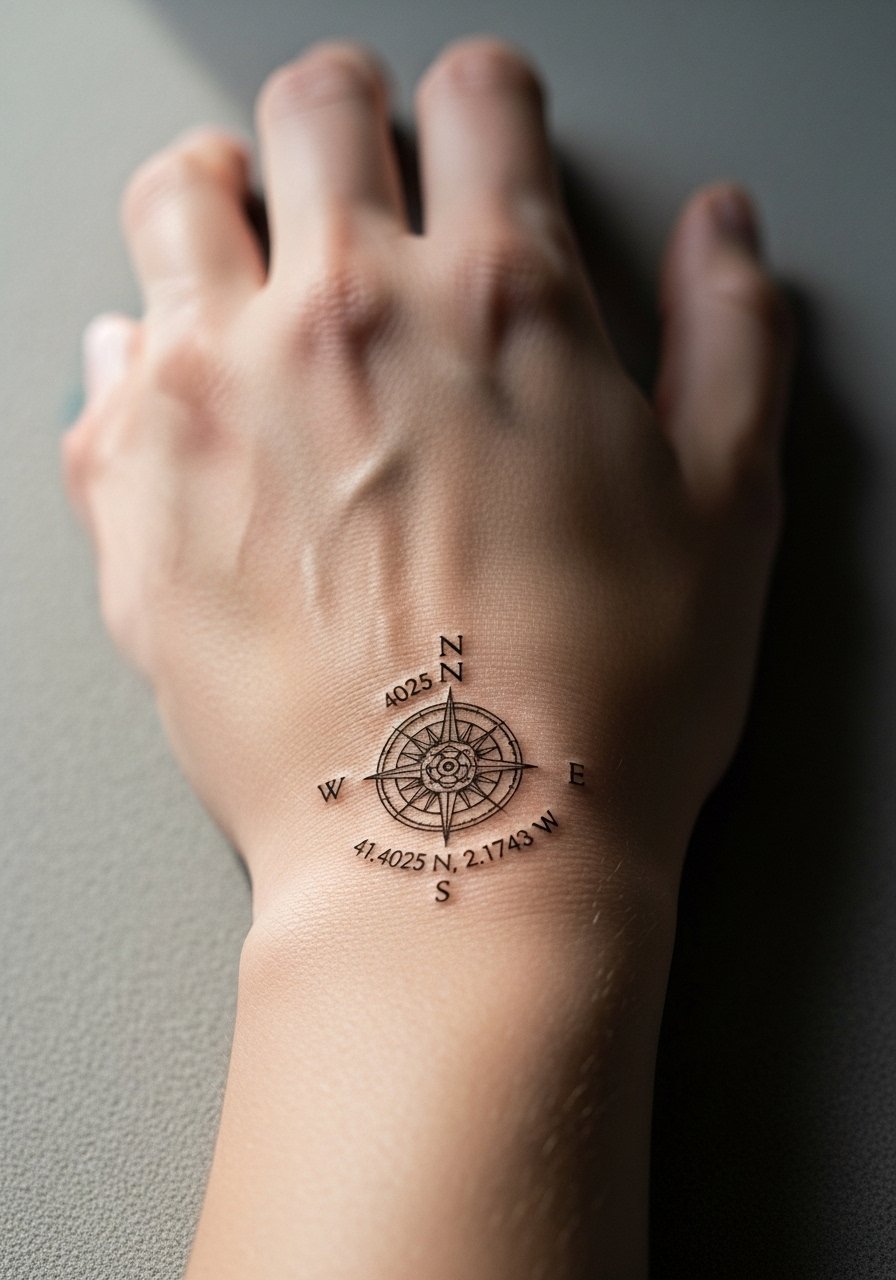
Including coordinates gives a specific place-based anchor to the design but requires exact text in the stencil. When text appears, small fonts risk blurring. Tell the artist you want monospace type and ask them to test line weight on your skin. The common mistake is choosing tiny serif fonts that break down. For session wear, a dainty wrist stack can frame the piece once healed. Expect a touch-up at 12–18 months for crisp numbers if you expose the wrist to frequent sun or abrasion.
15. Collarbone Compass with Minimal Dot Work
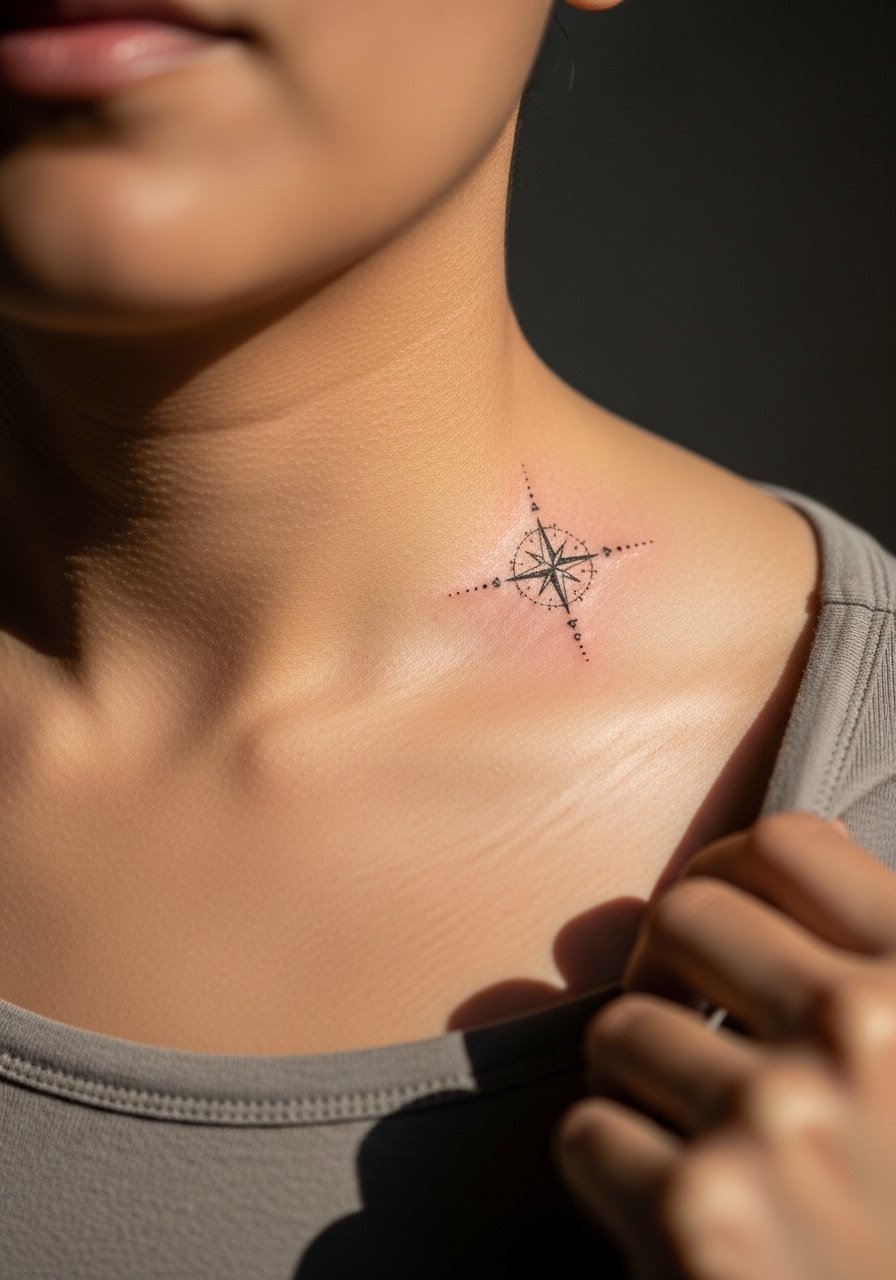
Dot work adds texture without heavy lines but it can merge if dots are placed too close. Collarbone skin moves and the piece will change with posture. Artists split on fine dot work here. One view says dots blur faster on the collarbone, the other says careful spacing and depth keeps them intact. Ask for wider dot spacing and insist on a healed portfolio sample. Pair with a thin chain pendant necklace so the jewelry sits above the dots without crowding. Expect moderate pain and a likely touch-up window in two years.
16. Compass with World Map Honeycomb on Back of Calf
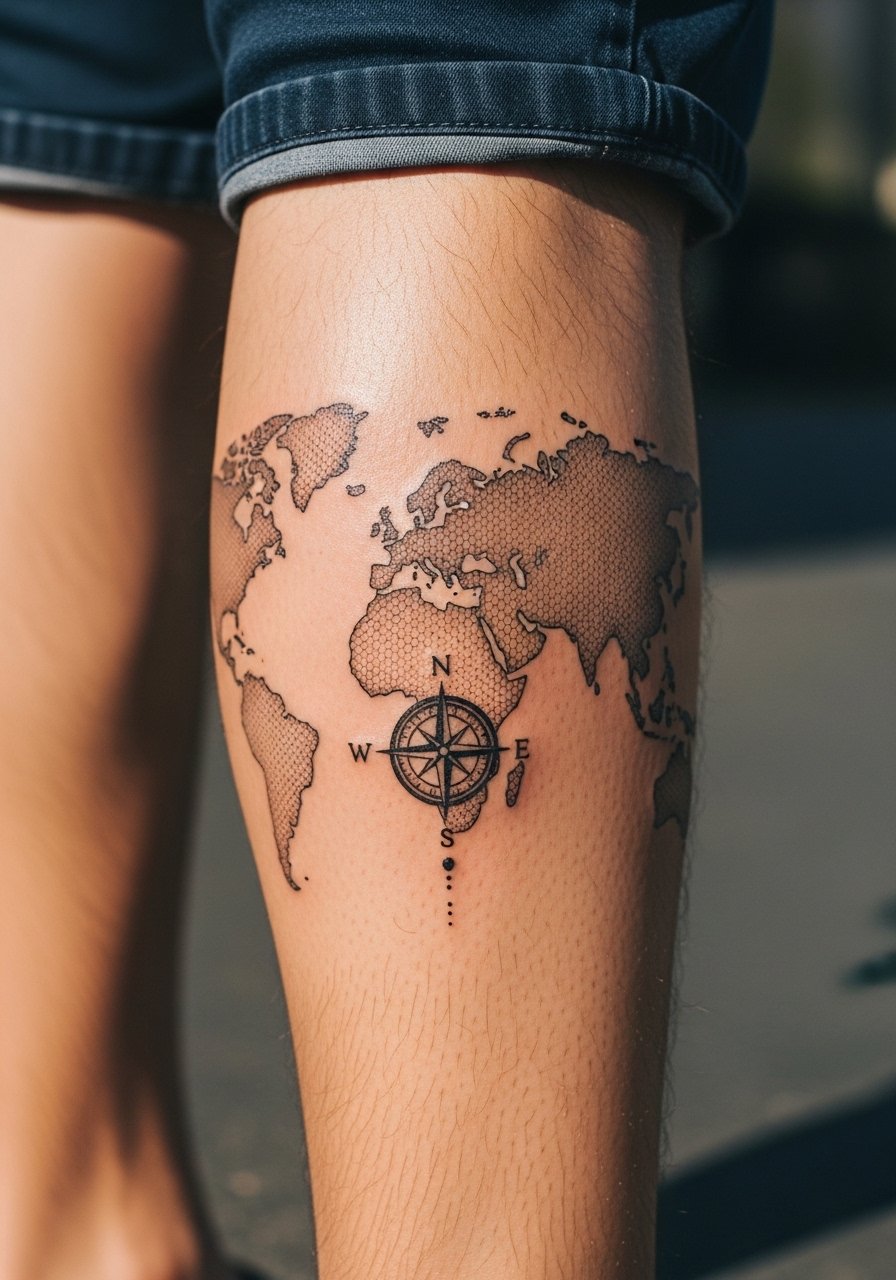
The lower calf sees fewer abrasive forces and is an ideal place for a slightly more intricate micro map-honeycomb mix. The mistake is compacting too many map contours into a mini field. Ask the artist to emphasize the compass center and keep the honeycomb as a background texture. For showing it off, pair with shorts or rolled jogger pants. Expect mild pain and good longevity so long as you avoid constant sun exposure.
17. Tiny Compass Behind the Ear, Below the Hairline

Behind-the-ear placements require precise framing in the stencil language. The location is discreet and takes little ink, but it is sensitive and healing can be fussy with hair contact. Because of the placement, ask the artist to place the compass slightly lower below the hairline on the neck and to use single-needle linework. For session wear, pin your hair up or bring a shirt with a loose collar so the artist has access. Hand this work to someone comfortable with micro placements because blowout is more visible here. Touch-ups at year two are common but the location stays subtle.
Frequently Asked Questions
Q: How much does a micro compass tattoo cost for a wrist piece?
A: Prices vary widely by city and shop, and the range depends on minimum session fees. From what I've seen, many places start around low to mid three-figure ranges for micro work, but you can find shops with lower minimums by searching local micro specialists. Ask studios about guest artists and micro tattoo days if budget is a concern.
Q: Will a fine line compass on the wrist blur faster than a bold compass?
A: Yes, fine line on high-friction areas like the wrist tends to soften sooner than bolder blackwork. One camp of artists recommends thicker outlines to extend clarity, another camp says careful spacing and needle depth will keep fine line readable. Ask the artist which approach they favor for wrist placements and whether they offer touch-ups.
Q: Are watercolor compass designs worth it for small tattoos?
A: Watercolor looks striking but can lose vibrancy faster than blackwork, especially when scaled small. If you love color, ask for an anchored black center or slightly larger color fields so the pigment does not bleed into tiny lines. Plan to revisit color after a year or two if you want that vibrancy.
Q: Which placements are lowest risk for blowout on micro compasses?
A: Inner bicep and outer forearm typically have lower blowout risk than fingers, ankles, and areas with thin, frequently moving skin. Choosing areas with less daily friction and limiting ultra-fine detail helps longevity.
Q: How should I search for artists who specialize in micro compass tattoo design?
A: Use discovery paths like #MicroCompassTattoo and #FineLineCompass on Instagram, search "small compass tattoo [city]" on Pinterest, and filter tattoo directories for "minimalist" or "geometric." Community forums and YouTube compilations also surface guest artists who focus on micro work.
Q: What should I wear to a session for a collarbone or chest compass?
A: Pick clothing that exposes the area without making you run cold. For collarbone or upper chest wear a wide-neck shirt or a sports bra you are comfortable adjusting. Loose layers make it simple to access the stencil and keep the session efficient.
