
Fine line and micro work are everywhere on feeds, but the pieces that still read clean years later often share the same traits. They avoid tiny crowded details, pick placements that move less, and use bolder single lines where skin is thin or high-motion. Below are 21 micro simple tattoo ideas, each with realistic aging notes, what to tell your artist, and outfit tips that actually show the piece off.
1. Ohana Script Above the Elbow
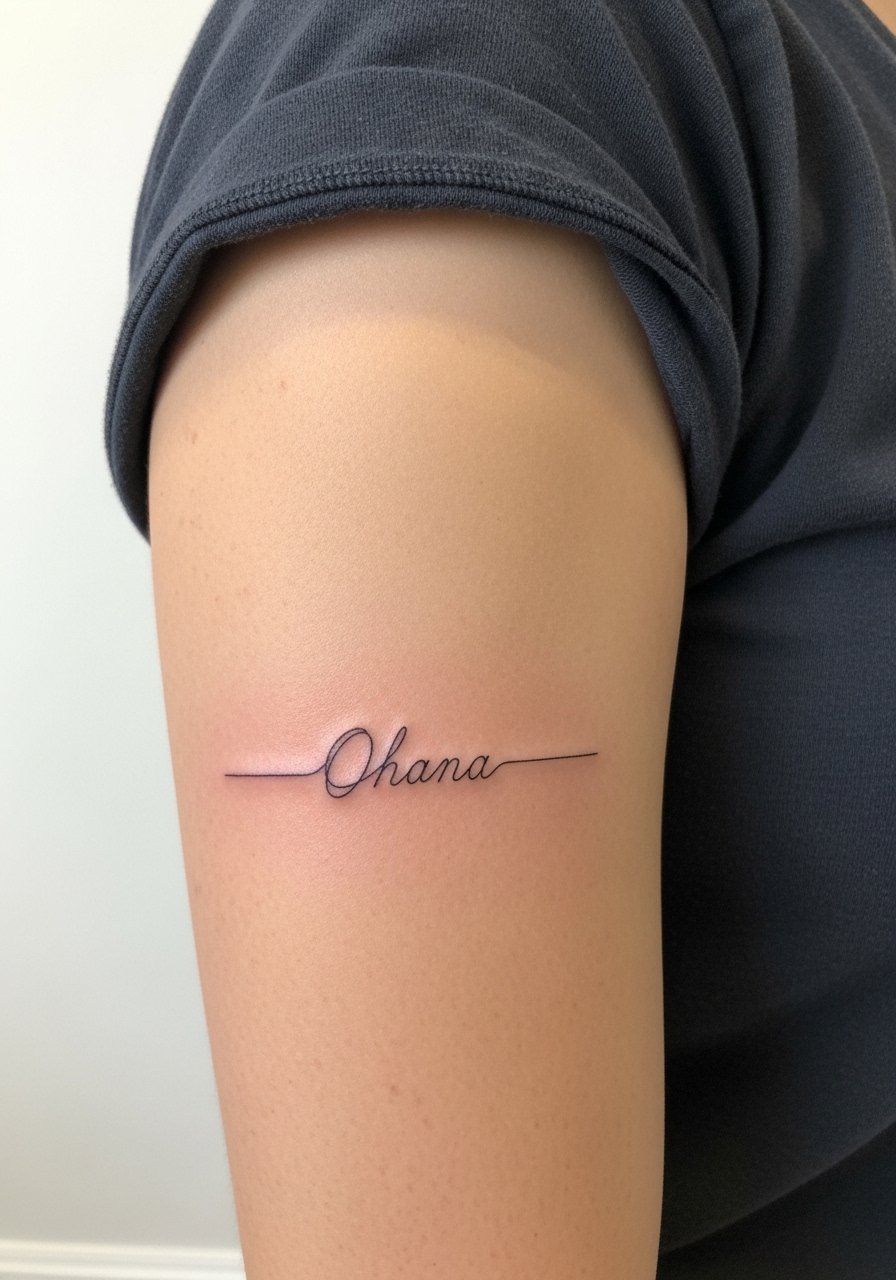
I’ve seen a few versions of this elbow script in shops around town and the ones that last start with spacing. Tell your artist you want blocky, single-line letters with a bit more stroke than a whisper thin font. Above the elbow the skin stretches with movement and weight changes, so expect a touch-up around year two to three. Session time is short, often under 30 minutes, and pain sits in the low to medium range. For the appointment wear a fitted tank top women you can roll up without tugging on the area.
2. Simple Heart Outline on the Finger
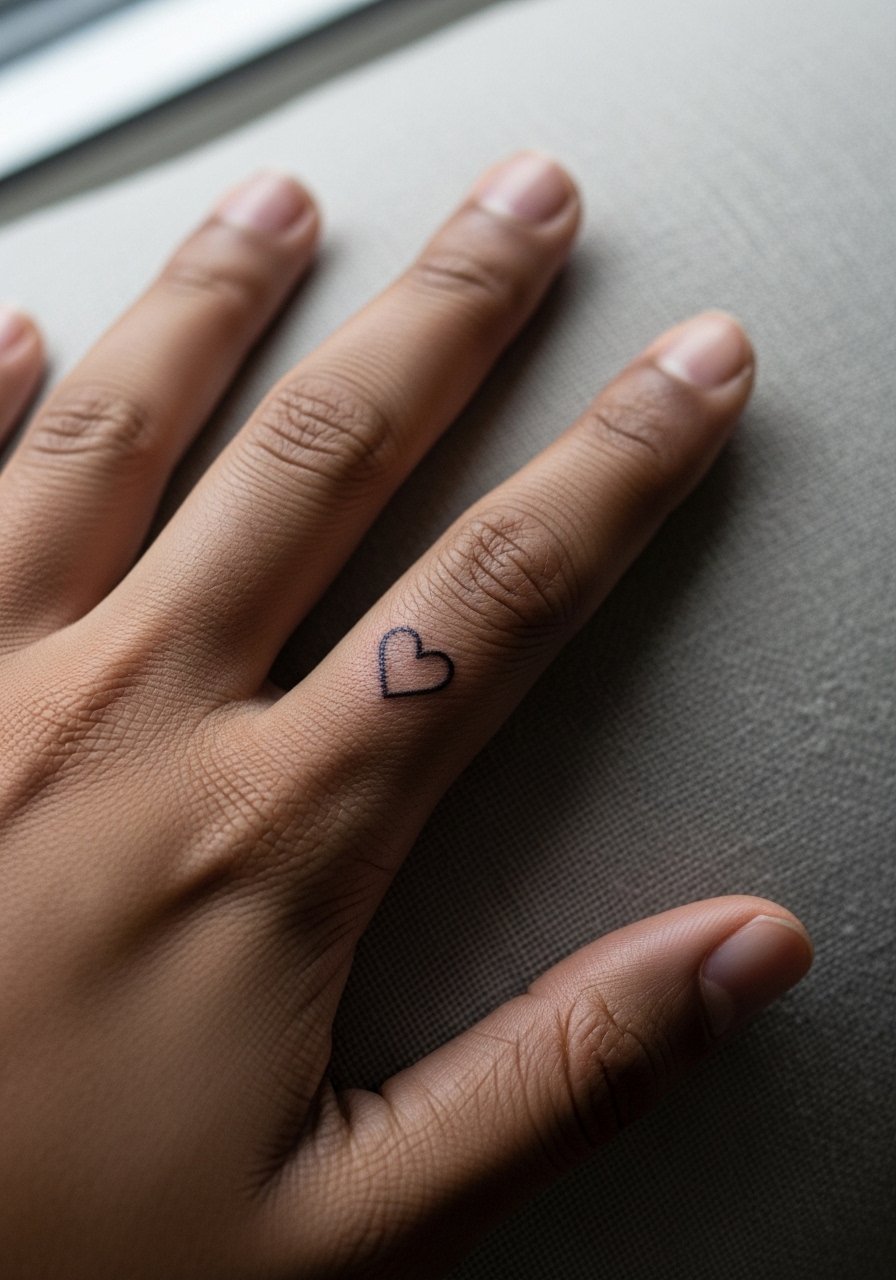
Fair warning: fingers are high-motion and high-friction, so thin outlines can fade fast. If you want longevity, ask for a slightly thicker outline or a tiny solid fill rather than single-needle tracing. The session is brief and the sting is sharp but over quickly. Expect a likely touch-up in 12 to 18 months if you use your hands a lot. Style wise, a single thin ring on the adjacent finger frames the heart. Try pairing it with a thin gold ring minimalist when showing it off.
3. Tiny Black-and-White Rose on the Lower Side
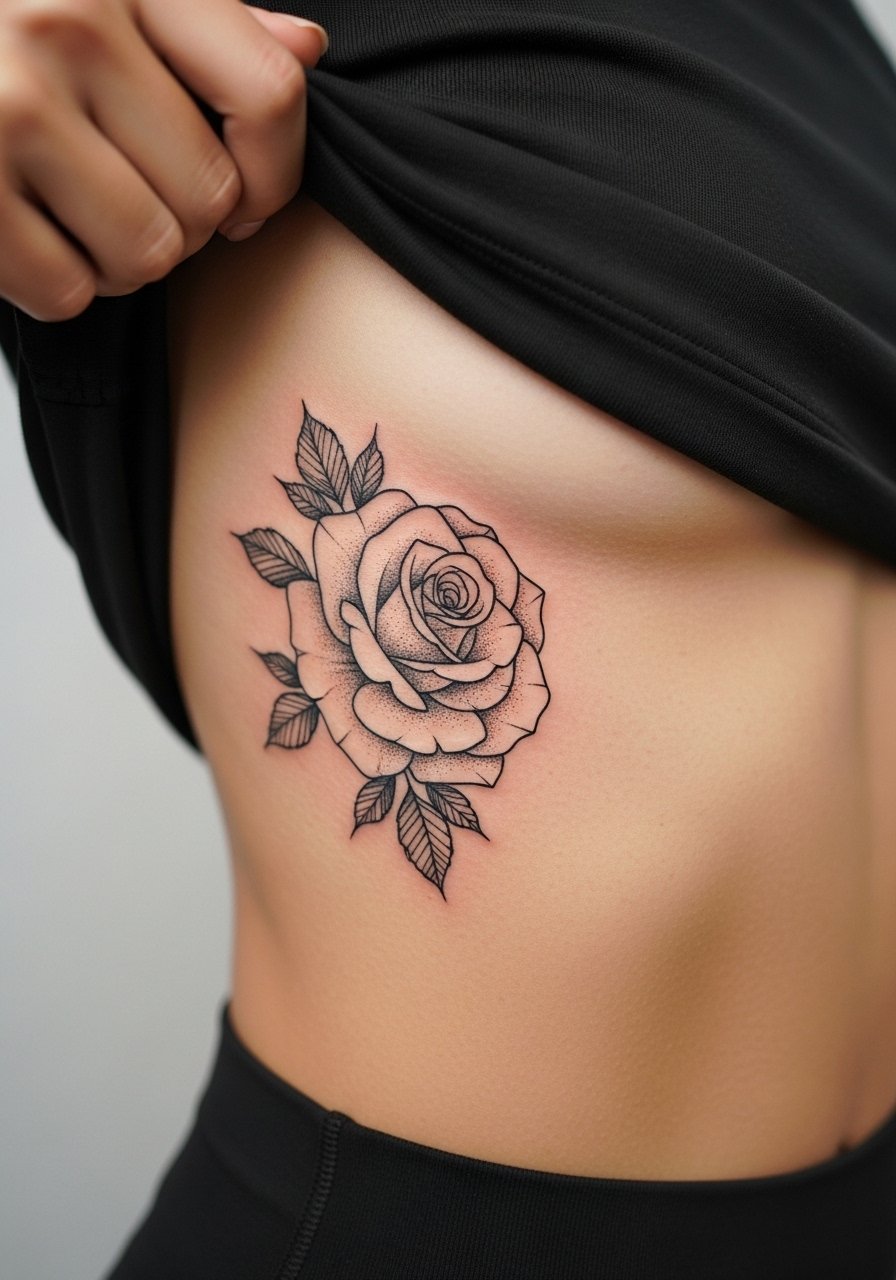
A tiny rose reads classic in black and white, but dense petal detail shrinks badly if the artist compresses too much into one centimeter. Ask for open petals, light stipple shading, and negative space so the design can breathe. Rib-side sessions are more uncomfortable and can take 30 to 50 minutes depending on detail. Aging depends on weight fluctuation and sun exposure, so pick a spot slightly lower on the flank if you expect changes. For the session wear a loose button-front top you can lift without strain.
4. Small Geometric Behind the Ear
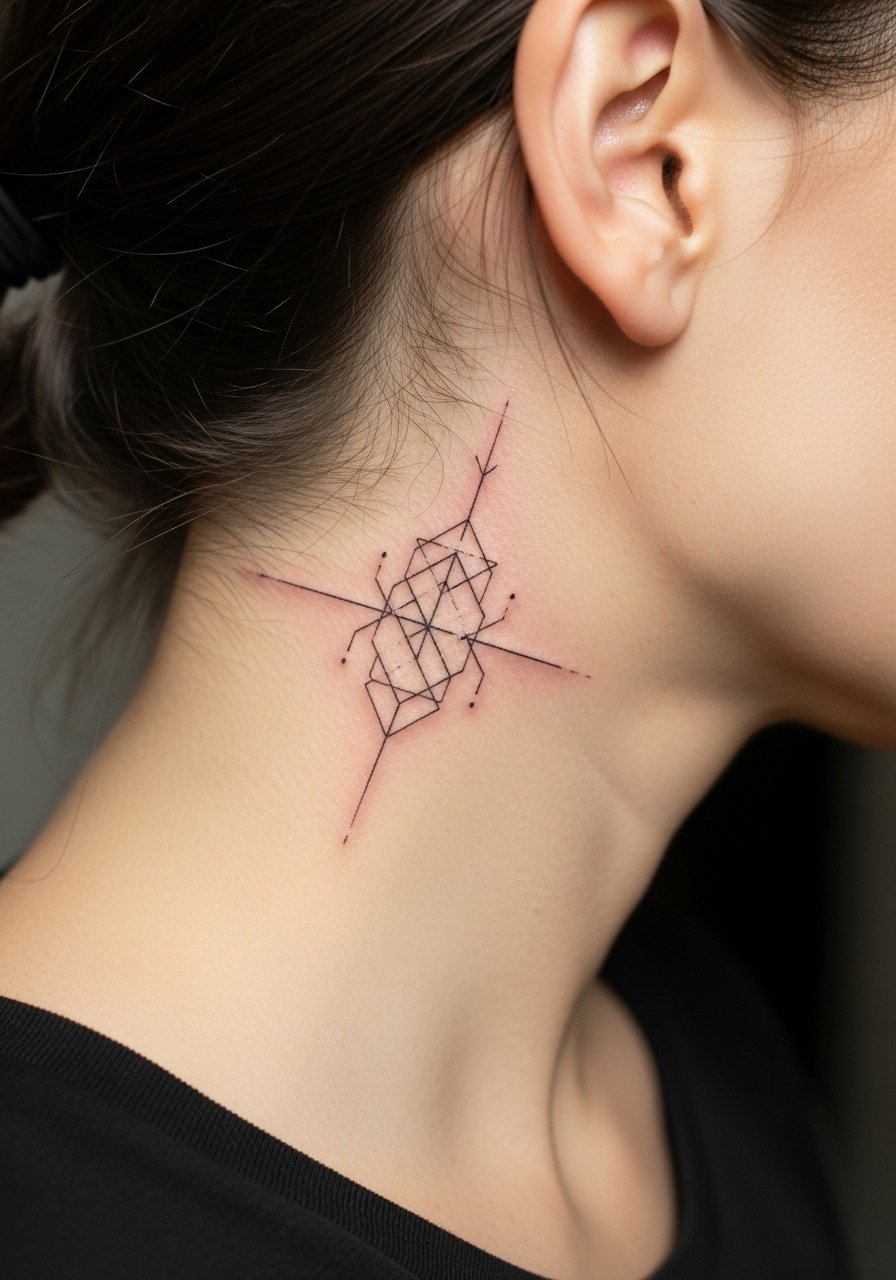
Behind-the-ear pieces hide well under hair but the area is sensitive and the skin is thin. Artists split on whether single-needle work holds here. One camp says the skin blurs fine line quickly, the other insists proper depth with slight line weight keeps it crisp. Name both camps when you book and ask how they treat that placement. The session is quick and painful in short bursts. For showing it off, pin your hair up and add small stud earrings gold. For the appointment tie your hair back so the artist has clear access.
5. Heart at Chest Center
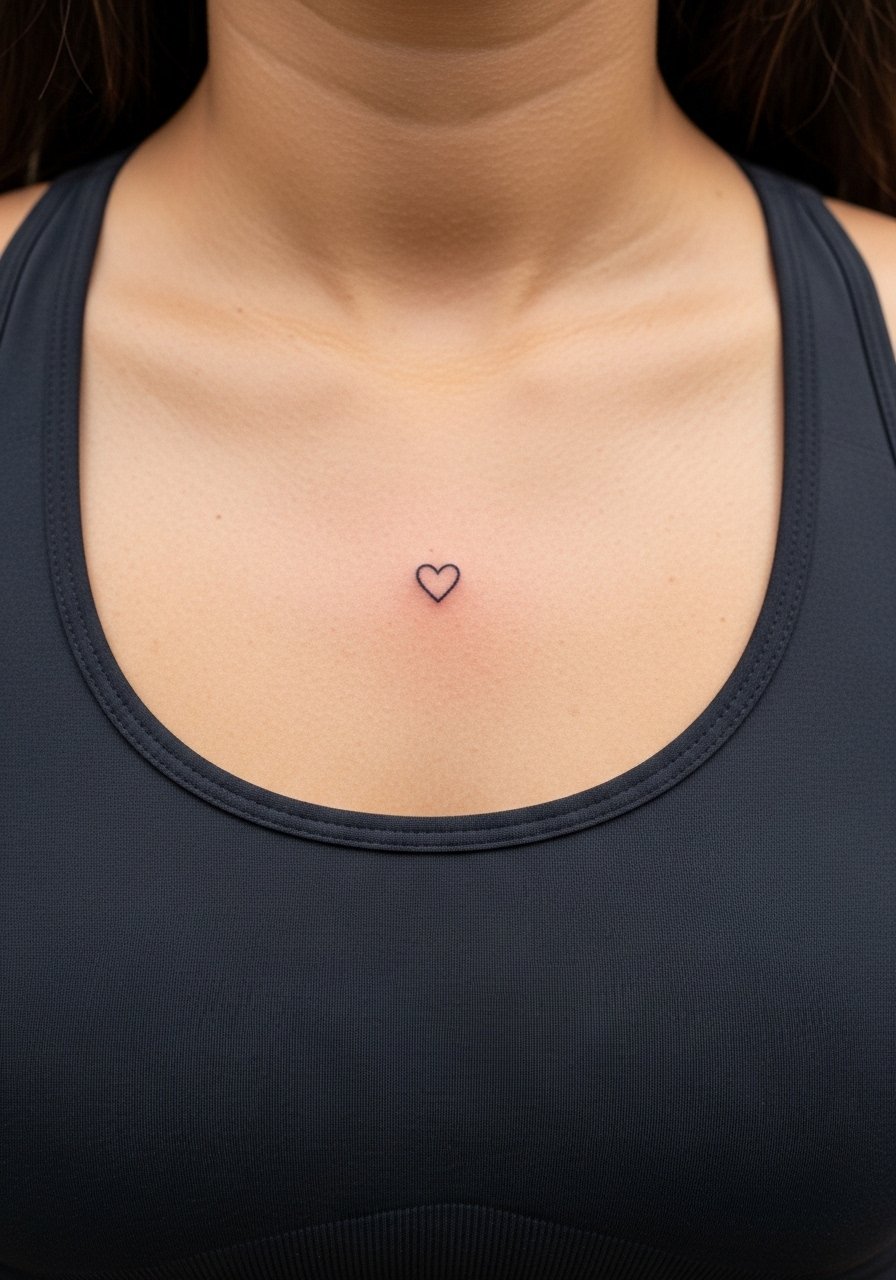
A chest heart pops for swimwear season and covers easily for work. The skin over the sternum can be bouncy, so a slightly bolder outline or small solid heart keeps the shape from turning into a smudge as it heals. Sessions are short and pain is moderate. Ask for a healed photo sample on similar skin tones before booking. When you want it on display, a low v neck tank layers with delicate necklaces without crowding the heart.
6. Tiny Star on the Collarbone
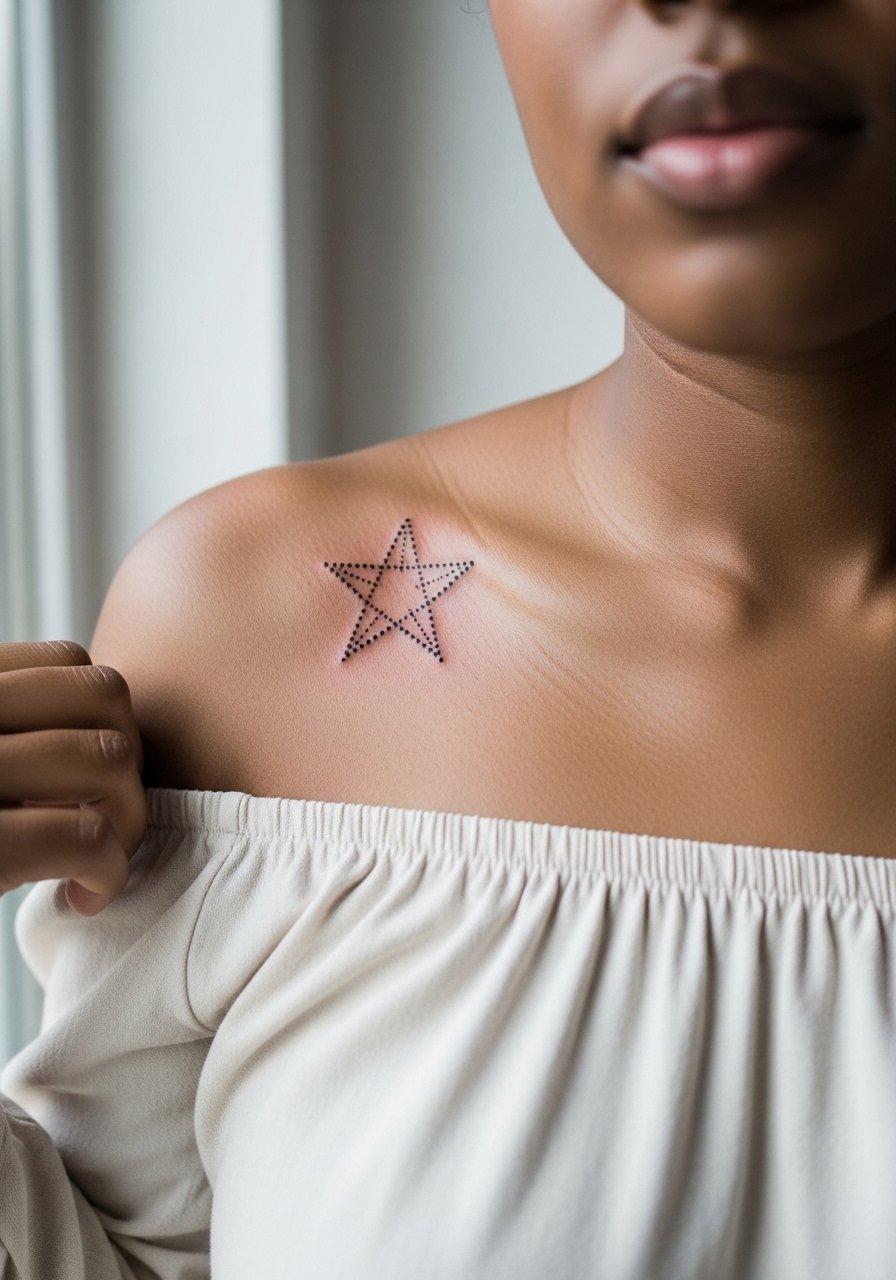
Collarbone pieces show with low tops and peek in necklaces, but the spot takes knocks from straps and seatbelts. Use dotwork or a slightly thicker line to keep the star readable over time. Pain leans higher because bone is close to the surface. Touch-ups around year three are common if you get a single-needle star. Pair it with off-shoulder blouses and avoid heavy necklaces rubbing the area during the first few weeks. For session access consider a strapless bra or an open button-down.
Studio Day Picks
The first six ideas include wrists, fingers, chest, and collarbone work, which each ask for different prep. A few targeted items reduce friction and speed healing in that first week.
-
Hustle Butter Deluxe. A non-greasy balm many people switch to after Aquaphor for micro wrist and chest pieces because it soothes without a heavy film that can trap moisture on tiny lines.
-
Indie tattoo salve unscented. Thin application works well for fine line pieces behind the ear or on the collarbone where heavy ointment can gloss out detail.
-
Tea tree healing balm. In cooler months a light tea tree blend helps dry-prone micro tattoos on ribs and hips without clogging pores.
-
Unscented soy balm. Recommended for sensitive skin when you get inner-arm or behind the ear work, it keeps the skin hydrated with minimal shine.
-
Aquaphor healing ointment. A thin layer in the first couple of days can protect fingertip and wrist work from excessive washing while you adjust your routine.
7. Wrist Script Words, Paired Wrists
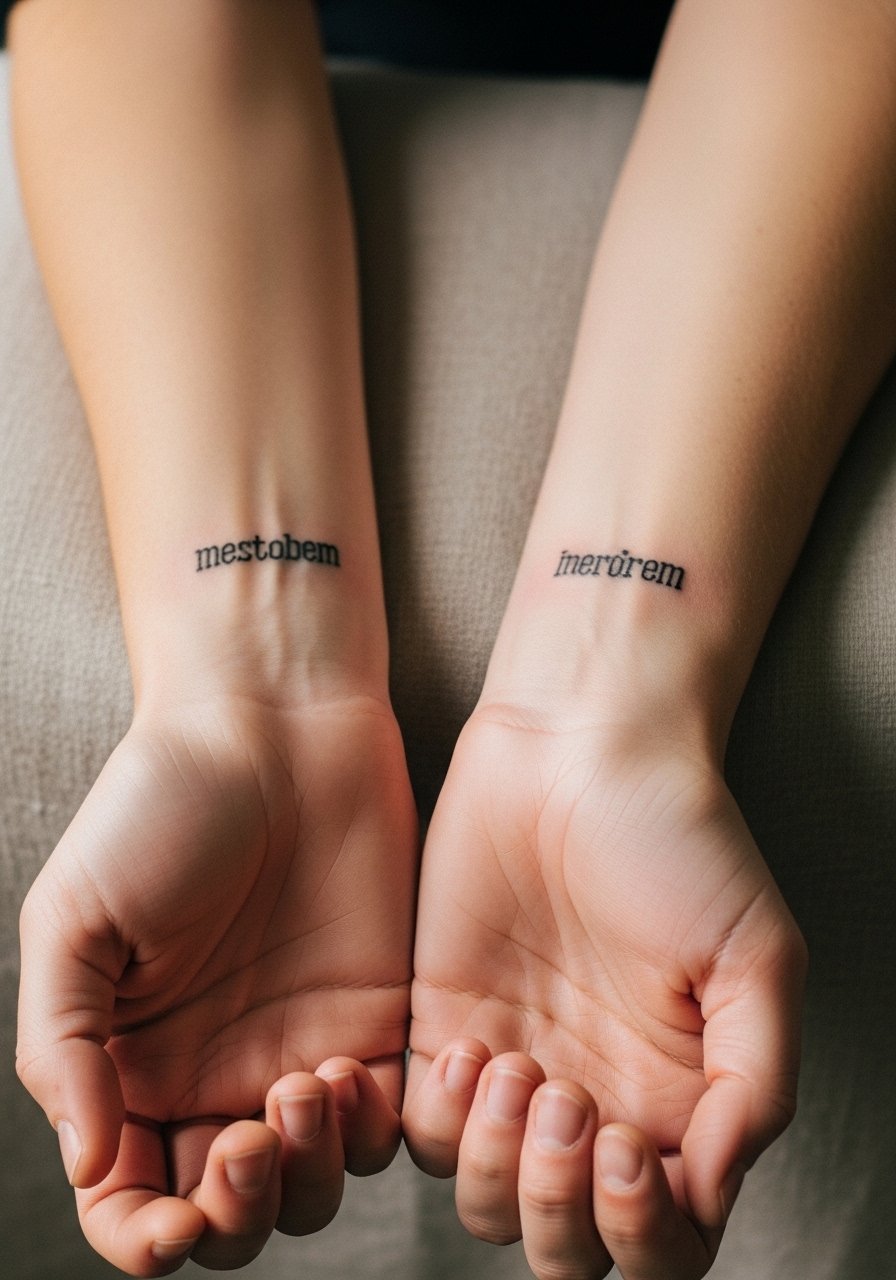
Wrist scripts are great for symmetry but the inner wrist sees frequent sun and washing. Most of the wear happens in year one to three unless the lines are given room and a hair more weight. Tell your artist to use a compact, slightly thicker block font rather than a single-needle cursive. Session time is short and pain is low to moderate. Plan for a touch-up in the first two years if you wear watches or bracelets often. For casual showing try rolled cuffs on a linen shirt rolled cuff to frame the pieces.
8. Matching Tiny Sunflowers on the Wrist
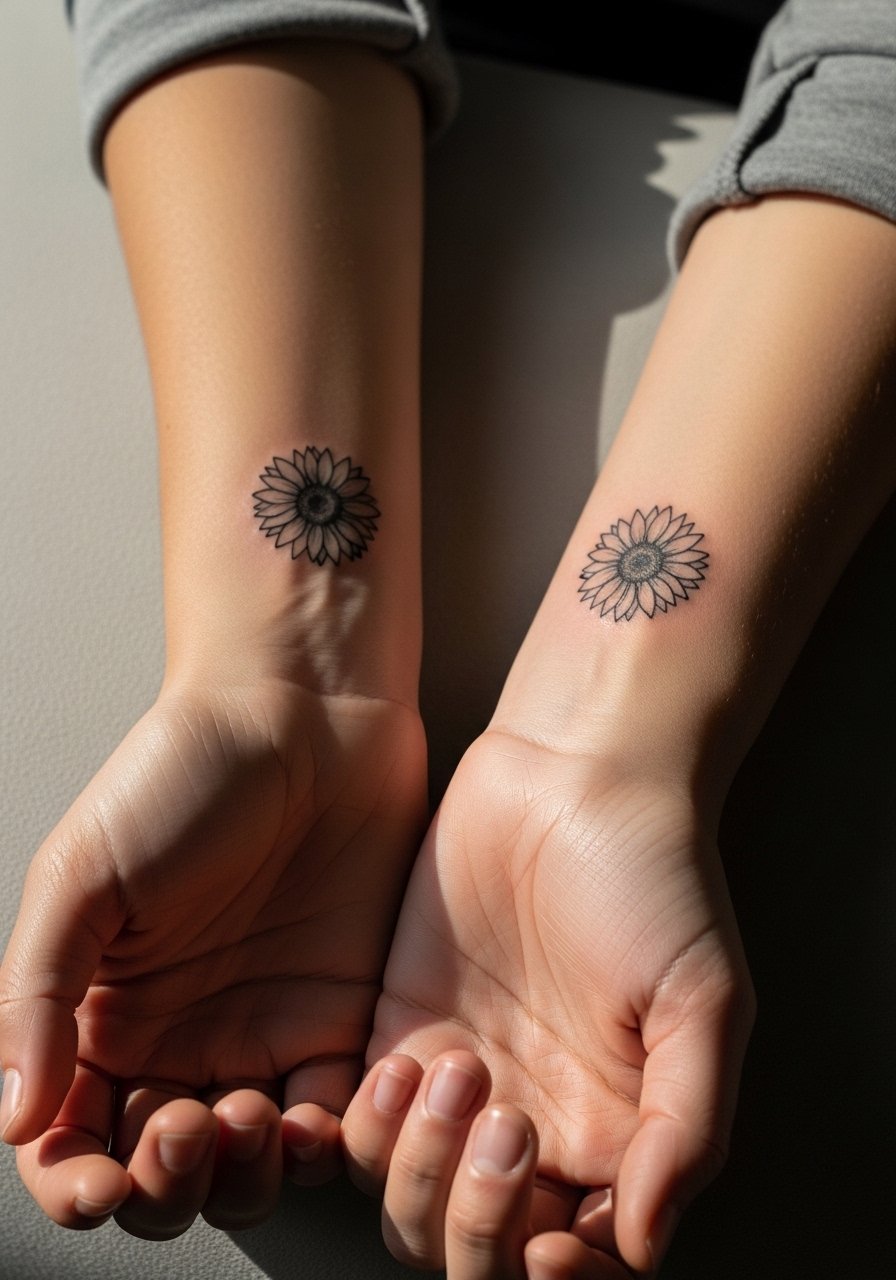
Mini sunflowers are detail-packed in a tiny space, so the trick is to ask for simplified petals and open centers. That keeps the detail readable after a year. Artists who specialize in micro botanical work will miniaturize while leaving breathing room. These take about 20 to 40 minutes total and pain is mild. Match placement so movement does not compress the petals. For showing them off, layer thin bracelets or a slim watch on the opposite wrist to avoid crowding. A thin chain bracelet or minimalist bands frame the flowers without obscuring the linework.
9. Small Dragon Outline for the Hip or Ankle
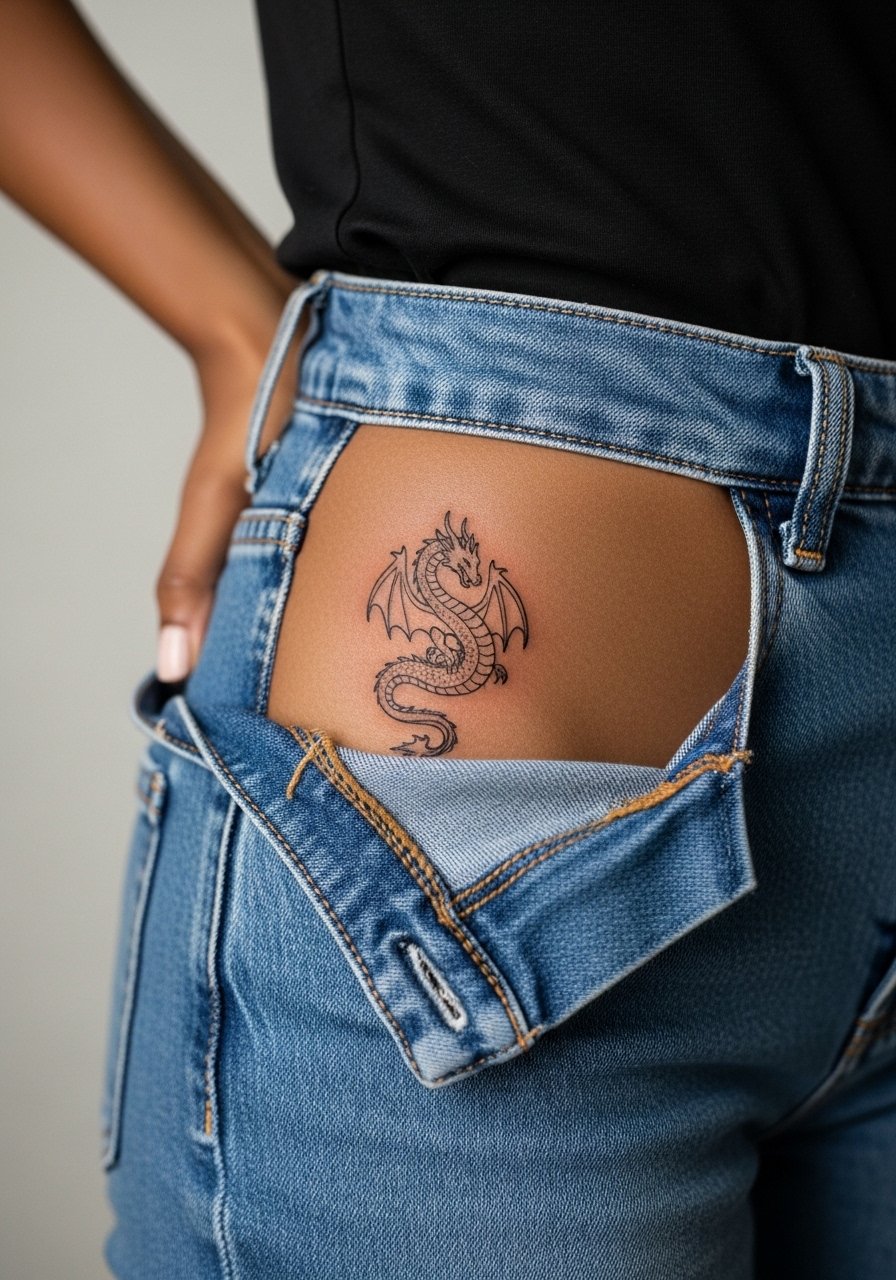
A dragon scaled down to micro size needs a confident outline and minimal internal detail. On the hip it can be sensual and private, but on the ankle the same design experiences ankle movement and shoe friction. Ask your artist to simplify scales into negative-space hints and use bolder outer lineweight. Hip sessions are low to moderate pain and often 30 to 45 minutes for crisp work. For summer peeks, high-waist shorts let it show without tight waistbands rubbing the area. Try a high waist shorts women look for warm-weather styling.
10. Moon and Initial Waves on the Wrist
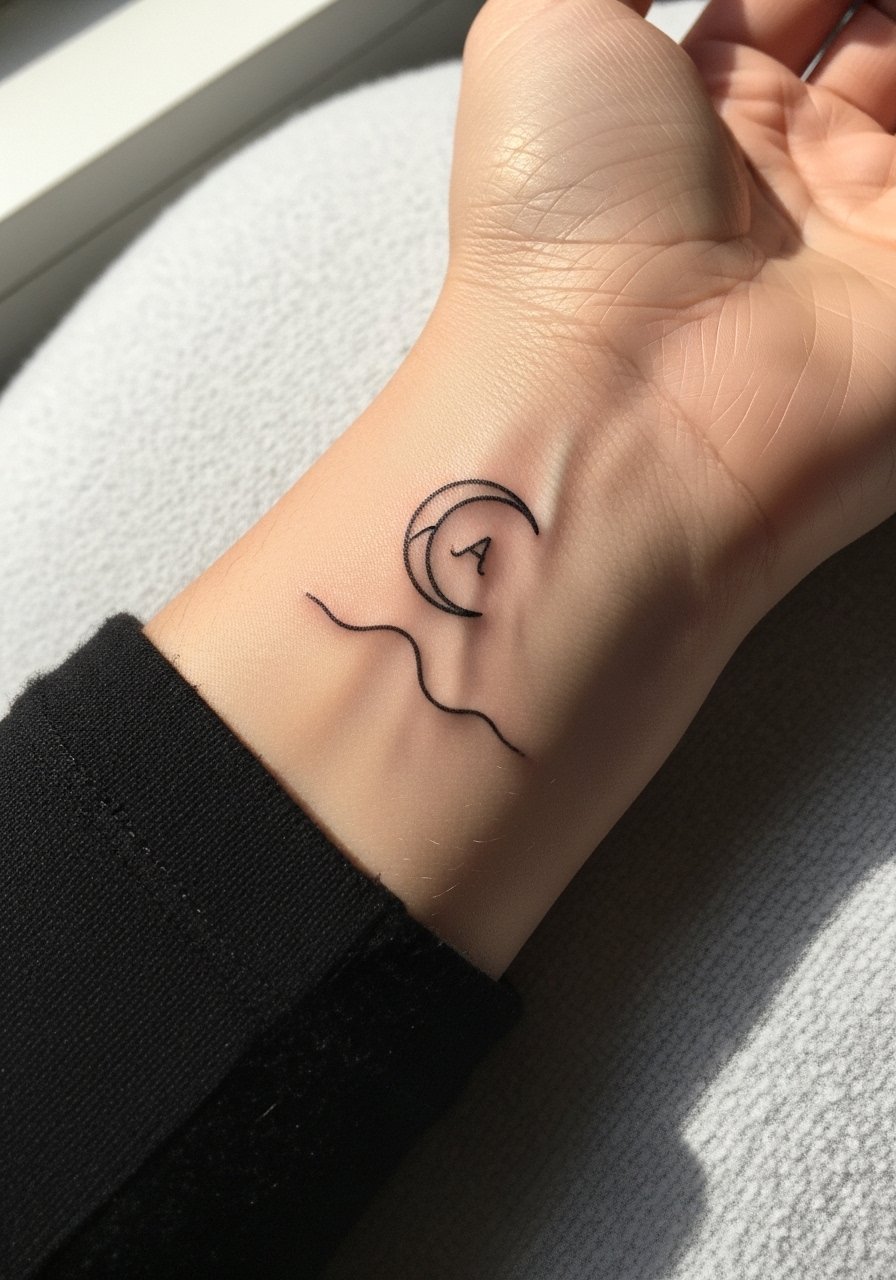
This combo reads personal without being literal. Keep the initial in a bold, short serif or block so it survives hand washing and photo cropping. The waves should be wide and airy, not dense. Wrist pain is manageable and sessions are quick. Expect a touch-up if you type a lot or swim frequently. For jewelry, a thin pendant chain that sits above the wrist can balance attention between the wrist and neckline.
11. Four-Leaf Clover Mini
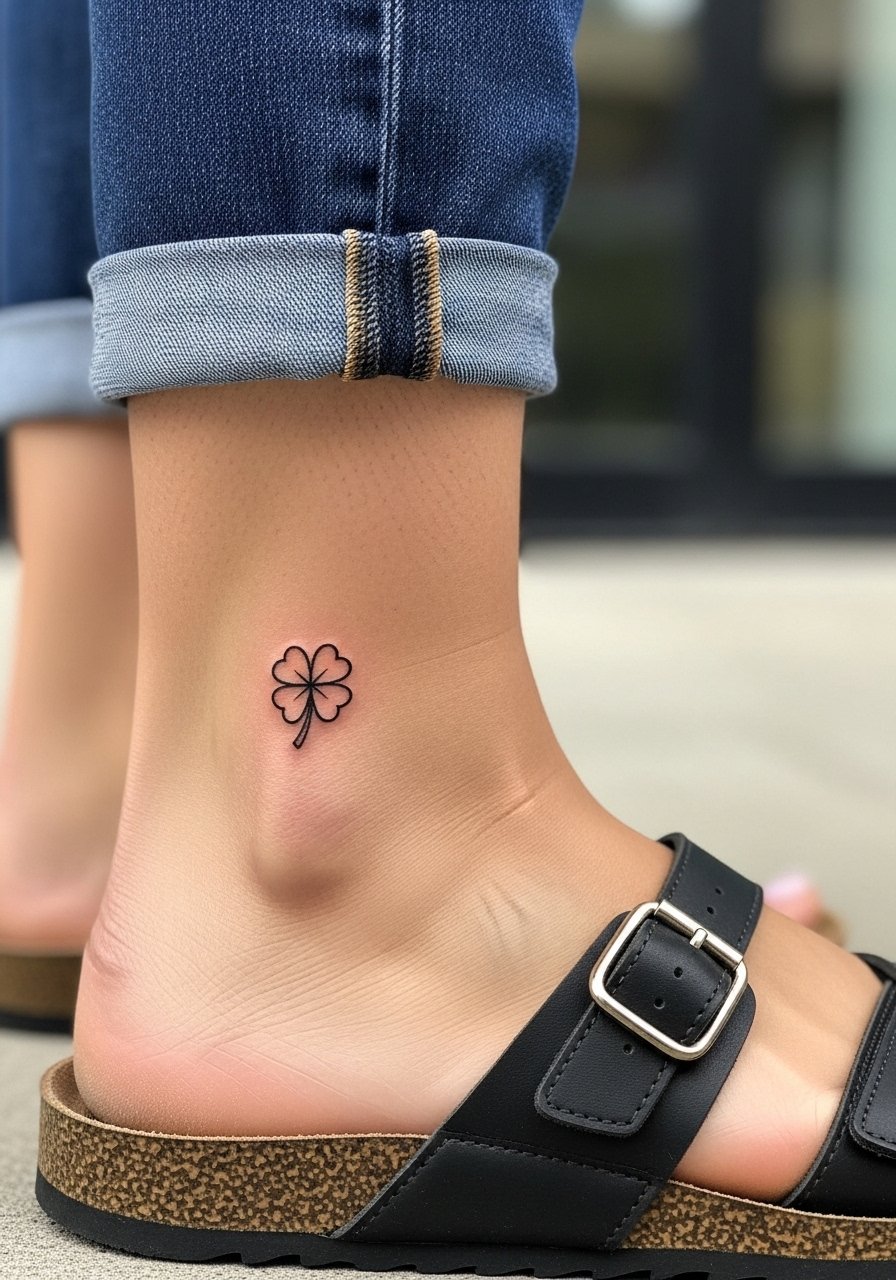
Lucky-clover minis can be placed almost anywhere. On the foot they face constant rubbing, so a slightly thicker outline helps the symbol stay legible. The session is quick and pain varies by proximity to bone. For careers with stricter dress codes consider placement that can be covered easily. Healed photos usually show a little softening around the leaves by year two. When you want to display it, slip into sandals that lift the jeans cuff so the clover gets a clean view.
12. Red Snake Near the Hip
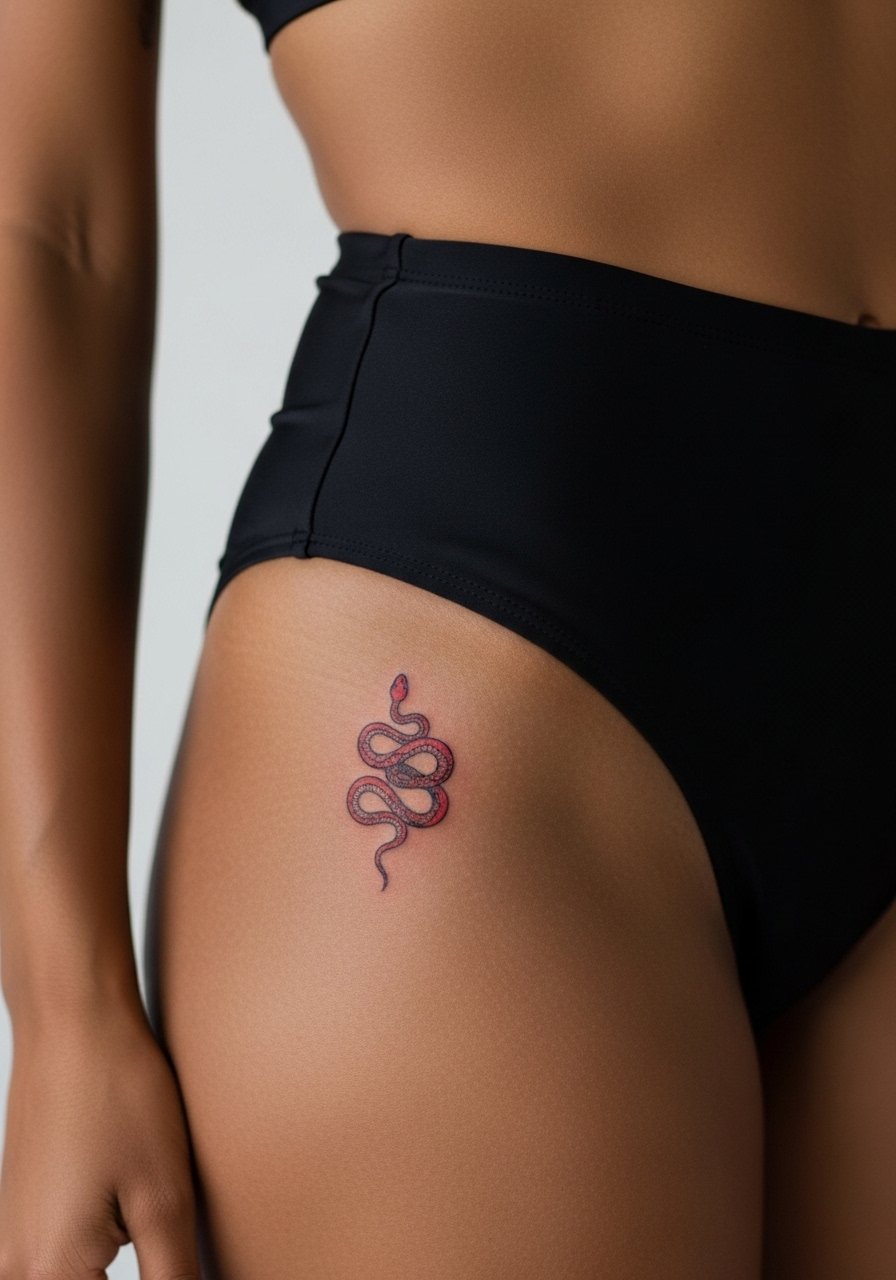
Color accents on micro work change the maintenance profile. Red pigment can fade faster than black, so ask for a bolder outline and concentrated color sections rather than sheer washes. Hip placement is intimate and the session is low to moderate pain, often 30 to 60 minutes if the curve is detailed. Expect a color touch-up sooner than you would for black linework. For easy summer shows, high-waist bottoms or skirts that sit below the ink let the design peek without compressing it.
13. Simple Botanical Line Drawing, Flexible Placement
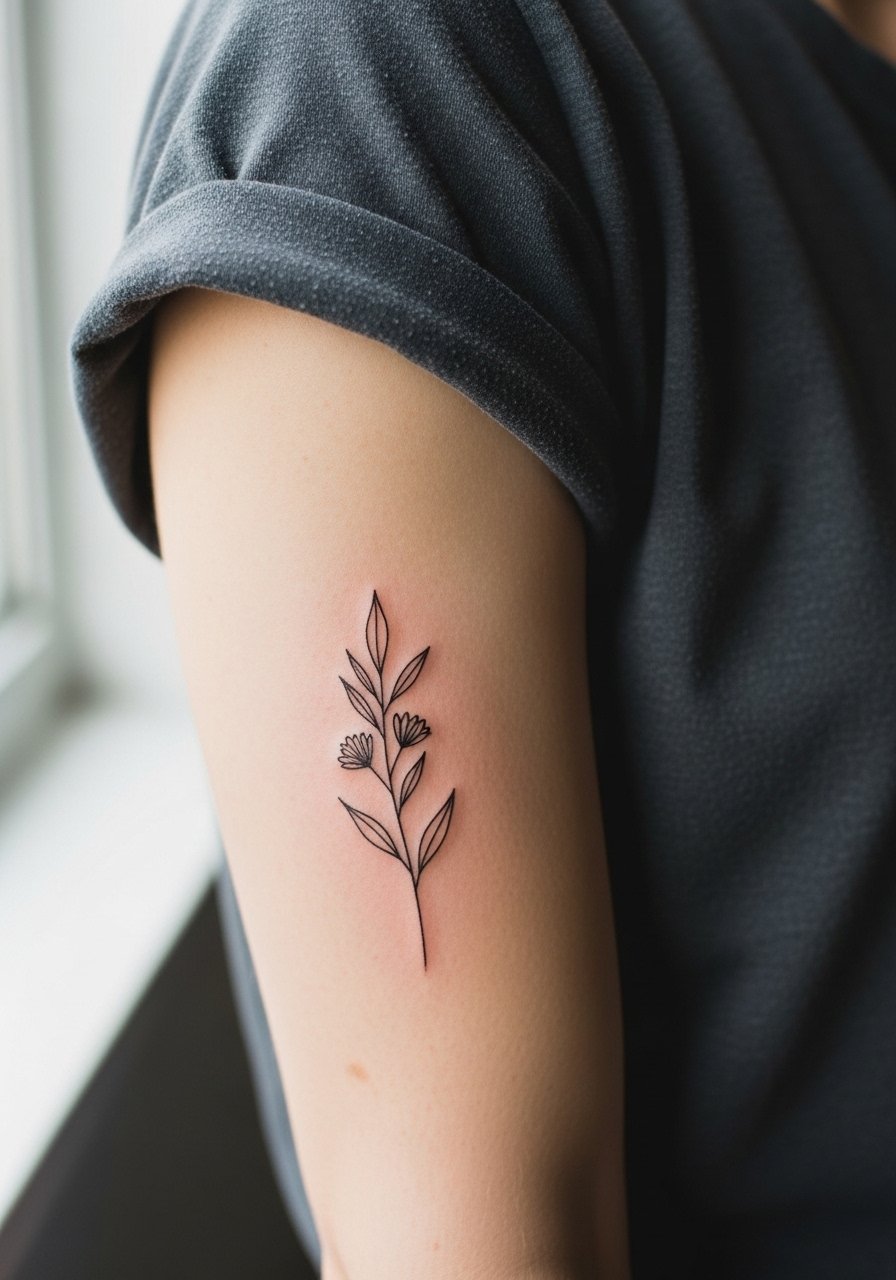
A single-stem botanical works almost anywhere because it scales well. The key is to avoid cramming leaves together in a tiny space. Ask for open spacing and a mix of stipple and linework rather than dense shading. Inner forearm versions age well and are easy to show off. Sessions are usually 20 to 40 minutes and pain is low. For outfits, rolled short sleeves or a loose short sleeve tee let the plant rest against open skin and look intentional.
14. Micro Initials Hidden in a Wave or Moon

Sneaking initials into a moon or wave is a smart way to personalize without a legible name. Tell your artist you want negative space to form the letters rather than tiny script. That keeps the symbol readable as the years pass. The wrist placement is visible but subject to wear. Sessions are brief and pain is mild. If you plan to show a subtle personal detail, pair it with a thin necklace so attention travels upward.
15. Tiny Constellation on the Ankle
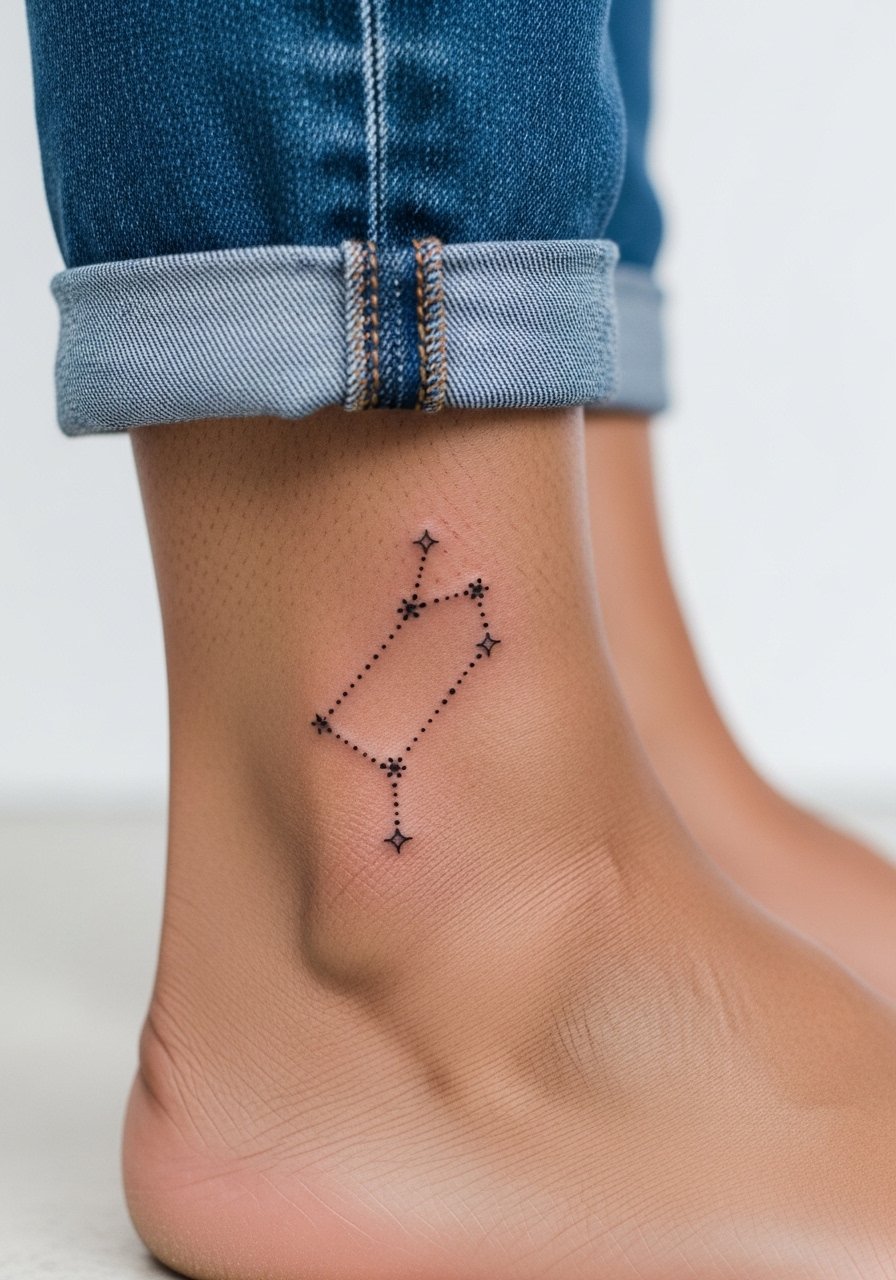
Ankle constellations read delicate but need clear spacing between stars and connectors. Dot work for the stars and slightly stepped lines for the connectors help the piece avoid merging into a blur. Ankle sessions are short and the pain is low to moderate. The first year shows the most change because socks and shoes cause abrasion. Show it with cropped pants or sandals that keep the cuff off the ink.
16. Inner Forearm Arrow or Minimalist Mountain
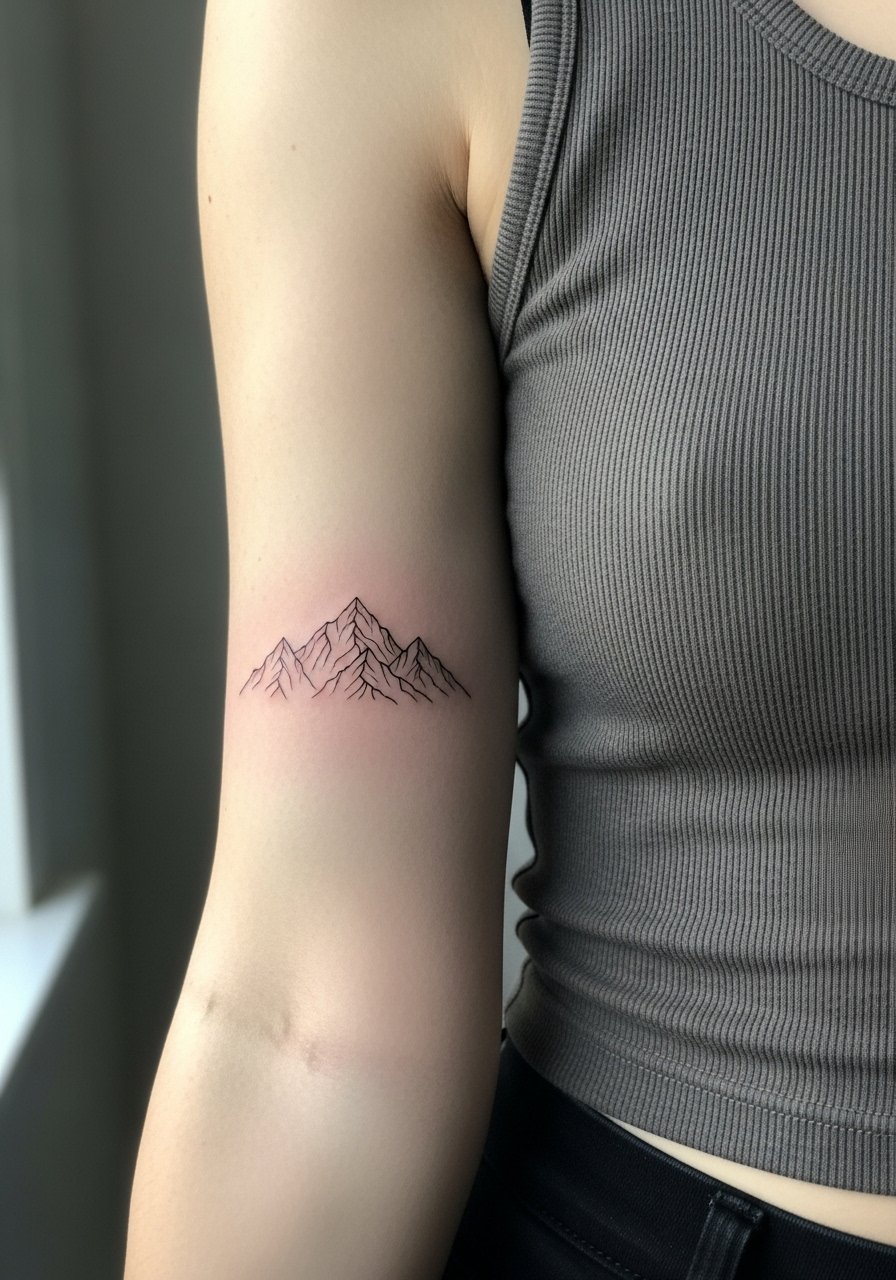
Inner forearm placements are forgiving with micro work because the skin moves less and gets consistent sun patterns. Ask for a bolder silhouette for tiny mountains or arrows instead of micro hatch shading. Sessions are comfortable and usually under 45 minutes. Over five years these pieces tend to hold shape best among common placements. Wear a fitted tank top women to show the piece while keeping the arm accessible for appointments.
17. Tiny Anchor on the Back of the Ankle
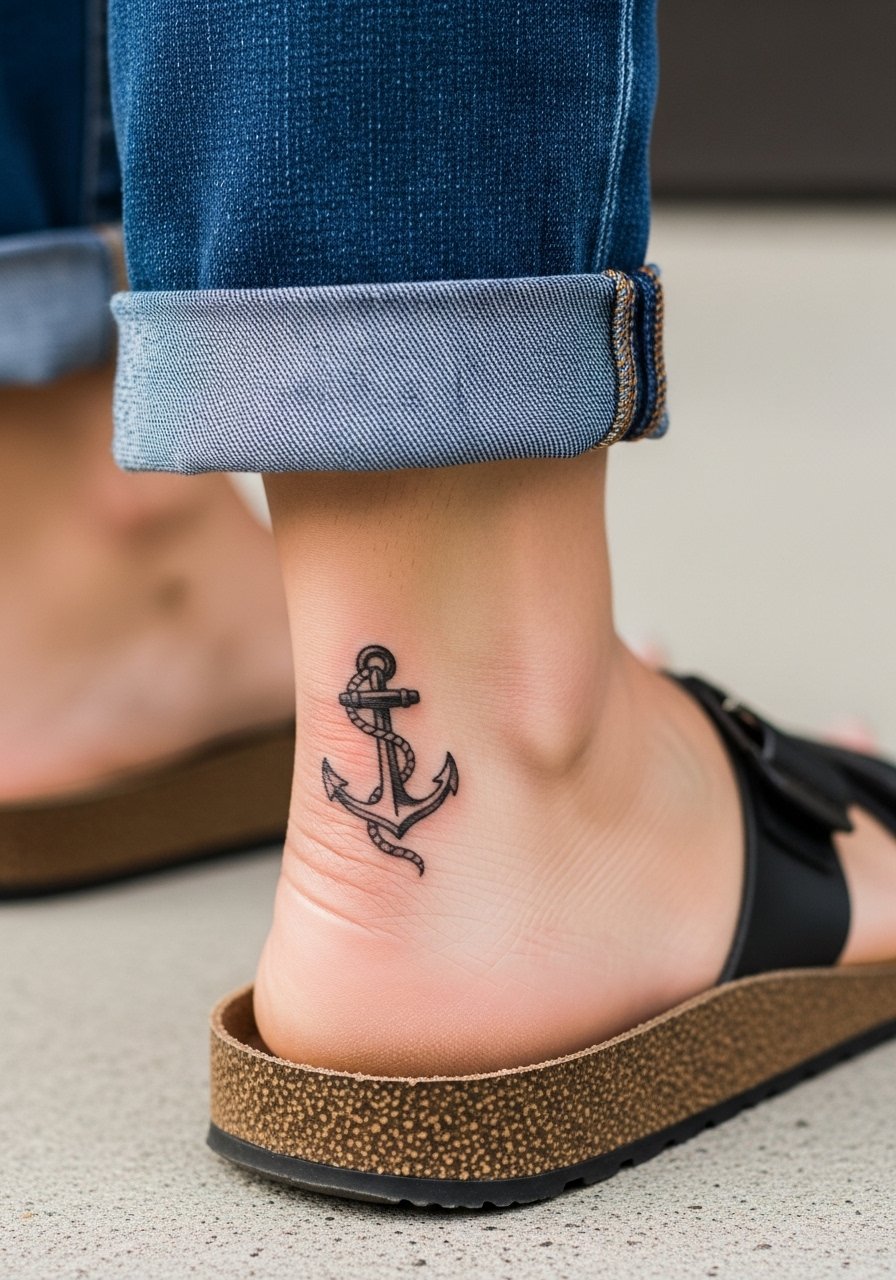
Back-of-ankle work sits near tendon and gets shoe friction. Request a compact anchor with a strong outline and minimal interior detail to survive rubbing. The session is quick and the pain is moderate. Expect to protect the area for the first week and avoid tight boots while it heals. For summer styling, sandals or cropped hems that expose the ankle create that festival-ready look.
18. Tiny Airplane or Travel Glyph on the Shoulder Blade
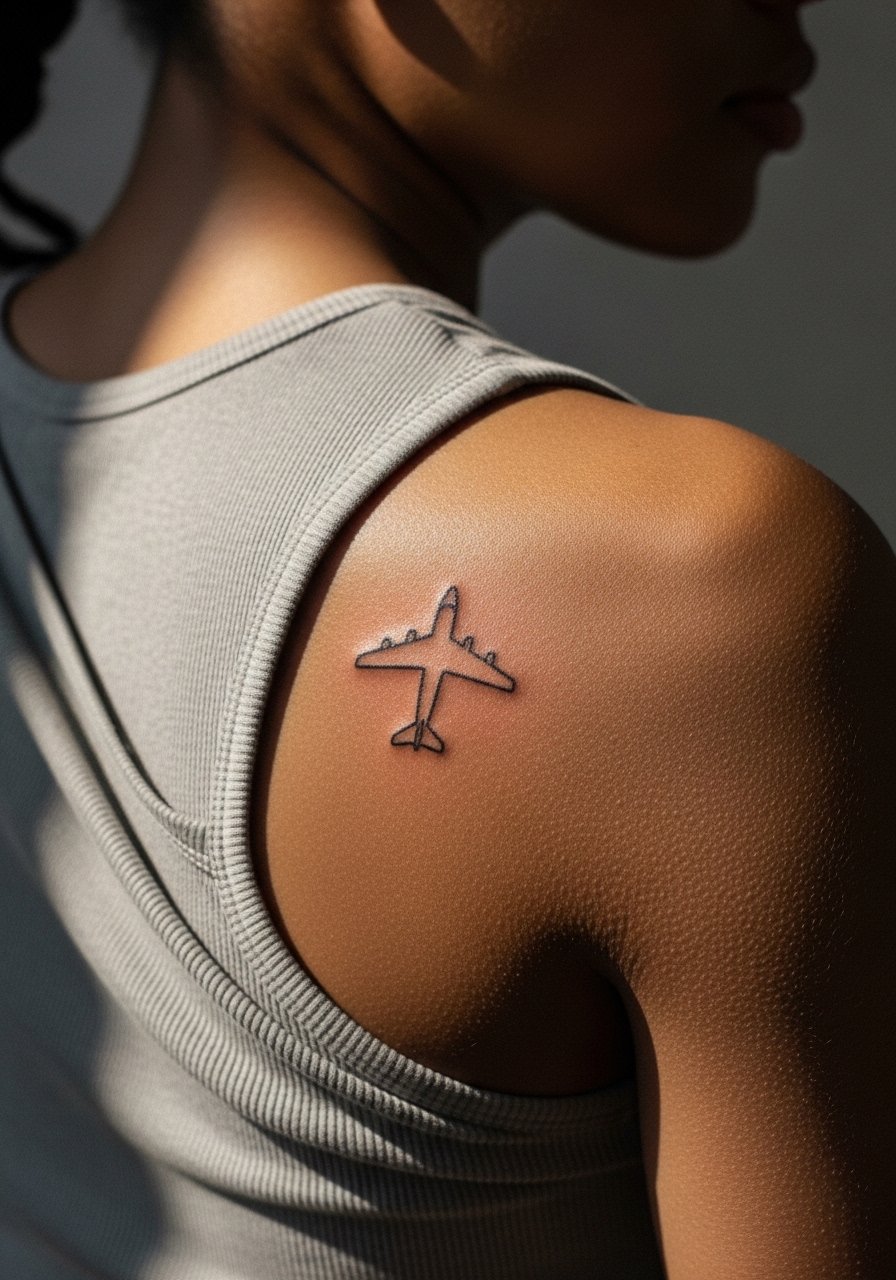
Shoulder blade micros age well because the area is flat and gets less daily abrasion. Keep the airplane outline bold and skip ultra-fine interior markings. Sessions are easy and the pain is typically low. If you travel a lot and want a personal marker, this placement makes sense and is easy to cover for work. Pair the design with open-back tops to let the glyph peek out.
19. Tiny Wave Band on the Ankle
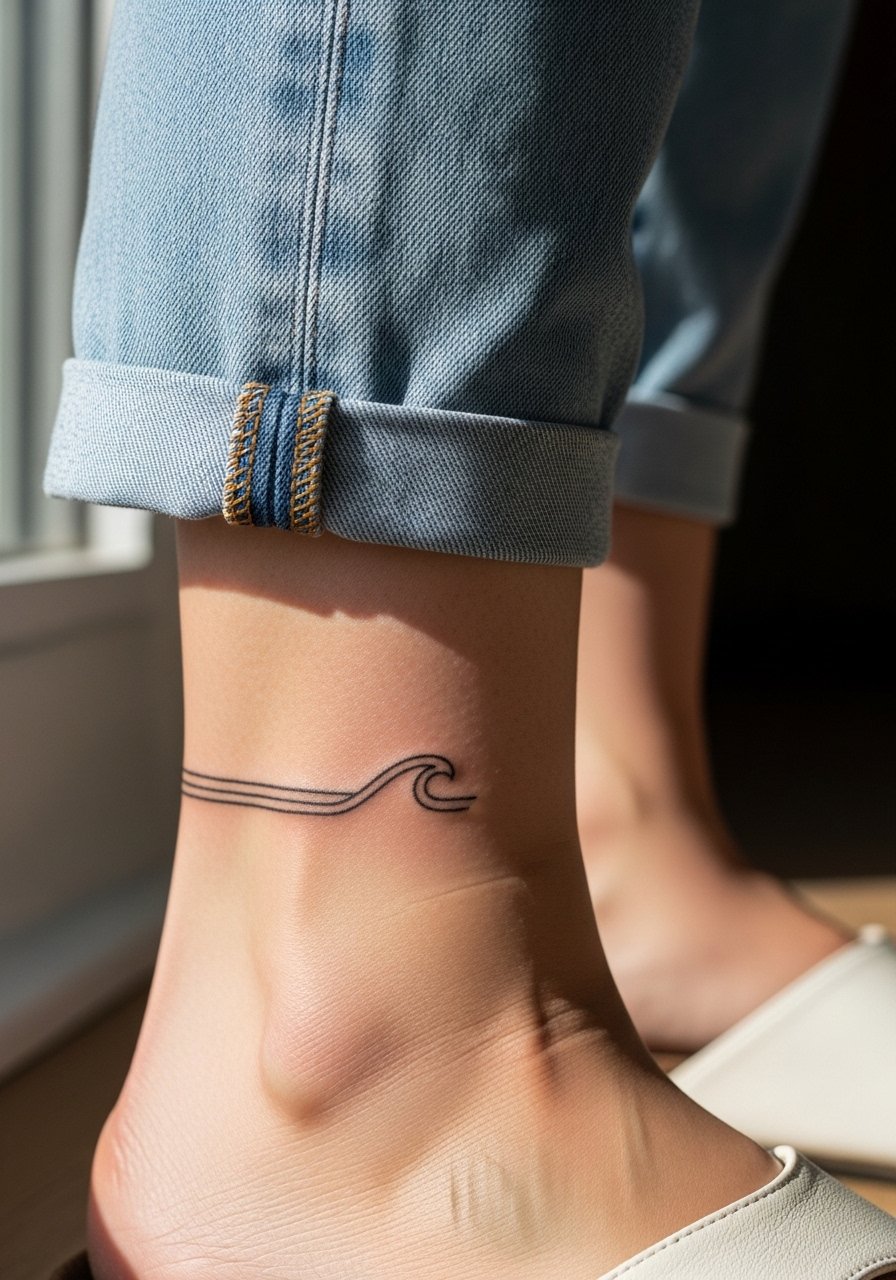
A micro wave band is visually pleasing but thin continuous lines can blur if the band is too tight. Ask the artist for slight breaks in the band so each segment can keep its edge as the skin moves. Pain is mild and sessions are fast. Expect the band to soften in crispness over three to five years, which is normal. Show it with sandals or cropped pants that keep the ankle visible.
20. Tiny Paper Plane on the Collarbone Edge
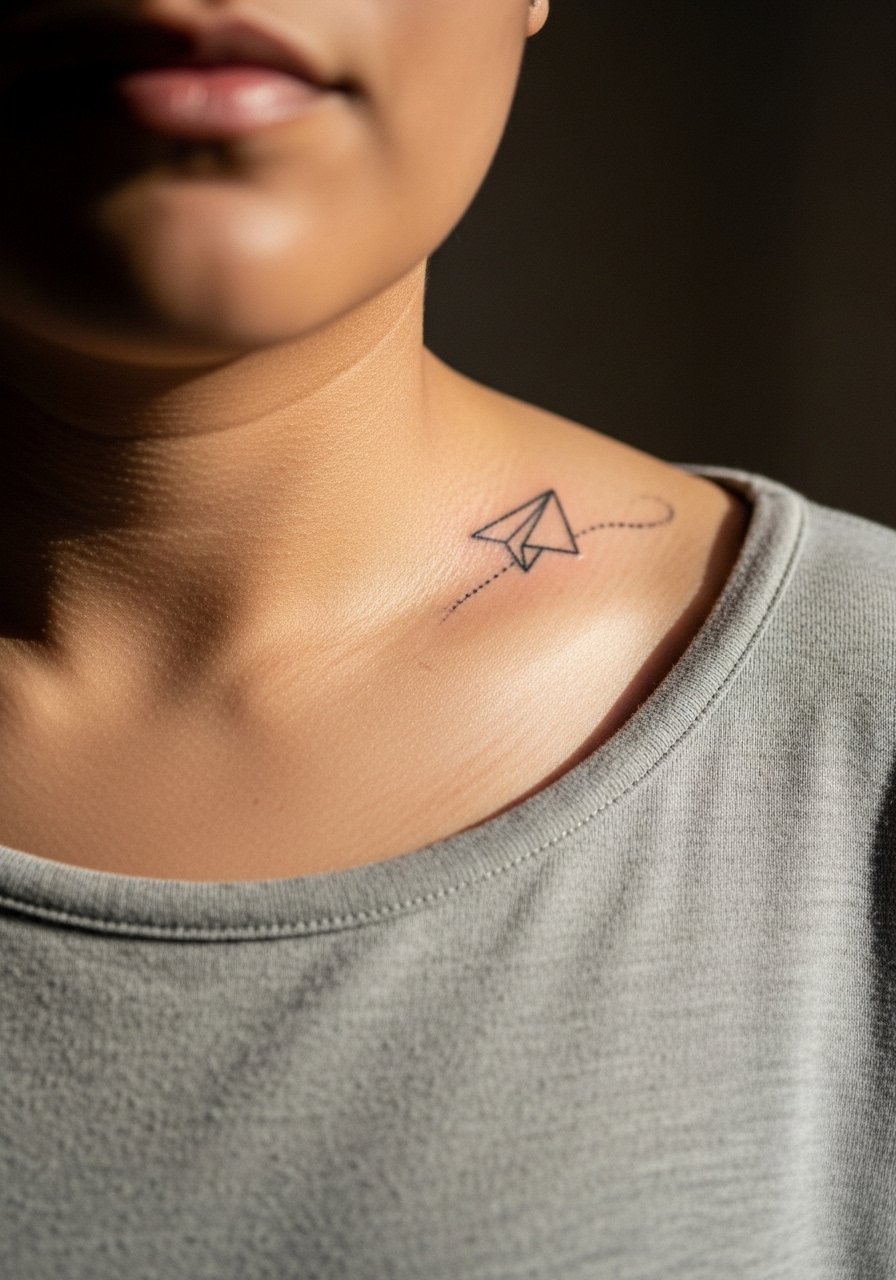
Edge-of-collarbone placements catch the eye with minimal exposure. A paper plane needs confident single-line work and a small area of negative space. Bone proximity raises the pain slightly but sessions are short. Over time the crisp corners can round, so a slightly thicker outline is a practical choice. For evenings out a wide-neck top frames the plane without pulling at the linework.
21. Finger Fill Versus Outline Test
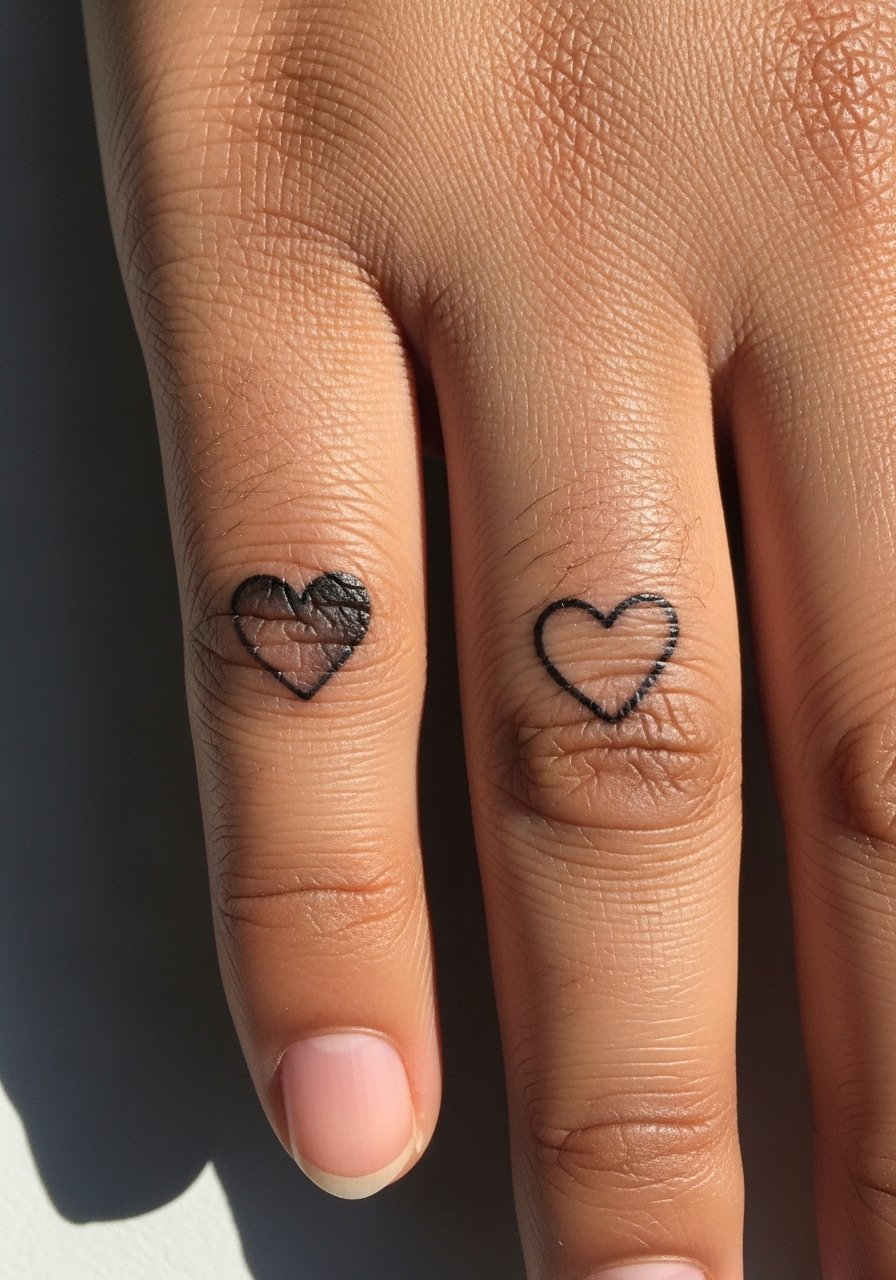
A small experiment people often regret not doing is comparing filled micro symbols against outline-only versions. Filled hearts usually last longer on fingers, but can look heavier in photos. Outlines look airier at first and can fade into near invisibility by year one to two. If you are testing which you prefer, discuss a touch-up plan with the artist and consider a short initial session for both versions. Pair the look with a neutral manicure or a nude nail polish set so the tattoos read clearly against the hand.
Frequently Asked Questions
Q: Will fine line tattoos on fingers and wrists blur faster than on the forearm?
A: Yes, in my experience fingers and wrists blur faster because of frequent washing, rubbing, and thinner skin. Forearms get less direct friction and often keep linework cleaner for longer. If you want micro detail on hands, ask for slightly heavier line weight or plan a touch-up at year one to two.
Q: How do I decide between a filled tiny symbol and an outline for finger placement?
A: Filled symbols generally hold up better on fingers because the pigment sits in a denser area that withstands abrasion. Outlines look lighter but can require earlier touch-ups. Consider getting a small test piece first or ask the artist to do both styles side by side to compare healed results.
Q: Artists argue about Saniderm versus dry healing. What should I know for micro work?
A: The two camps are clear. One group says a transparent film speeds early healing and reduces scabbing, which helps fine line clarity. The other group prefers dry heal methods to inspect scabs and avoid trapping moisture. For tiny wrist or finger tattoos a short-term protective film can reduce friction. Ask your artist how they handle micro work and follow their specific timing.
Q: How do I find a budget-friendly micro specialist without risking quality?
A: Shop guest spots, apprentices, or smaller studios that post healed client photos. Use hashtags like #microtattoo and location filters on TikTok and Instagram, check Pinterest city boards, and browse Reddit threads for local recs. Get quotes from three places and ask for healed images of similar size on similar skin tones.
Q: Are there visible differences in how micro tattoos age on darker skin tones?
A: From what I’ve gathered, very thin single-needle lines can read faintly on darker tones in photos. Many artists adapt by using slightly thicker lines or blackwork approaches to retain contrast. When booking, ask to see healed photos on a range of tones to ensure the style will read as you expect.
