
Bold blackwork often outlasts the tiny, highly detailed pieces that get the most likes on day one. I mention that because three things come up again and again in forums and consults: bold lines fading oddly on darker skin, studios quietly hiking prices, and last-minute artist cancellations that mess with healing timelines. Read on for 17 bold Soul Eater takes that plan for longevity, placement, and what to wear at the session.
1. Neo-Traditional Sun and Moon on the Forearm
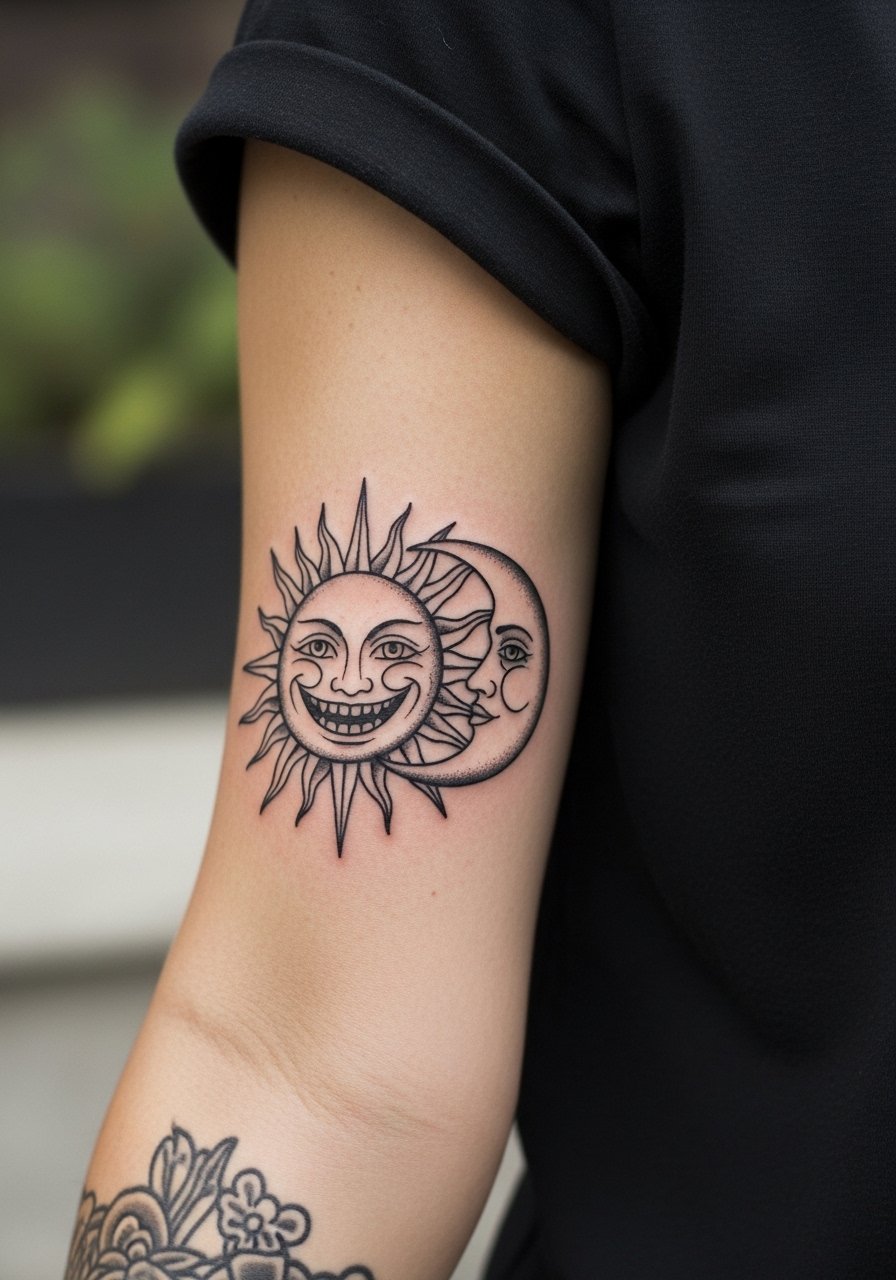
The forearm is the daily show-off zone, which is why the sun-and-moon duo works so well there. I recommend bold outlines with solid saturation in the grin and softer stipple shading for the moon so the two elements read differently as the piece heals. Bring reference images that show exact line weight and color placement during your consultation, and ask the artist to block the sun in a single pass to maximize saturation. Expect a one-session 1-2 hour job for a medium 4-6 inch piece, with a likely touch-up around year two if you spend a lot of time in the sun. For the session wear pull on a loose short-sleeve button-up so the artist can roll the sleeve without restriction.
2. Bold Line Sun Maniacal Grin on the Calf
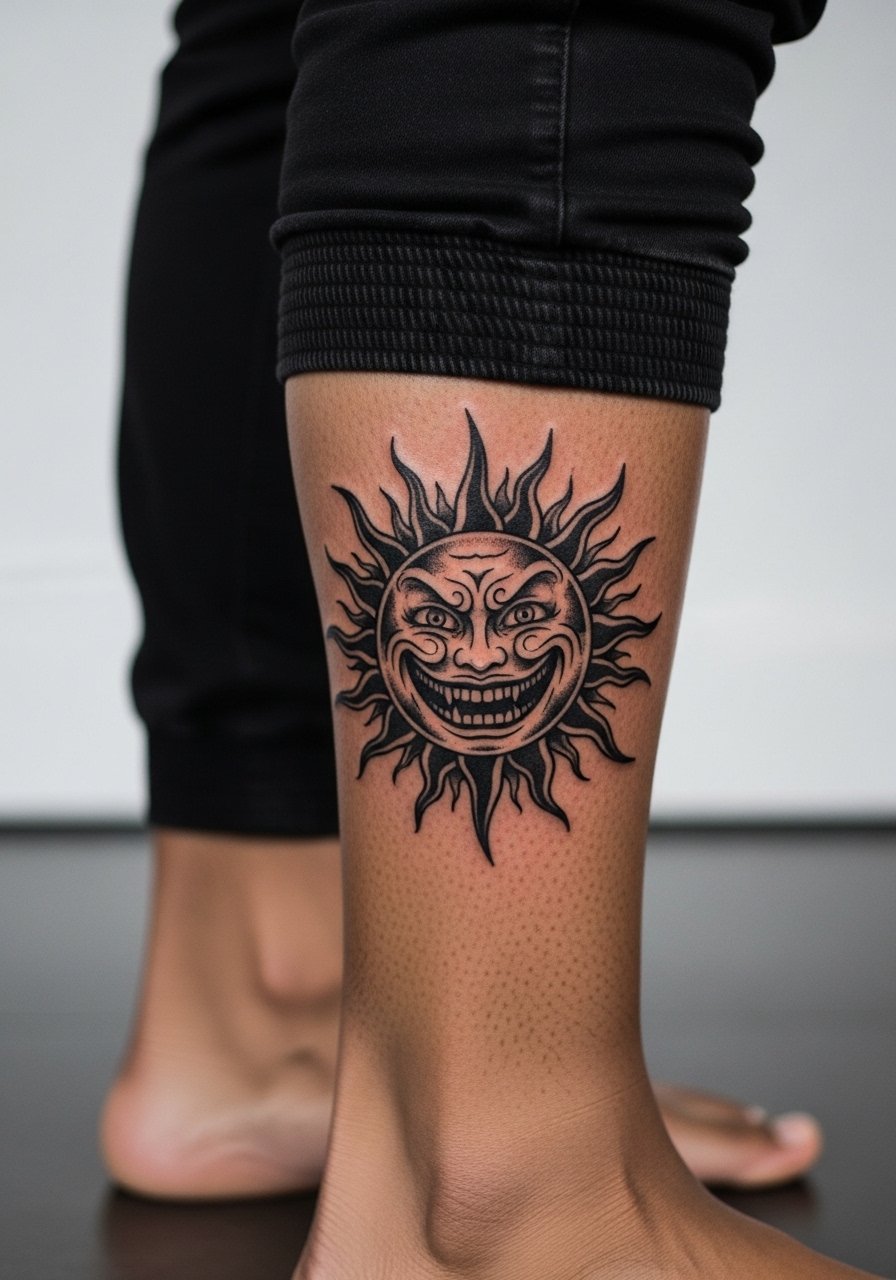
Calf placements tolerate heavy saturation and age well because the skin is less exposed to friction than wrists. This simplified, high-contrast sun is a short session and a strong pick if you want statement energy without a full sleeve. Ask for thicker outer lines and dense black fill to prevent early blur. The biggest mistake is asking for tiny facial details in the grin, which look muddy after a few years. Pain on the calf is moderate, and healing usually needs a single touch-up at year two if you wear tight socks often. Show it off with cuffed slim joggers or shorts and a pair of low crew socks. I like the look with a pair of cuffed joggers during casual days.
3. Black Star Emblem on the Shoulder
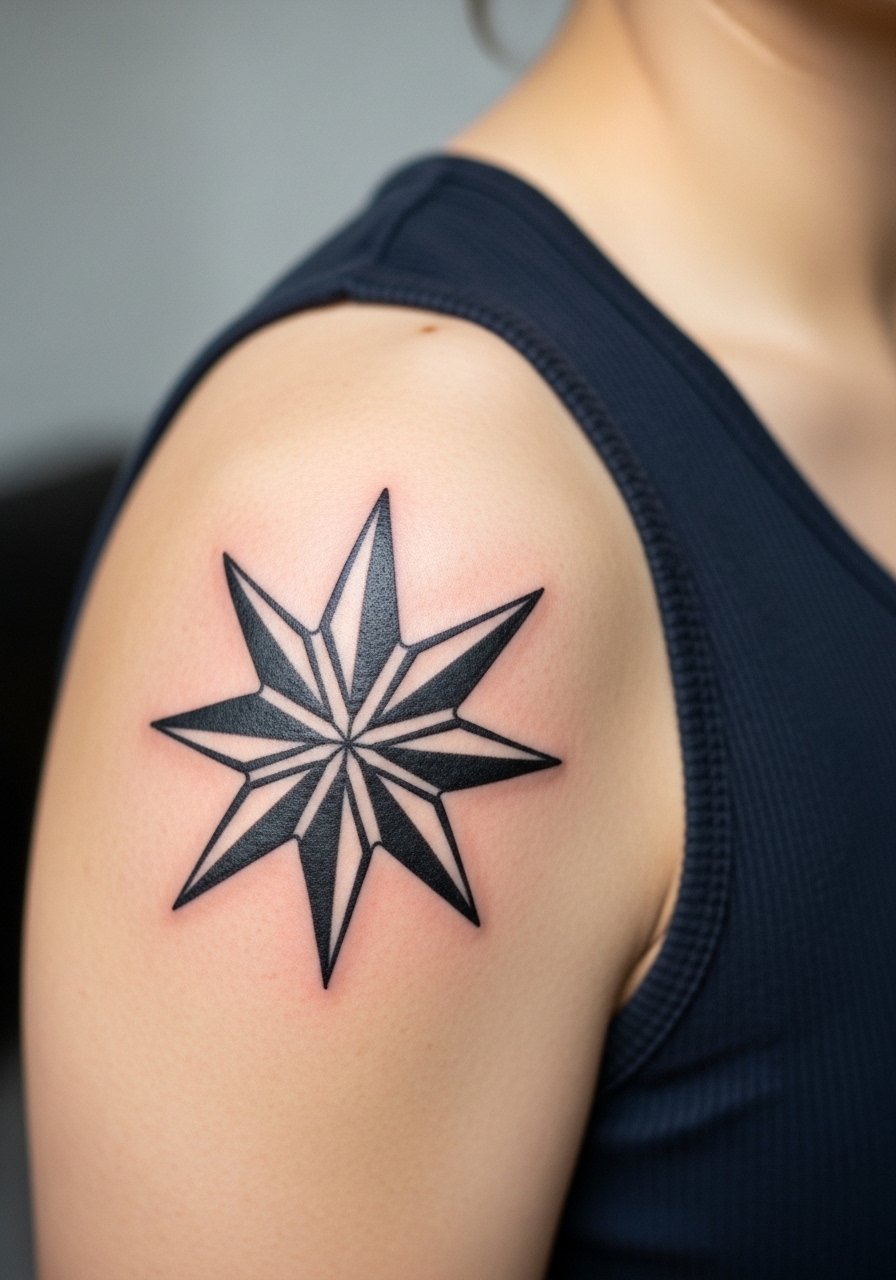
Shoulder placements are ideal for bold traditional work because the curved canvas helps the star read from different angles. Tell your artist you want extra line weight on the outer points and a touch of red accent behind the star if you want contrast that pops in photos. A common regret is making the star too small, which compresses the negative space and invites blowout. This piece ages well with one session and an optional touch-up at year three for saturation. For session comfort, wear a sleeveless muscle tank you can move aside without tugging at seams.
4. Crona Ragnarok Linear Patterns on the Inner Arm
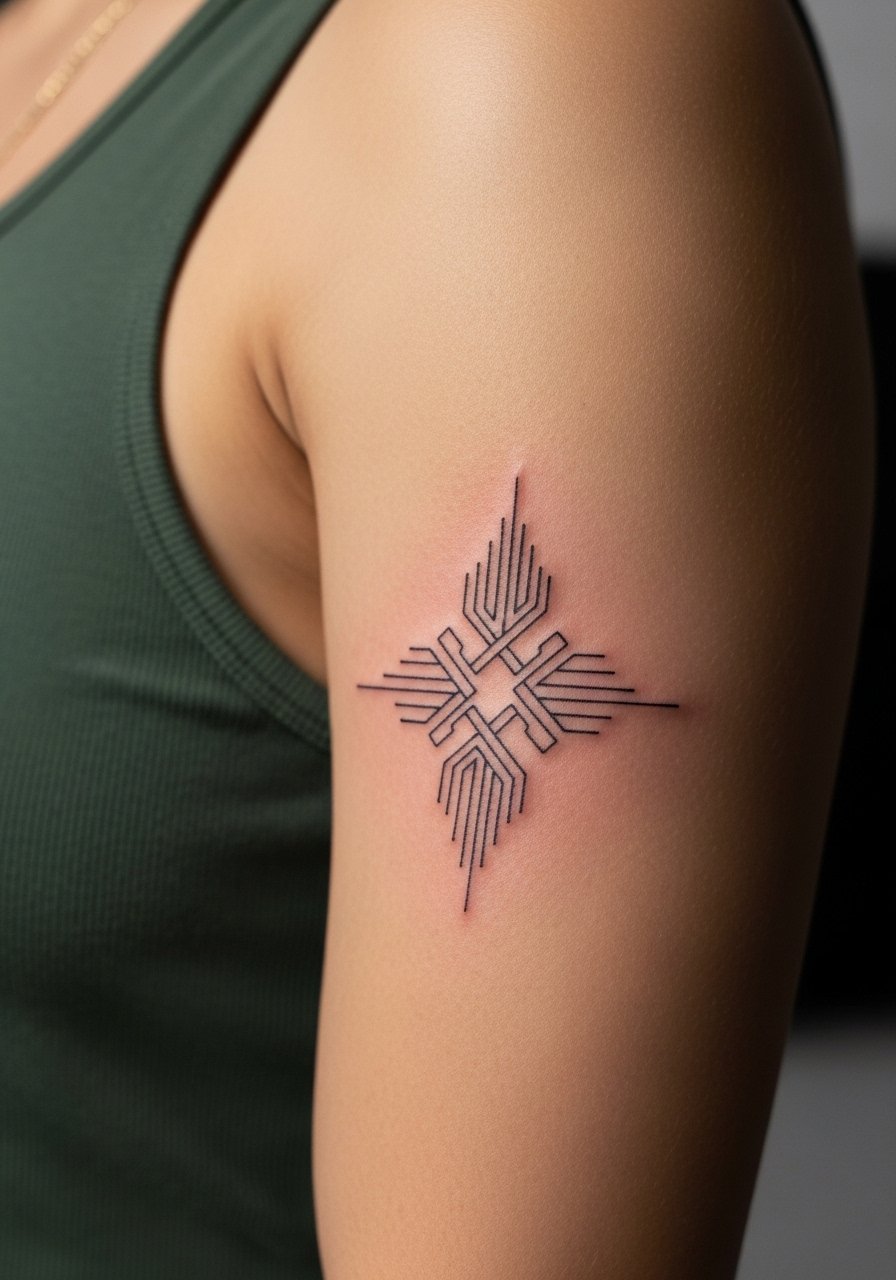
Fine line illustrative work on the inner arm reads delicate and personal, but the inner skin stretches more than the outer arm. Artists are split on this placement. One camp says dense fine line blurs fast due to skin movement, and the other camp says proper spacing and controlled depth keeps lines crisp. In practice ask for slightly increased spacing between parallel lines and plan for a touch-up at year two. Because the inner arm is less visible, this design is great for someone who wants emotional symbolism without constant display. The session feels stiffer than the outer arm, and numbing is an option for sensitive clients. For showing it off, pair the look with a neutral linen sleeveless shirt rolled high to keep attention on the linear motif.
5. Professor Stein Screw Forehead Motif, Neck Variation
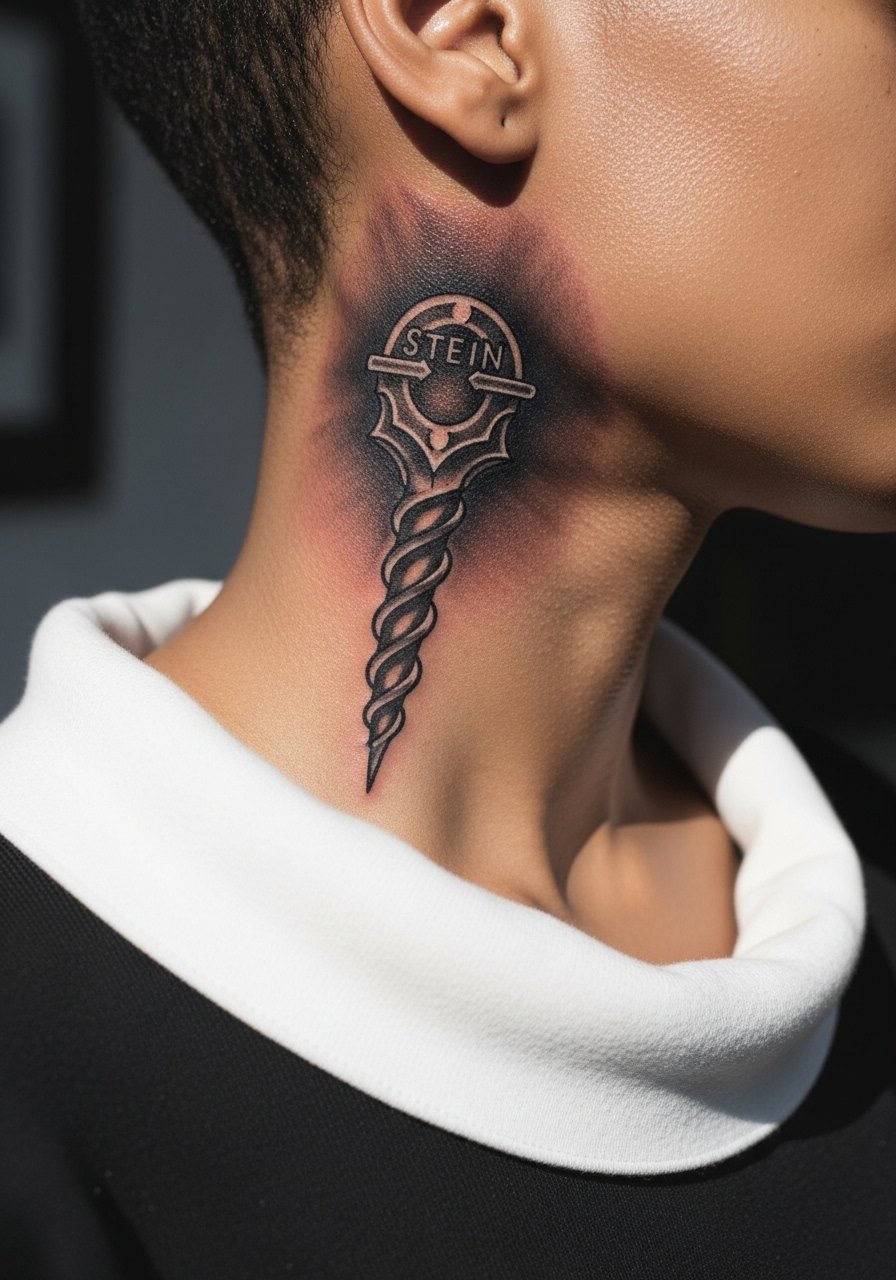
Neck placements read daring and require a realistic conversation about future changes. A forehead screw motif translated to the side neck gains clarity in blackwork with small gear accents behind it. Expect a single-session piece around 3-5 inches and honest talk about career visibility and aftercare. The common mistake is trying to cram fine detail into a tiny neck space. Ask for simplified gear shapes and heavy outer lines to keep the motif legible. Neck skin can be sensitive, so plan for a brief, intense session rather than a long stretch. For day-of wear choose a wide-neck shirt you can shift for access without exposing your chest. If you are considering Saniderm ask your artist where they stand on Saniderm versus dry healing so you know both perspectives before you leave the studio.
6. Moon Serene Face on the Collarbone
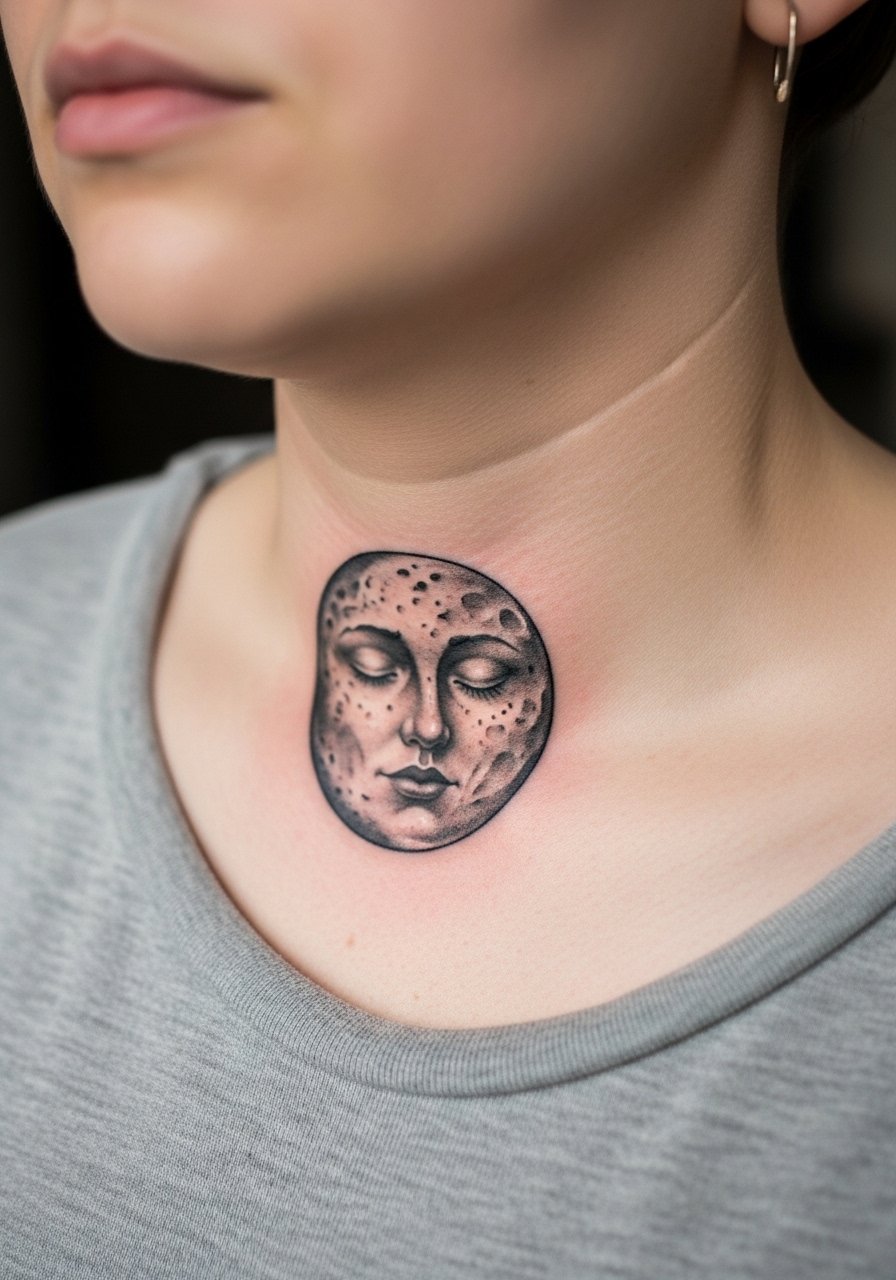
Collarbone tattoos need balance so the moon face keeps its melancholy without becoming heavy. Black and gray realism with soft whip shading gives depth but avoids dense patches that can age into muddiness on thin skin. Tell your artist to prioritize smooth gradients over tiny facial lines. Expect a one-session piece at roughly three inches and plan for sun avoidance while the area heals. Common mistakes are placing the moon too close to the shoulder blade where movement softens the shading. For wardrobe pair this with an open-collar shirt or a simple pendant that sits above the moon and frames it.
Studio Day Picks
The forearm, collarbone, neck, inner arm, calf, and shoulder pieces above all ask for different prep. A few targeted items make session day smoother and protect the linework during early healing.
- Indie tattoo foam dressing. Breathable alternative to thicker films that some collectors prefer for bold blackwork on high-friction areas like wrists and calves.
- Australian aftercare spray. A light, non-greasy spray that users pick for color retention on inked sun and moon designs.
- UK lightweight healing balm. Thinner consistency that artists recommend for shaded black and gray work where heavy balms can sit on top of the ink.
- Thin protective film roll. Handy for small exposed areas like the wrist during the first 24 to 48 hours when friction is highest.
- Aquaphor healing ointment. A standard thin layering product many people use in the initial phase to keep fine line pieces from crusting.
7. Stein Screw with Gears on the Outer Forearm
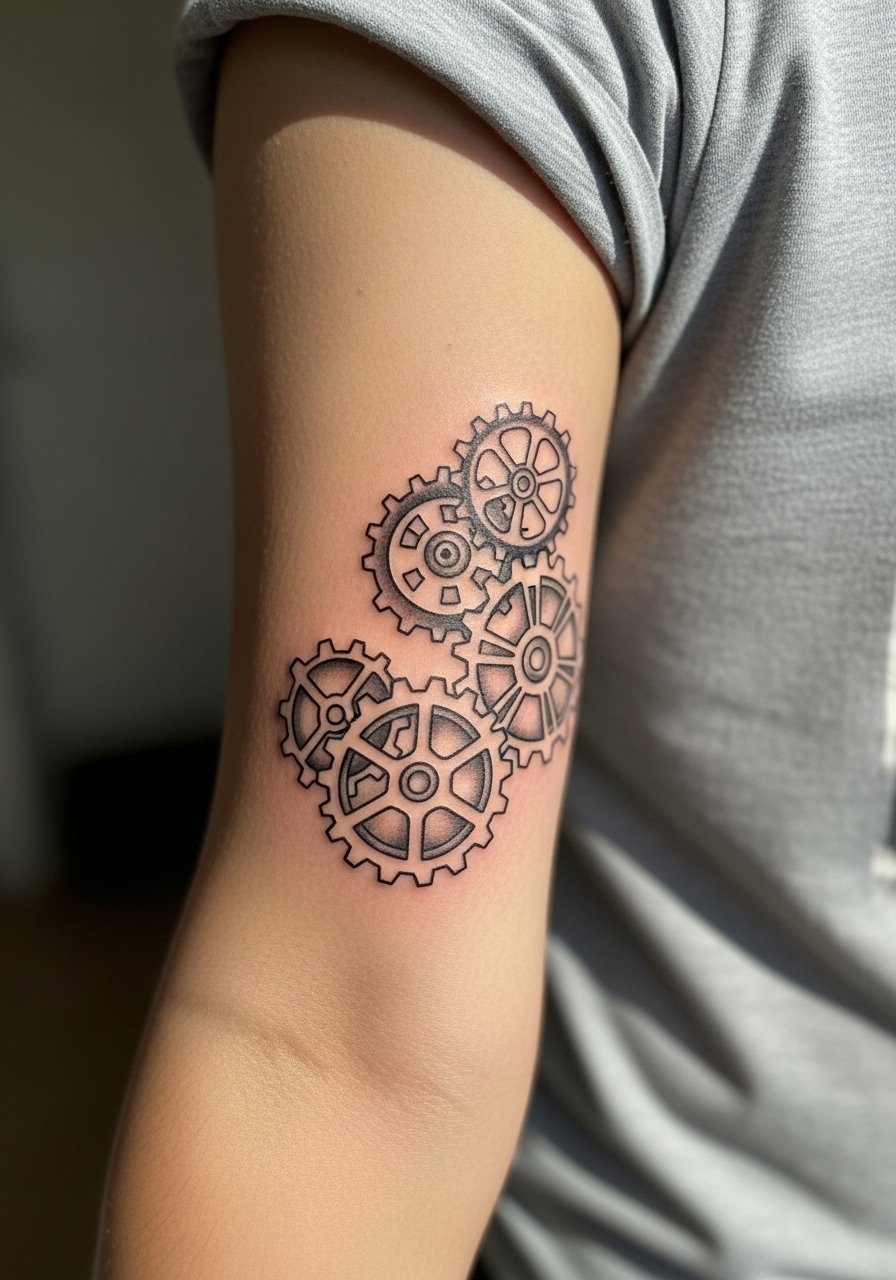
The outer forearm is forgiving with saturation and a popular place for steampunk-anime fusion. The gears let the design breathe so the forehead screw reads as an emblem rather than a tiny portrait. During the consult mention you want the gears to frame rather than crowd the screw so the silhouette stays readable from a distance. The session runs around two hours for a 5 inch piece and the pain is mild to moderate. One common mistake is asking for micro detailing in the gears that will blend together after a year. For the session wear a loose short-sleeve button-up so the artist can access the whole forearm without tugging at fabric.
8. Black Star Shoulder Burst as Sleeve Starter
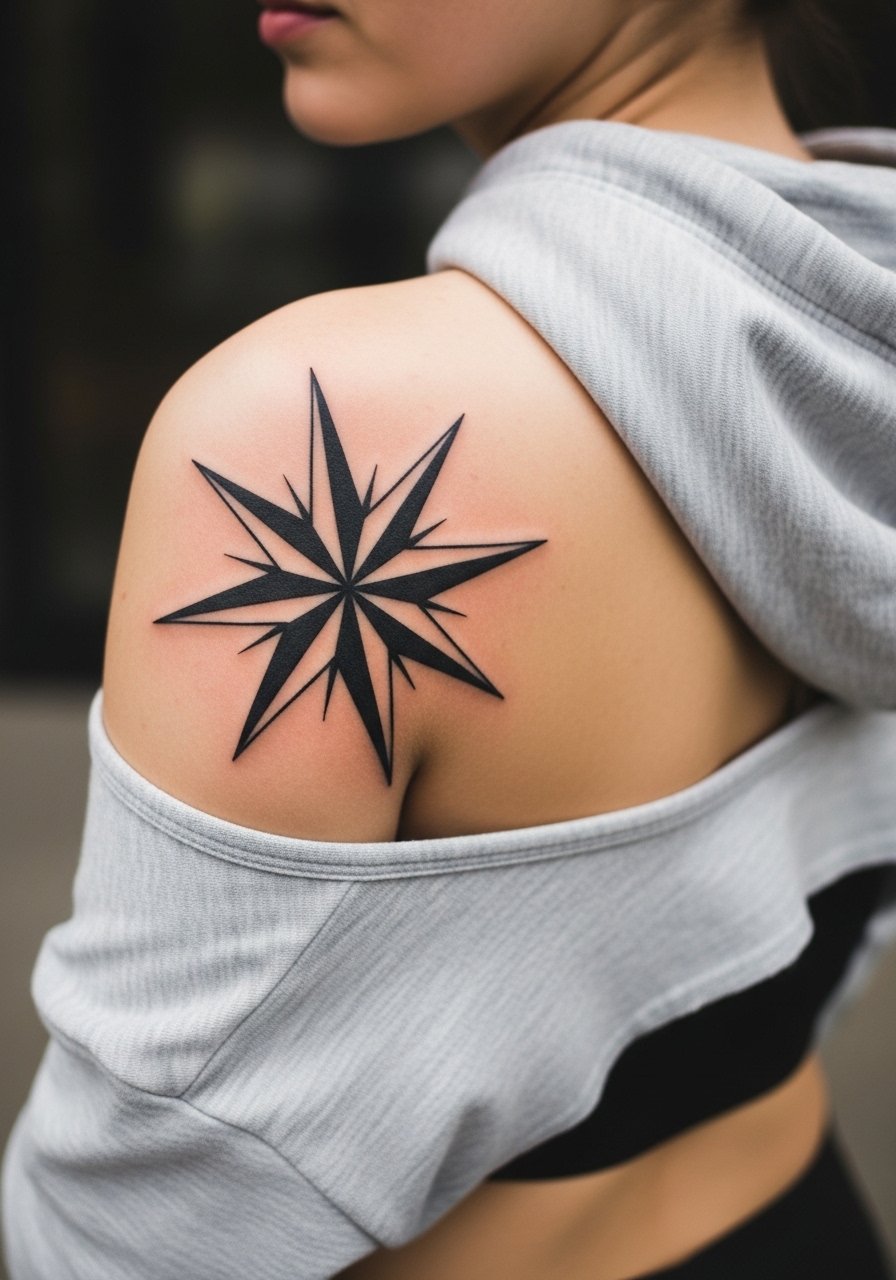
Using a black star as the anchor for a future sleeve gives you room to expand without repeating motifs. The star should be scaled so negative space is part of the plan, and that spacing prevents early merging when more elements are added. If you plan a full sleeve later, tell your artist during the first session so color and line choices match future pieces. The shoulder handles bold saturation well, and touch-ups are rare unless the area sees heavy sun. For showing this off pick a backless tank or crop hoodie that frames the upper back without distracting patterns.
9. Crona Somber Portrait Outline on the Ankle

Ankle tattoos are small and personal. A minimalist Crona outline here carries emotional weight and keeps lines simple so they hold up against shoe friction. Be realistic about scale. Tiny facial elements will smear over time. Ask the artist for a slightly bolder contour line than you would use on the face so the silhouette remains recognizable at six months and two years. Pain on the ankle can be sharp but brief, and you should expect touch-ups earlier than for the shoulder. Wear shoes and clothing that let you keep the area clean while it heals. For a subtle display try pairing this with a thin leather cuff bracelet on the opposite wrist so attention balances across your look.
10. Minimalist Crona Outline on the Neck
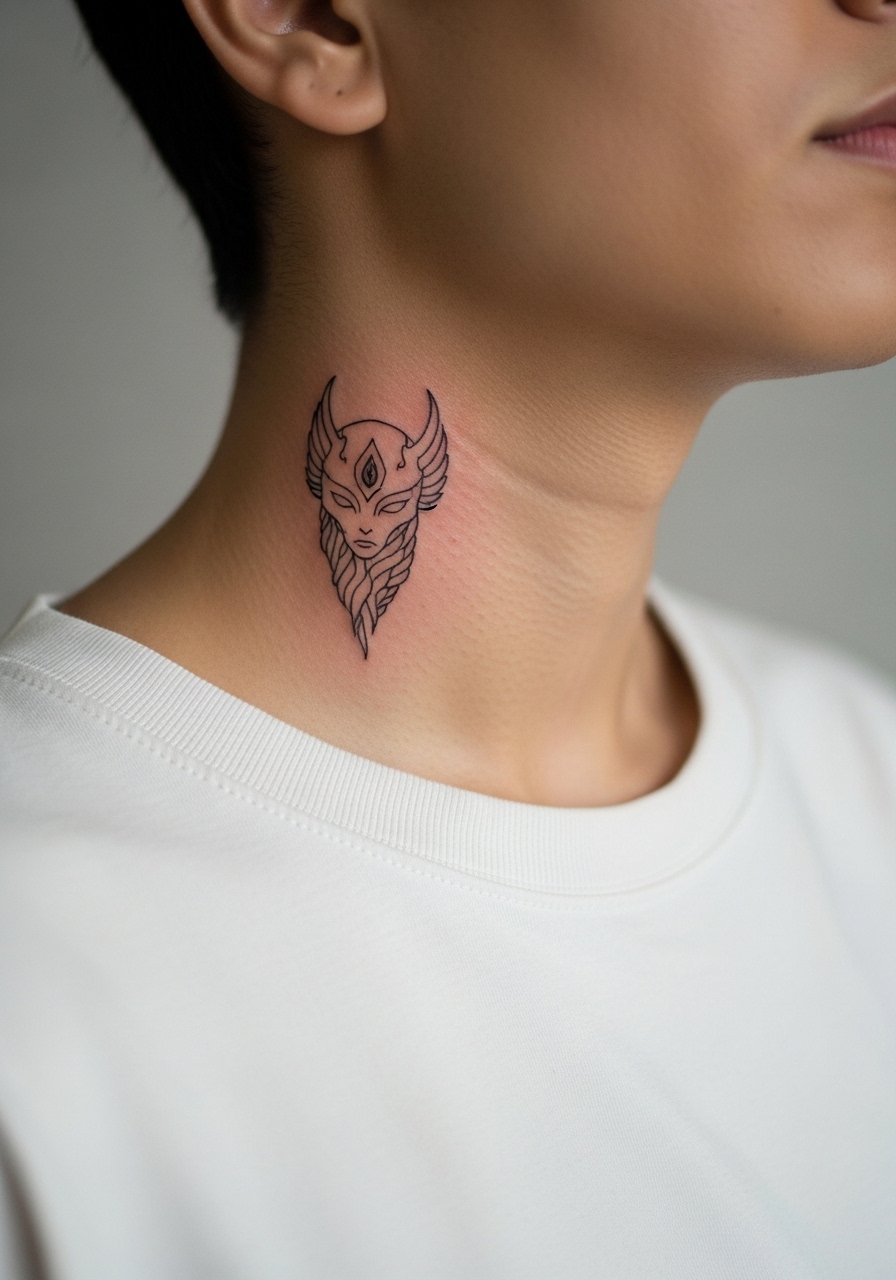
Neck placement for a minimalist portrait reads intimate and requires a candid chat about visibility and career considerations. The linework should be deliberate, with negative space left around the face to avoid merging. Some artists advise against very fine single-line portraits on the neck because of skin movement. If you go ahead, plan for a touch-up at year one. The session can be short but intense. For day-of ease pick a v-neck tee or wide-neck shirt that you can shift without removing layers. Also, have the conversation about Saniderm versus dry healing so you know both views and can pick the method that fits how active you are while recovering.
11. Small Soul Eater Sun Wrist Piece

Wrist tattoos show immediately and need bold linework to remain distinct through washing and movement. A simplified sun grin at 2-3 inches should have thick outer lines and open facial negative space. Expect a single short session and plan for a touch-up in the first 12 to 18 months if you use your hands heavily. One common error is asking for a lot of color on the wrist which can fade faster under constant sunlight and washing. For session convenience skip bracelets and wear a short-sleeve shirt so the artist has clear access. Thin leather cuffs on the opposite wrist help the new ink look intentional during the first few weeks.
12. Moon Serene Face on the Thigh
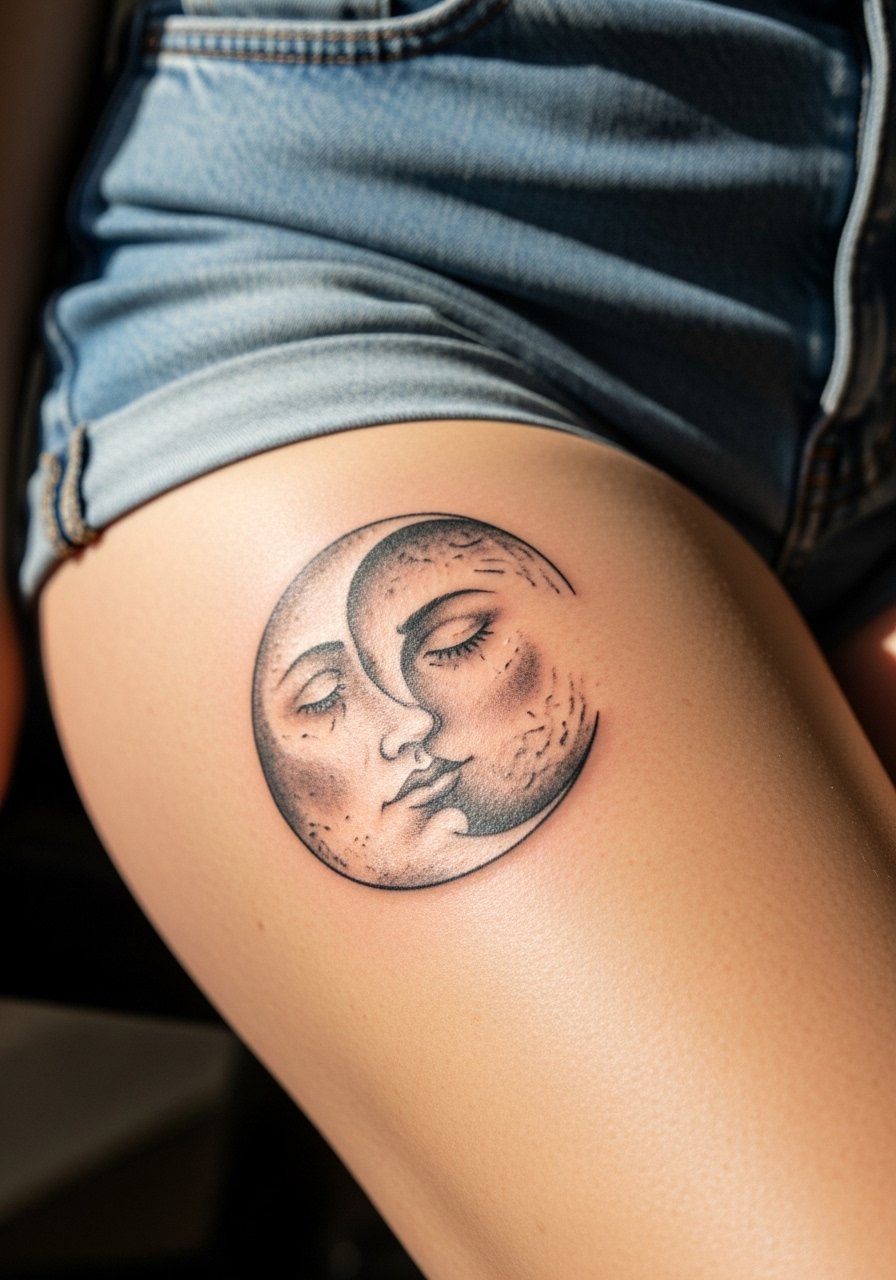
Thigh placements are forgiving for shaded realism since they avoid constant sun and friction. The moon face can maintain delicate shading longer here, which makes it a good choice if you want realism without frequent touch-ups. The session will feel like a long stretch of steady work rather than sharp spots, and a two-hour block is common for a medium piece. A frequent mistake is asking for overly tiny facial features which lose definition as the skin ages. For showing the piece pick high-waisted shorts or skirts that lift slightly to frame the tattoo and keep clothing off the area while it finishes initial healing.
13. Crona Ragnarok Ribcage Abstracts
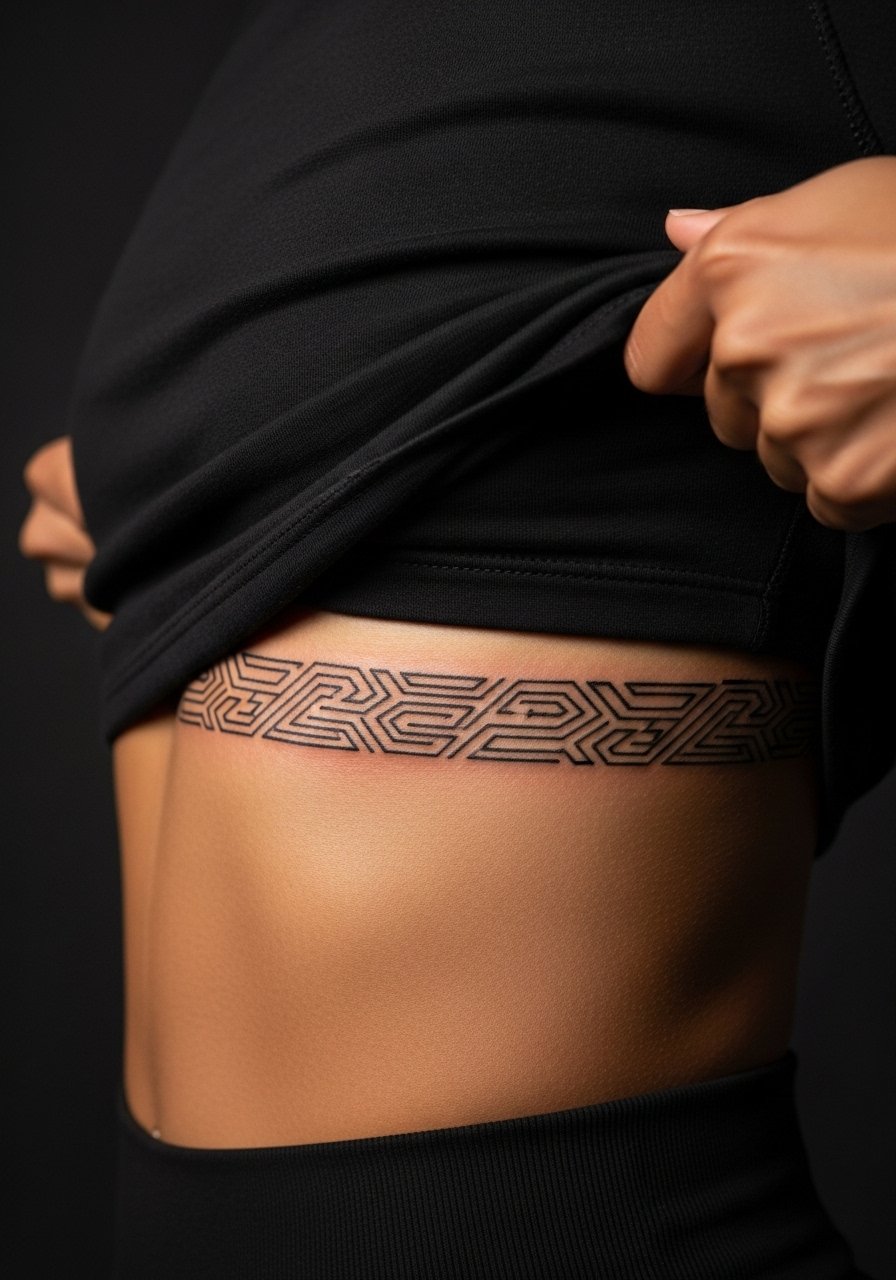
Ribcage work delivers emotional drama because the canvas is large and intimate. The linear Ragnarok patterns benefit from slightly increased line spacing to accommodate skin stretch. Artists split on fine line on ribs. One group warns that dense details merge quickly, and the other group says proper depth and breathing room prevents early blur. My recommendation is to favor spacing and plan for a scheduled touch-up at year two. Pain is high here so plan short sessions or numbing if you prefer. For the session wear a cropped athletic top you can lift so the artist can work without full undressing.
14. Blackwork Forearm Duo for Dark Skin
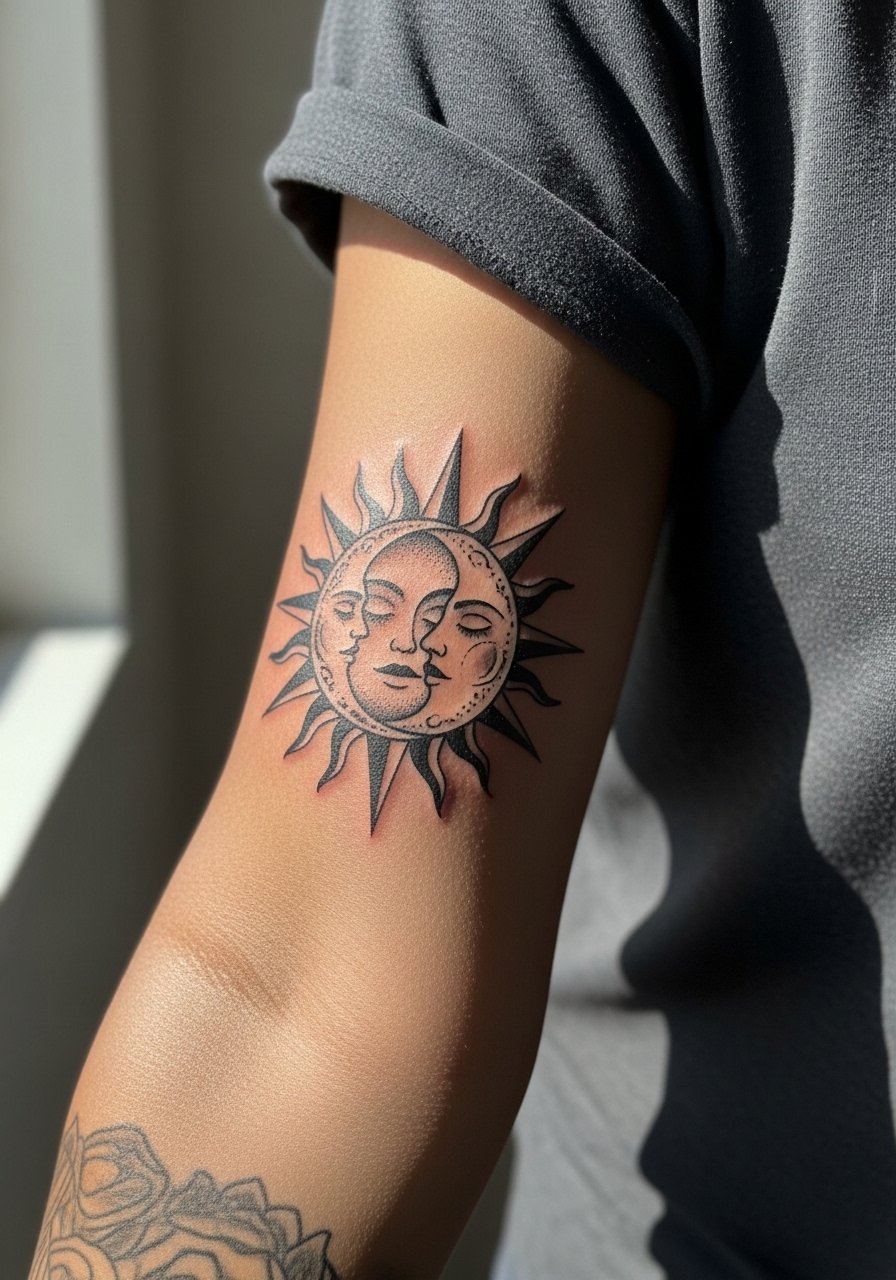
Dark skin benefits from heavier saturation and thicker lineweight in bold styles. I have seen cases where thin lines washed out over time, so specifying blackwork with bold outer contours and solid fills is a practical tweak. Ask your artist to show healed examples on similar skin tones during the consultation. The piece heals with strong contrast but may need a touch-up around year two if UV exposure is frequent. For the session wear a loose short-sleeve button-up so the artist can reach the full forearm without rubbing fabric against fresh ink.
15. Black Star Back Patch for Sleeve Expansion
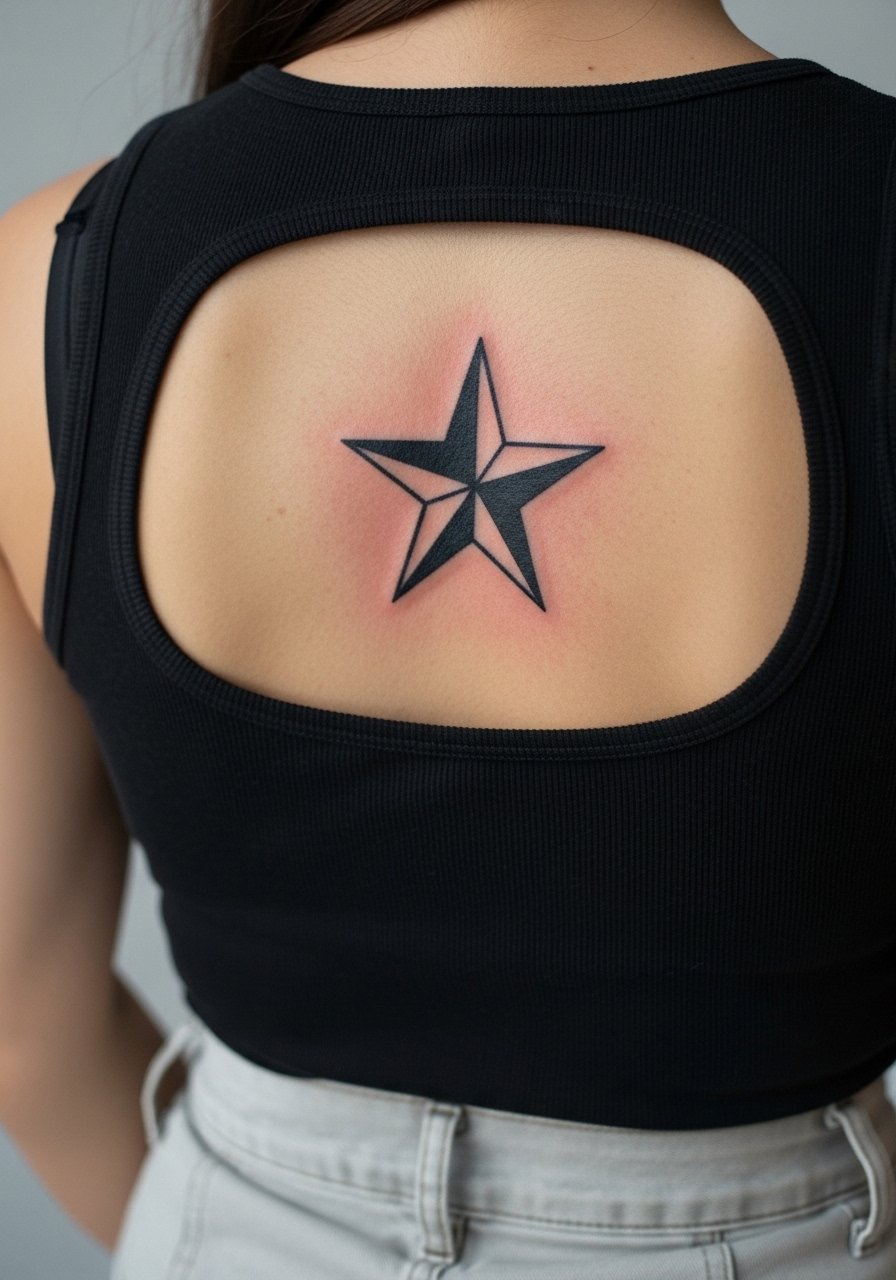
A centered back patch works as a bold foundation for future patchwork and sleeves. The advantage is scalability. Ask the artist to leave negative breathing room around the star so later elements can sit comfortably without crowding. A common misstep is starting too small, which forces compression when more pieces are added. Back skin tolerates saturation well and touch-ups are rarely required unless tanning is frequent. For session access wear a front-open button-down you can remove easily or a tank top you can pull down for the artist.
16. Minimal Moon Wrist Outline with Accessory Pairing
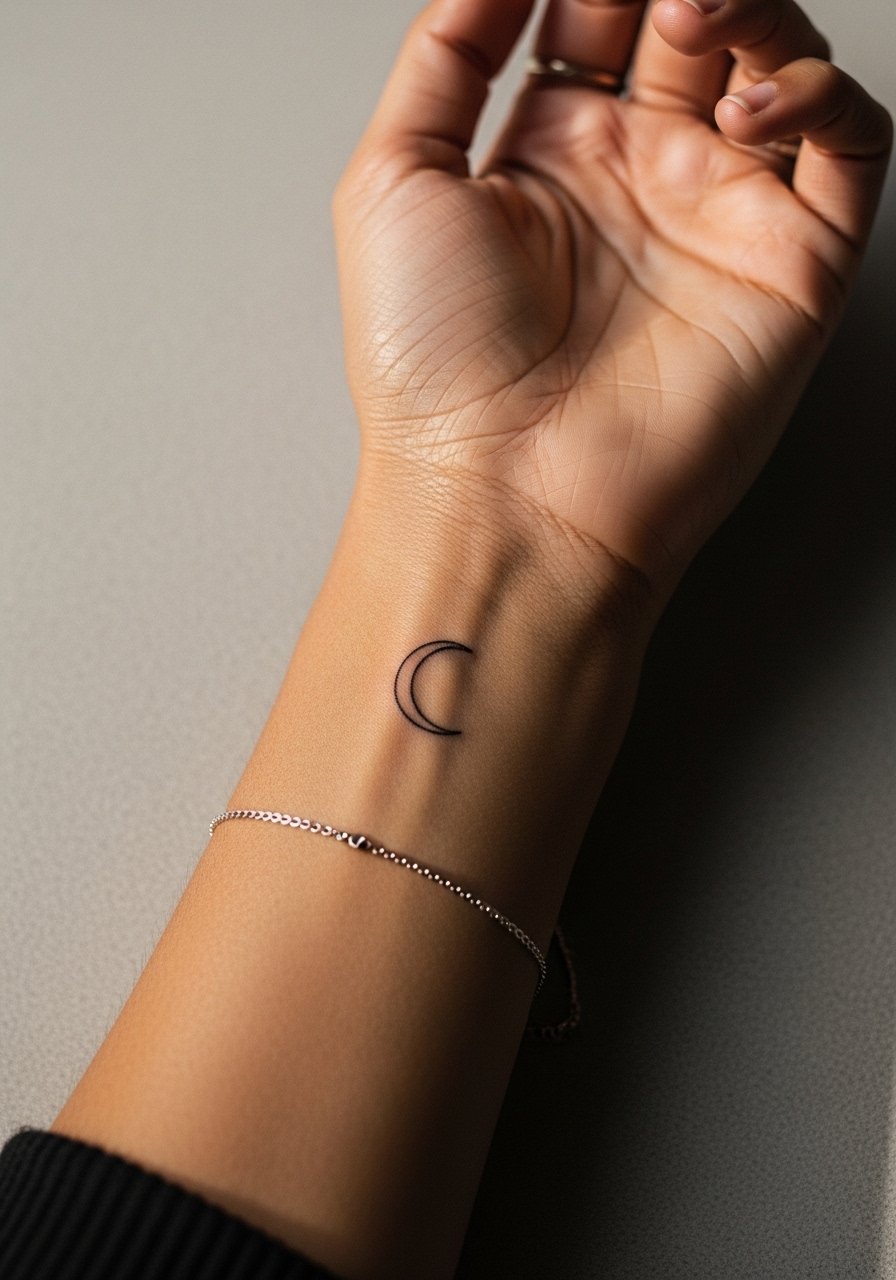
Wrist outlines need careful scale. A tiny moon requires a slightly bolder stem line so the shape remains clear through hand washing and constant movement. The usual mistake is stacking bracelets directly over fresh wrist ink during healing. For display, pair the moon with a thin chain pendant necklace or a minimalist watch on the other wrist so attention remains balanced. Expect a short session and a touch-up window at 12 to 18 months, especially if you type or wash hands often.
17. Duo Sun-Moon Sleeve Starter on Full Forearm
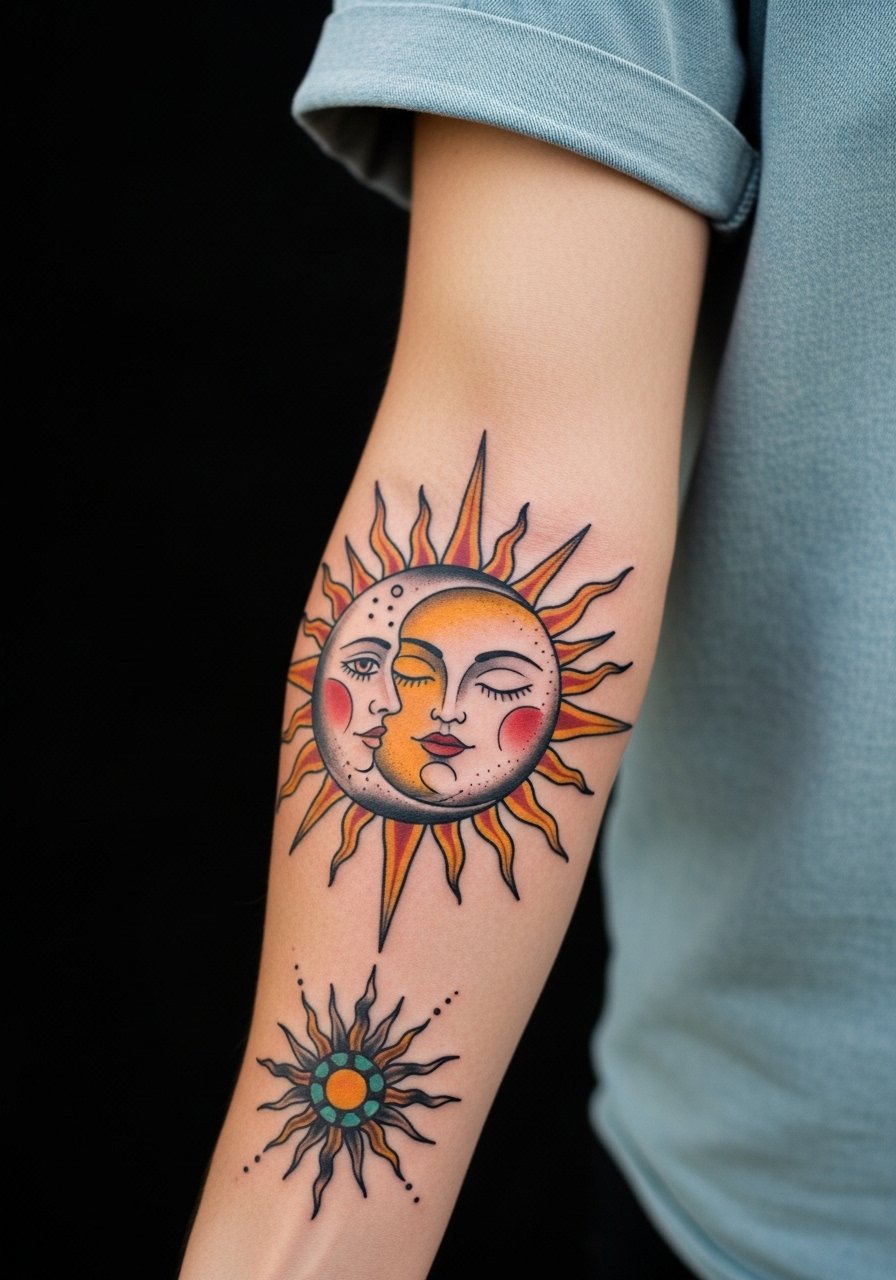
A full-forearm sleeve starter needs planning for flow. The sun and moon duo can sit at opposite ends of the forearm with transitional filler like stars, gears, or negative space. Tell your artist you intend to add more panels later so they match saturation and linework for continuity. The session will likely take 2 to 3 hours and may be split into multiple visits depending on your pain tolerance. A mistake is treating the sleeve as a single flash piece without considering how additions will join the main motif. Plan for touch-ups in years two to four depending on sun exposure and activity.
Frequently Asked Questions
Q: How should I address fading concerns on darker skin for bold Soul Eater pieces?
A: Go for thicker linework and saturated black fills rather than tiny detail. Ask the artist to show healed examples on similar skin tones and schedule a touch-up at year two if needed.
Q: Is Saniderm or dry healing better for the sun and moon designs on forearms?
A: Artists are split. One camp favors Saniderm for a clean barrier and controlled moisture. The other camp prefers dry healing to let scabs form naturally. Discuss both approaches with your artist and pick the one that fits your daily routine and activity level.
Q: Will a forearm sleeve starter limit future design choices?
A: It can if the initial piece is too tight or uses unique color mixes. Tell your artist during the consult you want expansion and ask them to use compatible saturation and negative space to keep future options open.
Q: How do I avoid getting overcharged for small custom Soul Eater icons?
A: Get multiple quotes and compare deposit policies. Use booking platforms to find guest spots and avoid impulse walk-ins that can lead to markup on small custom pieces.
Q: Should I use numbing cream for a bold blackwork session on the neck or ribs?
A: Numbing cream is common for longer bold sessions and can help with intense placements. Some purists oppose it, so ask the artist whether they work with topical numbing and how it might affect shading or line consistency.
