
Fine line trends look great in photos, but they do not always last the way people expect. Bold blackwork and saturated Irezumi often keep their presence longer, while tiny, dense linework blurs faster on mobile joints and sun-exposed skin. If you are planning a full bodysuit, think in themes and session pacing rather than single-day wins, and start with a consultation list so your first session sets the direction for the whole suit.
1. Irezumi Dragon and Koi Full Body Suit

Traditional Irezumi reads like a long-form story and it rewards patience. Expect heavy saturation sessions that last multiple hours and a plan that maps the dragon and koi movement across torso and limbs. Tell your artist you want clear narrative flow from back to limbs so sleeves do not feel like separate pieces. A common mistake is piecing in random color palettes that interrupt the scene. Pain on the ribs and upper thigh can spike, so plan shorter sessions there. For showing this off, try a silk kimono robe men or an open back tank top to frame the artwork.
2. Abstract Geometric Body Wrap
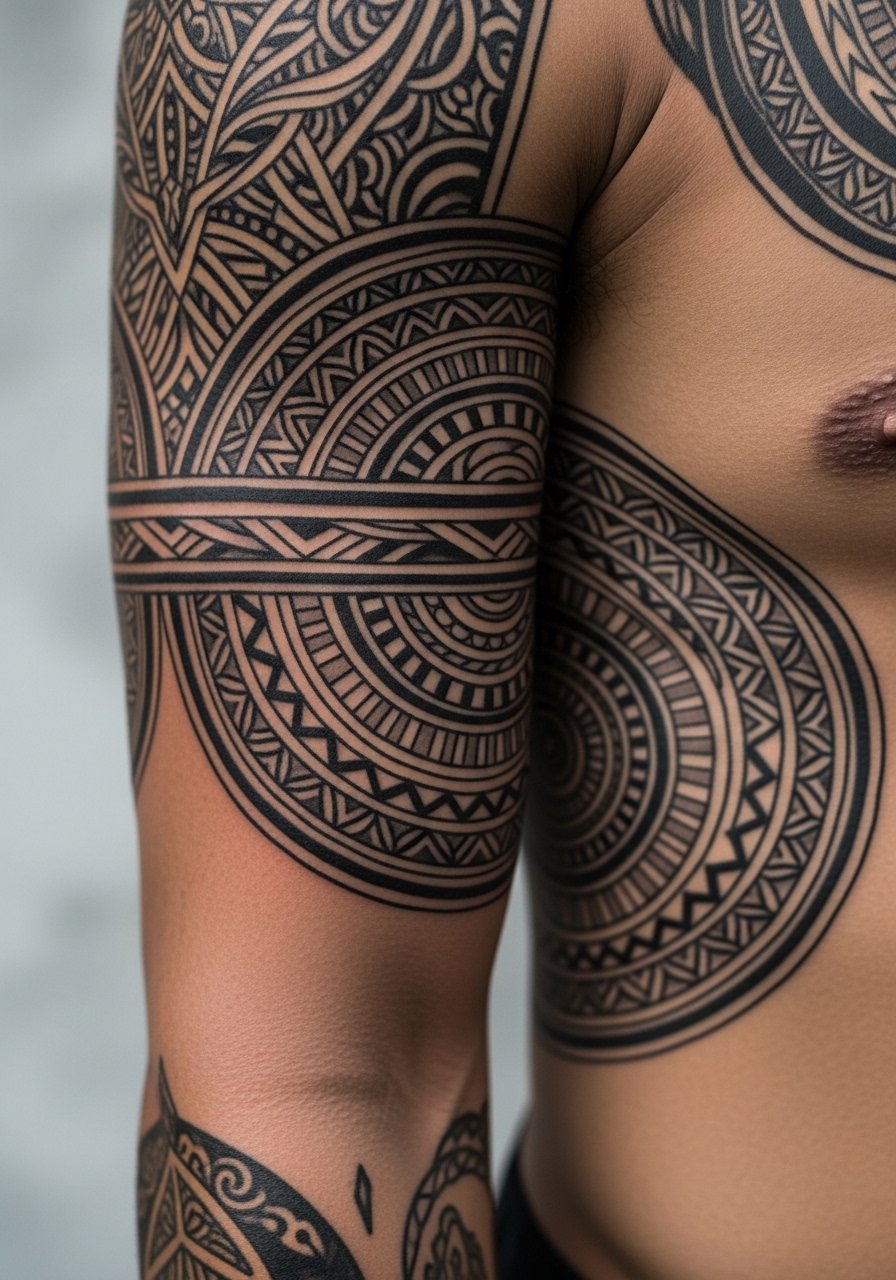
Geometric wraps rely on negative space and consistent linework more than color. Ask the artist for spacing diagrams in the consultation so mandalas and tessellations can breathe. The most common mistake is making patterns too dense on curved areas, which leads to early merging. Expect moderate pain on ribs and longer sessions on the torso because artists need to keep symmetry. Over time, dense black lines hold better than micro-lines. Pair this with a rolled sleeve button up shirt when you want to display the wrap without distracting patterns.
3. Biomechanical Full Body Fusion
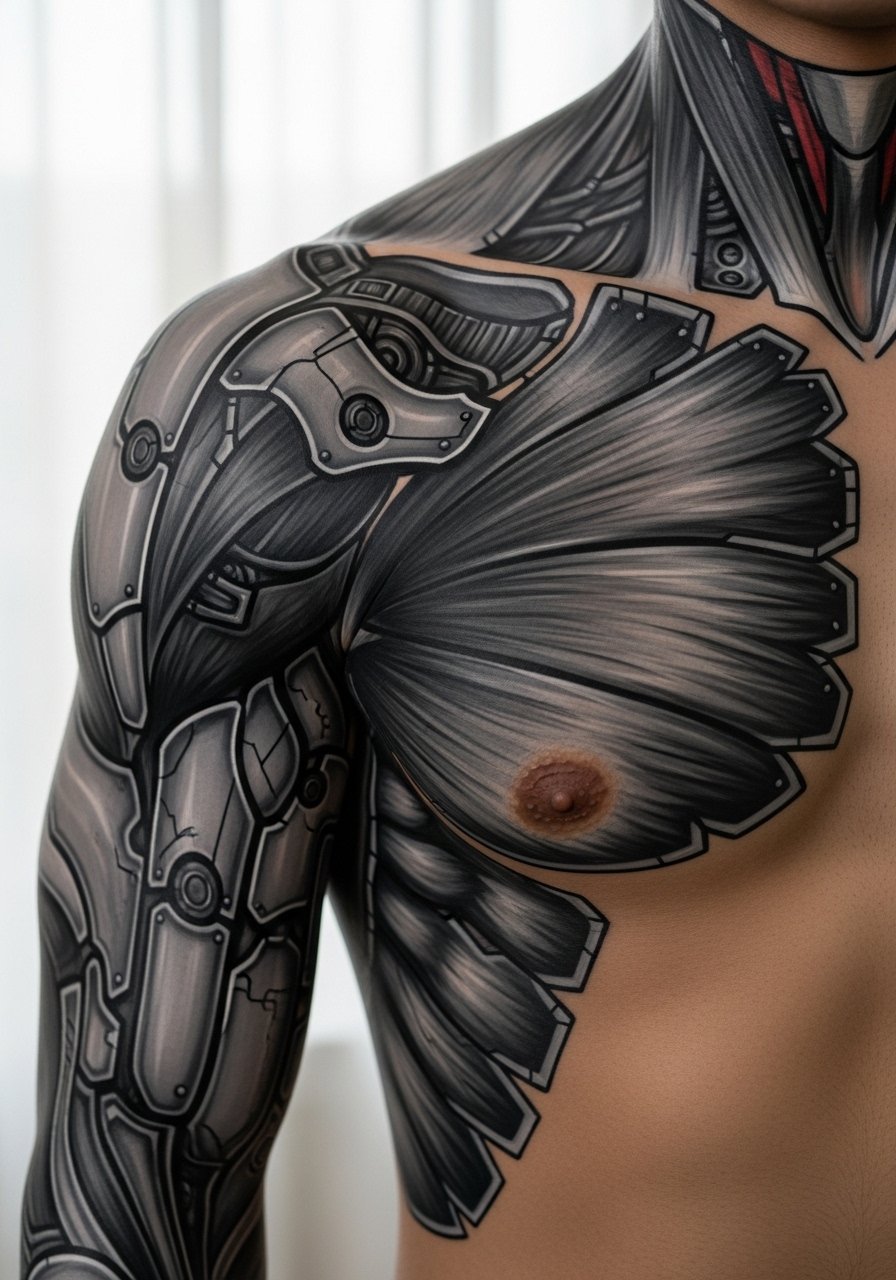
Biomechanical designs blend metallic shading with organic shapes that follow musculature. During consultation, specify whether you want literal mechanical parts or stylized blackwork that suggests hardware. One frequent error is overcrowding details at small scale, which becomes muddy as the skin ages. Artists split on realism versus stylization in this field. One camp favors hyper-real metallic shading to sell the effect. The other camp prefers graphic blackwork to avoid early blending. Name which camp you prefer and expect touch-ups around joints where flexing causes subtle loss of saturation. For session comfort, wear an open button down vest so chest and shoulder access is simple.
4. Sacred Geometry Bodysuit
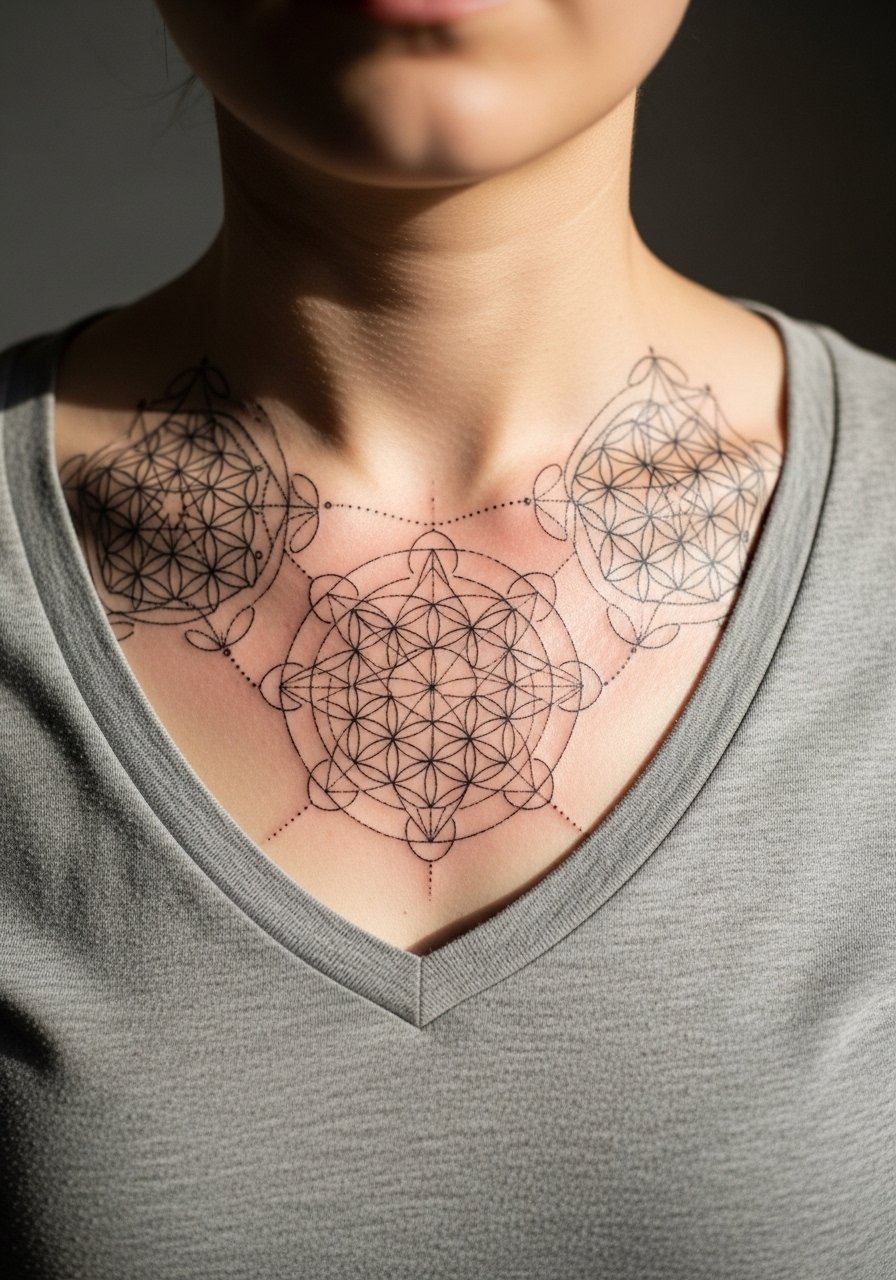
Sacred geometry works best when scaled to the torso so symmetry can be maintained. Ask for a mock-up showing how a central mandala aligns with clavicle and sternum landmarks. The biggest mistake is shrinking the pattern to fit a small patch, which destroys radial clarity in five years. Expect long, precise sessions focused on consistent needle depth and stipple shading. Healed, the design reads as crisp if spacing is generous, but dense tight lines on soft skin areas need touch-ups sooner. Pair this with a v neck tee men and a layered chain necklace to echo the geometry.
5. Mythical Narrative Full Coverage
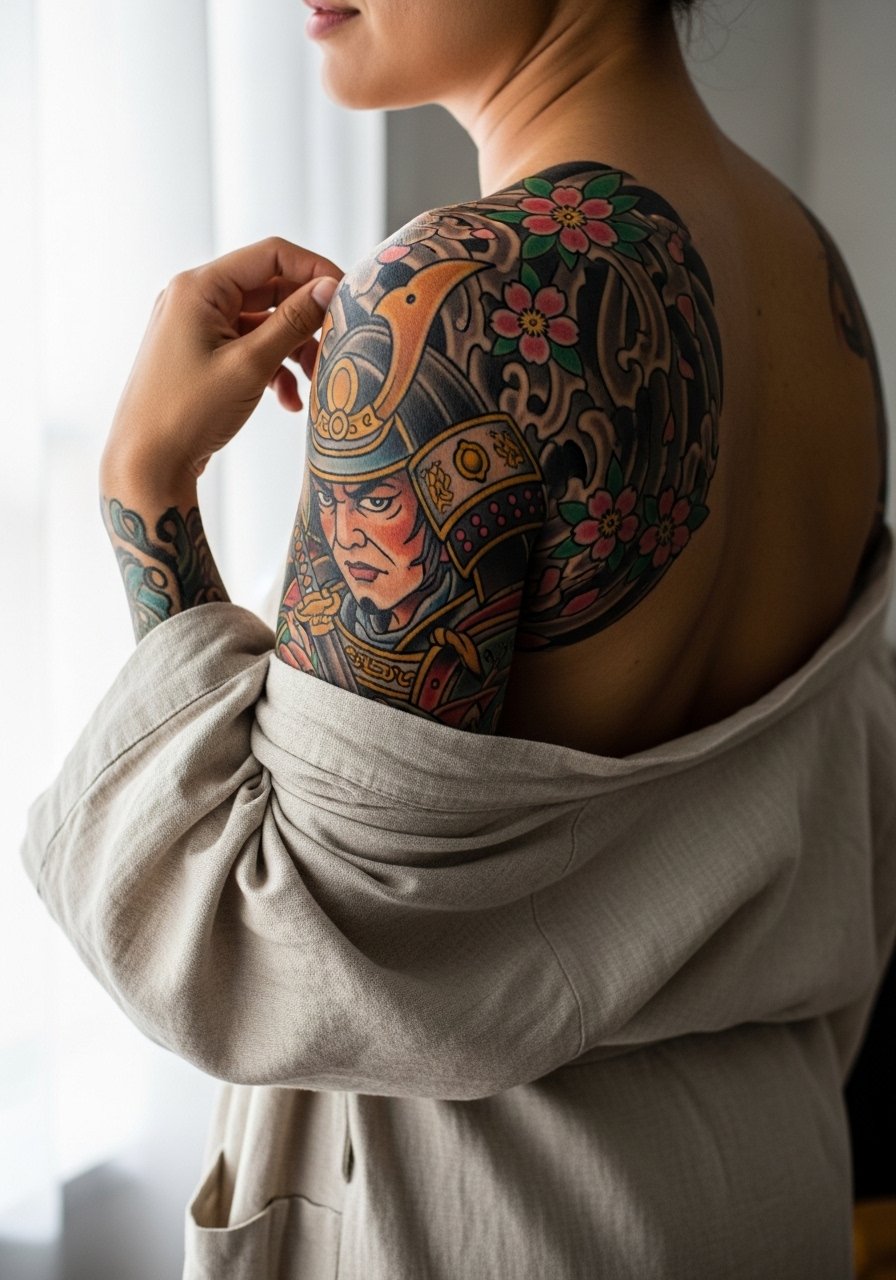
A narrative bodysuit asks for continuity so characters and motifs flow across seams. Tell your artist you want visual connectors like waves, clouds, or floral bands to link limbs to the torso. A frequent mistake is swapping styles partway through the build, which creates patchwork coherence. Expect multiple sessions per major panel and plan yearly touch-ups for color saturation. For the session, a loose linen robe or a button-front shirt works well so the artist can access wide areas without fabric pulling.
6. Futuristic Cybernetic Sleeve-to-Legs
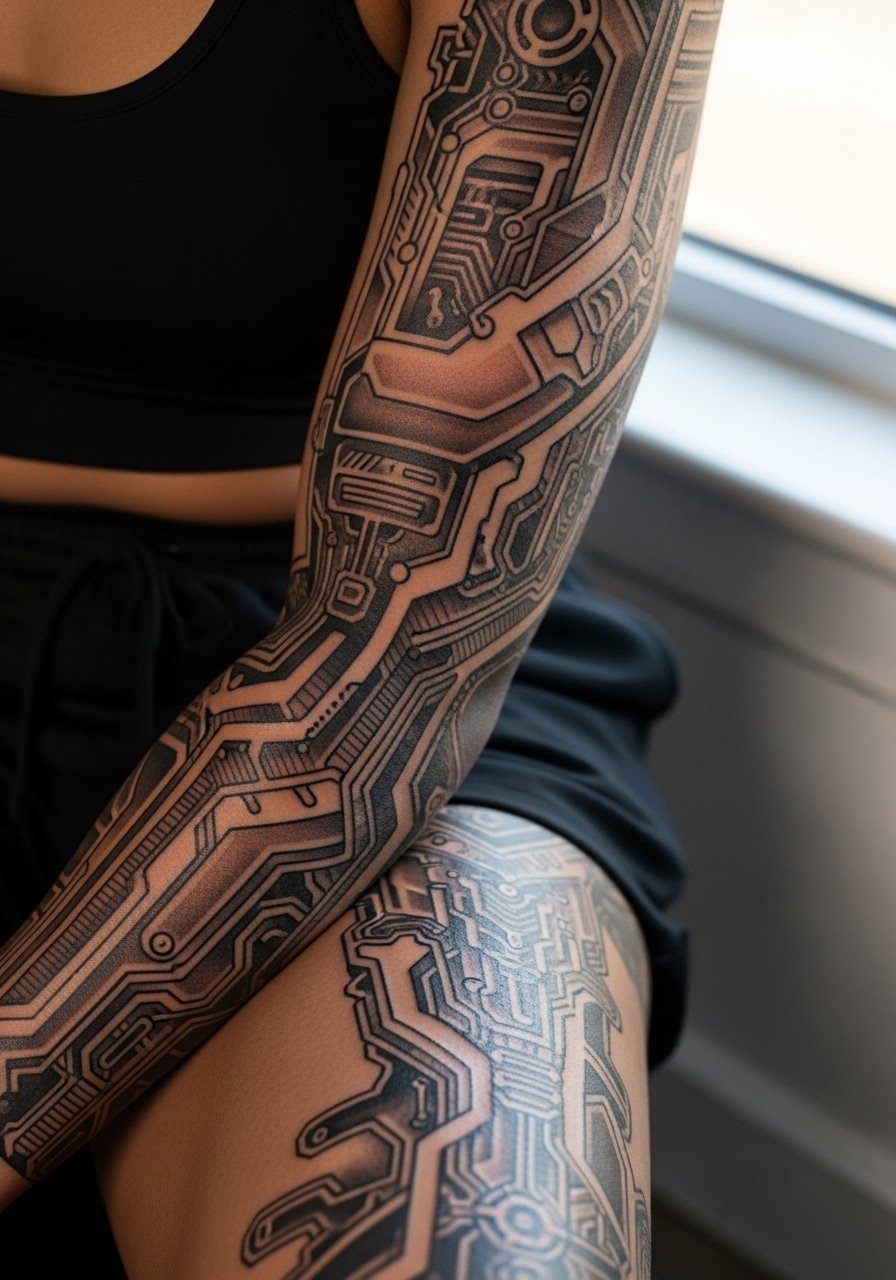
Cybernetic suits favor black and gray contrast with negative space to simulate plates and wiring. During consultation, show movement references so panels sit naturally over joints. People often ask for excessive micro-detail at tiny scale, which is a recipe for blur. This style can be session-heavy on limbs but the payoff is strong visual cohesion once healed. For session ease and to show off the work, try slim fit joggers men rolled at the calves or matte black combat boots for the finished look.
Studio Day Picks
The torso work and limb wraps above demand different prep and first-week supplies, so these picks smooth the session and protect fresh linework from friction.
-
Stencil transfer paper kit. Helps you and the artist preview placement on curved surfaces like ribs and shoulders before needles touch skin.
-
Topical numbing cream. Applied per directions it eases the edge on sensitive zones such as the ribs and sternum without changing linework when used correctly.
-
Thin protective film roll. Useful for areas that rub against clothing during the first days, especially full-arm and upper-thigh panels.
-
Fragrance-free body wash. Gentle cleansing keeps large healed areas from irritation without stripping color on saturation-heavy pieces.
-
Aquaphor healing ointment. A thin initial layer helps hold moisture for small fine-line zones and saturated color fields during the earliest stage.
7. Negative Space Floral Wrap

Negative space designs use untouched skin as a compositional element. When you consult, point to where you want skin left clear so the artist can plan outlines and background shading. The usual misstep is overfilling the background, which reduces the contrast that makes the flowers read. Healed, these hold well because contrast is intentional, but edges near high-motion areas like the wrist can soften and need touch-ups in two to four years. For showing off the forearm, rolled-up sleeves from a rolled sleeve button up shirt frame the wrap without competing.
8. Watercolor Fields Across Torso
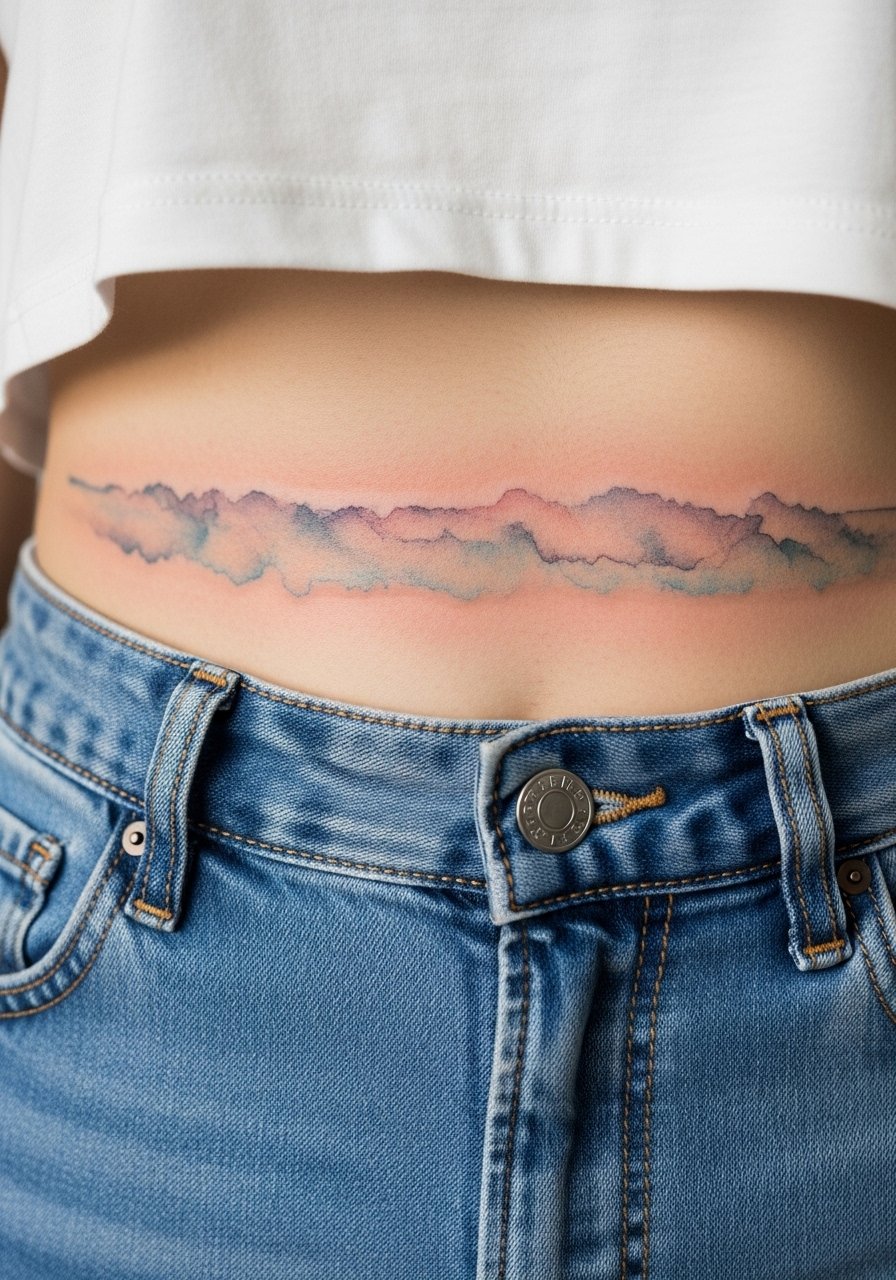
Watercolor-style full torso pieces favor painterly washes and minimal outlines. Tell your artist you want saturation anchored by subtle linework in high-motion zones so color does not disperse unpredictably. The biggest mistake is relying on watercolor without planning for fade; lighter washes will need refreshes earlier than saturated work. Expect moderate pain on the abdomen and multiple shorter sessions to layer color. For session comfort, wear a cropped tee and high-waisted bottoms that allow the artist to access only the strip they need.
9. Full Portrait Panel Series
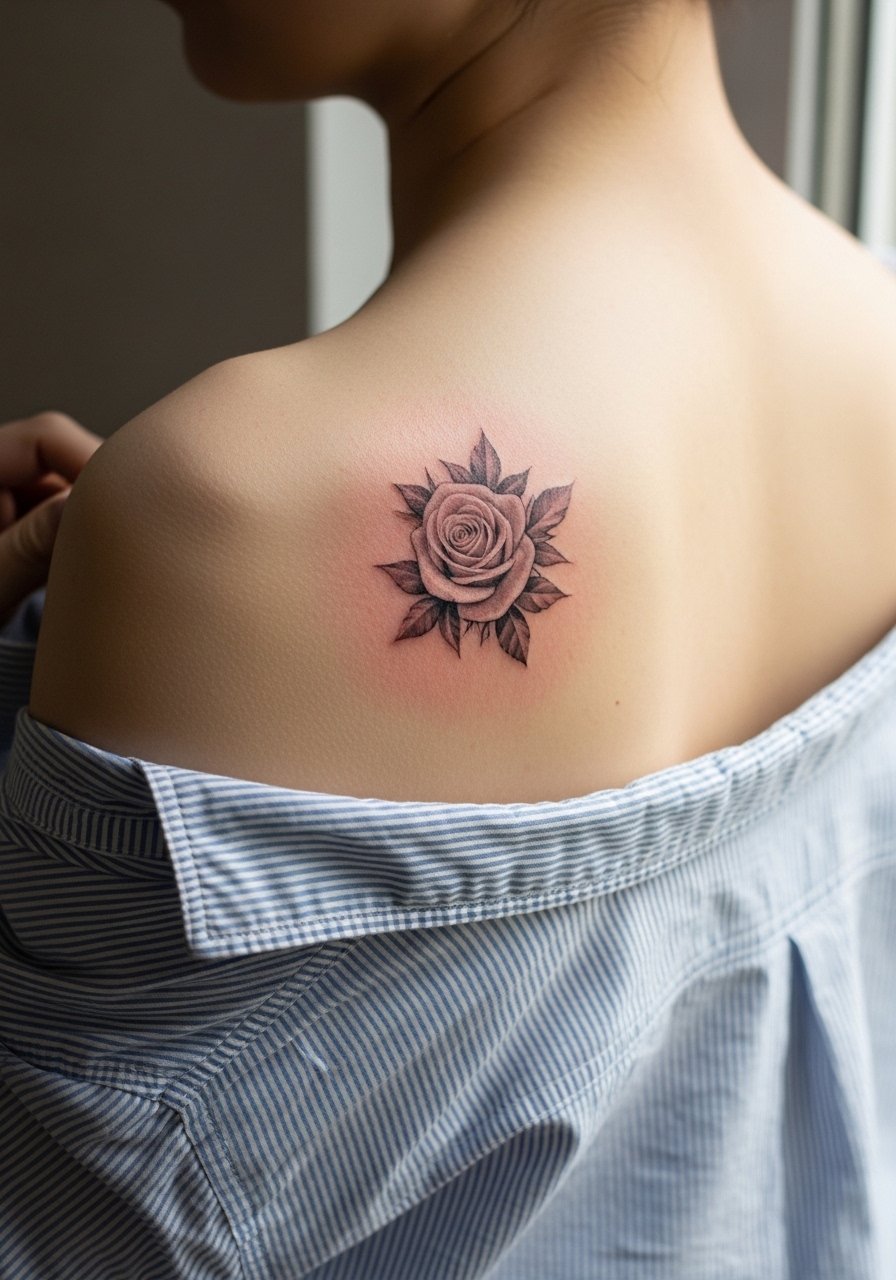
Portrait panels suit people wanting photographic realism spread across panels. Bring high-resolution references and say whether you want a soft stipple approach or a bolder contrast model. A common error is choosing low-res images, which forces artists to invent facial detail and can feel off. Portraits age differently depending on skin texture and sun exposure, so plan touch-ups in sun-exposed zones. For easy access during sessions, a loose button-down shirt that you can pull aside works best.
10. Full Legs Biomechanical Fusion

Leg suits allow bold scale and dramatic shading. Tell your artist whether you want continuous flow from hip to ankle or separate leg panels with mirrored motifs. Mistakes show up when panels ignore knee movement and crack visually during flexing. Calf and thigh hold saturation well, but touch-ups are common at the knee line. For session wear, choose loose athletic shorts so the artist can roll or shift fabric without pressure, and bring hydration for longer leg sessions.
11. Checkerboard and Optical Illusion Bodysuit

Optical wraps use repeating patterns that shift with body contours. During consultation, request mock-ups photographed on your body so distortion reads as intended. The usual mistake is ignoring natural body asymmetry, which causes the intended optical effect to look skewed once healed. These designs demand precise linework and plan for touch-ups where skin stretches. Pair a finished hip panel with high-cut shorts or a swimsuit bottom for the same visual rhythm you planned in the studio.
12. Celestial Timeline Across Back
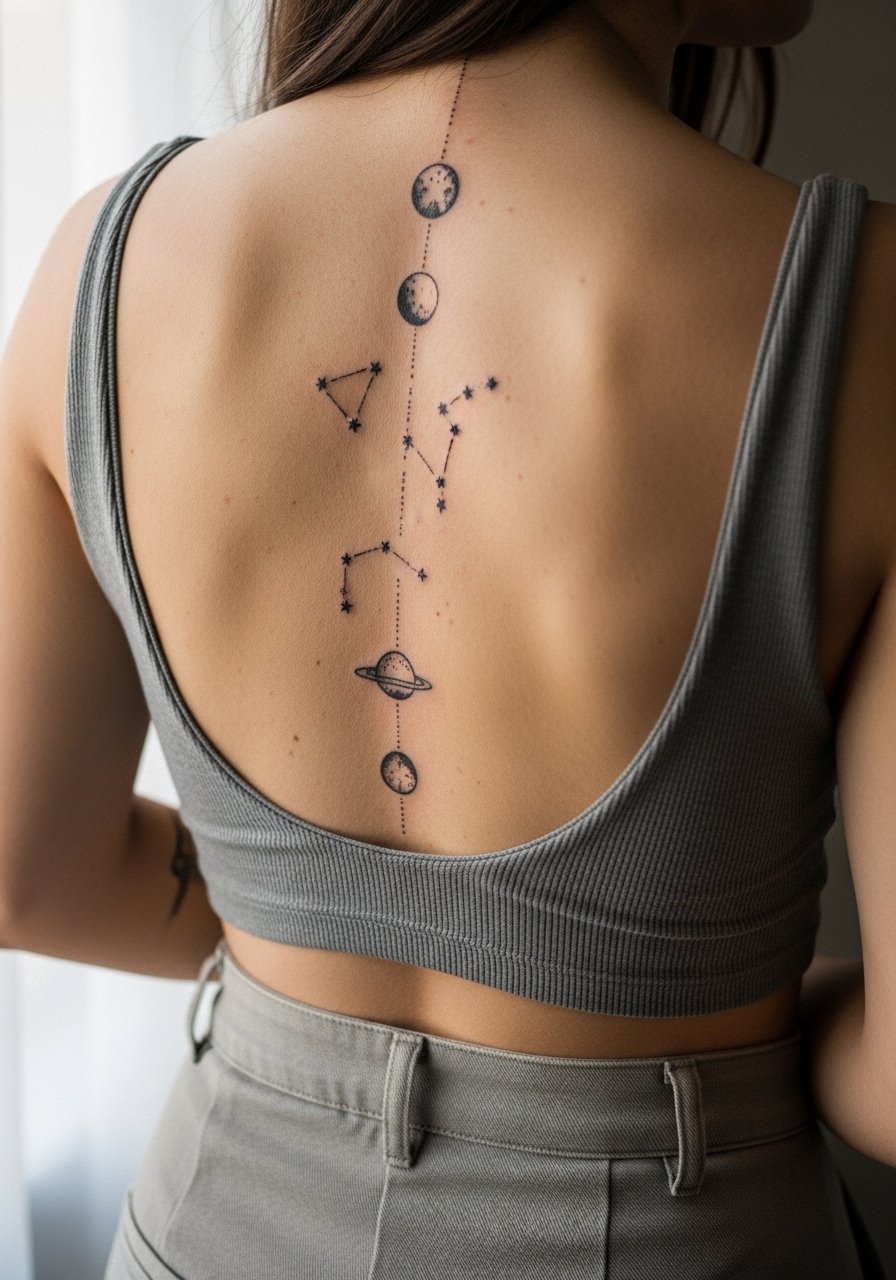
A back-spanning celestial timeline reads like a personal atlas when spaced properly. Tell your artist exact dates or symbols you want to preserve as text so placement can align with vertebrae landmarks. A common issue is cramming too many small symbols, which blurs over time. Plan for occasional touch-ups on the spine where movement alters line density. For display, open-back dresses or halter tops make the timeline a focal point without crowding the imagery.
13. Full-Body Script Panels
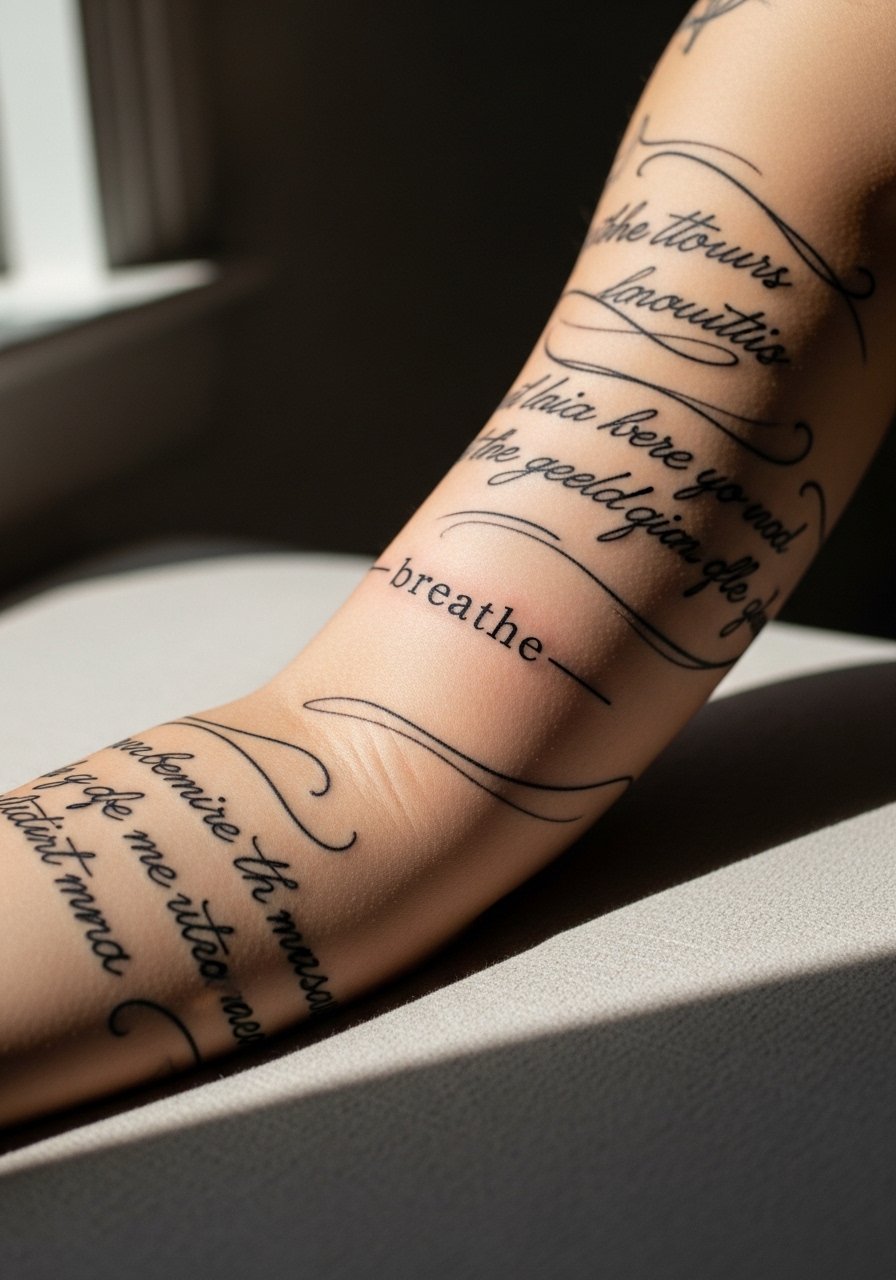
Script panels need exact wording and font decisions during the consultation. Provide the exact text and preferred spacing, and ask for a few mock-up scales so you can choose the most legible option. The mistake most people make is choosing ultra-tight lettering for curved areas, which becomes unreadable. Expect quicker sessions per panel but plan for touch-ups in high-friction zones like the wrist. Pair script sleeves with a minimalist leather cuff for subtle framing and to avoid visual clutter.
14. Stipple-Shaded Ornamental Suit

Stipple and dot work create texture without solid fills, and they age predictably when spacing is respected. Tell your artist you want clear gradation points so dot densities do not merge later. A common mistake is over-concentrating dots in curved hollows, which can compact into a darker patch. Sessions lean toward meticulous, slower work and require steady positioning. For showing off chest pieces, a v neck tee men or a thin chain pendant work well to echo the ornamental lines.
15. Armor Plate Blackout Transitions

Blackout panels are dramatic but require precise edge planning to age cleanly. Tell your artist where you want crisp negative edges and where you prefer feathered transitions. The mistake many make is demanding a large blackout patch without discussing future modification plans. Blackout holds well but any later cover-ups or additions require a new design strategy. For session comfort, wear a tank top that can be adjusted so the lower back is exposed only where needed.
16. Micro-Realism Wildlife Suite

Micro-realism works best in panels where detail can be appreciated up close. Bring clear references and tell the artist whether you want soft stipple shading or crisp contrast. A usual error is requesting very small portraits for high-motion spots, which can lose detail as skin shifts. Expect moderate sessions focused on linework and fine shading, and plan for touch-ups at two to four years depending on exposure. Show this style off with a sleeveless muscle tank so viewers can study the detail.
17. Celtic Knot Continuous Wrap
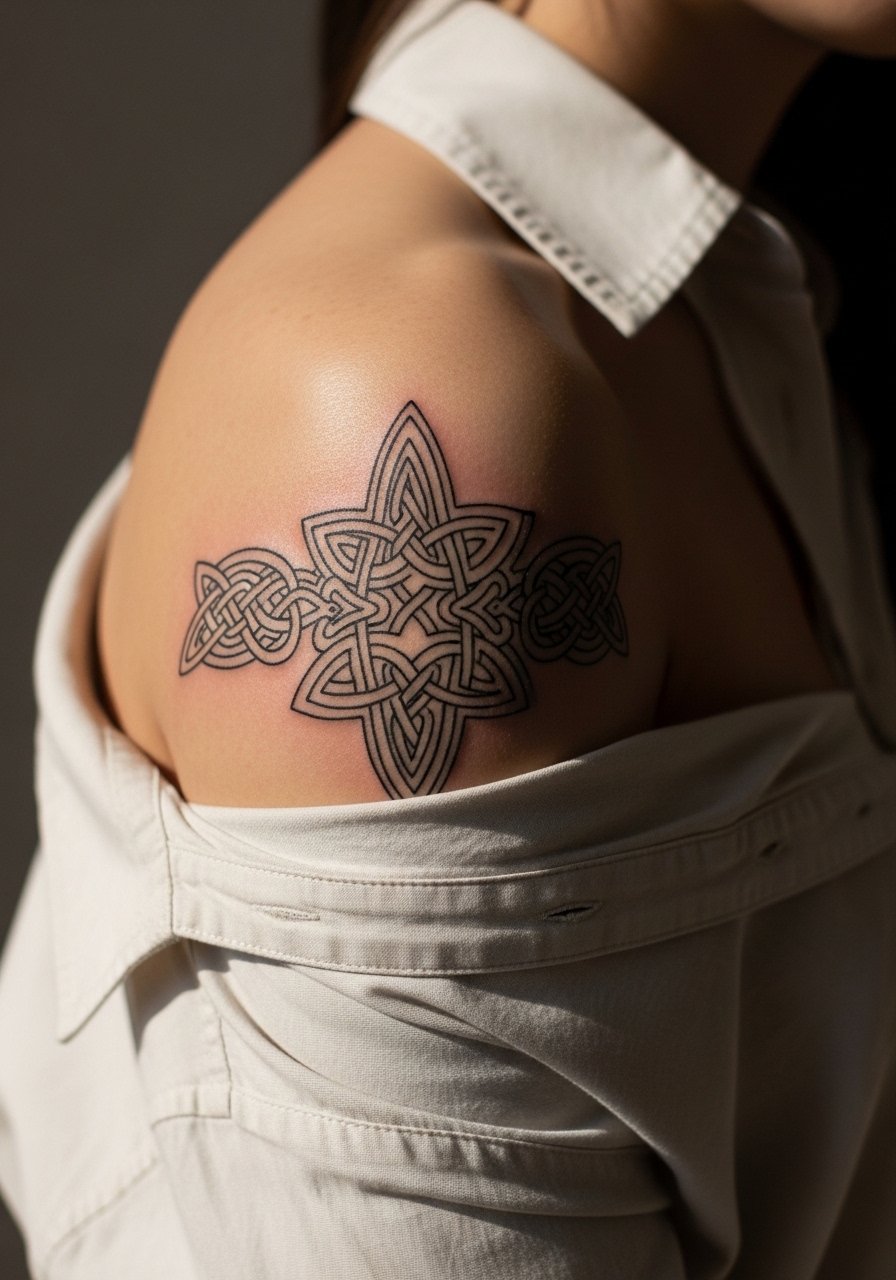
Celtic knotwork depends on uninterrupted flow to read correctly. During consult request full-scale stencils that show how knots cross seams so breaks do not disrupt patterns. The common mistake is ending a knot at an awkward seam, which kills the intended loop. These hold well when line spacing is generous and spacing is planned around joints. For session wear, a loose button-down shirt you can shift is practical.
18. Gradient Color Field Bodysuit
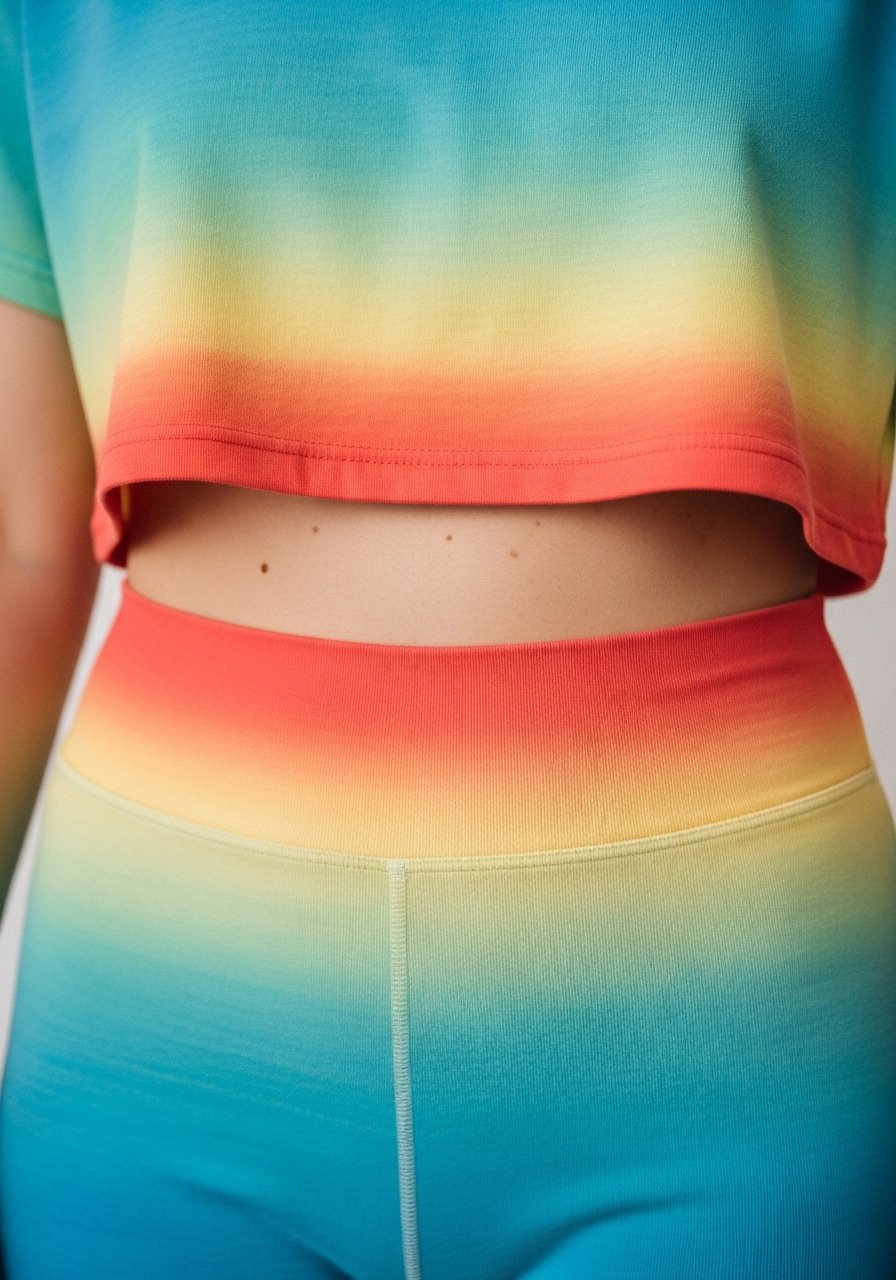
Gradient fields unify a bodysuit through color transitions rather than strict motifs. Ask for color swatches to be applied to your skin during consult so you can see how pigments sit on your tone. The pitfall is mismatched undertones across panels that break cohesion. Color fields need periodic touch-ups to maintain smooth gradients, especially in sun-exposed areas. For sessions, wear clothing that lets the artist access only the strips they need so transitions are blended consistently.
19. Tribal-Inspired Modern Wrap

Contemporary tribal wraps reinterpret ancestral patterns with modern geometry. Be explicit about which elements you want to adapt so cultural origin is respected rather than copied verbatim. A common mistake is mixing emblematic motifs from different traditions without context. Bold blackwork holds up well, but edges near the ankle where shoes create friction will need attention. Pair with rolled jeans or sandals to highlight the ankle work.
20. Optical Banding Around Limbs
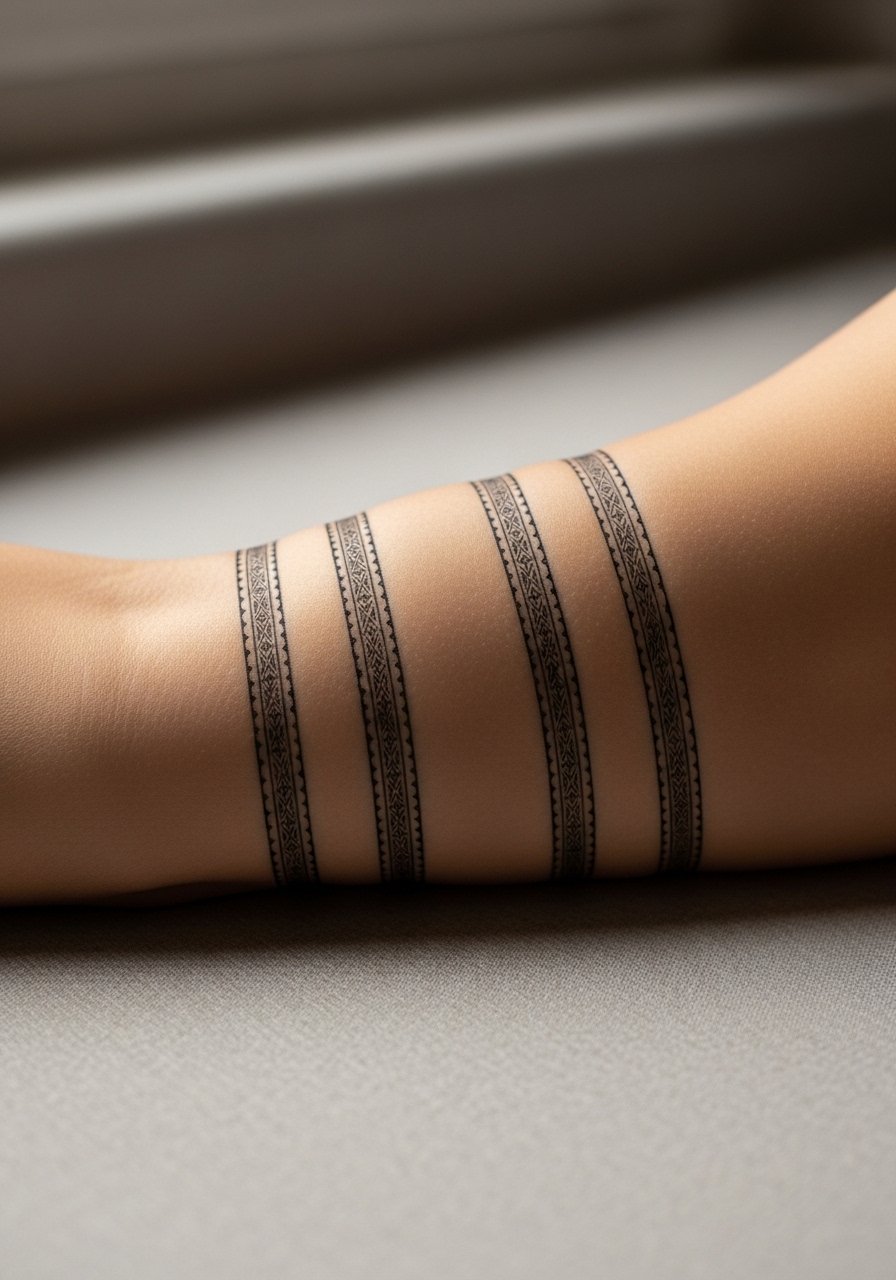
Optical bands look great when spacing is precise. Tell your artist you want clear measurements so bands sit evenly around limbs and avoid compression areas like the elbow crease. The mistake is ignoring muscle volume changes which can warp bands as you move. Healed, these read clean if the lines were scaled appropriately. For display, rolled-up sleeves or short-sleeve shirts keep the focus on the bands without competing patterns.
21. Portraits Interlaced with Floral Panels
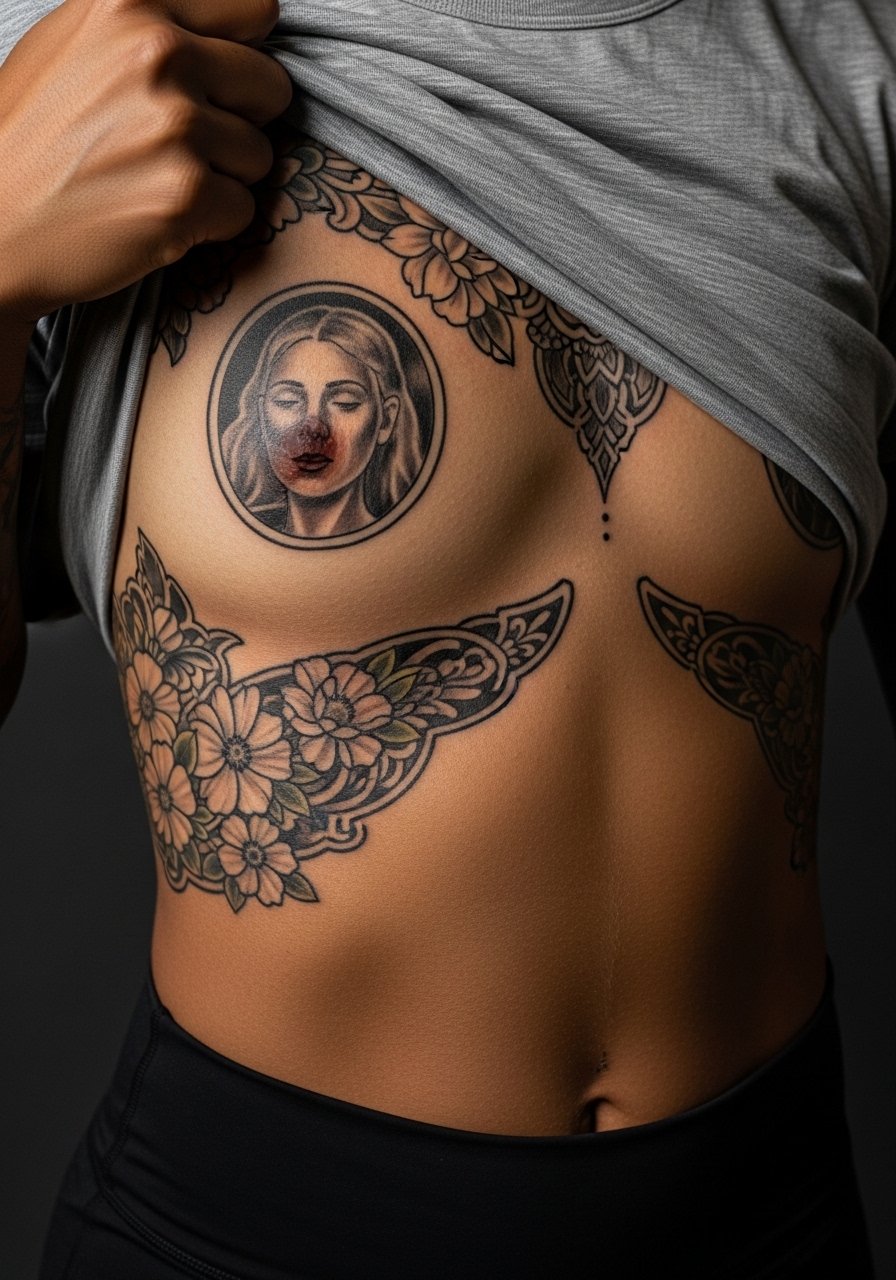
Combining portraits with floral frames yields dramatic contrast, but the ribcage is a tricky canvas. Artists split on fine line portraits on ribs. One group says the stretch and motion blur fine detail within two years. The other group argues that with precise depth and slightly larger scale portraits, the work settles fine. Ask your artist where they stand and request mock-ups at multiple scales. For session comfort, plan short appointments and wear a cropped athletic top you can lift easily.
22. Full-Body Scripted Timeline
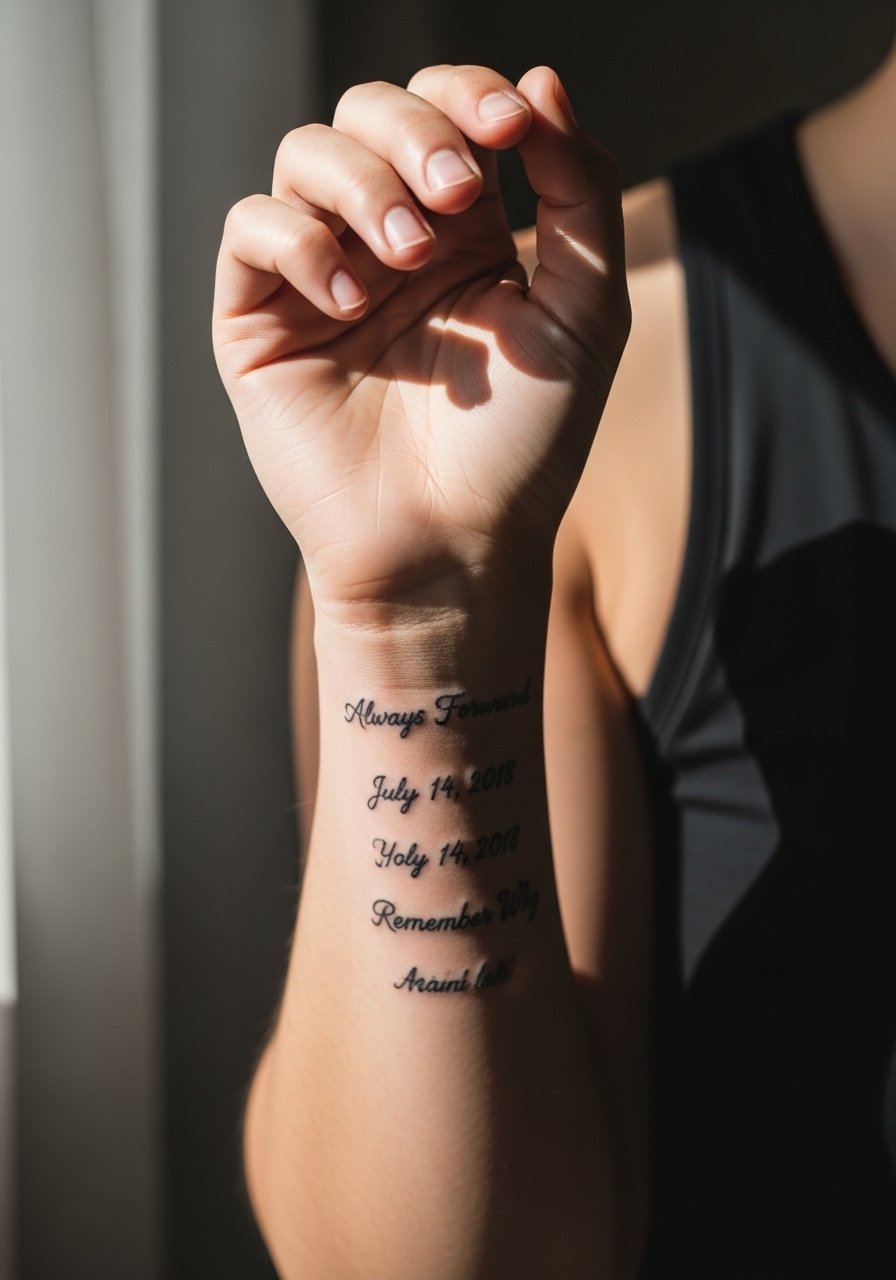
Scripted timelines let you stitch milestones across the body. Specify exact fonts and sizes during consult and place longer lines where skin stretches less. A common error is tiny lettering on high-motion zones like the wrist and fingers, which loses legibility quickly. Expect touch-ups on hands and wrists sooner than on torso panels. For display and functionality, a thin chain pendant can sit above chest scripts without crowding the area.
23. Collage Bodysuit of Small Panels
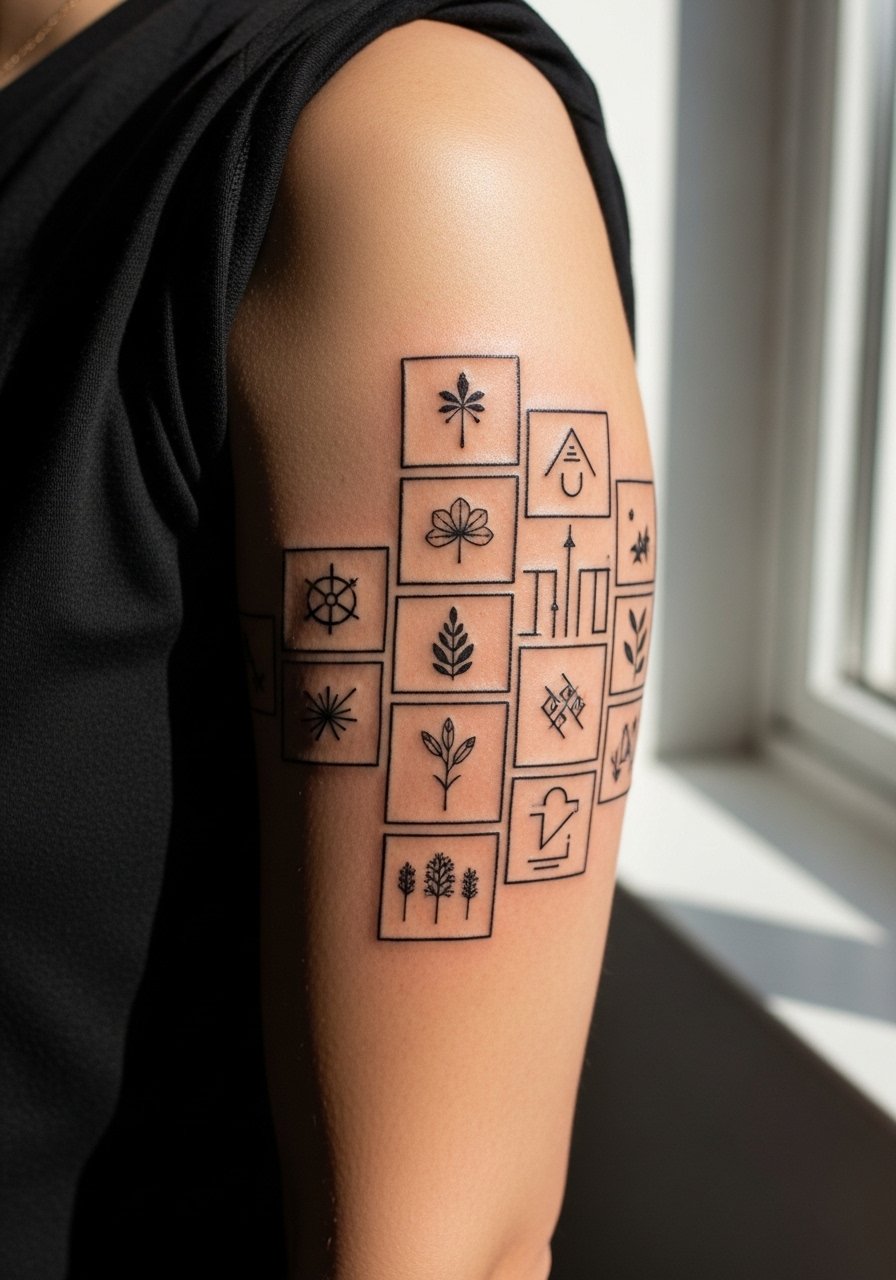
Panel collages let you build a suit over time without committing to one continuous motif. When planning, tell your artist you want unifying elements such as a fixed border or recurring palette so pieces read as parts of a whole. The mistake many make is collecting random flash without a plan, creating a patchy look. Healed, panels vary in wear based on placement. For sessions, a sleeveless option like a sleeveless muscle tank speeds access and keeps lines crisp.
24. Armor-Plate Neo-Traditional Suit

Neo-traditional armor plates combine bold outlines with rich saturation. Tell the artist you want heavy outlines and deep saturation in the plates so detail holds as the piece ages. A typical error is reducing outline weight to try for delicate detail, which makes the design fade into skin texture. Sessions on the chest can be long but the result reads from a distance. For showing off, a v neck tee men frames the plates without overcrowding.
25. Minimalist Continuous Line Bodysuit
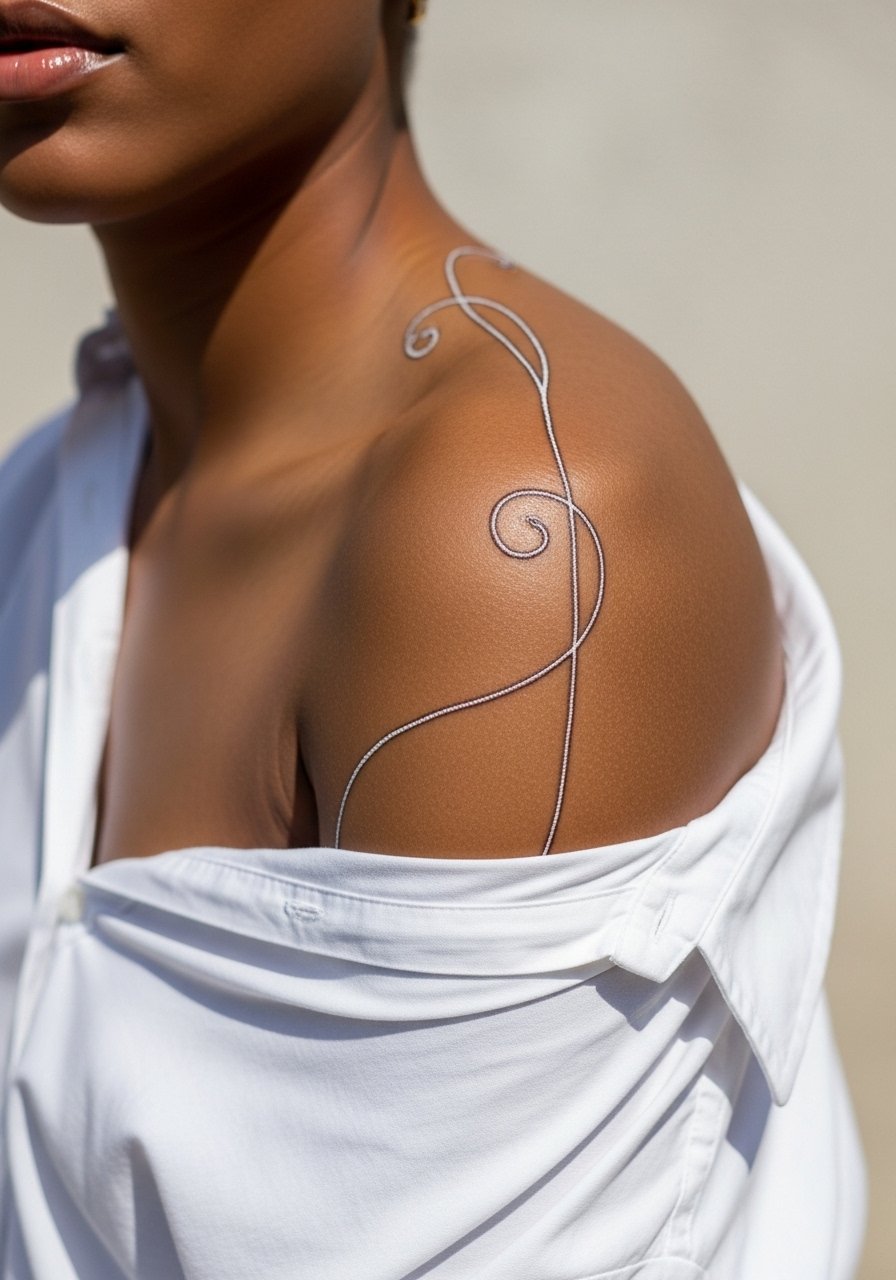
Continuous single-line bodysuits look effortless, but they require confident execution. During consult, specify line weight and where you want deliberate gaps for negative space. The biggest mistake is asking for a line too thin over joints, which leads to breakage over time. Healed, single-line works best when scale is generous and spacing avoids high-friction zones. For session wear, a loose button-down shirt you can shift keeps the shoulder accessible.
26. Monumental Backpiece with Negative Frames

Large backpieces anchor a bodysuit and set the tone for future limb work. Tell your artist the visual anchors you want so sleeves and legs can echo motifs. A misstep is starting limb work before a central back anchor exists, which leads to scale mismatches. Backpieces take multiple long sessions and require patience for true cohesion. For the reveal, open-back garments or a silk kimono robe men frame the center art without distraction.
27. Freeform Collage Bodysuit That Ages Intentionally

A freeform collage allows you to plan intentional aging by alternating saturated and sparse panels. In the consultation, map which panels you want to be high-saturation anchors and which are meant to soften. The common error is letting trends dictate panels rather than a cohesive ageing strategy. Expect to schedule touch-ups selectively over time. For session ease, bring a button-front shirt you can shift so the artist can work panel by panel without fabric tugging.
Frequently Asked Questions
Q: How should I budget time and sessions for a full-body Irezumi or bodysuit?
A: Plan for a multi-year build with dozens of sessions depending on coverage and saturation goals. Break work into themed blocks like back, arms, and legs so you can evaluate cohesion as it grows. I suggest mapping three to five major sessions per body zone initially, then scheduling follow-up touch-ups as pieces settle.
Q: Will fine line elements survive on ribs and hands within a full bodysuit?
A: It depends on scale and placement. Fine line near ribs and on hands is riskier because skin stretch and friction speed blurring. Artists split into two camps on this. One camp advises larger scale or heavier line weight in those zones. The other says precise spacing and needle depth can make smaller lines last. Ask your artist for mock-ups at multiple scales and pick the option that matches their comfort.
Q: How do I find an artist who specializes in cohesive bodysuits without naming specific people?
A: Search style-specific tags like #irezumitattoo, #biomechanicaltattoo, or #geometricbodysuit, and use location tags such as your city plus "full body tattoo studio." Directories like Tattoodo and booking platforms let you filter by portfolio and style. Look for portfolios showing multi-panel work that flows across seams rather than isolated flash pieces.
Q: What clothing should I wear to long torso or leg sessions to keep the area comfortable?
A: Wear loose, adjustable garments that expose only the zone being worked on. For torso or back work, loose button-down shirts or a loose linen robe are practical. For thigh sessions, breathable shorts that can be shifted are ideal. Layering helps you manage temperature during longer sits.
Q: How often will I need touch-ups for mixed-style bodysuits with watercolor, blackwork, and fine line?
A: Expect variation across styles. Saturated blackwork and traditional color often need fewer touch-ups, while watercolor and fine line panels may require refreshes sooner. Plan for a maintenance review around year two for fine-line heavy areas, and longer intervals for dense blackwork.
Q: Are there cultural sensitivity steps I should take for traditional motifs like Irezumi or tribal designs?
A: Yes. Be explicit in the consultation about cultural origins and whether you want direct replication or an inspired adaptation. Many clients opt for respectful variations or ask the artist how they plan to reference motifs to avoid inappropriate copying.
Q: Can I mix a blackout section with delicate linework elsewhere in the same suit?
A: You can, but plan transitions carefully so edges do not read as unfinished. Use negative-space borders or ornamental frames to separate weightier blackout areas from delicate lines. Discuss long-term modification plans so future additions integrate smoothly.
