
Fine line clover work is everywhere on feeds right now, and what gets the most saves is not always what lasts. The soft four-leaf clover look reads delicate at first, but where you put it and how the artist spaces the leaves determines if it still reads sharp in three years. These 21 takes lean into gentle edges, smart spacing, and outfit pairing so the tattoo feels lucky now and later.
1. Tiny Fine Line Clover on Inner Wrist
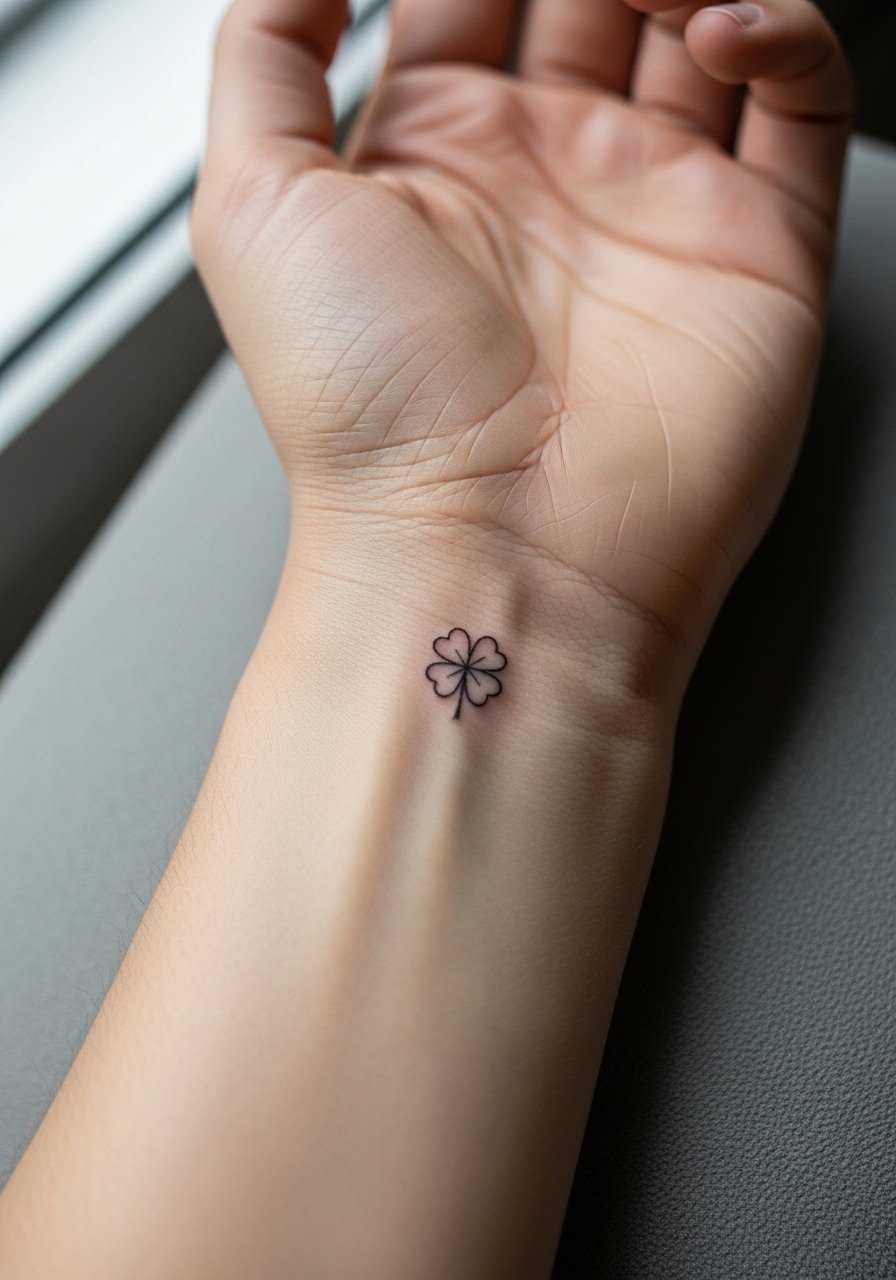
I've seen tiny wrists hold delicate clover work well when the artist uses slightly heavier single-pass linework and avoids filling the leaves. This placement reads personal and subtle, pain is low, and a single quick session is usually enough. The common mistake is asking for hair-fine lines that disappear into wash after sun exposure and frequent hand washing. Tell your artist you want modest spacing between leaf veins and a slightly firmer line so the shape stays legible at two years. For the session wear, roll up sleeves and bring a loose button-down shirt you can pull aside so the artist has clean access.
2. Watercolor Clover with Soft Edges on Ankle
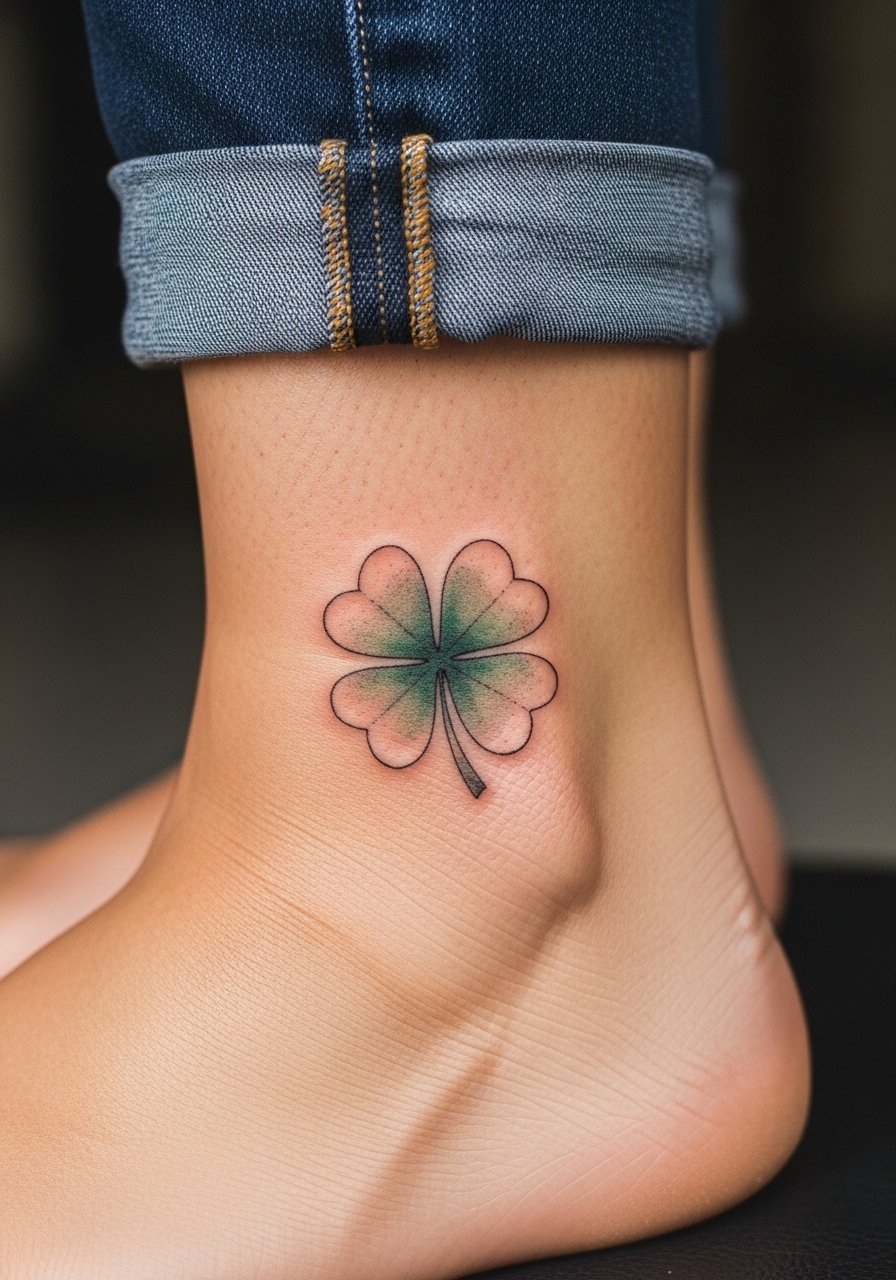
A watercolor wash gives a soft impression of green without harsh outlines, and the ankle lets the colors breathe. Fair warning: watercolor fades faster if placed where shoes rub or socks press. Ask for gentle saturation near leaf centers and lighter feathered edges so touch-ups look natural. The session is low to moderate discomfort, and touch-ups at year two are common. A mistake is requesting saturated watercolor with no outline, then expecting it to last like traditional color. Consider pairing this ankle piece with low-cut sandals when you want to show it off.
3. Micro Dot-Work Clover Behind the Ear
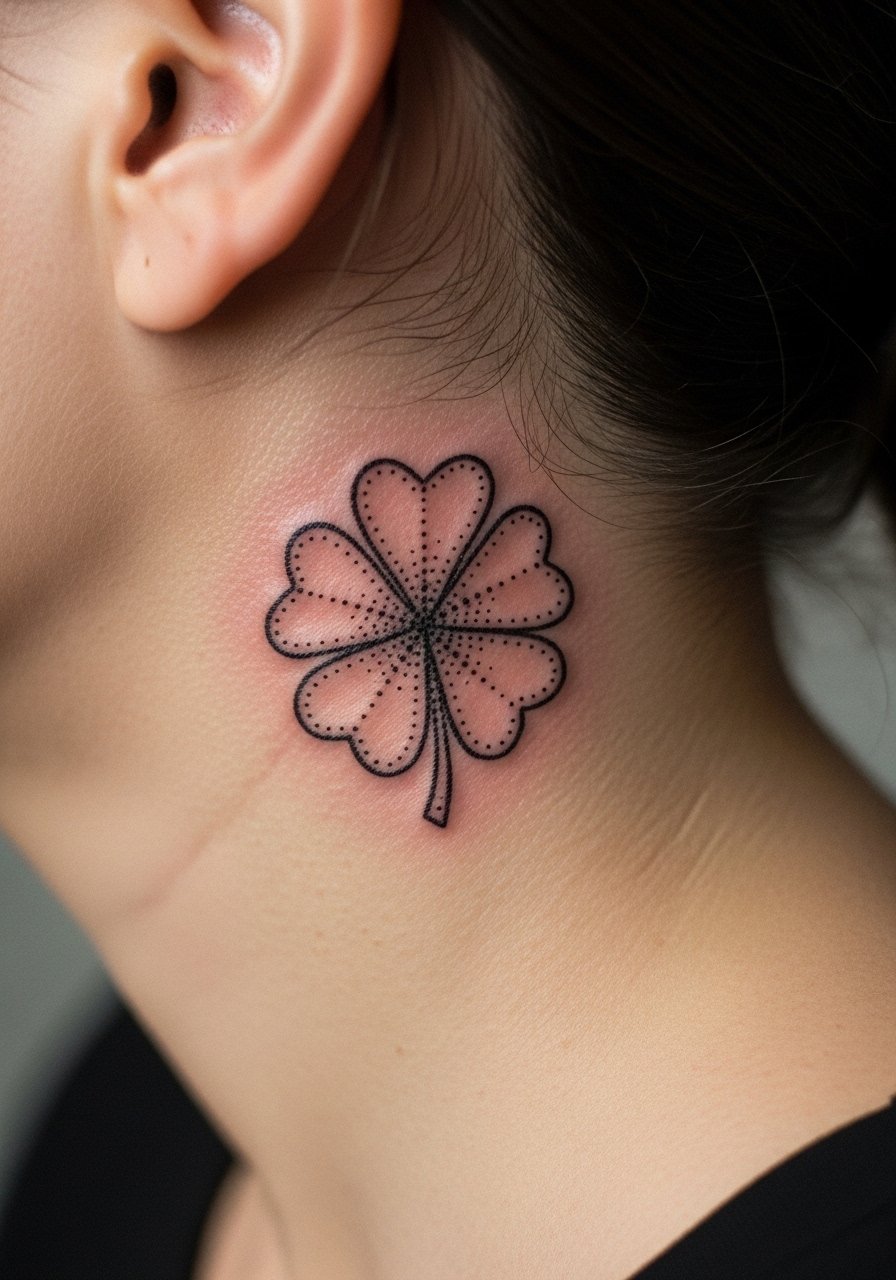
Behind-the-ear clover work reads intimate and delicate. Artists split on this spot. One camp says the skin there is thin and shifts with hair growth so dot work blurs faster. The other camp says careful depth control and slightly larger dots keep the motif crisp. When you consult, ask the artist how their dot work reads at two years. The session is quick but requires precise hand speed, and the biggest mistake is making the motif too tiny. For showing it off, tuck hair behind the ear or wear a thin chain pendant necklace positioned so the clover sits just above it.
4. White-Ink Accent Clover on Collarbone

White ink adds a soft highlight that feels like light catching a leaf. The collarbone placement shows it naturally but be honest about how white ink behaves on your skin tone. A common mistake is expecting white ink to glow forever. Instead, treat it as a highlight that softens with time. Tell your artist you want the white used sparingly on leaf tips rather than filling whole leaves. Pain is moderate because of bone proximity and session time is short. This pairs well with open-neck tops and an open-back midi dress for evenings when you want just a hint of detail.
5. Micro-Realism Clover on the Side Ribcage

Ribcage work gives space for tiny shading that reads realistic. Expect higher pain and longer session time than wrist pieces. There is a clear controversy here. One group of artists says fine detail on ribs blurs because the skin moves with breathing. The other group insists spacing and correct needle depth preserve the detail. I recommend a slightly larger leaf scale and moderate stipple shading to hold the texture. During consultation, ask for examples of healed ribcage micro-realism. For the session, wear a zip-up hoodie or sports bra you can adjust so only the rib area is exposed.
6. Minimalist Clover Finger Tattoo
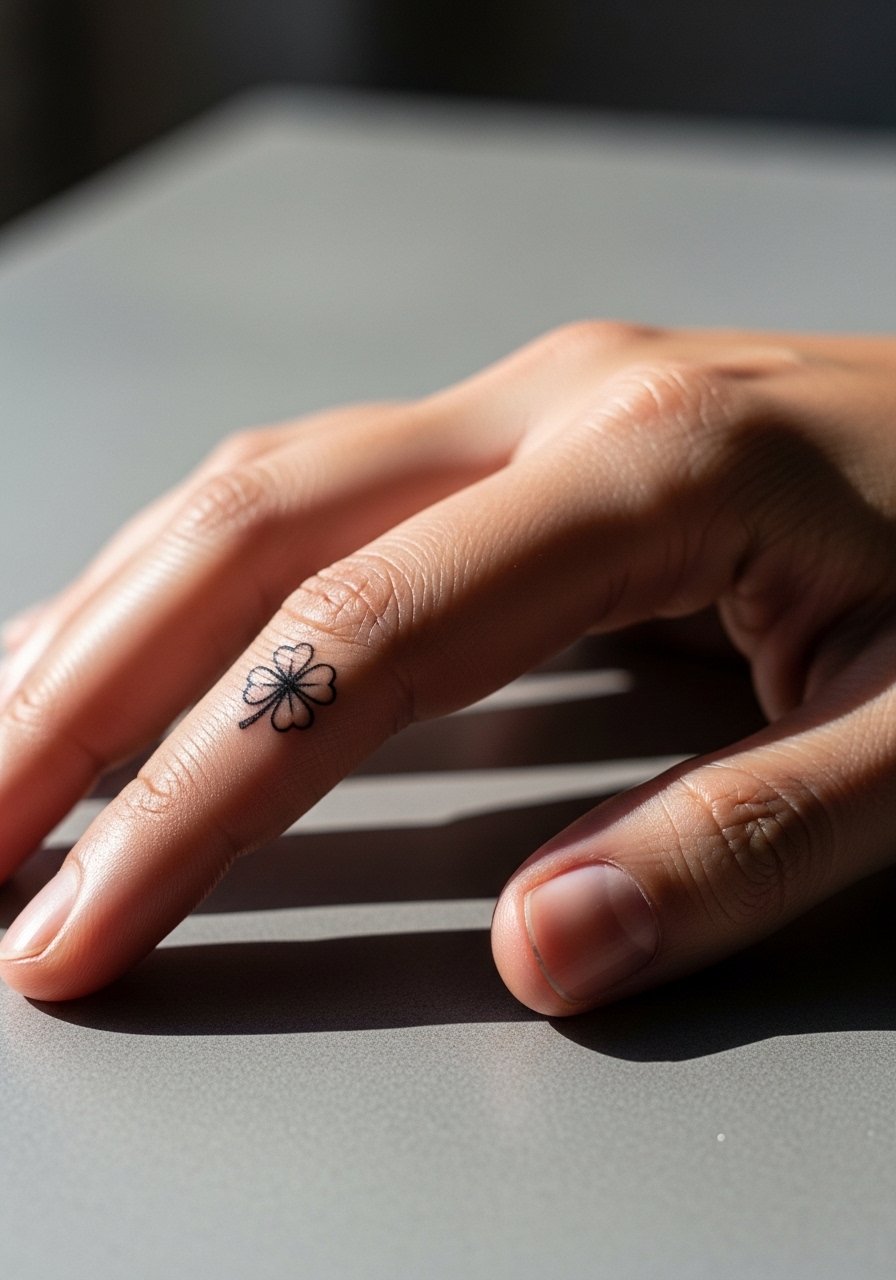
Finger clovers look charming but have a faster fade and higher touch-up needs because of constant washing and thin skin. The biggest mistake is doing ultra-fine single-pass lines that vanish. Ask for a slightly heavier outline and discuss realistic touch-up timelines. Sessions are short but the healing period needs extra care. For show-off pairing, simple stacking rings frame the design without overwhelming the small space. Consider wearing a thin stacking ring set when you want the clover to catch the eye.
Pre-Session Essentials
The wrist, ankle, and ribcage pieces above each ask for different prep, so a few targeted items smooth the session and the first week.
- Stencil transfer paper kit. Lets you preview the placement on skin while standing or moving, especially useful for wrist and collarbone ideas above.
- Topical numbing cream. Applied per instructions before a sensitive ribcage or sternum session can ease the first half hour.
- Thin protective film roll. Keeps ankle and finger pieces cleaner during the first few days of friction from socks or washing.
- Fragrance-free gentle body wash. Cleans the healing area without stripping the pigment for delicate fine line work.
- Aquaphor healing ointment. A thin layer for the initial days helps retain moisture for fine line and watercolor pieces without clogging.
7. Negative Space Clover on the Inner Forearm
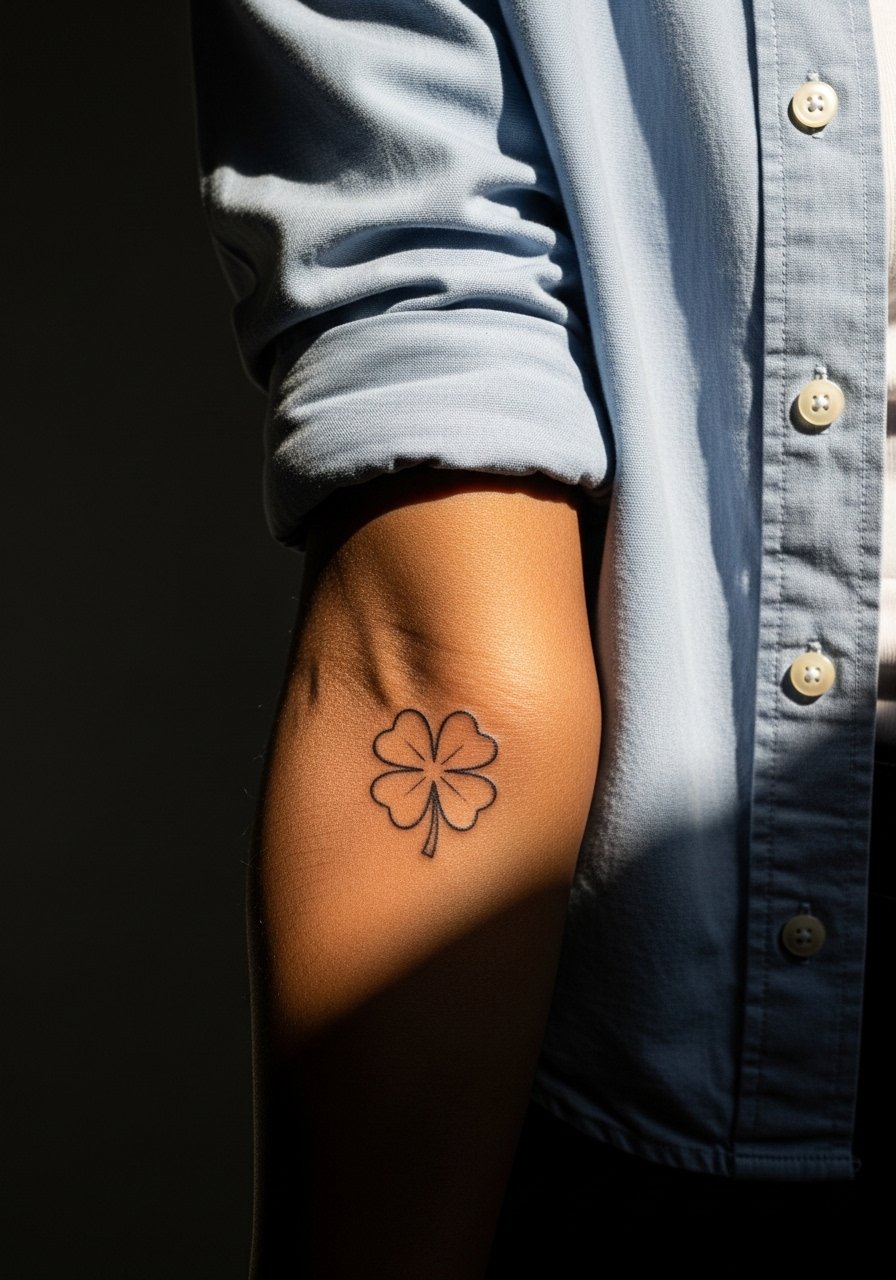
Negative space clovers use surrounding ink or shading to define leaves rather than outlines. On the inner forearm this reads modern and ages gracefully because there is less reliance on super-thin lines. A common mistake is making the negative gaps too narrow, which can fill in with time. Tell your artist you want at least a few millimeters of breathing room between shaded areas and leaf edges. Pain is low and sessions can be single-sit. For everyday styling, rolled-up sleeves or a simple linen shirt frames the forearm so the negative space pops.
8. Celtic Knot Clover on Upper Arm
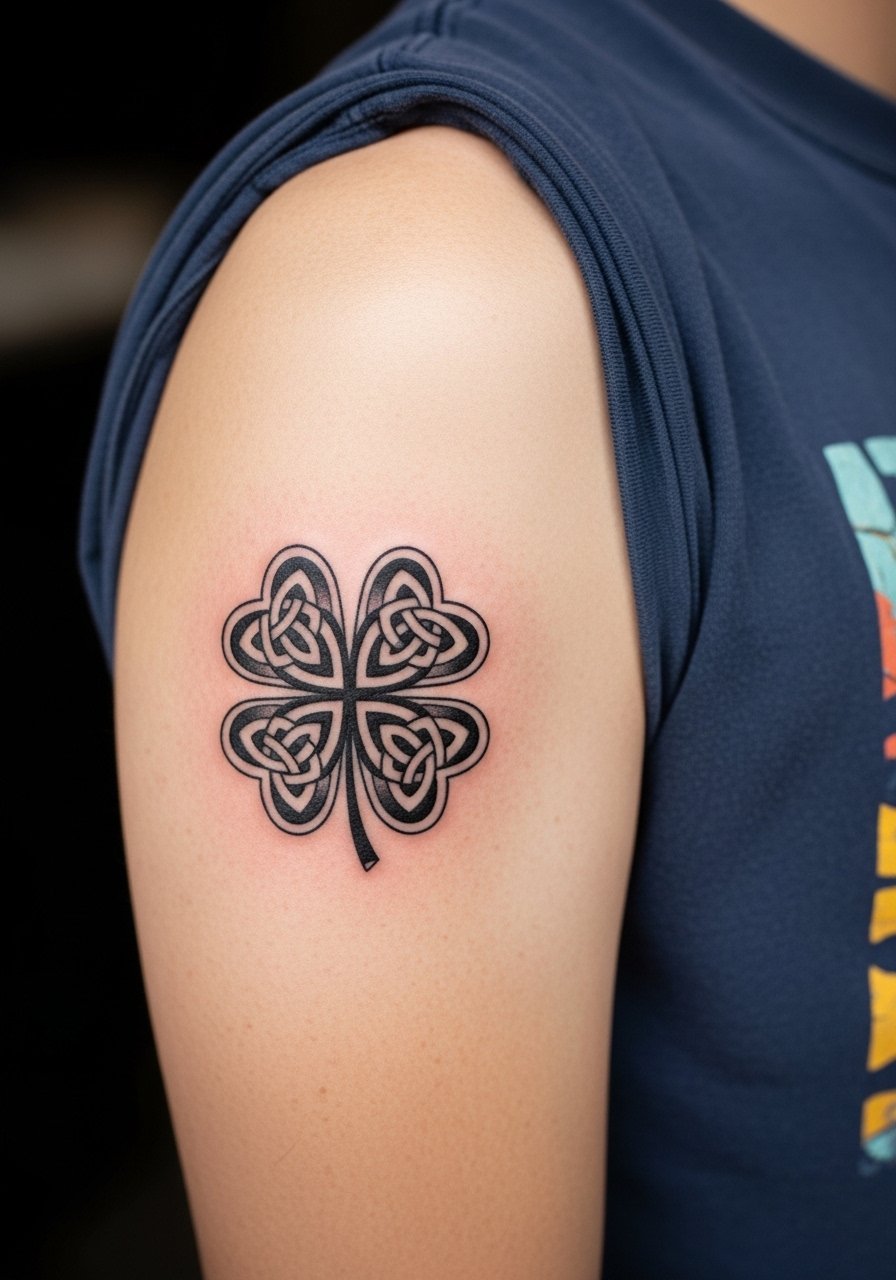
Celtic-inspired clover motifs carry cultural weight. If you lean into knotwork, mention real origin respect and consider slight variations rather than direct cultural replicas. The outer upper arm is forgiving for heavier linework and will age well. Avoid overly tiny knot details that merge into blotches. Tell your artist you want clear separations between knot loops and the clover silhouette. This area is moderate on pain and sessions are comfortable. Pair it with short-sleeve tees or a rolled-up sleeve denim jacket to display the motif without overpowering it.
9. Watercolor Clover with Script on Sternum
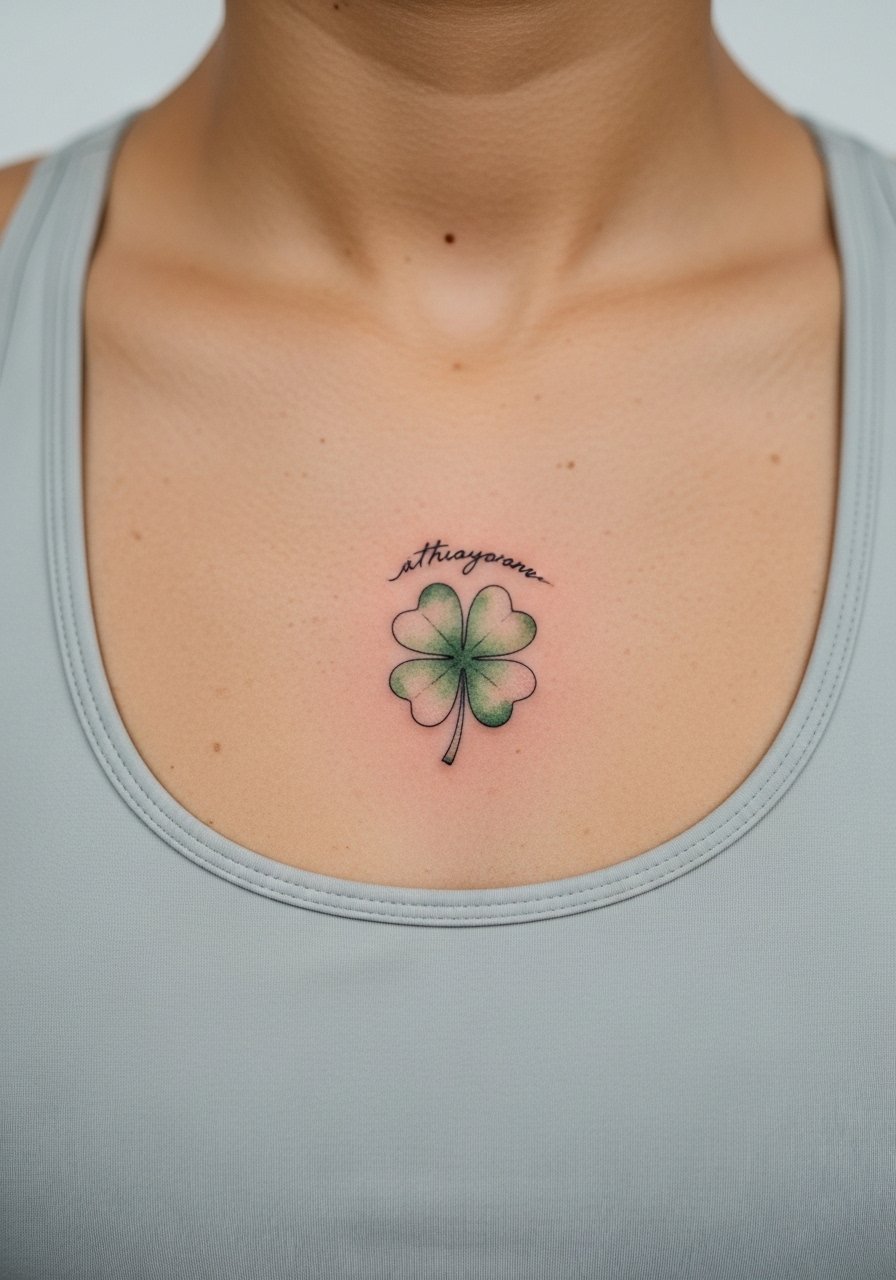
Sternum placements read intimate and can be paired with a tiny name or date. Expect moderate to high pain and longer session time. Watercolor here looks lovely but heals unevenly if the pigment is overly thin. A mistake is asking for washed-out color expecting it to fade into subtlety. Ask your artist for moderate saturation with soft edges and select skin-safe script size that will remain legible. For the session, a zip-front or sports bra makes access easy. Consider off-duty looks with a strapless top for revealing the central placement when you want to show it.
10. Stipple-Shaded Clover on the Calf

Calf placements give room for texture and stipple shading that reads like gentle shadowing. This spot tolerates heavier density without significant blowout risk compared with thinner-skin areas. A common mistake is cramming too many tiny elements into a small clover. Ask for breathing space and moderate stippling so the shading ages into softness instead of muddying. Pain is moderate and sessions are straightforward. For showing it off, sandals and cropped pants work well, and a loose drawstring linen pant makes the calf accessible for touch-ups and display.
11. Tiny Clover Behind the Knee
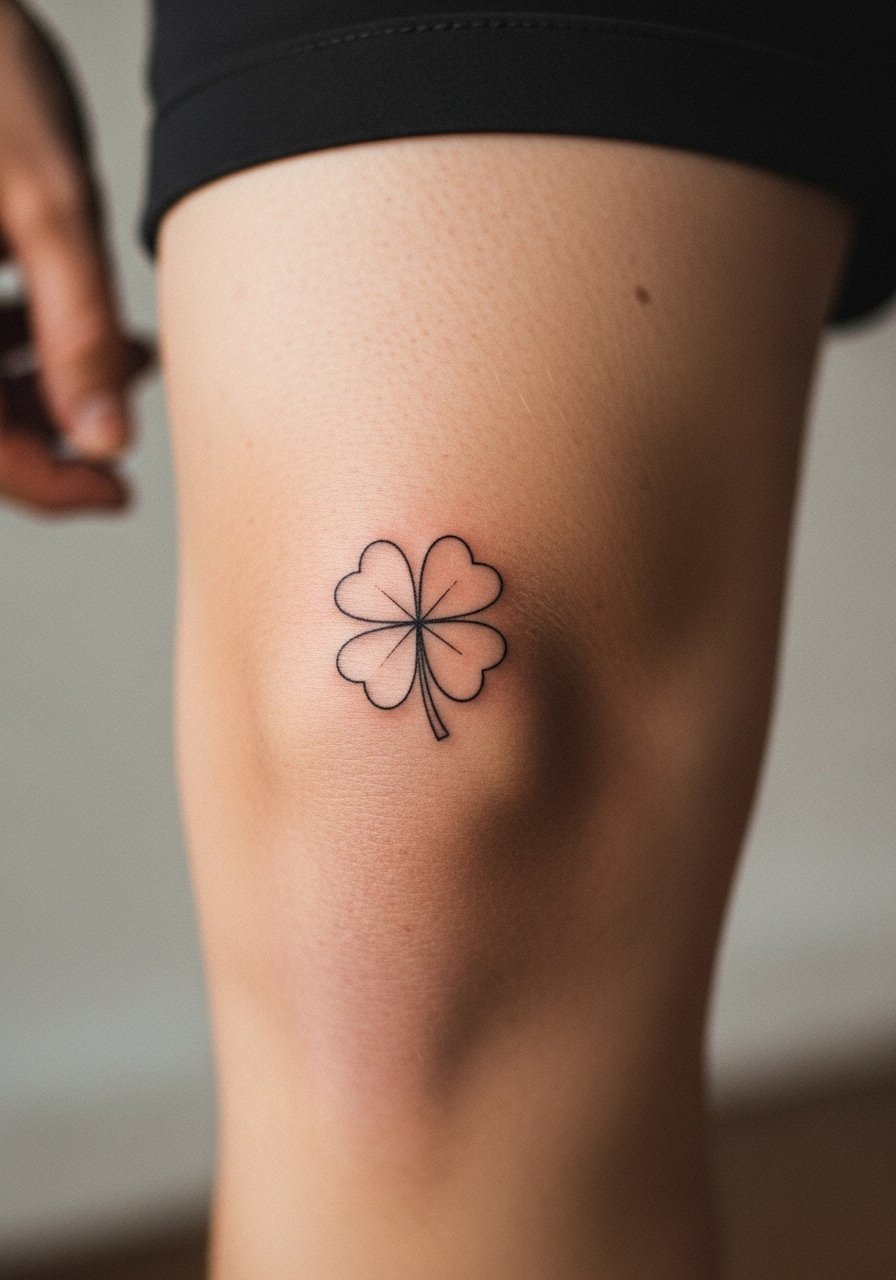
The back of the knee is playful but tricky for long-term clarity because skin folds and movement can blur lines faster. Sessions are moderately uncomfortable to sit through because of the awkward position. Ask for open leaf shapes and avoid ultra-thin stems. The frequent mistake is treating it like a flat canvas. For the appointment, wear shorts you can easily adjust and consider pairing the piece with a pair of slide sandals when showing it off to keep the area unobstructed.
12. Green Saturated Traditional Clover on Shoulder Blade
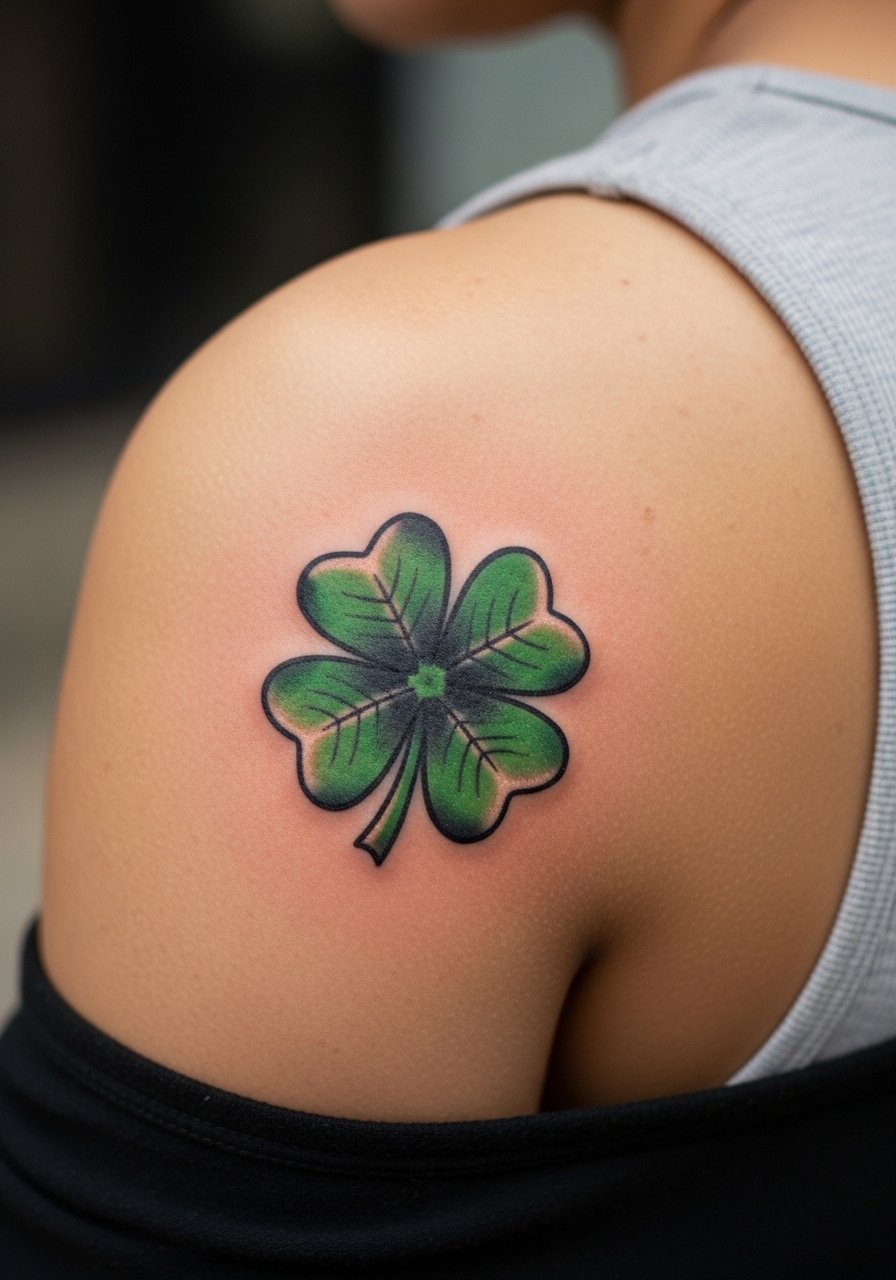
Traditional saturation and solid outlines make this clover age well on the shoulder blade because the skin there is relatively stable. The mistake is asking for delicate lines in a spot that benefits from boldness. Tell the artist you want strong outlines and a touch of shading to define leaf curvature. Pain is low and sessions are pleasant while lying on your front. For everyday wear, tanks and open-back pieces complement the placement and a racerback tank makes the shoulder blade easy to show.
13. Geometric Linework Clover on the Forearm
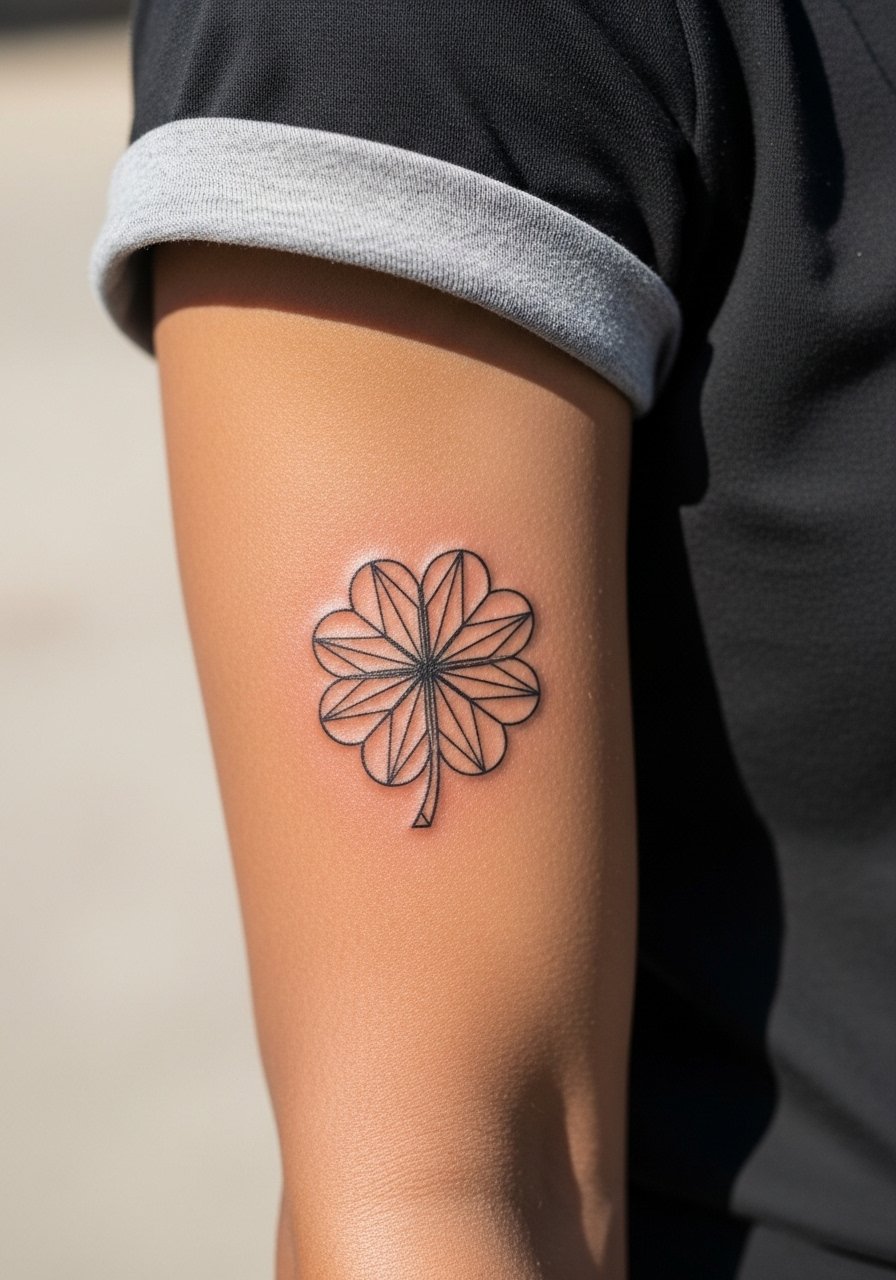
Geometric clovers use straight or curved segments to form leaves and work well on forearms where the flat plane keeps linework consistent. The common error is making lines too close together. Ask for adequate spacing and varied line weight so the geometry breathes. This style tends to need touch-ups at year three for thin intersections. For showing it off, rolled sleeves or short sleeves highlight the graphic shape, and a minimalist watch keeps attention on the motif without crowding it.
14. Micro Clover Cluster on the Nape of the Neck
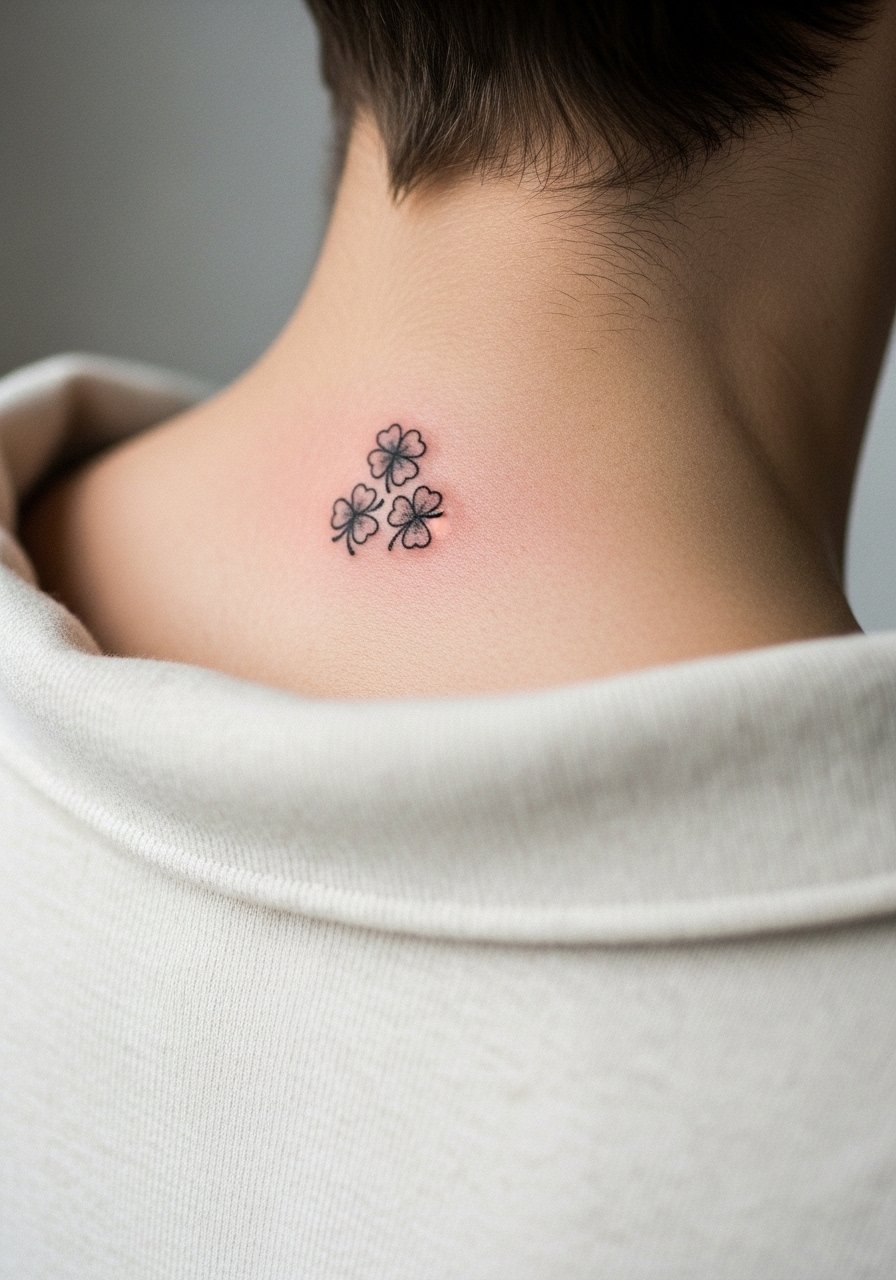
A small cluster at the nape gives a peekaboo effect under hair. The nape tolerates delicate lines but hair regrowth can cause friction during healing. A mistake is asking for very dense clusters that end up looking like a single smudge. Ask for slight spacing and clear leaf separation. The session is quick, and professionals caution about neck visibility at work. For covering or showing, wide-neck shirts or hair pulled up control exposure. Consider a wide-neck sweater if you need to hide it for formal settings.
15. Soft Outline Clover on the Thigh

Thigh clovers can be larger and more detailed without risking blowout. The skin there is forgiving, so soft outlines with slight shading read well over time. One common mistake is underestimating session length if you want extra texture. Plan for longer time if you want layered shading. For the appointment, loose shorts or a wrap skirt make access easier. When dressing to show the piece, high-waisted skirts or shorts frame the thigh and a high-waisted denim short keeps the tattoo visible without being overt.
16. Fine Line Clover with Tiny Stars on the Shoulder Cap
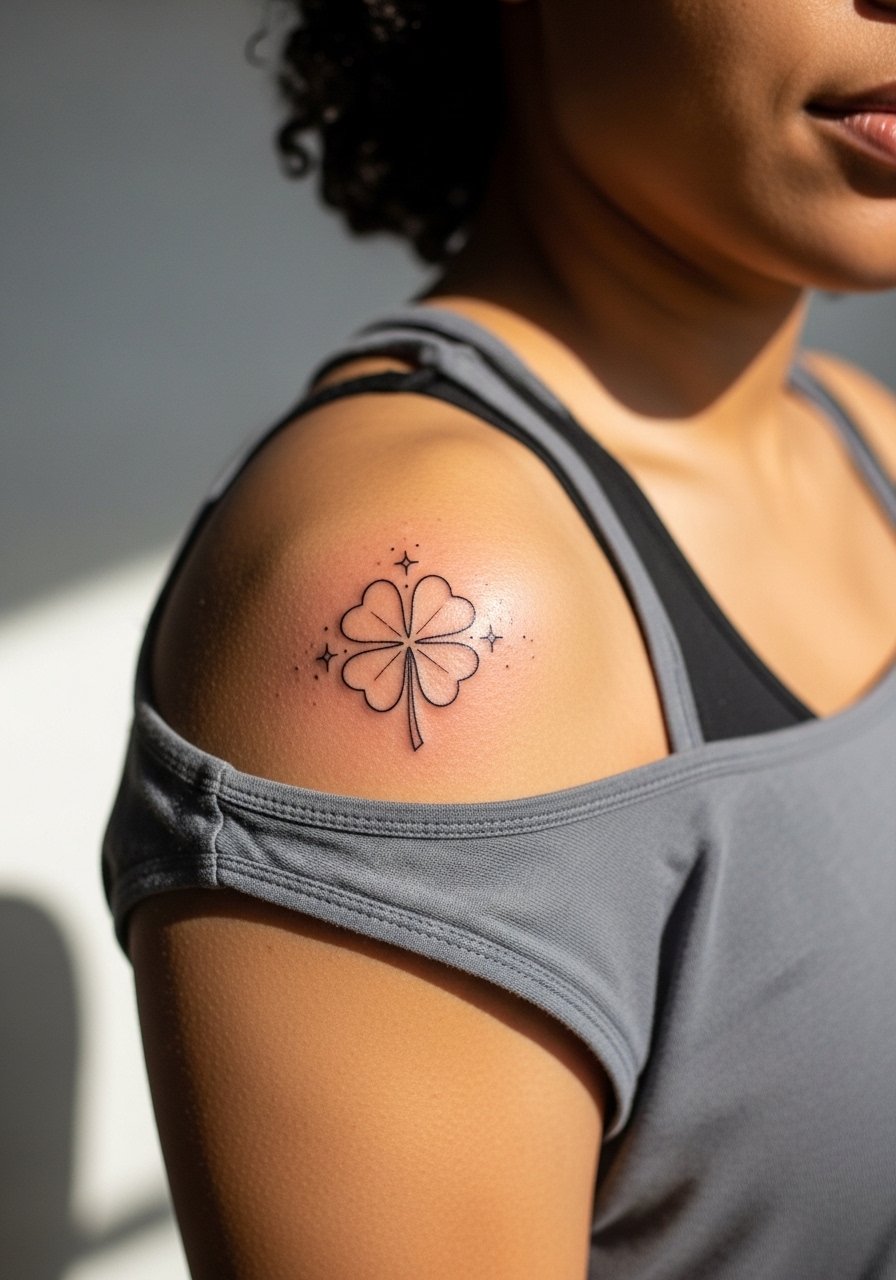
Adding tiny stars around a clover gives a constellation feel without stealing focus. The shoulder cap sees less friction and holds fine line detail well if the artist spaces the stars. A common mistake is dotting too close to leaf edges which fills in over time. Ask for separated accents and modest dot size. Pain is low and sessions are short. Pair this with tanks or sleeveless blouses and a loose tank top so the shoulder cap reads balanced with your outfit.
17. Single-Leaf Clover Accent on the Side of the Finger
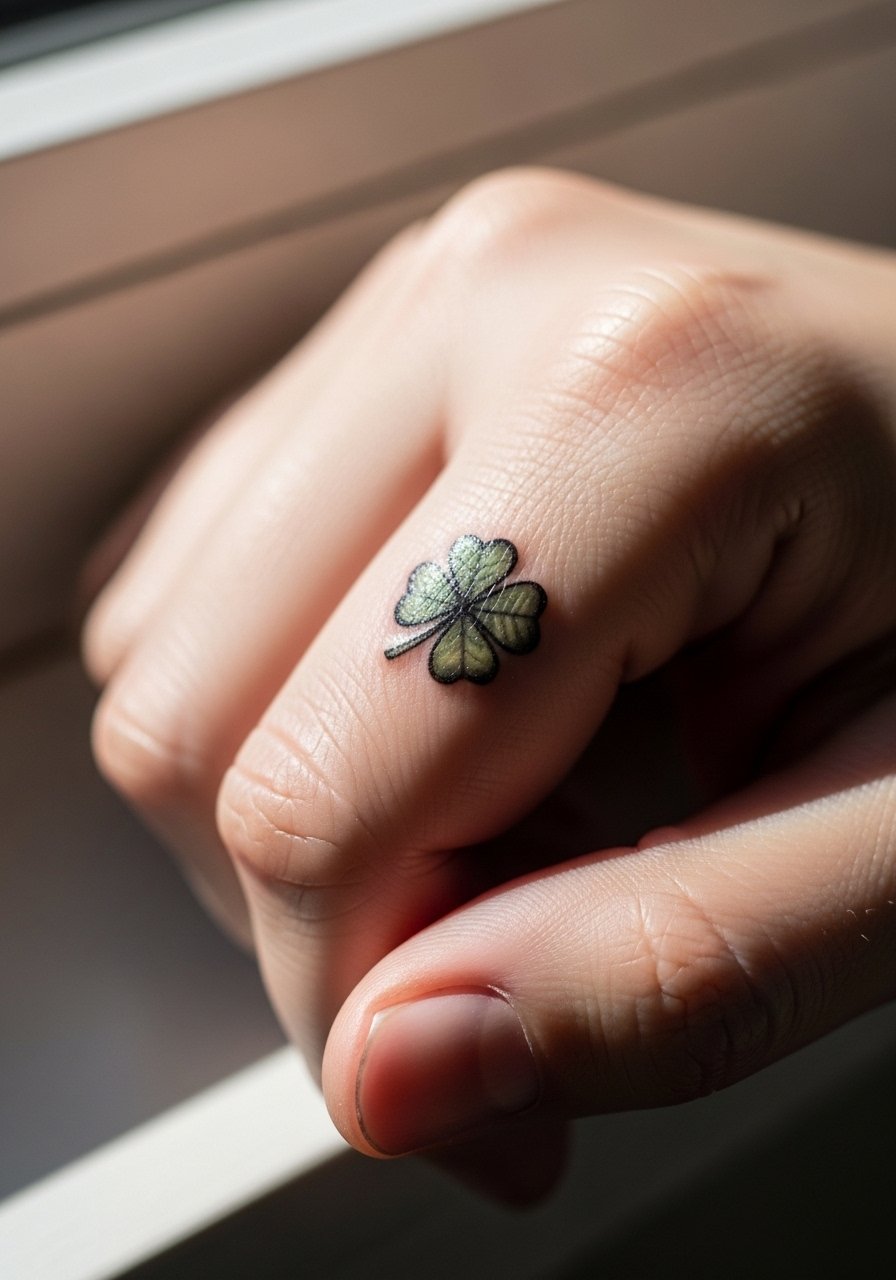
An accent leaf on the finger is a subtle nod to the full motif and brings less maintenance than a full finger clover. Expect faster fade because of frequent use and washing. The slip-up is treating it like a durable area and skipping touch-up planning. Ask for a bolder mini-outline and realistic touch-up expectations. Sessions are brief, and styling with a thin stacking ring draws the eye without crowding the tiny mark.
18. Script-Cling Clover over a Small Quote on the Sternum
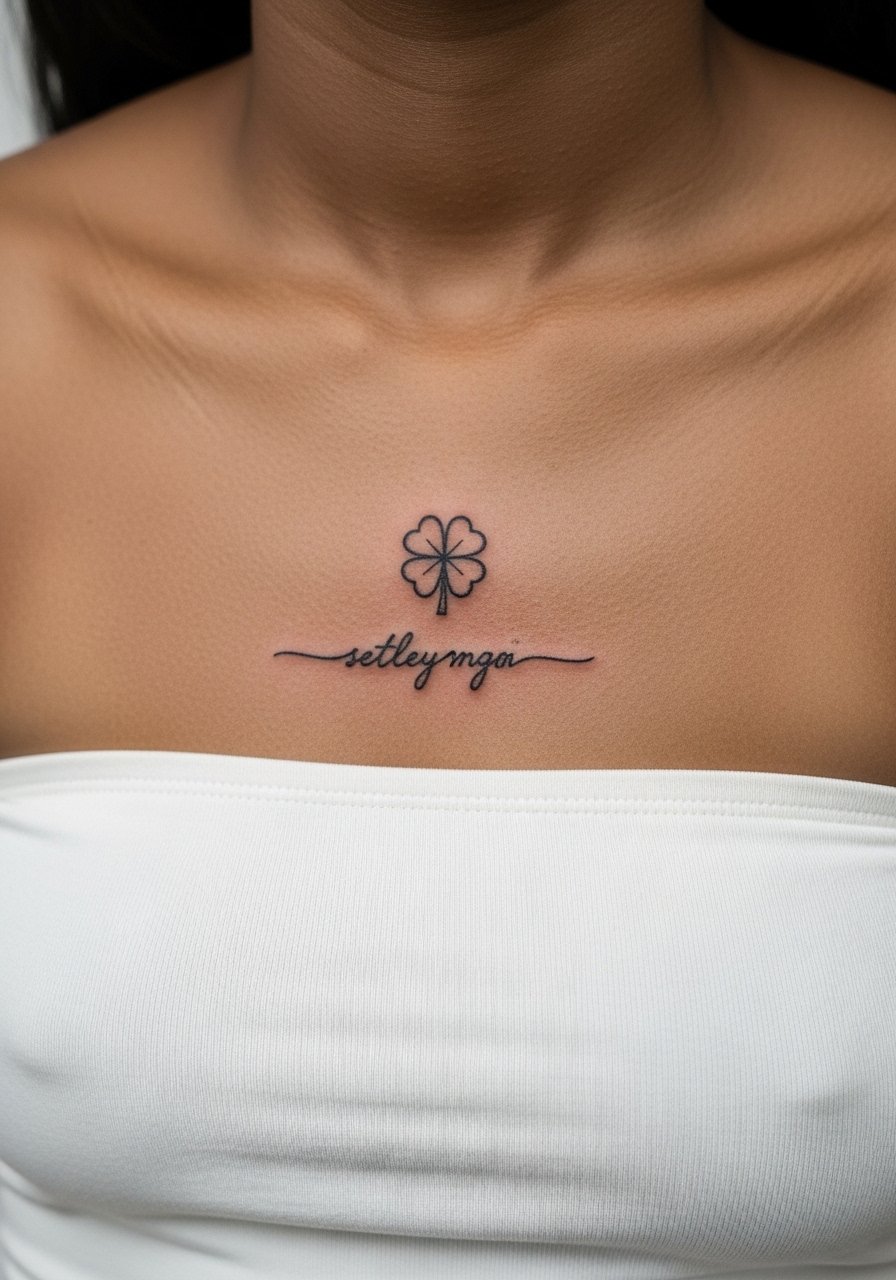
Combining a clover with a short phrase reads personal. Keep script size conservative so both elements remain legible as skin ages. The mistake is choosing ornate lettering that blurs when placed over moving tissue. Ask for simple, clean script and place the clover above to avoid overlapping touch-up needs. Pain and session time are moderate. For wear, a bandeau or strapless top is convenient for access and showing the motif.
19. Tiny Cluster of Clover Flash on the Shoulder
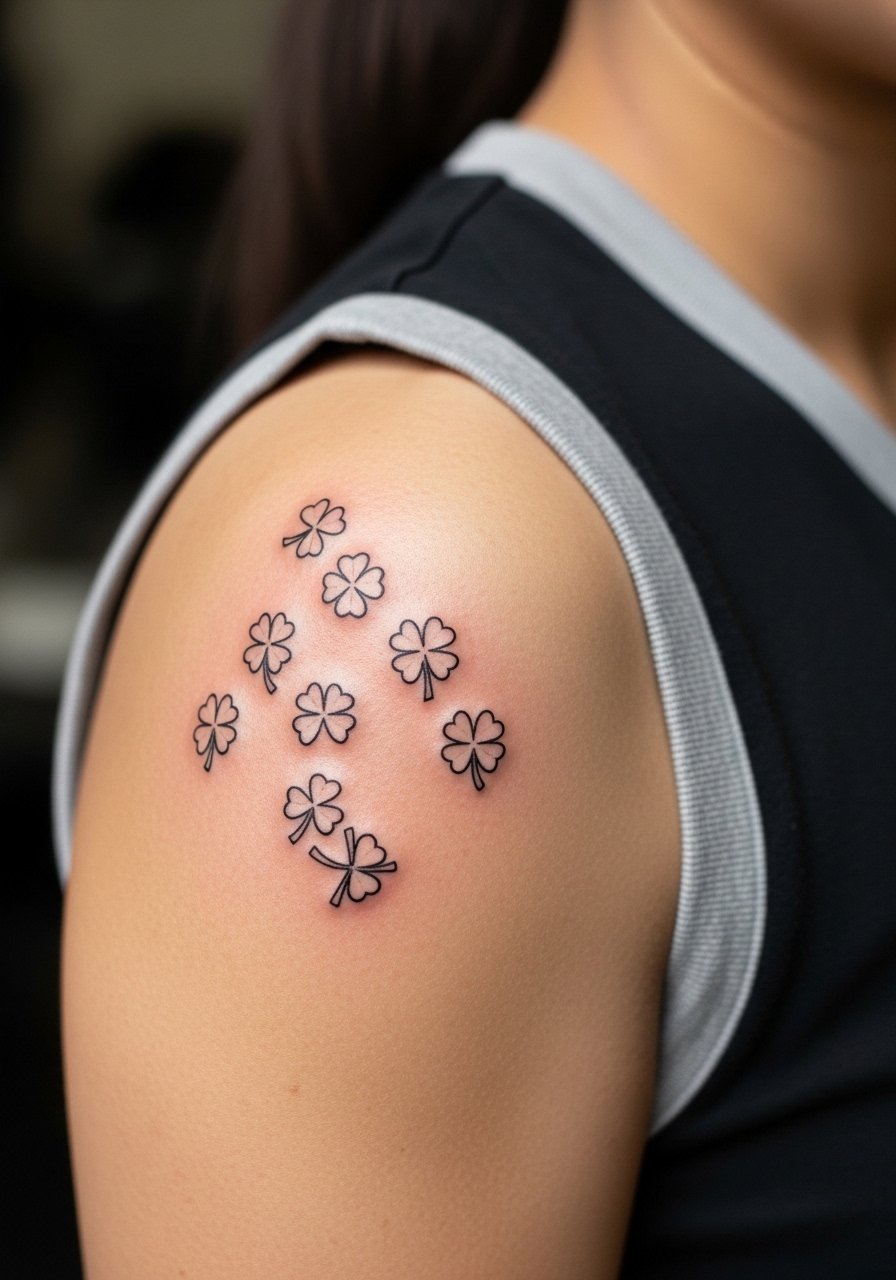
Flash-style clover clusters are great for a quick walk-in and they age like simple graphic pieces. The common error is asking for overly detailed flash that contradicts the walk-in time. Keep shapes slightly bold and avoid tiny cross-hatching. Pain is low and the session can be a quick single visit. Pair with tank tops or sundresses and try a sleeveless summer dress for warm-weather showing.
20. Geometric Clover Mandala on the Back
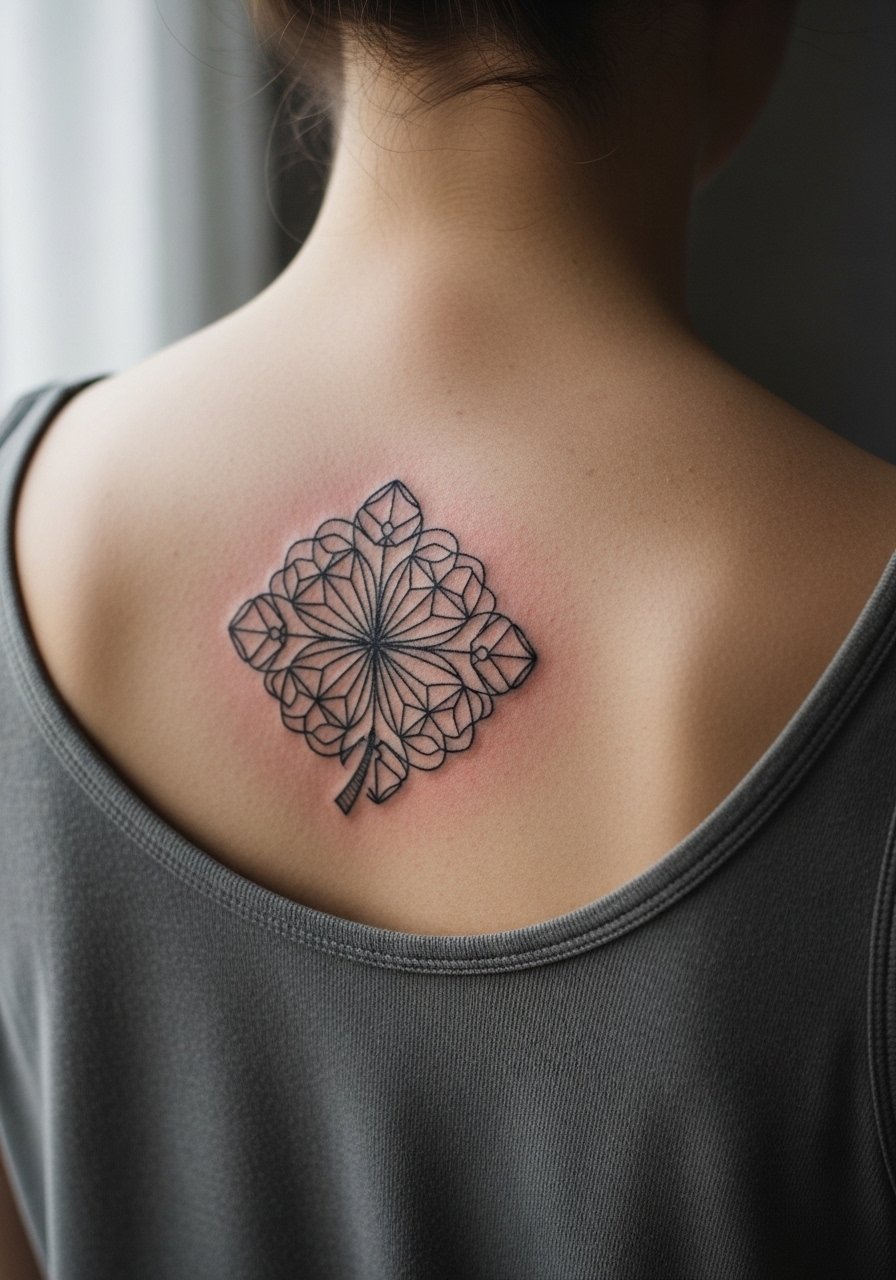
A mandala approach around a clover creates a decorative focal point that suits the upper back. The advantage is scale and breathing room so intricate patterns age better than micro detail. A typical mistake is cramming too many tiny motifs into the mandala. Ask for clear separations and a slightly bolder anchor circle so the clover stays the center of attention. Sessions here can be longer and may require multiple sittings. For evenings out, open-back tops or halters frame the piece nicely.
21. Memorial Clover with Tiny Dates on the Rib Side

Using a clover as a memorial symbol with a tiny date is intimate and meaningful. The rib side has movement so keep the date concise and the clover slightly larger than you think you need. The common mistake is choosing fine script too small to remain legible. Discuss healed examples with your artist and plan for a touch-up window at year two. The session is higher on the pain scale. For the appointment, wear a cropped top you can lift or a zip-front piece for easy access.
Frequently Asked Questions
Q: How long will a fine line four-leaf clover on the wrist stay crisp before needing a touch-up?
A: It depends on sun exposure and hand washing, but I usually tell people to budget for a touch-up around year two to three for ultra-fine work. Choosing slightly firmer line weight and protecting the area from daily UV helps postpone touch-ups.
Q: Is white ink a good choice for highlighting leaf tips on medium or dark skin tones?
A: White ink can read as a soft highlight, but on darker tones it blends into the surrounding skin more quickly. Ask your artist for a conservative use of white ink and examples of healed white highlights on skin tones similar to yours.
Q: Can I get a watercolor clover on the ankle if I wear socks and boots a lot?
A: You can, but frequent friction will fade watercolor faster. If boots and socks are part of your routine, ask for slightly denser saturation near the leaf centers and plan for earlier touch-up, or opt for a version with a faint outline to protect the shape.
Q: Should I be worried about career impact for visible clover placements like behind the ear or on a finger?
A: Hand and neck placements are still more visible and some workplaces notice them. If career considerations matter, choose a placement you can cover with clothing or hair, or pick a spot that is easy to conceal during professional situations.
Q: What should I ask in a consultation to make sure a ribcage micro-realism clover will hold up?
A: Ask to see healed ribcage examples from the artist, discuss dot size and spacing, and ask how many passes they plan for shading. This gives you a practical sense of how the piece will age rather than abstract assurances.
Q: Any wardrobe tips for showing off a shoulder blade clover without it looking overbearing?
A: Choose tops with open backs or racerbacks so the piece reads as a single detail. A racerback tank or open-back dress frames the area and keeps attention on the tattoo.
