
The stencil sitting on the forearm looks smaller on screen than on skin, and that mismatch is the first mistake I see in consultations. Pick a design that fits the movement of the body, pick line weight that survives daily wear, and plan for touch-ups early. Below are 21 elegant Japanese mask tattoo ideas with placement notes, what to ask your artist, wardrobe tips for showing the work, and realistic healed expectations.
1. Kitsune Fox Mask Forearm Piece
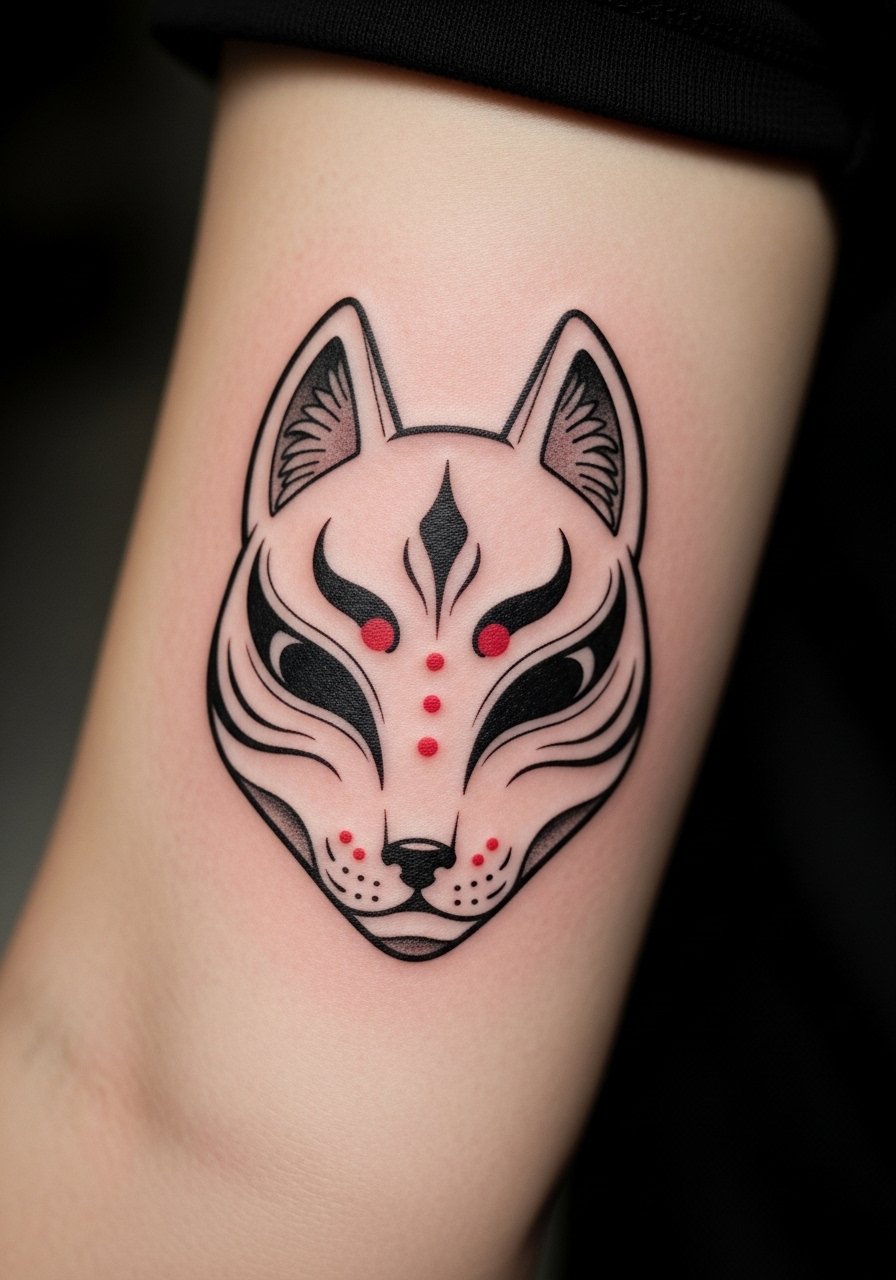
I recommend this when you want mythic energy without committing to a full sleeve. Ask for slightly thicker linework around key features so the whisker and eye details read after a year of frequent hand washing. A common version that ages poorly uses ultra-fine lines and tiny fills. That blurs from wrist movement and soap exposure, and the fix is a touch-up and heavier outer line. Expect two sessions for a 6 to 8 inch piece, moderate pain on the forearm, and a touch-up around year two if you wear a lot of sleeves or bracelets. For showing it off, pair with a rolled sleeve kimono shirt so the forearm is visible without feeling staged.
2. Hannya Demon Mask Thigh Design
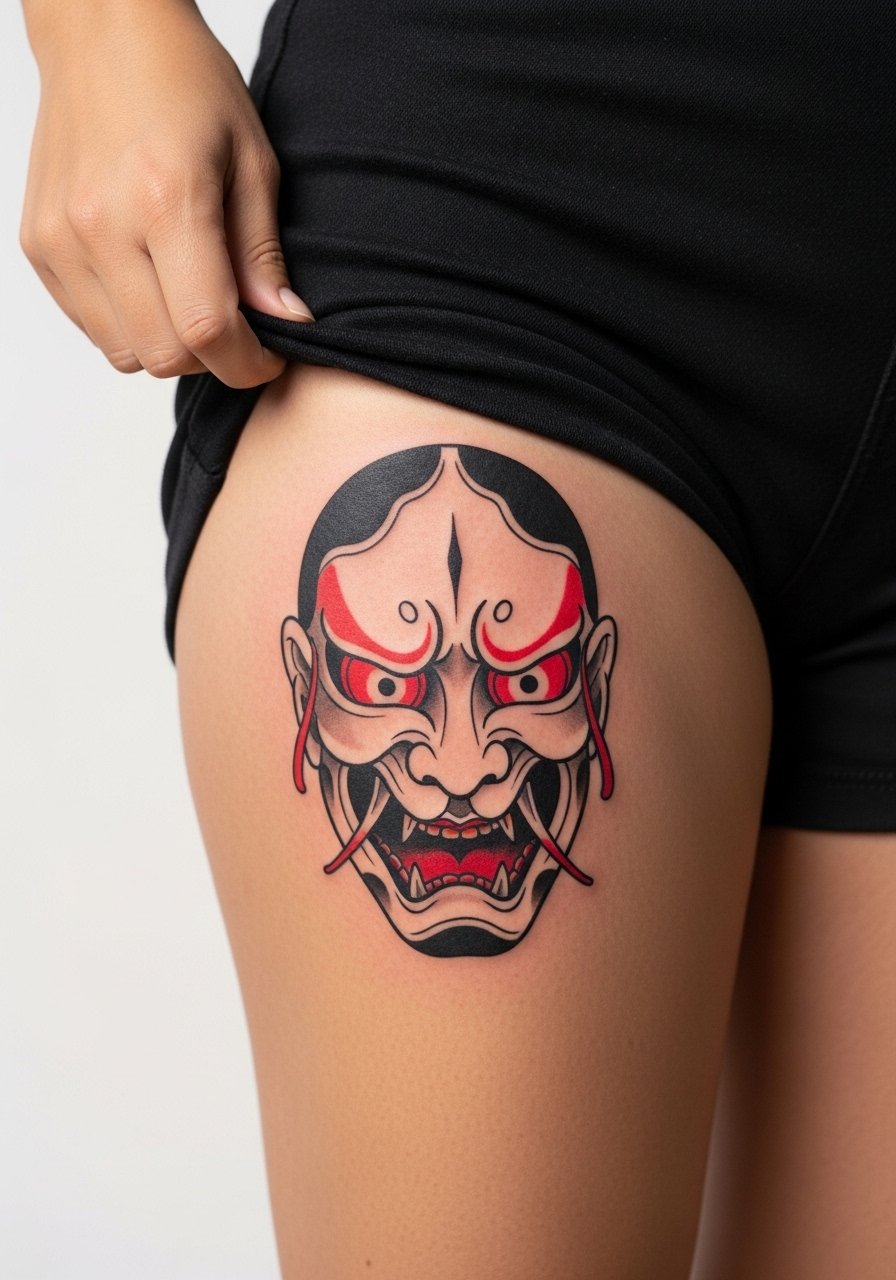
This placement fits full narrative pieces where snakes or peonies wrap around the form. In consultation say you want the Hannya to read like theater mask drama rather than a comic demon, and request dramatic contrast between deep blacks and pale highlights. Expect three sessions for a ten-inch piece and higher pain where the needle hits bone near the hip. Numbing cream is debated for long thigh sessions; one camp uses it to manage endurance and the other prefers to avoid it for a more connected, ritual experience. Plan wardrobe for the appointment with high waisted black shorts so the artist can access the outer thigh cleanly.
3. Noh Mask Shoulder Cap
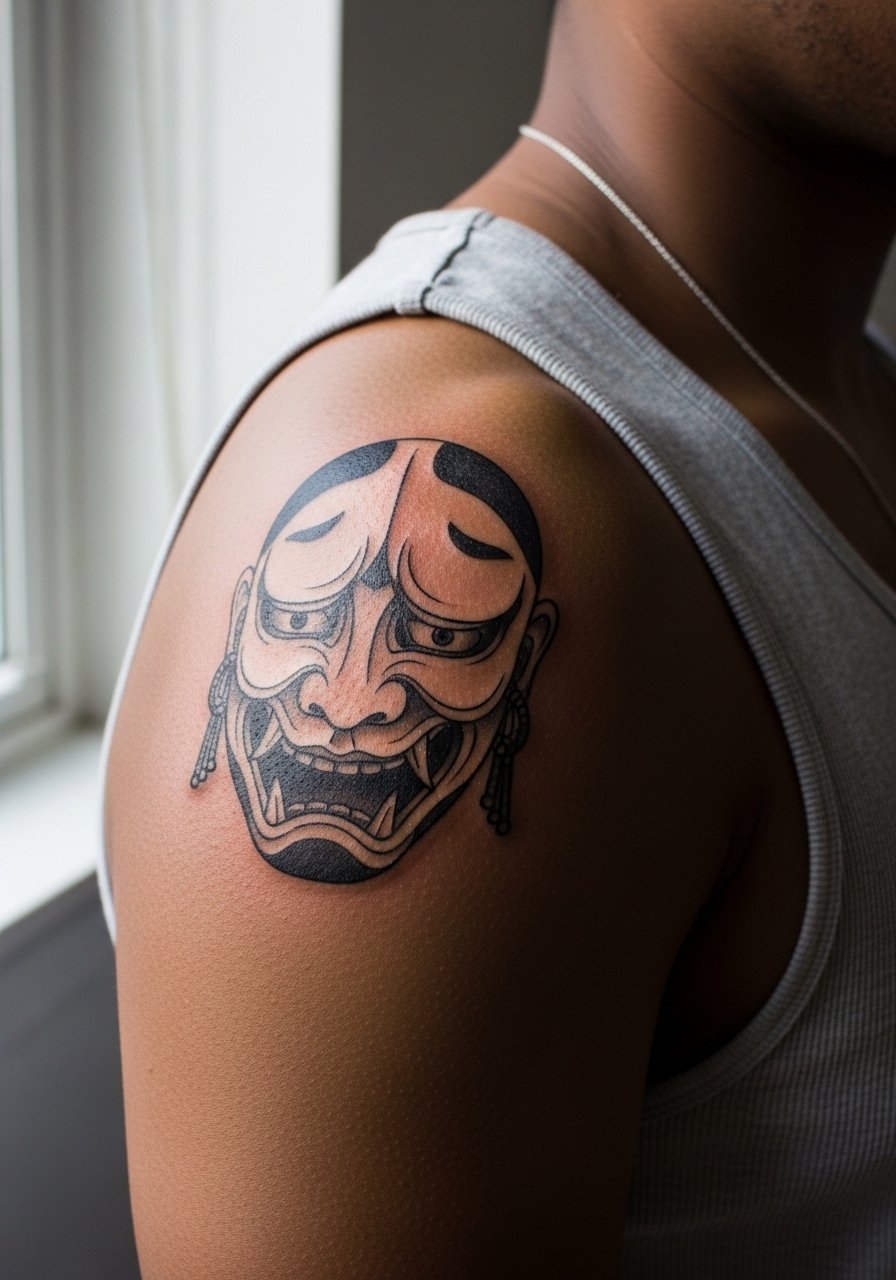
Shoulder caps are excellent when you want a contained, symbolic piece that works under clothing. Tell your artist you want high contrast linework with negative space to simulate the theater mask lighting. Most heal cleanly in a single session if the artist uses strong outlines and controlled saturation. The shoulder can be a six out of ten on pain for larger fills, but the area heals fast due to lower friction. For session comfort wear a sleeveless button down you can pull aside and a roomy top afterward.
4. Okame Cheerful Mask Wrist

The inner wrist is forgiving for small, sentimental work but it is also a major wash-and-wear zone. The biggest mistake is asking for ultra-fine crowded shading. That fades into a smudge within a year. Ask for a slightly bolder outer contour and sparse stipple shading for longevity. Expect one short session and mild pain. Schedule a six-month touch-up if you use lots of soaps or hand sanitizers. To frame daytime wear, try a wide cuff bracelet on the opposite wrist so the Okame face can breathe visually.
5. Kabuki Dramatic Mask Calf
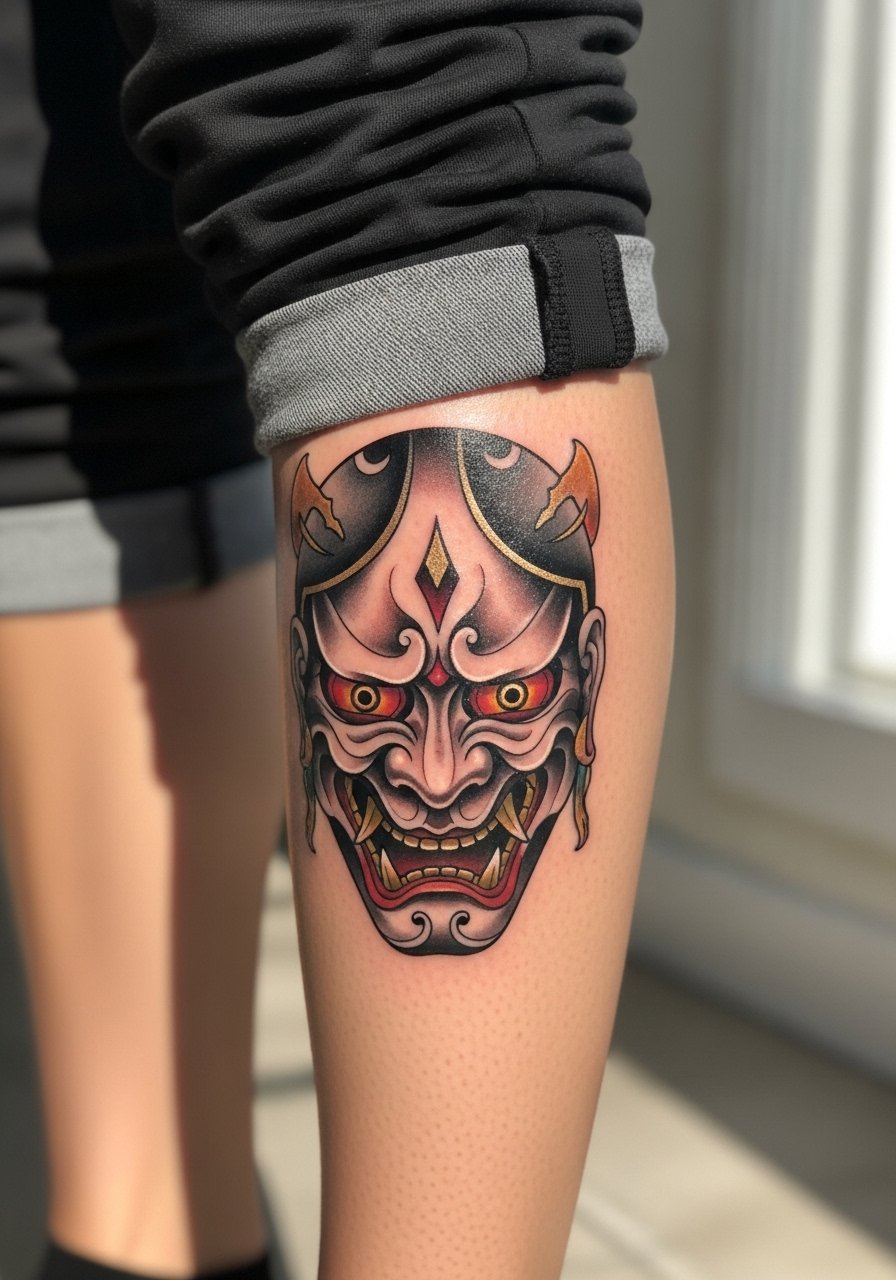
Calf wraps let you use scale and motion for theatrical masks. During consultation ask for larger negative spaces so the sequin-like makeup reads from a distance. Expect two to three sessions and moderate discomfort when sitting for long stretches. Calf tattoos tolerate saturation well so color choices can be bolder than on hands. For casual showing, pair with cropped jogger pants or midi skirts rolled slightly to reveal the wrap without hiding it.
6. Samurai Menpo Mask with Florals Sleeve Start

This is a classic start for a sleeve that tells a story about honor and mortality. Tell your artist you want the menpo to anchor the composition with surrounding florals that flow into future pieces. A common error is over-detailing the mask at small scale so the floral elements are unreadable later. Expect four sessions for a 12-inch wrapped start and a moderate to high pain curve on inner transitions. For the session wear a loose linen short sleeve so the artist can roll your sleeve without pressure on fresh ink.
Studio Day Picks
The wrist, calf, shoulder, and upper thigh pieces above have different prep needs, so pack a few specific items to smooth the session and the first 48 hours.
- Stencil transfer paper kit. Lets you test placement against muscle movement, which matters for forearm and sleeve starts.
- Topical numbing cream. Helpful for long thigh or leg wrap sessions when endurance is the main concern.
- Thin protective film roll. Keeps calf and wrist tattoos clean during the first week of friction from clothing and washing.
- Fragrance free body wash. Gentle cleansing for the early healing window on areas that rub against fabrics.
- Aquaphor healing ointment. A thin layer can protect delicate linework on wrists and forearms during the initial days.
7. Tengu Long-Nose Mask Hand
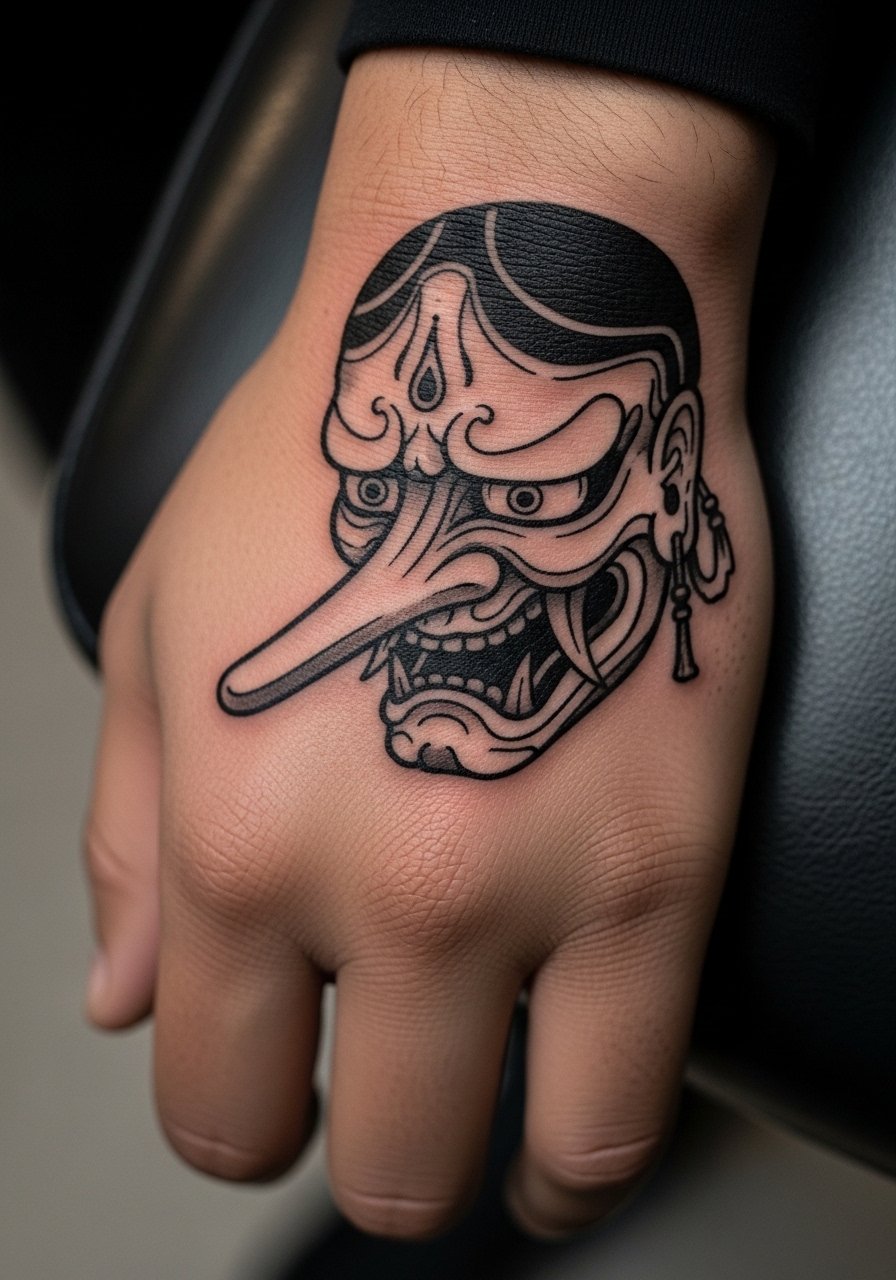
Hand ink is honest and blunt about longevity and social visibility. The essential change for hands is thicker outer lines and simplified interior detail. Ask for firm outlines and minimal stipple inside the nose and mouth so the mask stays readable as it settles. Blowout risk is higher here because the skin is thin and mobile. Expect two sessions and sharp pain due to bone proximity. Because hands face constant washing, plan a yearly touch-up. For showing the piece, consider fingerless leather gloves for cooler days that let the hand tattoo be visible while protecting the surface.
8. Majora’s Mask Game-Inspired Forearm
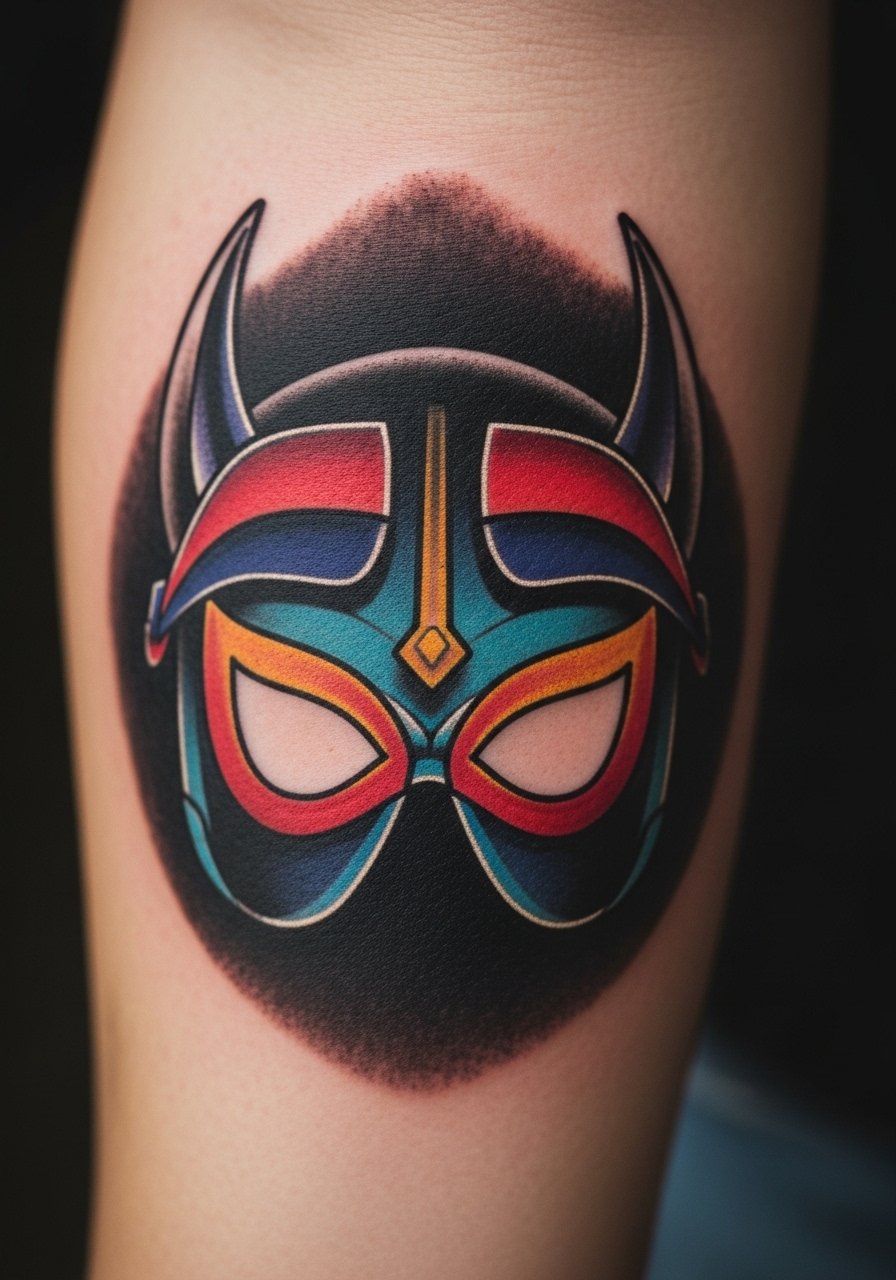
This is a good pick for someone who wants pop culture reference wrapped in Irezumi detailing. Bring reference images that show the exact color pops you want. A common mistake is asking for tiny intricate colorwork inside very small shapes. That gets muddy as the piece ages. Ask the artist to simplify color blocks and use solid black anchors to keep the motif readable. Expect two sessions for a six-inch inner forearm piece and mild to moderate pain. For casual wear, rolled sleeves or a loose short sleeve button-up makes the forearm a natural feature rather than the focus.
9. Ghost-Under-Mask Hannya Thigh

Layering a faint ghost figure beneath a Hannya gives depth without adding clutter. When you book, ask to see how the ghost opacity will read at six months and two years so you have realistic expectations for contrast. The main session difference is more nuanced shading that takes longer with slower passes, and that can push a three-session plan. Some artists caution that added gray layers can soften faster, while others say careful stipple and spacing hold longer. This is one of those debates where technique matters most. Wear loose athletic shorts so the artist can access the outer thigh cleanly.
10. Hannya with Snake Leg Wrap

A leg wrap lets the snake weave around the mask and create motion across the limb. In the consult, specify how you want the snake to sit at mobility points like the ankle and behind the knee so the composition reads while you walk. Larger wraps require four sessions and steady saturation. Expect stiffer pain where the needle crosses bony areas near the ankle. For showing it off choose high waisted shorts or midi skirts that let the lower leg be visible without tugging at the fresh ink.
11. Geisha Hannya Hip Placement

Hip placements carry an intimate narrative and can feel private in everyday life. Tell your artist you want the geisha features subtle and the Hannya elements to peek through rather than dominate. Micro-realism here looks delicate fresh and can lose nuance if packed too tightly. Expect two to three sessions and variable pain near the hip bone. For evenings out pair the piece with low rise jeans or a crop top so the hip chain area is revealed tastefully.
12. Clouds and Flowers Noh Mask Back Panel
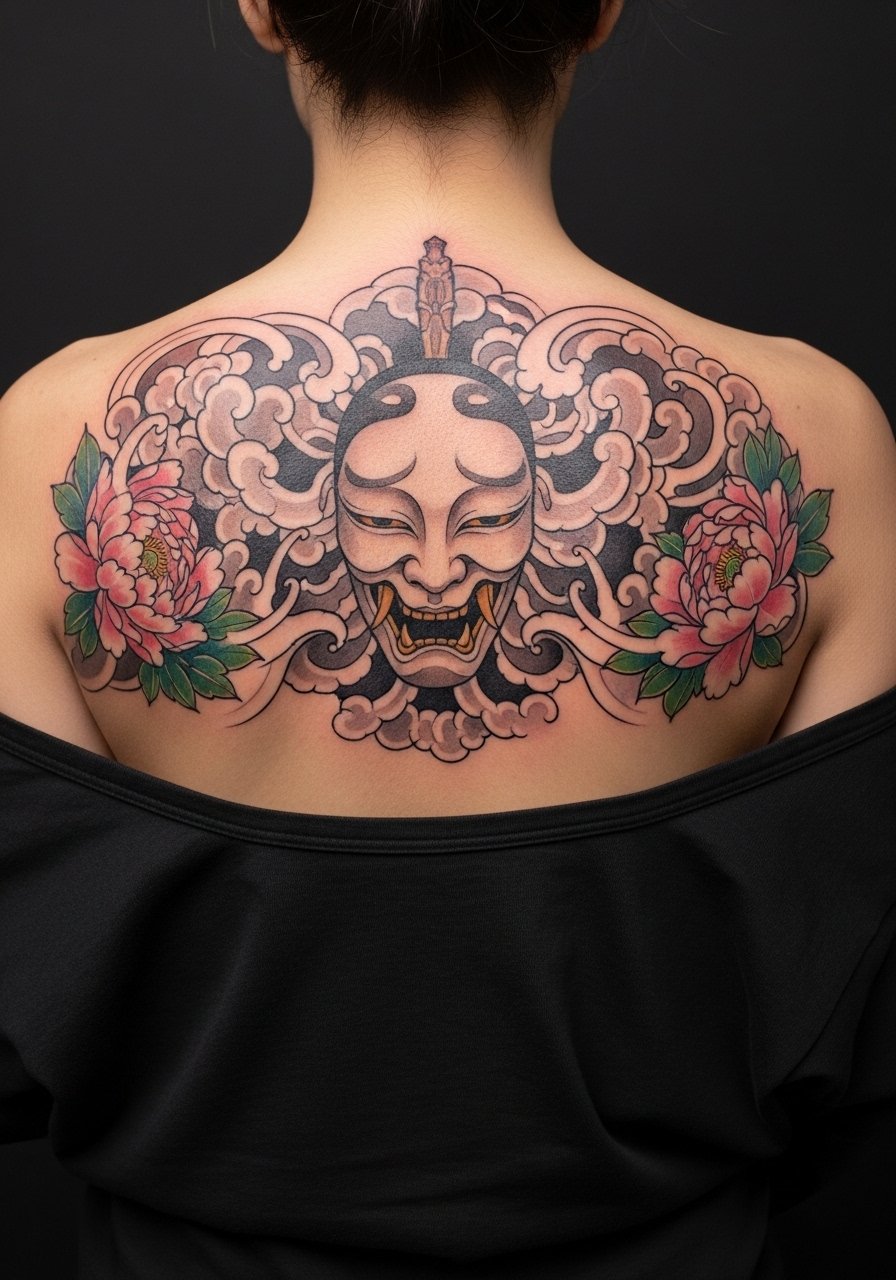
Back panels give room for mythology to breathe around a central mask. Say you want low-saturation colors and defined negative space so the clouds do not overwhelm the Noh face. These long-form pieces need three to five sessions and planning around clothing choices during healing. The back sits in a lower friction zone so watercolor blends hold up better than on hands. For the appointment bring a button-down you can wear backwards or a wide-neck shirt you can pull aside so the artist can work with clean access.
13. Mini Kitsune Behind the Ear
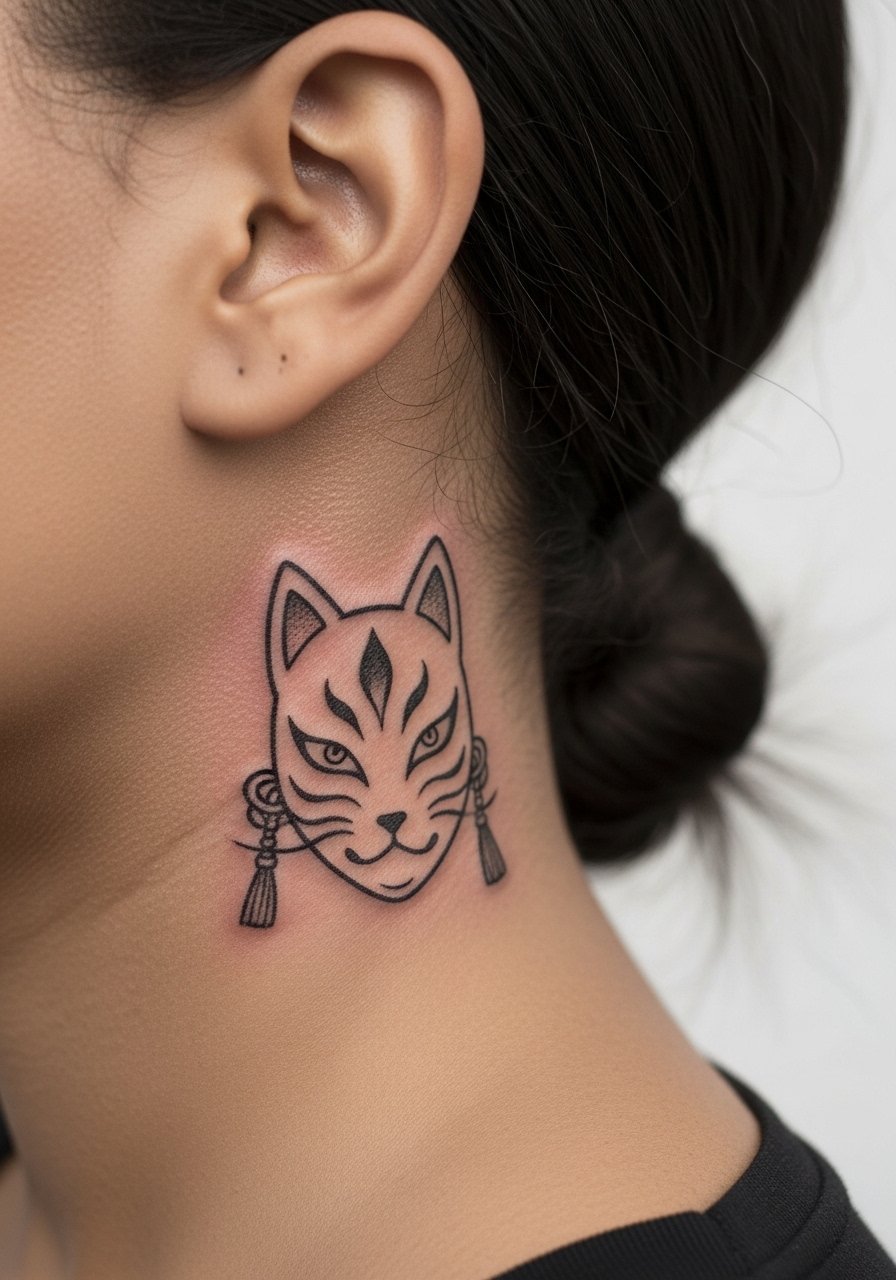
Behind the ear is subtle and symbolic, but the area heals with extra friction from hair and collars. One mistake is packing too much shading into the tiny space. Request simplified contours and leave open highlights so the fox face still reads after a few months. Pain is brief and sharp. For session day choose a wide-neck shirt or hairstyle that keeps hair off the area. If your workplace is conservative, remember this placement can peek out depending on hair length.
14. Tengu Shoulder Burden Cap

A shoulder Tengu shaped to suggest "burden" uses gravity lines and ropes integrated into the mask. When you discuss composition, show images that emphasize downward lines and ask the artist to flow the mask into the shoulder muscle. This plays well if you want a visible symbolic piece that ages into texture rather than smudging. Expect a single to two session tattoo and moderate discomfort on the upper shoulder. For showing it off consider an off shoulder blouse that frames the cap.
15. Samurai Menpo Inner Bicep Accent
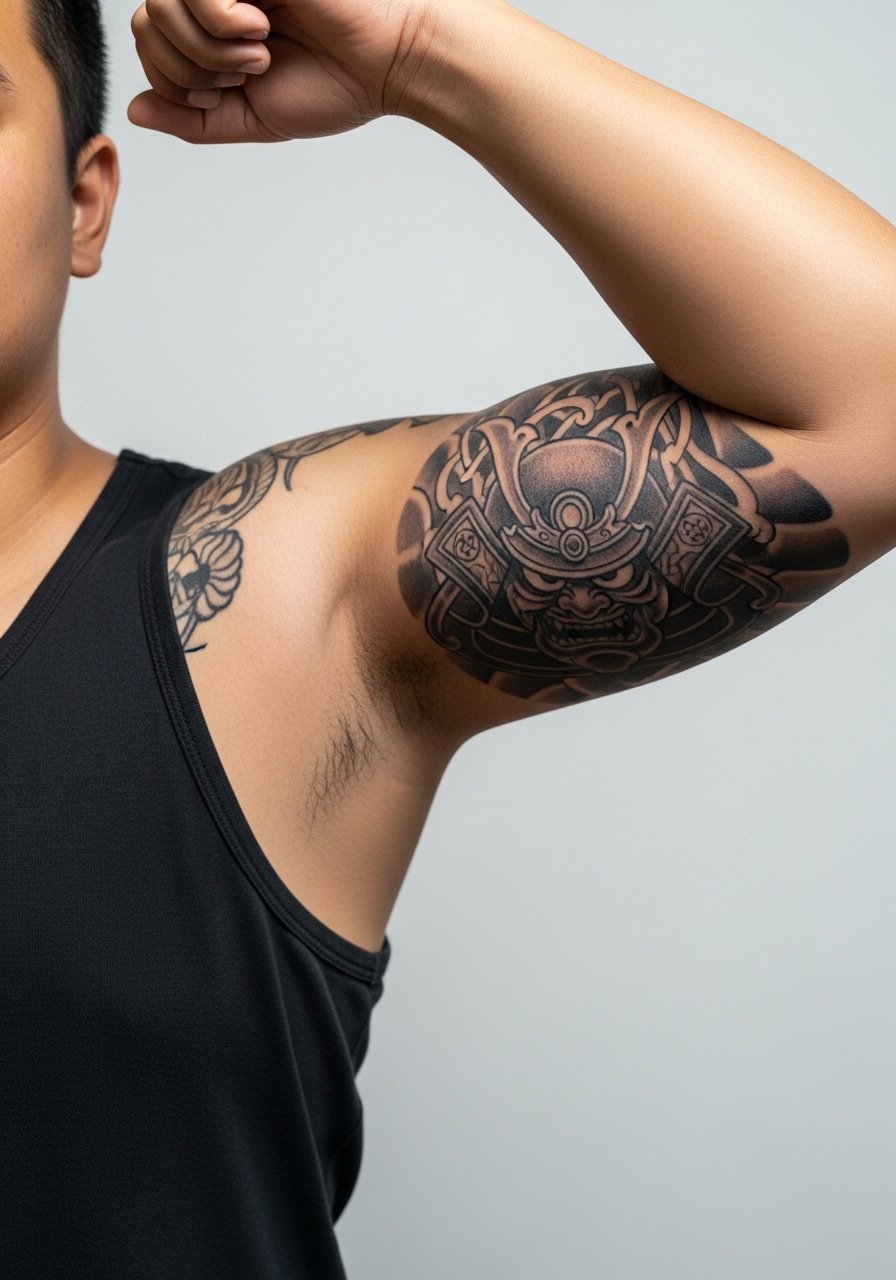
Inner bicep placements let the mask live in a slightly private space that only shows when you lift your arm. The common mistake is over-detailing the inner bicep where stretch and sweat cause faster blur. Ask for simplified shading with stipple gradients rather than tight lines. Sessions can be longer since the artist must work carefully in that spot. Pain spikes when the arm is raised and stays there for a while. Wear a loose tank on session day.
16. Collarbone Mask Accent
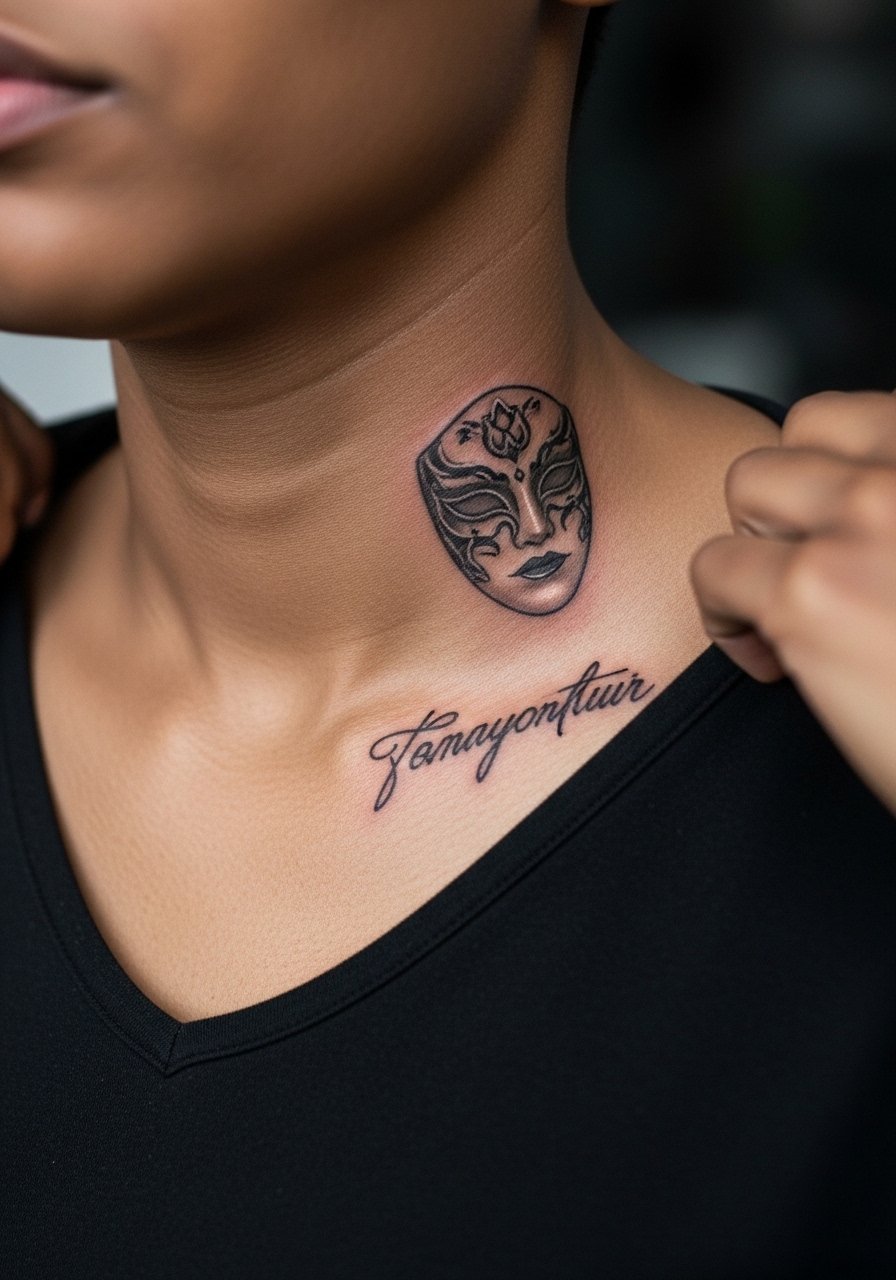
Collarbone masks look striking when paired with minimal accessories. Tell your artist you want shallow shading with crisp negative edges so clothing does not rub off delicate areas. The collarbone can be sensitive, expect sharp needle contact near bone. Small pieces here often need a touch-up at year two if you sleep on that side a lot. For wearing, a thin chain pendant necklace sits above the mask without competing.
17. Ankle Mask Marker
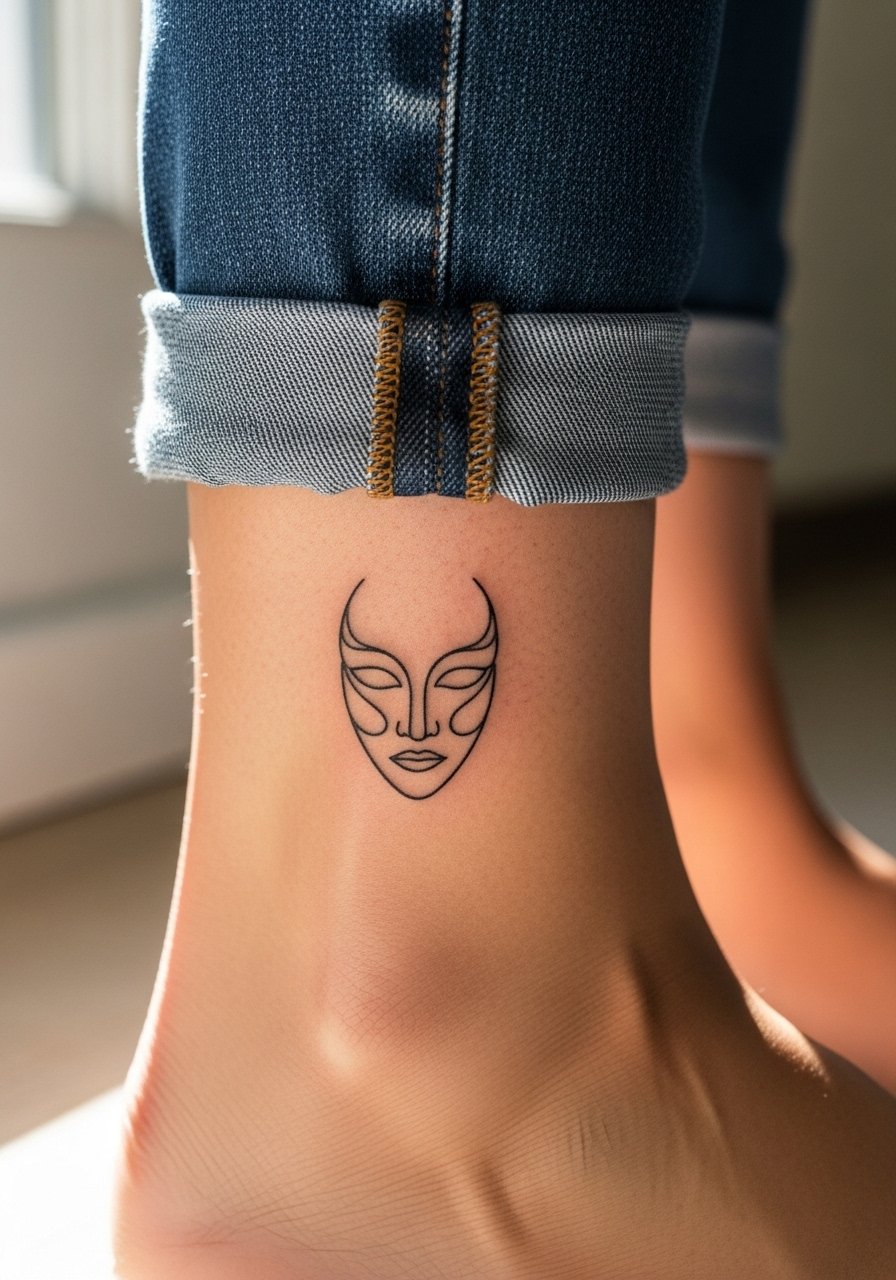
Ankle masks work well as small, portable statements that wrap with ankle bones. Ask for clear outer lines and avoid tiny interior details. The ankle is a high-friction area with more touch-ups expected due to shoe contact and socks. Expect a short session and sharp pain near bone. For session ease roll up pants or wear sandals.
18. Miniature Mask on the Finger
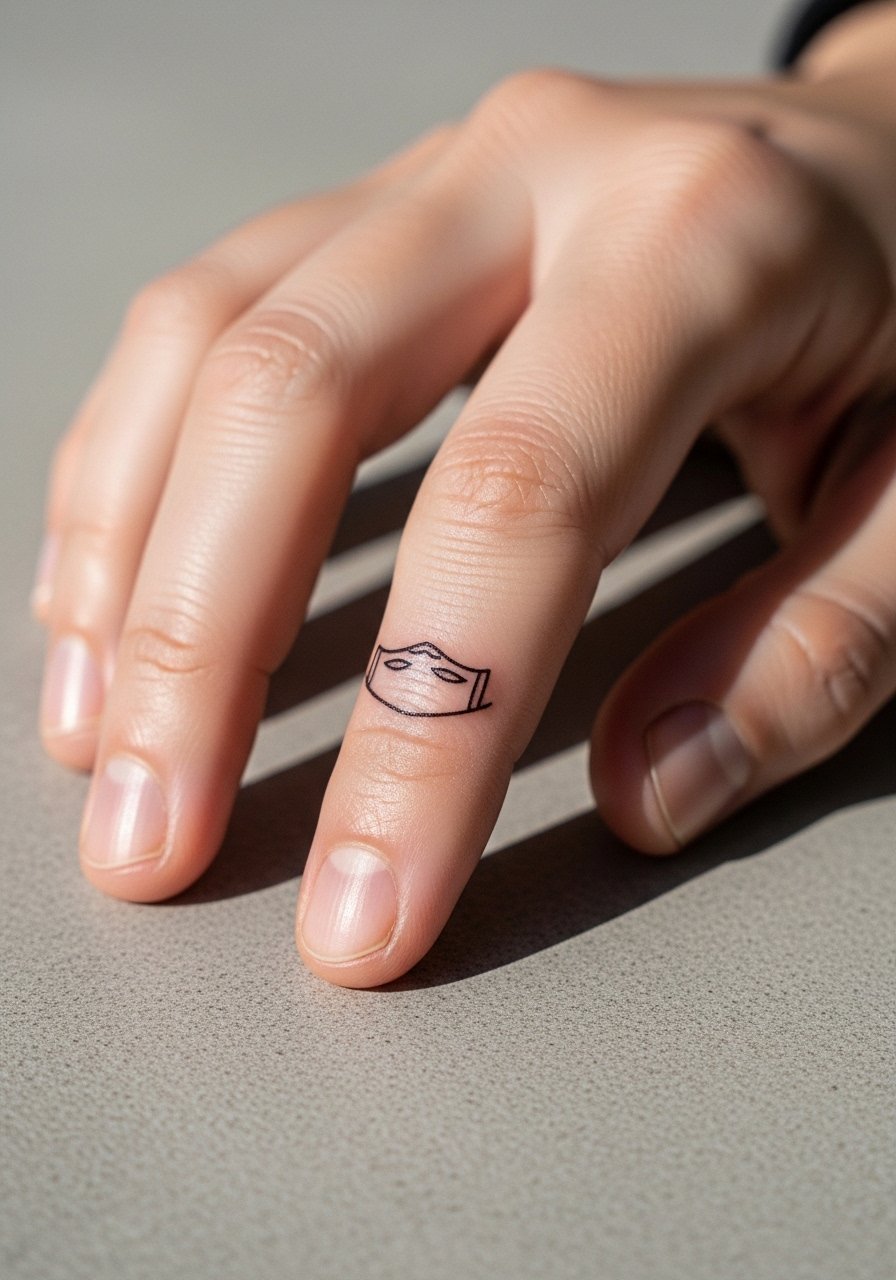
Fingers are honest about aging and will blur faster than forearms. The trick is to use negative space and very simple contouring. Ask for a single-line silhouette or tiny dot work instead of interior shading. Expect a quick but painful procedure and likely yearly touch-ups. Protect the digit from prolonged water exposure in the first two weeks.
19. Lower Back Mask with Floral Spine Flow
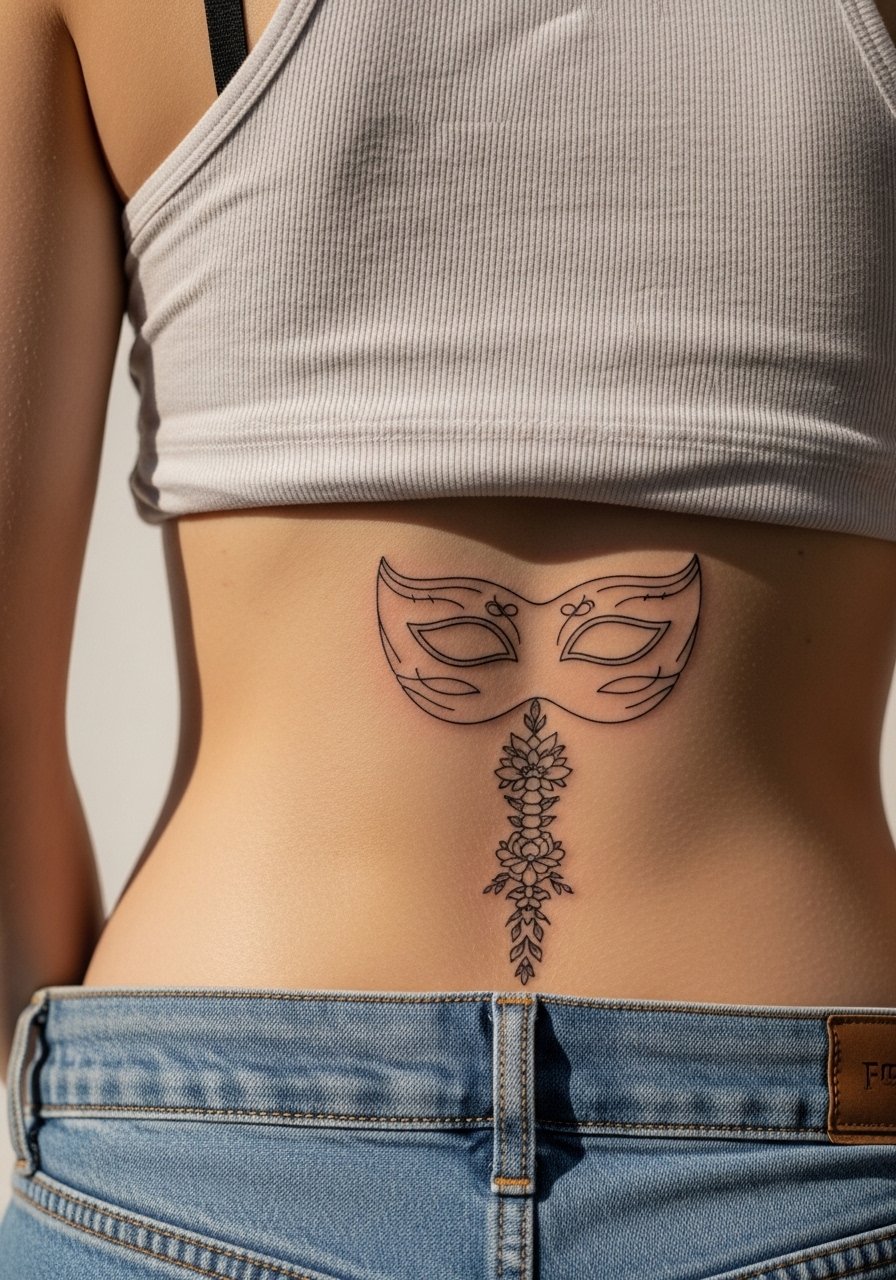
Lower back panels let you create vertical narratives that peek out from waistlines. Ask for a composition that reads whether partially covered or fully exposed. The area sees less daily abrasion than the hands so subtle lines can survive longer if spaced. Expect multiple sessions depending on scale and moderate discomfort in sitting positions during the tattooing. For sitting comfort bring a cushion and wear high-waisted bottoms to avoid friction.
20. Mask Collar Sternum Blend

Sternum placements are intimate and powerful but heal with extra attention to fabric friction. Request the artist avoid dense stipple directly on the sternum line and use more negative space near the center. Pain is higher and breathing during the session changes the rhythm, so plan for breaks. For session day wear a fitted sports bra you can lower slightly to expose just the area and keep the rest covered.
21. Mask Fragment on the Hip Bone Edge
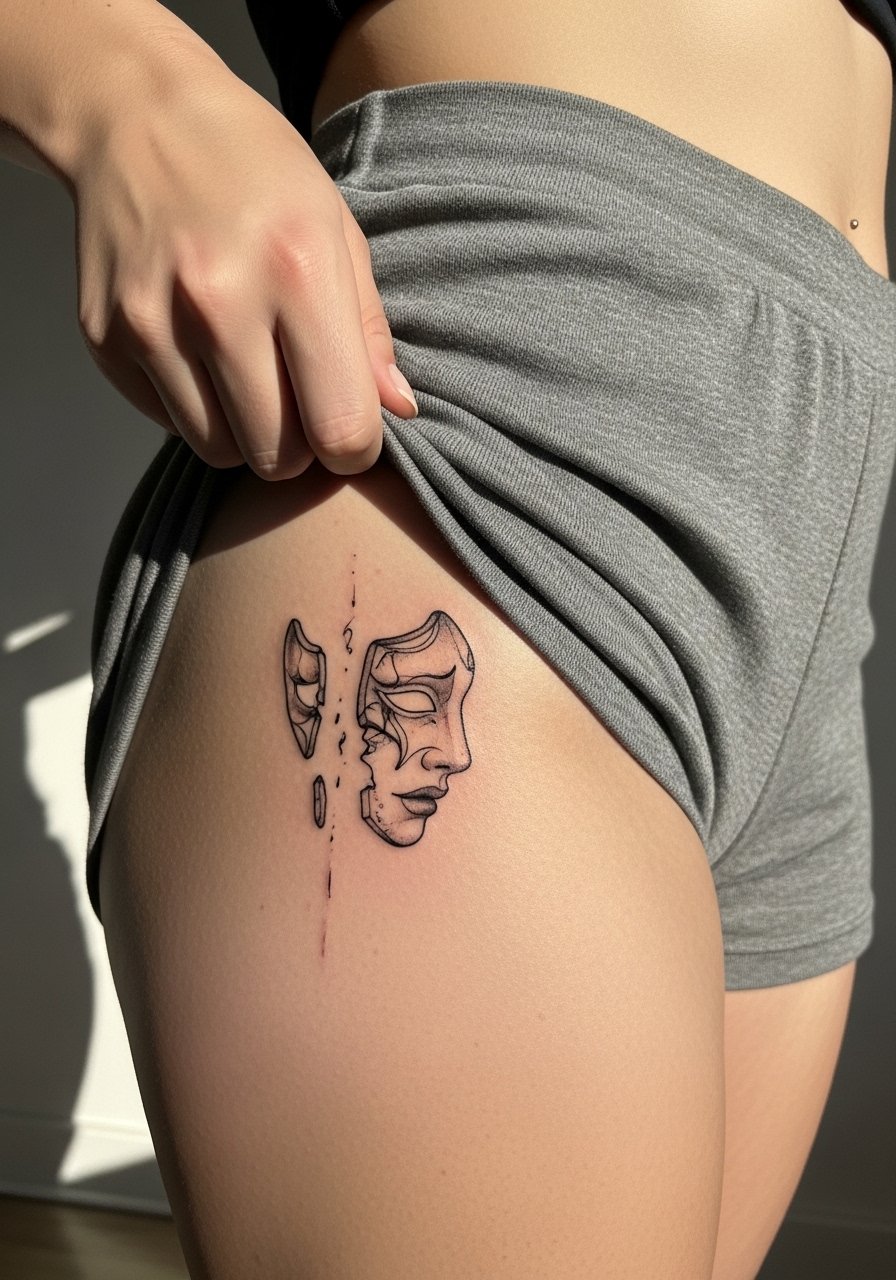
A fragment on the hip bone is a discreet way to carry mask symbolism without a full narrative. Ask for a version that leans into negative space and singular focal lines so it does not lose shape with small weight fluctuations. Pain near the hip bone can be sharp and quick. For the appointment wear a wrap skirt or shorts you can shift easily and avoid tight waistbands for the first two weeks.
Frequently Asked Questions
Q: Will a Kitsune forearm fade faster on darker skin?
A: From what I've seen, dark skin can mask some color shift while linework still matters most. Ask for stronger outer linework and higher saturation in contrast areas so the fox's features stay readable. If longevity is the priority, prioritize black and gray with a single red accent rather than tiny color patches.
Q: Do thigh Hannya tattoos need numbing cream for long sessions?
A: Many artists and clients use numbing cream for multi-hour thigh sessions to manage endurance, and another group prefers working without it for a full sensory experience. If you opt for numbing, tell the artist in advance so they can plan session length and any required patch testing.
Q: How do hand Tengu tattoos hold up with regular washing and typing?
A: Hands take a beating from washing and friction, and simplified bold outlines are the most resilient approach. Expect yearly touch-ups if you use your hands heavily. Protective film in the first week can help, but long-term maintenance is normal for hand pieces.
Q: What should I wear to a shoulder or upper arm session to make removal easy?
A: Wear a sleeveless button down or a tank you can pull aside so the artist has unhindered access. Loose fabrics avoid rubbing the fresh area post-session and make dressing easier.
Q: Why do small fine-line masks blur faster on the wrist than on the forearm?
A: The wrist is a high-movement, high-friction zone and it sees more soap and sanitizer, which softens delicate lines. The forearm moves less and has thicker skin, so the same fine line will typically hold longer there.
Q: How much planning should I do for a leg wrap that includes snakes and peonies?
A: Plan for multiple sessions and discuss how the snake will cross joints so the design reads both statically and in motion. Ask to see a compositional mockup on skin and discuss touch-up windows at six months and two years because leg wraps shift visually as muscles and weight change.
