
Fine line work is everywhere on saved boards, and the trend-versus-reality gap shows up fast on melanin-rich skin. The designs that look ethereal fresh often lose contrast in months unless you plan spacing, line weight, and touch-ups up front. Read the first set of ideas that favor longevity and low-contrast aesthetics, then the practical prep essentials that make a small white piece actually last.
1. Fine Line Geometric on Inner Forearm
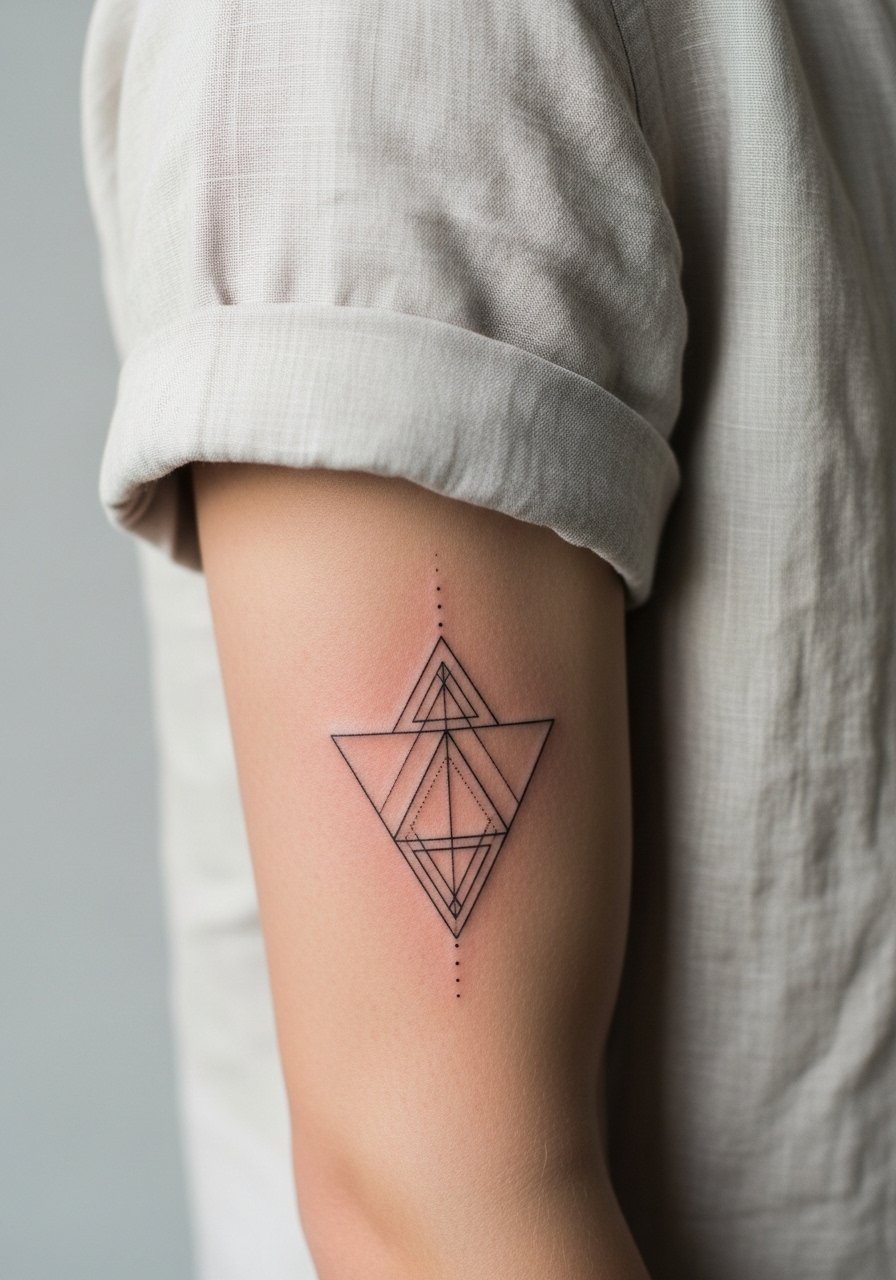
I recommend this when you want a low-contrast geometric that reads as texture up close, not a bold statement across a room. Tell your artist to use slightly heavier line weight than their tiniest needles, and to space small triangles so the negative space breathes. A common mistake is asking for ultra-micro lines that merge after a year. Expect a quick one-session seat for a 1-3 inch piece, minor redness, and touch-ups possible around year one. For showing it off, roll the sleeve and wear a linen short sleeve shirt to let the forearm catch soft light.
2. Thick Line Mandala Along the Collarbone
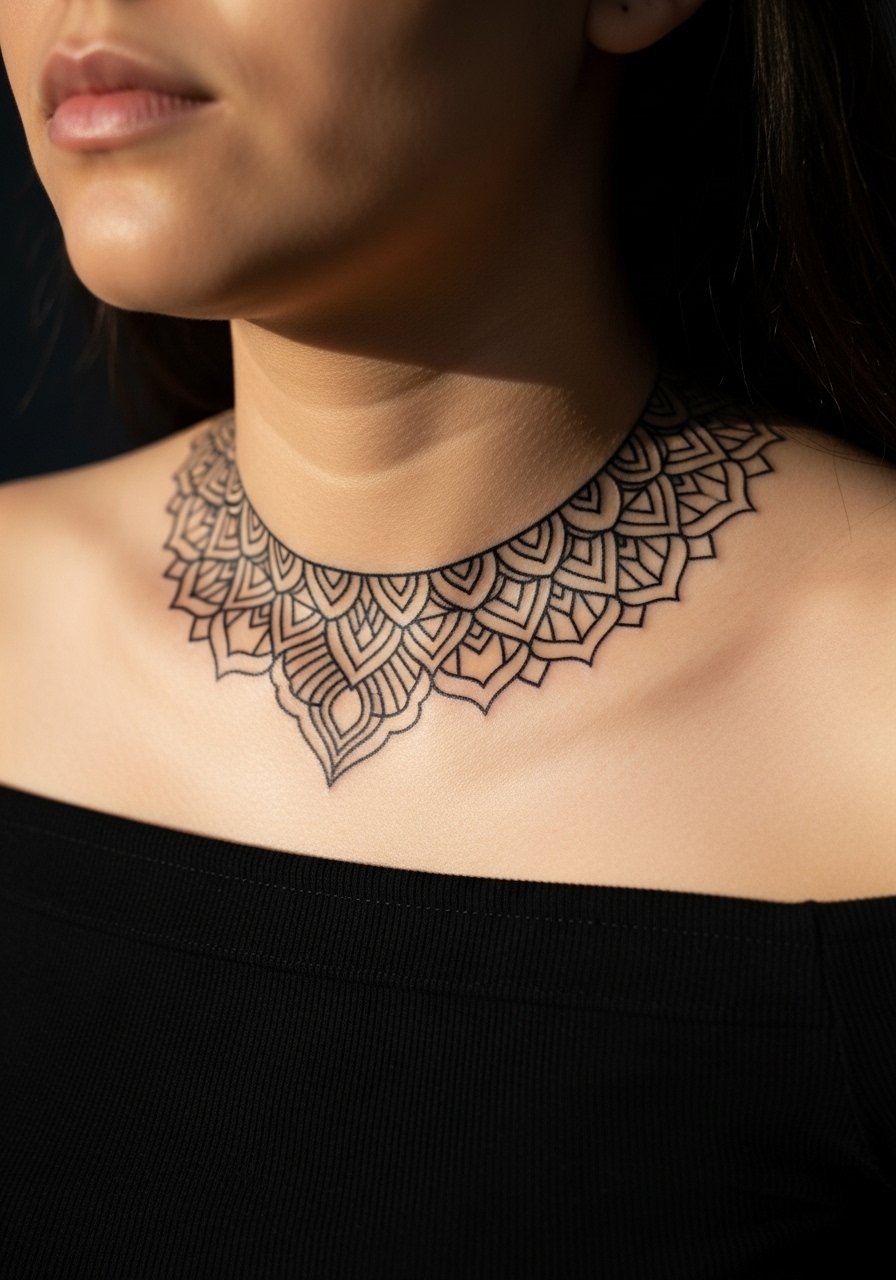
This ornamental approach favors thicker linework so the white keeps shape against deeper tones. For consultations, ask for a mandala with reinforced outer rings rather than delicate lace inside. The collarbone sits exposed to sun, so plan for placement slightly under the collarbone curve where fabric can shield it. Sessions are medium length and often split into two pass sessions to build opacity without overworking skin. For evenings out, pair the piece with an off shoulder top black so the white outline reads against deep fabric.
3. Minimalist Script on the Wrist

Wrist script can be intimate and nearly invisible from a distance, which is exactly why people choose it. Ask for a thicker hairline script rather than the finest cursive. Blowout risk on the wrist is low if the needle depth is shallow and passes are minimal. The session is short. Expect the most visibility in flash photography and close-ups, fading faster with sun and wrist wear. For styling, stack bangles on the opposite wrist and keep the tattoo-side clear or wear a thin bangle bracelet set when you want it noticed.
4. Scar-Camouflage Florals for Upper Thigh
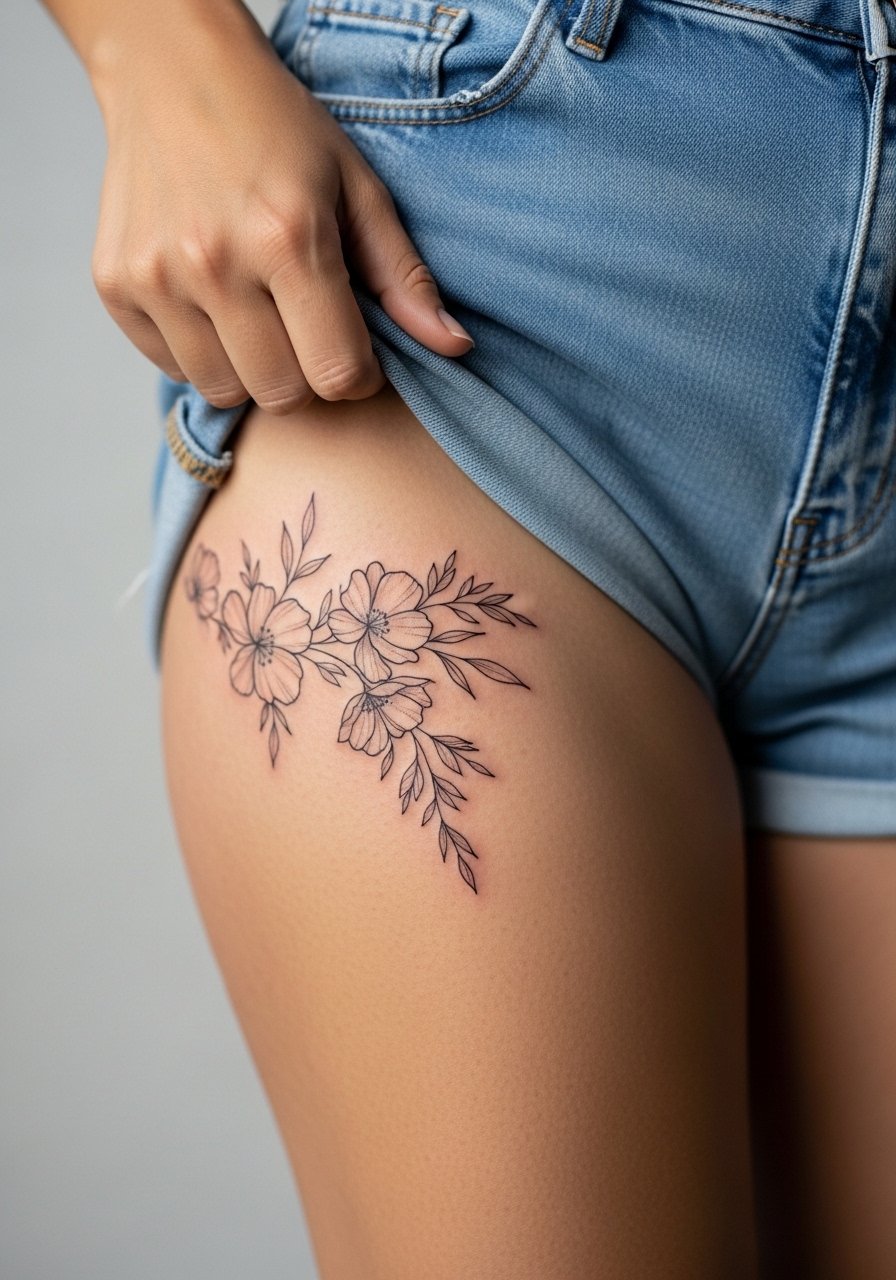
When the goal is camouflage, layered white florals soften contrast on stretch marks and pitted areas. Tell the artist you want light layering instead of heavy saturation so the white sits more like skin art and less like a sticker. This placement needs a gentle hand because too many passes can leave raised texture. Sessions often run two to three visits for build and blending. For reveal looks, pair the piece with high waisted shorts black and thigh-high socks for a controlled peek.
5. Minimal Moon Phases on Inner Wrist
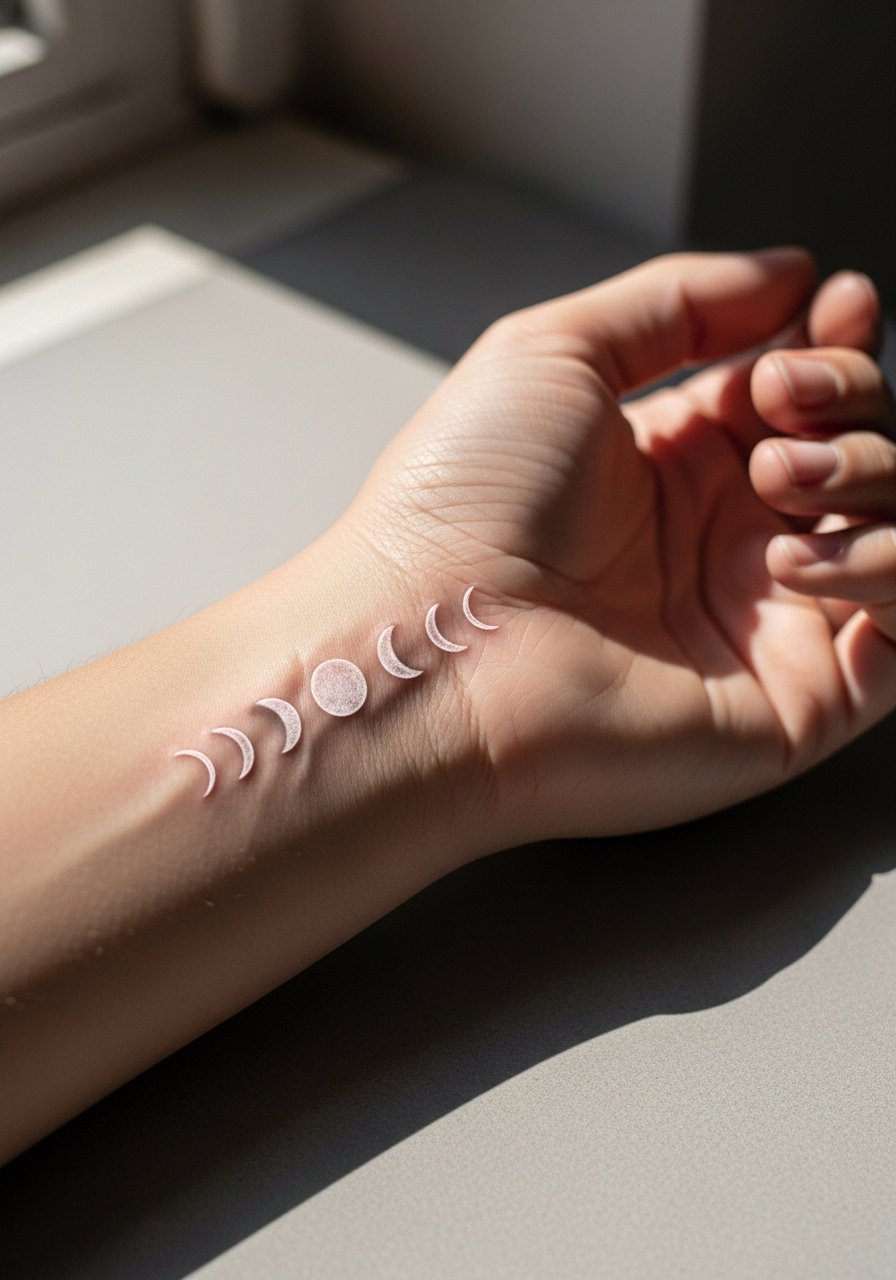
Moon phases read as delicate texture on darker skin when you pick slightly larger crescents with consistent spacing. I warn clients the inner wrist gets more fading because of sun and frequent washing. A single session covers a compact 1.5-2 inch run, and touch-ups at 6-12 months are common. The main mistake is choosing micro crescents that become hard to distinguish; aim for moderate scale. For styling, push up a push up cuff shirt to show the inner wrist casually.
6. Geometric Triangle Cluster on Inner Bicep
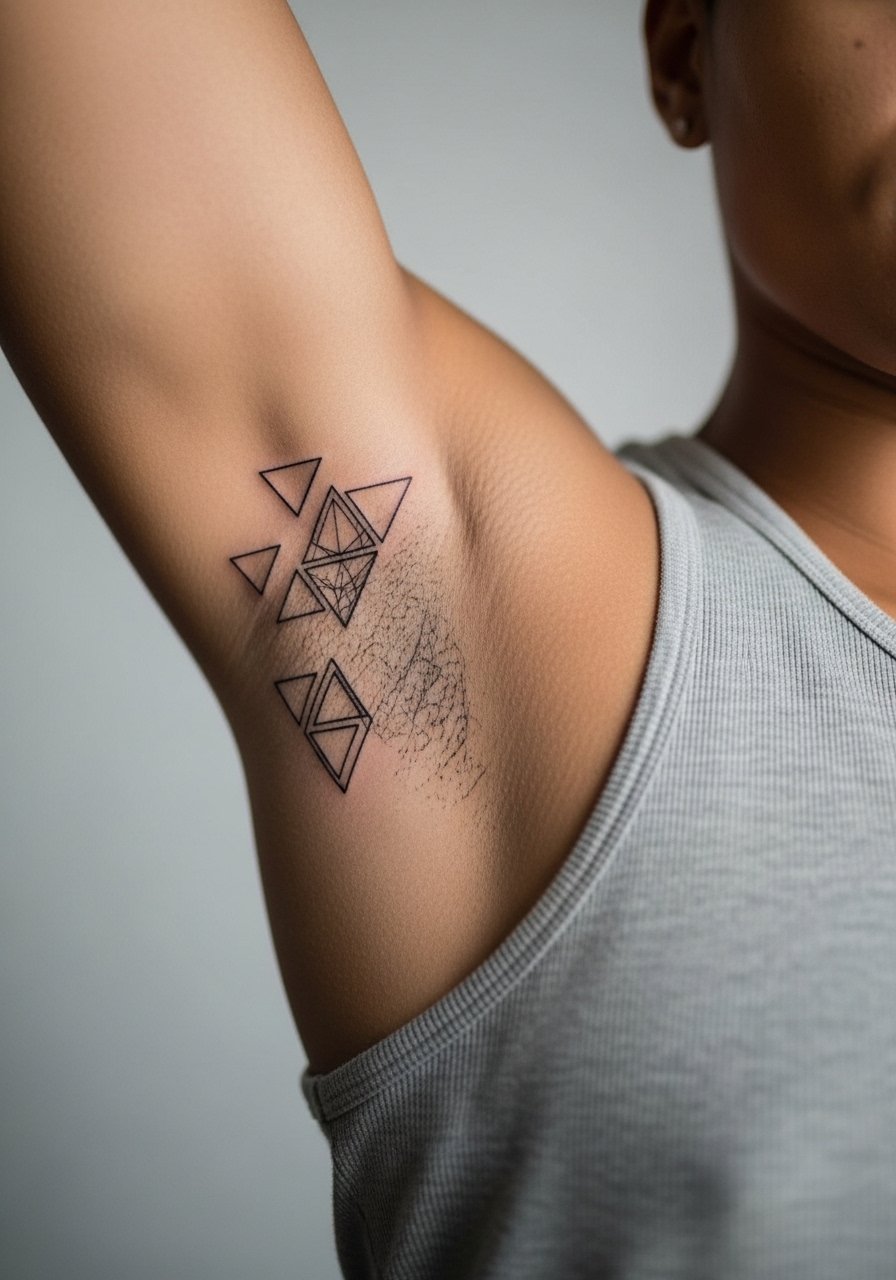
This inner bicep placement hides well and keeps white ink away from constant sun. The biggest consultation note is to ask for slightly bolder triangles so the pattern stays legible when the arm shifts. Pain is moderate; session time is short to medium depending on complexity. One camp of artists says fine line there spreads due to skin movement, the other camp says careful spacing and depth prevent that. Name both views and decide which your artist follows. For session wear, go with a loose tank top so the arm can lift without tight fabric.
Studio Day Picks
The forearm and collarbone pieces above need different prep from thigh work, so a small kit of session-day items eases the process.
- Stencil transfer paper kit. Lets you test placement on skin ahead of time, helpful for the forearm and collarbone layouts above.
- Topical numbing cream. Applied per product directions it softens the edge during wrist and inner bicep sessions.
- Thin protective film roll. Good for small areas like ankle and wrist that rub against clothing during the first days.
- Fragrance free gentle body wash. Cleans healing zones without adding irritants for fine line work.
- Aquaphor healing ointment. A thin application for the first 48 hours helps keep fine line channels hydrated without heavy occlusion.
7. Bold Outline Dotwork on the Shoulder
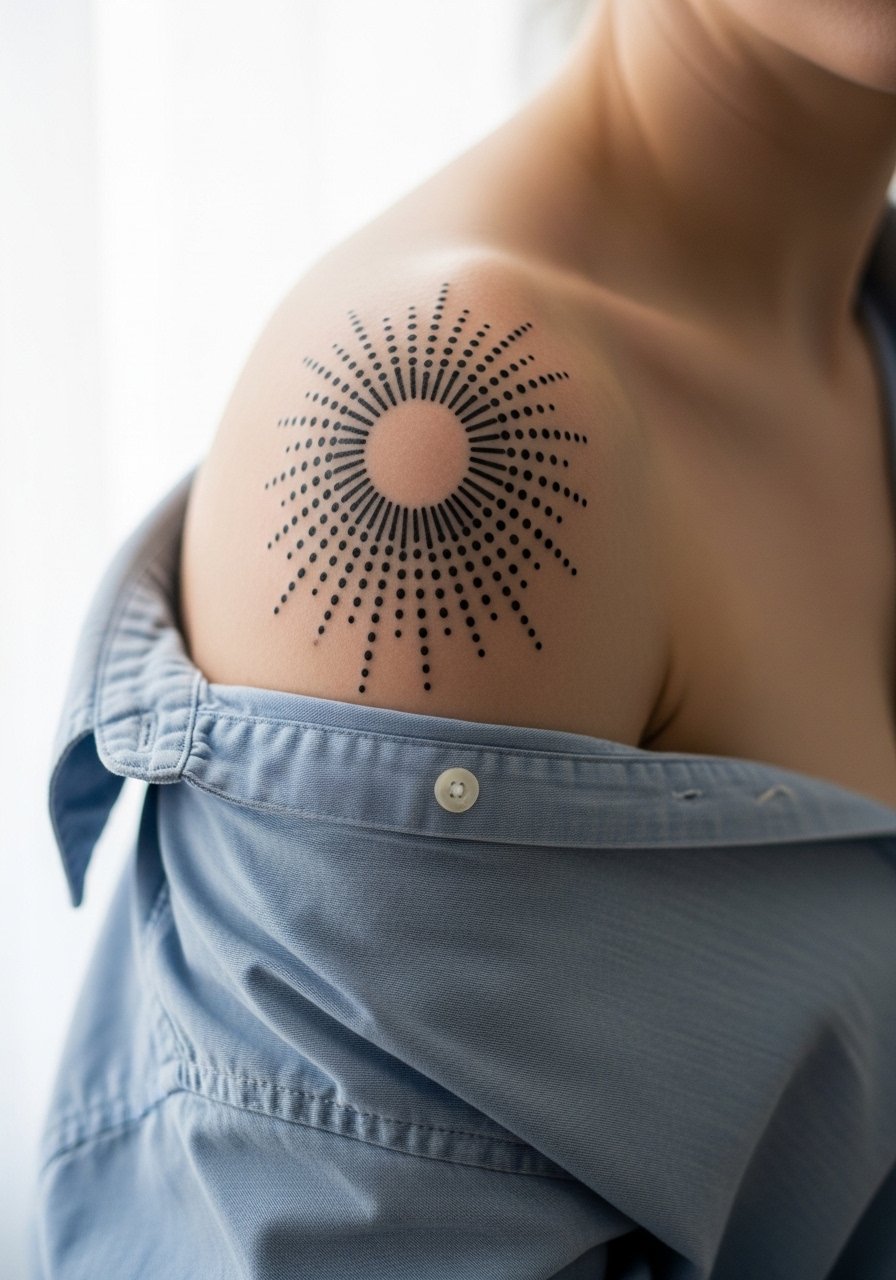
Shoulder pieces take shading differently than arms, and dotwork in white holds surprisingly well if the dots use firm, consistent placement. Tell the artist you want outer lines slightly thicker and dot clusters spaced out so the design reads across torso curves. Shoulder work heals with less friction than wrists, but heavy sun exposure can wash contrast. The session usually splits into two passes to build opacity. For dressing, a loose button-down shirt you can slide off the shoulder makes the chair time easier.
8. Single Line Wave at the Ankle
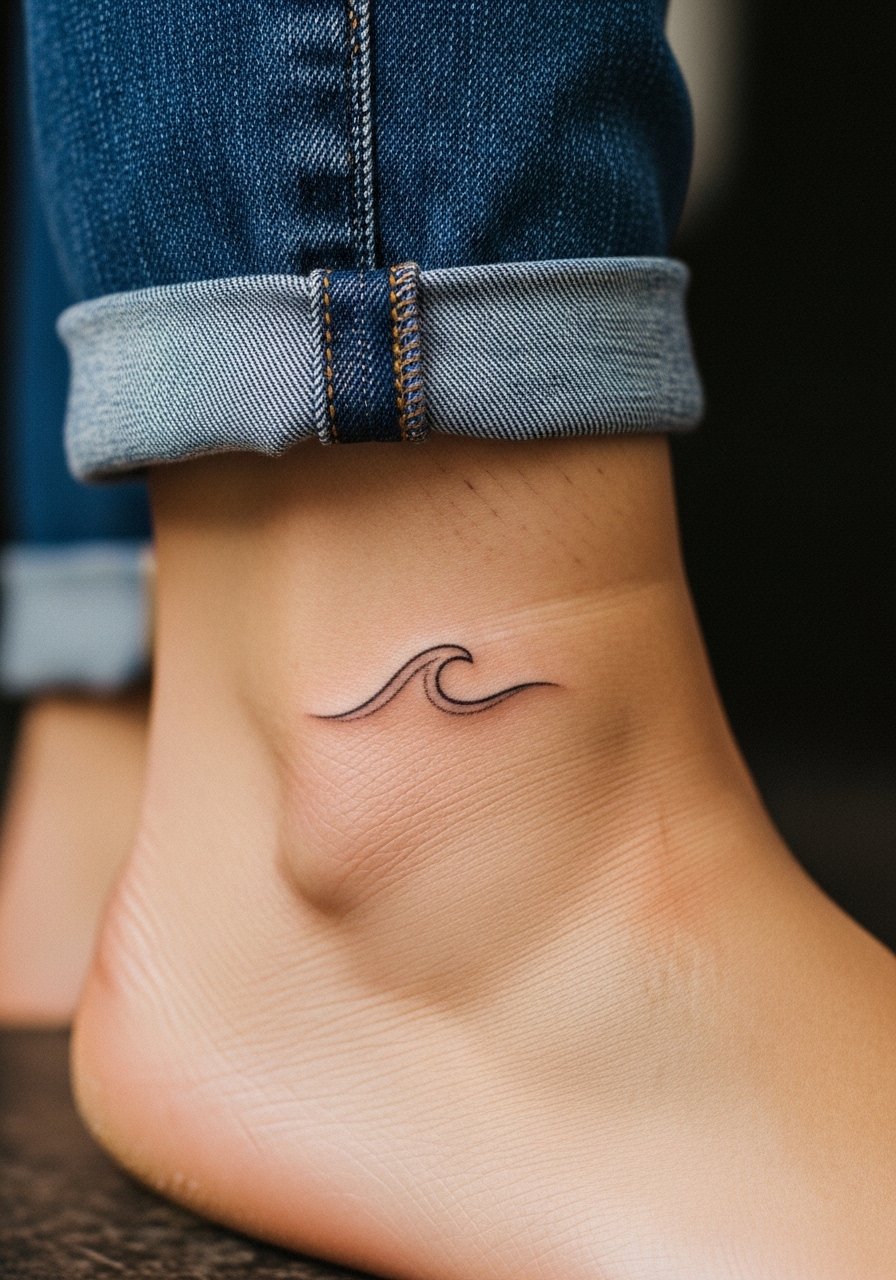
Ankle placements are charming and discreet. The wave motif is low maintenance but vulnerable to boot and sock friction. Ask for a slightly bolder contour so the white keeps shape after a season of shoes. Sessions are brief and low to moderate pain. Realistic healing shows a soft fade at six months but still reads as a line. On showing it off, cuffed pants or cuffed ankle pants linen work well with strappy sandals.
9. Layered Pastel Accent on the Ribcage
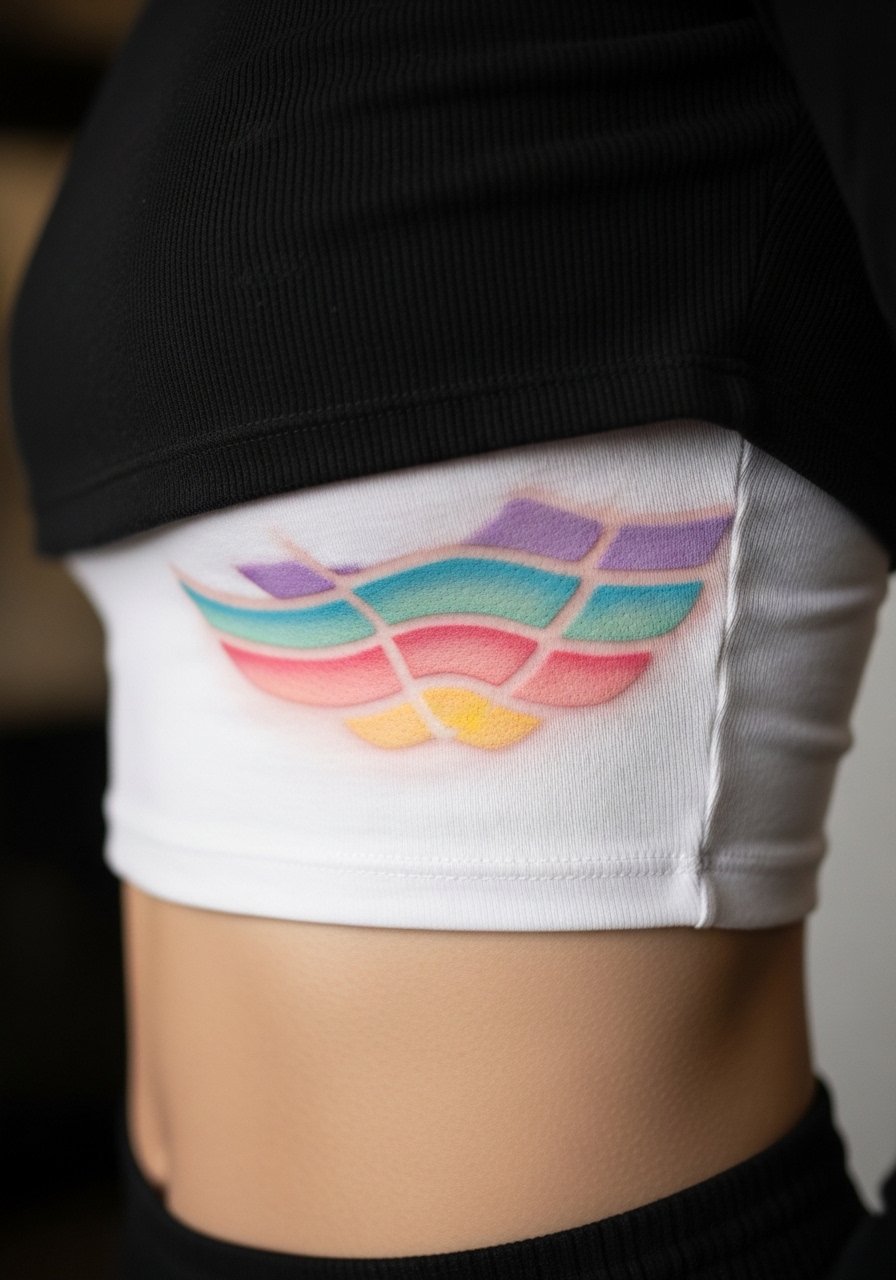
Ribcage fine line with pastel layering uses white as a base to let pale tones sit on top. The pain level is high, and sessions are longer. Technique matters here because too many passes cause raised texture. One group of practitioners favors minimal moisture and thin balm during healing, the other accepts regular moisturizing if the artist advises it. Name both approaches with questions ready for your artist. Expect three sessions for strong, sustained pastel presence and plan wardrobe like a crop tank black for reveals.
10. Outline Heart on the Collarbone

A tiny outline heart reads as a faint highlight rather than a bold icon when you pick modest scale and a confident outline. Ask the artist for a single pass with a slightly thicker outer line to prevent early fading. Mistakes happen when clients request ultra-micro hearts that flatten into indistinct marks after a year. This session is brief and low to moderate pain. For styling, an understated thin chain pendant necklace complements the collarbone without stealing focus.
11. Dotwork Star Cluster on the Forearm

Dot clusters heal into a faint sparkle on deeper tones because the white sits as tiny highlights rather than flat fill. Tell the artist to stagger dot sizes and keep the densest areas away from joints. A common problem is oversaturation close to the wrist where motion blurs the dots. Expect two short sessions and touch-ups if you want brightness maintained. Style it with rolled sleeves or a rolled cuff blouse that frames the forearm.
12. Micro-Realism Single Bloom on the Shoulder Blade
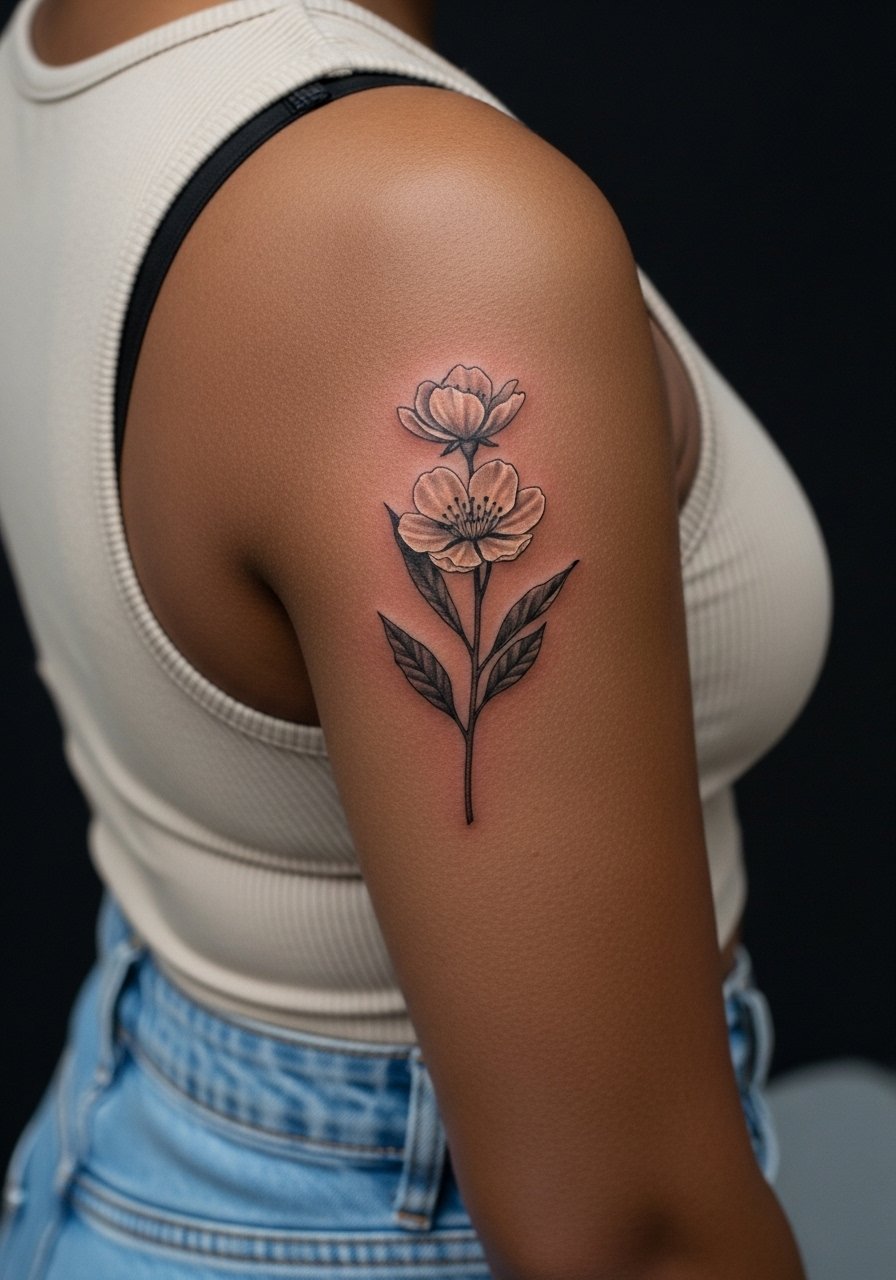
Micro-realism with white ink creates a soft patch of highlight that reads like light on the skin rather than pigment. Shoulder blade placement gives room for the artist to work without constant friction. Tell your artist you prefer light layering and minimal passes to avoid raised texture. Sessions are medium-length and can be split. The main mistake is asking for intricate tiny details that will blur; scale up slightly for longevity. For showing it off, an open back tank keeps attention where it belongs.
13. Minimalist Constellation Along the Side Wrist
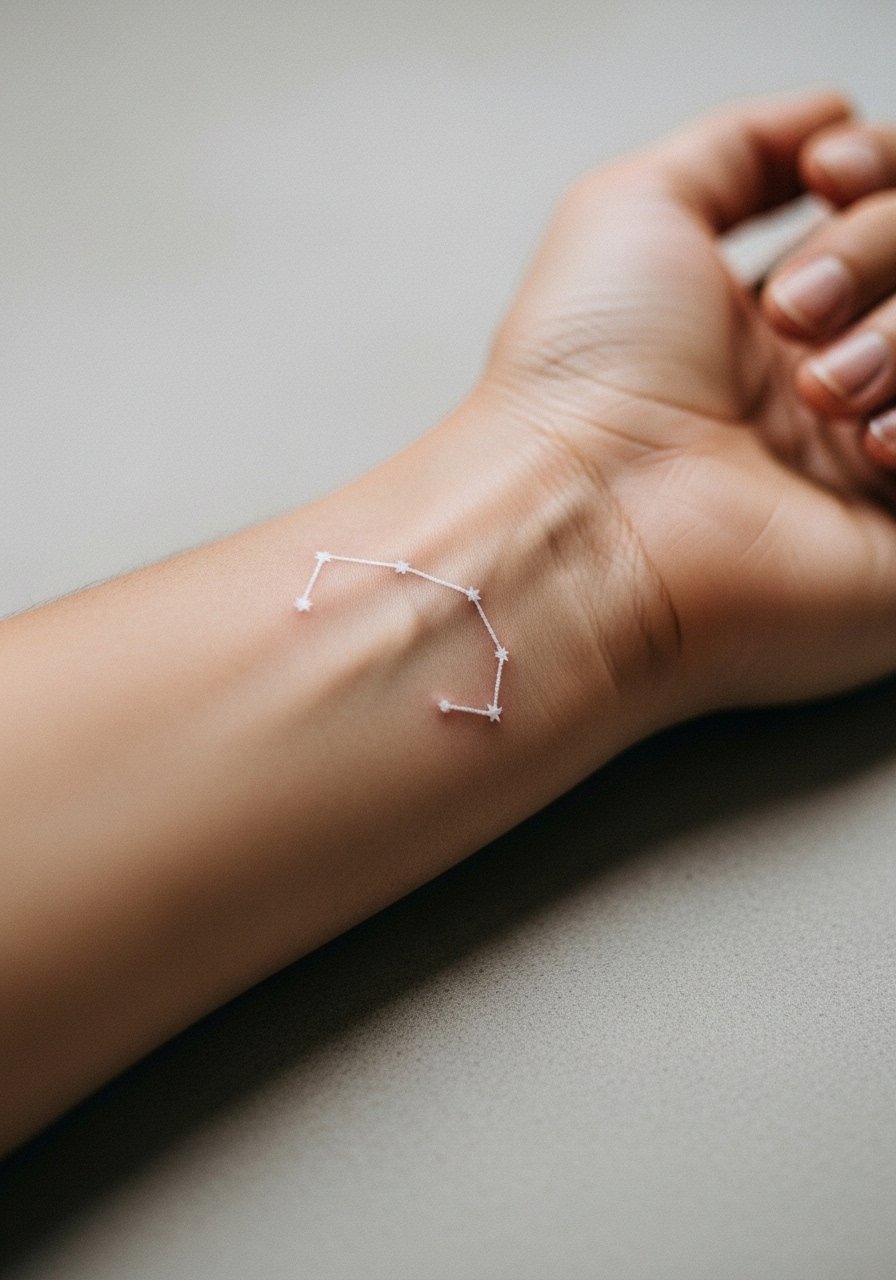
Side-of-wrist placements face constant motion and washing, so constellations need deliberate spacing and slightly larger dots to last. Mention to your artist that you want star points that survive daily wear. The session feels quick but the area can be tender. Expect a touch-up at 6-12 months for brightness. The common error is insisting on pinprick dots that vanish when exposed to sun. For casual wear, stack bangles on the opposite wrist and keep the tattoo-side clean.
14. Thin Script Across the Back of the Neck
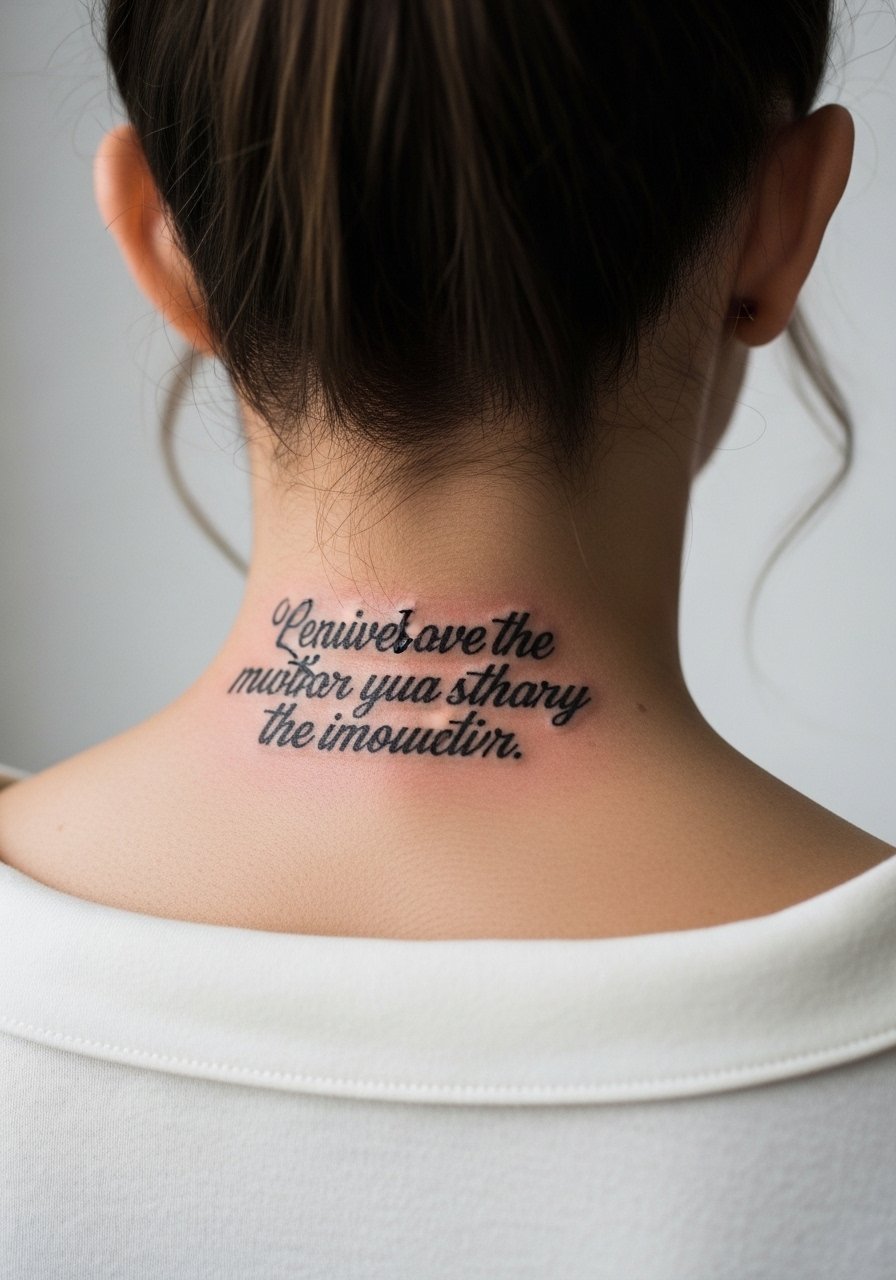
Back-of-neck script benefits from bolder strokes rather than hairline lettering, because hair growth and neck movement can soften ultra-thin text. This placement is visible only with certain hairstyles, so plan if you want it on display. Sessions are short. Mistakes include choosing tiny fonts that become illegible after a season. Pair the piece with updo-friendly accessories and a high neck blouse when you want subtle framing.
15. Single Line Wave Behind the Ankle

A behind-ankle line needs a touch of boldness to persist through footwear friction. Ask for a single pass of steady depth rather than multiple shallow passes. Healing is straightforward but the area gets scuffed easily. Avoid tiny, wavy scribbles that lose definition. Session time is short and pain is mild. Cuffed jeans or a strappy flat sandals look natural with an ankle wave.
16. Small Mandala at the Back of the Shoulder
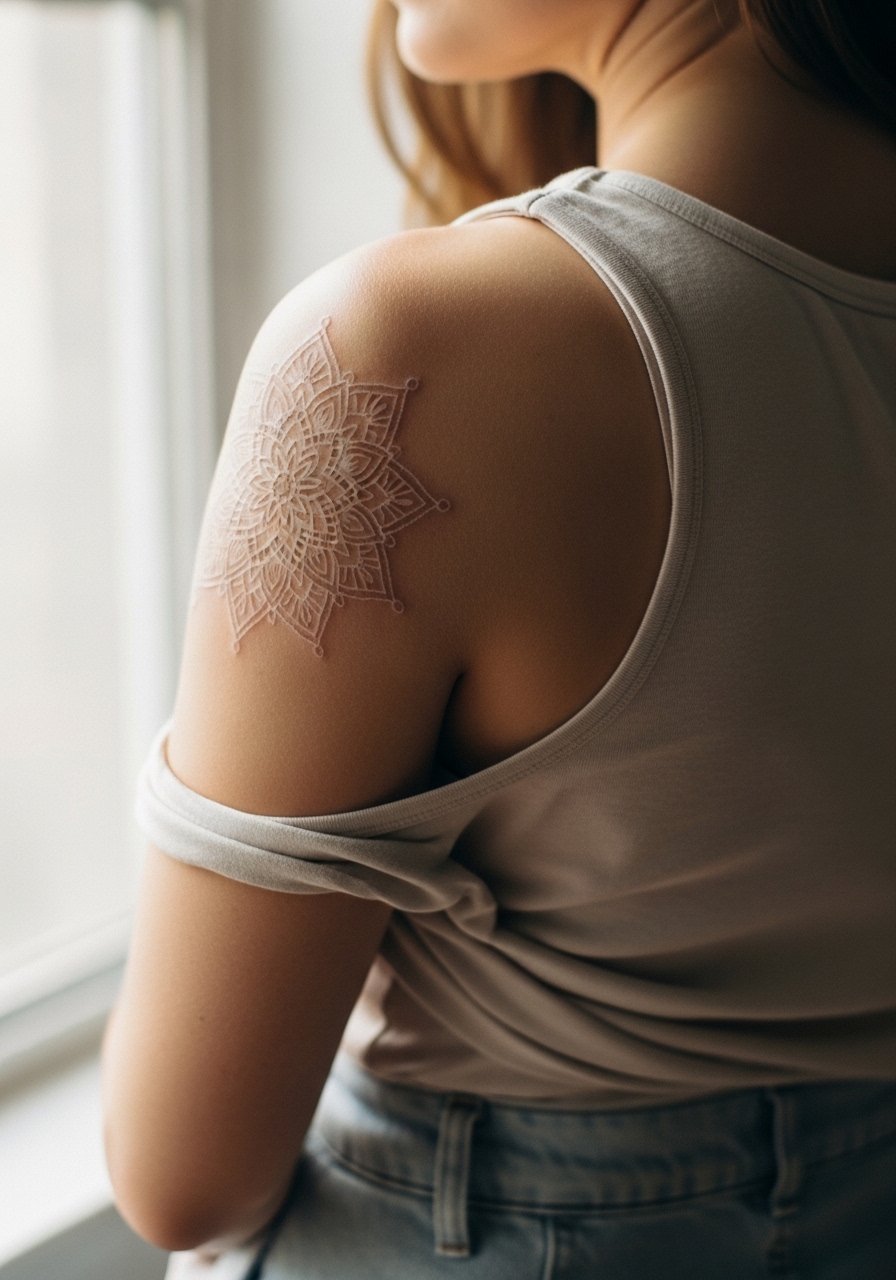
Back-shoulder placements tolerate ornamentation and keep white ink out of constant sun. For a mandala here, prefer clear spacing and slightly heavier outer rings to stop the center from blurring. Sessions are medium length. A common error is trying to compress too much detail into a small disc. For chair day, wear a loose button-down shirt you can pull aside easily.
17. Thin Crescent Above the Elbow
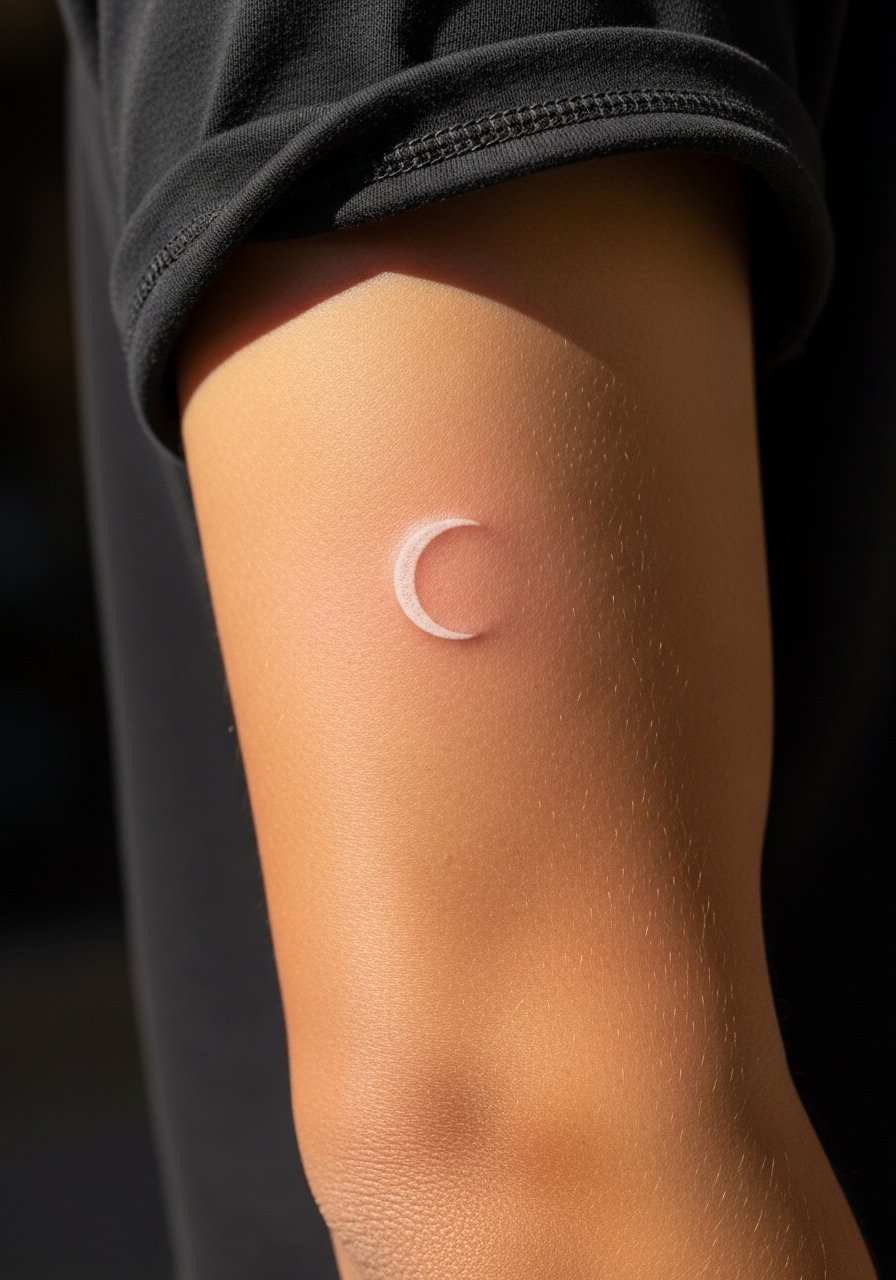
Above-elbow placements are movable and not sun-drenched, which helps white ink keep a soft glow. The trick is to ask for a steady contour rather than lace-thin curves that break up with movement. Sessions are quick and pain is low. The typical mistake is placing crescents too close to the joint where motion blurs edges. For casual style, wear short sleeves or a linen short sleeve shirt that frames the design.
18. Micro Dot Heart Near the Collarbone
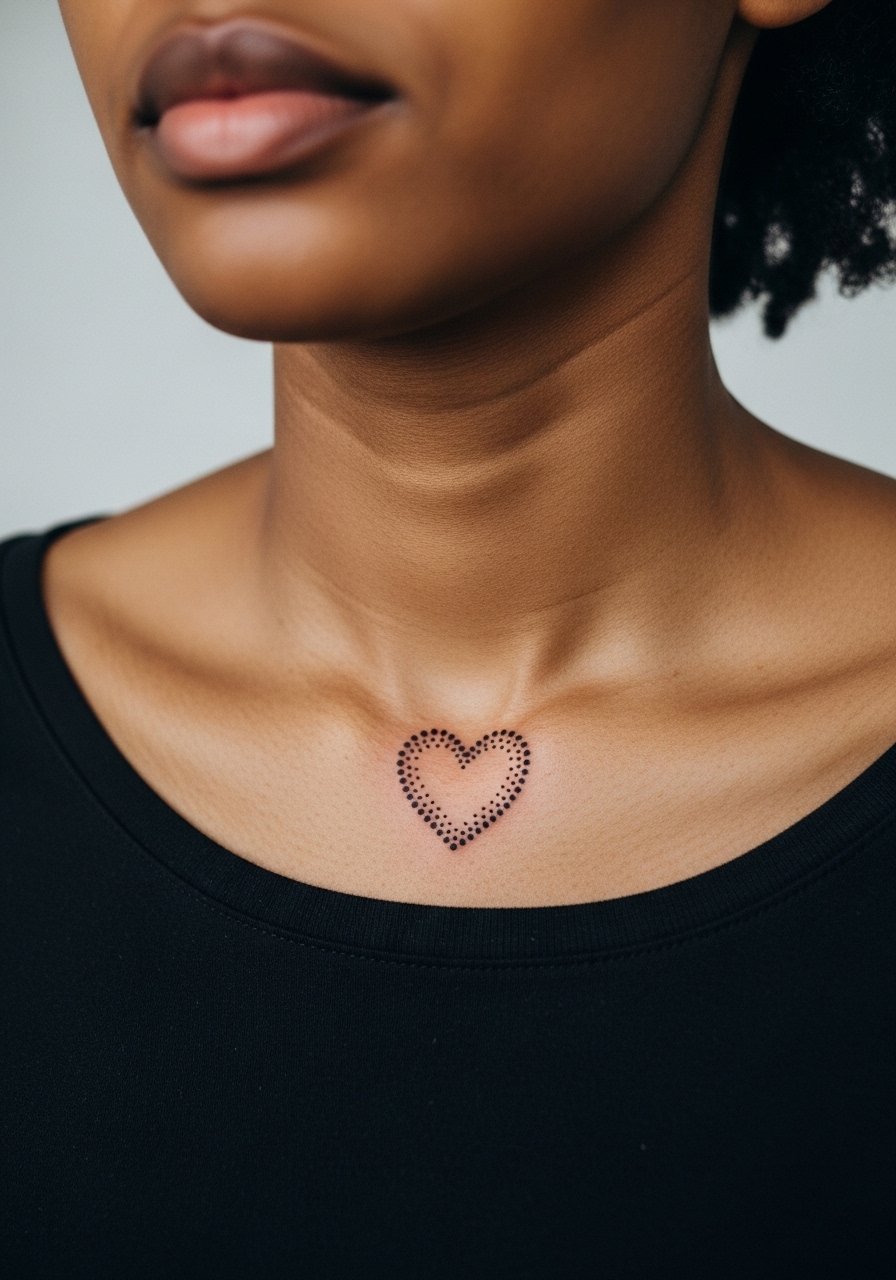
A micro dot heart uses negative space to read as a soft highlight on deeper skin tones. Ask for dot spacing that leaves enough negative space so the heart reads as shape, not blur. Collarbone sun exposure makes placement slightly tricky, so tuck it under a collarbone curve if possible. Sessions are brief. The usual mistake is requesting too many dots close together which merge. A delicate choker or a delicate choker necklace keeps attention on the neckline.
19. Simplified Animal Silhouette on the Upper Thigh
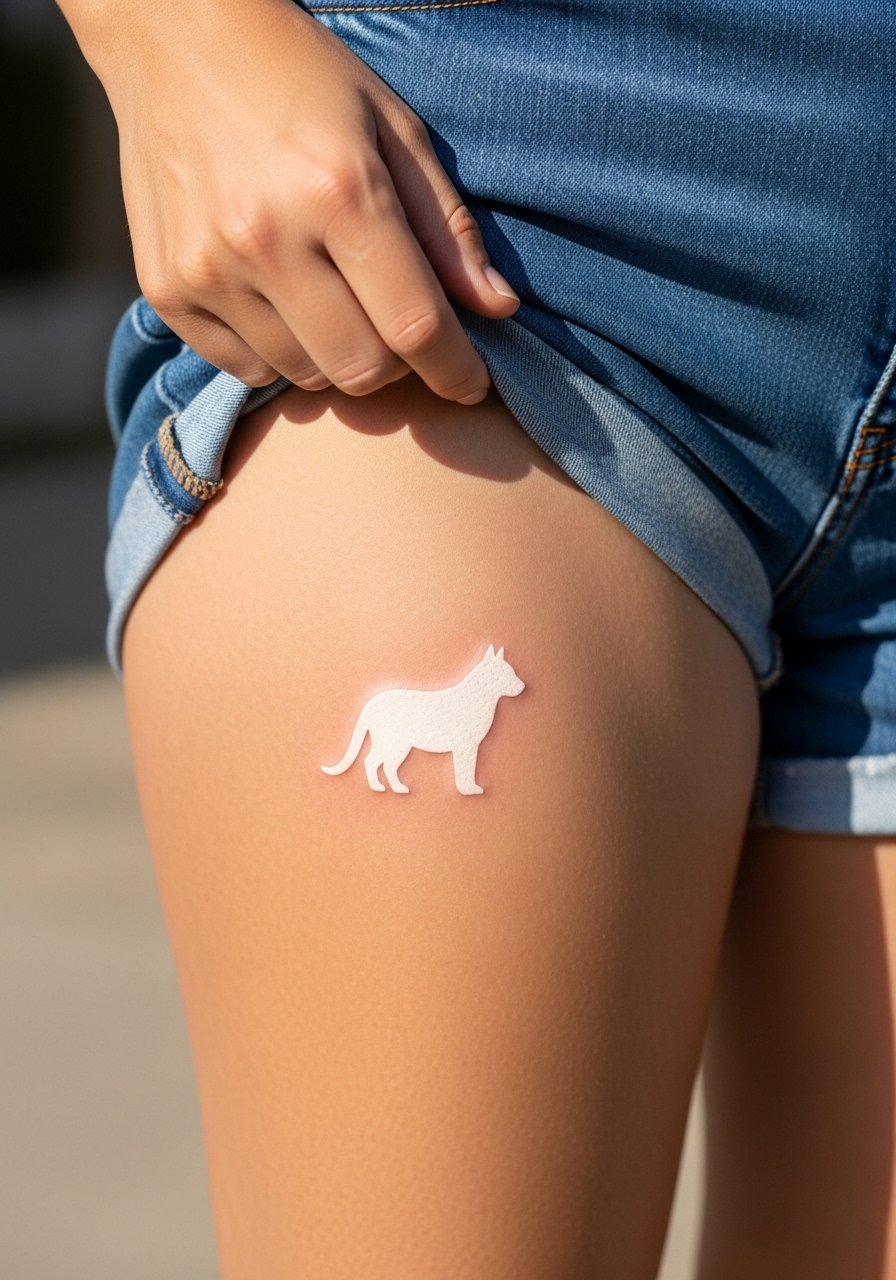
Thigh pieces are great for white ink because they avoid constant sunlight and friction, and they allow slightly larger silhouettes. Tell the artist you want clean negative space around the shape for longevity. Sessions are tolerable and can be split. A frequent mistake is shrinking a silhouette too small for the skin canvas. For reveal styling, high-waisted shorts in solid tones like high waisted shorts black frame the tattoo cleanly.
20. Crescent Moon Behind the Ear, Below Hairline
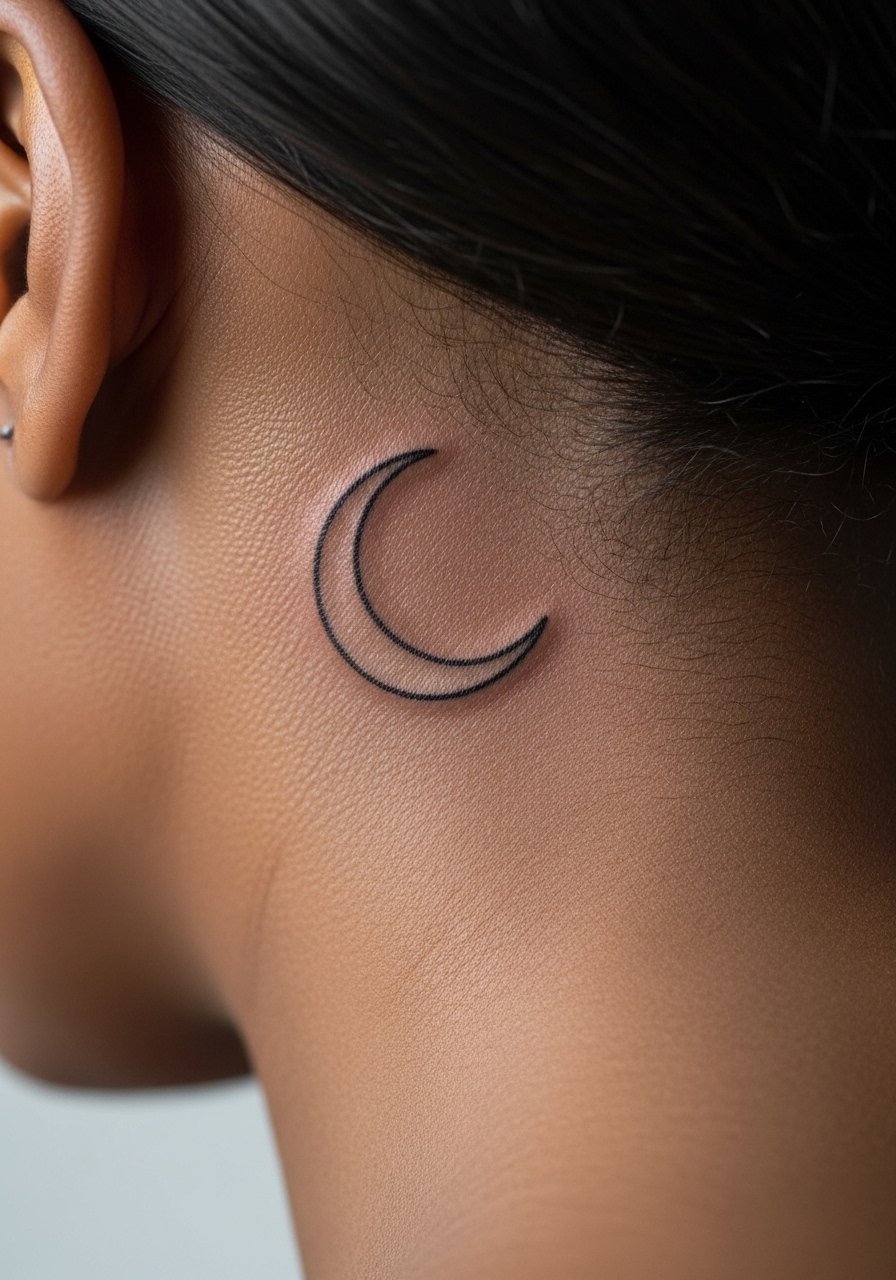
Behind-the-ear placements are intimate and easy to hide with hair. Use the exact phrasing "on the skin just behind the ear, below the hairline on the neck" in consultation so the artist frames it correctly. Healing is quick but the area is sensitive to rubbing from collars. Mistakes include asking for extremely tiny crescents that become indistinct. A thin strand of hair left loose or a small stud earring can balance the area.
21. Minimalist Arrow on the Side of the Finger

Finger work is high friction and fades fast, so white line arrows need a bolder outline and an expectation of touch-ups. Session time is short but the healing period requires careful dressing to avoid rubbing. A common mistake is treating finger placement like an arm tattoo; it is not. If you want low-key visibility, plan on annual refresh. Keep rings minimal or avoid the tattooed finger while it settles.
22. Minimal Solar Glyph on the Sternum

Sternum placements demand a specialist touch and are sensitive to movement. White ink here becomes a soft filter rather than stark pigment, so plan the scale slightly larger than you think. Sessions are longer and some artists split work for comfort. The debate about moisture during healing is active; one camp favors very thin balm layers while another allows standard moisturizing if guided by the artist. Ask how they handle this before booking. For clothing, a fitted sports bra or bandeau shows the glyph without overexposure.
23. Single Dot Accent at the Nape of the Neck

The nape is subtle and hides under hair unless you wear it up. A single dot is deceptively simple but needs a solid application so it reads after healing. Sessions are quick and pain is low to moderate. The main mistake is making the dot too tiny. Style with updos or a wide-neck shirt when you want it visible.
24. Tiny Geometric Cluster on the Outer Calf
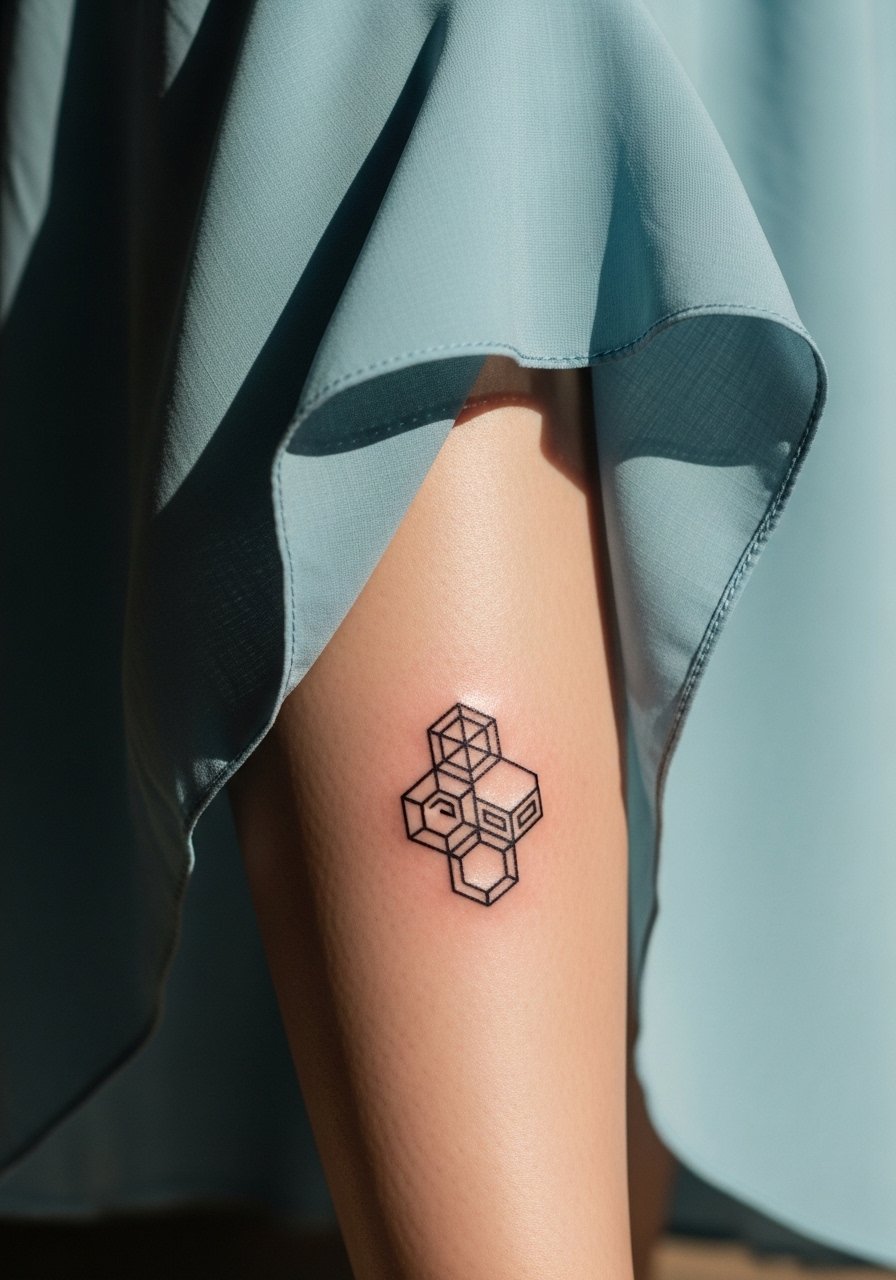
Calf placements are forgiving and hold white ink well when designs use space. Ask for a modest cluster with clear gaps and avoid packed geometry. Sessions are short and pain mild. A common error is compressing too many shapes into a postage-stamp area. For summer, pair with skirts or high waisted shorts black to reveal the piece.
25. Minimal Botanical on the Inner Thigh
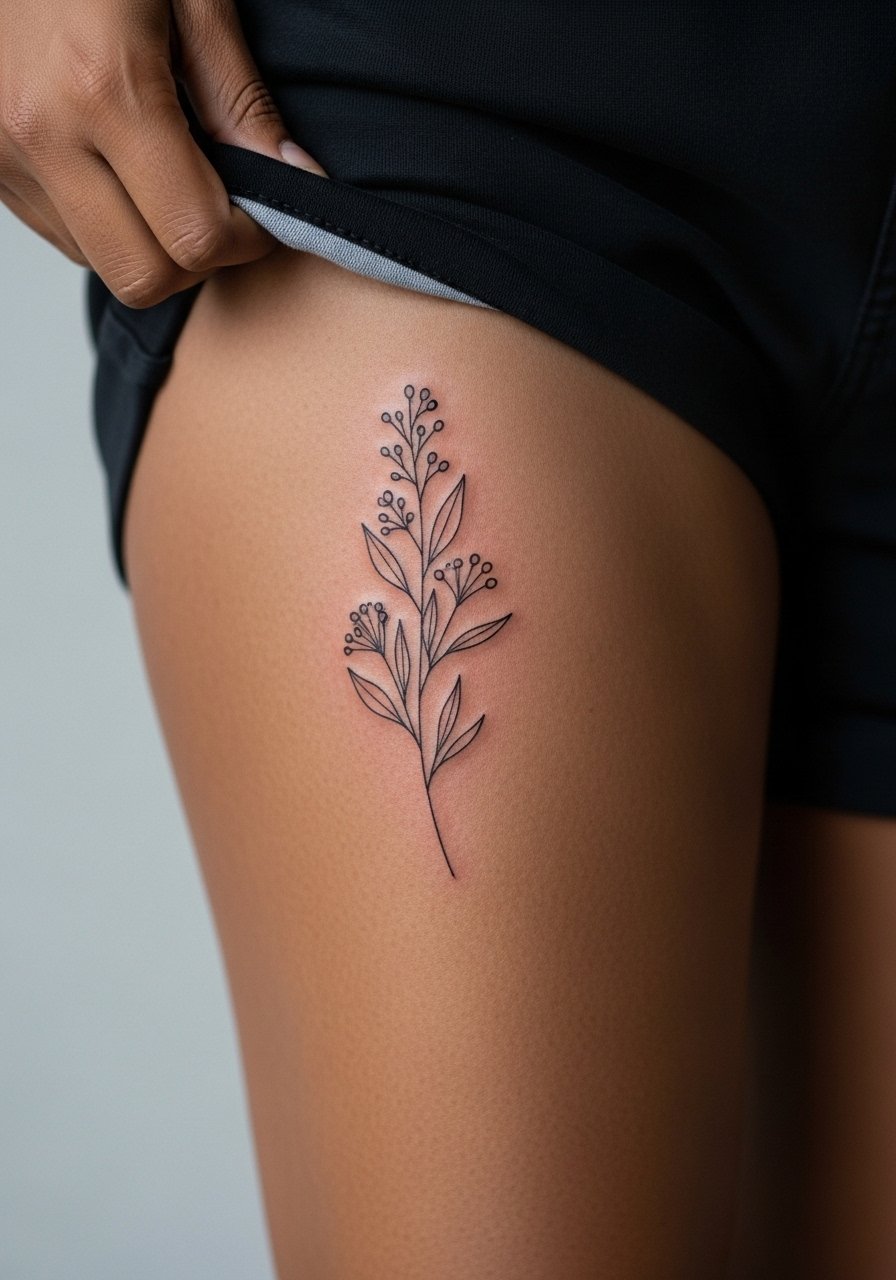
Inner thigh white botanicals work well for camouflage and personal pieces because the area avoids sunlight and daily abrasion. Tell your artist you want minimal passes and light layering to avoid raised healing. Sessions can be medium length, and modest swelling is normal. A mistake is choosing extremely dense patterns that require heavy pigment and risk texture. Consider wearing thigh high socks neutral for staged reveals.
26. Tiny Compass on the Side of the Foot
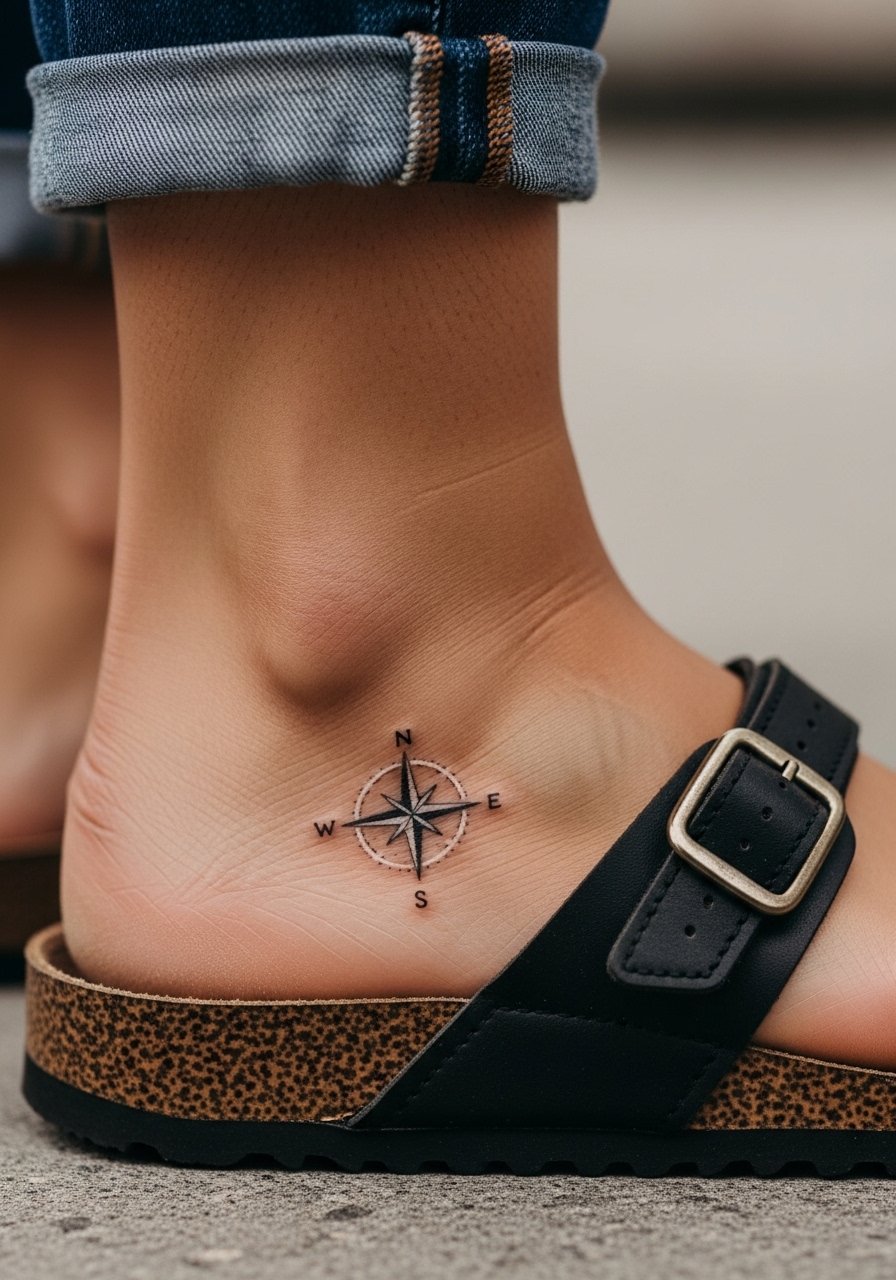
Foot tattoos face footwear friction and often need touch-ups. A small compass can last if the outline is slightly bolder and the artist avoids overworking. Sessions are brief and healing requires careful shoe choices for the first week. The common mistake is expecting the same longevity as an arm piece. For summer, wear sandals until the area fully settles.
27. Delicate Linework Along the Spine
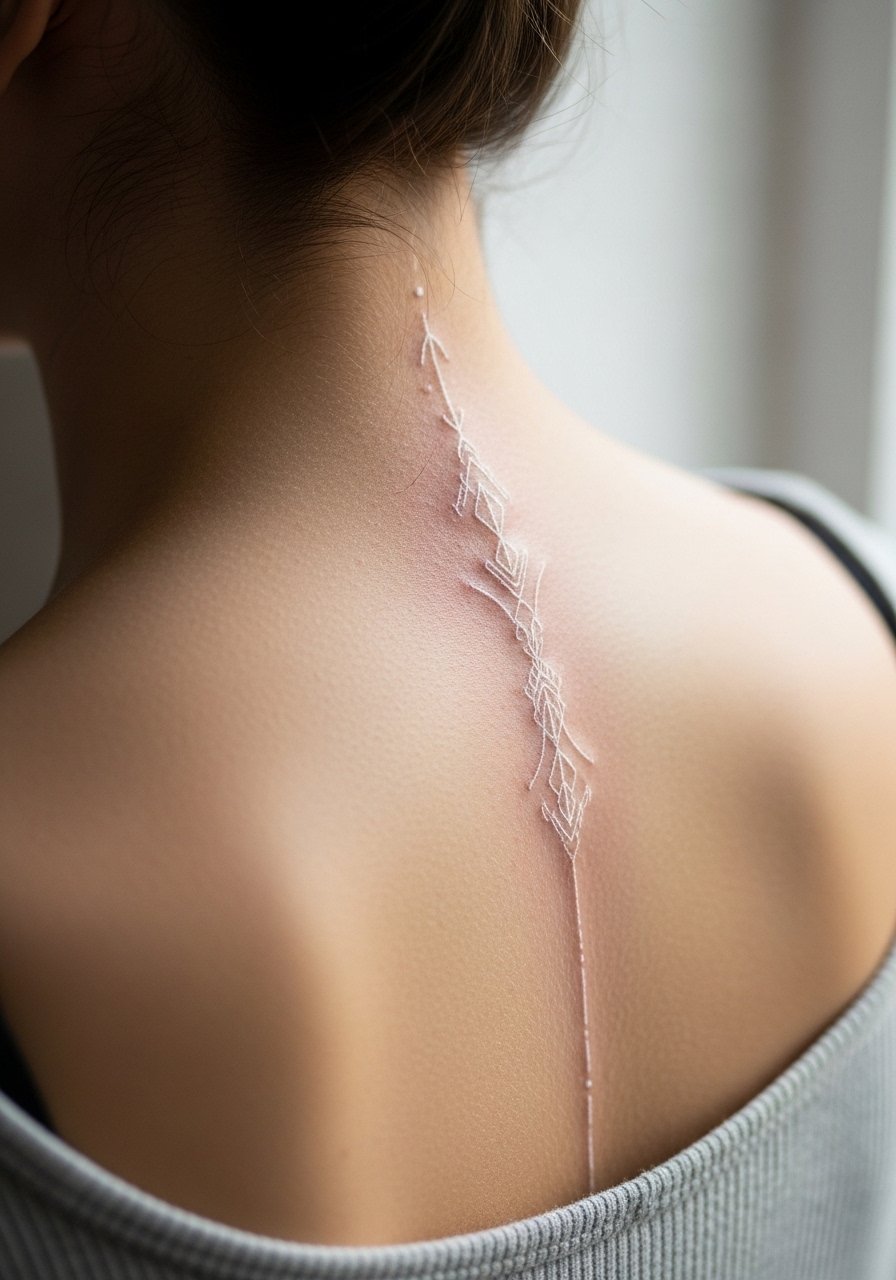
Spine pieces let white ink play with vertical highlights and are well sheltered from daily sun. Ask for slightly wider line spacing so the design keeps clarity as the skin moves. Sessions can be split for comfort and to build subtle opacity. A mistake is over-detailing in a narrow vertical strip which can blur. For display, an open-back dress frames the area without competing.
Frequently Asked Questions
Q: How long does white ink typically remain visible on darker skin tones?
A: From what I have seen, white ink visibility varies a lot by placement and line weight. Forearm and thigh pieces can keep a soft glow for a year or longer if protected from sun, while wrist and finger work often needs touch-ups within 6-12 months. Plan touch-ups as part of the design, not a failure.
Q: Should I pick thicker lines instead of fine line white for longevity?
A: Artists are split on this, with one camp saying thicker lines hold up better and another saying skilled fine line with correct spacing can settle fine. For darker tones, lean toward slightly bolder contours if you want easier long-term readability.
Q: Will a white tattoo on a scarred area look raised or different?
A: Scar tissue can react differently and sometimes heals with raised texture. If you are covering stretch marks or a scar, ask for light layering over multiple sessions and for examples the artist has done on similar skin, so you know how it will sit.
Q: What should I wear to a collarbone or sternum session?
A: Wear loose tops that you can pull slightly aside, like a strapless tank top or a wide-neck shirt, so the artist has clean access while you stay modest and comfortable.
Q: Is sun protection the same for white tattoos as for darker ink?
A: Yes, UV is a major fade driver for white ink. Once healed, regular SPF on exposed areas helps maintain contrast. For pieces under clothing, sun is less of an immediate concern but still worth guarding against over time.
