
Fine line mini cutie mark tattoos flood feeds right now, and what looks delicate in a snapshot can behave very differently on real skin. Small symbols need precise spacing, the right placement, and a plan for how they age. Below are 27 tiny cutie mark ideas sized and sited to hold up, with what to ask your artist and how to show them off after they heal.
1. Tiny Cloud Cutie Mark on Inner Wrist

I recommend the inner wrist when you want frequent visibility without scaling the design up. Ask your artist for slightly bolder outer contours and single-needle interior details so the cloud keeps its shape at year two. Common mistake is asking for overly thin inner strokes that merge after healing. Expect the session to feel like a steady vibration more than a sting. For showing it off, pair it with a thin chain pendant necklace that sits above the wrist when your hand is down, or roll a sleeve to frame the mark.
2. Mini Lightning Bolt Behind the Ear
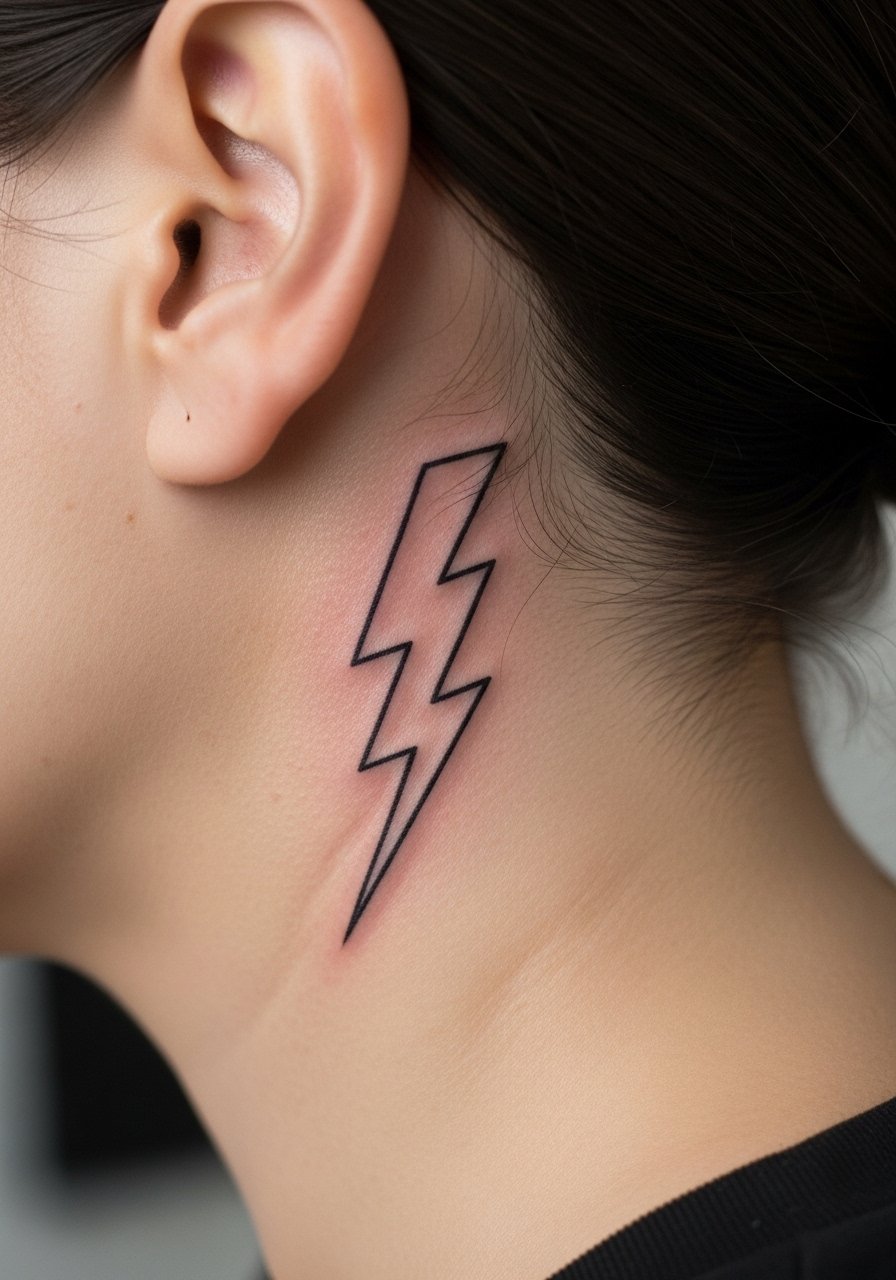
Behind-the-ear mini marks are private and playful. For a lightning bolt, tell your artist you want the bolt narrow but with a reinforced tip so it reads when hair grows out. The session is short and low on pain. Hand the artist references that show exact line weight rather than scale. Sensitive placement means you should expect some touch-up requests later if the area gets frequent friction from collars. For the session wear, a wide-neck shirt that tucks hair back makes access easy and keeps the tattoo discreet while healing.
3. Mini Star Cluster on the Ankle
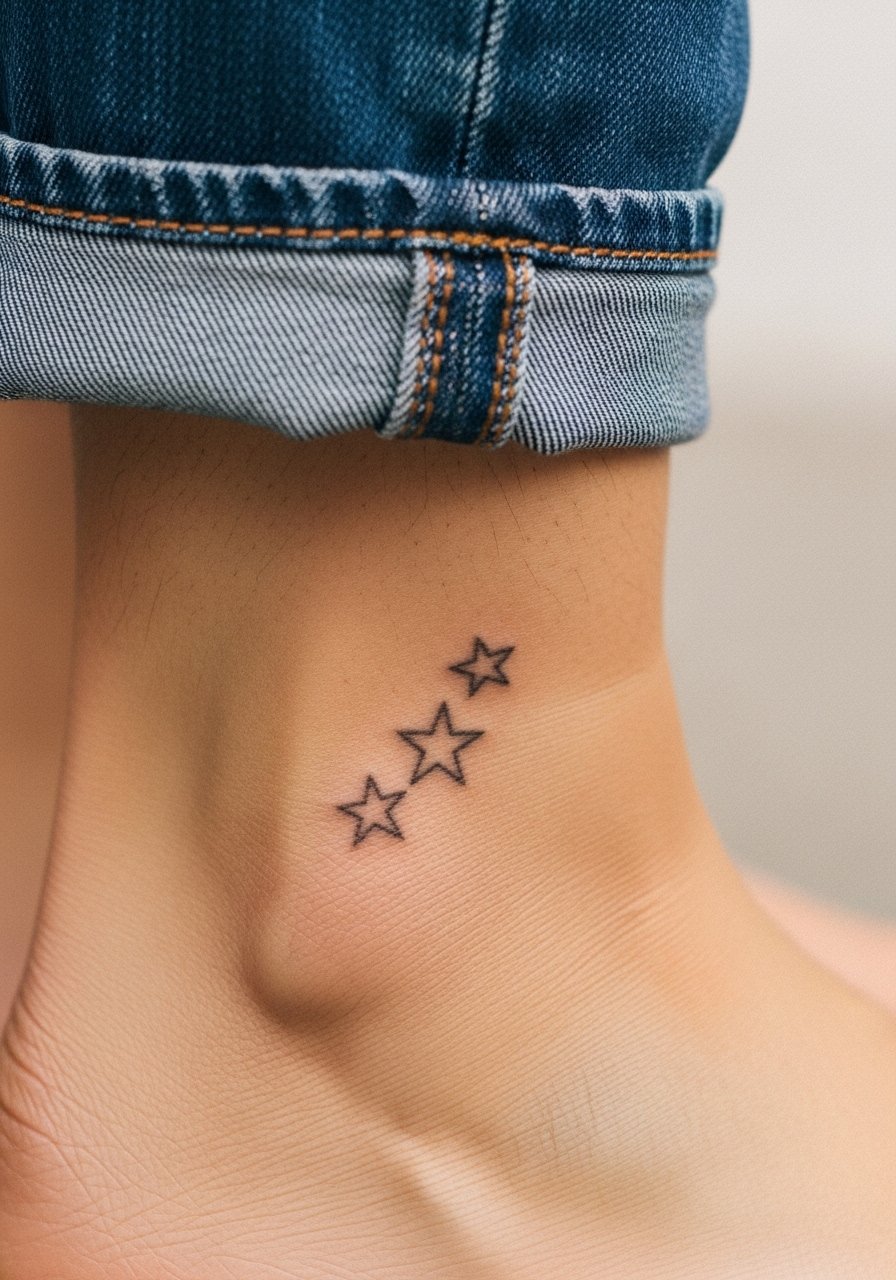
Ankle placements are classic for minis because shoes and socks create friction during healing. Ask for slightly thicker anchor stars and feathered micro dots around them to prevent early fading. A common mistake is placing the group too close to the bone where touch-ups are more likely. The session feels quick but expect the first week to be sensitive when walking. For showing this design, cuffed jeans or sandals draw attention and keep the mark visible without overstretching the skin.
4. Delicate Heart Cutie Mark on the Collarbone
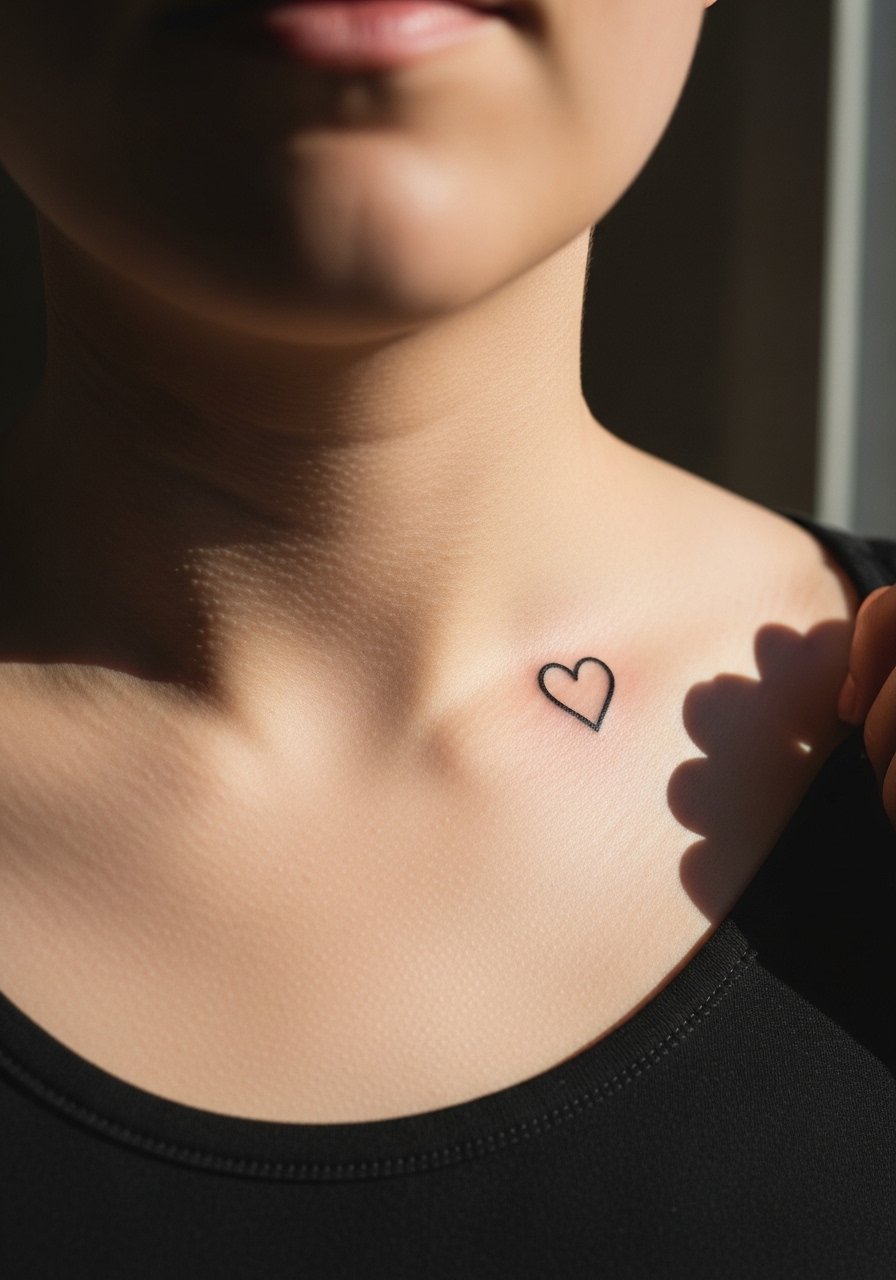
The collarbone gives a mini serious presence. Ask your artist to place the heart just above the bony edge and use a slightly heavier outline so the shape stays readable over time. Mistakes happen when people ask for ultra-fine inner detail that fades into the shadow of the collarbone. The session can be brisk but expect occasional sensitivity on the bony ridge. For show-off outfits, an open-neck blouse or a minimalist pendant keeps attention on the mark without competing.
5. Mini Flower Cutie Mark on Inner Forearm
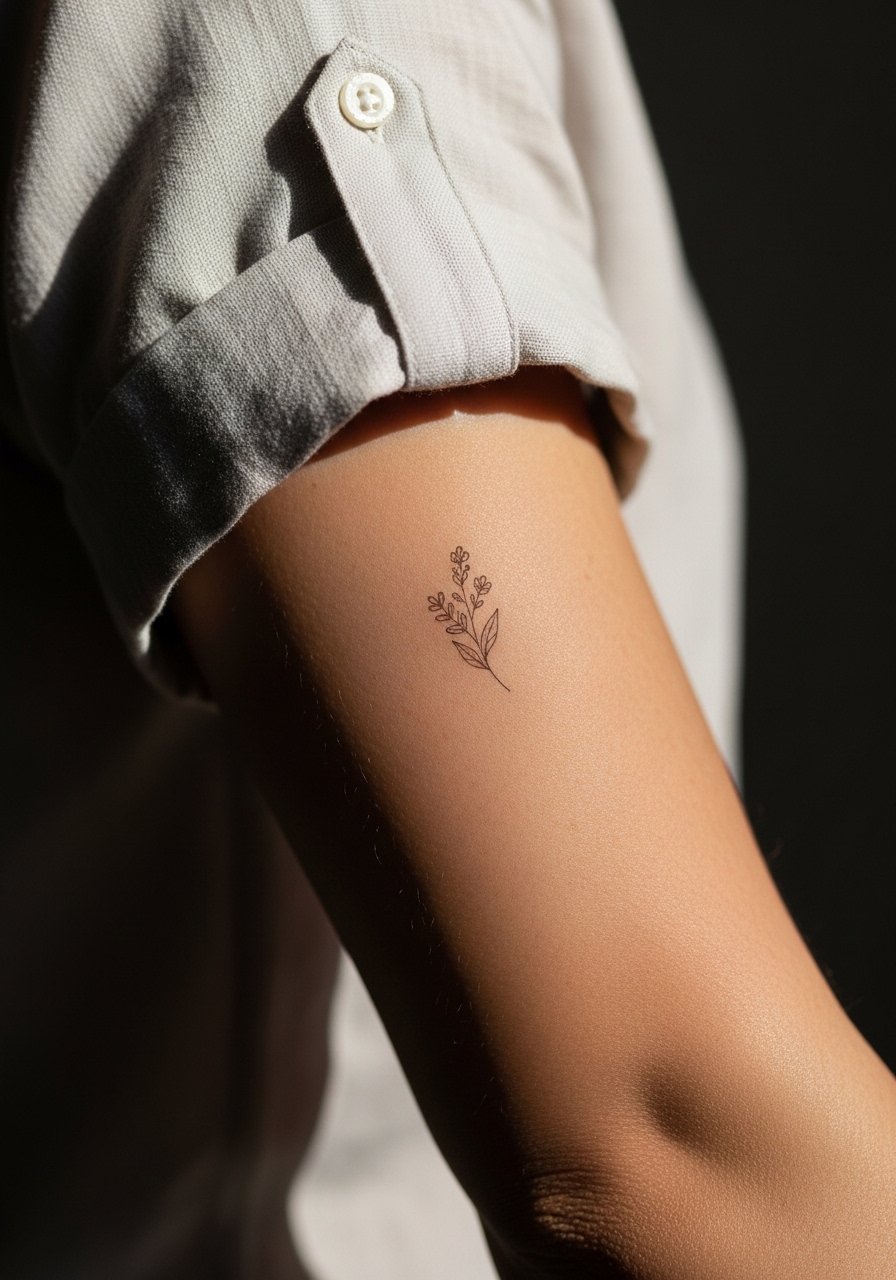
Inner forearm is forgiving for fine detail and lower blowout risk. For a mini flower, request slightly spaced petals and simple stipple shading rather than dense fill so the bloom holds at year three. A common mistake is packing too many tiny leaves into a small area. The session feels moderate but steady and touch-ups tend to be minimal. Pair it with a rolled-sleeve linen shirt for casual show off that frames the design without distraction.
6. Tiny Moon Cutie Mark on the Side Finger
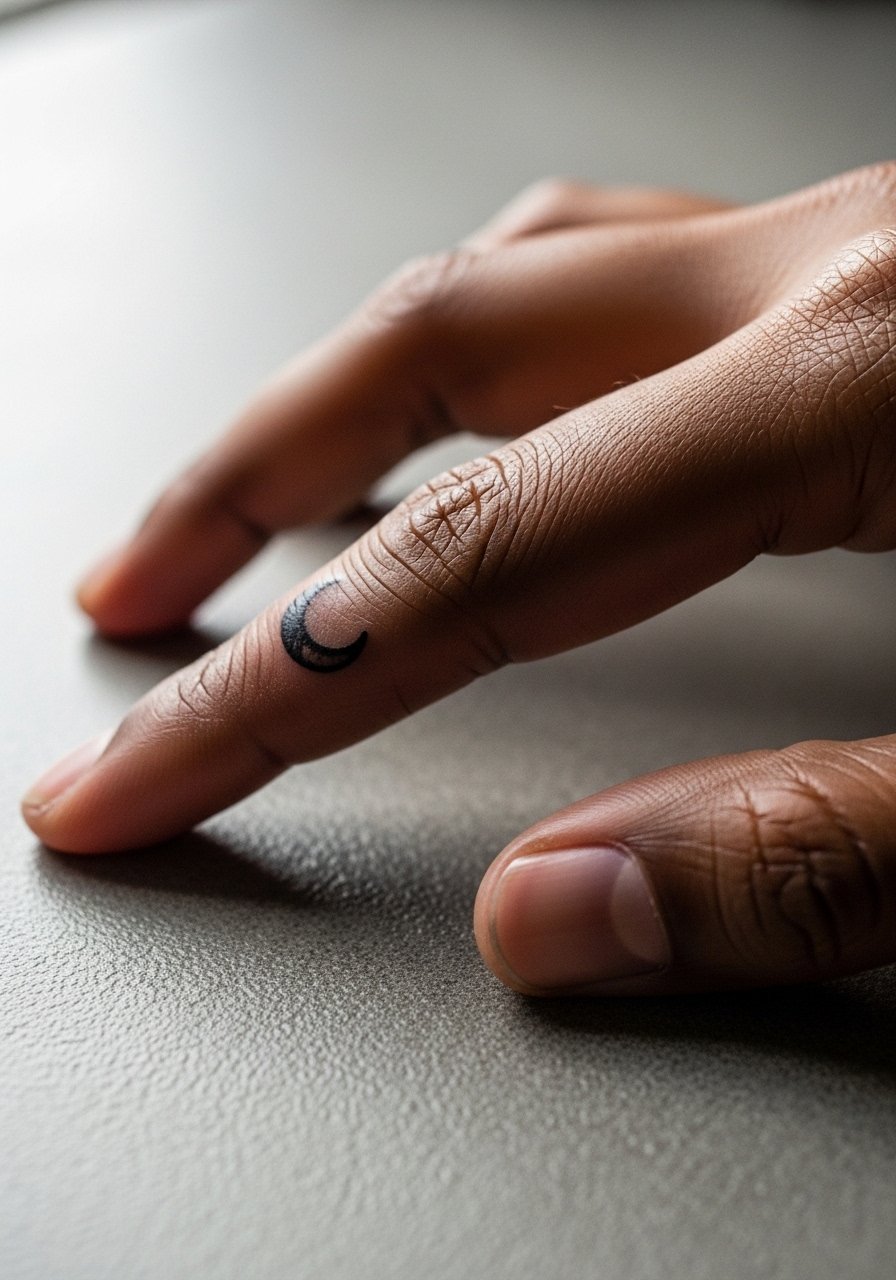
Finger minis are tempting but fragile. Side-of-finger placement reduces wash friction compared with tips, yet the skin there moves a lot. Tell your artist you prefer a slightly bolder contour and to avoid tiny fill inside the crescent. The controversy here is clear. One camp advises against fine-line finger tattoos because rubbing and washing blur them fast. The other camp says experienced artists can make them last with proper depth and spacing. Expect touch-ups sooner than for arm pieces. During the session wear a sleeve you can push up easily and limit hand lotion for the first week.
7. Mini Flower Cutie Mark on the Shoulder Cap
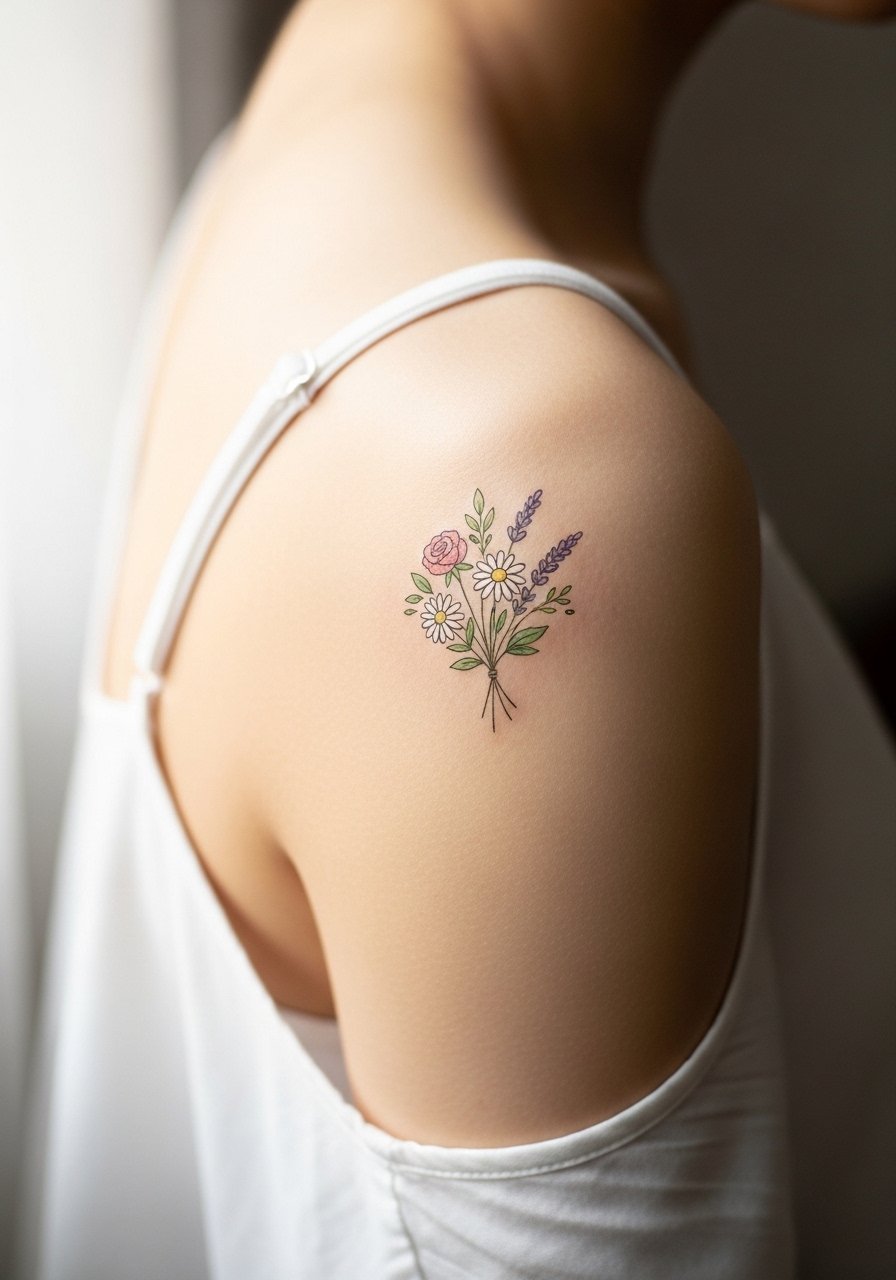
The shoulder cap is forgiving and ages well for small symbols because skin there moves less. Ask for a compact silhouette and medium lineweight so the mini keeps contrast against the curve of the deltoid. A mistake is stretching the design to match shoulder curvature rather than designing for the flat visual read. Sessions are low on pain and touch-ups are rare. For the appointment wear a loose tank top that gives clean access without shifting fabric over the area.
8. Micro Swirl Cutie Mark on the Ribcage
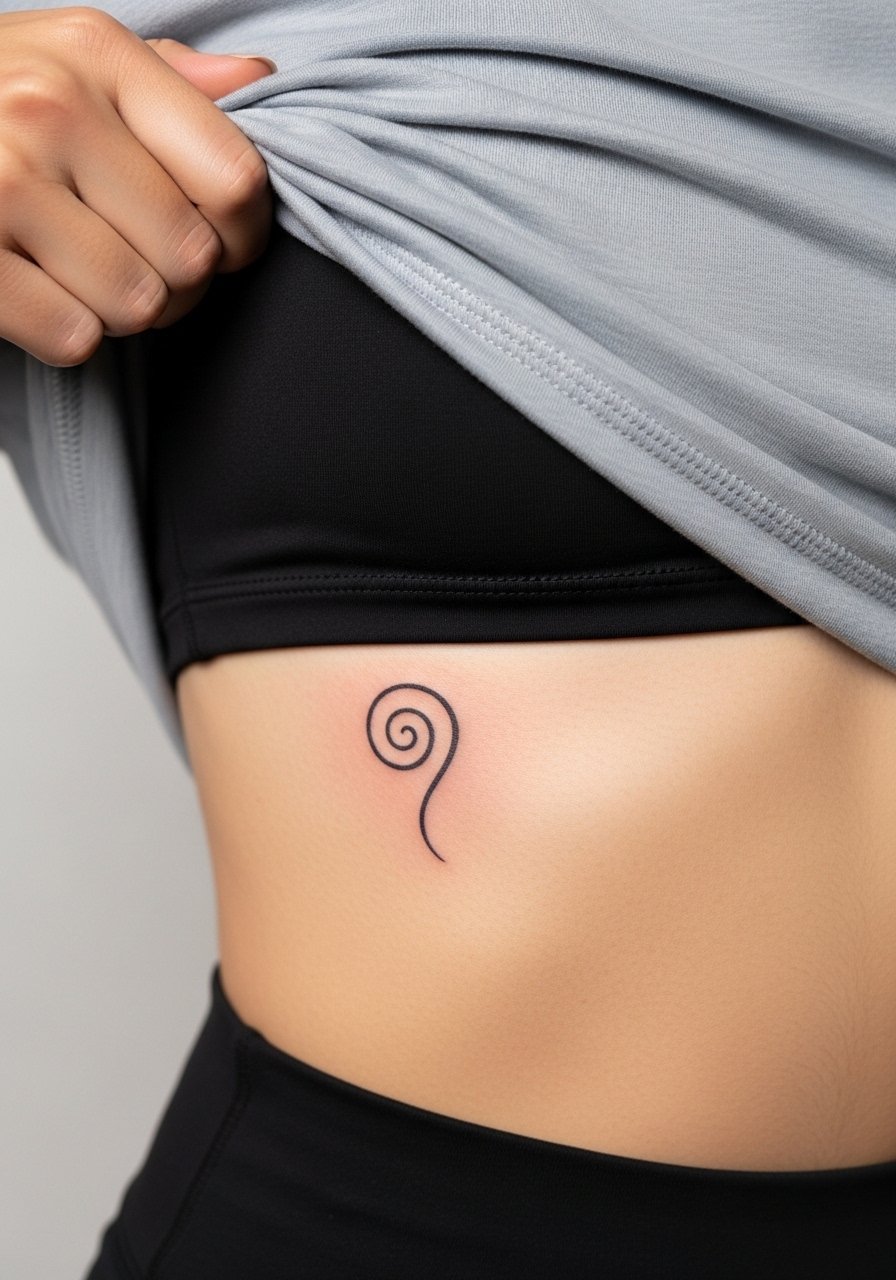
Ribcage minis can look striking hidden beneath clothing but they age differently. Artists split into two camps on fine line ribs. One group says the skin stretch and movement blur delicate work within two years. The other group says proper needle depth and spacing let fine lines settle nicely. Be explicit in your consultation about wanting space between lines and a firm outer border. The session is painful for many. Expect possible touch-ups around year two. For the session wear a zip-up hoodie you can shift without exposing more than needed.
9. Tiny Sun Cutie Mark on the Upper Thigh
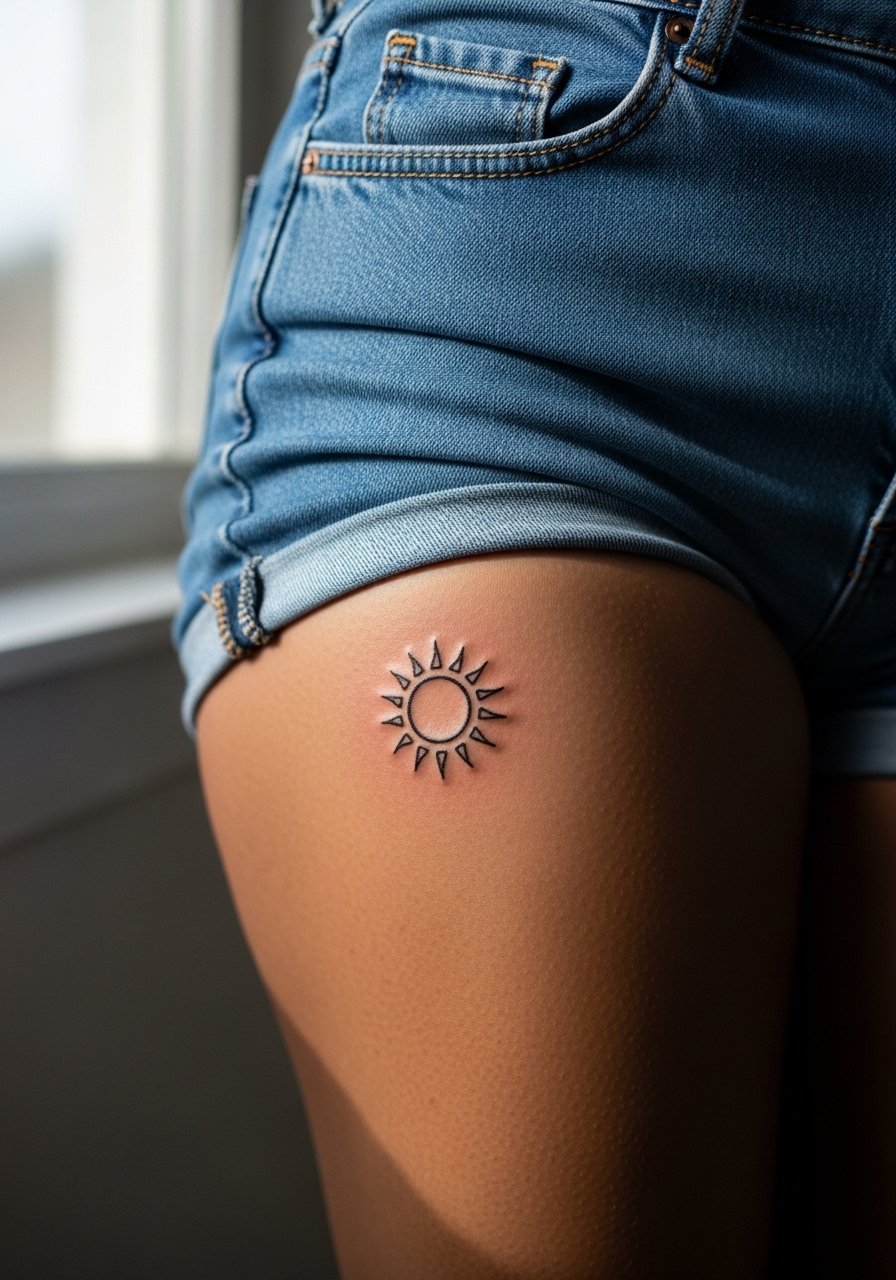
Upper thigh placements are low-friction and private, which helps minis retain clarity. For a sun motif, ask for a compact center with open rays rather than dense fill to avoid early blurring. A mistake is placing it where waistbands rub. Sessions feel moderate and healing is often smooth. For the appointment wear high-waisted bottoms that you can shift, such as high-waisted shorts so the artist has clear access without contorting.
10. Tiny Leaf Cutie Mark Behind the Knee

Behind-the-knee minis are hidden and intimate. Tell your artist you want a compact motif with flowing lines that mirror the knee crease rather than crossing it. Mistakes include placing the work directly over high-motion creases where ink can break up during healing. Sessions can be awkward since the leg must be positioned for access. Expect gentle swelling and a week of careful movement. For the session pick comfortable shorts that let you stay seated without stretching, and bring a pair that are easy to move around the knee.
11. Tiny Constellation Cutie Mark on the Calf

Calf minis sit well for people who want something that reads from a distance but still stays small. Ask for slightly spaced dots and thin connector lines instead of clustered tiny dots to prevent merging. A common mistake is cramming too many tiny stars into a small zone. Sessions are lower pain and healing is straightforward. For show-off styling, cuffed trousers or mid-calf boots frame the design without rubbing it.
12. Mini Script Cutie Mark at the Back of Neck
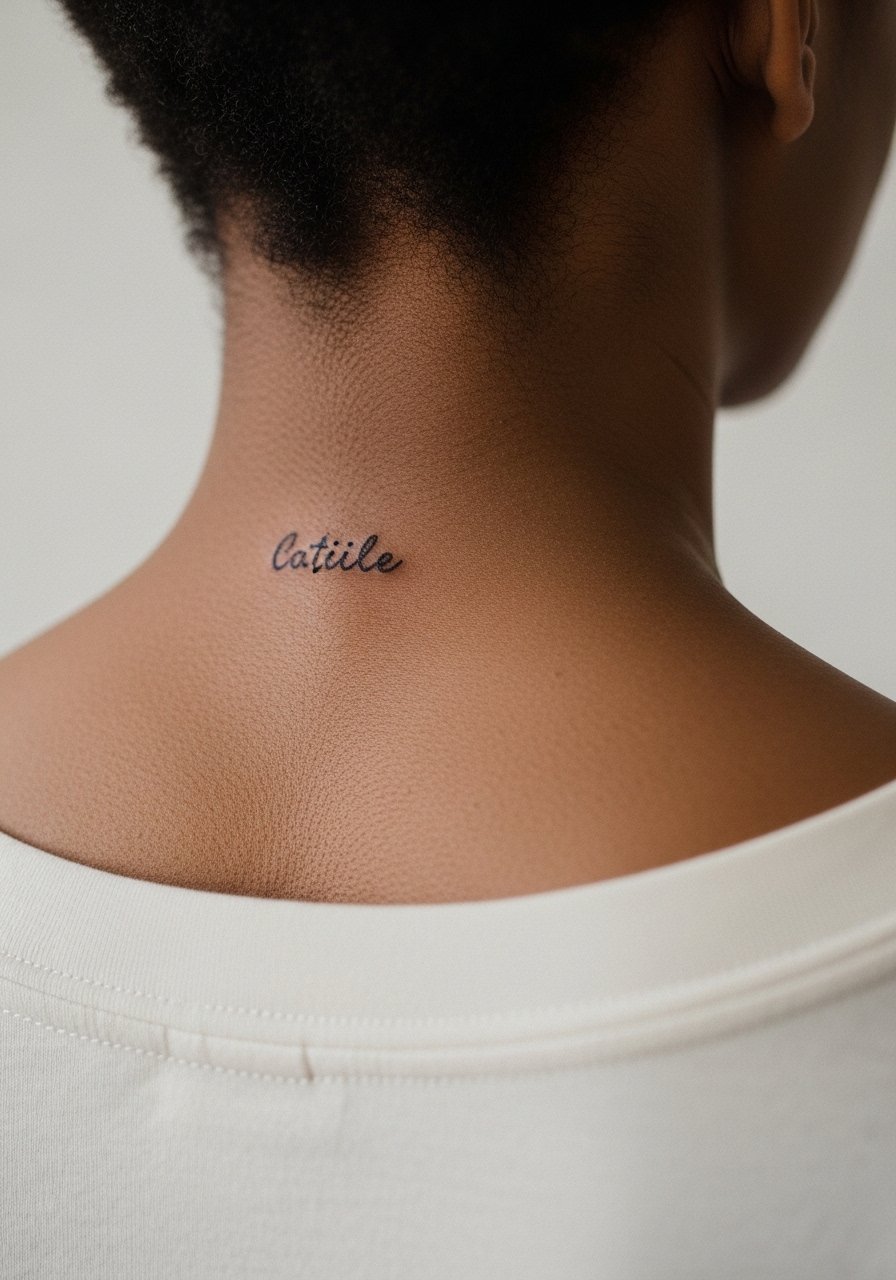
Back-of-neck minis are a subtle way to place a meaningful symbol. If you pick script, specify the exact lettering and font style so the artist reproduces the characters correctly. The session is short and the area is low on blowout risk if the font is spaced. A mistake is requesting very small cursive that jams into unreadable loops. For showing, try hairstyles or a wide-neck top that alternately reveals or hides the mark depending on the mood.
13. Tiny Musical Note Cutie Mark on the Outer Forearm
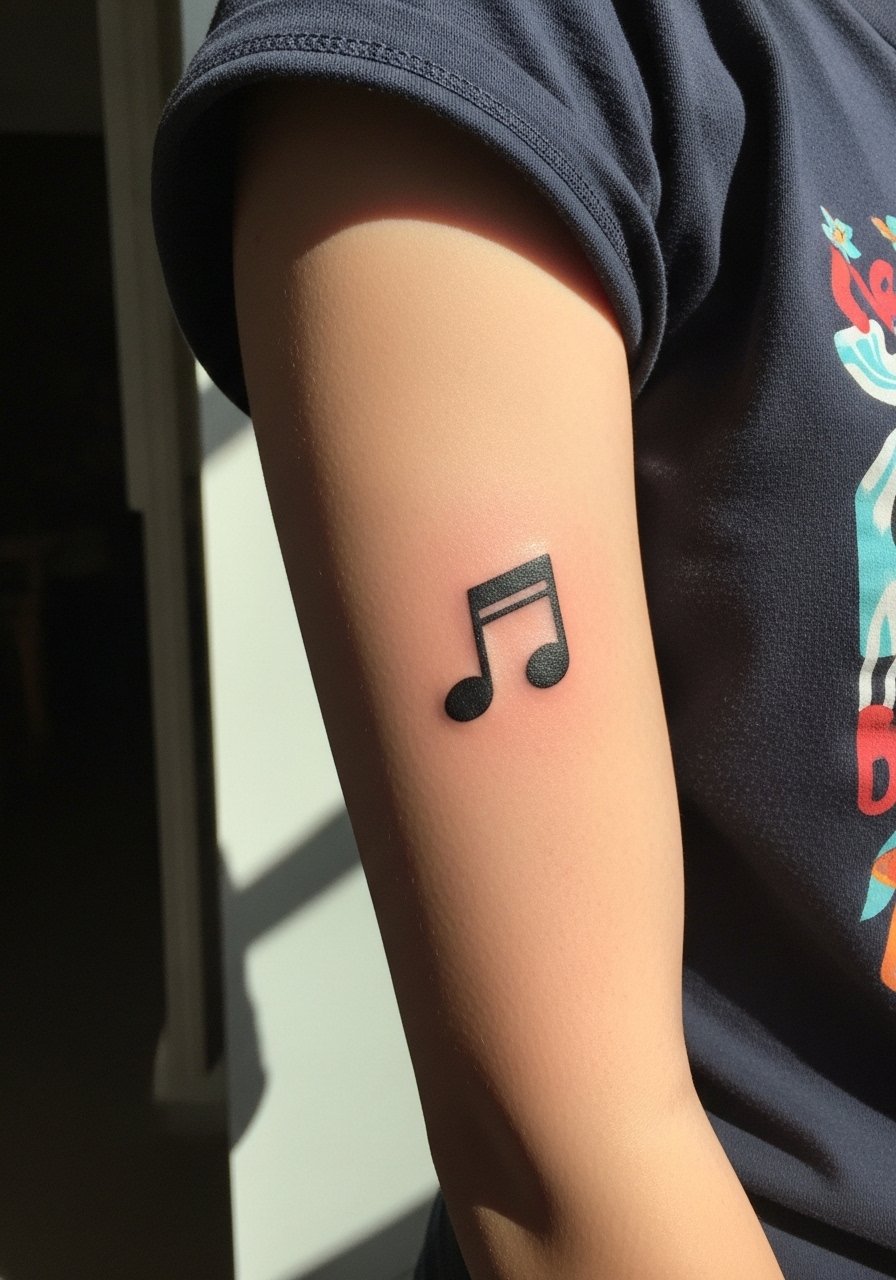
Outer forearm placements give minis everyday visibility and low blowout risk. For a musical note, ask for clear negative space inside the head and a slightly heavier stem so the symbol does not fill in over time. Mistakes happen when the note is scaled too small against the forearm width. Sessions are comfortable and touch-ups are uncommon. Pair this with a minimalist watch or simple bracelets that highlight the mark without crowding it.
14. Tiny Anchor Cutie Mark on the Upper Arm
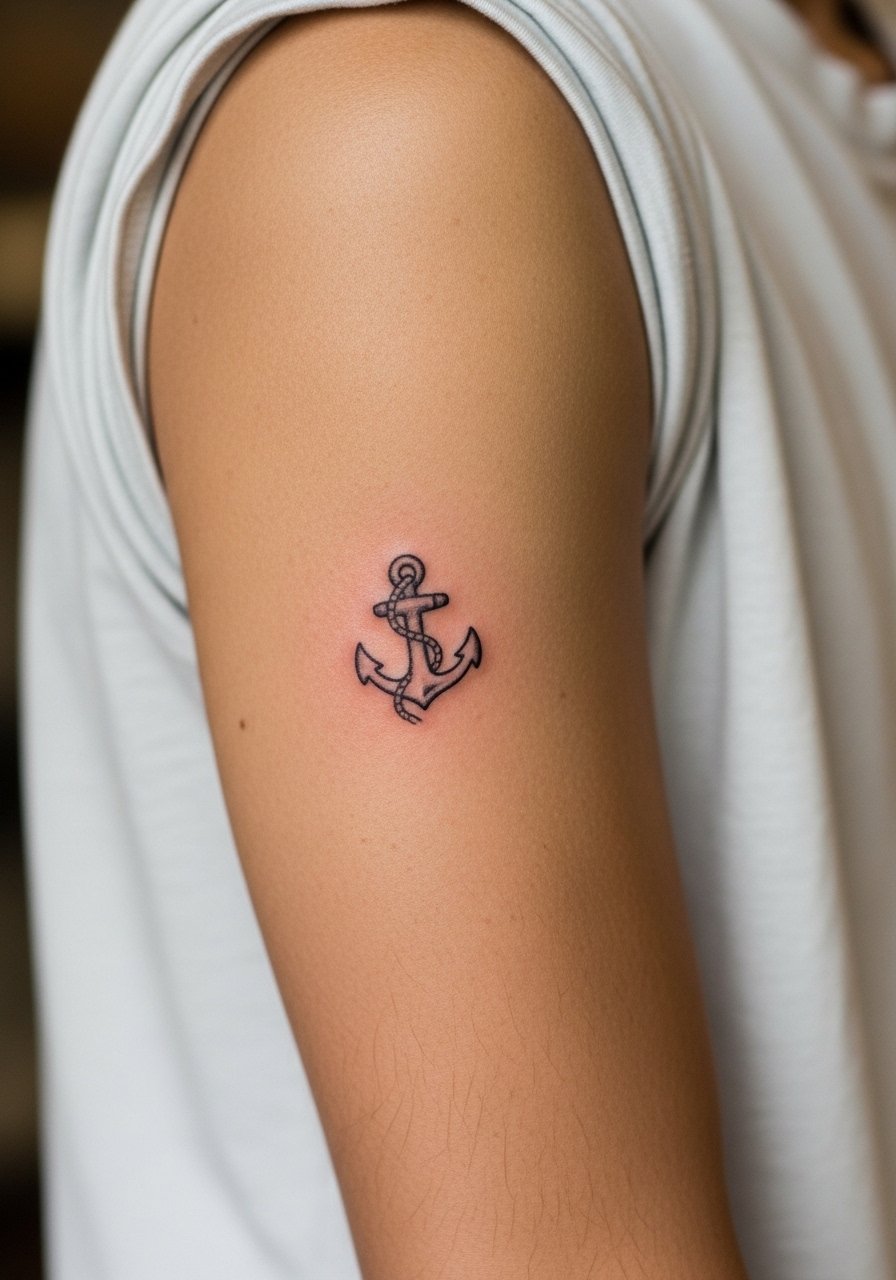
Upper arm is low movement and forgiving for minis that use small negative space. For an anchor, request a solid silhouette with thin interior notches rather than detailed rope textures. A common error is asking for tight interior lines that disappear after healing. Sessions on the upper arm feel moderate and recovery is fast. For outfits, a short-sleeve henley rolled to show the mark gives a casual framed look.
15. Tiny Paw Print Cutie Mark on the Sternum
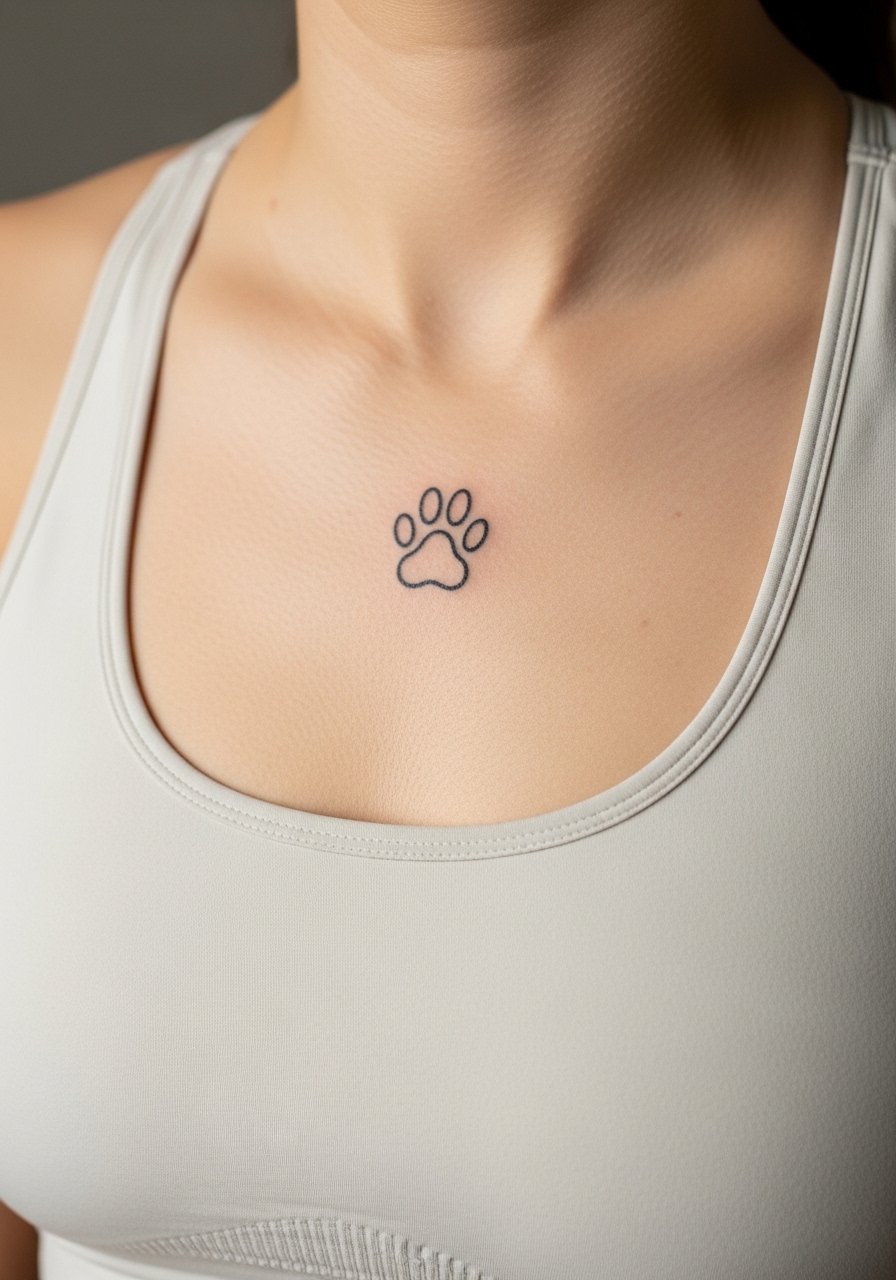
Sternum minis sit close to clothing edges so placement is key. Ask for the print to be compact and high enough to avoid constant rubbing from tops. The session can be sensitive. A mistake is placing the mini too low under a bra line where friction is constant. Expect possible touch-ups if your wardrobe constantly presses the area. For the session wear a fitted sports bra you can keep on so only the immediate area is exposed.
16. Tiny Wave Cutie Mark on the Hip
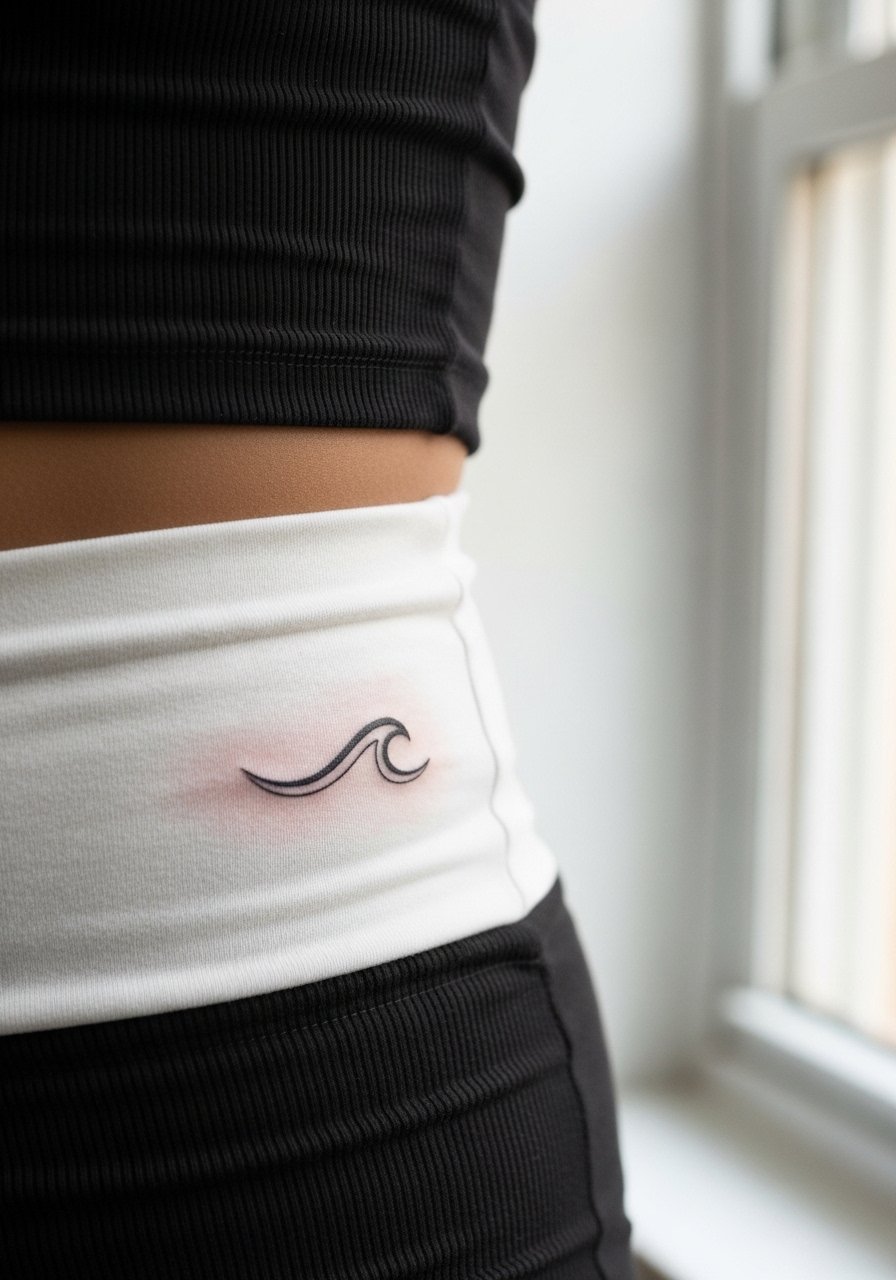
Hip minis are private and show selectively. Ask for a clean curve and avoid dense stippling that can blur with waistbands. A common mistake is choosing a spot that a belt cuts across. Healing tends to be easy unless clothing constantly rubs the zone. Session positioning requires lying on your side for access. For wardrobe, high-waisted pieces or a wrap skirt keep the area comfortable while showing the mark when desired.
17. Tiny Paw Cutie Mark on the Back of the Hand
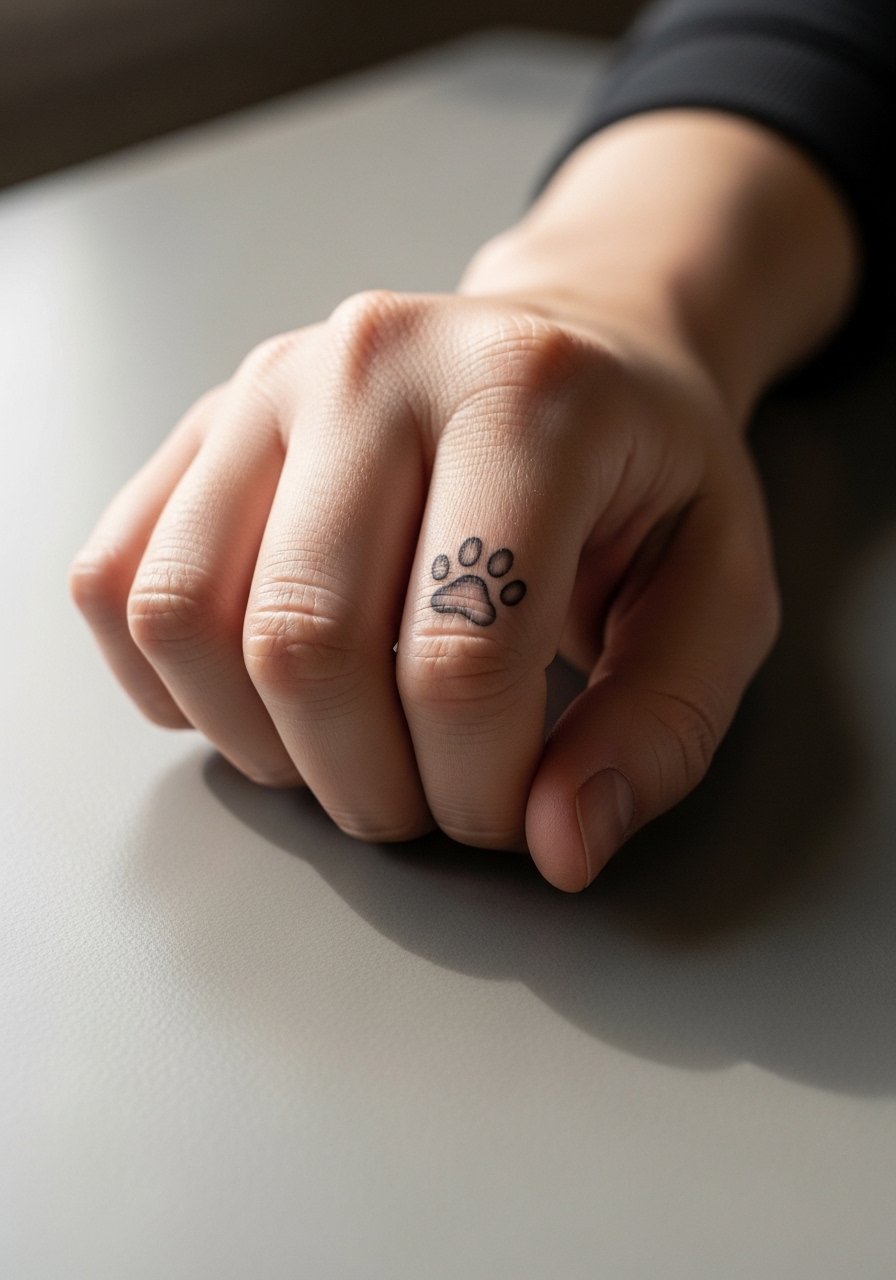
Back-of-hand minis are visible but face heavy wear from washing and friction. Tell your artist you want a bold outline and minimal interior detail to delay bleed. The controversy is active in the community. Some artists refuse hand work because of rapid fading and workplace concerns. Others accept it with clear expectations about touch-ups. If you proceed, expect touch-ups sooner than for arm pieces. For the session wear sleeves that can be pushed up and prepare for a week of gentle hand care.
18. Tiny Clover Cutie Mark on the Lower Back
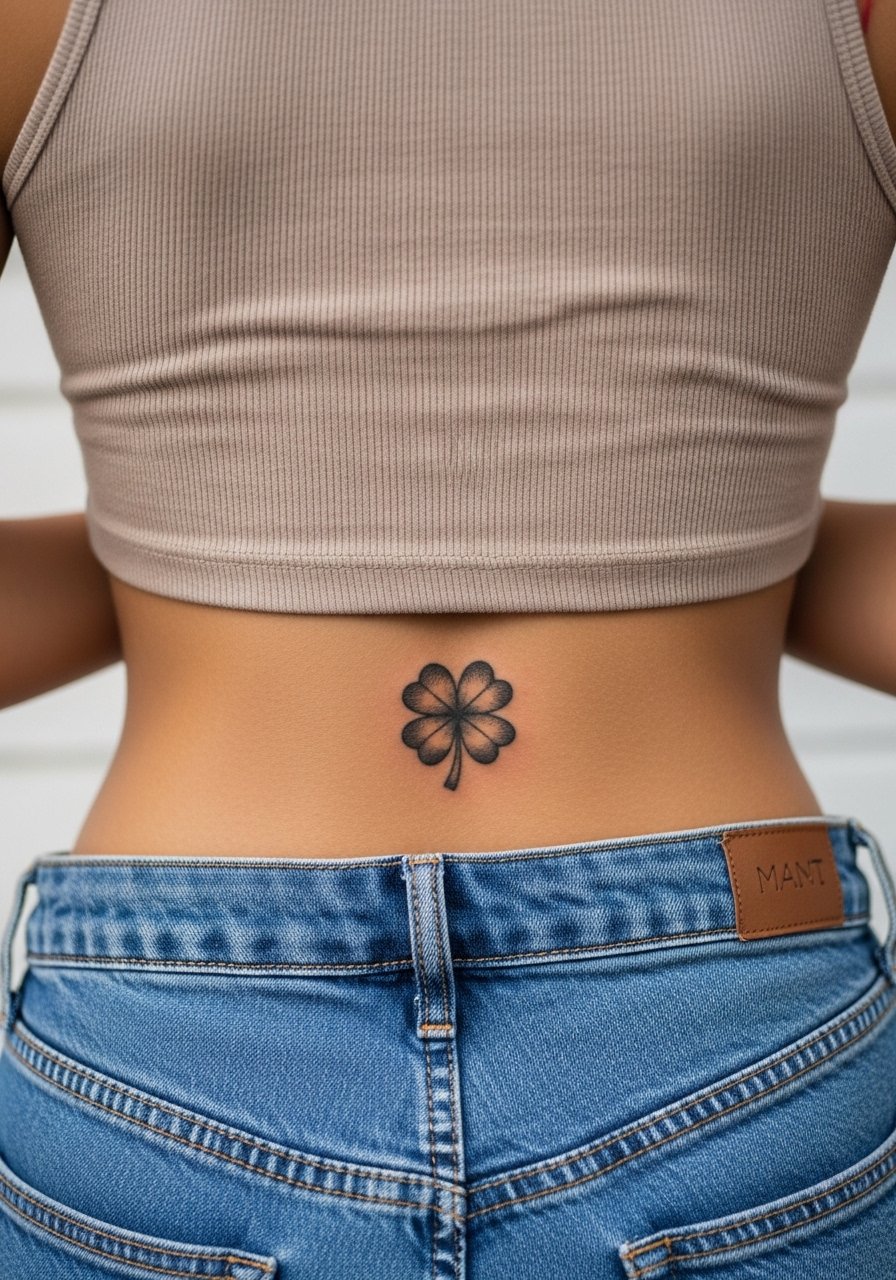
Lower back minis are easy to conceal and experience little direct abrasion. Ask for a solid silhouette and avoid fine inner veins that could blur. A mistake is placing the design too low where waistbands ride. Sessions are comfortable and healing is usually uncomplicated. Wear a tank top you can pull slightly up for access and still stay covered for the trip home.
19. Tiny Compass Cutie Mark on the Side Rib

Side-rib minis need room to breathe. For a compass, request an outer ring at moderate thickness and open interior lines to avoid packing. The rib motion makes healing more delicate, and many artists caution smaller detail there. A common mistake is requesting dense hatching that becomes muddy. Sessions can be fairly painful. For the appointment wear a cropped athletic top so the artist can lift it without exposing more than needed.
20. Tiny Feather Cutie Mark on the Outer Ankle
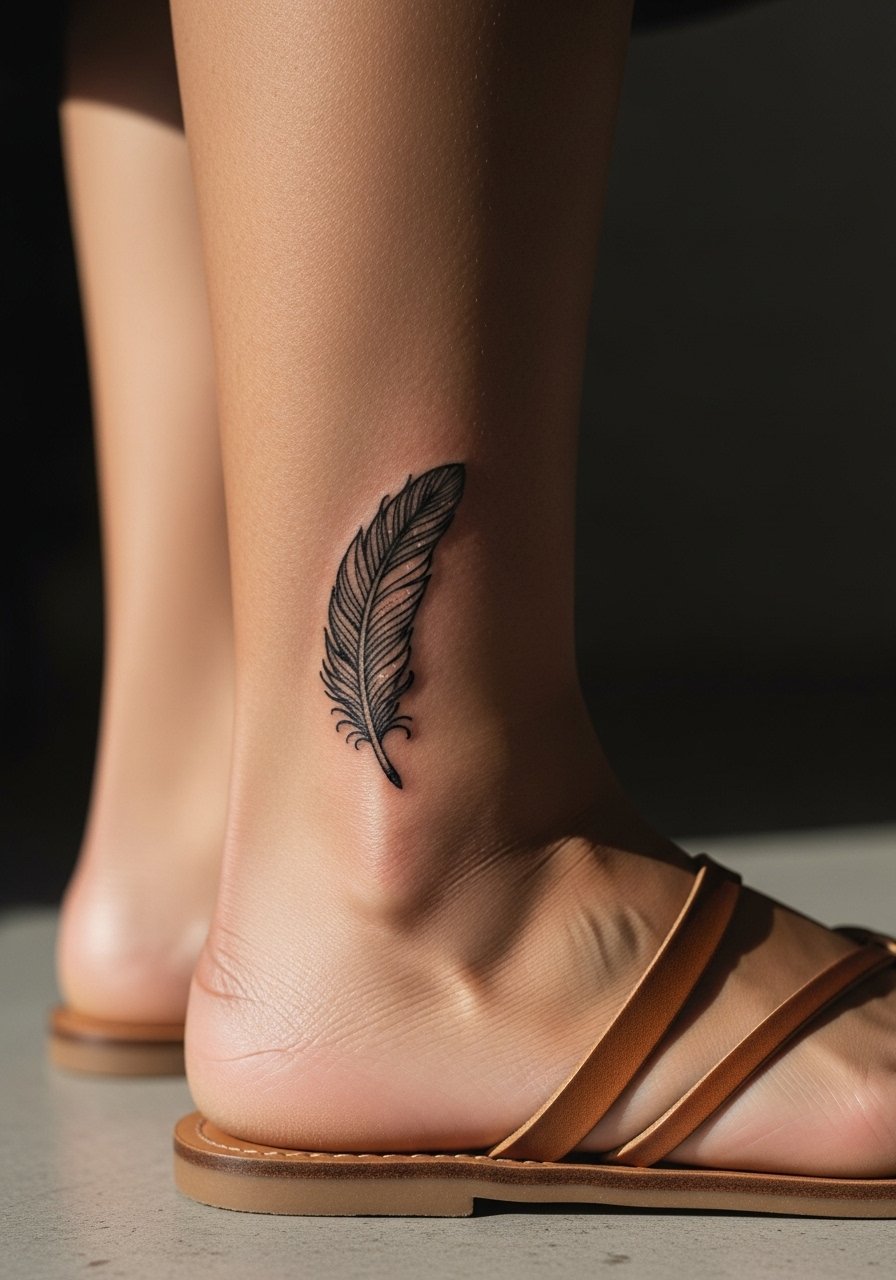
Outer ankle minis read well and age steadily if not placed on sharp edges. Ask for tapered barbs that are spaced rather than tiny parallel lines that merge. A mistake is placing the shaft over a bony ridge that causes early touch-ups. The session is brief and healing is manageable. For showing off, pair with low-cut sandals or cropped trousers to keep attention on the mark without friction.
21. Tiny Balloon Cutie Mark on the Forearm Crease
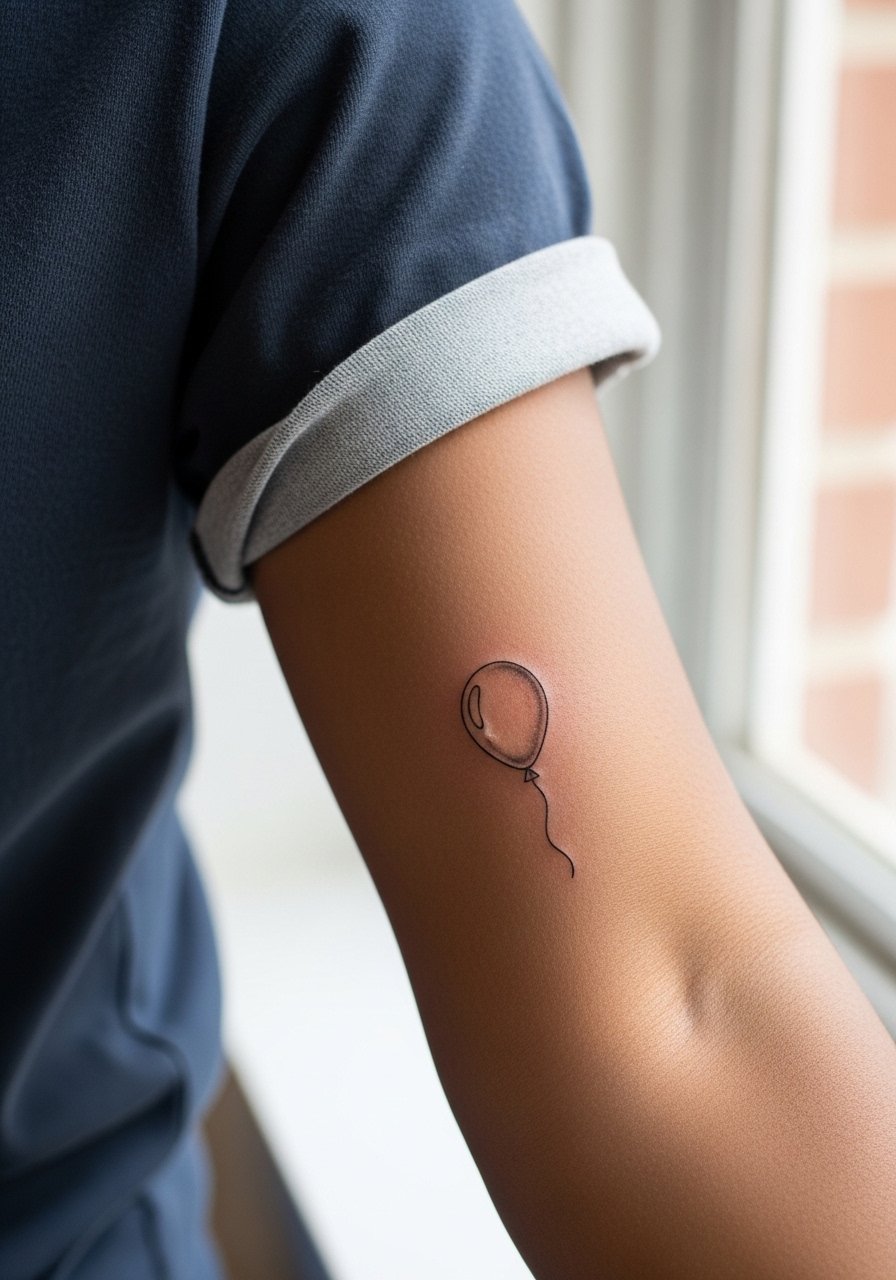
Placing a mini near the forearm crease needs thought about movement. Ask for the balloon string to be short and a bolder outline so the shape reads when you bend your arm. Mistakes include putting long thin lines directly over the crease where movement accelerates blur. Sessions are comfortable. For showing off, roll sleeves or wear a short-sleeve tee to frame the mark without squeezing the skin.
22. Tiny Crescent and Star Cutie Mark on the Clavicle Joint
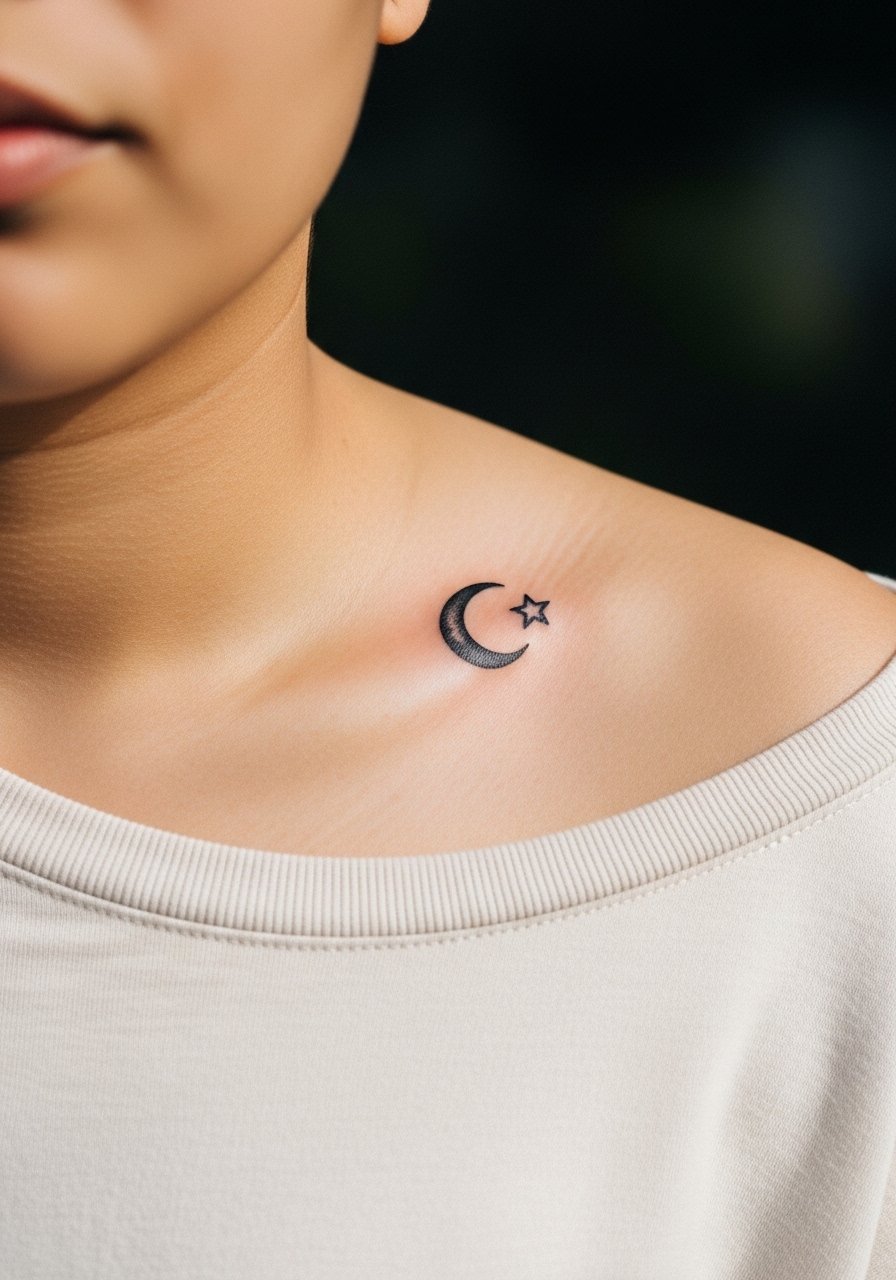
The clavicle joint is visually appealing and accepts minis well. For this duo, request balanced negative space between the crescent and star so they do not read as one blobby shape later. A common error is placing them too close to the bone edge. The session is brief and healing straightforward. Pair with open-neck tops or a minimalist pendant to keep the eye on the tattoo.
23. Tiny Crown Cutie Mark on the Upper Shoulder Blade
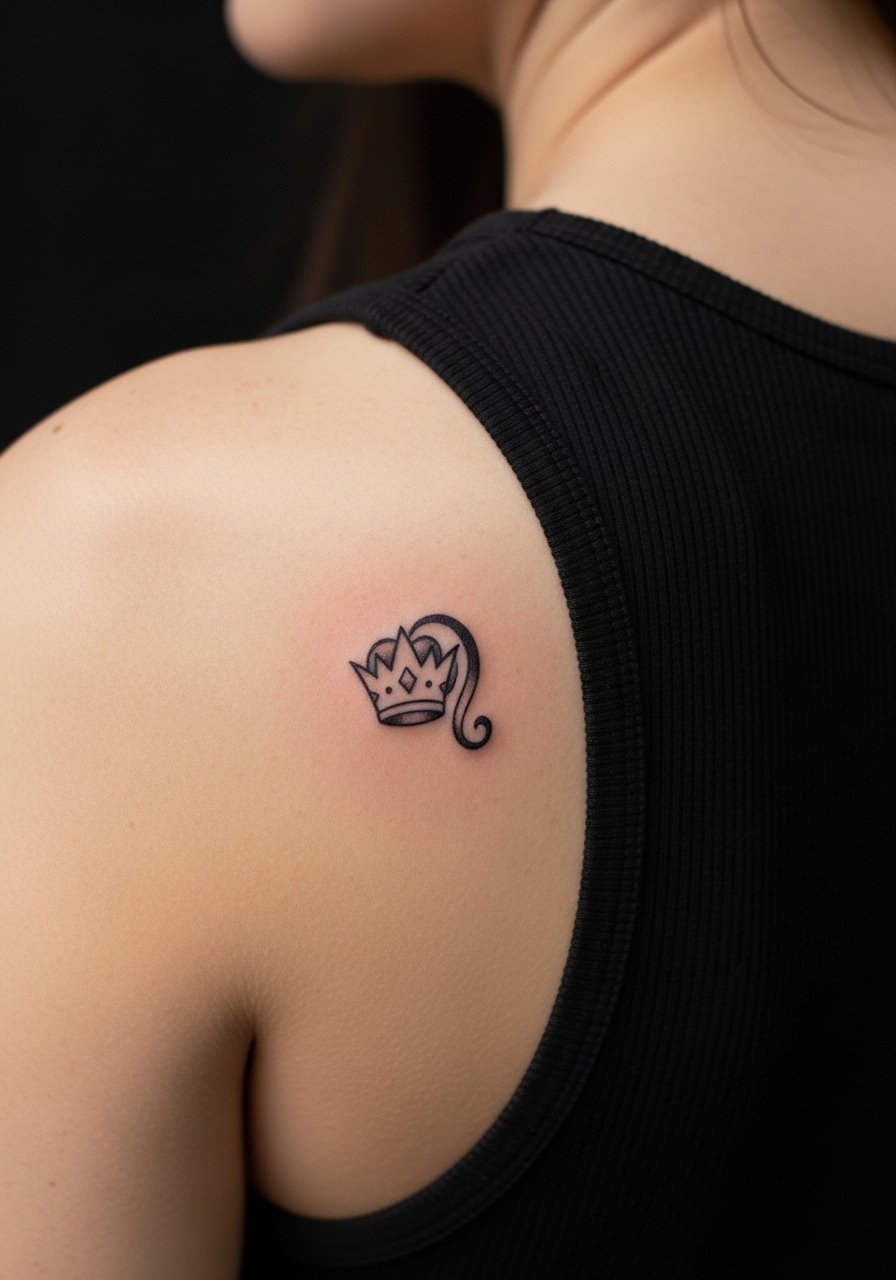
Upper shoulder blade minis live in a low-motion zone and age well for small symbols. Ask for a strong silhouette with modest interior detail so the crown keeps its regal shape. Common mistake is asking for ornate filigree that fades into texture. Sessions are low pain and recovery is quick. For show-off outfits, wear a tank top with narrow straps that reveals the blade without dragging fabric across it.
24. Tiny Ribbon Cutie Mark on the Inner Bicep

Inner bicep minis are intimate and require an artist comfortable working where skin is softer. Tell your artist you want the ribbon to be simple with open loops rather than dense shading. The area is more sensitive and can be tender during the session. Mistakes include over-detailing which becomes indistinct. For the appointment wear a tank top that allows the arm to be raised comfortably for access.
25. Tiny Gem Cutie Mark on the Finger Pad

Finger pad placements are the highest maintenance. The skin is thin and the surface is constantly used. Ask your artist to keep the gem bold and minimal and accept that touch-ups are likely. A common mistake is expecting paper-thin detail to remain intact when the area is a high-friction zone. Sessions are quick but expect fading sooner. If you choose this, plan on maintenance and avoid heavy hand creams the first week.
26. Tiny Balloon Cutie Mark on the Side Rib Near the Waist
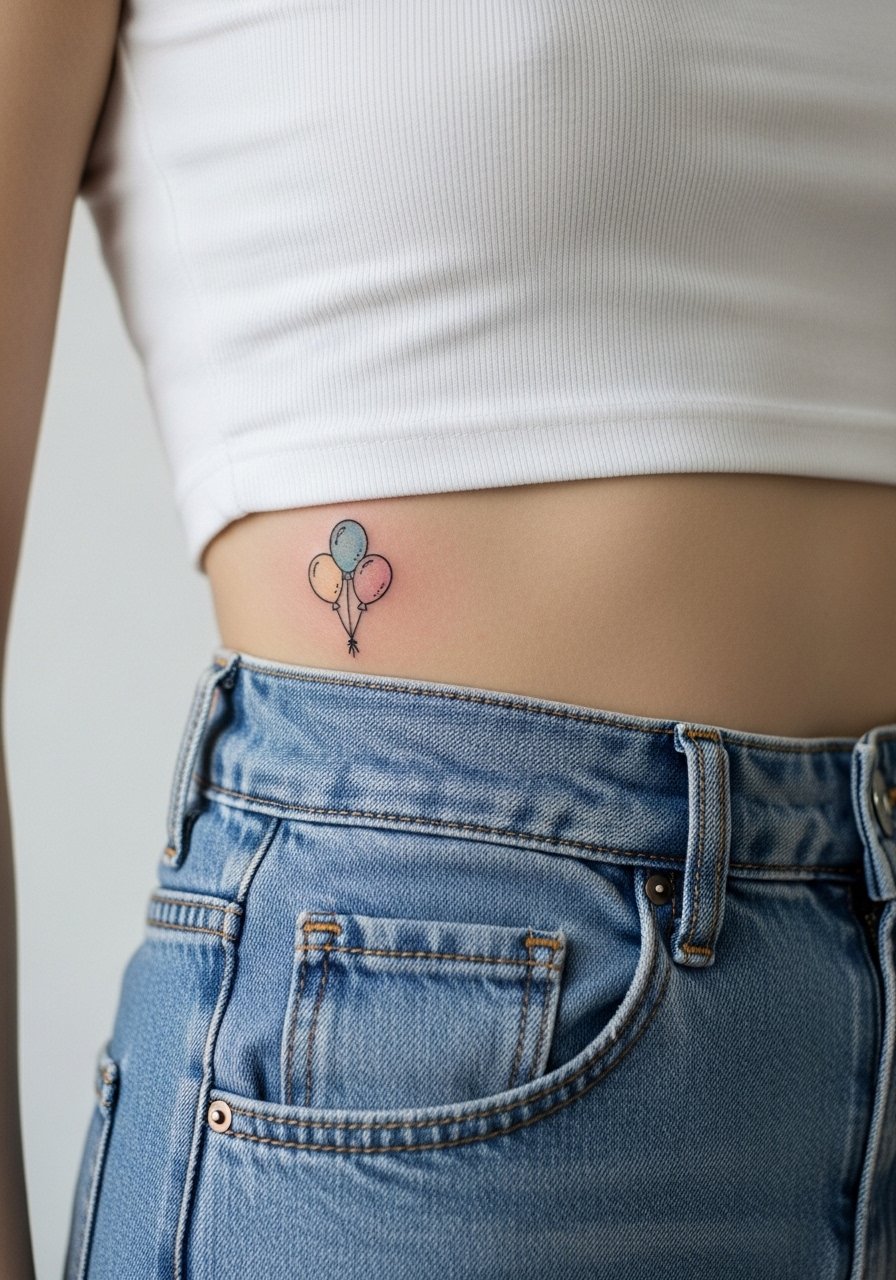
Side rib minis near the waist are playful and often hidden. Ask for a clean outline and to avoid dense shading near clothing seams. A mistake is placing it where a waistband rides daily. Expect moderate session discomfort and possible bending restrictions for a few days. Wear high-waisted pieces or a cropped tee for the session so only the necessary strip is exposed.
27. Tiny Balloon Cutie Mark on the Inner Thigh
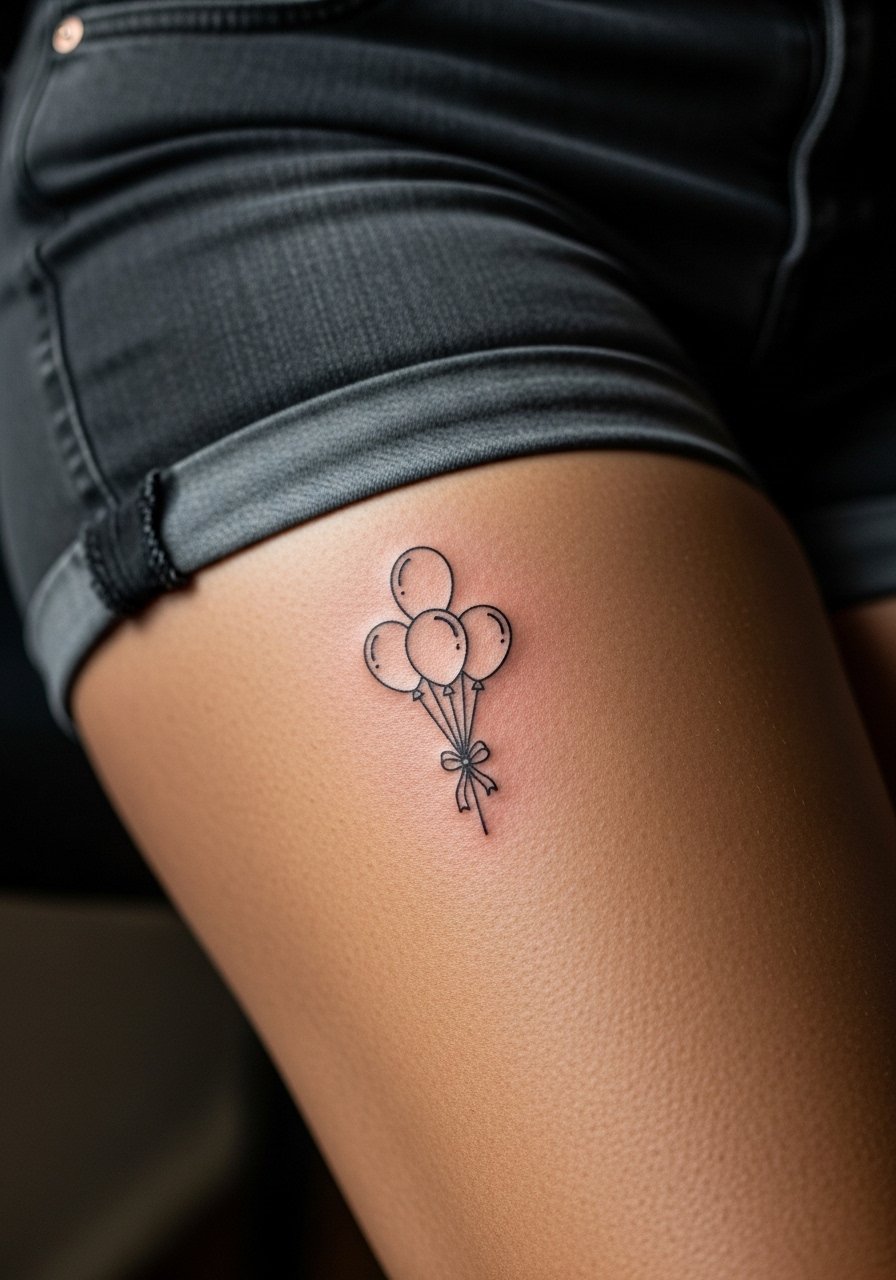
Inner thigh minis are private and less exposed to sunlight, which helps longevity. For this placement ask for clean spacing and avoid too much dense stippling. Mistakes include selecting finishes that rub against underwear seams. Sessions can be awkward since positioning matters for comfort. For the appointment wear shorts or underwear that shift easily, and consider a loose drawstring linen pant to move around without compressing the area.
Studio Day Picks
The wrist, finger, and rib placements above need different prep than upper arm and shoulder minis, so a few targeted items smooth the session and early healing.
- Stencil transfer paper kit. Lets you preview exact placement on skin, which matters for tiny cutie marks on wrists and ankles.
- Topical numbing cream. Applied as directed before a sensitive rib or inner thigh session eases immediate discomfort without changing linework.
- Thin protective film roll. Keeps finger and ankle minis clean during the first few days of heavy hand washing or shoe friction.
- Fragrance-free gentle body wash. Gentle cleansing protects fine line pieces while the skin is sealing.
- Aquaphor healing ointment. Thin layers for the first 48 hours help maintain moisture for small, precise linework without clogging.
Frequently Asked Questions
Q: How small can a cutie mark tattoo be and still hold up on the wrist?
A: I usually recommend keeping the main silhouette at least the size of a quarter for inner wrist minis. Smaller than that risks fine inner details merging within one to three years. Ask your artist for a slightly heavier outline and open interior space so the mark reads as it ages.
Q: Will a finger or hand mini require frequent touch-ups?
A: Yes, hands and fingers are high-friction zones and often need touch-ups sooner than arm or back pieces. If you want less maintenance, consider the side finger or outer hand instead of the pad or knuckle. Keep in mind some artists decline hand work for that reason.
Q: Are there placements I should avoid if I want minimal touch-ups?
A: Avoid tips of fingers, inner palm, and areas with constant waistband or shoe friction if you want the least maintenance. Outer forearm, upper arm, shoulder blade, and calf tend to hold fine line minis with fewer touch-ups.
Q: What should I wear to the studio for a sternum or ribcage mini?
A: For those placements choose garments that expose only the area, like a fitted sports bra or a cropped athletic top, so you can stay covered while the artist works. A zip-up hoodie can also help if you need quick warmth without shifting fabrics across the fresh tattoo.
Q: How do I ask my artist about longevity without sounding demanding?
A: Frame it as collaboration. Say you want the mini to read clearly at year two and ask which line weight and spacing they recommend. Ask to see healed photos of similar placements. That gives you concrete expectations without relying on broad promises.
Q: Do tiny cutie marks need special aftercare compared with larger tattoos?
A: The basics are the same but small lines can clog or fade faster if heavy ointments are overused. Use thin layers and avoid heavy friction where possible. For sticky or protective films that work well with tiny wrist and finger pieces, check the Studio Day Picks above.
