
Fine line work is everywhere online, and that popularity brings a hard truth, I've noticed. People worry a small wrist piece will fade into nothing, wonder if a trend will feel dumb a year later, and notice shop minimums creeping higher. This list pairs 27 small, considered designs with practical notes on placement, longevity, and how to stage the piece so it still looks intentional years from now.
1. Fine Line Botanicals (single stem on inner wrist)
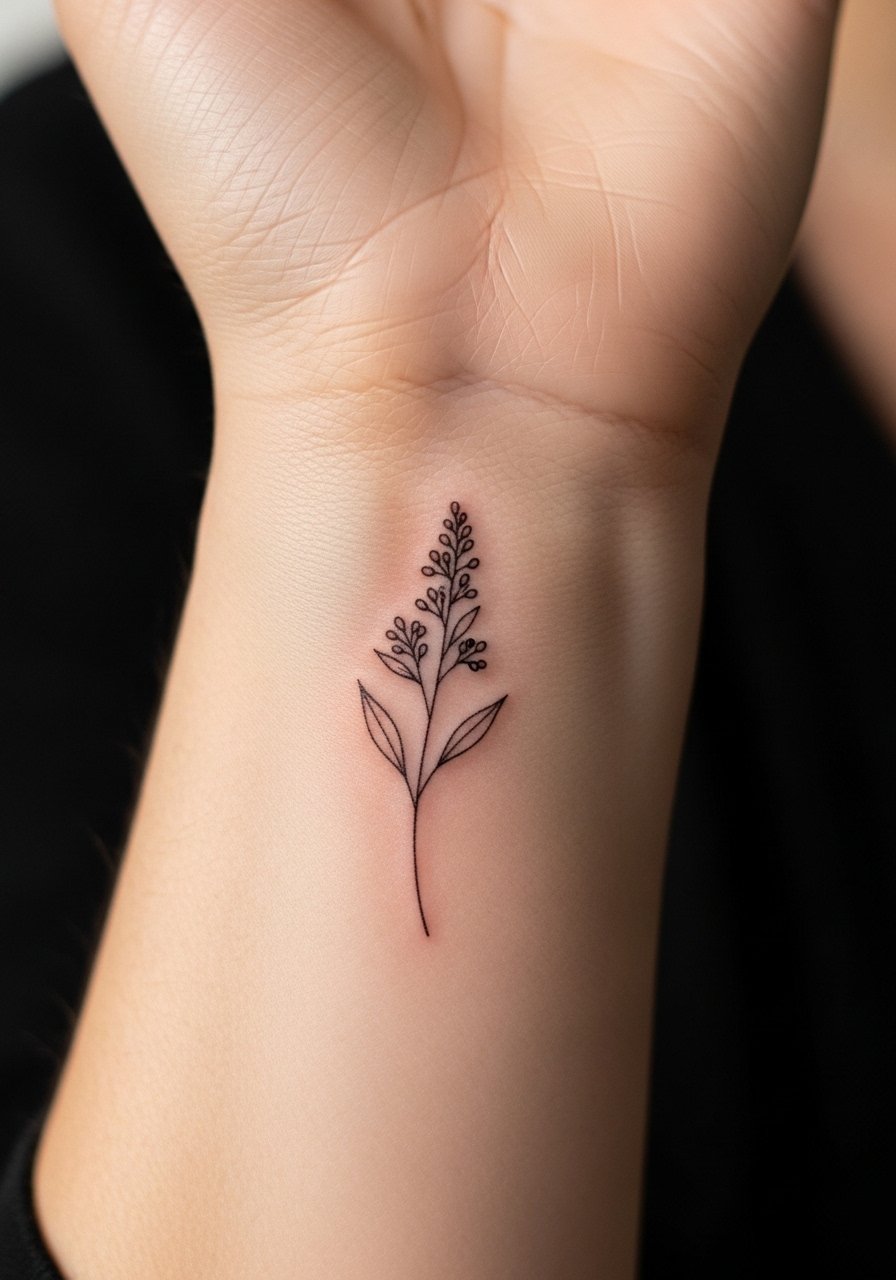
Fine line botanicals read intimate and personal up close, and they are a great first-tattoo choice for someone who wants nature without a sleeve. The biggest risk is going too thin for a wrist spot, which causes early fading and ghosting. Tell your artist you want slightly bolder single-stem linework and a millimeter of extra spacing between leaves so the ink has room to settle. Expect a sensitive but quick session. For showing it off, pair with a dainty gold bracelet or a minimalist watch to frame the wrist. On darker skin choose a little heavier linework for contrast, and budget for a touch-up at year two.
2. Minimal Line Celestial Trio on the Collarbone
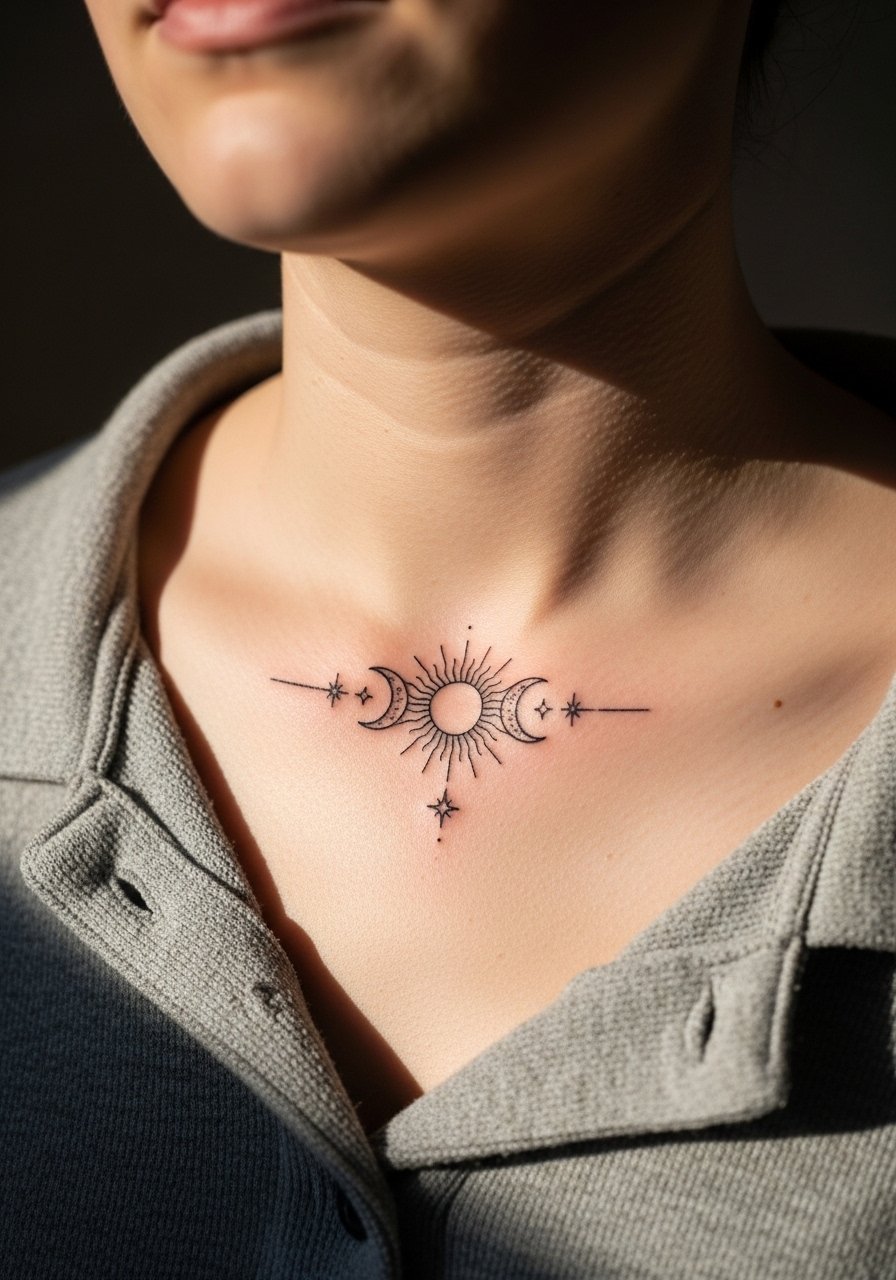
Collarbones are flattering and visible, which makes a tiny celestial cluster feel deliberate. The collarbone moves with breathing so keep the cluster compact and avoid dense detail. When consulting, ask for slightly open outlines rather than filled dots so the pieces age with less bleed. The session is low to moderate discomfort. For evenings out pick an open-back midi dress or a wide-neck blouse that sits off the shoulder to show the trio. Expect lines to soften after two years and plan a light touch-up rather than a full rework.
3. Tiny Nature Motif on the Shoulder Blade
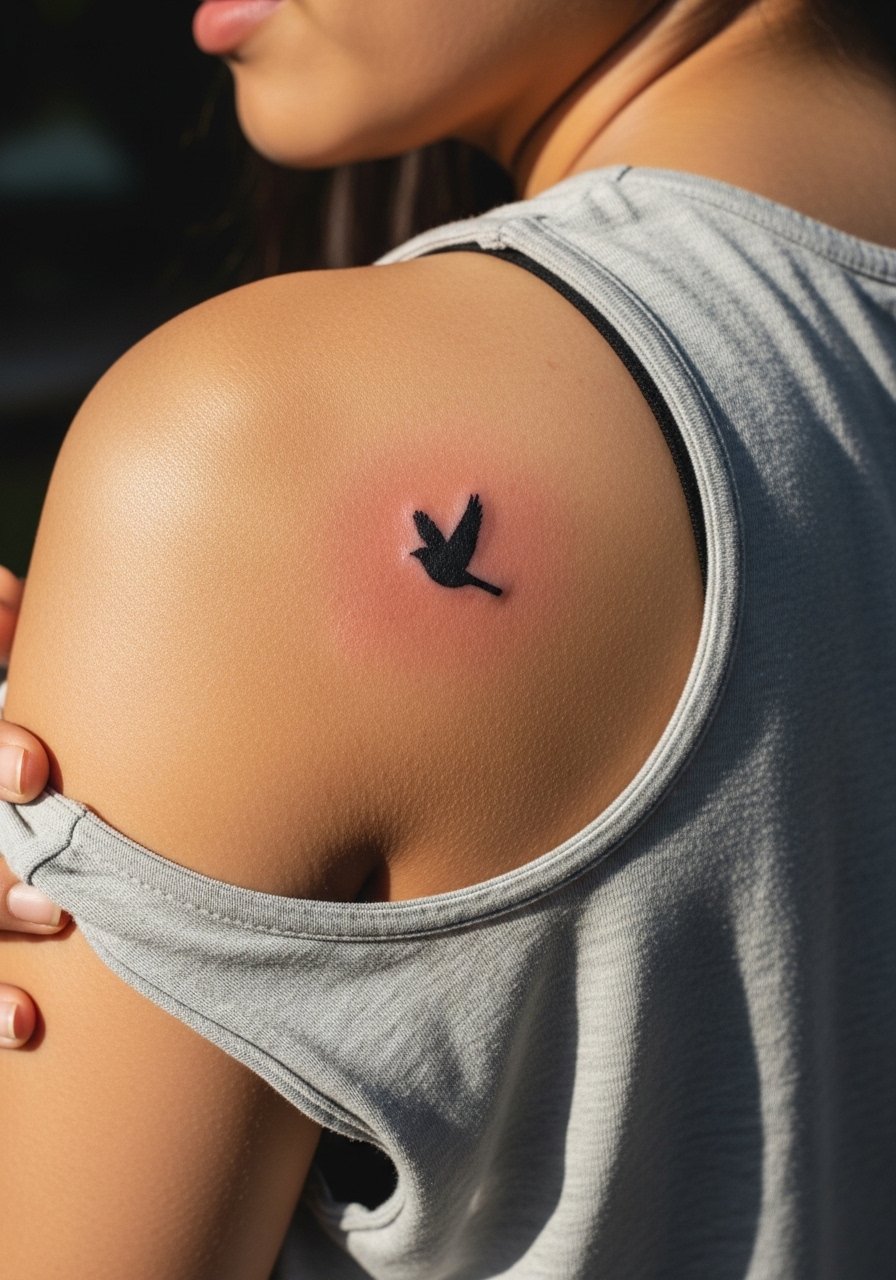
Shoulder-blade placements give a little privacy and can accommodate a slightly taller design like a small bird or leaf. The skin there sits more stable than the wrist so fine detail holds longer. Ask the artist to orient the motif to the shoulder curve so it reads while you wear tanks. The session feels easy because you can lie on your front and relax. For casual show-off wear a racerback tank. If you plan to expand into a half-sleeve later, mention that during the consult so composition accounts for future pieces.
4. Minimal Line Wave at the Ankle
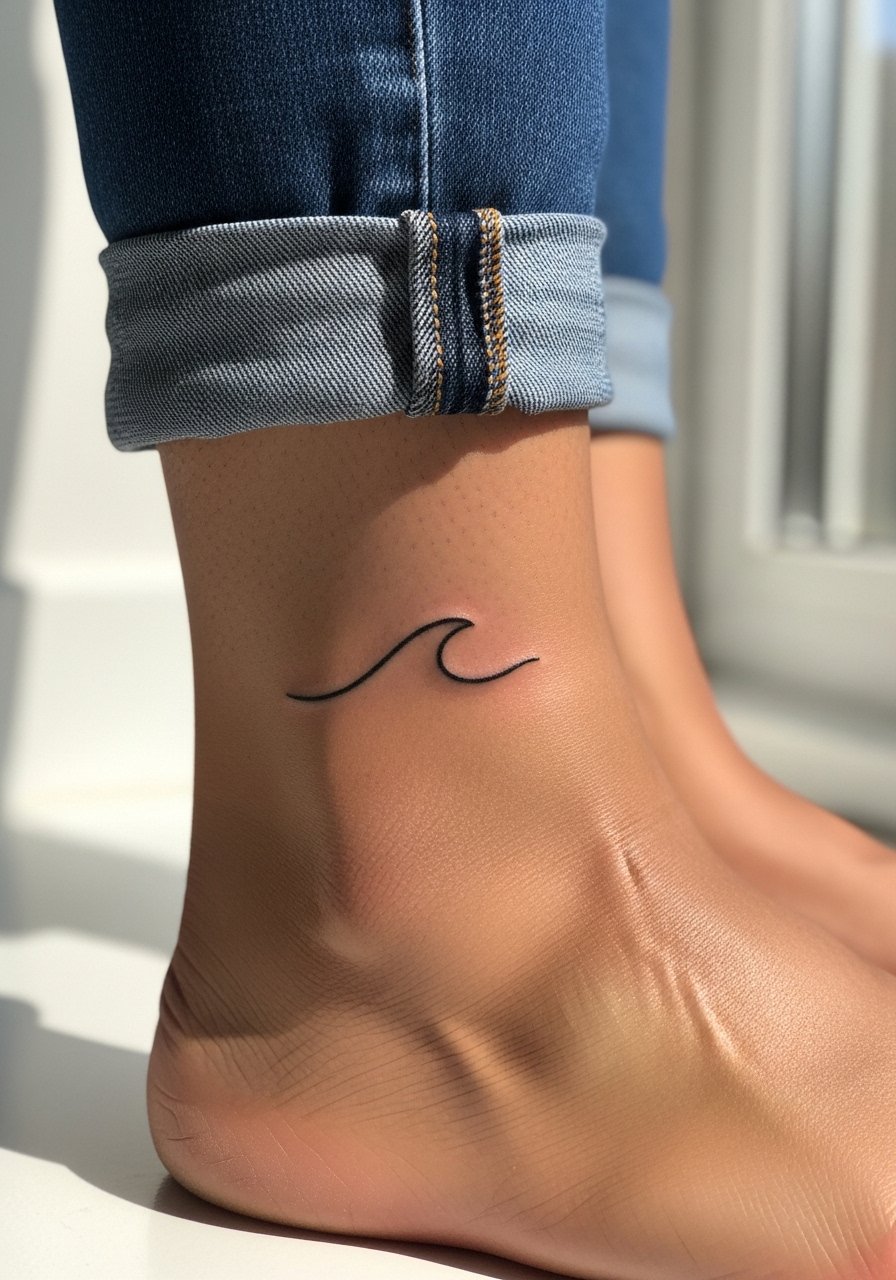
An ankle is great for a tidy, symbolic wave that nods to travel or calm. Beware daily friction from shoes and socks. Request a slightly thicker line than you might on forearm work so the waveform keeps its shape through shoe rubbing. The session can sting near bone but is brief. For showing the tattoo, roll jeans or wear sandals and add a simple anklet chain so the area reads as deliberate. Plan for a touch-up within two to three years, especially if you spend summers barefoot at the beach.
5. Tiny Cute Critter on the Side of the Wrist

Finger and wrist critters look playful and can be great secret tokens. The common mistake is asking for micro-scale detail that fades quickly on high-movement skin. Tell your artist you want clean outline work with minimal internal detail so the silhouette stays crisp. The session is quick but expect the wrist to need a touch-up earlier than the shoulder. Wear stacked thin bracelets for photos or a thin chain pendant necklace if the piece sits near the wrist. If you have a job that cares about visible ink, place it on the inner wrist rather than the dorsal side to hide more easily under long sleeves.
6. Minimal Line Symbols Behind the Ear or Collarbone

Minimal symbols are powerful because they can be read privately or shared with a nod. Behind-ear work needs an experienced hand because hairline motion and sweat can affect healing. Some artists prefer simple dot work and some prefer slightly bolder contouring. Name both camps during your consult so you understand the studio preference before booking. For session day, have your hair up and wear a wide-neck shirt you can pull aside at the hairline. Behind-ear pieces photograph best in soft side light and usually need only minor touch-ups later.
Pre-Session Essentials
The first six ideas include wrists, collarbones, ankles, and behind-ear spots, all of which benefit from small practical items that simplify the session and the first week of healing.
-
Stencil transfer paper kit. Lets you see the placement on skin before the needle starts, which is handy for collarbone and wrist pieces where scale is everything.
-
Topical numbing cream. Useful for the ankle and behind-ear spots if you get anxious about sharp, short sessions, applied only with artist guidance.
-
Thin protective film roll. Helpful for finger and wrist tattoos that face constant handwashing and friction in the first days.
-
Fragrance-free body wash. Gentle cleansing matters for small fine line pieces that can scab if irritated.
-
Aquaphor healing ointment. A thin layer in the first 48 hours keeps fine lines from drying into heavy scabs that pull ink.
7. Geometric Simple Triangle on the Forearm
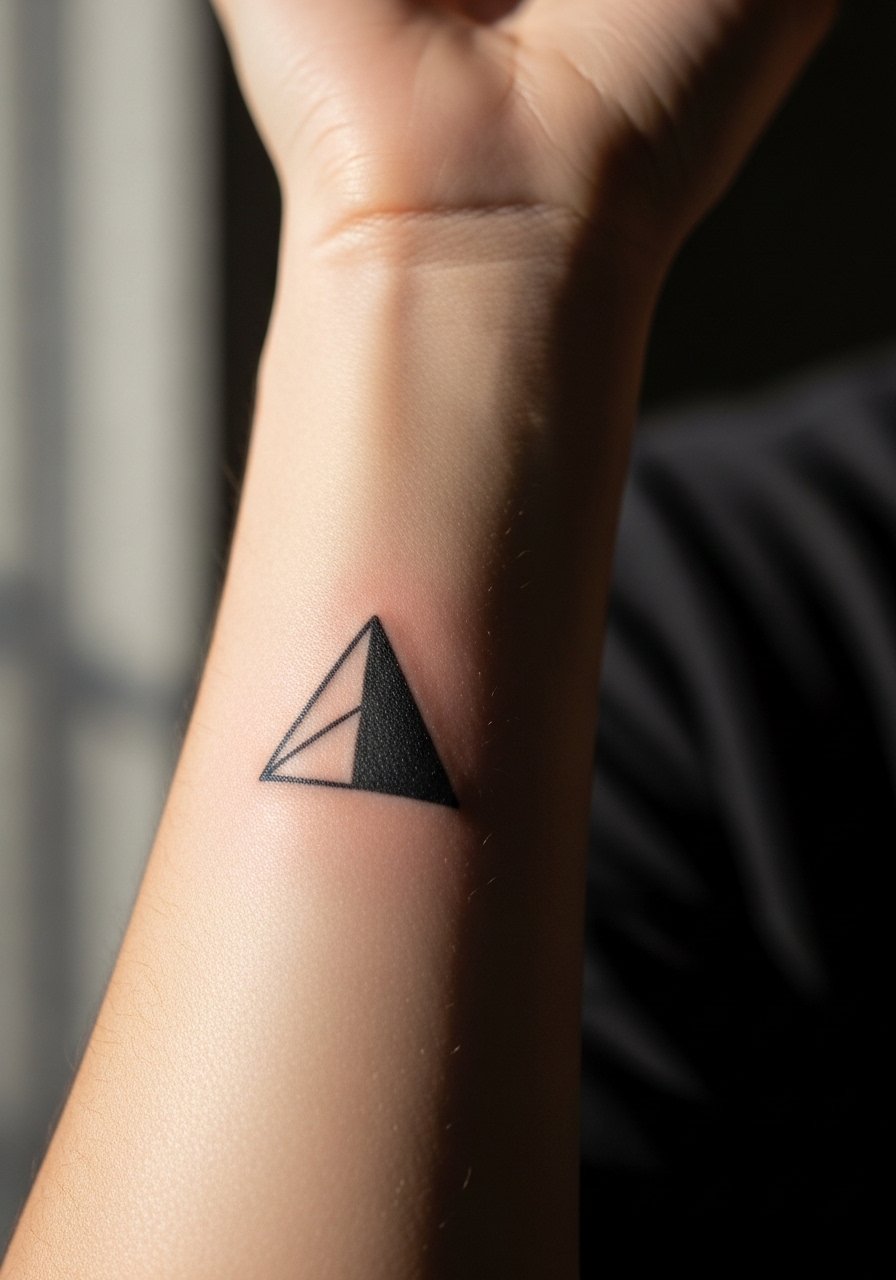
Geometric shapes read as modern and flexible in meaning. The biggest error is scaling a dense geometric pattern too small, which leads to line merge. For a forearm triangle ask for clean, slightly bolded linework with crisp vertex points so the shape ages as a defined silhouette. Session discomfort is low and healing is straightforward. Pair with rolled-up sleeves and a loose button-down shirt to let the forearm be visible without overexposing it. If you ever expand into dot-work around the triangle, plan spacing now so dots do not crowd the triangle later.
8. Micro-Floral Filler Between Existing Tattoos
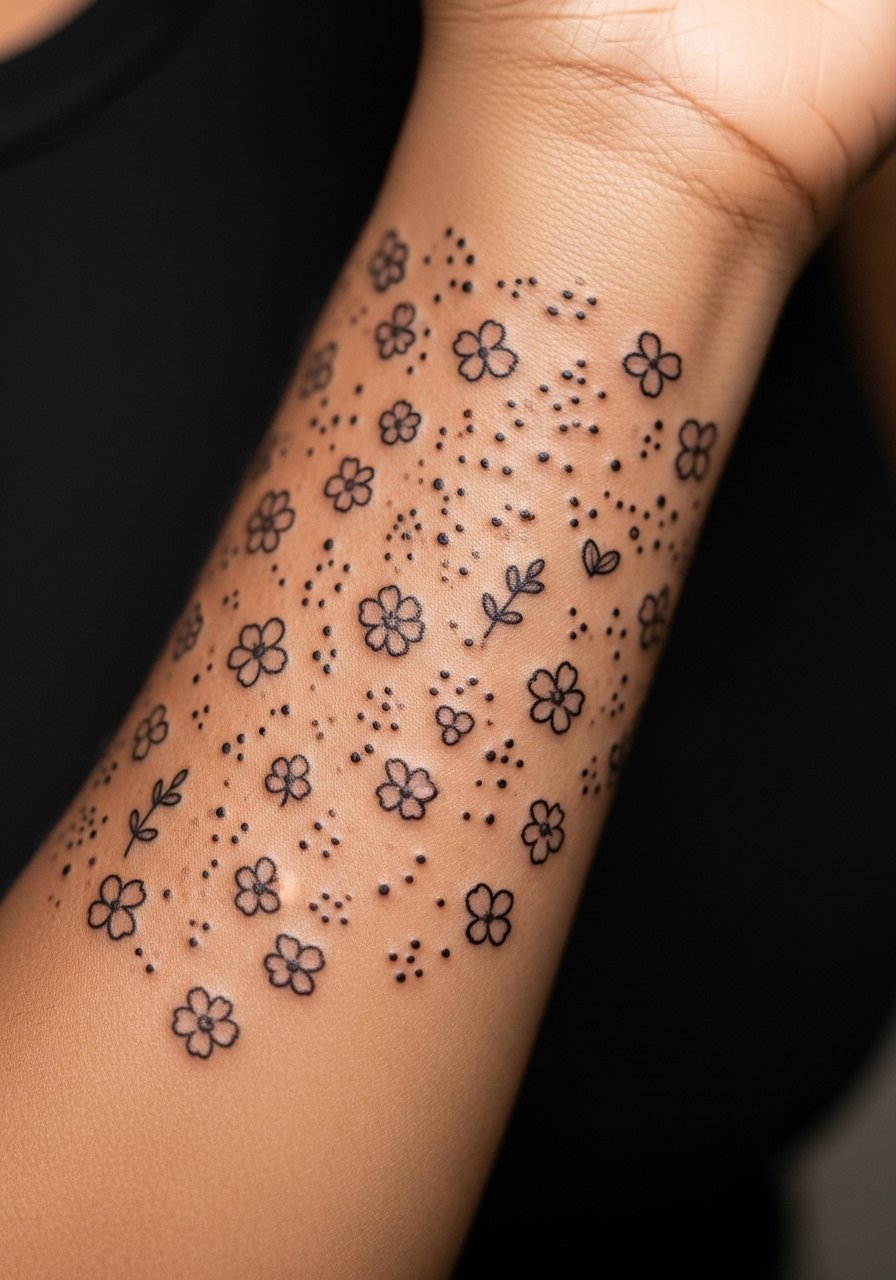
Filler is a strategic, low-cost way to unify a sleeve without a new big booking. The trick is matching scale and value to surrounding pieces. During consult show clear photos of the existing work and ask the artist for tiny motifs that echo line weight. A short session can tie a collage together. Filler reads best in neutral tones, so pick black or very muted color. If you plan seasonal cover-ups, fillers are reversible and budget-friendly. Because these bits sit near other ink, expect less visible change over time than standalone fine-line pieces.
9. Tiny Script Word on the Inner Forearm

Script feels deeply personal but also public when on the inner forearm. Choose a short word and a font that keeps letters open rather than hairline thin strokes that disappear. Tell your artist the exact font size and ask them to stencil it in place to confirm legibility at arm distance. The session is quick and can sting more near the wrist than the mid-forearm. For showing the script in meetings, a thin chain bracelet can frame it without hiding the word. If you want longevity, avoid tiny serifs that blur over time.
10. Semicolon or Mental-Health Symbol on the Wrist
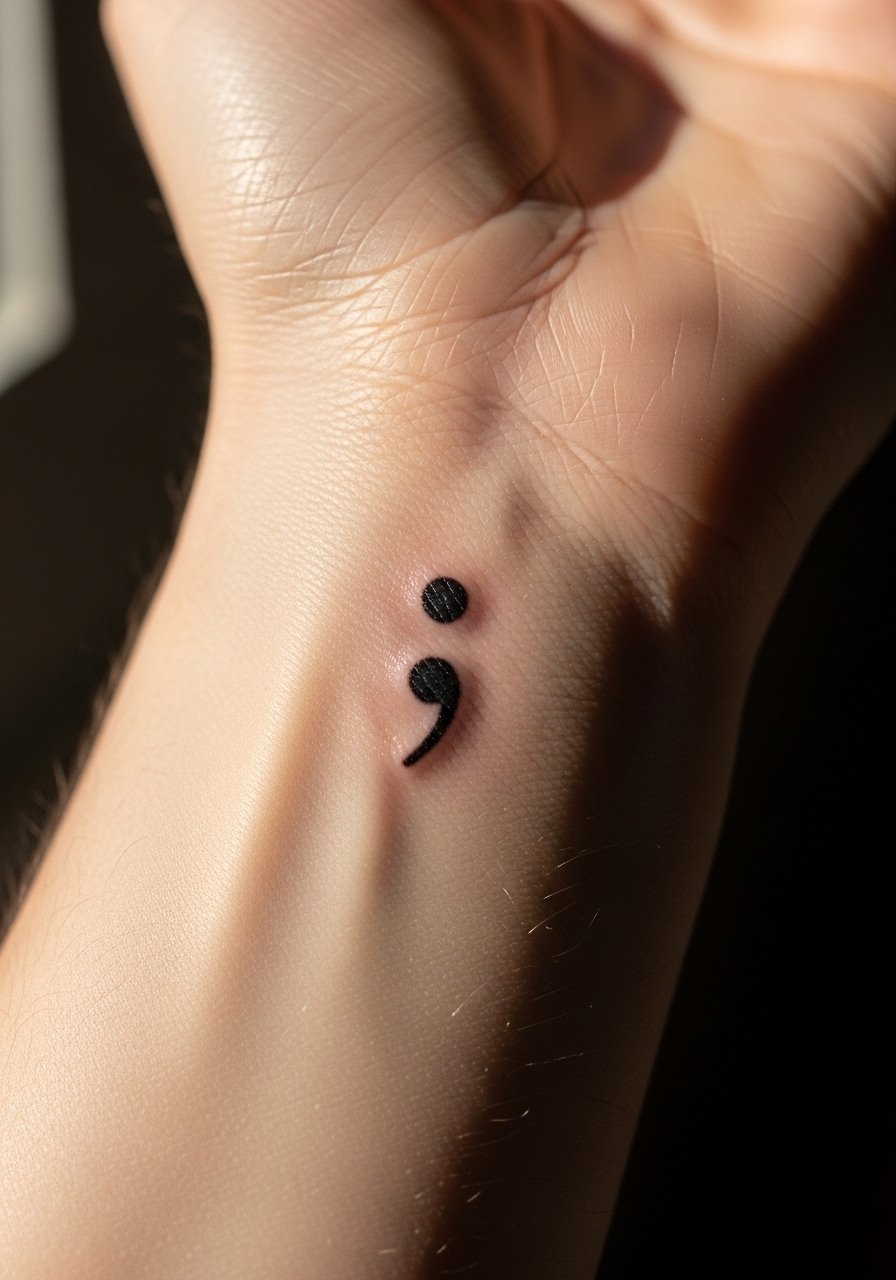
Symbols tied to mental-health meanings are quiet and often chosen for private resonance. The wrist is a high-visibility spot where the message can feel public. Explain to your artist what the symbol means to you and whether you want it obvious or subtle. Some clinics will offer a thin black outline, others prefer filled shapes. Expect faster fading on the wrist, and budget mentally for a touch-up if you want it crisp long term. If the symbol matters as a daily reminder, choose a thicker contour so the icon keeps its intention through life changes.
11. Tiny Rune-Style Glyph on the Inner Forearm
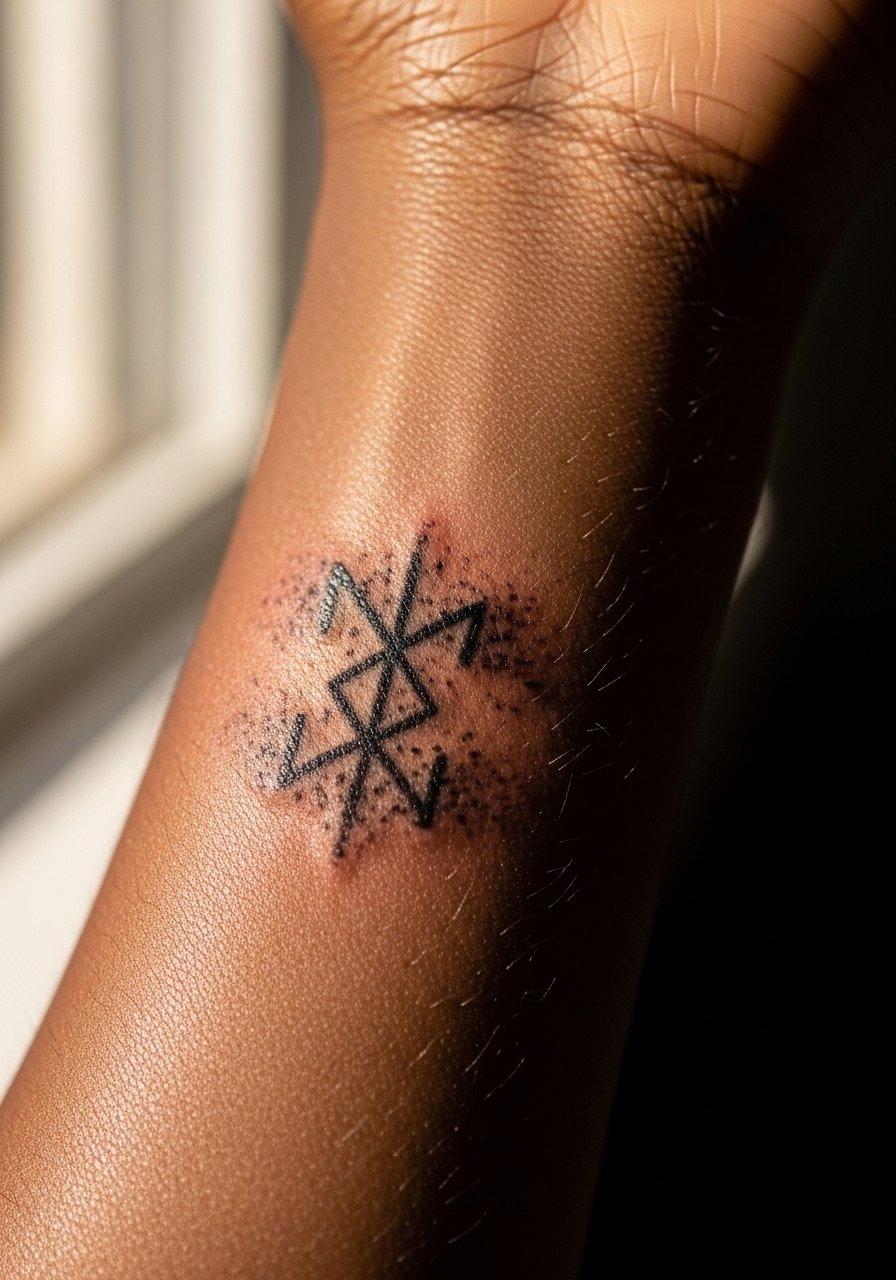
Glyphs and runes carry a sense of mystery but can cross into cultural territory. Note the origin respectfully and avoid direct replication of sacred symbols if you are not part of that tradition. Runes usually do fine as monochrome icons in small sizes. Ask the artist for a simplified version that keeps the essential angles without crowding. For session comfort wear a loose button-down shirt you can roll up. Because the forearm is exposed to sun, protect the area after healing to keep linework crisp.
12. Tiny Om or Spiritual Symbol Behind the Ear
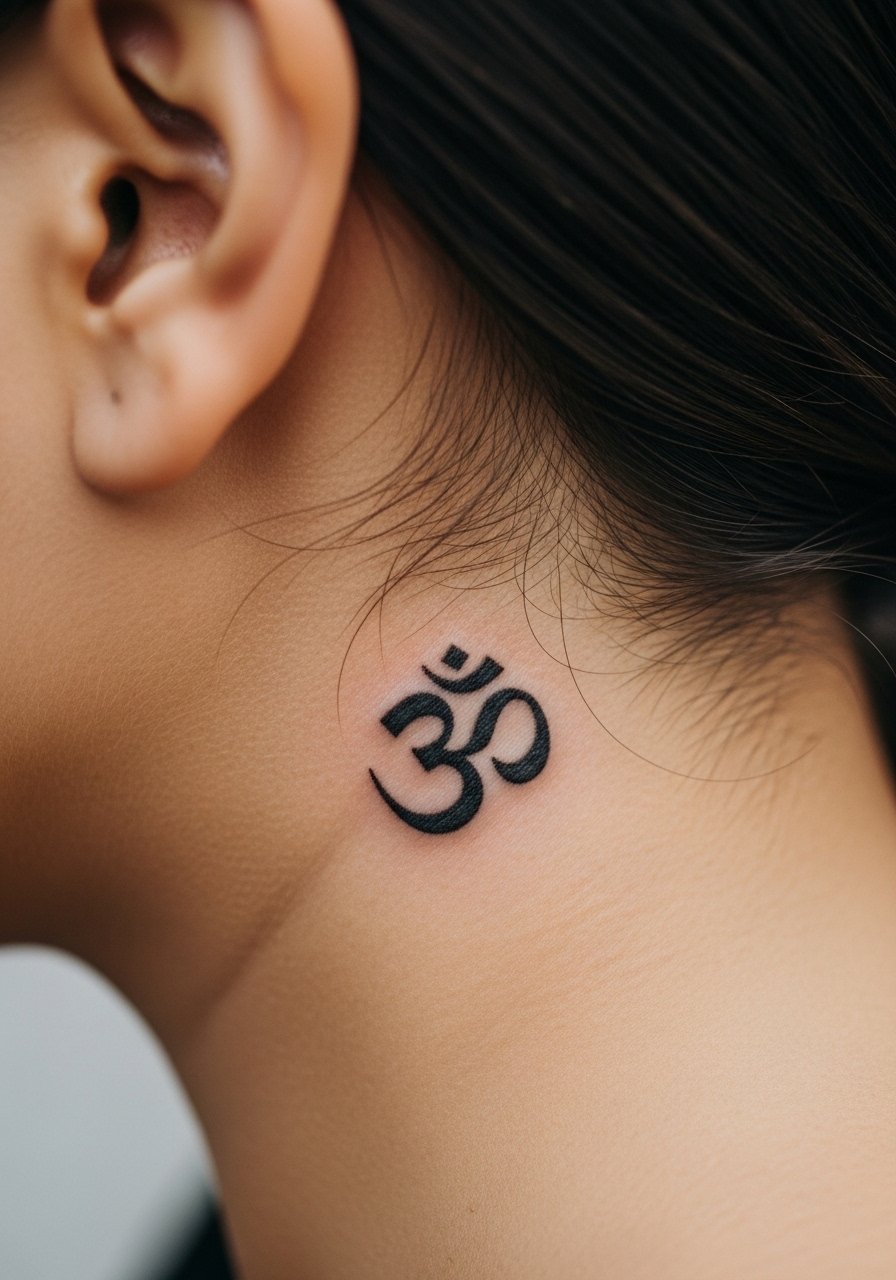
Spiritual symbols work well behind the ear because they can be private or revealed. Some people prefer an understated outline while others want a denser mark for contrast. Artists split on technique for that area. One camp says light lines settle poorly in the hairline zone and prefer denser contouring. The other camp says careful shallow depth keeps things delicate. Ask your artist their approach and why. For session day, put hair up and wear a wide-neck shirt so they can access the spot cleanly.
13. Small Constellation Cluster on the Shoulder Cap

Constellations translate well into memorial or date-associated pieces because spacing can encode meaning. Tell the artist which stars matter and whether you want connecting lines or spaced dots only. Shoulder cap placement sees less friction so dot work holds up better than on the wrist. For casual reveals wear a tank top with thin straps to let the layout show. Expect minor softening in lines after several years, but dots often remain legible longer than tight contour work.
14. Tiny Elemental Pair at the Inner Forearm
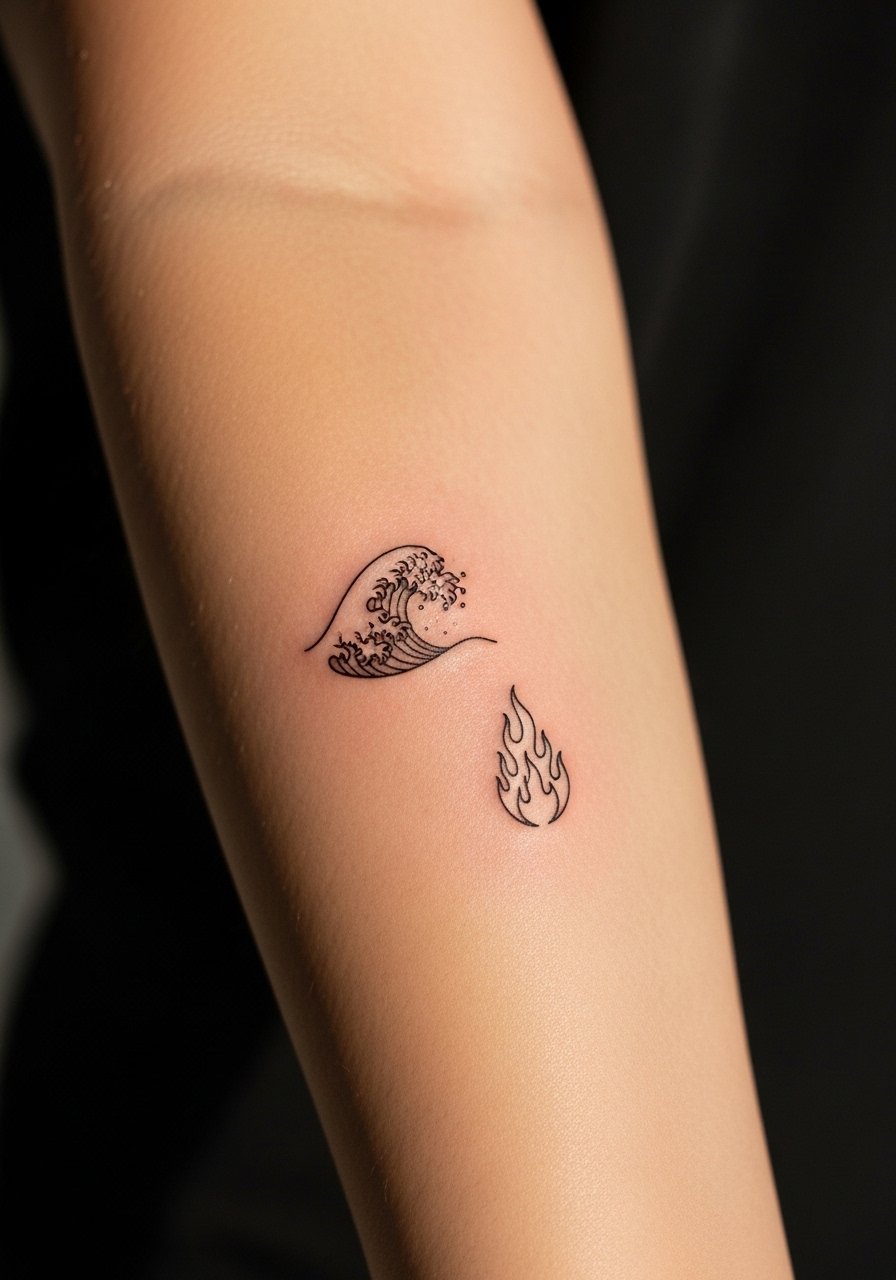
Paired elemental symbols let you balance opposing ideas visually. Place them a finger or two apart so each icon breathes and you can add linking motifs later if you build a collection. During the consult, specify size and spacing in inches or centimeters so placement is consistent with your future plans. The inner forearm is stable so touch-ups are less urgent than on hands. For session wear choose a loose linen shirt you can roll for access. Pairing with matching small rings or a thin cuff keeps attention on the icons without crowding.
15. Tiny Geometric Line Cluster on the Calf
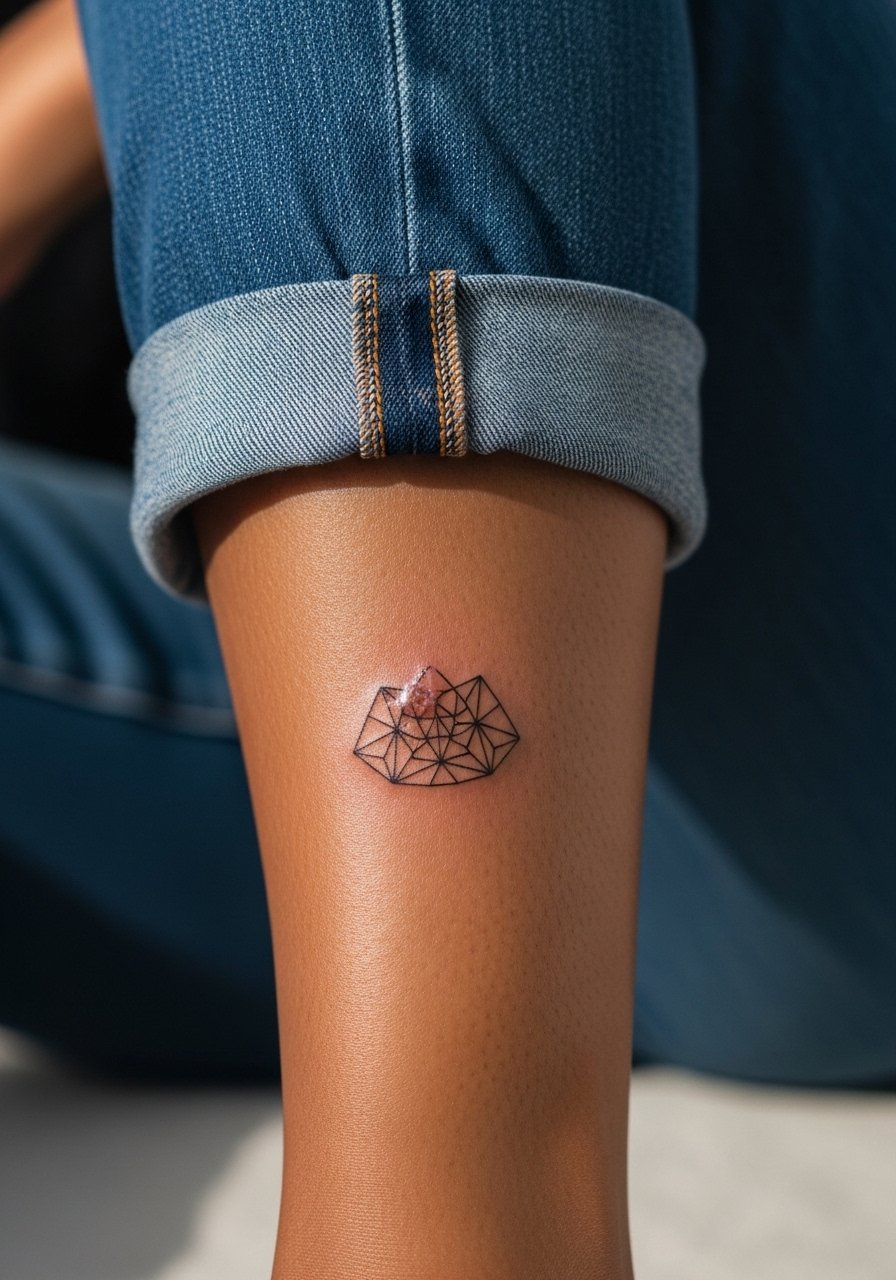
Calf placements allow vertical or stacked geometric motifs that survive years of sun exposure better than ankles. The main mistake is cramming too many intersecting lines into a postage-stamp space. Ask for single-line clusters with deliberate negative space. Sessions on the calf are moderate in length and comfortable if you bring a good playlist. For summer show-off, pair with high socks or a pair of sandals to frame the piece. Calf tattoos tend to need less frequent touch-ups unless you spend heavy time in intense sun.
16. Tiny Matchstick with Flame on the Wrist

A matchstick is a small narrative symbol that can mean ignition or a single powerful moment. The wrist is a high-motion area so insist on simple silhouette work without micro shading. Tell your artist the match head should be a clean dot of black or a small color fill for contrast. The session is quick and can be managed with breathing techniques if you feel anxious. Pair it with a thin leather bracelet that sits below the mark to avoid rubbing. Expect fading on the wrist sooner than on the upper arm.
17. Micro-Realism Tiny Portrait on the Upper Arm
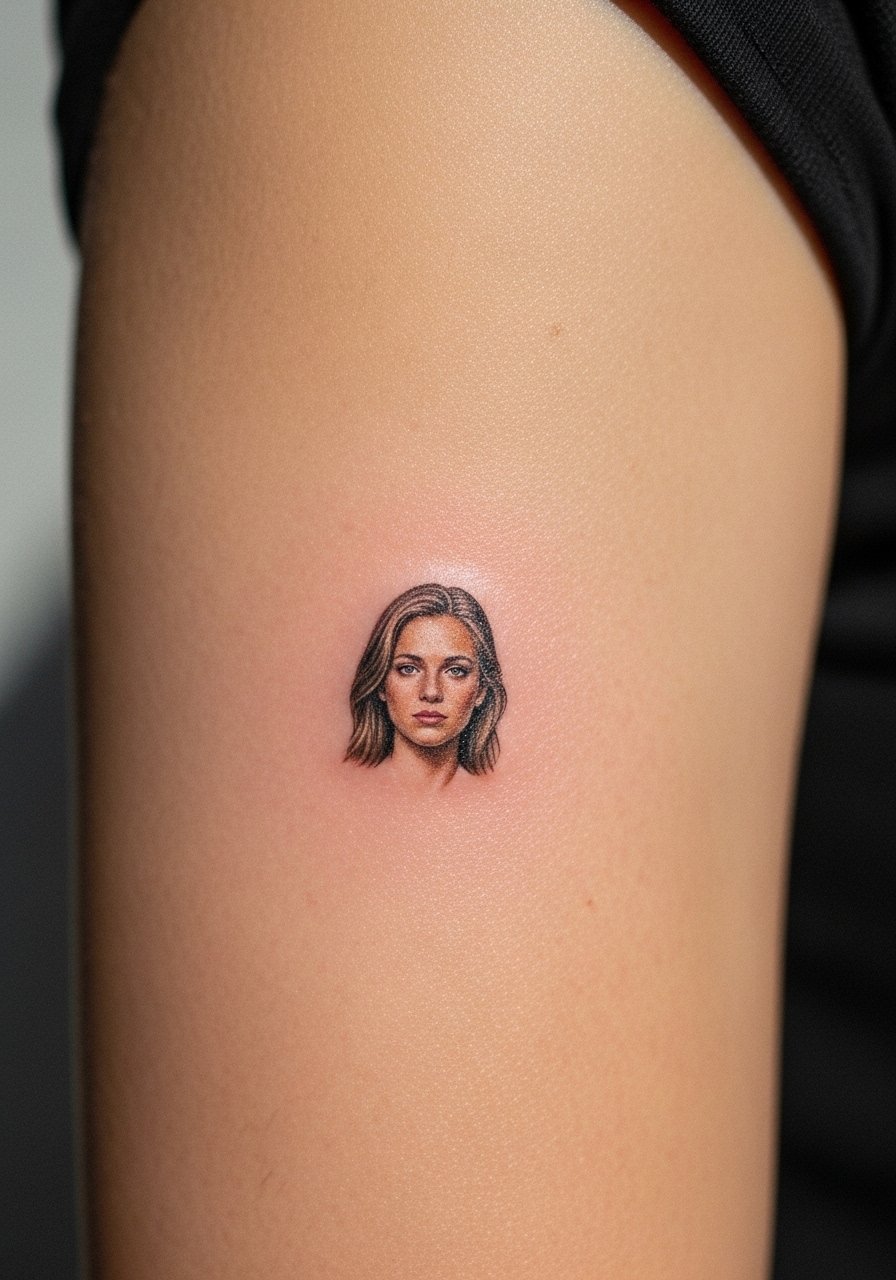
Micro-realism is ambitious in a small size and requires a specialist. If you want a tiny portrait, pick a single focal feature like an eye or a silhouette rather than a full face to avoid mush. Ask the artist for healed examples of similar scale on similar skin tones. Sessions take longer and require steady positioning. For session clothing wear a loose tank top you can adjust so the artist has clean access. Plan on a touch-up once the piece settles because detail can soften in the first year.
18. Minimal Leaf Cluster on the Ankle
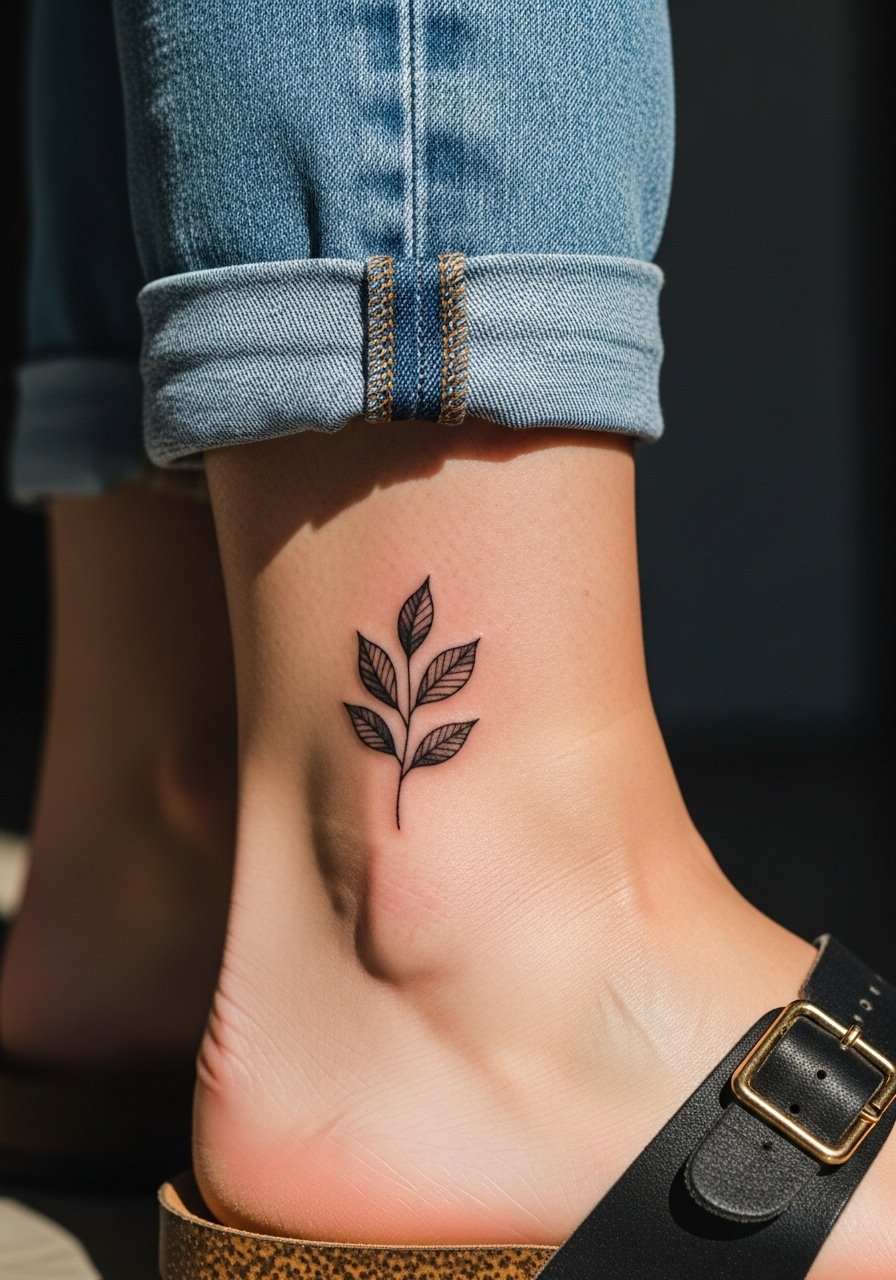
Leaf clusters make tidy, feminine accents that scale well on ankles. The biggest mistake is adding thin veins that vanish after a year. Instead ask for solid contours and subtle stippling for texture. Ankle sessions brush by fast but expect soreness against shoe straps for the first week. To style, choose sandals and an ankle chain to emphasize the area. If you have darker skin, request slightly bolder outlines so the leaves read in photos.
19. Tiny Planetary Ring on the Shoulder
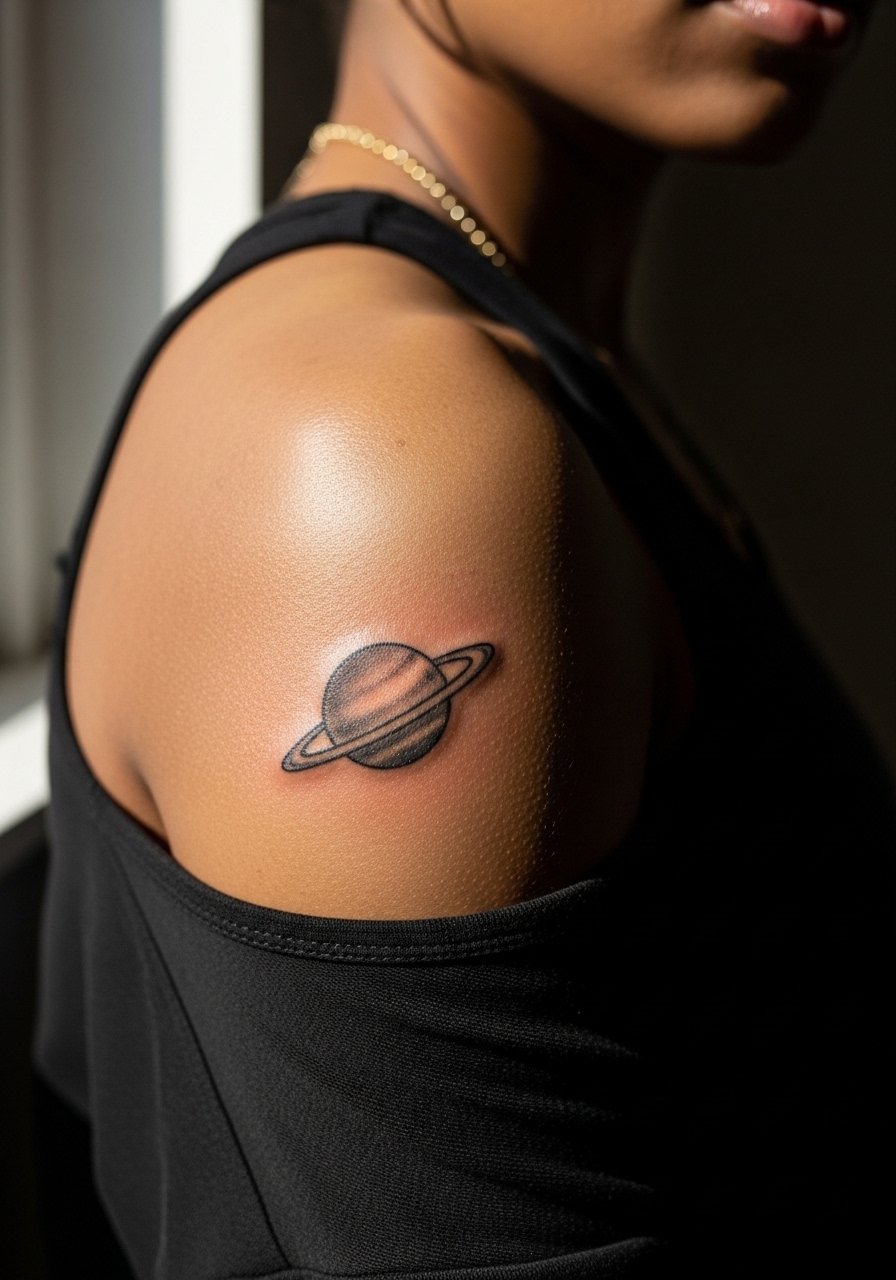
Planet motifs are playful and symbolic of exploration. On the shoulder they sit comfortably and photograph well. Ask for the ring to be a single clean stroke with the planet a filled dot to avoid fragile lines. The session is low discomfort. For evenings slip into an open-back top to show the art. Plan for a light touch-up if you want the ring line to stay perfectly round after a few years.
20. Tiny Arrow on the Collarbone
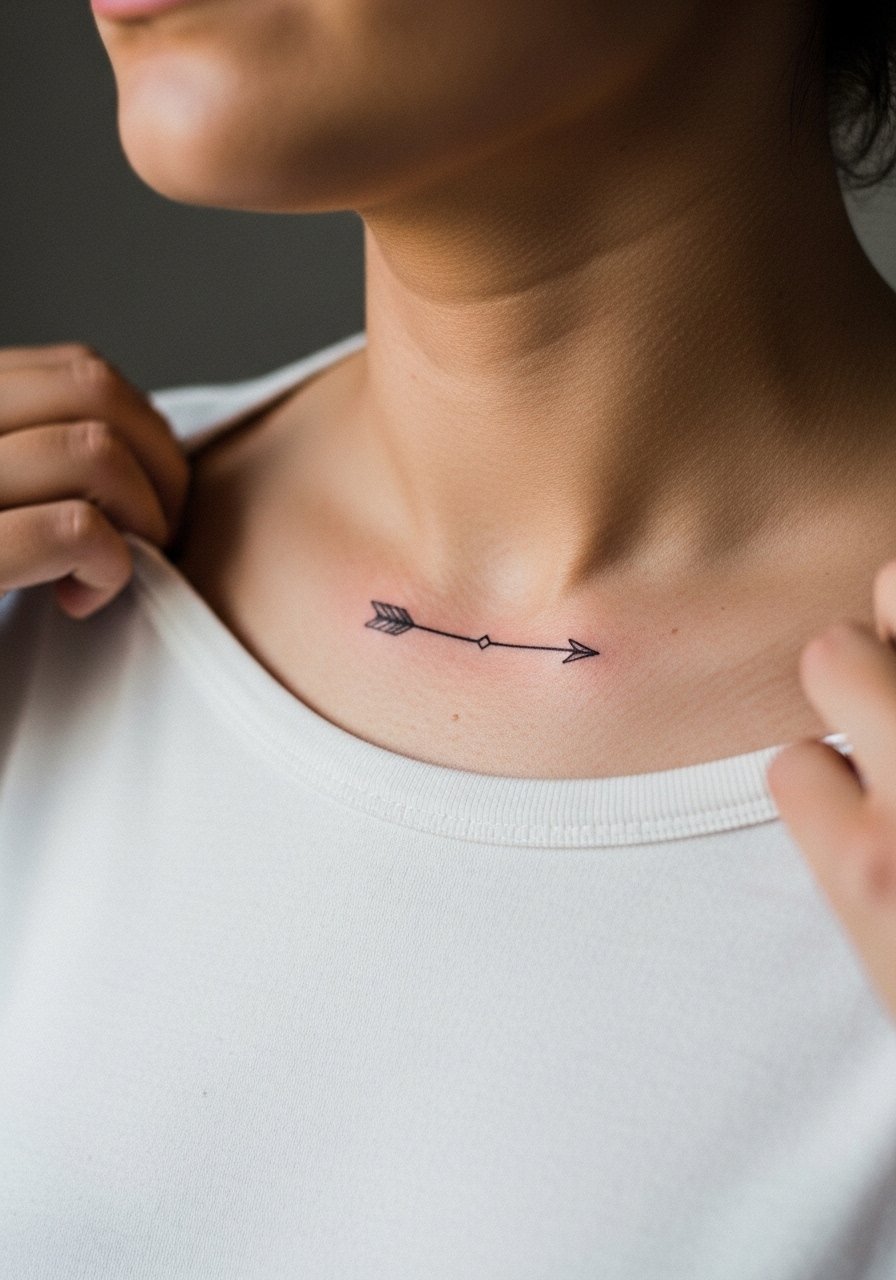
Tiny arrows are directional and can feel like a private motto. A common error is making the shaft too thin so the arrow loses geometry. Ask for a confident single stroke with slightly thicker ends so it remains readable. The collarbone session is brief but the area can sting more where bone sits close to the skin. Pair with a thin chain pendant that sits above the arrow. If you ever want to orient the arrow toward another tattoo later, keep the trajectory clear in your planning.
21. Finger Dot or Tiny Morse Code
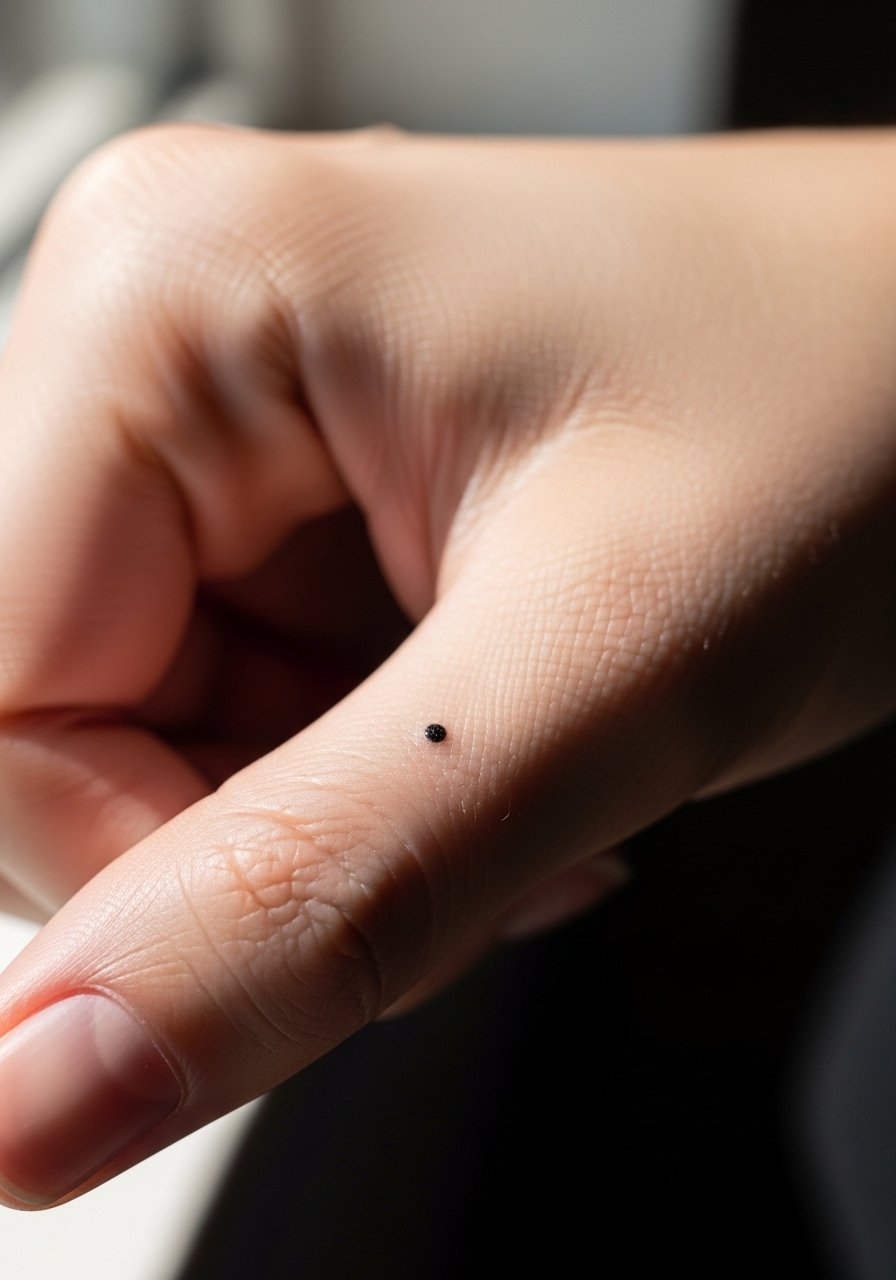
Finger tattoos are increasingly popular but are notorious for fading due to constant washing and thin skin. Choose a symbol with minimal linework like a dot or simple morse code and accept that touch-ups may be needed every couple of years. Ask your artist about placement on the side of the finger versus the pad because the pad will fade fastest. For session wear keep hands clean and moisturized but avoid heavy creams in the first week. If you need discretion, a ring can cover the spot while it heals.
22. Tiny Wave Behind the Ear
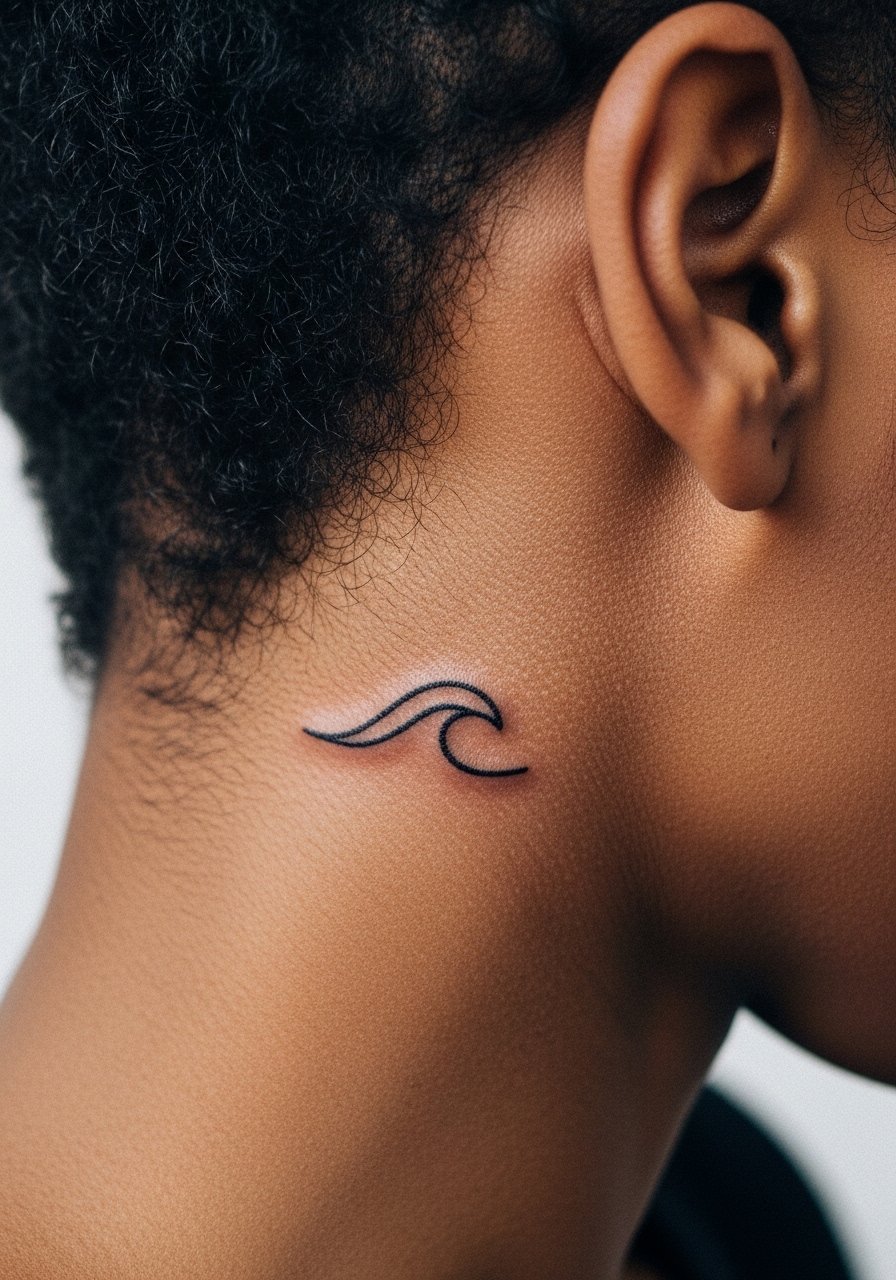
A behind-ear wave reads like a private token that only shows in certain hair styles. The hairline and sweat in that zone can complicate healing. Some artists prefer slightly denser outlines there while others keep it whisper-thin. Name both approaches and your lifestyle during consult. For session day wear a wide-neck shirt and pin hair up. Because the area is behind the ear, a short touch-up at year two is common for those who want it to remain crisp.
23. Tiny Compass Needle Near the Clavicle
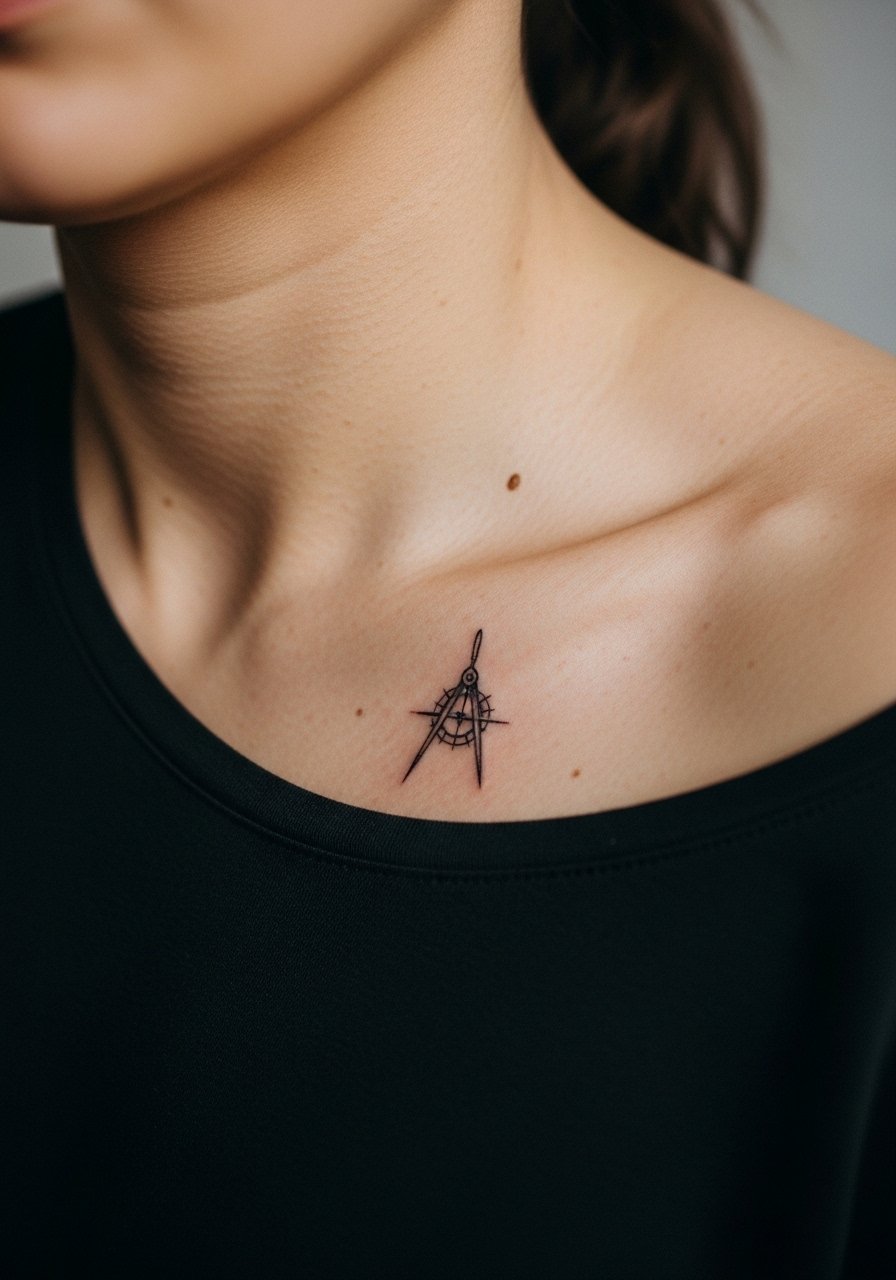
A compass needle reads as direction or grounding and suits a clavicle placement. Keep the design simple, a single needle with minimal cardinal markers, so it ages better than a micro-dial. Tell your artist the exact orientation you want relative to your body so it points where you intend. Session discomfort is mild. For reveal pair it with an open-neck blouse. Because the clavicle sees sun, protect with clothing or SPF once healed to slow softening.
24. Tiny Floral Lobe on the Upper Thigh
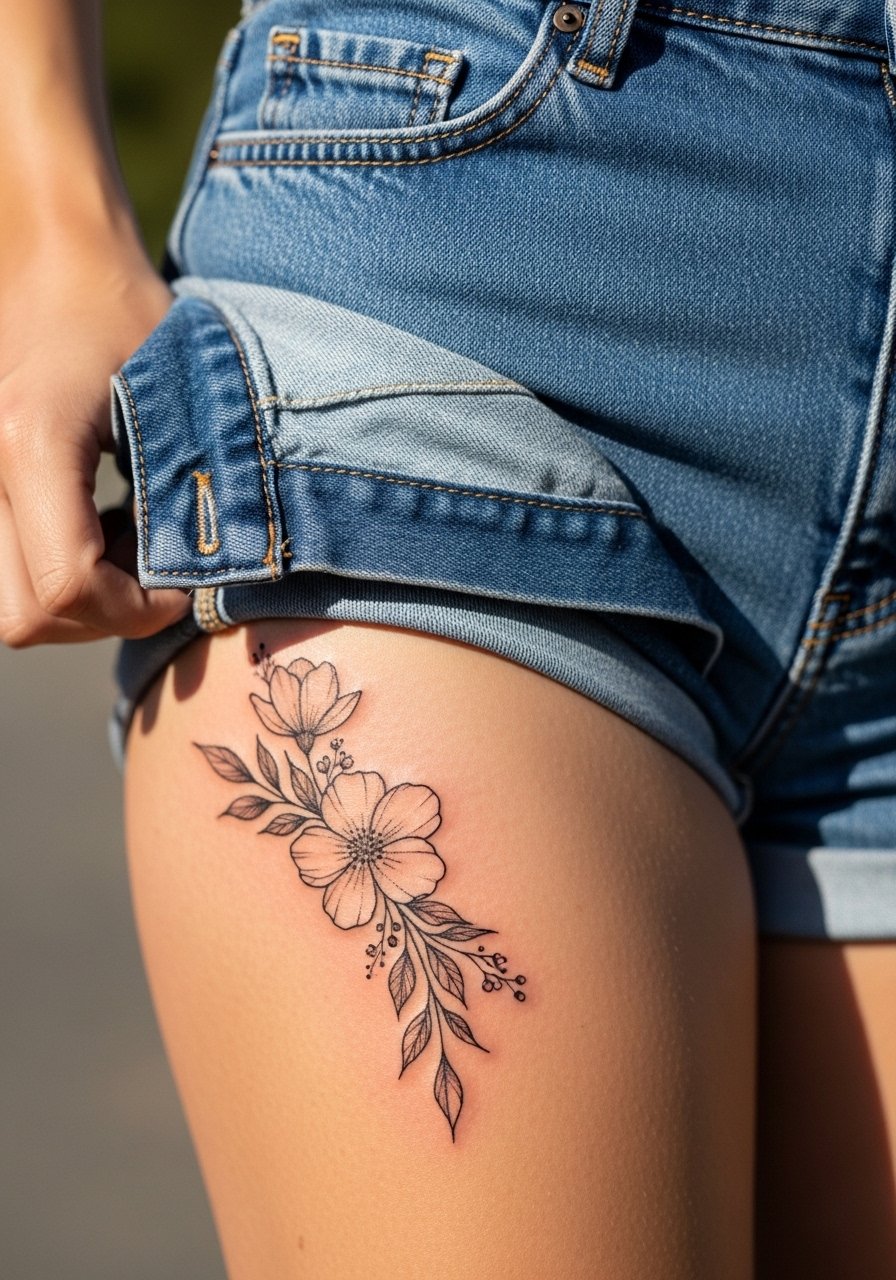
Upper-thigh pieces are intimate and easy to hide, which makes a tiny floral perfect for privacy tokens. The skin there is stable which helps fine detail last. During consult request a slightly larger petal shape than you imagine so the detail survives weight or skin changes. For session comfort wear loose shorts you can shift like high-waisted denim. If you plan pregnancies or major weight changes, discuss placement because stretching can alter symmetry.
25. Tiny Camera Icon on the Back of the Arm
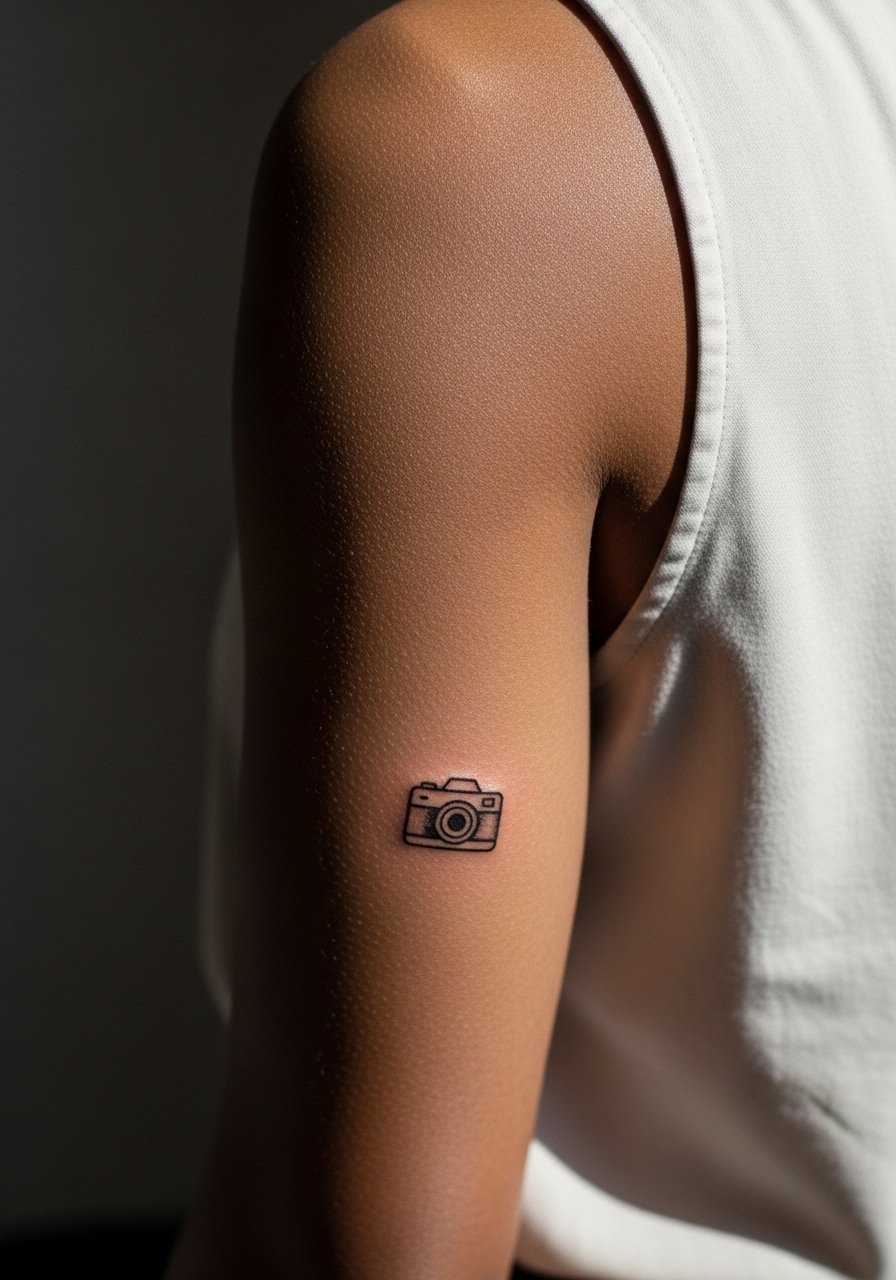
A small camera nods to memory keeping and suits the back of the upper arm where it stays visible but not constantly exposed. The common mistake is compressing too much detail into a tiny icon. Ask for a simplified silhouette with a small lens dot. Sessions are quick and mildly uncomfortable depending on muscle tension. For photos wear a sleeveless top that shows the tricep. Expect less sun-driven fading than forearm placements.
26. Tiny Botanical Anklet Wrap
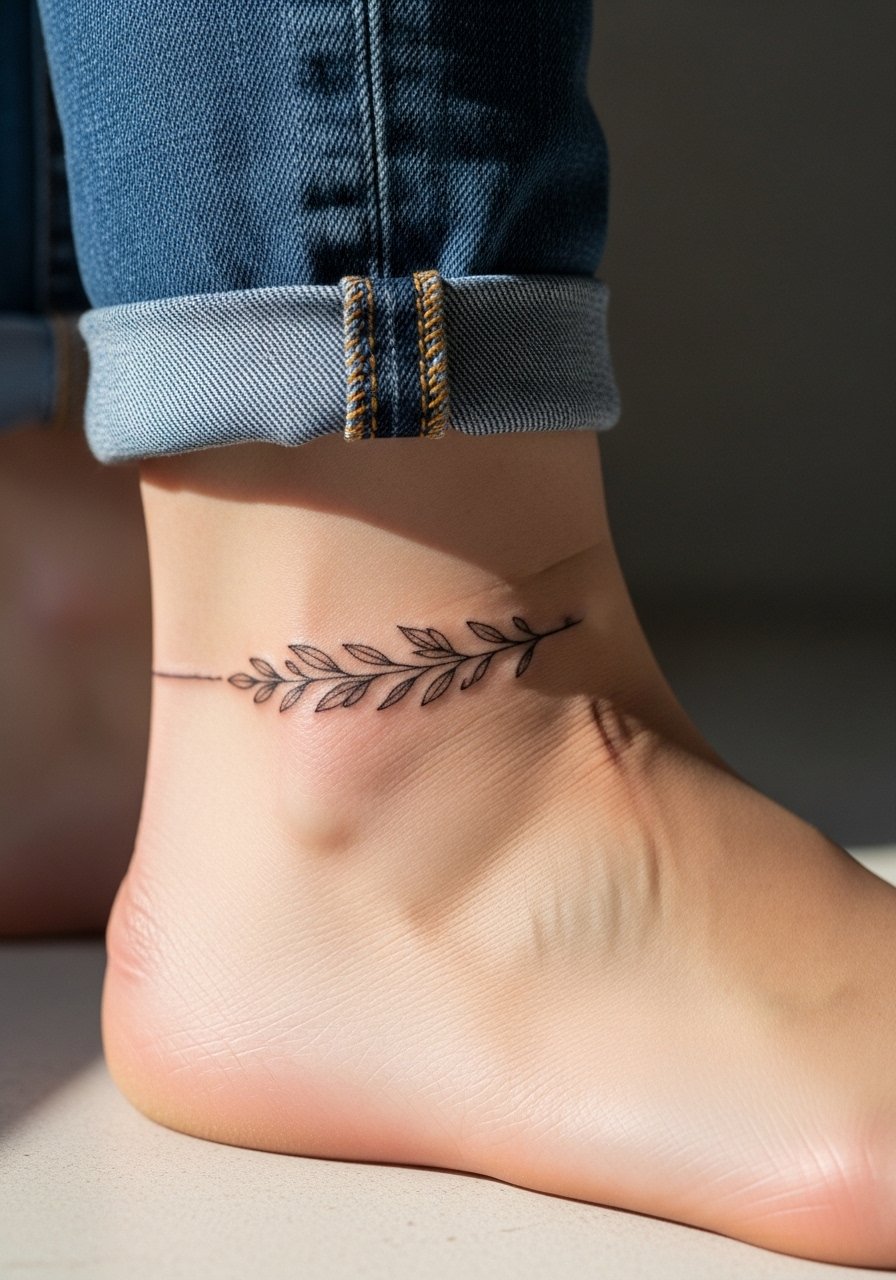
An anklet wrap reads like jewelry but is more personal. Keep lines open and leave small gaps between leaves so the wrap does not blur into an unbroken band. Ask your artist for a stencil wrapped around your ankle to verify spacing. Sessions are brief and can be tender near bone. Style with sandals and an anklet chain to echo the tattoo. Because ankles see shoe friction, schedule a touch-up if the band softens after a year.
27. Micro-Mandala Behind the Knee
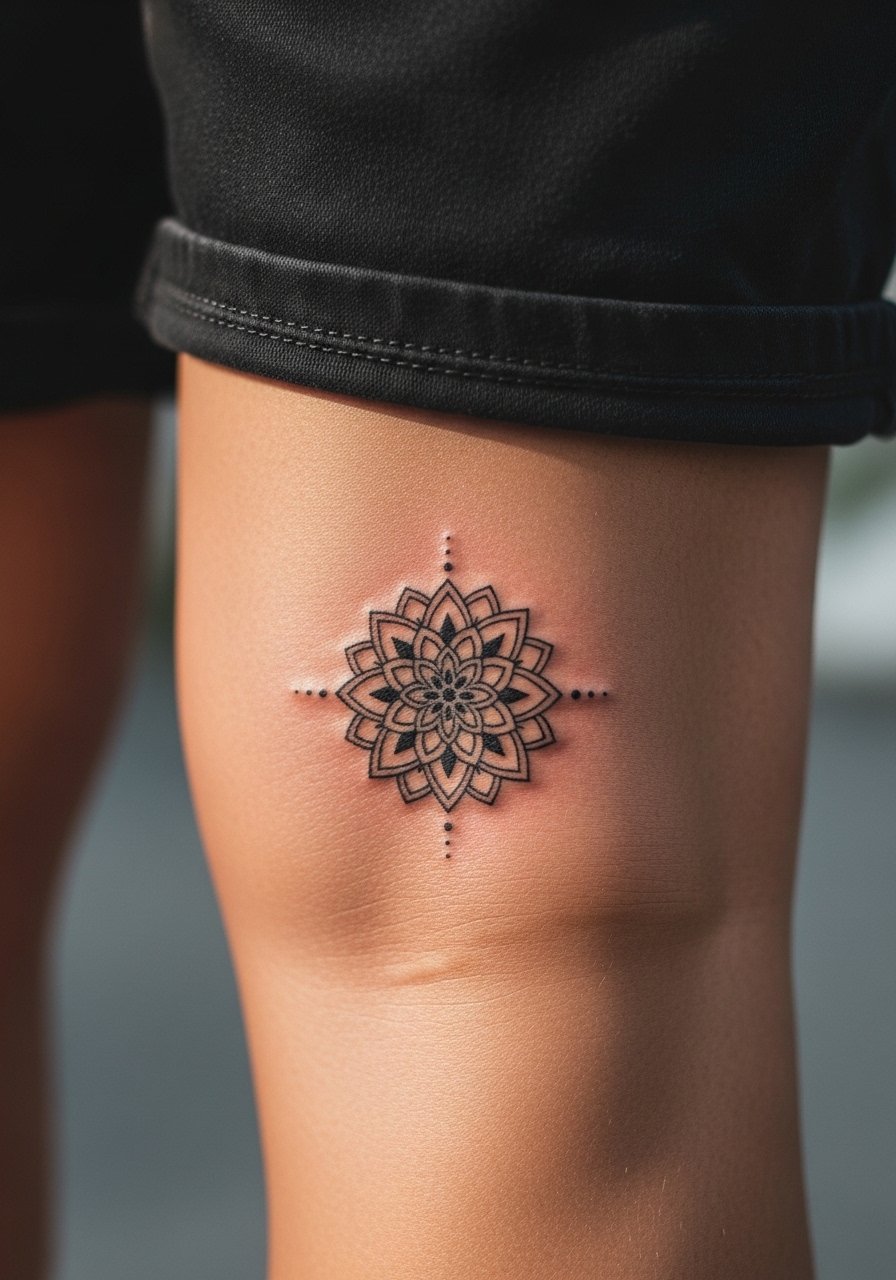
The back of the knee is a rare but striking spot for a small mandala. It is high-movement and tricky to tattoo so pick a simplified mandala with open negative space to prevent line merging. This is one of those placements where two camps disagree about fine line. One camp warns the constant folding will blur tight mandala lines quickly. The other camp says with appropriate spacing and a confident stencil it can stay readable. Ask the artist which approach they use and why. For session wear loose shorts and expect a delicate healing phase because the area bends with every step.
Frequently Asked Questions
Q: Will a fine line tattoo fade faster on dark skin, and what can I do about it?
A: Fine line work can read differently across skin tones. From what I have seen, slightly bolder contouring and higher contrast help the design show in photos and in person. Ask an artist who has healed examples on similar skin tones and bring lighting concerns to the consult so they can adjust line weight for contrast.
Q: How do I avoid regretting a small trendy piece a year later?
A: Decide whether the design is an "anchor" like a date or symbol you want to keep, or a seasonal motif you might replace. If you worry about regret, pick a discreet placement or a motif that can serve as a filler later. Planning for a small, well-spaced design makes cover-ups or additions easier without a large rework.
Q: Do small wrist and finger tattoos require different aftercare than upper-arm pieces?
A: The care routine is similar but wrists and fingers face more washing and friction, so keep them protected for the first week and avoid soaking. Those spots often need touch-ups sooner. If you plan to photograph healed ink, natural window light and a plain background help the contrast show.
Q: Saniderm or dry-healing for tiny fine line work, which is better?
A: Artists split into two camps. One group says second-skin keeps uniform moisture and can protect delicate lines. The other group warns it can trap sweat and bacteria in warm climates and prefers gentle washing and air-drying. The right choice depends on your activity level, climate, and the artist's method. Ask about their experience with each approach for fine line pieces.
Q: How can I find artists who understand how ink reads on deeper skin tones without following Instagram handles?
A: Use discovery pathways like studio websites, community directories, convention guest lists, and hashtag searches that include skin-tone specific tags. Ask to see healed portfolios on similar skin tones and request references. Many shops list guest-spot calendars so you can track visiting artists you want to see in person.
Q: How often should I expect touch-ups for small fine line tattoos?
A: Expect a touch-up window between one and three years for high-movement spots like wrists and fingers. Stable areas like the shoulder or upper arm often make it past three years before needing work. Touch-up timing depends on line weight, placement, sun exposure, and your daily activities.
