
Fine line Medusa motifs fill feeds right now, and the versions that still read sharp in real life are not the busiest ones. They are softer takes with careful spacing, low saturation, and contouring that respects skin movement. Below are practical stencil ideas that aim for longevity, placement sense, and wardrobe pairings so you can pick a Medusa concept that looks like you now and still looks like you in five years.
1. Delicate Medusa on Inner Forearm
I've seen this placement hold well because the forearm moves without extreme stretching. Ask your artist for softened snake heads with thin whip shading and light stipple shading in the hair so the linework breathes. Fair warning, tiny overlapping snakes age into a blur if the details are packed too tight, so plan negative space around eyes and jaw. Session time is usually a single hour and pain is low. For showing it off pair with a rolled linen shirt or a racerback tank, both frame the forearm without stealing attention.
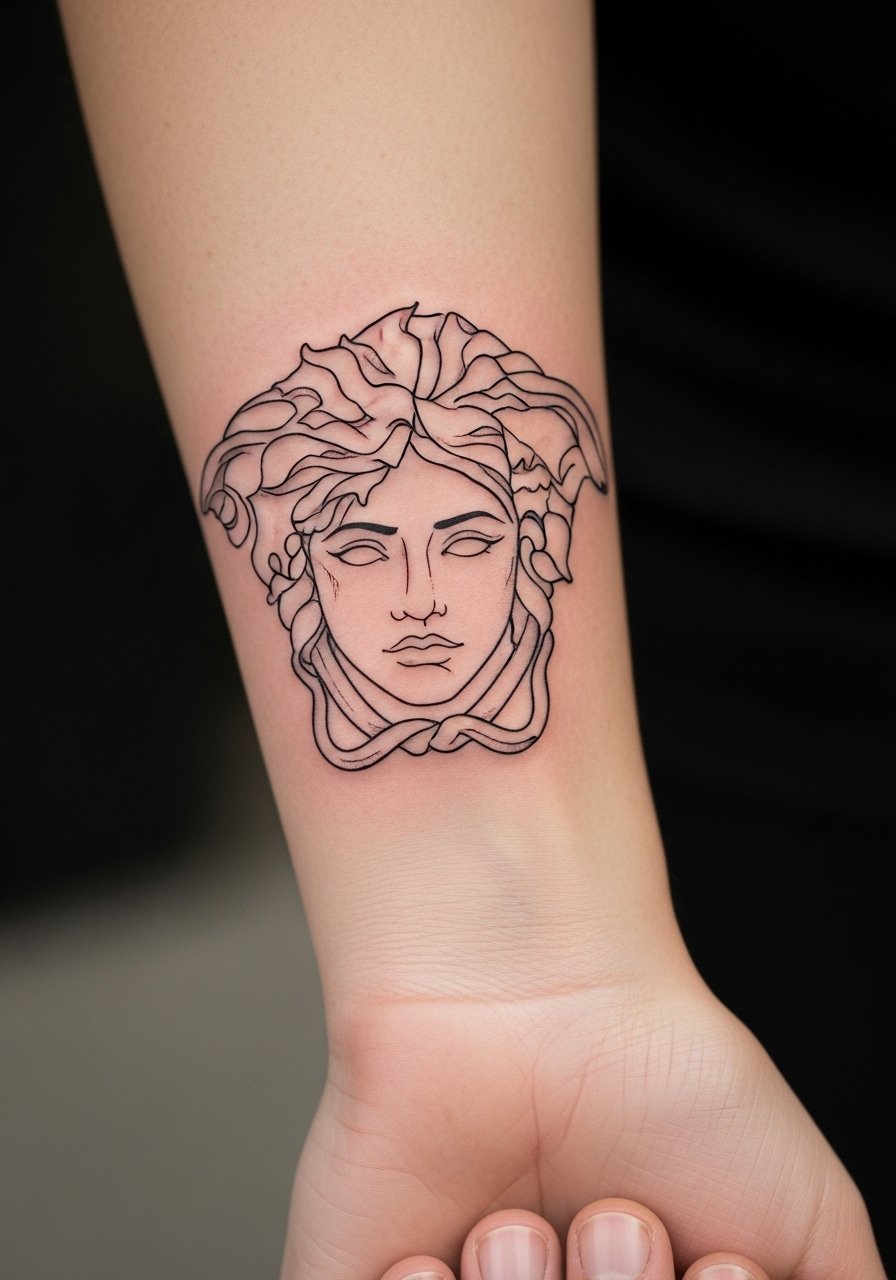
2. Crescent-Framed Medusa at the Wrist
Personal observation: wrist work reads intimate and delicate, but the wrist takes constant friction. For this stencil keep the snakes minimal and the crescent slightly oversized so the tiny lines do not merge. Expect a short session under an hour and touch-ups sooner than larger pieces. The biggest mistake is packing micro-detail into a one-inch circle. During your appointment wear a loose button-down shirt you can pull aside for clear access. Healed at six months the crescent keeps shape, by year three the thinnest snakes may need a soft touch-up.

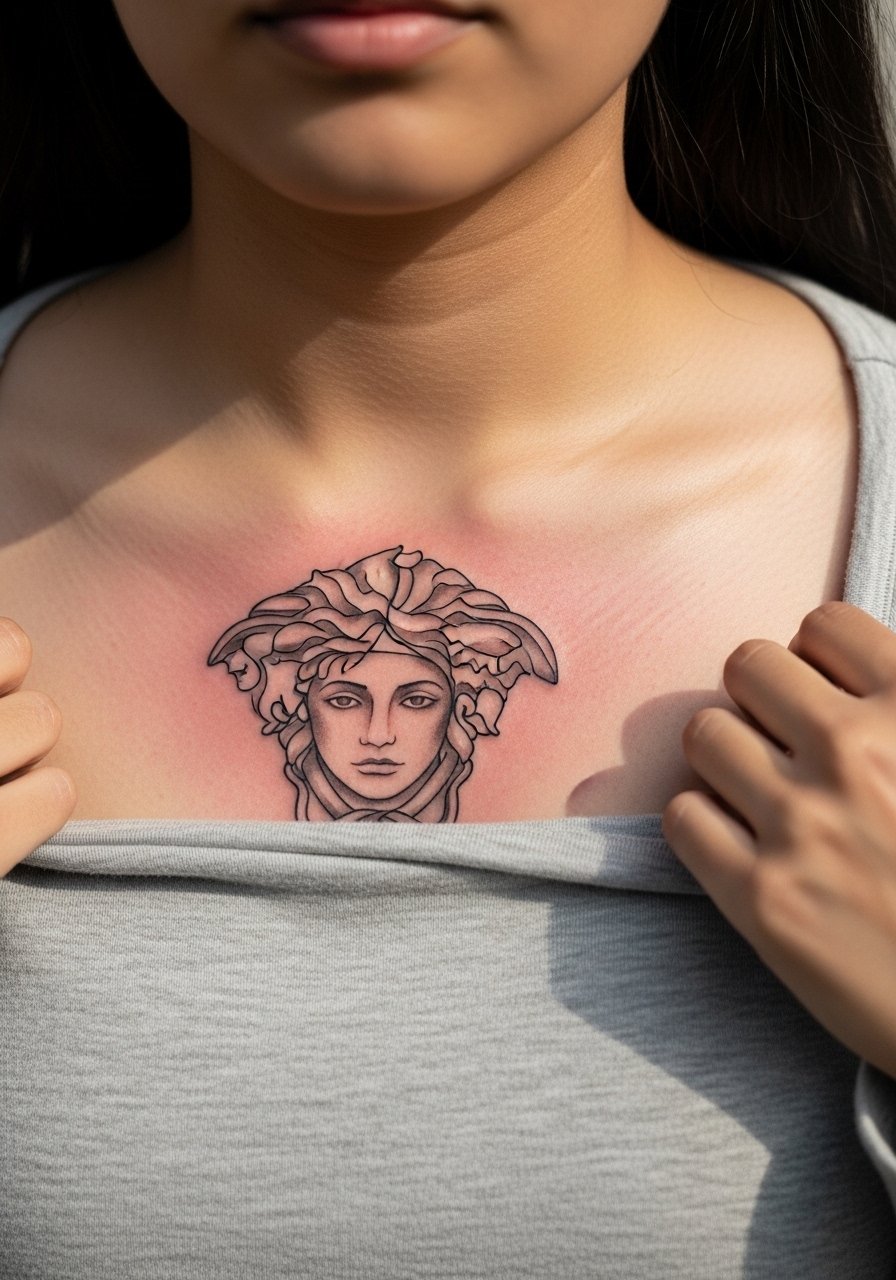
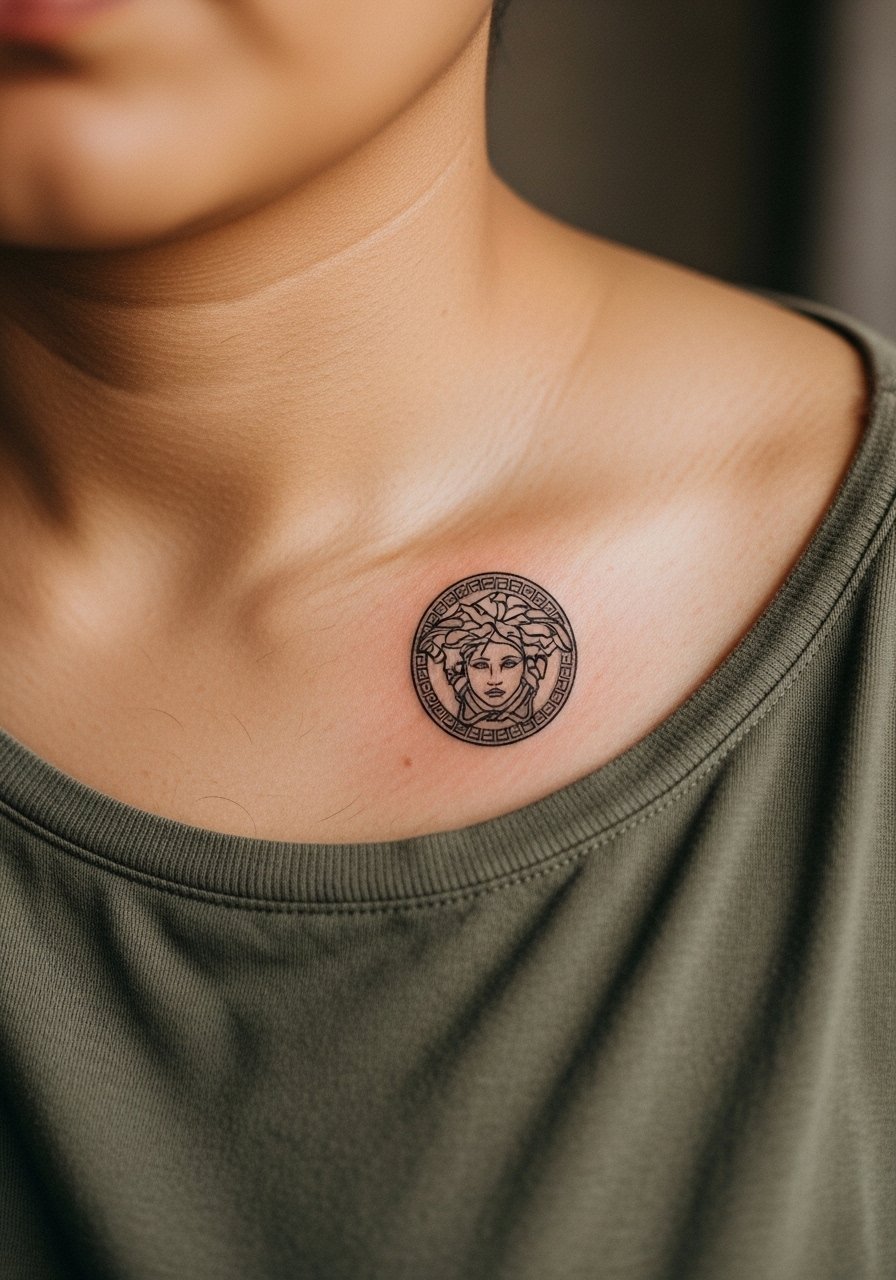
3. Collarbone Medusa with Soft Shading
Consultation lead: tell your artist you want a stenciled Medusa that breathes into the collarbone. Use low saturation gray wash and avoid solid black fills in the hair. Pain is moderate for the collarbone but the session stays under two hours for a stencil this size. Some artists split on how bold a collarbone piece should be. One camp favors denser saturation for longevity. The other camp argues lighter shading preserves contour against collar movement. If the area shows, pair the piece with an open-back midi dress or a thin chain pendant necklace to frame the work.
4. Micro Medusa Finger Accent
Mistake lead: the worst requests I see are tiny Medusa faces with full hair on a finger. The skin there is thin and detail disappears fast. Instead choose a single snake curl or an abstracted eye as the stencil. Pain is high on finger tips and the session is brief. Plan for touch-ups at year two. For the appointment wear a thin knit glove you can slip off after the session and for showing it off try stacked dainty rings that do not sit over the tattoo. Image prompts for fingers must remain tightly cropped to avoid showing other body parts.

5. Side Rib Medusa with Stipple Shading
Pain warning lead: the ribcage is a notable pain zone and healing depends on movement and clothing. For a soft Medusa stencil use stipple shading rather than dense black so the design ages softer as skin changes. Tell your artist you want spacing between snakes and facial lines to reduce blowout risk. Session time can be two to three hours with breaks. For the appointment choose a cropped top you can lift slightly to expose only the rib area. Handing discovery tips, look for portfolios that show healed rib work rather than only fresh photos.

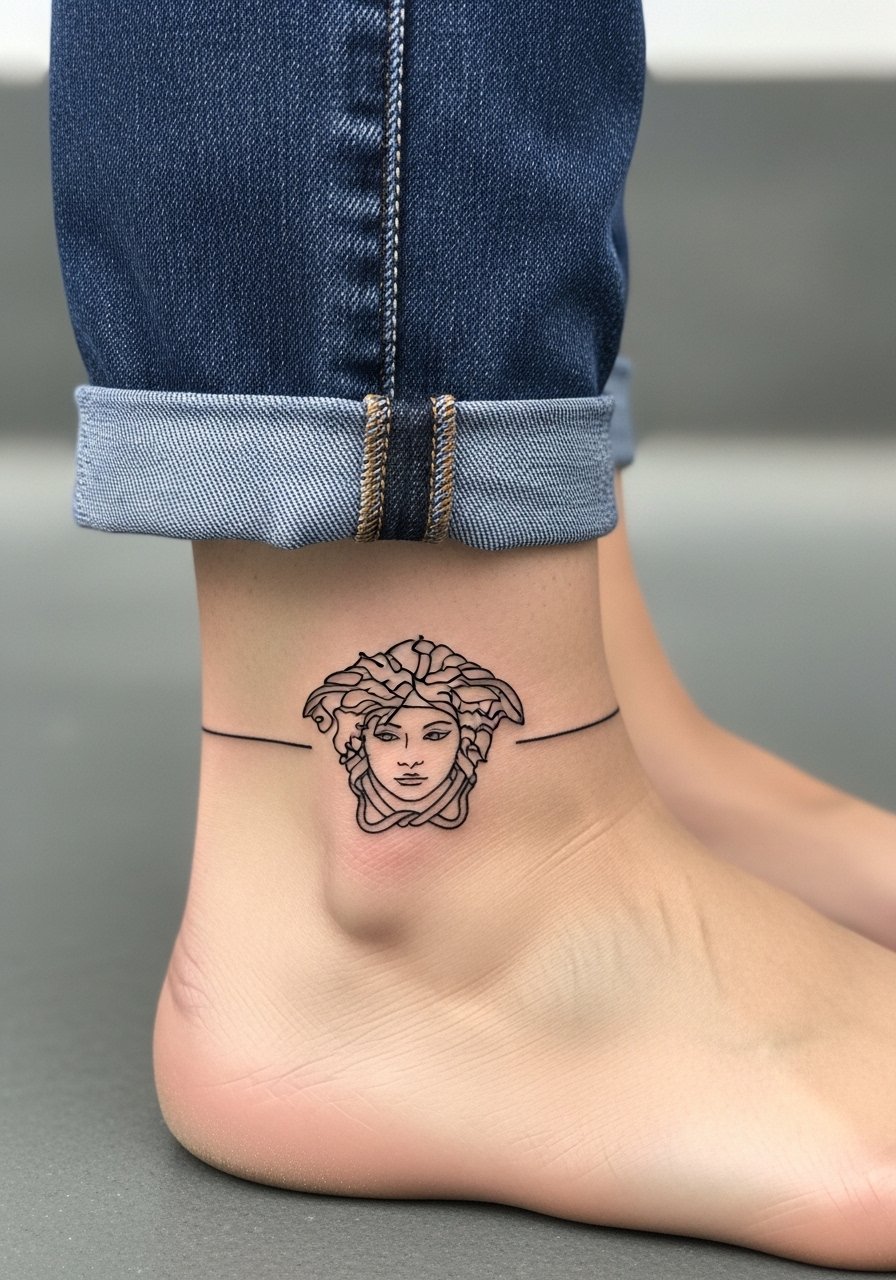
6. Ankle-Wrap Medusa in Minimal Lines
Visual impact lead: a thin-wrap Medusa around the ankle reads subtle in sneakers and dramatic in sandals. The ankle often fades from shoe friction so keep the bottom of the design higher on the lateral malleolus and avoid dense dot work low on the foot. Session is under an hour and pain is moderate. For the appointment wear jeans you can roll up or sandals so the artist has clear access. For evenings a cropped pant and open shoe will show the wrap without rubbing.
Studio Day Picks
The wrist, finger, ribcage, collarbone, and ankle pieces above all present different prep needs, so a few targeted items smooth the session and the first week.
-
Stencil transfer paper kit. Lets you preview how the face and snake placement sits on curved skin before the needle starts.
-
Thin protective film roll. Useful on ankle and wrist placements that face friction from shoes or watches in the first few days.
-
Topical numbing cream. Helpful for people booking ribcage or sternum sessions who need manageable pain relief during longer appointments.
-
Fragrance-free gentle body wash. Cleanses sensitive sites like fingers and inner forearms without stripping delicate linework.
-
Aquaphor healing ointment. Thin application over fresh stencil areas keeps moisture controlled for tight linework without clogging pores.
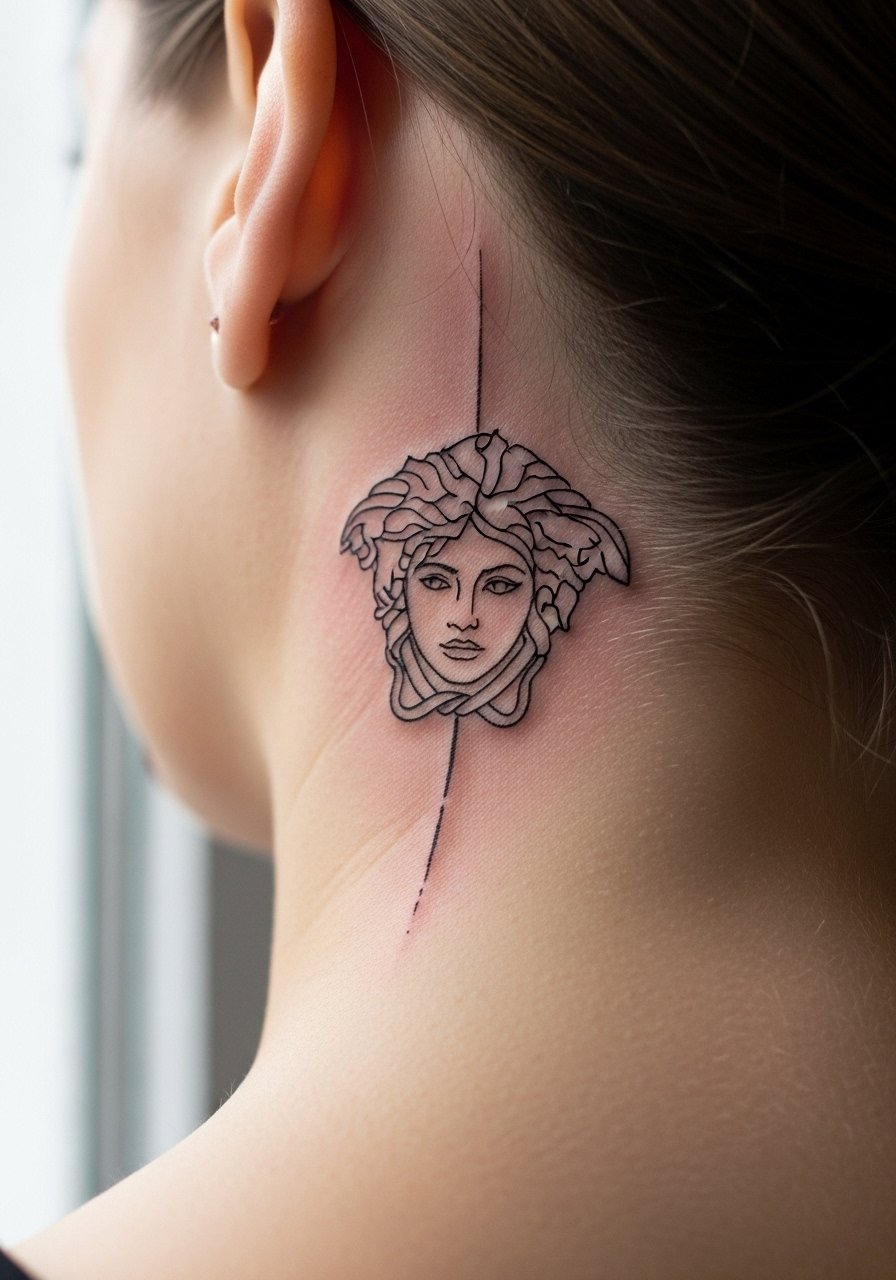
7. Micro-Realism Medusa Behind the Ear
Consultation lead: when placed behind the ear ask for a stencil that stays small and reads as an emblem rather than a full portrait. The image area is tiny and hairline coverage helps the piece age with privacy options. Session time is short and pain is low. For sensitive placement note that the prompt must describe the skin behind the ear below the hairline on the neck. If you want this hidden for work, hair styles or small studs work well. Healed, the micro-realism keeps its shape if the lines are spaced and shading is sparse.
8. Sternum Medusa with Soft Negative Space
Aging lead: sternum work can look great at year one and soft by year five if saturated. For a soft Medusa stencil use negative space to form snake curls and avoid solid black fills that create hard edges. Sessions can be painful and require a sports-bra or bandeau for modesty during the appointment. For showing off pick tops with a subtle plunge or a bandeau top so the artwork sits against fabric lines. Ask your artist about how the piece moves with breathing and body contour.

9. Minimal Medusa Nape with Soft Dot Work
Personal observation: nape tattoos read best when they are compact and layered with dot work that avoids dense black bands. The neck moves a lot so tell your artist to favor stippling and soft linework. Session time is under ninety minutes and pain is moderate. If you work in conservative environments bear in mind visible neck ink can affect impressions. For the appointment choose a wide-neck shirt you can pull slightly askew for access and a hairstyle that keeps hair off the nape while the artist works.
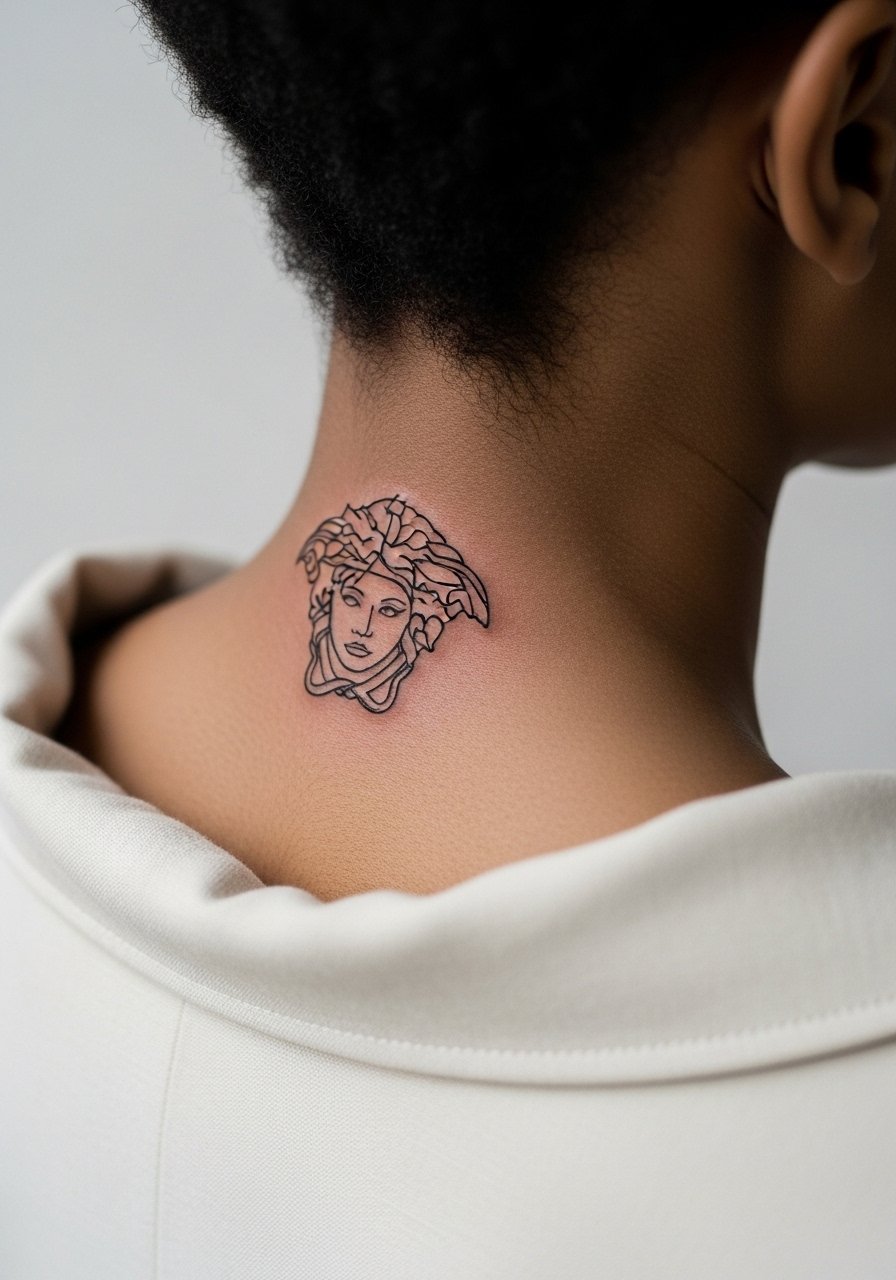
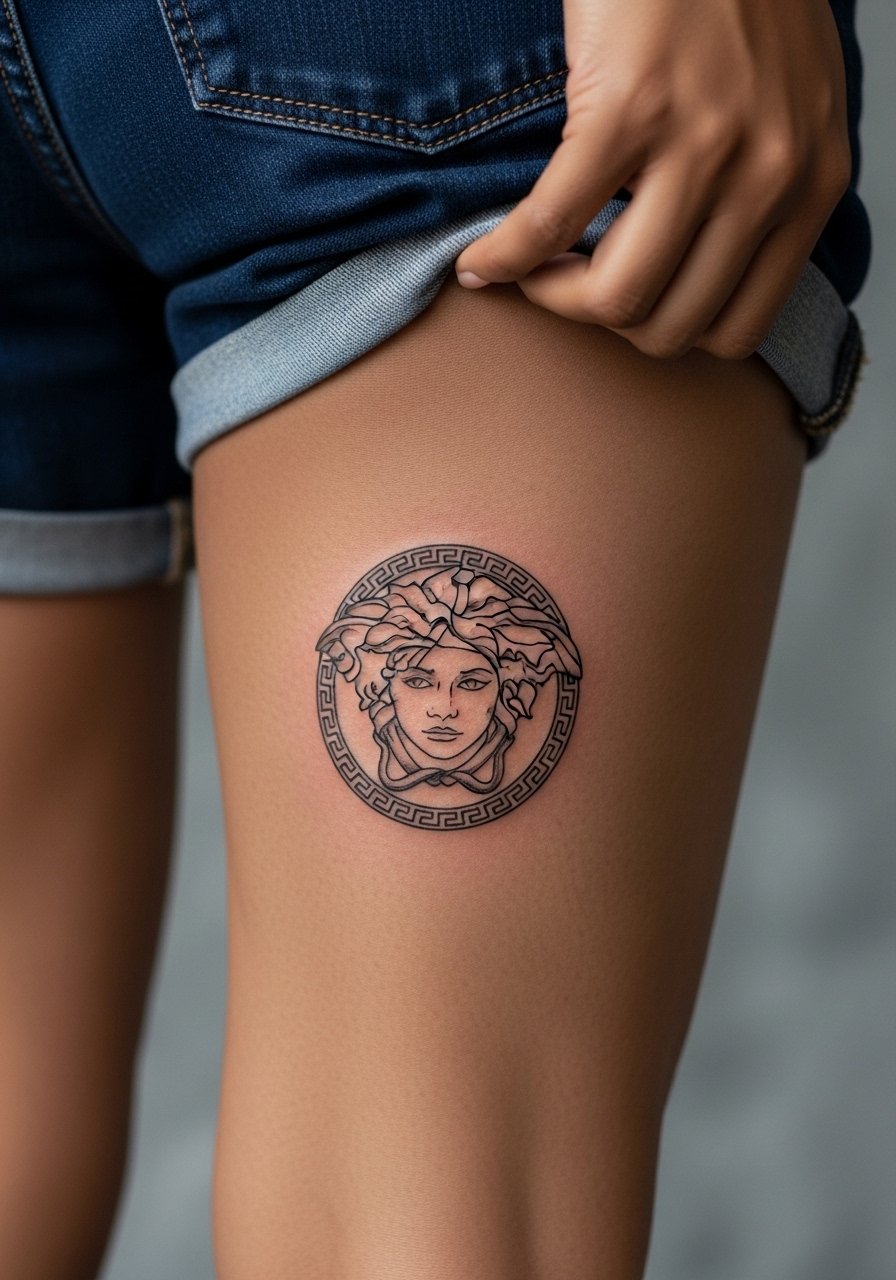
10. Thigh Panel Medusa with Flowing Snakes
Visual impact lead: the thigh gives space for snakes to flow and the stencil can be staged as a vertical panel. Expect a two to three hour session and manageable pain. The common mistake is compressing too many snake heads into one strip. Leave air between elements and use soft whip shading to age gracefully. For the session wear loose shorts or a wrap skirt so the artist can access the upper thigh comfortably. Healed, this placement tends to hold detail well if saturation is moderate.
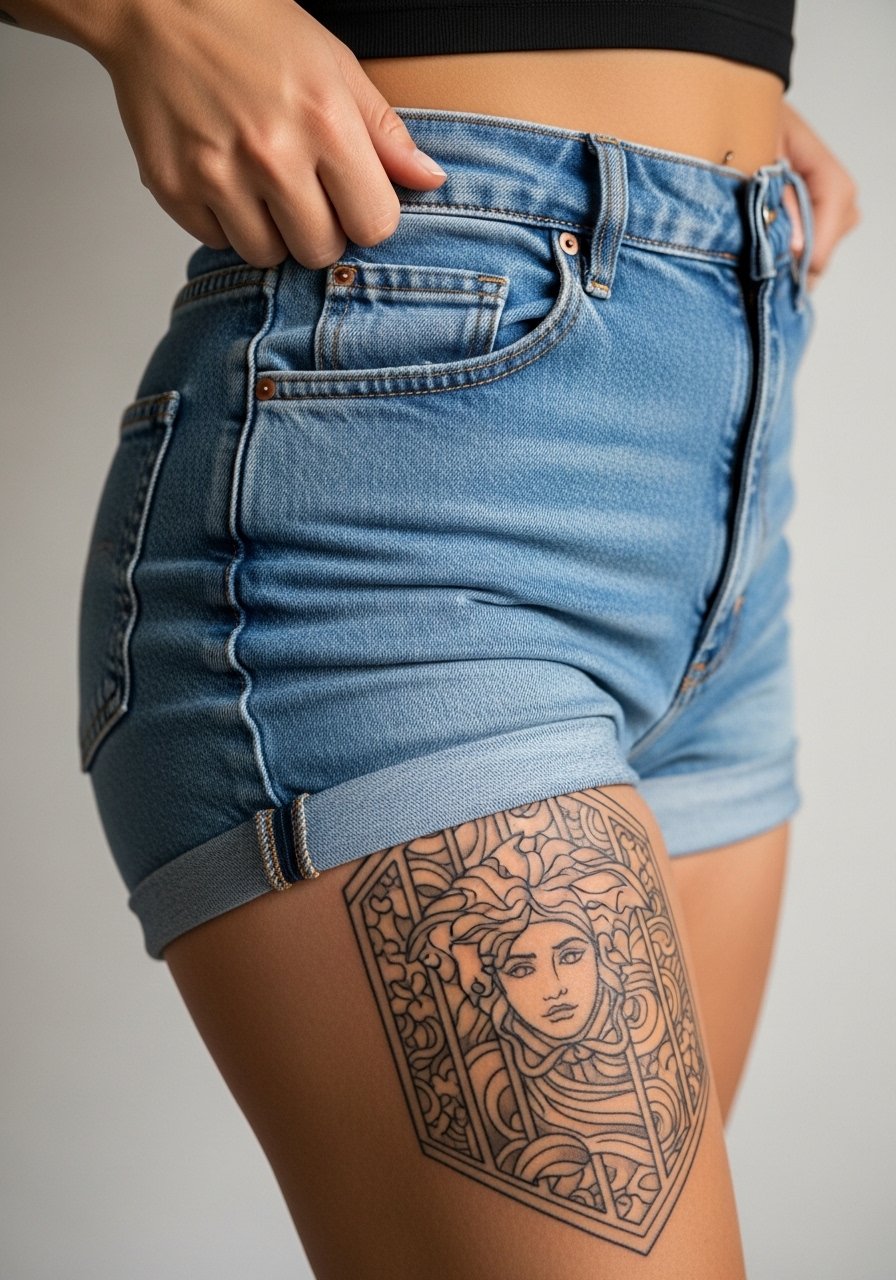
11. Inner Bicep Medusa in Micro Linework
Mistake lead: the inner bicep is tempting for small portraits but dense faces blur from flexing. Keep the stencil simple and place the main facial lines slightly thicker than the hair curls so the face reads after healed. Arm-raising during the session helps access. Pair the finished piece with sleeveless tops or a loose tank top to frame the inner arm. Touch-ups may be needed at year three depending on your activity level.
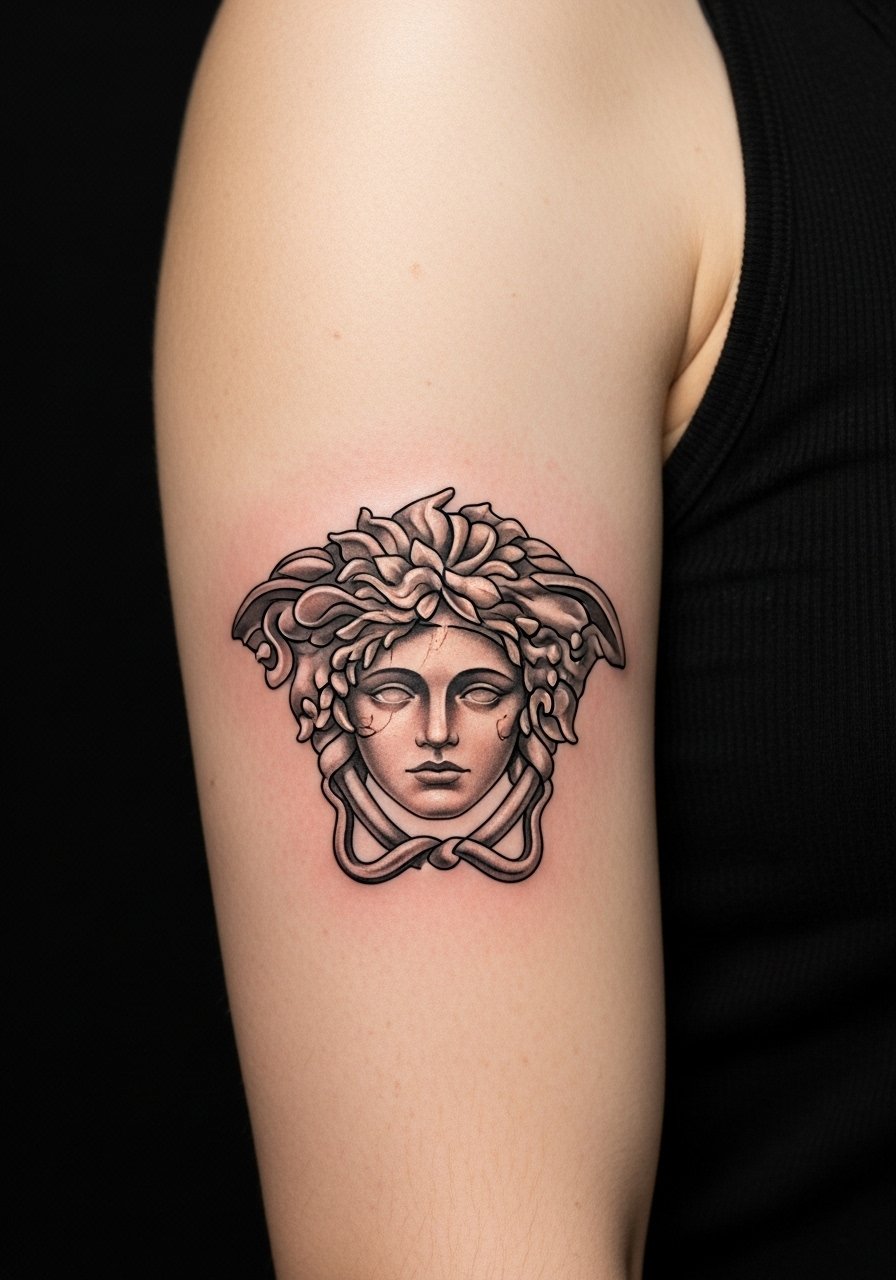
12. Small Medusa Behind the Knee
Visual impact lead: behind-the-knee work is a niche placement that moves constantly. For a soft stencil make the snakes simple and avoid thin lines directly over joint creases. Session time is short but healing needs attention because the area flexes when walking. For the appointment wear shorts or a skirt you can shift easily. Healed designs here can maintain shape if the stencil respects creases and keeps heavier lines away from the fold.
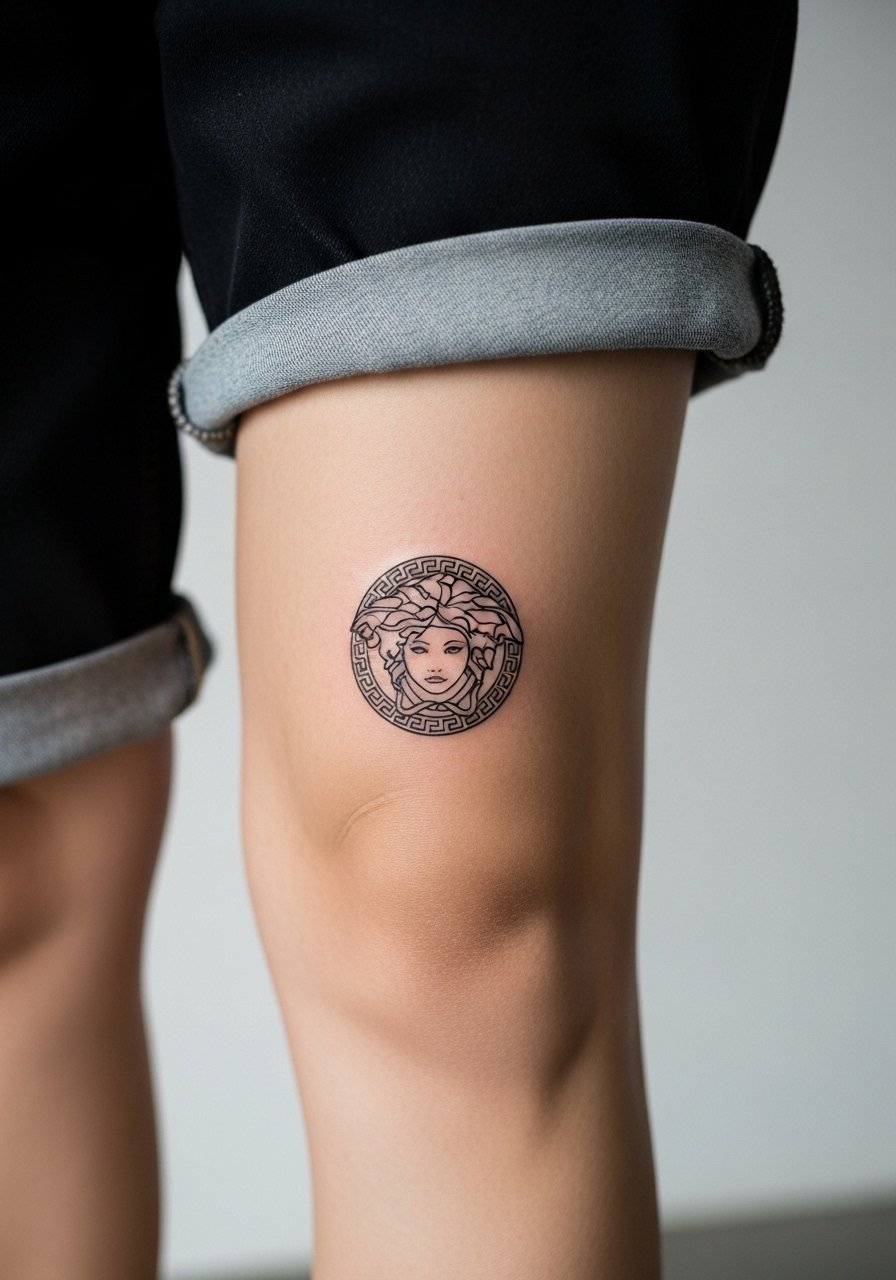
13. Upper Arm Sleeve Accent Medusa
Consultation lead: when adding a Medusa to an upper arm sleeve think in layers. Use the stencil as a focal emblem and surround it with lighter botanical or geometric elements to avoid crowding. The arm holds detail well and sessions are modular across multiple visits. A common mistake is placing too many focal points that compete. For showing off roll sleeves or wear a short-sleeve linen shirt with the cuff pushed up so the tattoo sits naturally in the frame.
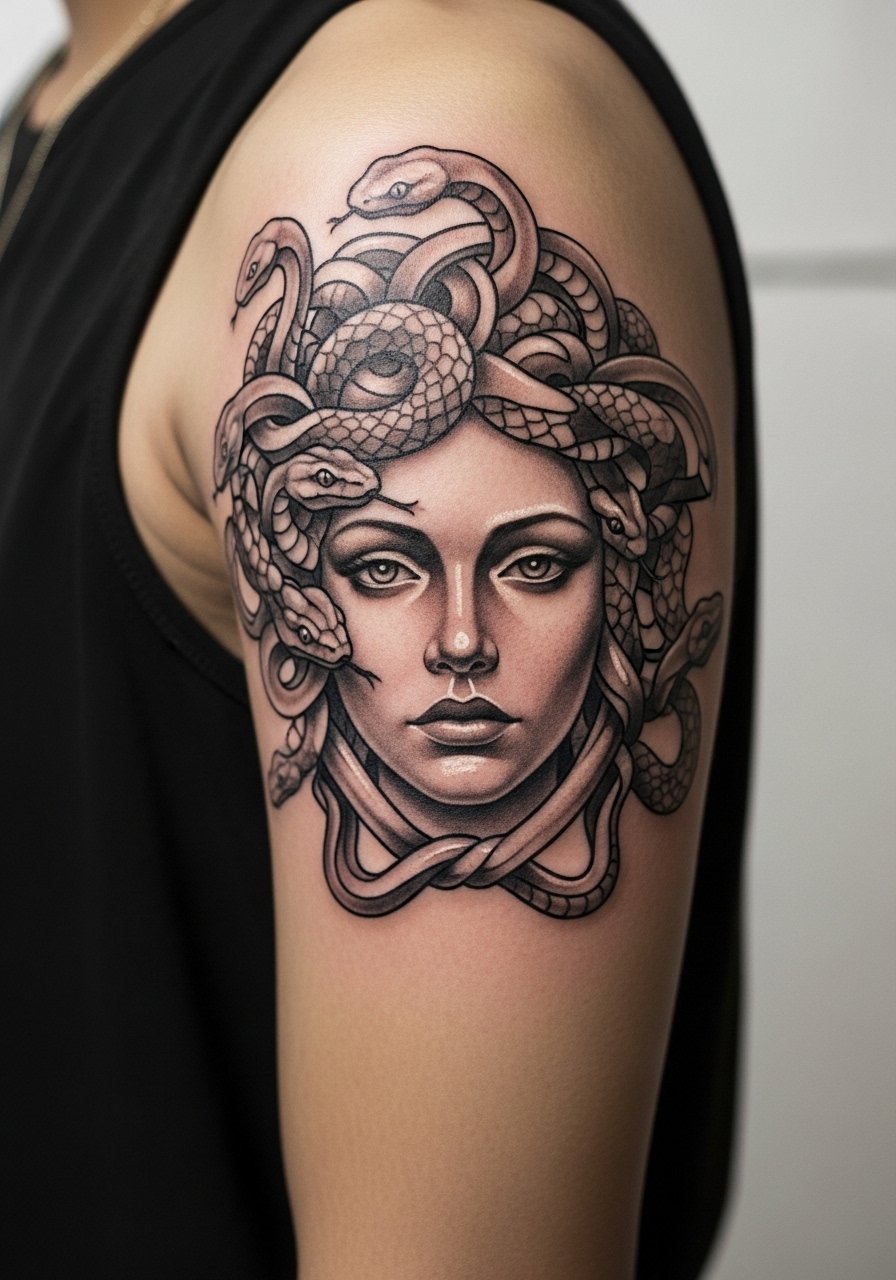
14. Back-of-Shoulder Medusa with Light Shading
Personal observation: the back of the shoulder ages well because it avoids constant friction. Choose a stencil that leans into soft gray wash and keep snakes flowing toward the scapula rather than the spine. Session time is under two hours and pain is moderate. For the appointment wear a loose button-down shirt you can pull aside or a tank top. If you plan to show it off, halter dresses or racerback tops highlight the curve without covering the piece.
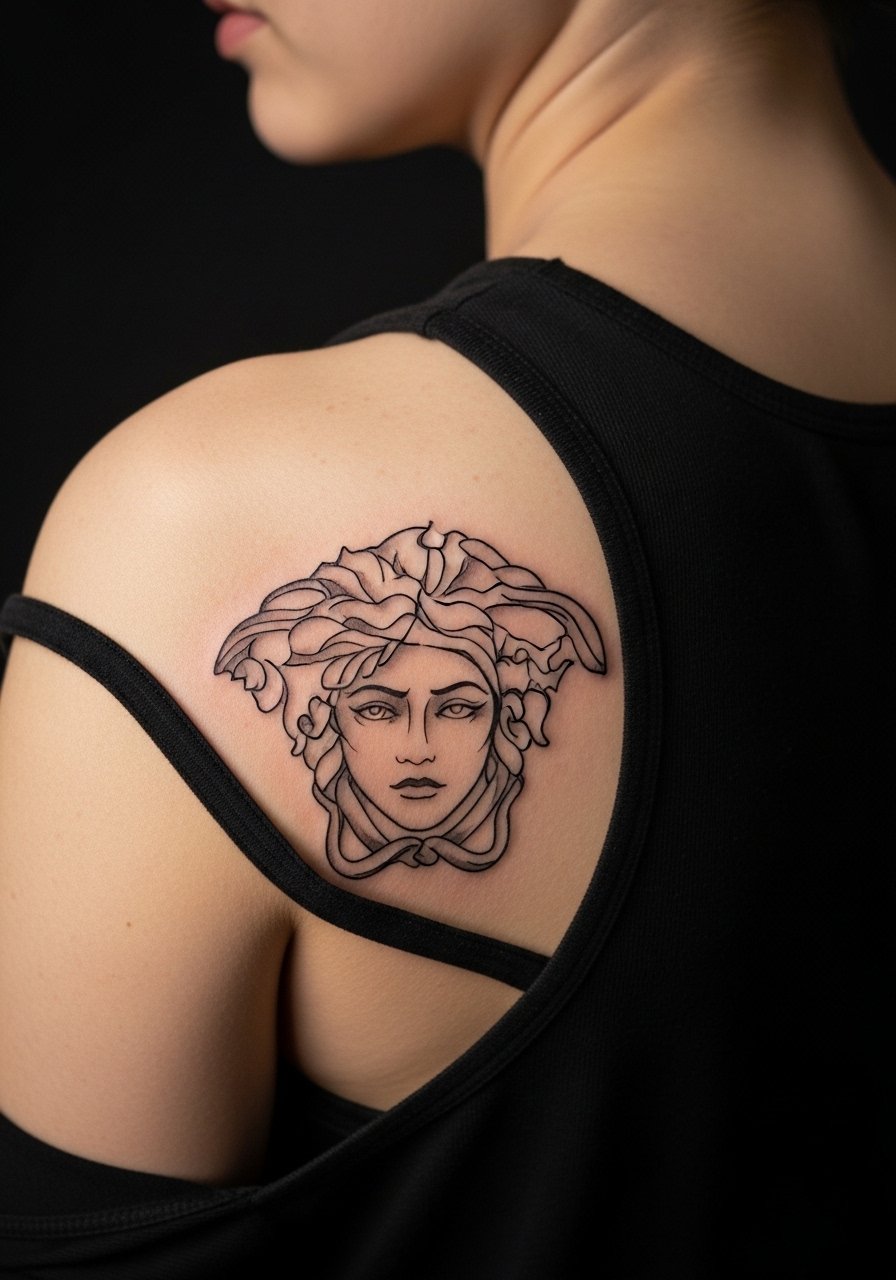
15. Micro Medusa on the Ear Lobe Area
Mistake lead: placing small faces on the ear itself rarely works. Opt for the skin just behind the ear and keep the stencil emblematic, like a single eye or a snake curl. The session is quick and pain is low. Healed, the piece stays private unless hair is tucked behind the ear. For showing it off, try a hairstyle that tucks hair behind one ear or use small studs that sit above the tattoo area. The image prompt must include the behind-the-ear framing to avoid misplacement.

16. Sternum-to-Rib Lace Medusa Panel
Controversy lead: chest pieces spark debate. One camp says intricate fine line over the sternum and ribs blurs quickly. The other camp argues that with measured depth and spacing, fine lines can last. My suggestion is a mixed-technique stencil that uses slightly stronger linework across the sternum and stippling along the ribs. Expect a longer session and plan clothing accordingly, a fitted sports bra is best for access. For healing wear soft, breathable fabrics that do not rub the area.

17. Calf Medusa in Low Saturation Blackwork
Visual impact lead: the calf is forgiving and holds saturated blackwork well, but for a soft Medusa stencil dial saturation down. Use softer fills and more open negative space so the portrait keeps shape without becoming a heavy block. Session time is under two hours and pain is low to moderate. For the session wear loose drawstring shorts so the artist can roll the leg easily. For evenings a skirt or cropped pant shows the work without friction.
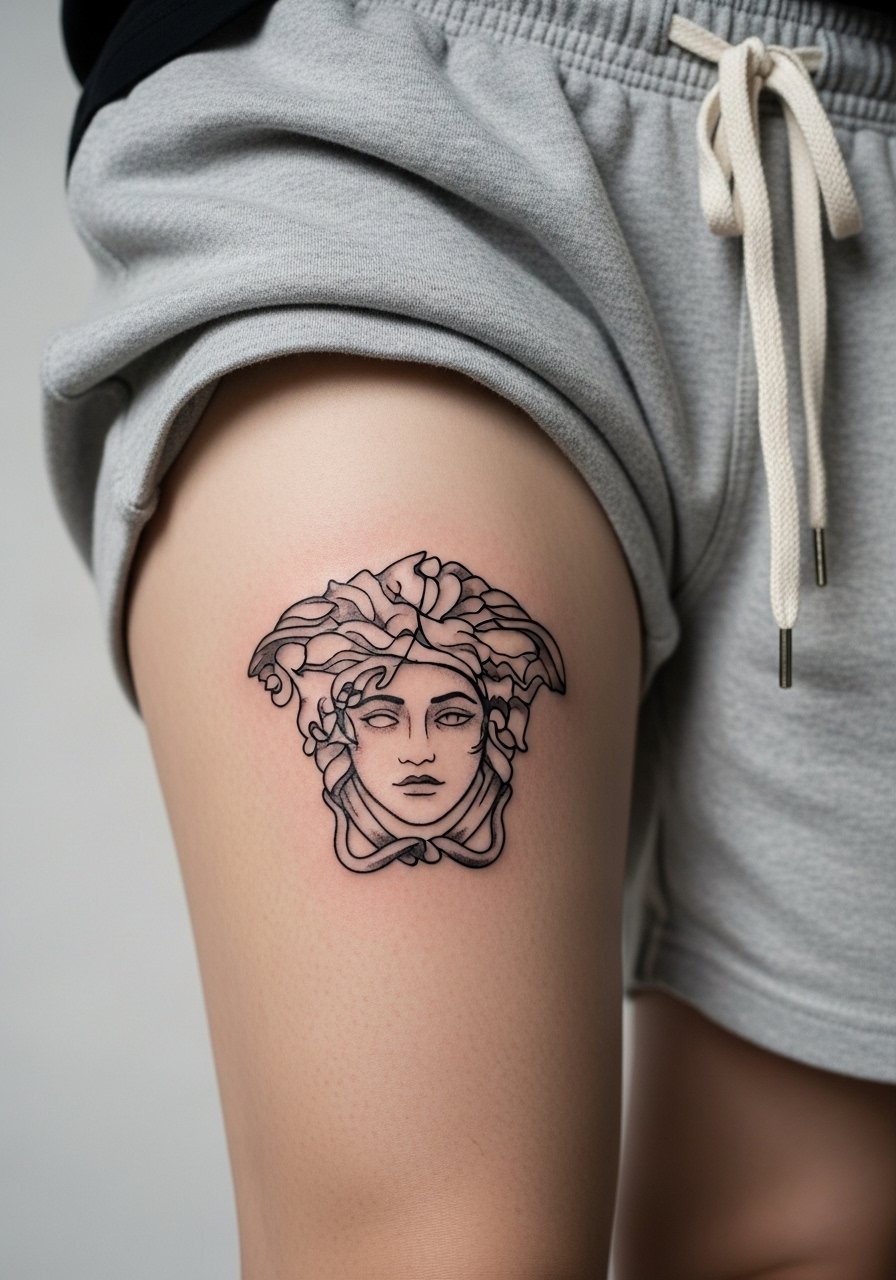
18. Micro Geometric Medusa at the Wrist Crease
Mistake lead: tight geometry plus micro-faces at the wrist crease cause early merging. Instead pick one geometric frame and place a simplified Medusa face inside it. The session is brief and pain is moderate. Healed, the frame helps the eye separate the face from background wear. For the appointment wear a loose sleeve shirt you can push up without compressing the wrist during work. Expect touch-ups in two to four years depending on sun exposure.

19. Rib-Side Medusa with Negative Space Hair
Aging lead: side-rib designs must plan for breathing and movement. Use negative space to suggest snake hair rather than detailed curls that sit on a stretch zone. The session runs longer and is painful for many. Two camps disagree on fine detail here. One side says avoid it entirely. The other side says careful spacing and slightly bolder anchor lines work. Ask your artist where they stand. For the appointment wear a cropped top you can lift rather than a full reveal. Healed, negative space keeps the portrait readable.
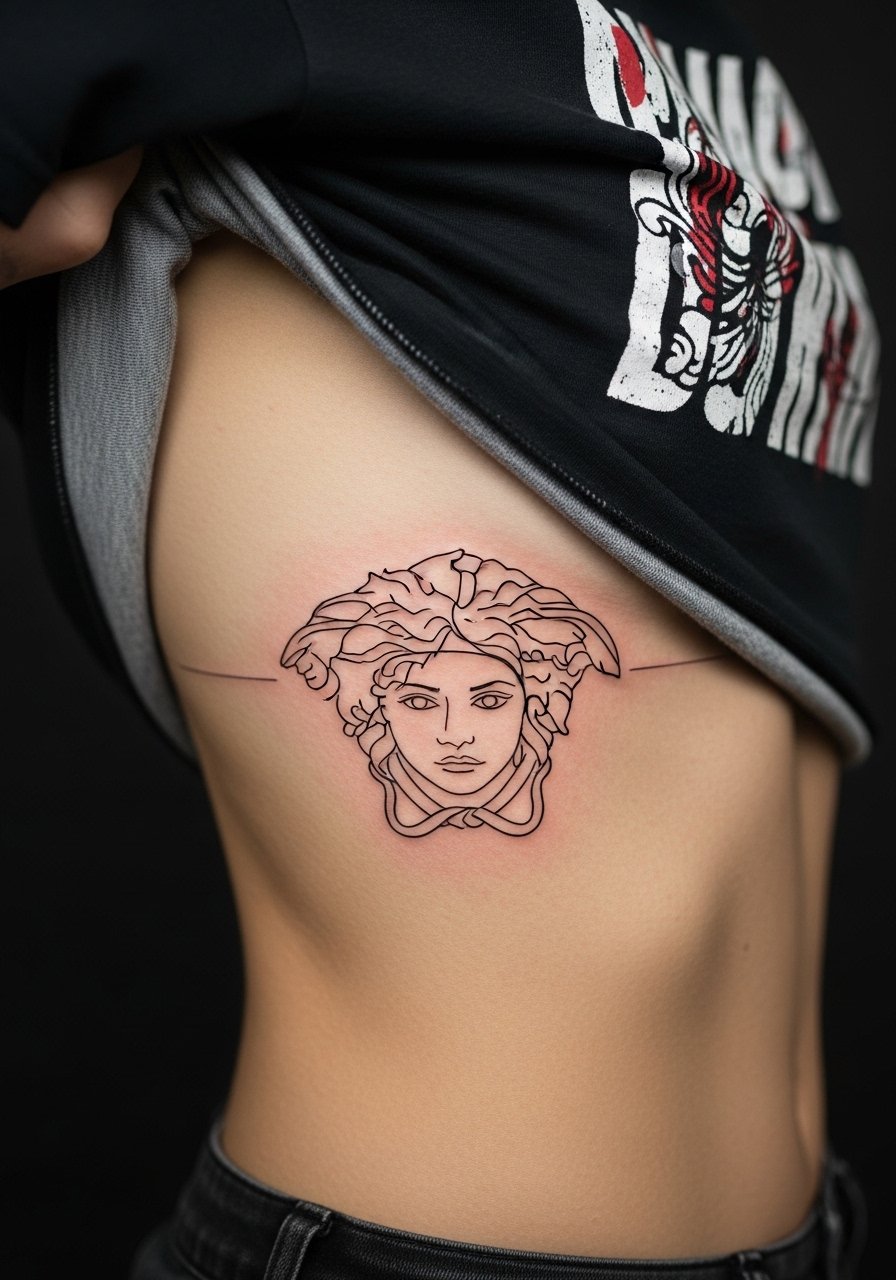
20. Collarbone Chain Medusa Small Emblem
Consultation lead: for a tiny chain-emblem over the collarbone, reduce the number of snakes to one or two and favor a slightly thicker main contour so the eye reads the face at a glance. Session time is short and pain is moderate. For showing it off choose tops with an open collar or a thin chain pendant necklace that sits above the design without competing. Expect minor fading at year three depending on sun exposure.
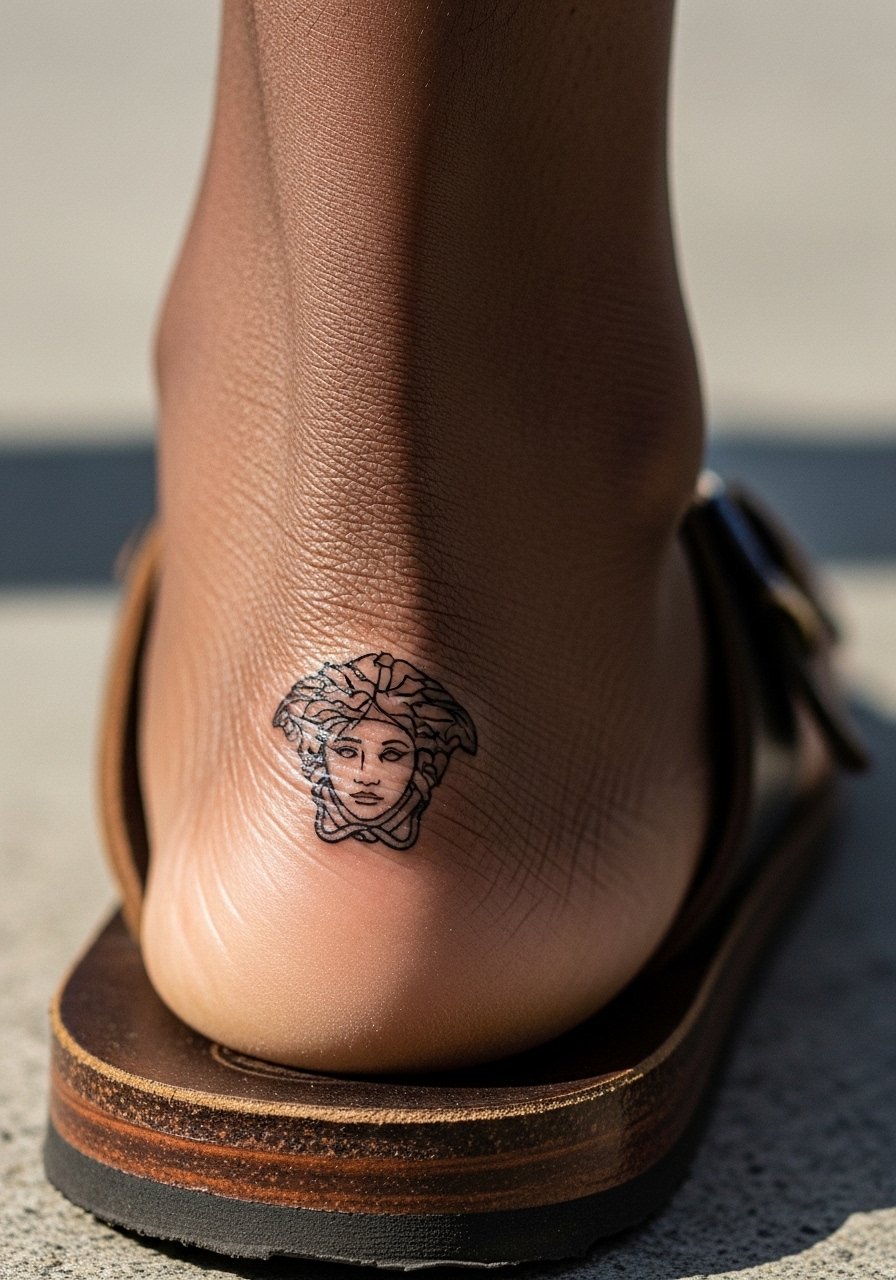
21. Foot Medusa Accent by the Arch
Personal observation: foot tattoos face severe friction so keep the stencil high on the arch and simplify the snakes. Session is short but healing is finicky because of shoes. For the appointment wear sandals and bring one you can slide on gently. For showing it off low-profile sandals or rolled pants work best. Healed, foot tattoos often lighten noticeably and need touch-ups more frequently than arm work.
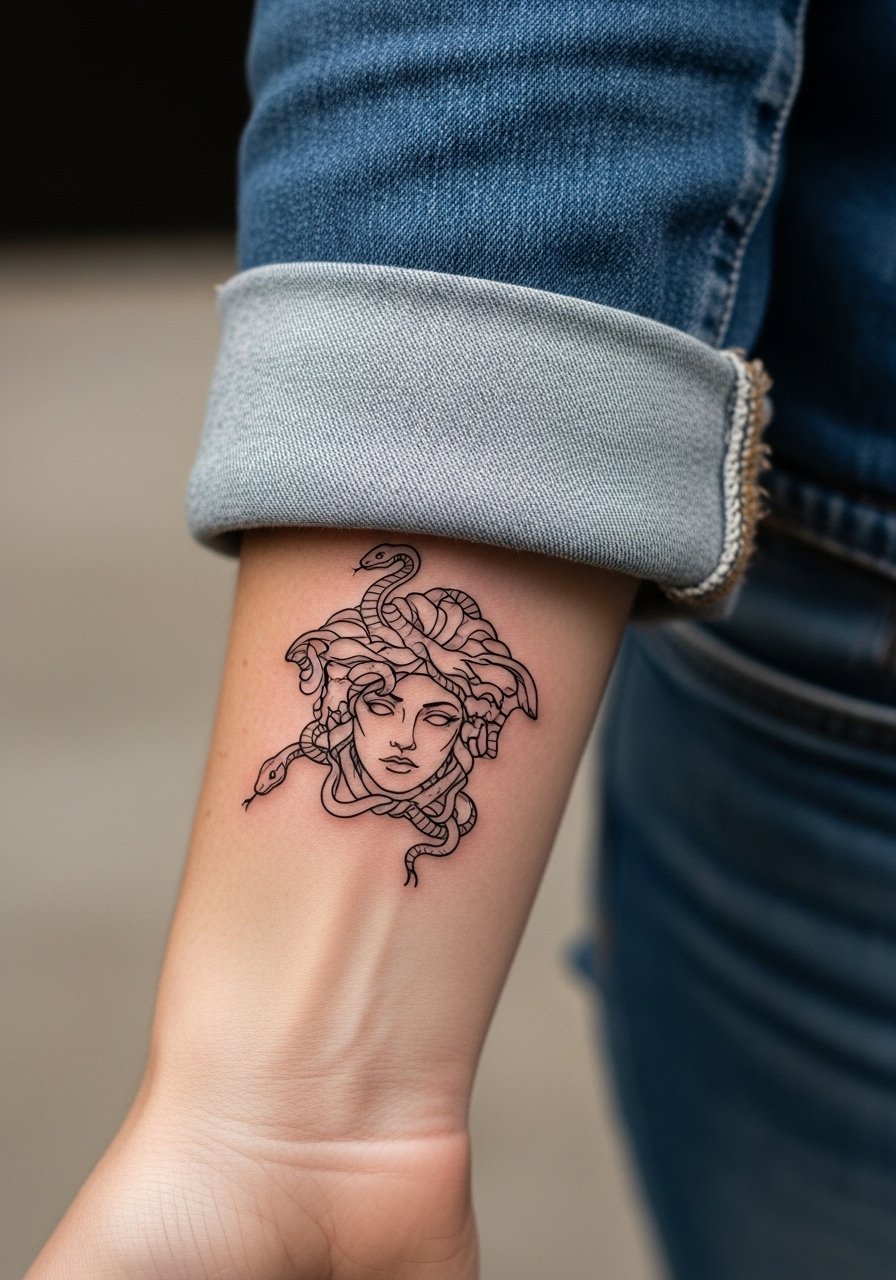
22. Sleeve-End Medusa Peeking from the Wrist
Visual impact lead: place a soft Medusa so it peeks out from under short sleeves. Use moderate lines and avoid heavy fills at the edge so the piece sits comfortably with clothing. Session time varies depending on integration into the sleeve. The common error is forcing a portrait too close to the wrist seam. For showing it off wear short-sleeve linen shirts with the cuff pushed up, or a minimalist watch that does not crowd the artwork.
23. Hand-Edge Medusa Accent
Mistake lead: full-face hand tattoos age fast and face occupational issues. Instead use a small eye or single snake coil on the edge of the hand. The session is brief and pain is high. For healing be mindful of washing and typing. Healed, these accents can remain readable if kept simple and placed on fleshy pads rather than knuckles. For the appointment wear a shirt with sleeves you can roll but avoid shirts that press on the hand while seated.

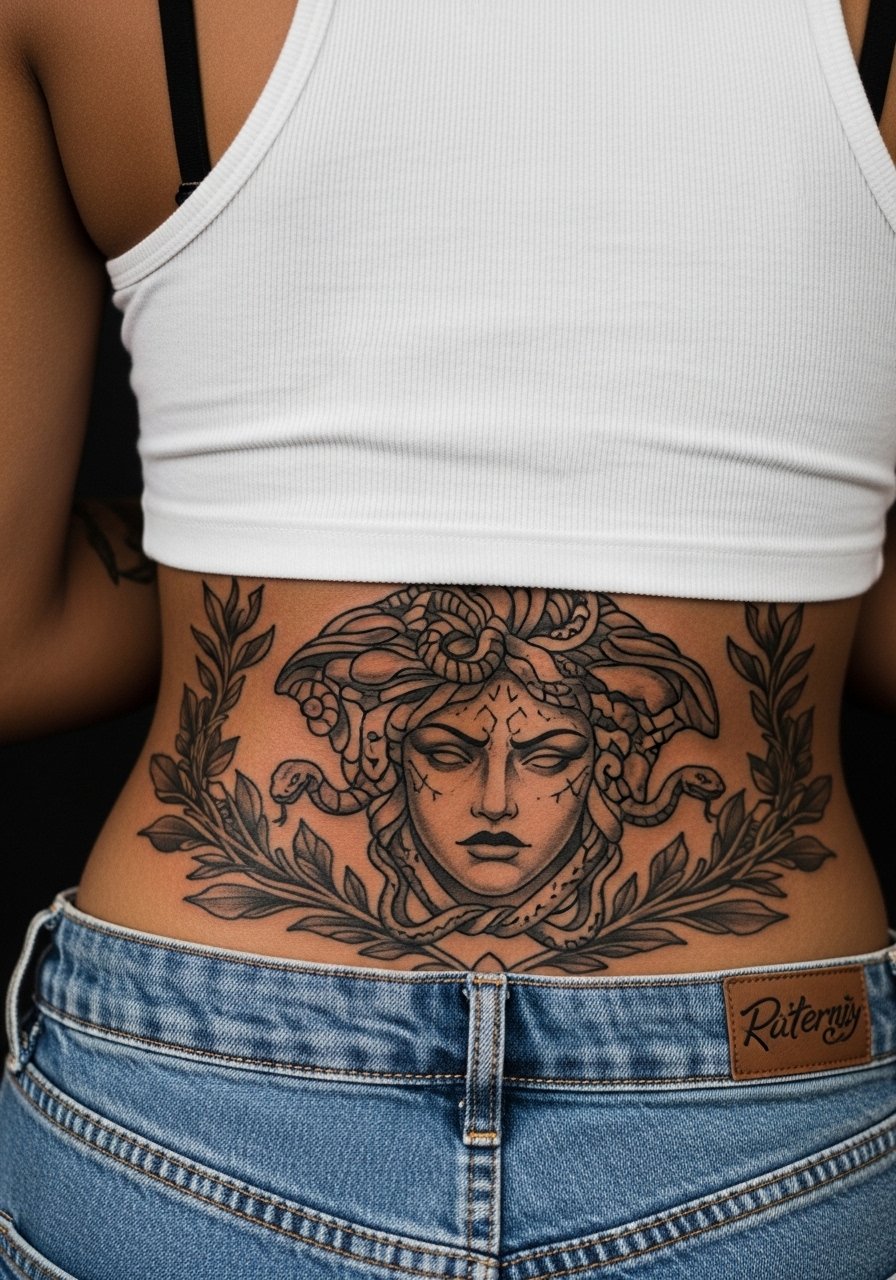
24. Back Panel Medusa with Botanical Frame
Personal observation: large back panels let a soft Medusa sit within negative space and botanical elements. Sessions are multiple and involve long blocks. The benefit is longevity of detail because the back does not get constant friction. The mistake is filling every centimeter. Leave breathing room and use stipple shading for the hair. For showing it off choose open-back dresses or halter tops to reveal portions without a full reveal.
25. Throat-Side Medusa in Minimal Lines
Controversy lead: face and throat placements cause debate. One camp warns about social and professional repercussions. The other sees throat work as personal reclamation. If you consider it, choose a minimalist stencil and plan wardrobe options that can hide or reveal it. Session is intense and requires a calm body. The artist must be experienced with neck anatomy. For showing off pick wide-neck shirts or collared pieces you can open slightly so the stencil sits above the fabric.

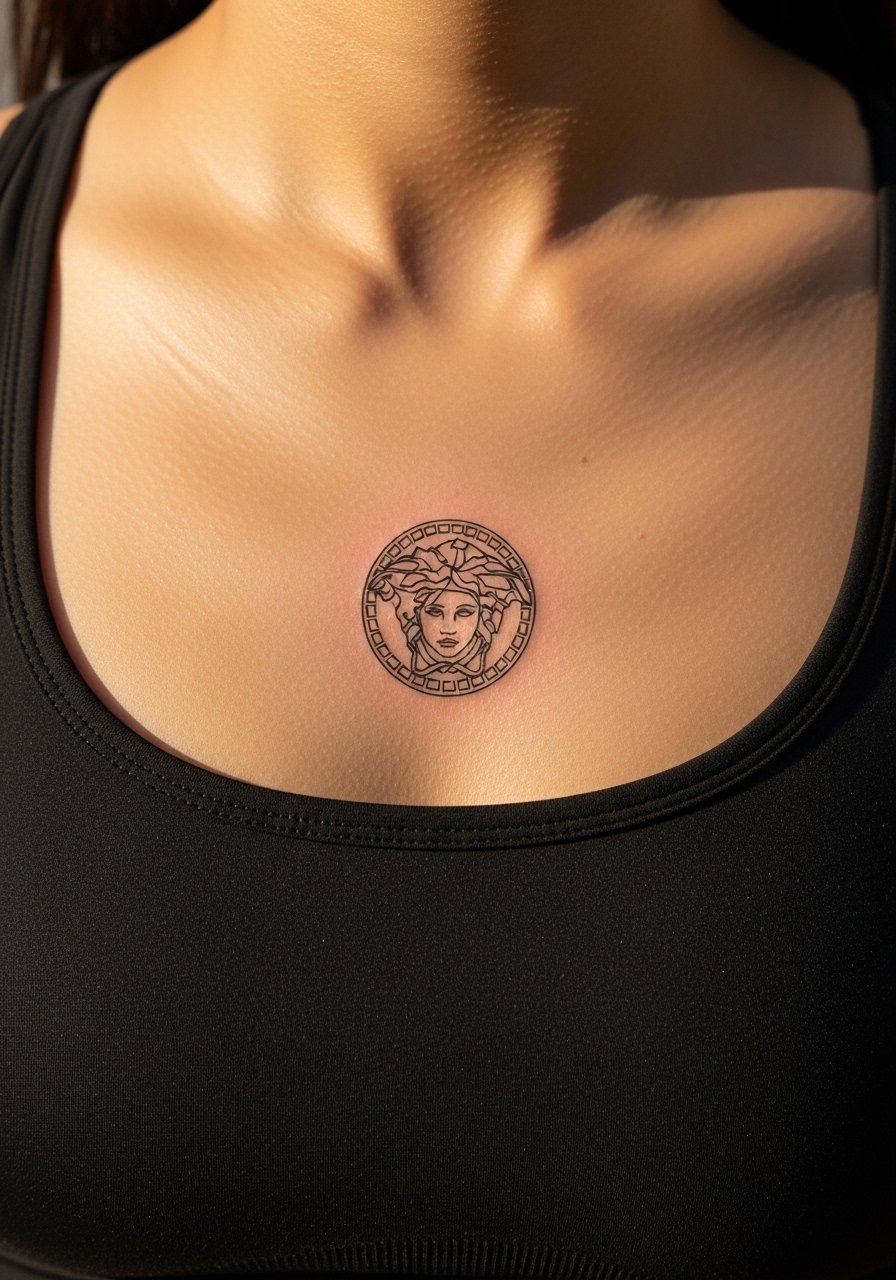
26. Sternum Micro Emblem Near the Center
Aging lead: very small central sternum emblems can be elegant but expect faster softening if the design is all micro-lines. Opt for a slightly bolder center line and soft surrounding dots for definition. The session is short and pain is moderate to high. For the appointment bring a strapless or zip-up top to keep access clean. Healed, a central emblem reads well beneath certain tops and avoids the heavy fading that full chest panels can show.
27. Subtle Medusa Behind the Knee Inner Curve
Visual impact lead: inner-curve placements are private and move less than the fold. For a soft stencil keep the snakes flowing with the curve and favor stipple and light shading. Session time is short and pain is moderate. The common mistake is trying to mirror both legs and expecting symmetry. Healed, the inner curve keeps shape if spacing is maintained and the artist avoids placing tiny hairlines directly on the tight fold.
Frequently Asked Questions
Q: How does a soft Medusa stencil differ from a traditional Medusa tattoo in terms of longevity?
A: A soft stencil uses lighter shading, more negative space, and lower saturation so it ages by softening rather than creating heavy blocks of pigment. From what I have seen, that approach reads more gracefully over time but can require touch-ups around year three depending on placement and sun exposure.
Q: Will fine line Medusa work on the ribcage or is it better to go bolder there?
A: It depends on your priorities. One group of artists avoids ultra-fine detail on the ribs because skin stretch and breathing blur lines. The other group will do it with slightly stronger anchor lines and careful spacing. If you want fine detail, ask your artist how they handle spacing and where they place heavier contour lines.
Q: What should I wear to a session for a collarbone or sternum Medusa piece?
A: For collarbone and sternum sessions bring a wide-neck shirt or a fitted sports bra so the artist can expose only the necessary area. A wide-neck shirt is a simple option that keeps you comfortable and modest while giving clear access.
Q: Are Medusa designs culturally sensitive or appropriative?
A: The Medusa figure comes from Greek myth and some people view modern reinterpretations as cultural use rather than appropriation. Others feel myth figures should be handled with context. A respectful route is to adapt the motif rather than copy historic religious or culturally specific symbols directly, and to discuss intent with your artist.
Q: How often do soft Medusa tattoos need touch-ups compared to bold blackwork?
A: In my experience bold blackwork tends to hold shape longer because of saturation. Soft Medusa work often needs touch-ups earlier, especially on high-friction placements like fingers or ankles. Expect possible touch-ups around year three for delicate placements, and longer intervals for larger, sheltered areas like the back.
