
Fine line pieces and tiny silhouettes are everywhere online, but the designs that actually age well are the ones planned with placement, line weight, and everyday wear in mind. I see people pick ultra-delicate references, then come back asking for touch-ups a year later. Read these 27 tiny Princess Mononoke tattoo ideas with notes on how they heal, what to ask your artist, and the wardrobe moves that make them look intentional from day one.
1. Tiny Fine Line San with Kodama on the Inner Wrist
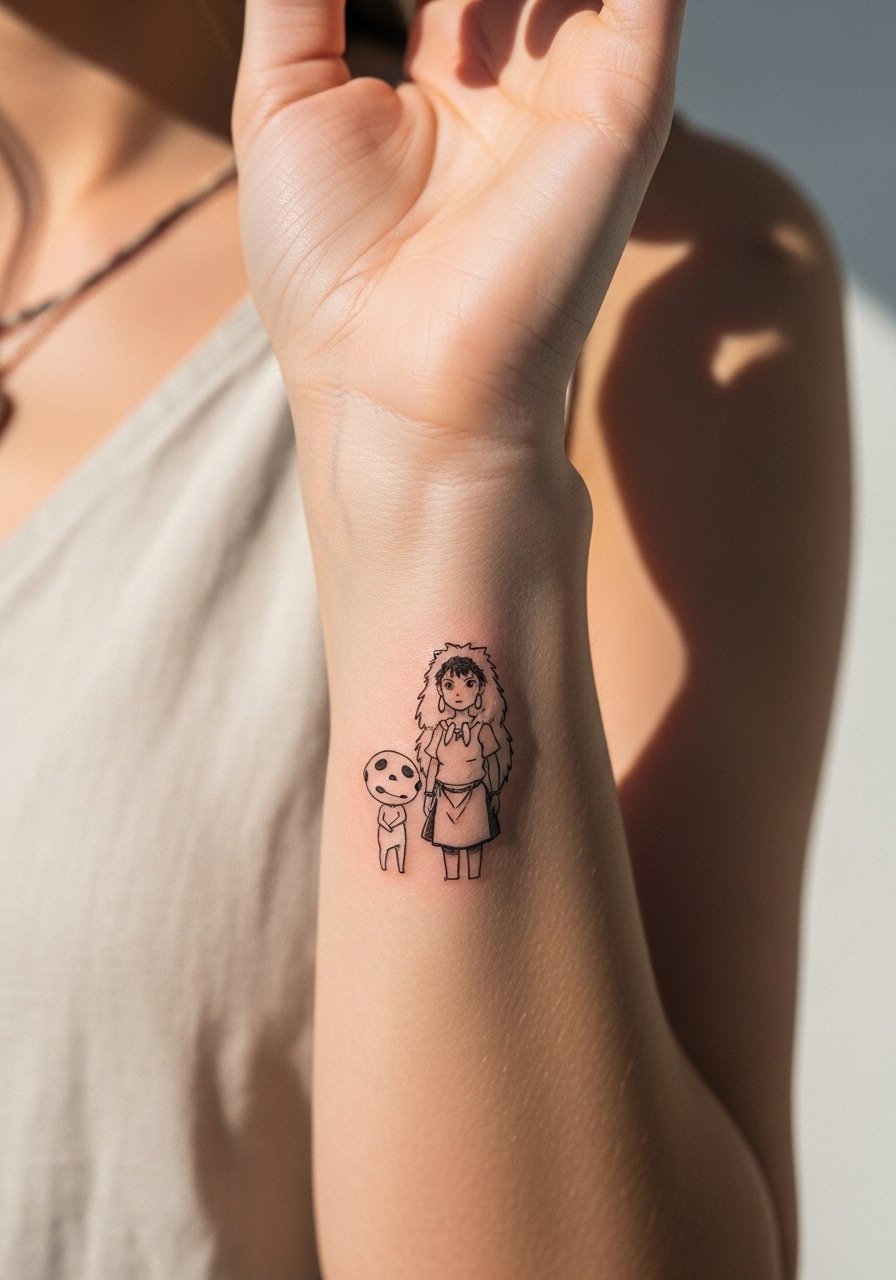
I recommend this for anyone who wants a literal nod to the film without heavy color. Ask for 1.5mm line weight so the lines have room to heal without merging. Fair warning, the wrist gets a lot of washing and friction so expect a touch-up around year one to keep the hair-thin strokes readable. Bring a sleeveless linen tank to the session so the artist has full access and you stay comfortable. The session itself is short, about 30 to 45 minutes, and the pain sits around a four out of ten for most people.
2. Micro-Realism Princess Portrait Behind the Ear
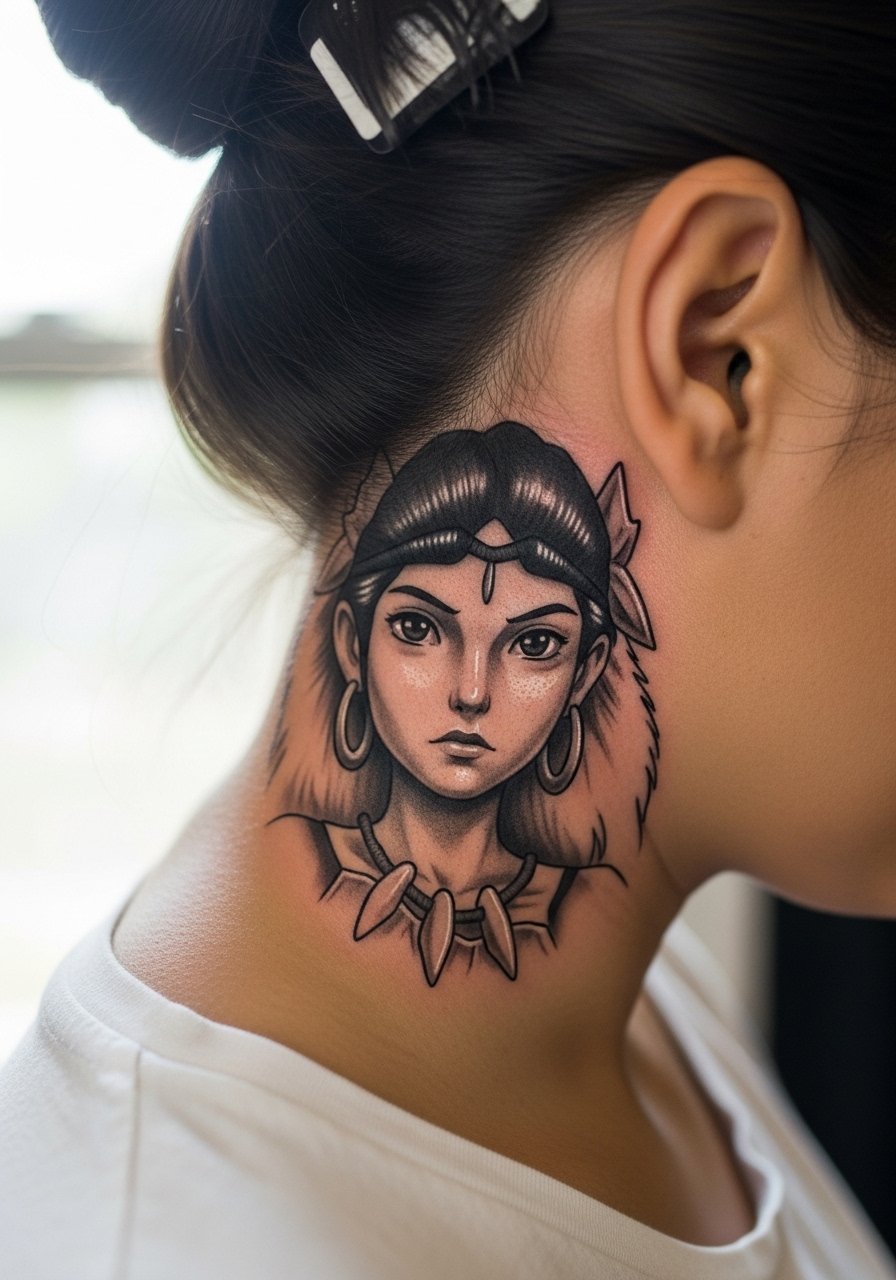
This tiny portrait hides in hair and reads like a private nod to the movie. Tell your artist you want black and gray micro shading rather than color so the tiny facial cues stay readable. The behind-ear skin can itch heavy in week two. That is a normal phase for small shaded pieces. Session time is brief, usually under an hour, and visibility is minimal so this is great for people who want discretion. If you plan to show it off, wear your hair half-up, and bring a hair claw clip for the appointment.
3. Minimalist Wolf Silhouette on the Ankle
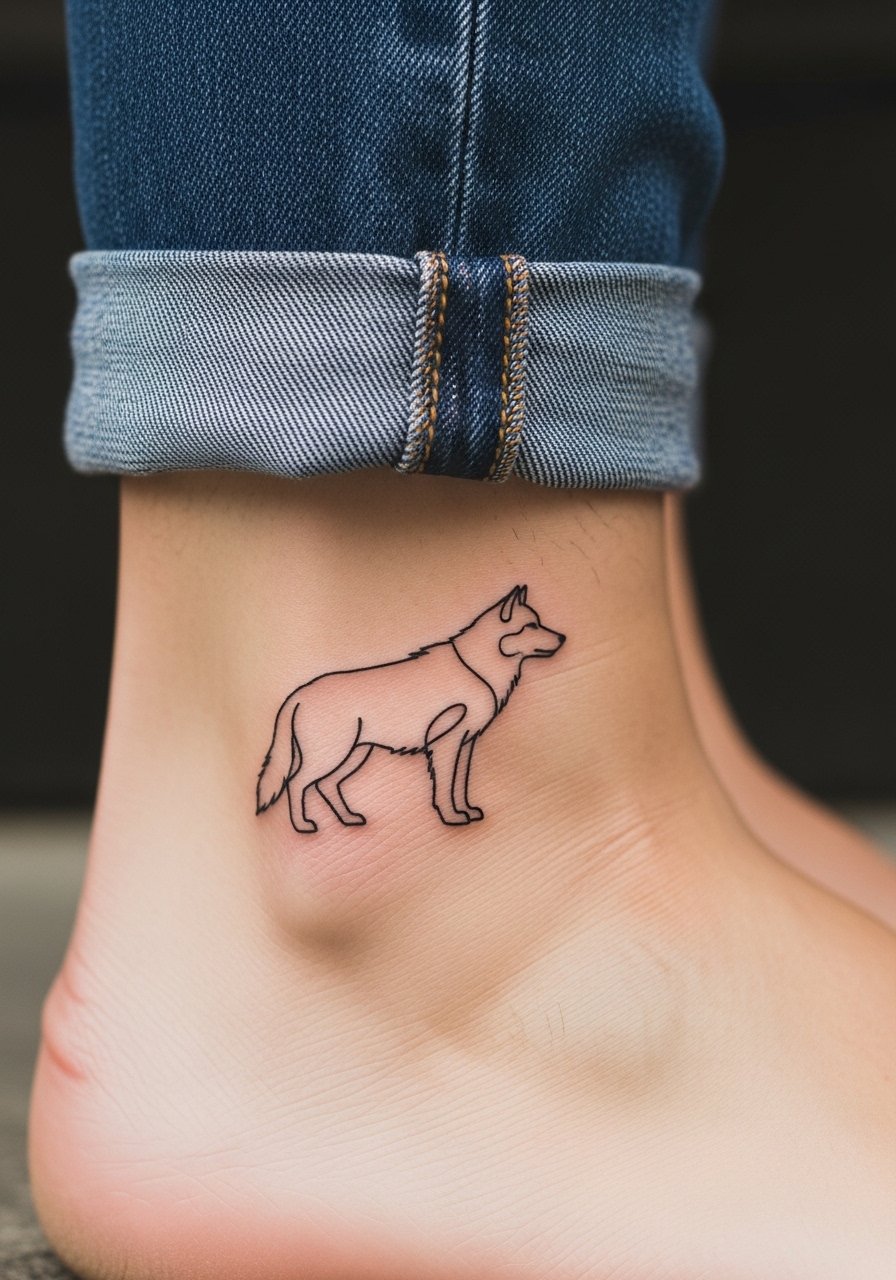
The ankle is a classic spot for a tiny wolf silhouette that reads clean from across the room. Opt for solid 1.5mm lines rather than hair-fine strokes so the silhouette keeps its edge after healing. The main aging issue is summer friction from sandals and socks which can abrade fresh ink, so plan around footwear during the first two weeks. Session time is quick, about 30 minutes, and pain is often a five out of ten near the bone. When you want to show it off, pair the piece with strappy flat sandals and cuffed jeans.
4. Blackwork Kodama Mushroom Cluster on the Shoulder Blade
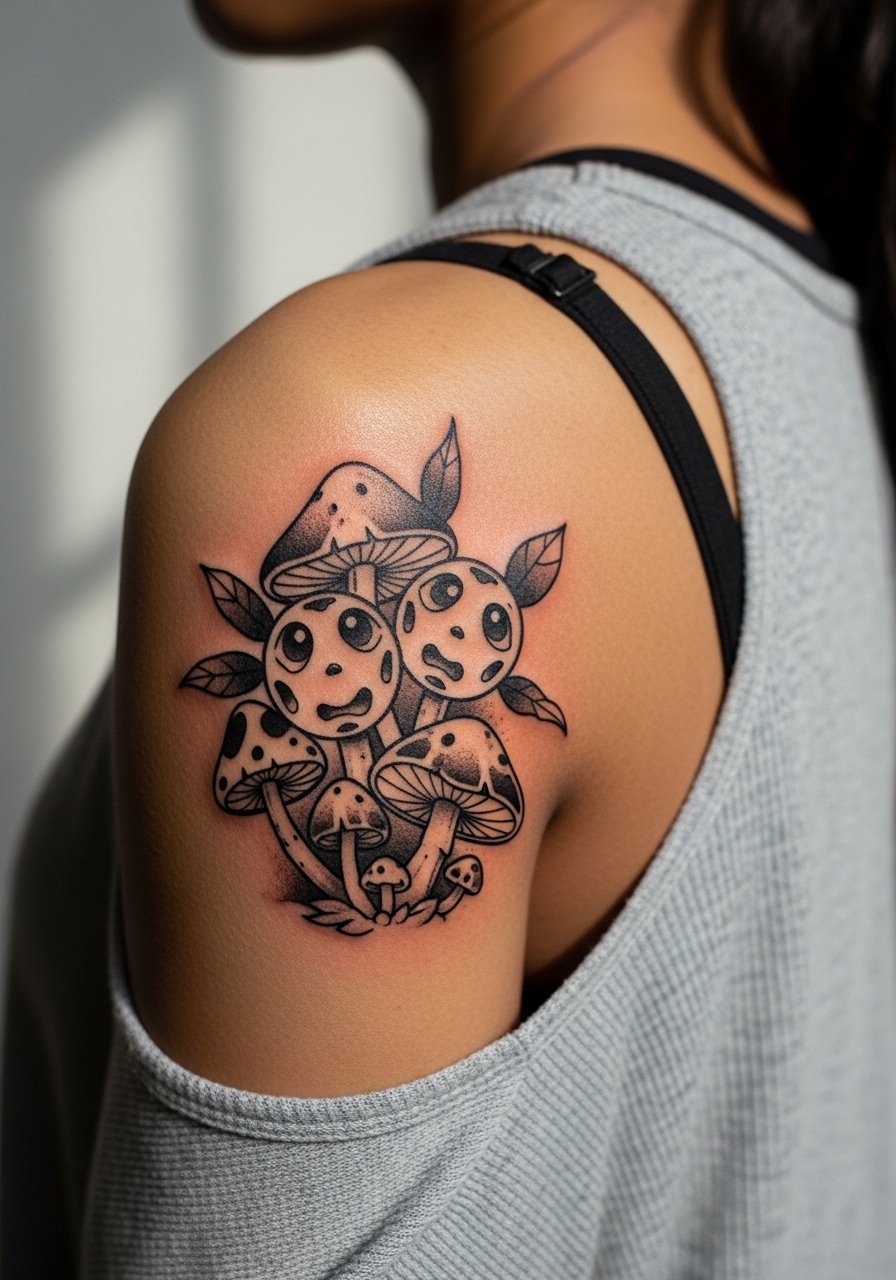
Blackwork is a smart choice for small kodama clusters because solid fills age more predictably than dilute watercolor. For a shoulder blade placement ask for compact clustering rather than tiny separate dots so the shapes stay legible at year two and beyond. The shoulder blade is low friction and heals fast, usually fine after a single session. Session wear tip is to bring a loose tank top you can pull aside. This piece pairs nicely with strappy camisole tanks for events, so consider a strappy cami tank for showing it off.
5. Watercolor Spirit Mask Fragment on the Inner Bicep
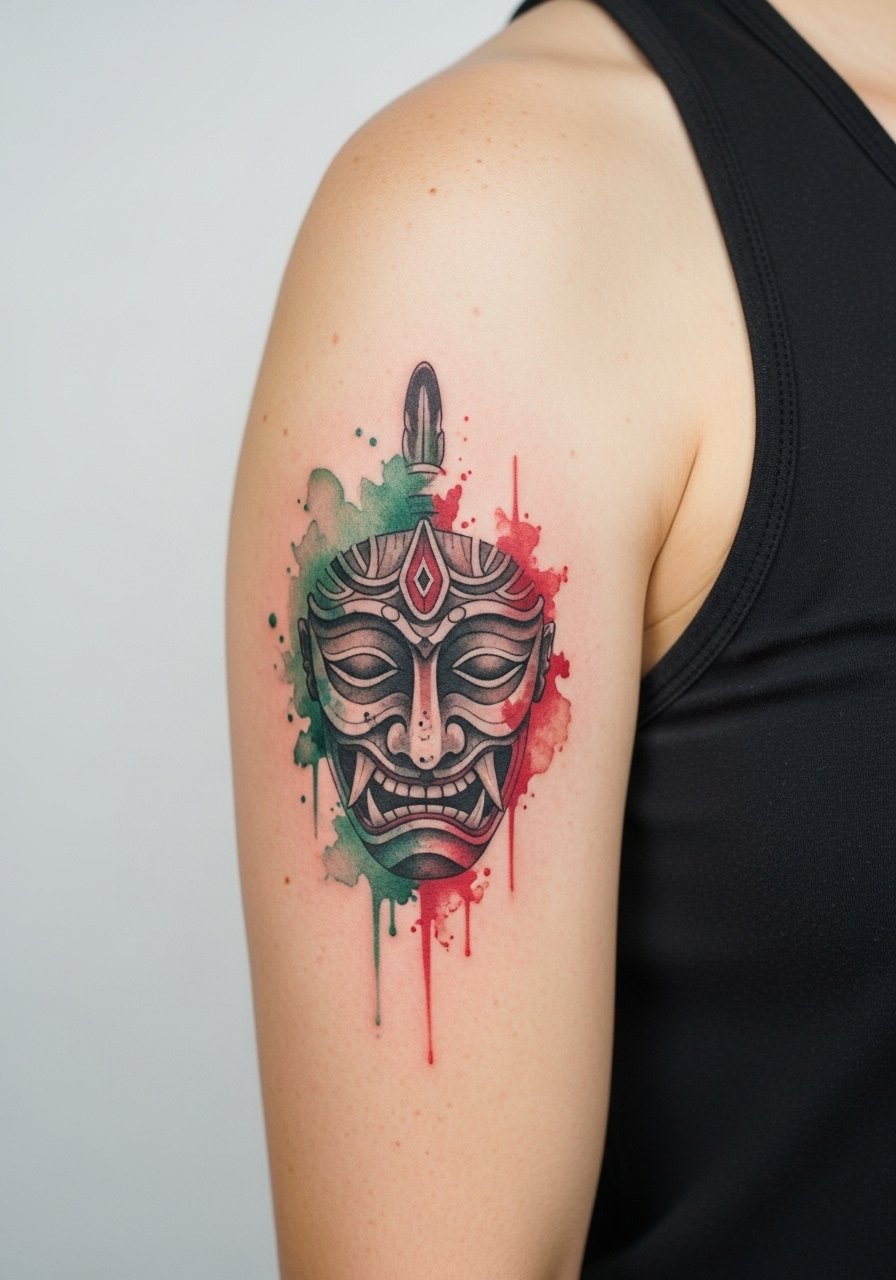
Watercolor looks gorgeous fresh but can lose vibrancy on a tiny scale. If you want the painterly wash without early fade, ask for saturated edges around the wash so the color has anchor points as it settles. The inner bicep can be a sensitive spot and itches a lot during week two, so expect some discomfort during healing. Session time is usually 45 minutes to an hour. For the appointment wear a tank so the artist can lift the arm easily. Avoid tight sleeves for two weeks while the pigment sets.
6. Ignorant Style San Dagger on the Finger

Finger tattoos live or die by line weight and placement. Ignorant style with chunky lines resists early blur much better than fine script on fingers. Tell the artist you want at least 1.5mm stroke and a compact design to avoid early spread. Fingers are a high-wear zone so plan for a touch-up at six to twelve months if you use your hands a lot. Session time is short, often under 30 minutes, but pain is sharp because the skin is thin. For showing off a fresh finger piece go bare-handed or wear a neutral nude manicure, and avoid rings on that finger for several weeks.
Pre-Session Essentials
The tiny wrist, ankle, and finger pieces above demand different prep than larger forearm work, so a short kit focused on access, protection, and hydration makes those sessions smoother.
-
CeraVe Healing Ointment. A less greasy option that many people report works well on fine line ankles and wrists during the first few days without clogging pores.
-
Hada Labo Gokujyun Lotion. Lightweight hydration that helps micro-realism shading settle without oily buildup, useful for small portrait spots behind the ear and inner bicep.
-
Green People Tattoo Balm. A thinner balm option for sensitive skin types that need moisture during healing but dislike heavy greases.
-
After Inked Tattoo Moisturizer. Travel friendly and non-greasy, handy for guest spot visits and summer sessions when sweat is a factor.
-
Tattoo Goo Healing Salve. A familiar option for wrist and finger work that absorbs fairly quickly and reduces surface tack during the first week.
7. Dotwork Forest God Eye on the Nape
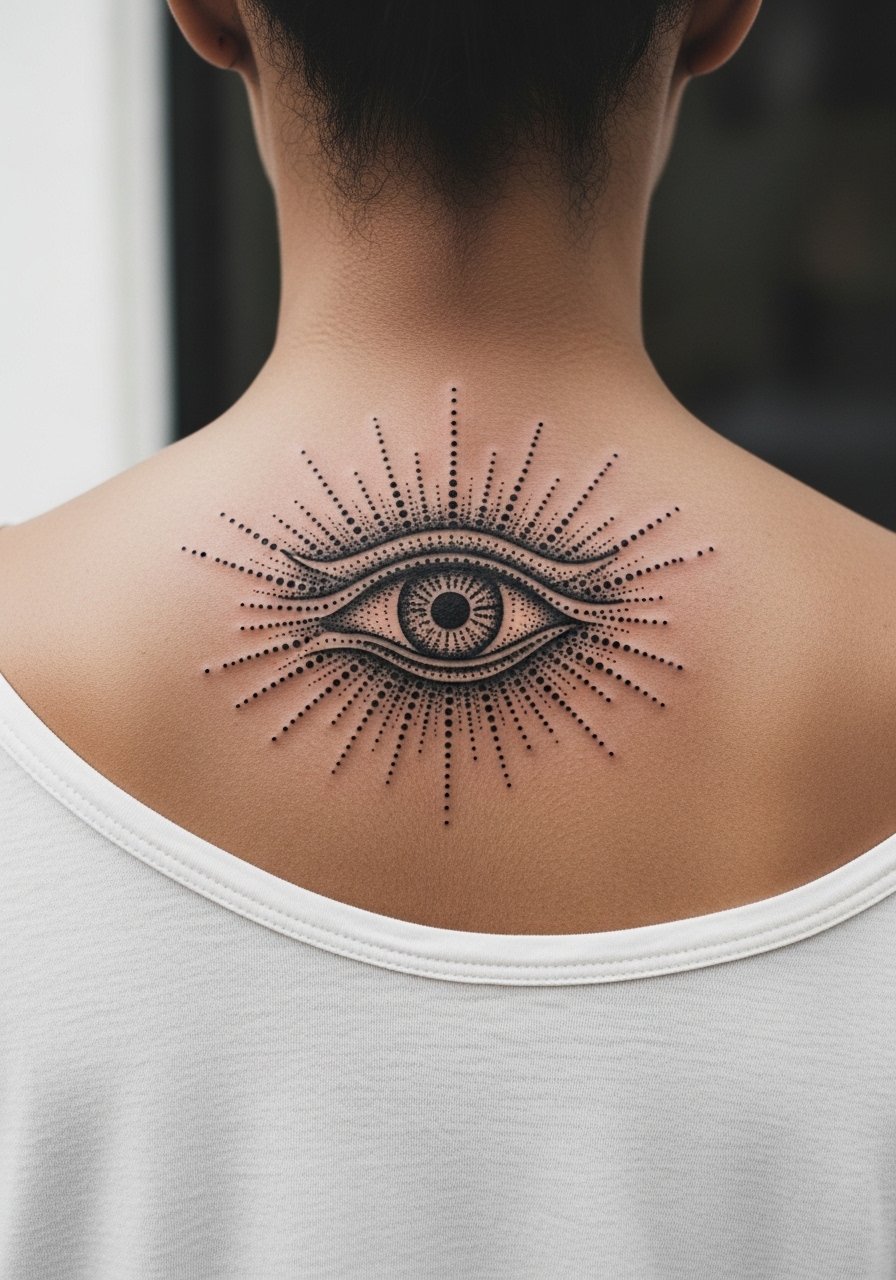
Dotwork thrives on spacing, and the nape gives enough flat canvas for a small meditative eye without crowding. Ask for stippled shading rather than dense black fills so the pattern ages with texture. The nape can be sensitive to clothing friction if collars rub, so wear a wide-necked shirt to the session and for the first few nights. Session time is around 45 minutes. If career visibility matters remember some workplaces are stricter about neck tattoos, so plan placement slightly lower under the hairline for discretion.
8. Neo-Traditional San in Forest Outline on the Calf
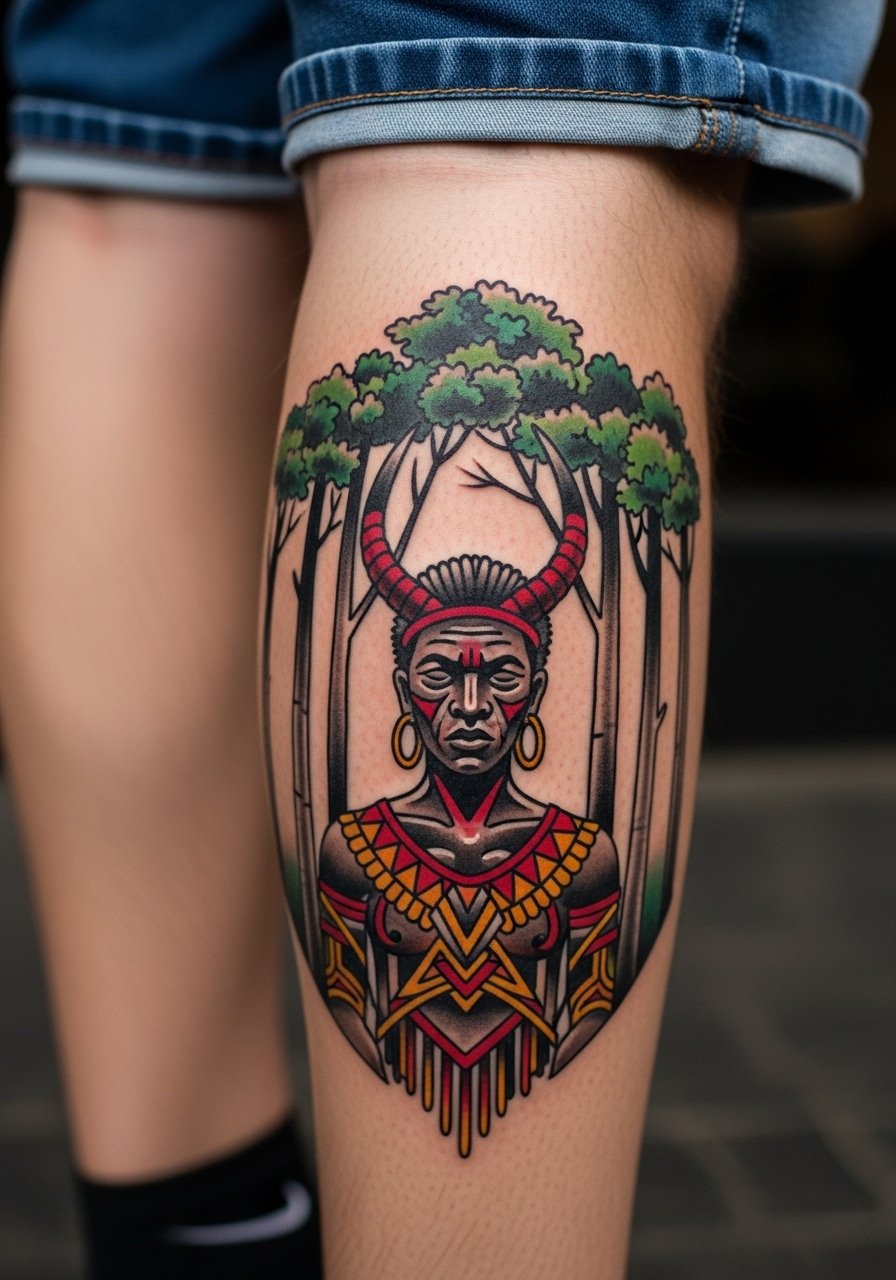
Neo-traditional color looks bold even when small because of the contrast between linework and saturation. On the calf you can go slightly larger, roughly 4 to 6 centimeters, so the red accents remain vibrant. Tell your artist to keep the red as spot color rather than a wash so it does not spread into surrounding lines. Calf sessions are comfortable to sit through and usually take one to two sessions depending on saturation. For showing it off pick olive or forest-green strappy tanks and shorts, and consider a strappy cami tank for summer reveals.
9. Fine Line San Riding Wolf on the Outer Ankle

This scaled-down action pose tells a story in a small space. For longevity ask for slightly thicker outline on the wolf and softer internal fine lines on San so motion reads at year two. Ankle skin is prone to stretch and seasonal swelling, so avoid very dense internal detail. The session is typically under an hour. Expect a mild to moderate pain level near bone. Pair the piece with cuffed straight-leg jeans and cuffed ankle jeans women when you want it visible.
10. Black and Gray Kodama Face Behind the Knee
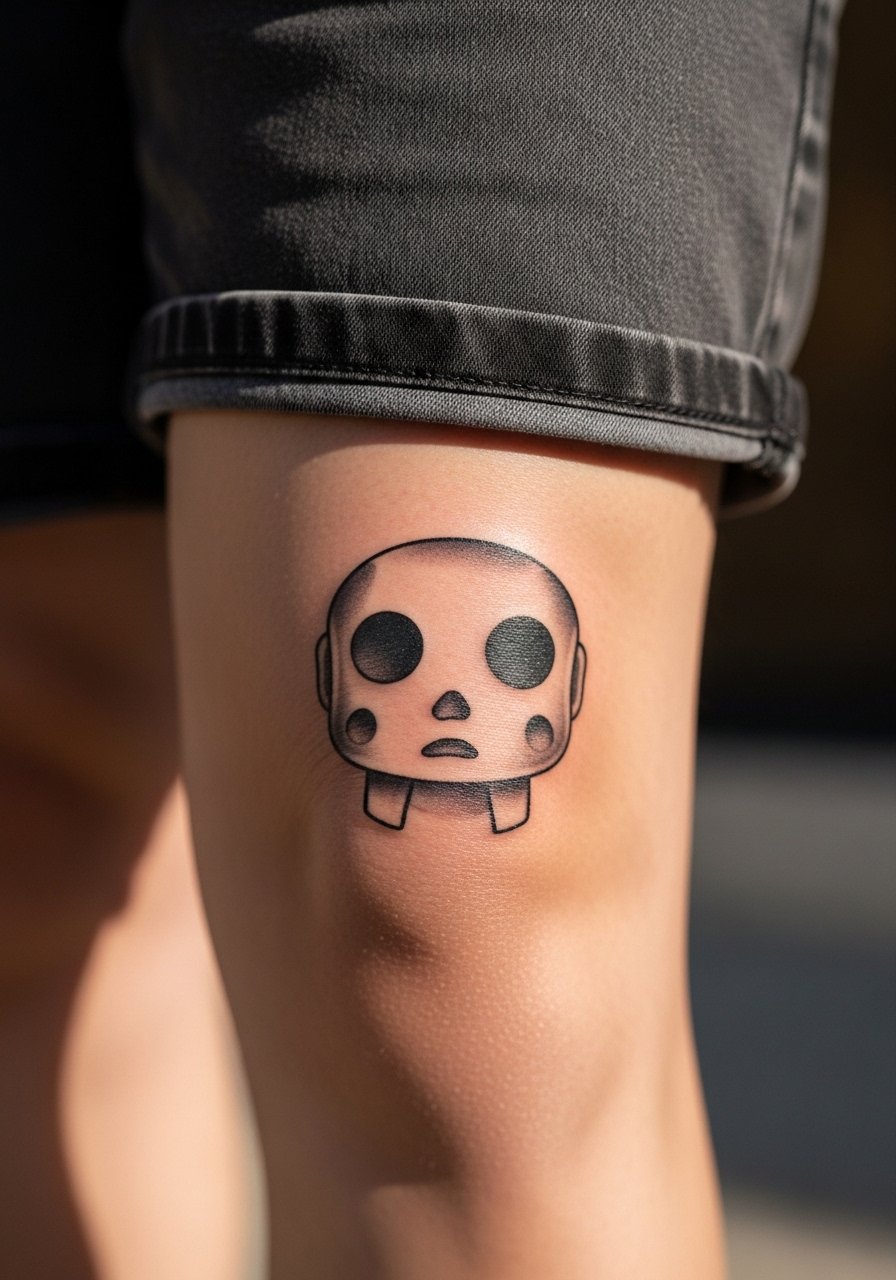
Behind-the-knee skin is flexible and changes shape when you walk or sit, which affects how tiny faces read after healing. Ask for a slightly larger eye and mouth area in the kodama so those features hold. The placement can itch and scab in creases, and healing takes a bit longer than on flatter areas. Session time is short but plan for a touch-up if the scabbing phase altered line crispness. For sessions wear loose shorts and plan low-movement days for the first week.
11. Minimalist Arrowhead with San Hair on the Wrist Pulse Point
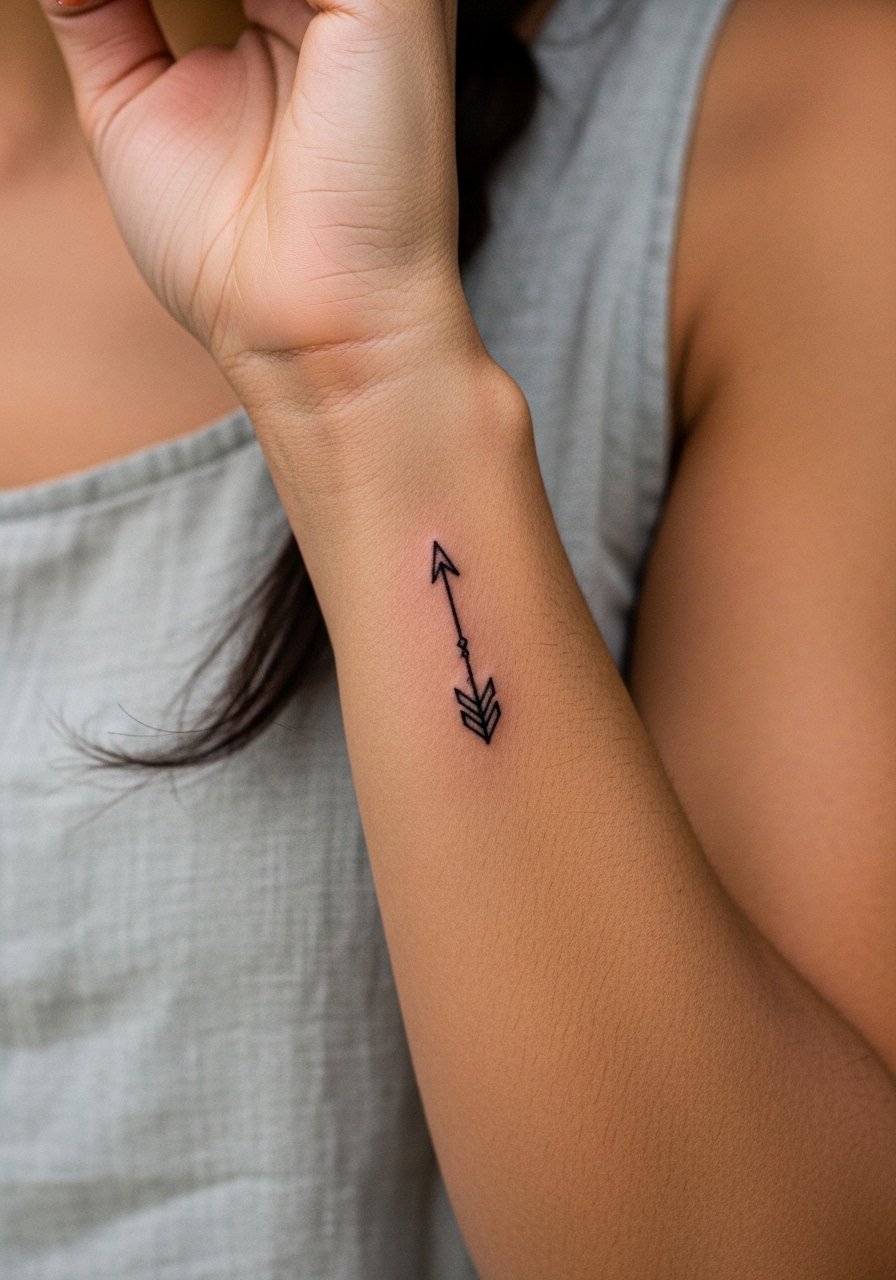
Pulse points are intimate and visually striking but they see constant motion. For a wrist pulse design keep the arrowhead compact and the single strokes bold enough to avoid early blur. Tell the artist you want a single stroke with a slight taper rather than ultra-thin hairline work. The session is quick, twenty to forty minutes, and pain is usually a four out of ten. When showing it off try rolled cuffs and a rolled cuff chambray shirt paired with thin silver bangles on the opposite wrist for balance.
12. Ornamental Wolf Claw Band on the Ribcage
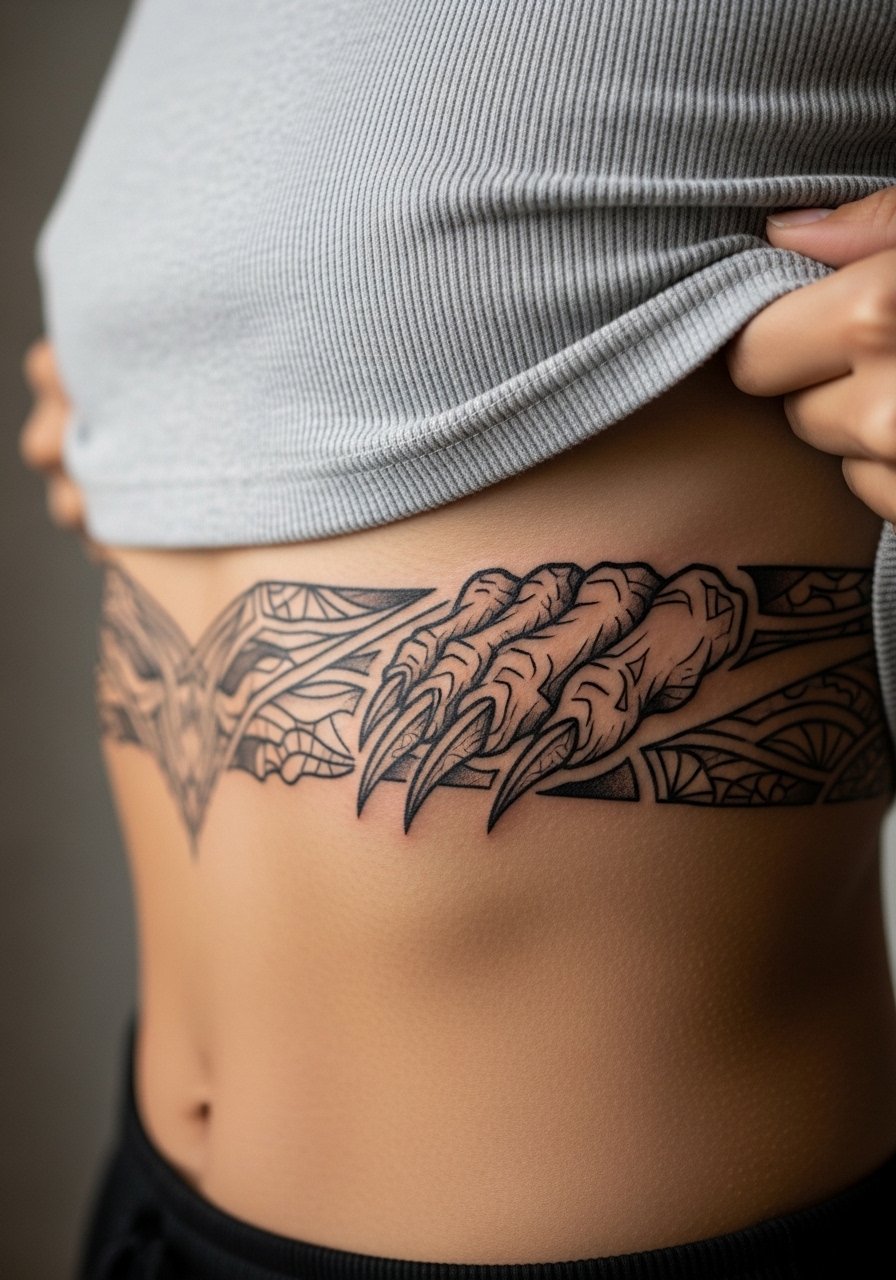
Ribcage work asks for respect for movement and breathing. The rib skin stretches, which makes artists split on fine line there. One camp says fine line blurs quickly due to skin stretch. The other camp says with proper needle depth and spacing it can settle well. If you want this band, ask for slightly thicker lines and extra spacing so the geometry keeps structure after a year. Pain here is higher, often a seven out of ten, and the session may need breaks. For the appointment wear a cropped top you can lift so only the area is exposed.
13. Dotwork Tusk Accent on the Collarbone
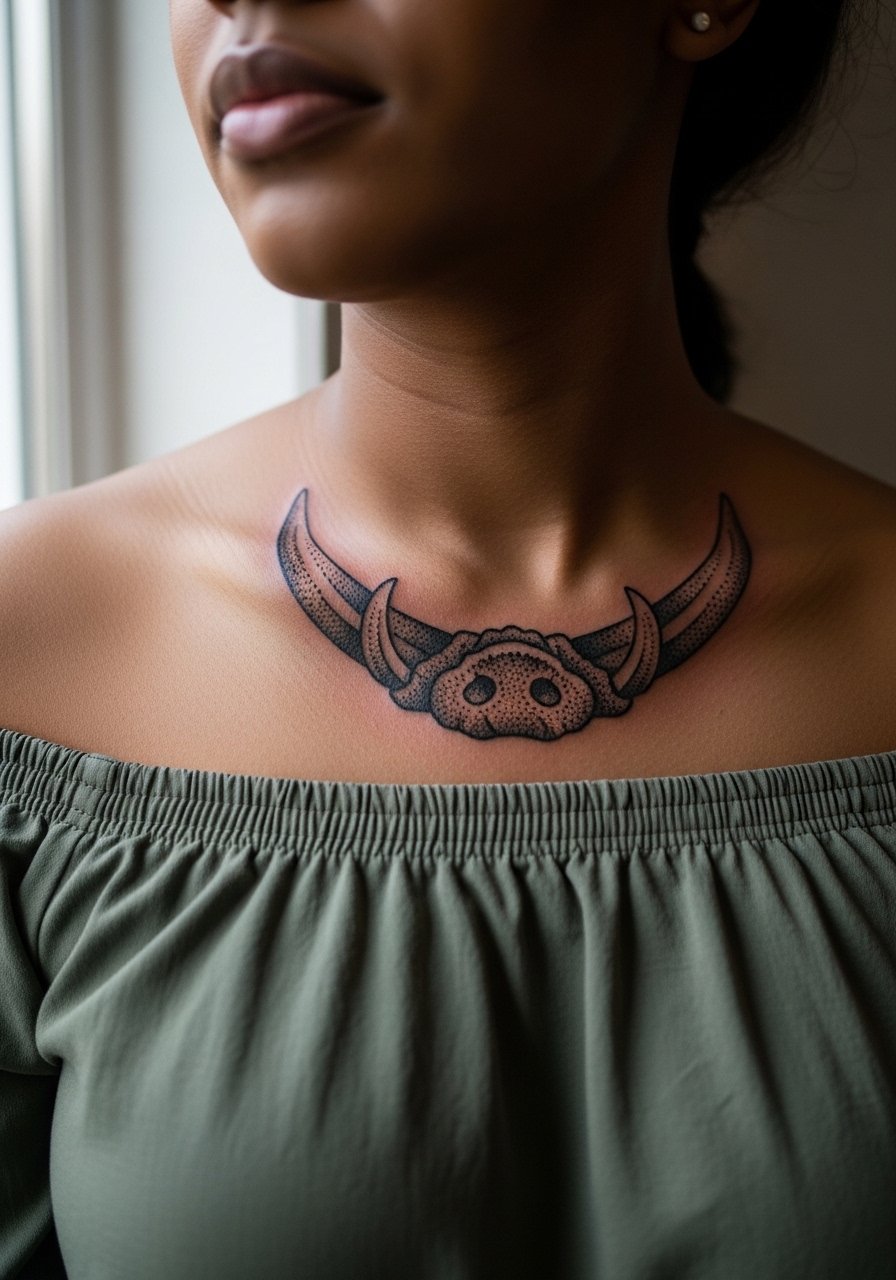
The collarbone is a show-off spot that looks elegant with stippled dotwork. Ask for stipple density that leaves breathing room between dots to avoid merging over time. The area can be a little tender during the session and may take up to an hour depending on complexity. For evening looks an off-shoulder blouse in forest green helps the lines pop, and a layered delicate necklace can sit above the design without crowding it.
14. Tiny Boar God Tusk on the Shoulder Cap
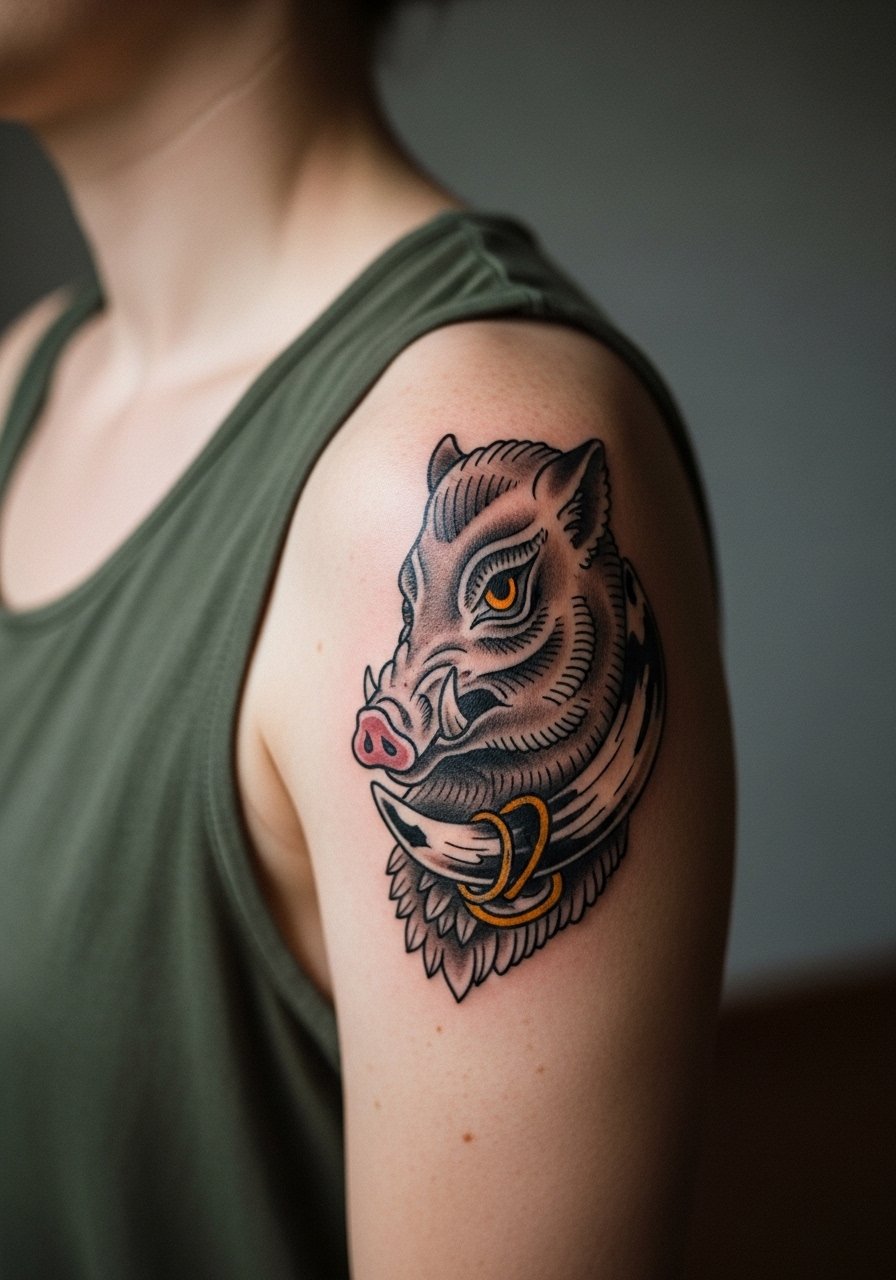
The shoulder cap tolerates saturated color and bold curves well, and a small tusk looks great there. Request muted earth tones as spot color rather than broad washes so the pigment does not feather into linework. Shoulder pieces heal predictably with low friction and often do fine in a single session. For session comfort wear a loose tank that can be pulled aside so the artist can access the cap without stretching your shoulder.
15. Stippled Kodama Constellation Along the Spine
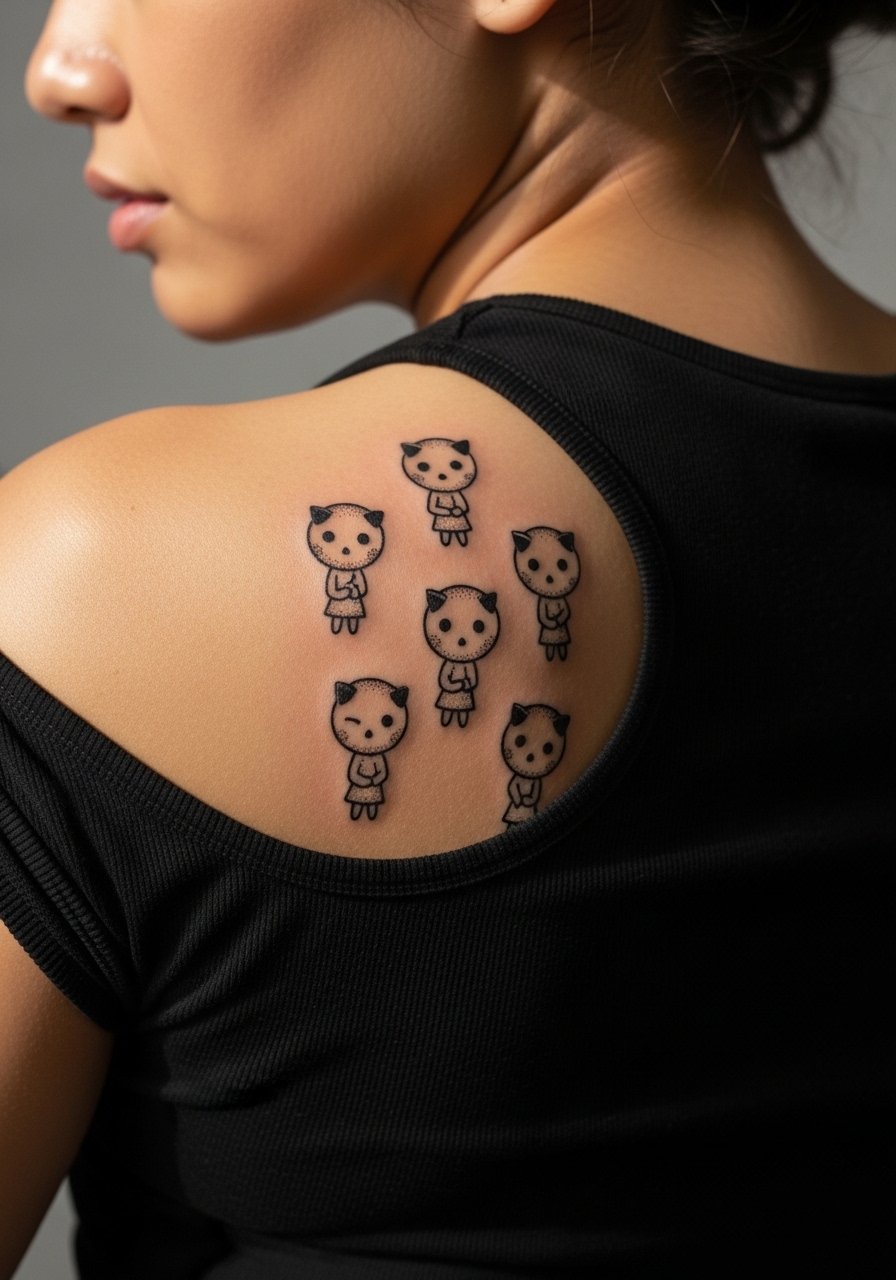
Spine patterns read elongated and look intentional when spaced like stars. Ask for cluster spacing that elongates the spine rather than cluttering it, and avoid tiny dots packed too closely. The spine is a moderate to high pain area depending on placement, but tiny pieces finish quickly. For show-off moments an open-back dress or halter plays well. If you want discreet references for a search use hashtags and local app filters to find artists experienced with small vertical placements.
16. Micro-Realism Mask Fragment on the Inner Forearm
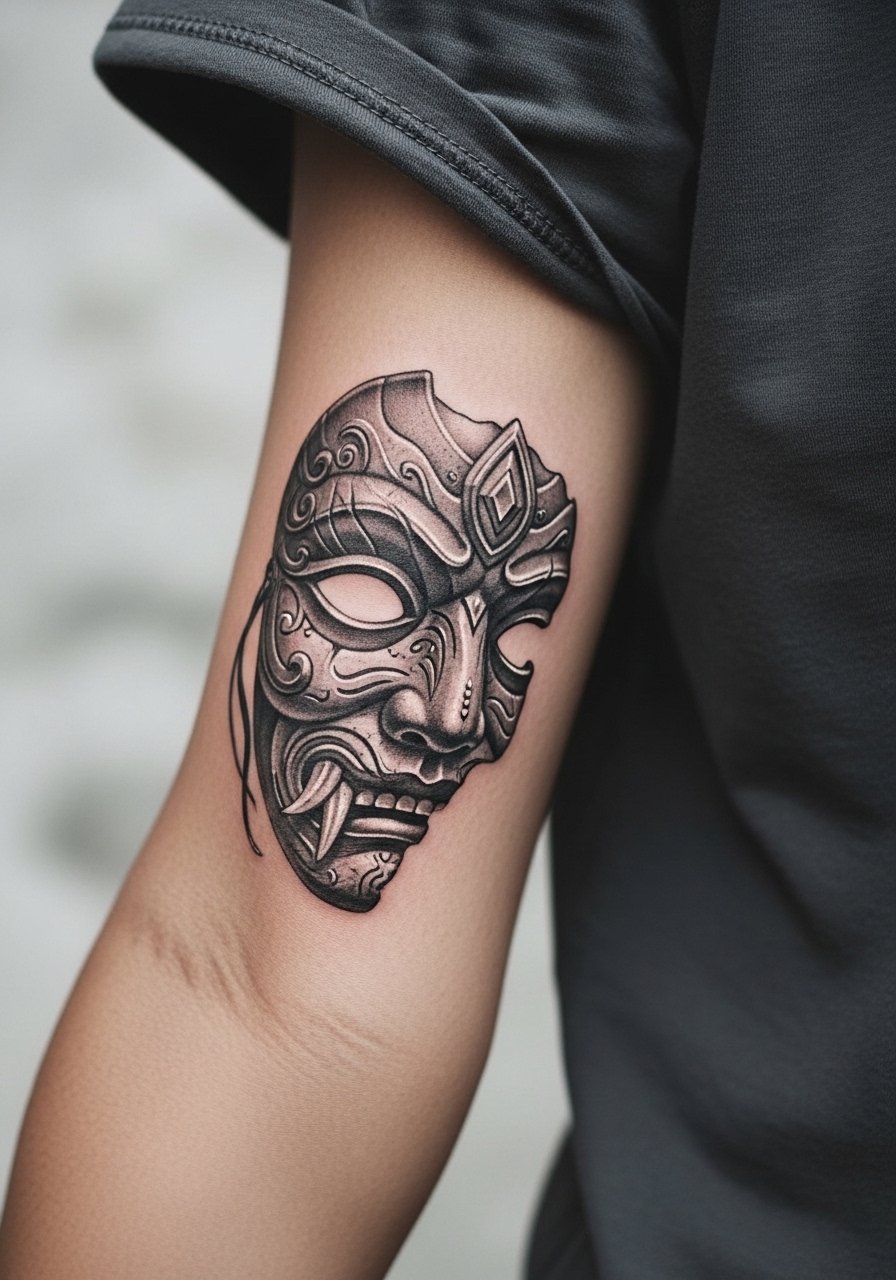
Inner forearm micro-realism holds details well because the skin is steady and flat. Ask for thin but confident shading, and request healed examples from the artist's portfolio to see how their micro work ages. Sessions run longer than a single-line piece, often an hour or more. For showing this design push sleeves up or wear a fitted henley in cream with sleeves rolled, and consider a henley long sleeve women for a styled reveal.
17. White Ink Outline Variant for Tanned Skin on the Collarbone
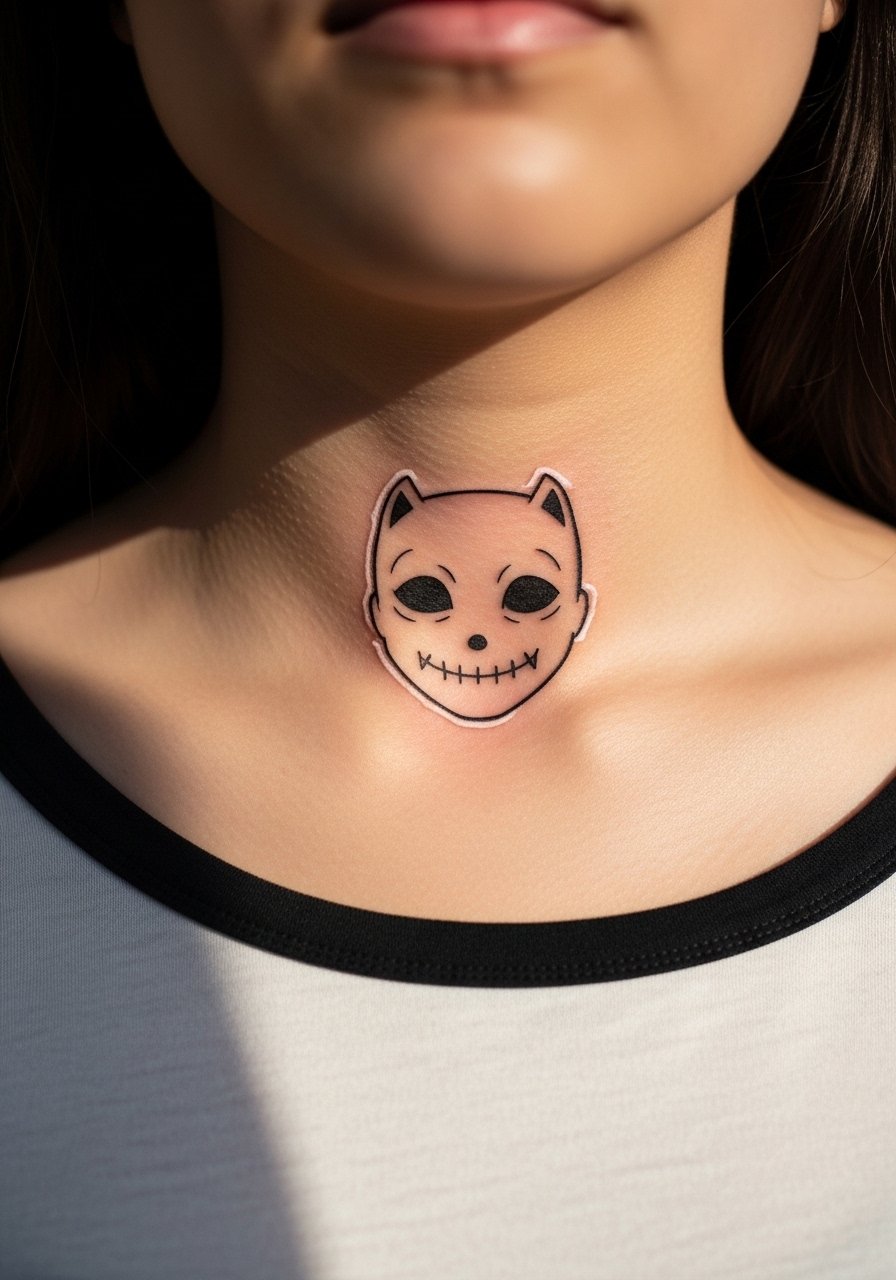
White ink can be an option for deeper skin tones when used sparingly as an outline or highlight. Ask the artist to preview placement and to discuss sun protection because white fades faster with UV exposure. The collarbone requires careful placement so white reads as a highlight rather than a patch. Session time is comparable to a fine line piece. Plan to keep sunscreen on the area after healing to protect the delicate white work.
18. Tiny Ignorant Style Dagger on the Thumb

Thumbs move constantly and are exposed to soap and friction, so ignorant style with chunky lines outperforms tiny detailing there. Ask for a compact layout with bold strokes and expect a touch-up within six to twelve months. Sessions are brief but the area is sensitive. For the appointment avoid rings or nail polish that might interfere with access. After the session keep hand use moderate for the first few days.
19. Pairing Tiny Wolf Paws with Pet Coordinates on the Hip
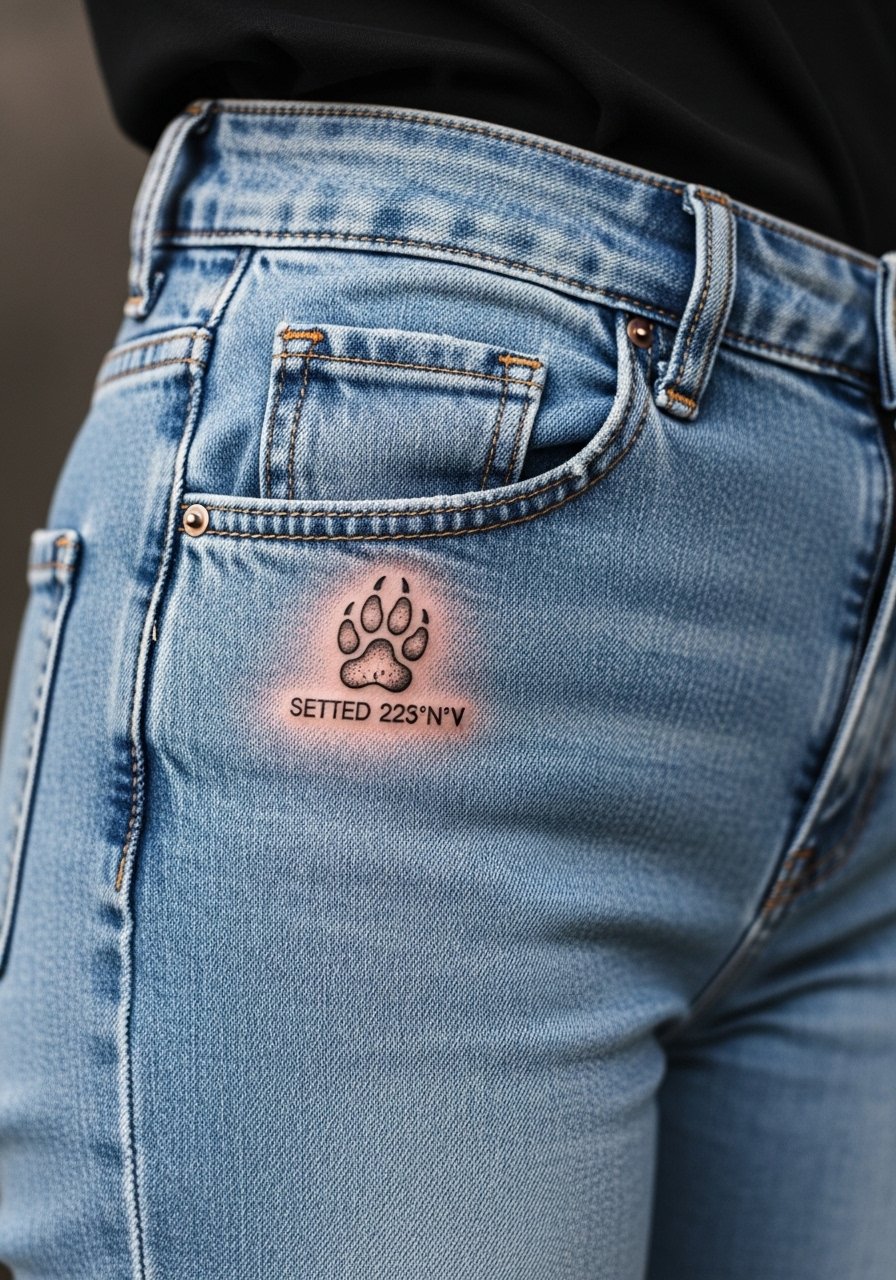
This is a personal twist that marries Mononoke imagery with your own pet memory. For hip placement use slightly bolder numbers for coordinates so they remain legible after weight fluctuation. The hip is low friction and usually heals cleanly in one session. For the appointment wear high-waisted jeans you can shift down slightly to give the artist access. If you plan to show it off occasionally, high-cut shorts or a swimsuit bottom reveal the area perfectly.
20. Tiny Neo-Traditional Boar Accent on the Shoulder Blade
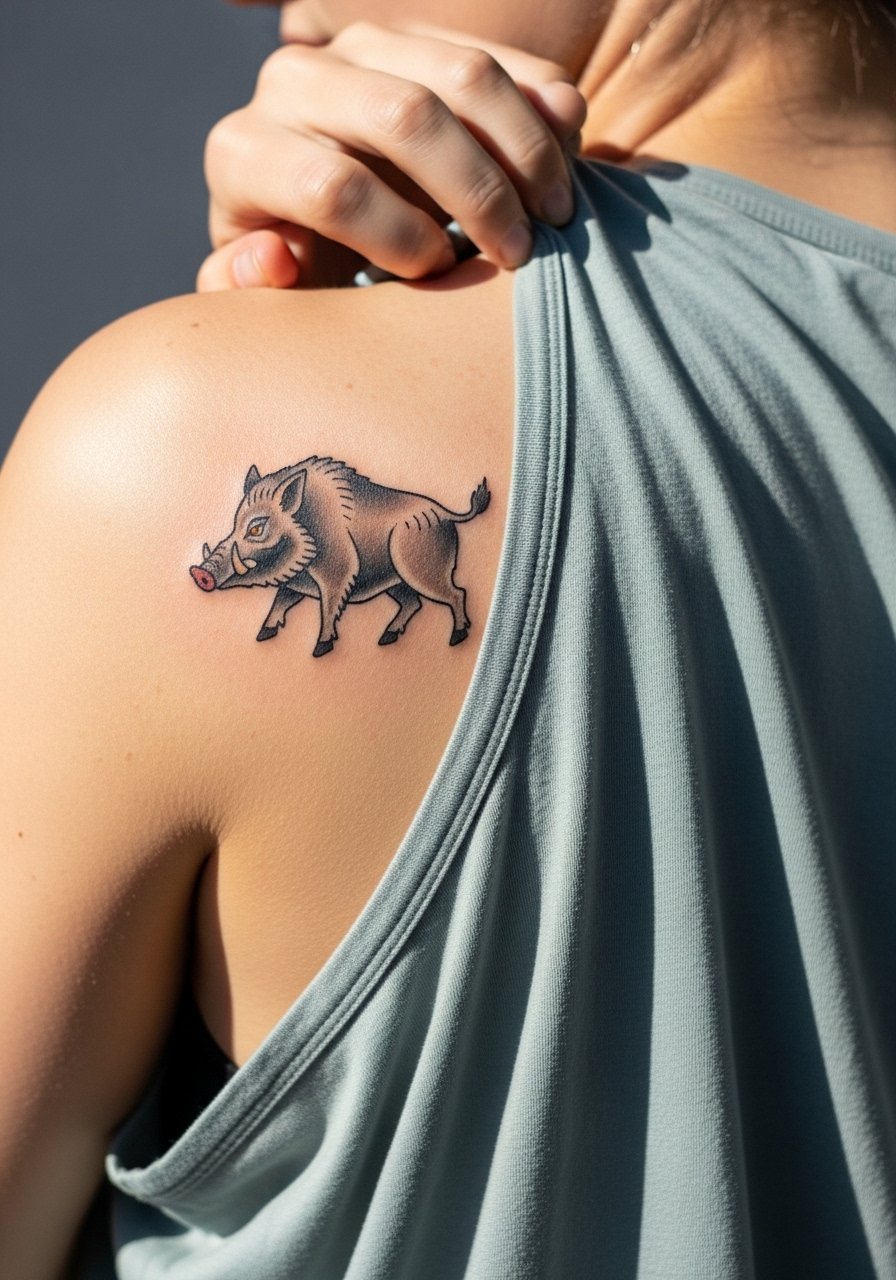
A small neo piece on the shoulder blade benefits from solid outlines and muted color fills so the shapes remain crisp as the pigment settles. Ask the artist to keep color blocks compact and avoid too many micro gradients in a tiny space. Sessions are comfortable and usually complete in one sitting. For showing it off pick strappy camisoles or backless halters that frame the shoulder. Consider a backless halter top for events.
21. Kodama Constellation Spine Variant for Elongation
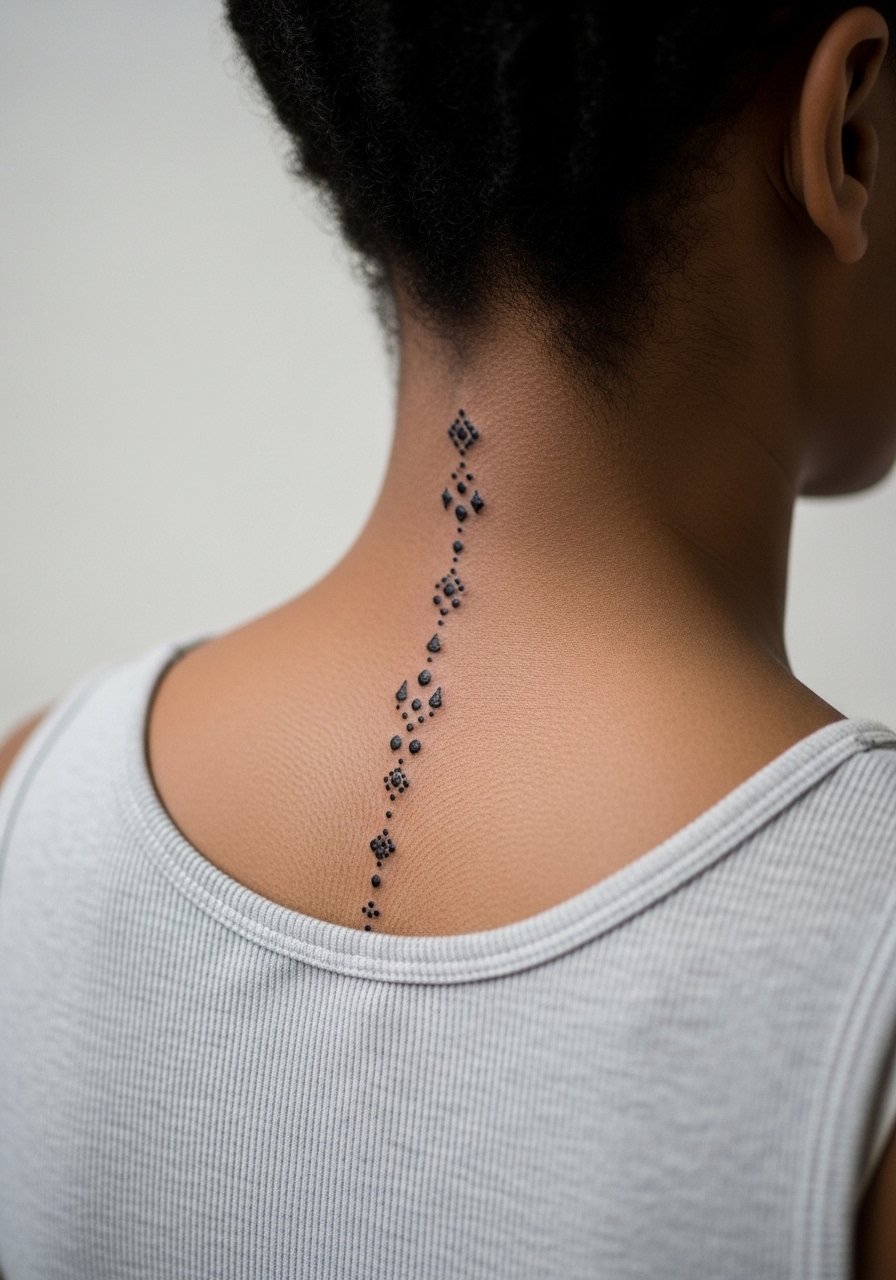
Using kodama as a vertical constellation helps elongate the torso visually. Ask for dot spacing that keeps the shapes separate so they do not blend after a few years. The mid-spine is sensitive but tiny pieces are tolerable. Sessions can be split if you want denser texturing. For showing off choose an open-back dress that frames the line without competing with necklaces.
22. Minimalist Arrowhead with Hair Detail on the Collarbone
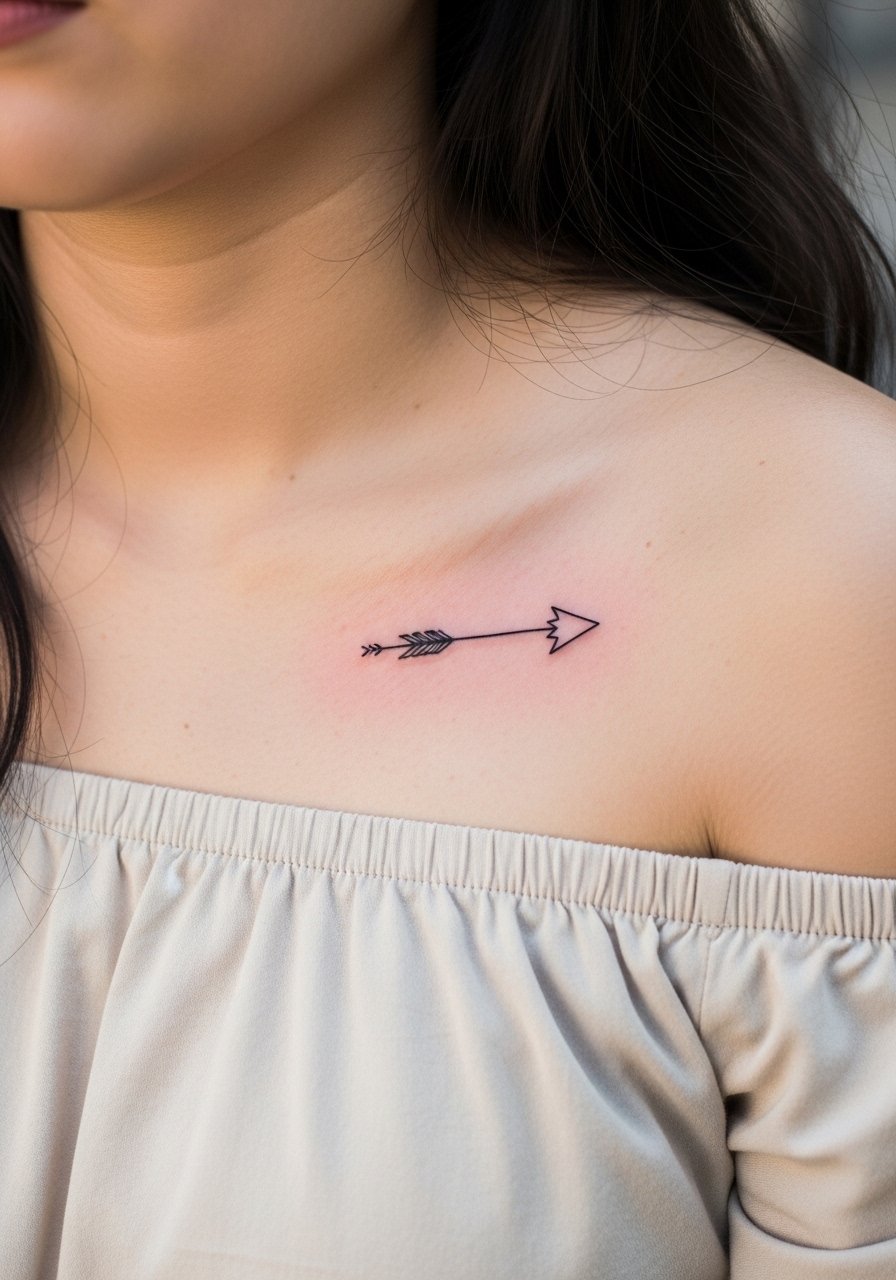
A collarbone arrow with hair cue is subtle and wearable. Request a clean single stroke with a slight taper and avoid filling tiny negative spaces that can blur. The collarbone is tender during sessions but heals predictably. For styling pair with off-shoulder blouses and delicate jewelry, such as a thin chain pendant necklace that drops above the line.
23. Tiny Stippled Forest Band on the Thigh
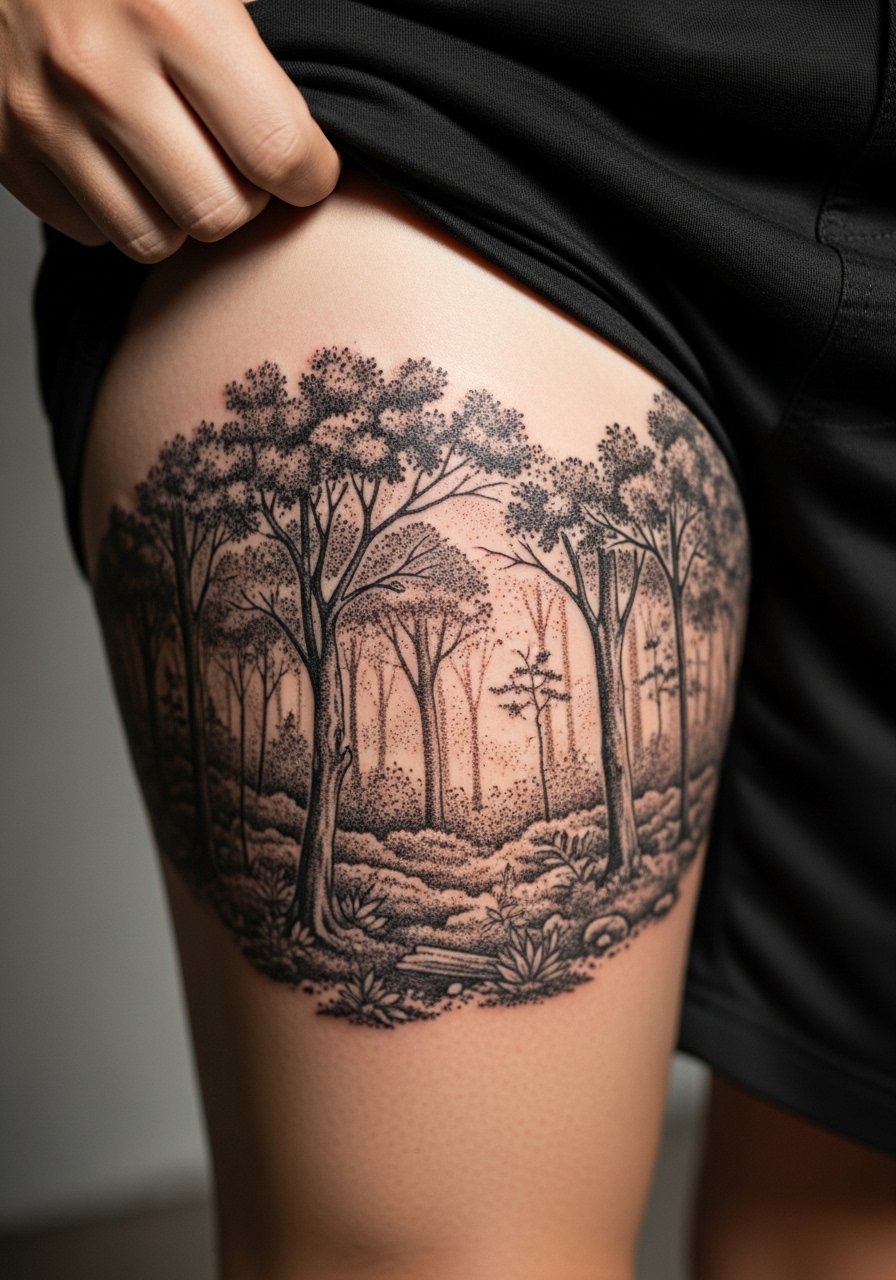
Thigh placements are forgiving for tiny bands because the skin density is stable. Ask for a stippled approach with open negative space so the band ages with texture rather than turning into a solid ring. Sessions can be longer if you want a wrapped effect, but pain is typically moderate. For sessions wear loose shorts or a wrap skirt so the artist can access the upper thigh without discomfort.
24. Micro-Realism San Eye on the Back of the Upper Arm
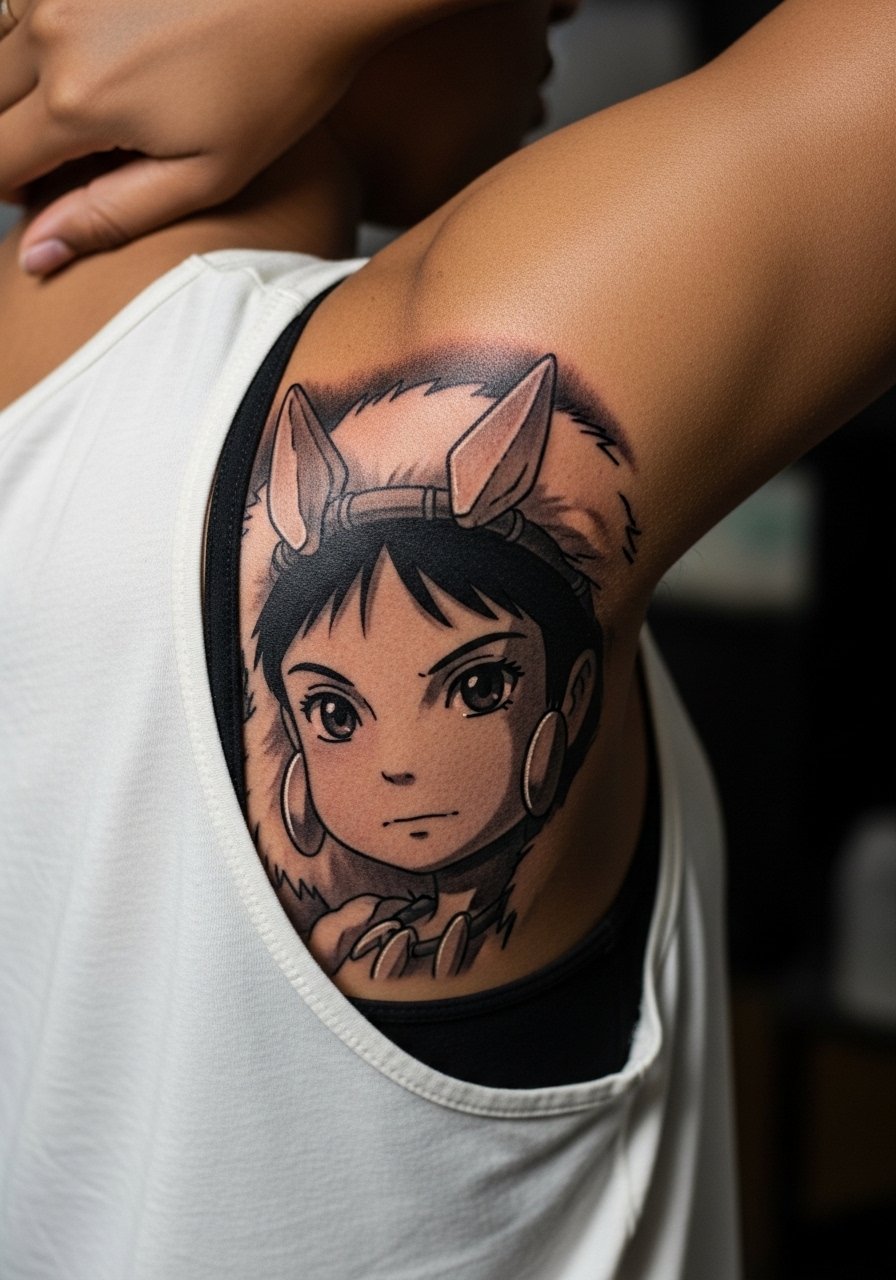
The back of the upper arm gives a flat surface for micro shading that holds detail. Ask for subtle gradation and request healed photos from the artist so you can see their micro-realism aging. Session time is moderate and healing is straightforward. For showing off push sleeves up or choose a fitted henley with rolled sleeves and consider a loose short sleeve tee during travel.
25. Tiny Boar Tusk Accent on the Lower Back
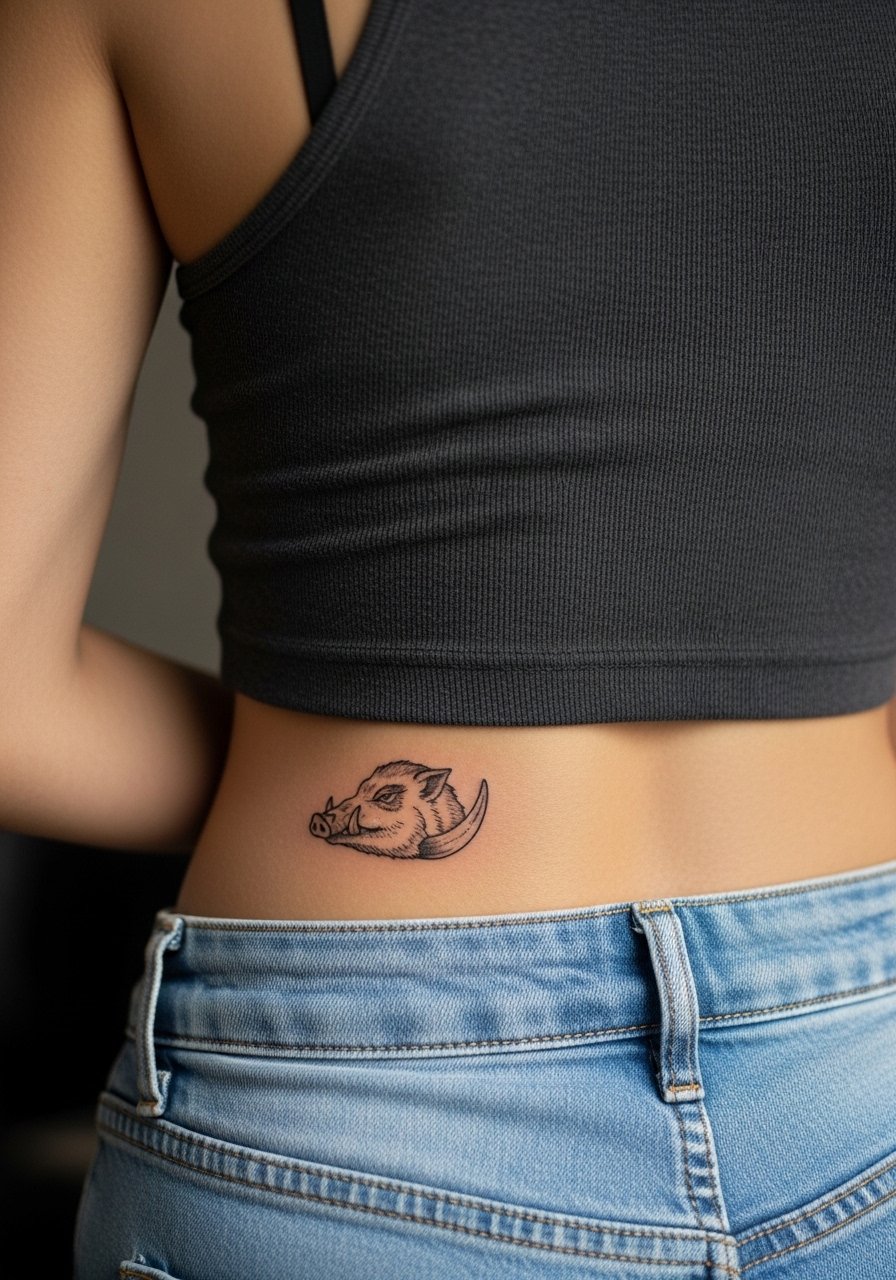
Lower back skin holds small curves well if the design follows body lines. Keep the tusk compact and avoid overcrowding with tiny details that can blur when the area shifts. Sessions are quick and pain is moderate. For showing it off pick a low-rise waistband or a cropped top that keeps the look intentional. Be mindful of prolonged sitting on the fresh area in the first week.
26. Tiny Ornamental Wolf Claw on the Rib Side Band
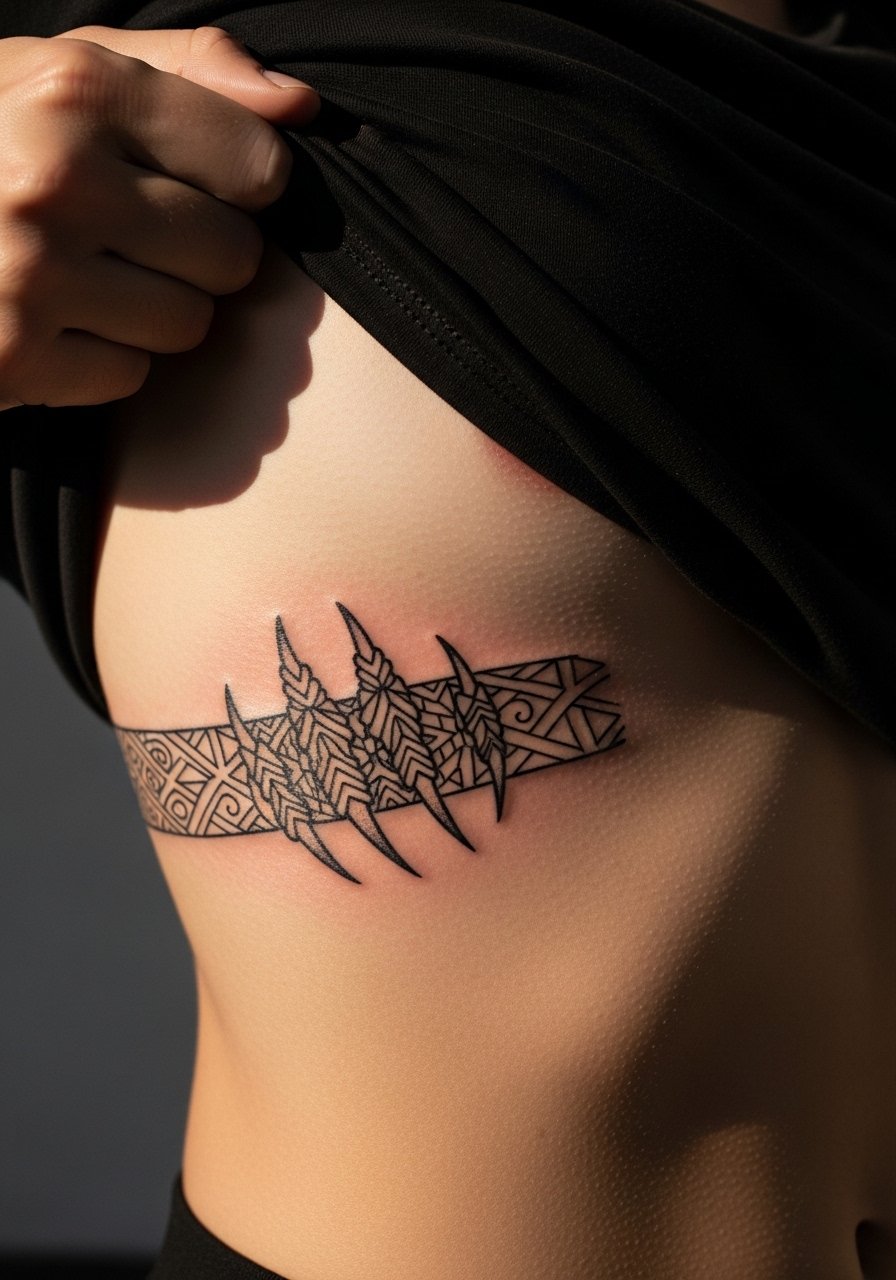
Side rib work looks dramatic but the skin there stretches with breathing and movement, so designers disagree on extremely fine linework. One camp warns of blurring within two years on such flexible skin. The other camp says proper spacing and depth reduce that risk. If you want this band choose slightly wider spacing between lines and plan for a touch-up. Sessions are more intense because the area is sensitive, so expect a higher pain rating.
27. Tiny Kodama Face Behind the Ear as a Constellation Accent
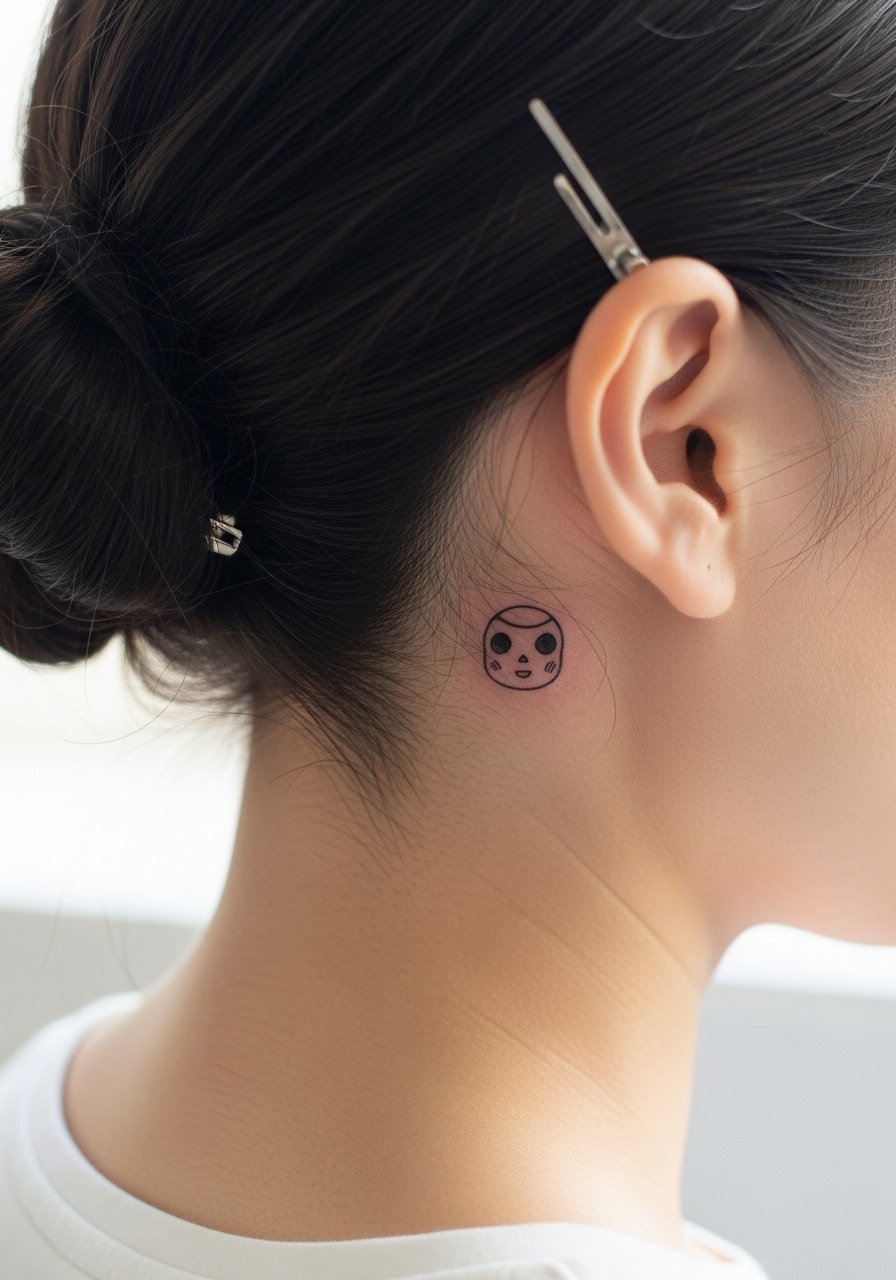
A kodama behind the ear is a sly, private nod to the film that peeks out with updos. Ask for a compact face with slightly heavier outer line so the expression reads at six months. The area itches in week two and is easy to conceal with hair while healing. Session time is brief and pain is low. For the appointment pin your hair up and bring a small stud earring set to frame the area for photos once healed.
Frequently Asked Questions
Q: Will tiny fine line Mononoke tattoos on the wrist blur faster than if I choose blackwork?
A: From what I have seen, fine line on wrists tends to soften sooner because the area gets constant motion and washing. Blackwork or slightly heavier outlines usually hold contrast longer. If you want the delicate look, plan for a touch-up at six to twelve months and ask your artist for 1.5mm minimum line weight during consultation.
Q: Is a behind-the-ear micro-portrait visible enough for everyday wear, and how should I style it?
A: The behind-ear spot is discreet by design but shows with half-up or high-pony hairstyles. For appointments pin your hair up so the artist can get a clean stencil placement. For reveals a hair claw clip or half-up style brings the piece into view without making it the main focus.
Q: How do I decide between watercolor and blackwork for tiny Mononoke pieces?
A: Watercolor looks softer fresh but can fade faster at very small scales. Blackwork gives contrast and longevity. If you love watercolor try a fragment with anchored outlines so the wash has structure as it heals, or choose black ink for high-wear spots like ankles and fingers.
Q: Should I avoid ribs for fine line designs because of stretch and blowout risk?
A: Ribs are a higher-risk area for fine line because of stretch from breathing and body movement. Some artists will do fine line there with excellent results. Ask where the artist stands on rib work, and if they recommend it, schedule a touch-up slot when you book.
Q: How do tiny tattoos show up on darker skin tones, and what should I request during consultation?
A: On darker skin tones denser blackwork and slightly thicker outlines often read better in photos and in low light. Mention your skin tone during consultation and ask to see healed examples from the artist on similar tones. White ink highlights can work but require diligent sun protection to last.
