
Fine line Stitch pieces look perfect on a saved board, and they can be heartbreakingly different on skin six months later. Trends push tiny, detailed versions while real life punishes tiny details in high-friction spots. The best ones balance personality with placement choices that help linework last, and the first section dives straight into a version that proves the point.
1. Micro-Realism Stitch on Inner Forearm

I recommend this when you want expressive detail without a full sleeve. Tell your artist during consultation you want slightly heavier linework around the eyes and lighter stipple shading elsewhere so the face reads after two years. Common mistake is asking for ultra-thin lines that merge in high-motion areas. Expect a medium pain level and one two-hour session for a small portrait. At six months the stipple softens, at two years small lines may require a touch-up. For showing it off wear a rolled-up linen shirt so the forearm sits visible but not overexposed.
2. Tiny Outline Stitch Behind the Ear
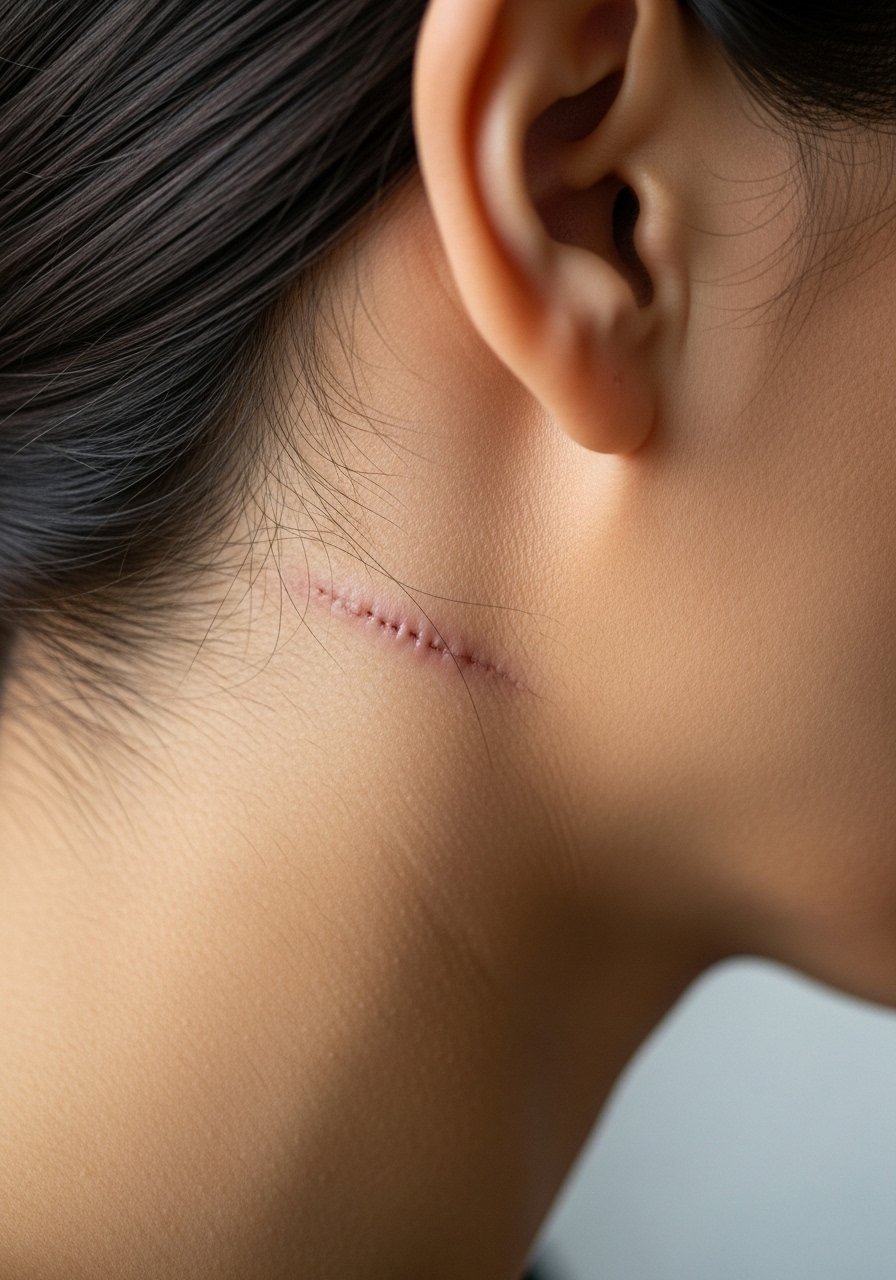
This placement is discreet and works for minimal outlines. Fair warning, the area needs a steady hand because the skin there moves with hair and sleeping. Ask for a single-needle outline with slightly increased spacing between strokes to avoid early merging. A common mistake is pushing for ultra-tiny detail and then being surprised when the lines thicken in a year. Session time is short but book someone comfortable with small scripts and tiny portraits. For the appointment wear hair up and a wide-neck shirt so the area is easy to access.
3. Watercolor Stitch on the Ankle
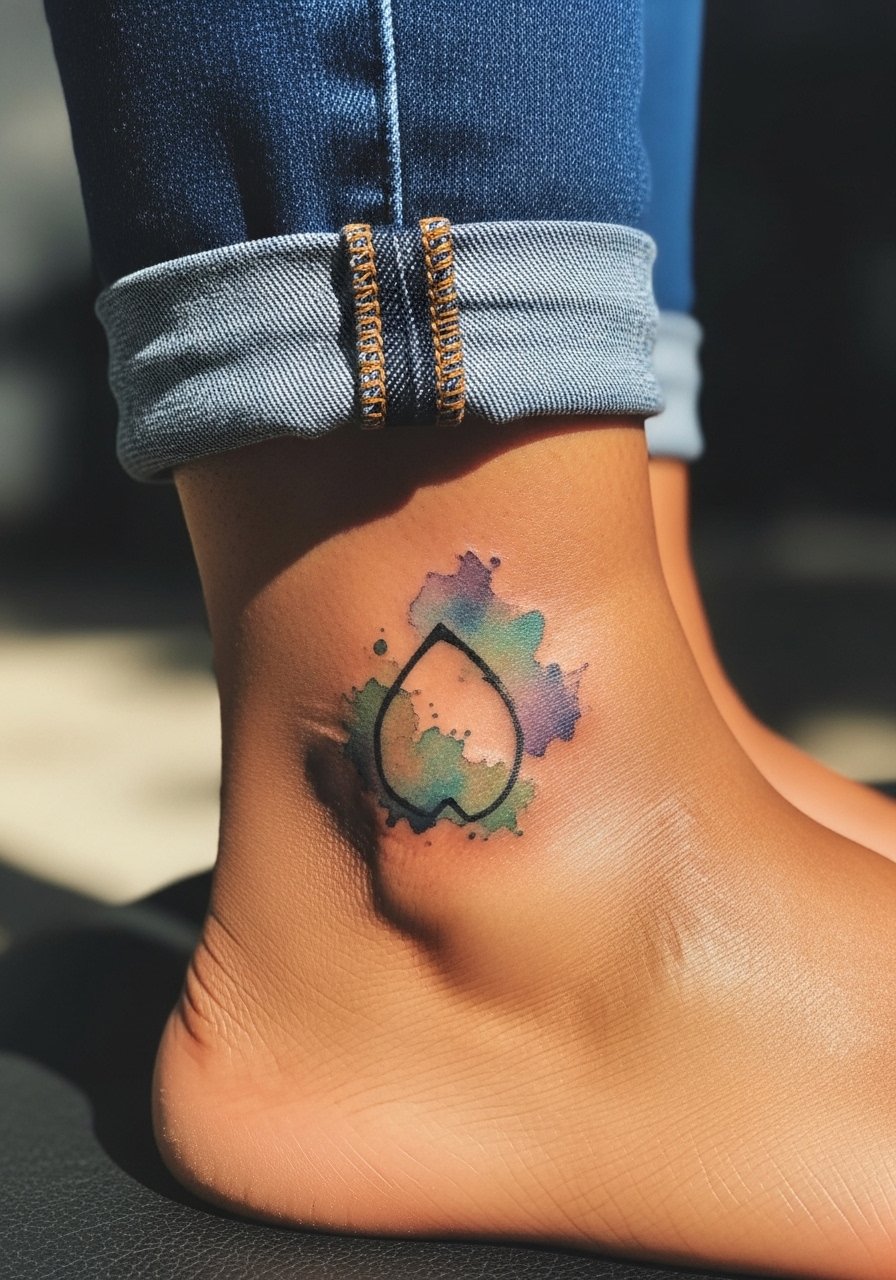
Watercolor lets Stitch feel whimsical without heavy outlines, but washes fade faster on low-skin areas like the ankle. When you consult, ask the artist to anchor the piece with a minimal black outline to protect key points like the eyes and mouth. Most mistakes come from relying entirely on color transitions with no anchor, which blurs quicker under socks and shoes. Expect higher fade by year three and a likely touch-up at year two if you want the original vibrancy. For showing it off, pair the piece with sandals or cropped jeans and a simple jeans rolled up look.
4. Tiny Stitch Finger Tattoo
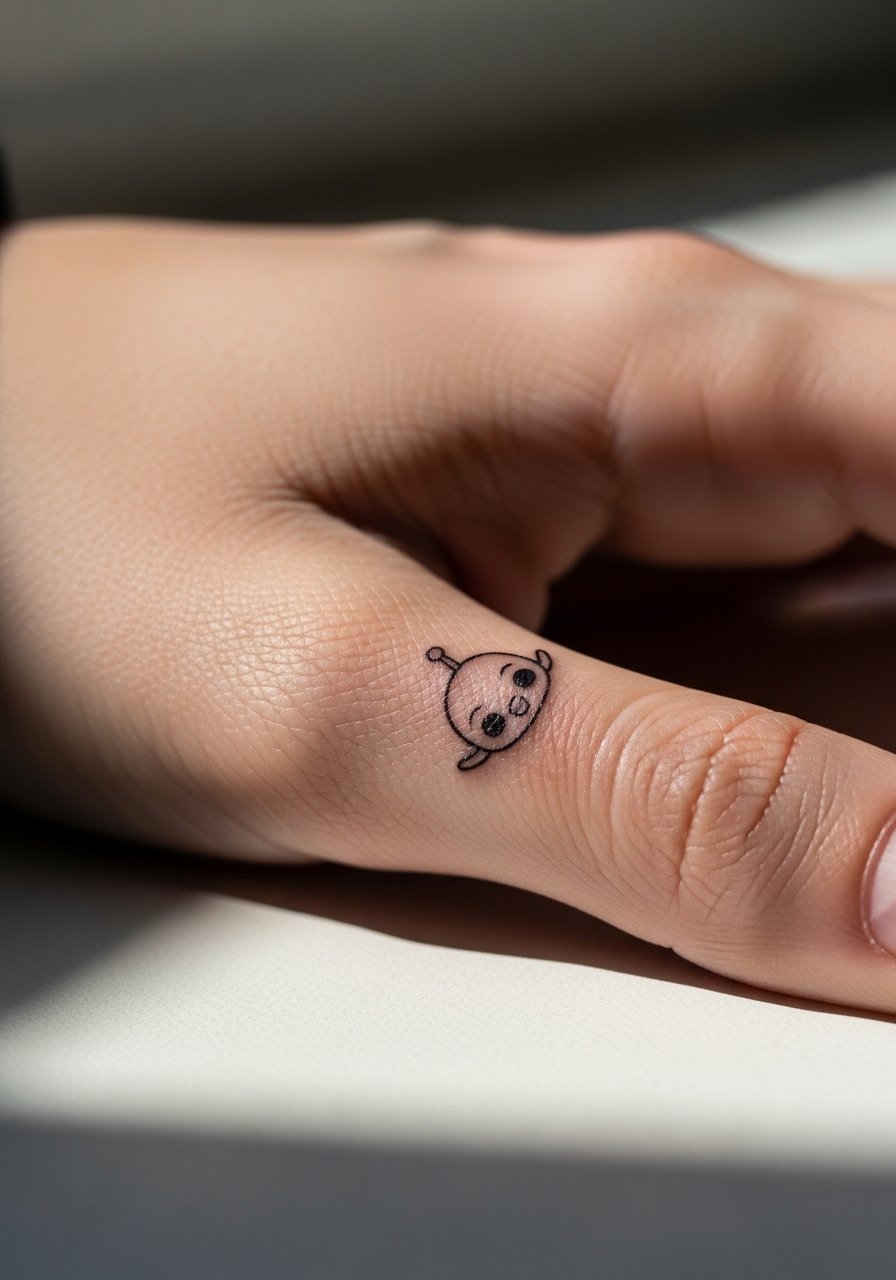
Finger tattoos are fast but they age faster than most placements because of frequent washing and friction. The biggest mistake is placing too much detail on a narrow canvas. Ask for bold simplified shapes rather than micro realism. Expect touch-ups sooner, often around year one to two. Pain is sharp but brief, and the session is quick. For the appointment keep nails clean and avoid polish that chips into the work. A minimalist watch or thin stacking rings pairs well for showing the design without overcrowding the finger.
5. Collarbone Stitch Script Combo

This placement reads elegant and personal when sized correctly. In consultation specify the exact script weight and placement relative to the collarbone so the line sits above the bone and does not distort when you move. A common mistake is centering too close to the bone, which can make letters warp over time. Expect moderate pain and one session under two hours. For an evening look pair the piece with a thin chain pendant necklace that sits just above the script to frame it without crowding.
6. Neo-Traditional Stitch with Floral Frame on Upper Arm
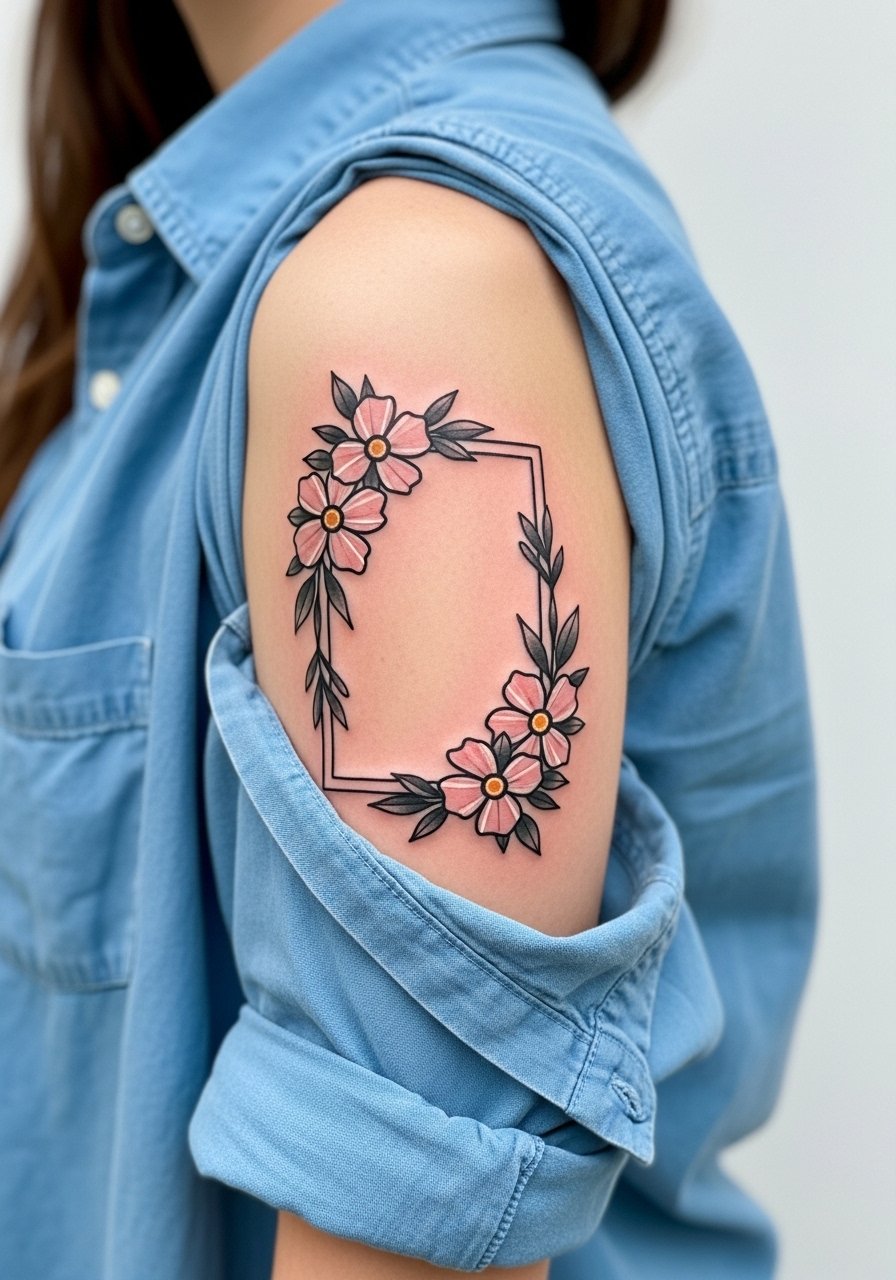
This approach uses bold outlines and saturated color that age predictably. When you sit down with your artist ask for fuller saturation in shadowed areas and slightly larger petals in the floral frame so the shapes hold into year five. A common error is cramming too many tiny flowers which resolves into blotchy shading later. The session can span three to four hours depending on color. For the appointment wear a loose button-down shirt you can pull aside so the artist has clear access.
Studio Day Picks
The small forearm, collarbone, and finger pieces above benefit from a different prep set than larger arm work, so these picks smooth the session and the first week of healing.
-
Stencil transfer paper kit. Lets you preview the exact placement on skin so micro designs like the finger and behind-ear pieces sit where you expect.
-
Topical numbing cream. Applied per the product instructions it can ease the sharp sensation on fingers and ankles during brief sessions.
-
Thin protective film roll. Ideal for wrist and collarbone work that faces clothing friction in the first 48 hours.
-
Fragrance-free body wash. Gentle cleansing supports fine line pieces healing on the forearm and chest without stripping pigment.
-
Aquaphor healing ointment. A thin layer during the first days helps keep delicate linework moist and reduces pesky scabbing that can pull on tiny stitches.
7. Minimal Outline Stitch on the Ankle Wrap

This wrap-around placement uses the ankle curve to create motion in a simple outline. Tell the artist you want slightly bolder outer lines where the band meets the bone so the design does not fragment with shoe abrasion. Mistakes include placing the main focal point directly on the bone which causes distortion and faster fading. Expect a short session and follow-up touch-up in two years if you wear a lot of ankle-friction footwear. For showing it off choose sandals or cropped pants and a simple open-back midi dress for evenings.
8. Stitch Portrait as a Small Chest Piece (Sternum Framing)

Sternum work is intimate and ages based on movement and sun exposure. Artists split on doing highly detailed small portraits here. One camp says the chest stretch blurs tiny lines within a couple of years. The other camp argues that with correct needle depth and spacing it can settle well. Ask your artist where they land and request slightly larger key features so details remain legible. Expect higher pain and longer session time. If you plan to show it in summer choose tops with a clean neckline to reveal just the area.
9. Stitch Sleeve Element in Dot Work Style
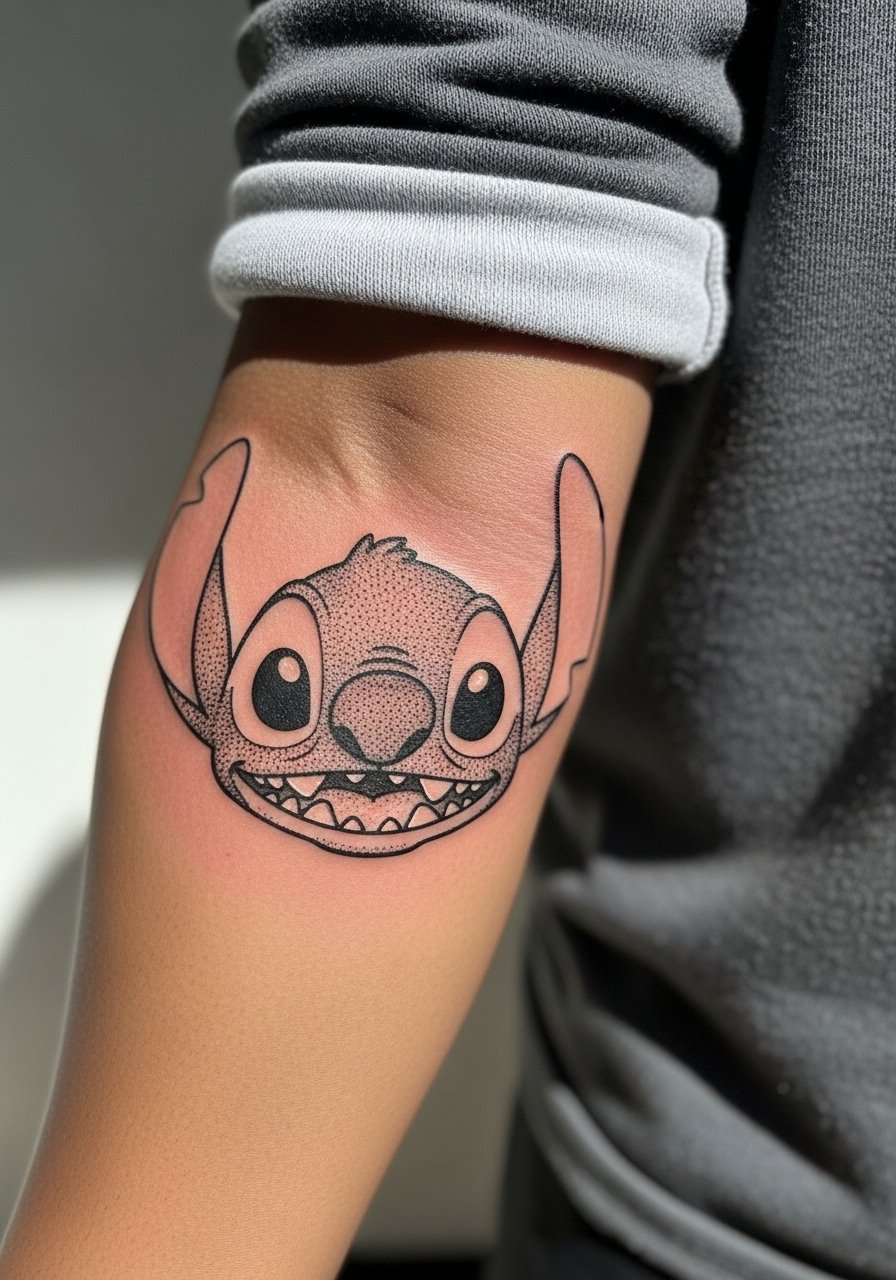
Using stipple and dot work around Stitch adds texture that holds well as it heals. During consultation say you want the dot density lighter near joints so the work does not merge with motion. A common error is packing too many dots into small spaces which resolves into muddy shading over time. Sessions are modular, often two to three sittings for a full element. For when the sleeve comes together, rolled-up linen shirts frame the outer forearm without competing, try a rolled-up linen shirt.
10. Geometric Patchwork Stitch on the Calf

Calf placements tolerate slightly denser geometric work because the skin is thicker. Ask for clean negative space planning so the shapes maintain contrast as the piece settles. A mistake is pushing tiny triangles that lose definition when legs rub during activity. This piece feels moderate in pain and often finishes in one long session. Expect the design to hold color and contrast longer than wrist work, with touch-ups mostly for color refresh rather than line rescue.
11. Stitch Peeking from a Sleeve, Shoulder Cap Accent
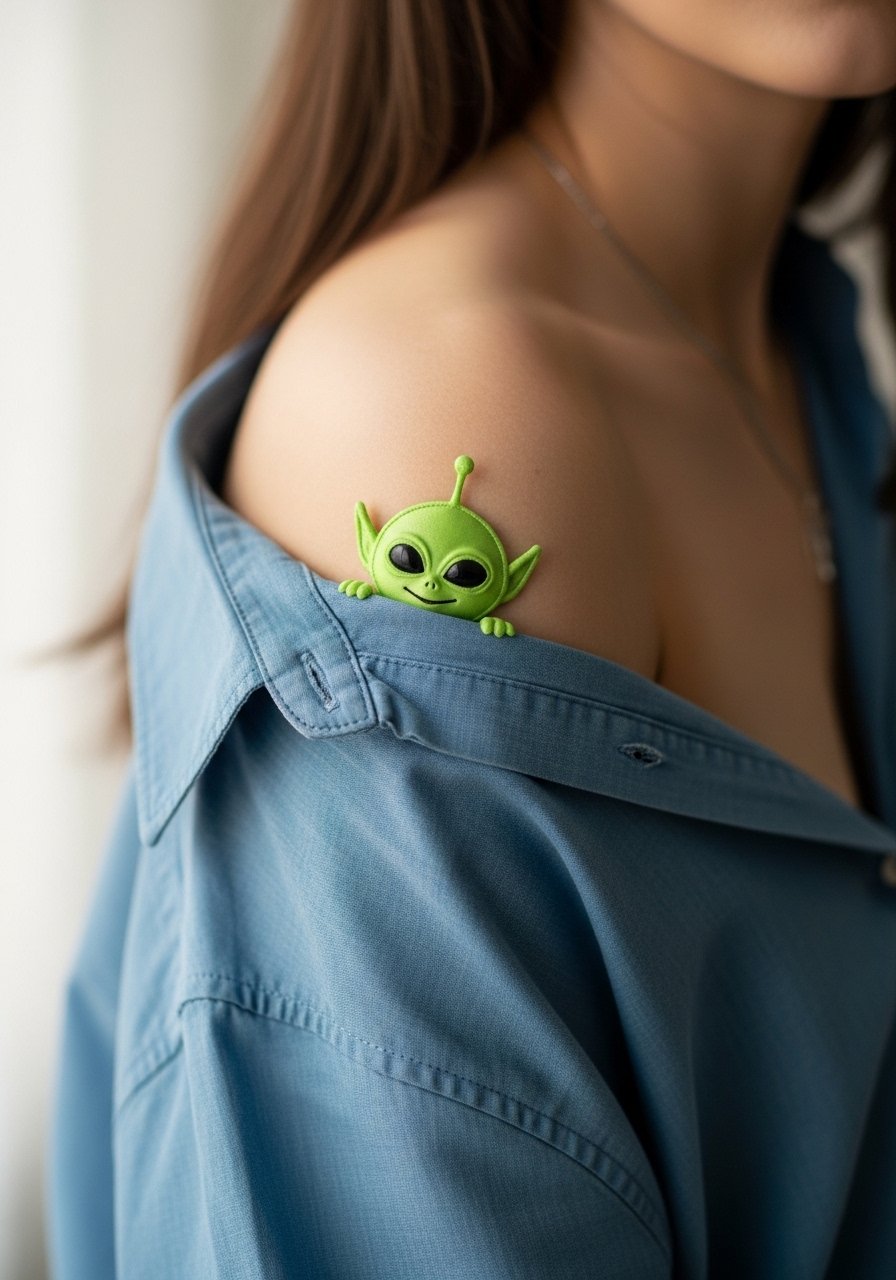
A shoulder cap accent is low-friction and ages nicely. Tell your artist you want softer whip shading around the edges so it blends into future work if you add more pieces. The common mistake is making the accent too central which limits expansion later. Sessions are quick and pain is mild. For the session wear a loose button-down shirt so you can move your arm freely and the artist has good access.
12. Two Matching Tiny Stitch Anklets for Siblings
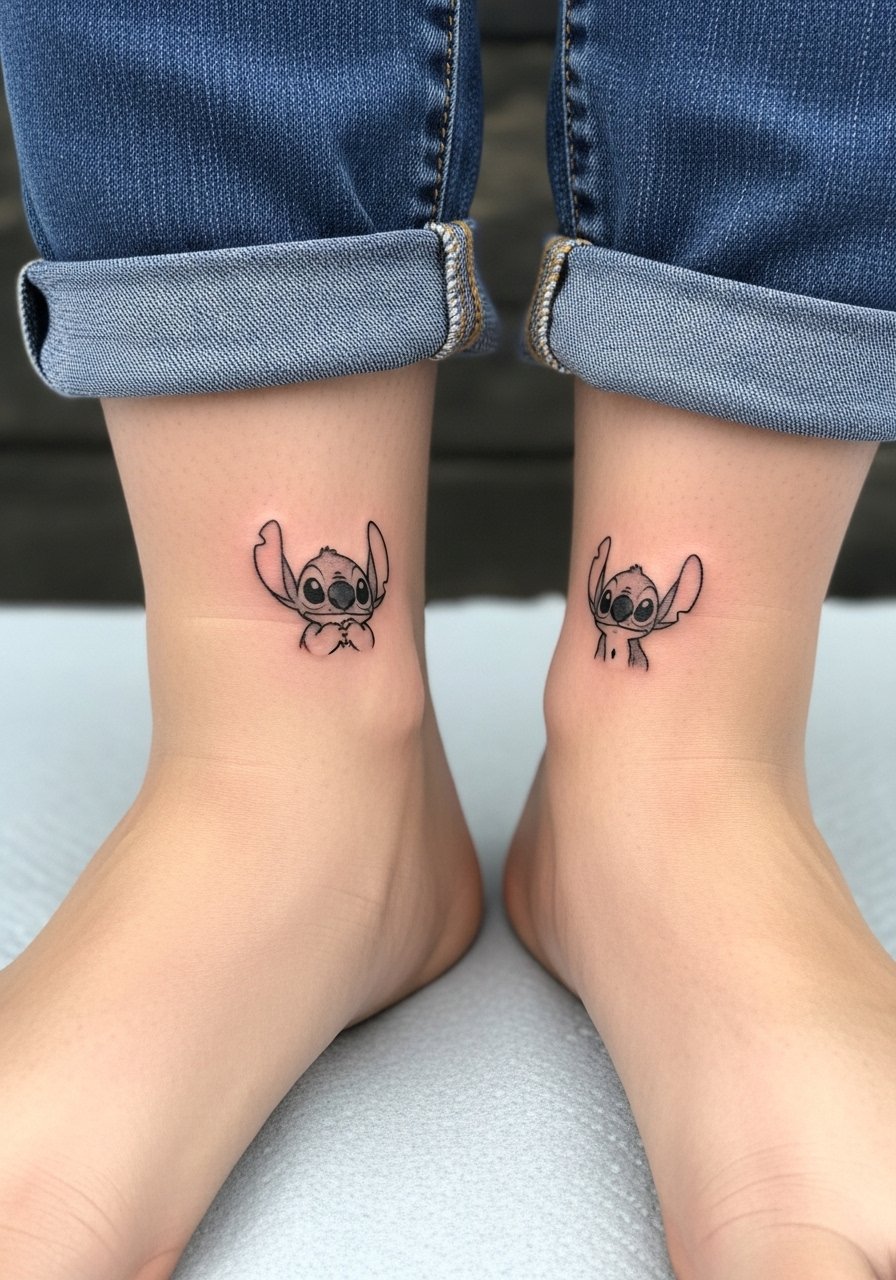
Matching tiny anklets make a discreet twin or sibling piece but they require sizing discipline. A big mistake is copying a full portrait into tiny anklets. Simplify to a silhouette or a small emblem so the ink reads long term. Each ankle will likely need a touch-up sooner than larger placements. Sessions are short and people often book them together, which helps with shared pain pacing. For showing coordination, wear cropped denim that reveals the anklets evenly.
13. Linework Stitch Along the Ribcage
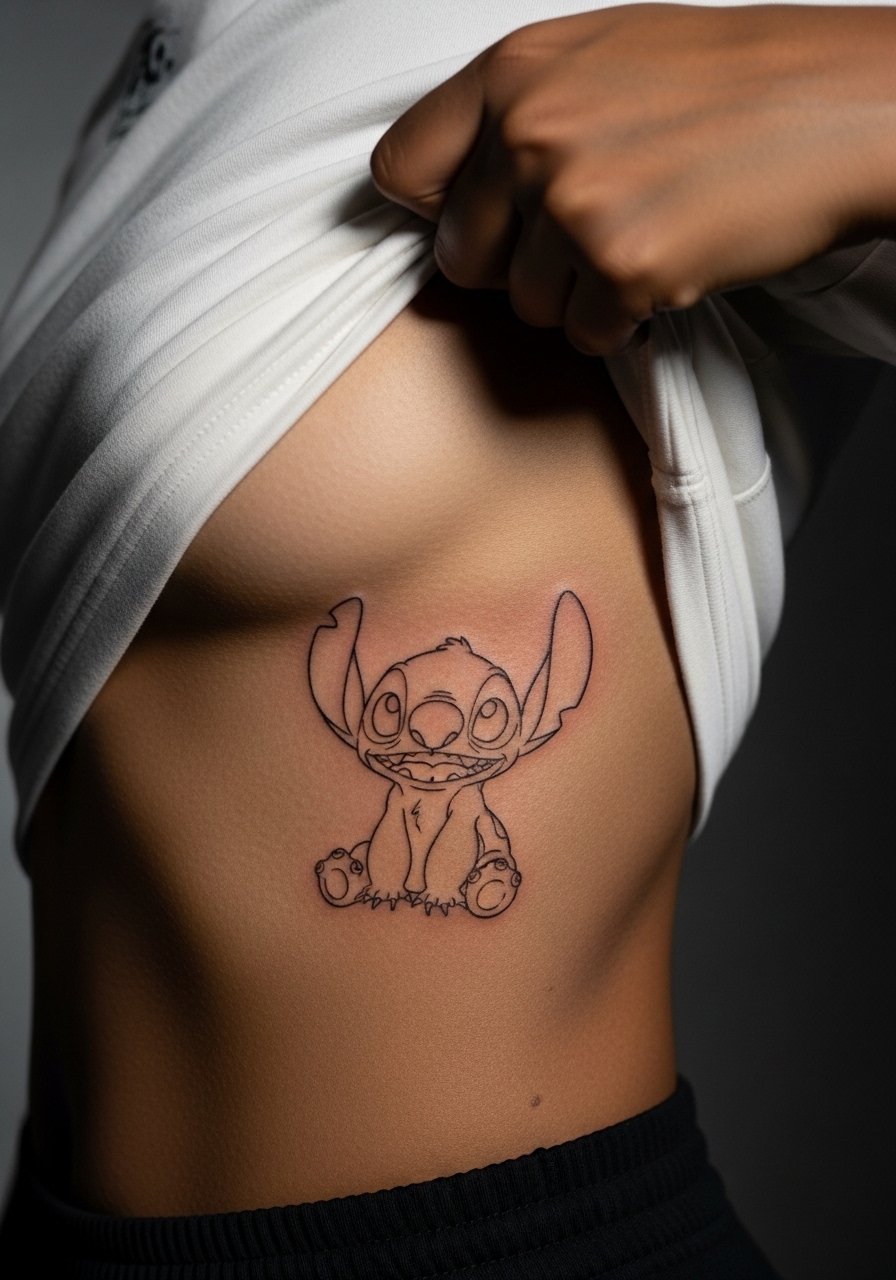
Ribcage placements present a known debate among artists and clients. One camp says the ribs' constant expansion and contraction blur fine line pieces within a couple of years. The other camp says with proper spacing and slightly deeper placement the lines can hold up. I recommend spacing lines and keeping the scale a touch larger than your saved photo so the pattern breathes. Expect high pain and the possibility of a touch-up at year three. For the session wear a cropped top you can lift so the artist has unobstructed access.
14. Tiny Stitch on the Hand Side
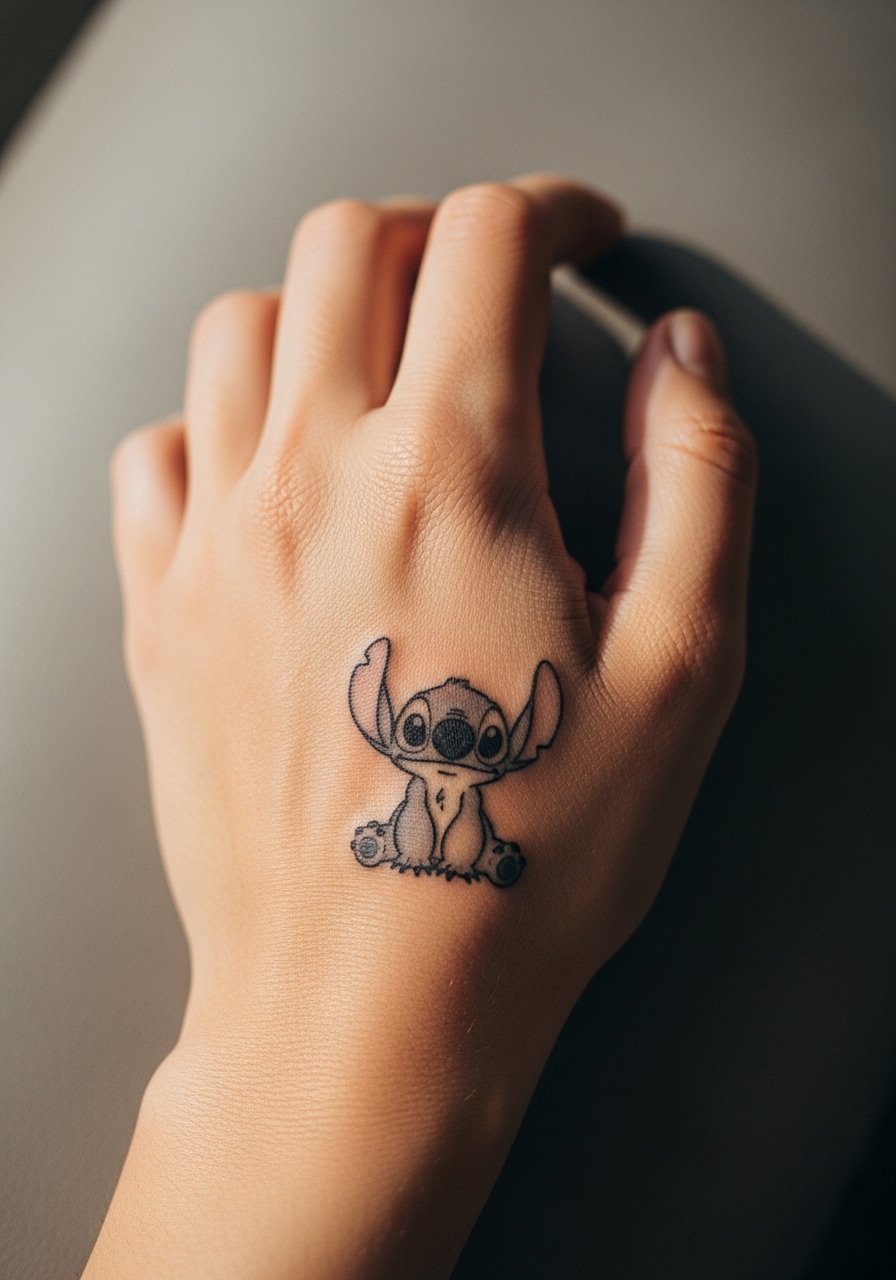
Hand tattoos face heavy wear and industry hiring concerns in some fields, so consider career implications before committing. The main technical mistake is asking for dense shading in such a mobile zone. Keep the design simplified with bold contours that resist washing out. Expect frequent touch-ups and slower color retention. Session pain is moderate and the aftercare window requires attention to avoid excessive moisture. For showing subtlety, pair with a minimalist watch that sits opposite the tattoo so accessories do not rub the ink.
15. Stitch as a Small Back-of-Neck Accent
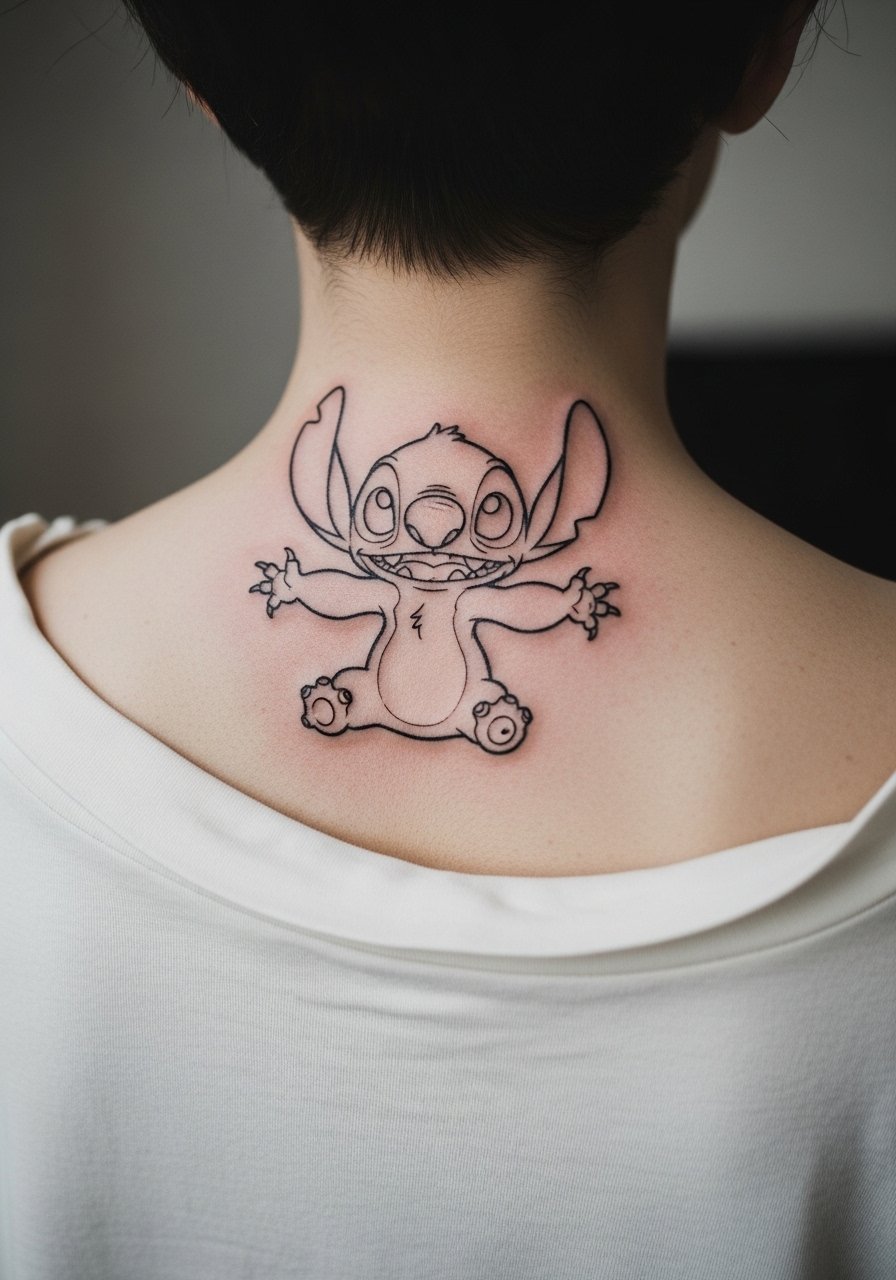
Back-of-neck tattoos are easy to hide or reveal, but they need careful sizing for movement and hair growth. Ask for slightly bolder main lines because hair follicles and sun exposure can soften tiny strokes. The session is short and the pain is lower compared with ribs. A bad move is picking ultra-delicate cursive alongside the piece which competes for attention. For showing it off pick shirts with wider necklines or a simple updo on hair days.
16. Full Back Scene with Stitch and Island Motif
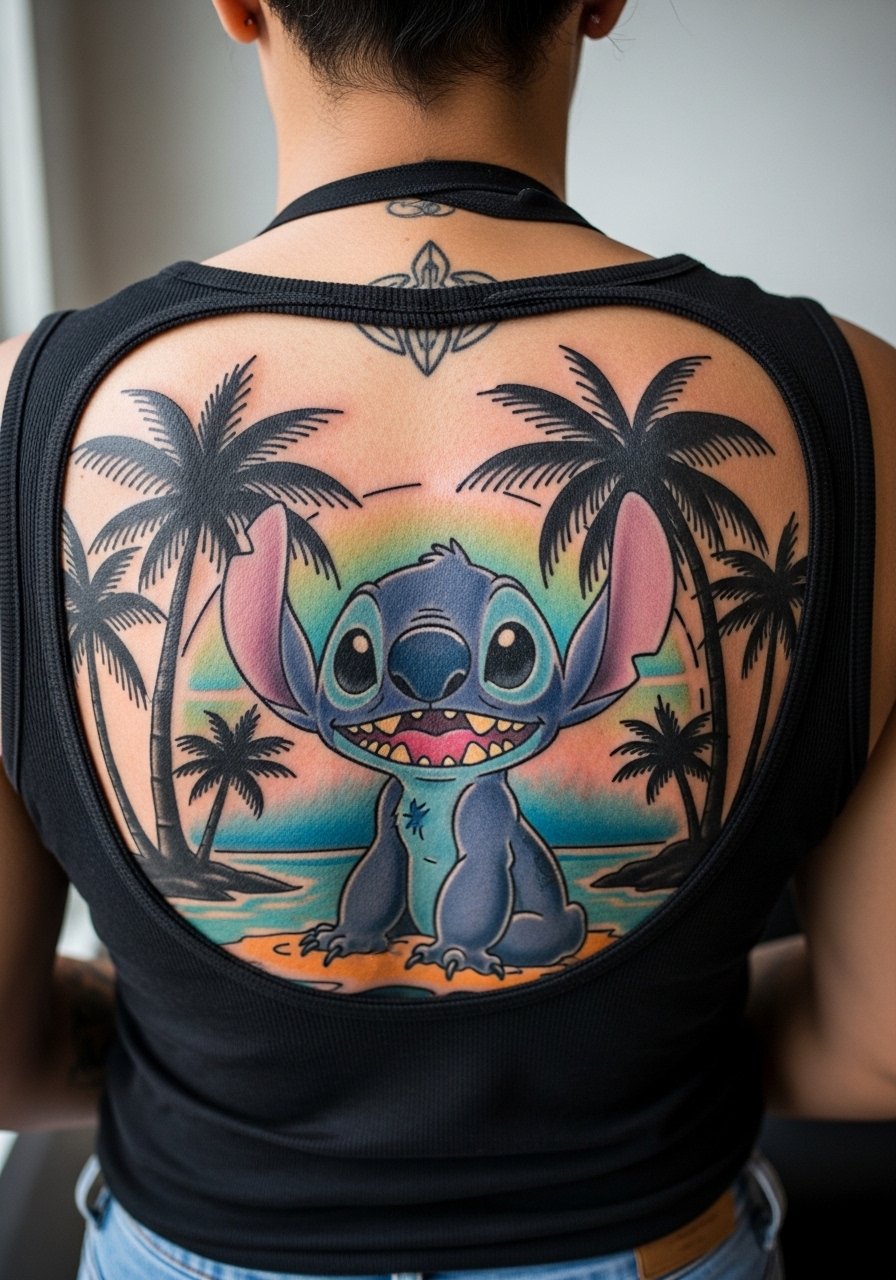
A back scene is an investment and it pays off when scaled correctly. Tell the artist you want large focal shapes and negative space for breathing so the scene reads from a distance and keeps detail up close. Common mistakes include over-detailing small background elements which vanish with time. Sessions are multiple and may span several days. For session comfort wear a tank top or a button-down you can adjust so the artist accesses the entire back without irritation.
17. Stitch Constellation Wrist Band
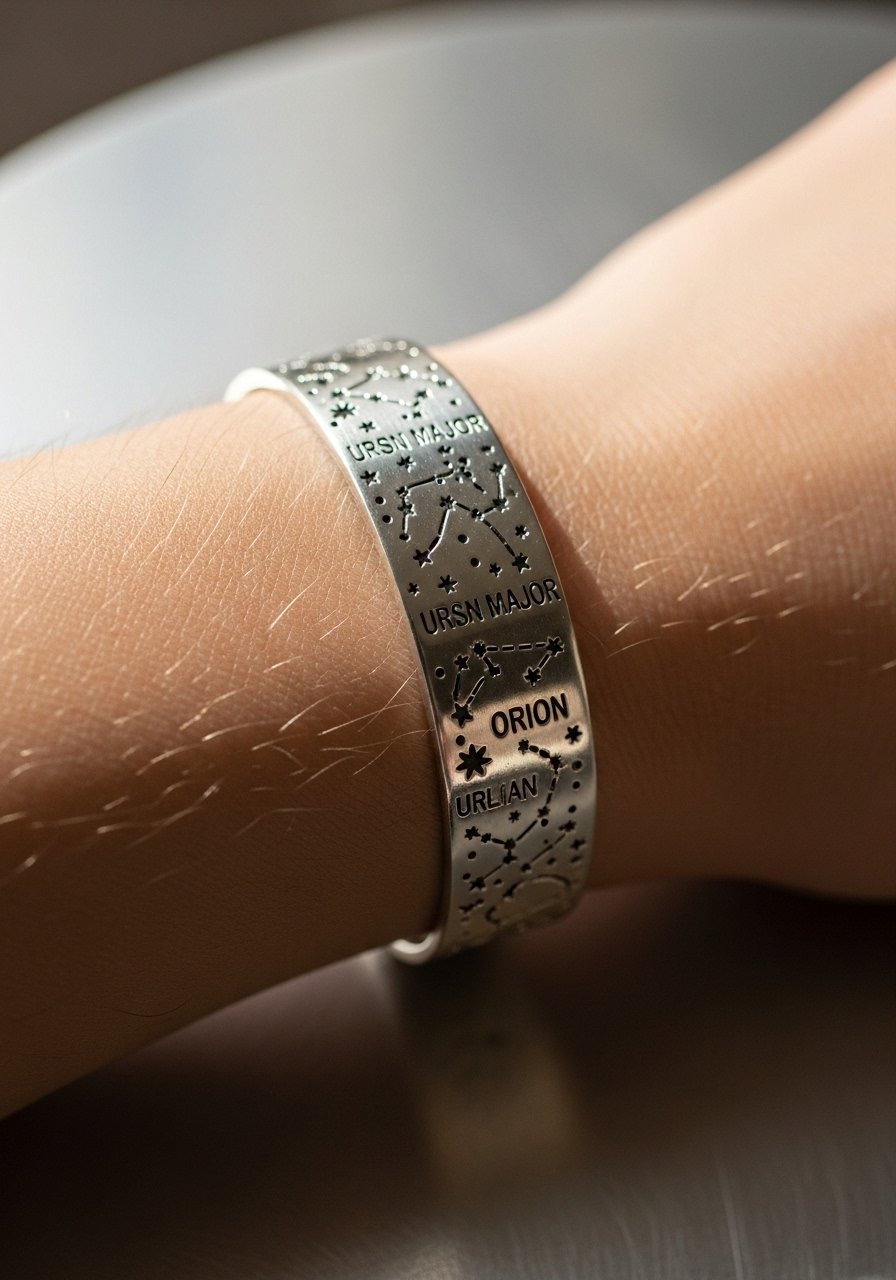
A constellation band pairs Stitch silhouettes with stars and dots for a delicate effect. During consultation request slightly larger gaps between stars so dot work does not fill in. The common mistake is packing too many tiny dots into a narrow band which becomes a gray smudge over time. Expect short sessions and a touch-up at one to two years for dot density. For the appointment bring a comfortable sweater with sleeves you can pull up, and for showing the piece consider stacked dainty bracelets that frame without covering the band.
Frequently Asked Questions
Q: Does tattooing a copyrighted character like Stitch cause legal or artistic issues?
A: Artists and collectors are split into two camps. One camp treats character tattoos as personal fan expression and sees them as common practice. The other camp warns about direct copying of trademarked art and prefers stylistic reinterpretations instead. My advice is to ask your artist how they approach copyrighted designs and whether they plan a custom reinterpretation so the piece feels personal and avoids trace-style duplication.
Q: How should I modify a stitch portrait to make it hold up better on high-friction spots like fingers and ankles?
A: Simplify shapes, increase key outline weight, and space details slightly larger than the reference. Ask for anchor points in black around eyes or edges so the visual read remains as color fades. Expect more frequent touch-ups for fingers and ankles than for thicker-skinned areas.
Q: Can I combine Stitch with floral or geometric elements without losing character detail?
A: Yes, combining works when you give the character breathing room. Keep florals slightly larger and use negative space so the Stitch head remains the focal point. Tell the artist during the consultation you want a clear hierarchy between character and ornamentation.
Q: Will fine line Stitch pieces need touch-ups sooner than bold traditional ones?
A: From what I've seen, fine line generally requires touch-ups earlier than bold blackwork because the thinner channels can blur with time. Placement and sun exposure change the timeline heavily. Plan for a possible touch-up around year two to keep crispness.
Q: What should I wear to the session for a sternum or ribcage Stitch tattoo?
A: Pick a fitted sports bra or a cropped top you can lift slightly so the artist gets clean access without exposing more than the tattoo zone. A zip-up hoodie over a strapless top works well for travel to and from the studio.
