
Fine line Attack on Titan motifs look razor-sharp on camera but they split into two camps in practice. One group loves the delicate silhouettes for understated fandom. The other warns that tiny detail and repeated thin lines often blur faster than fans expect. If you want a minimal line Attack on Titan tattoo that still reads crisp at year three, the trick is placement, spacing, and the right session prep. The examples below show how to get it right.
1. Tiny Survey Emblem on Inner Wrist
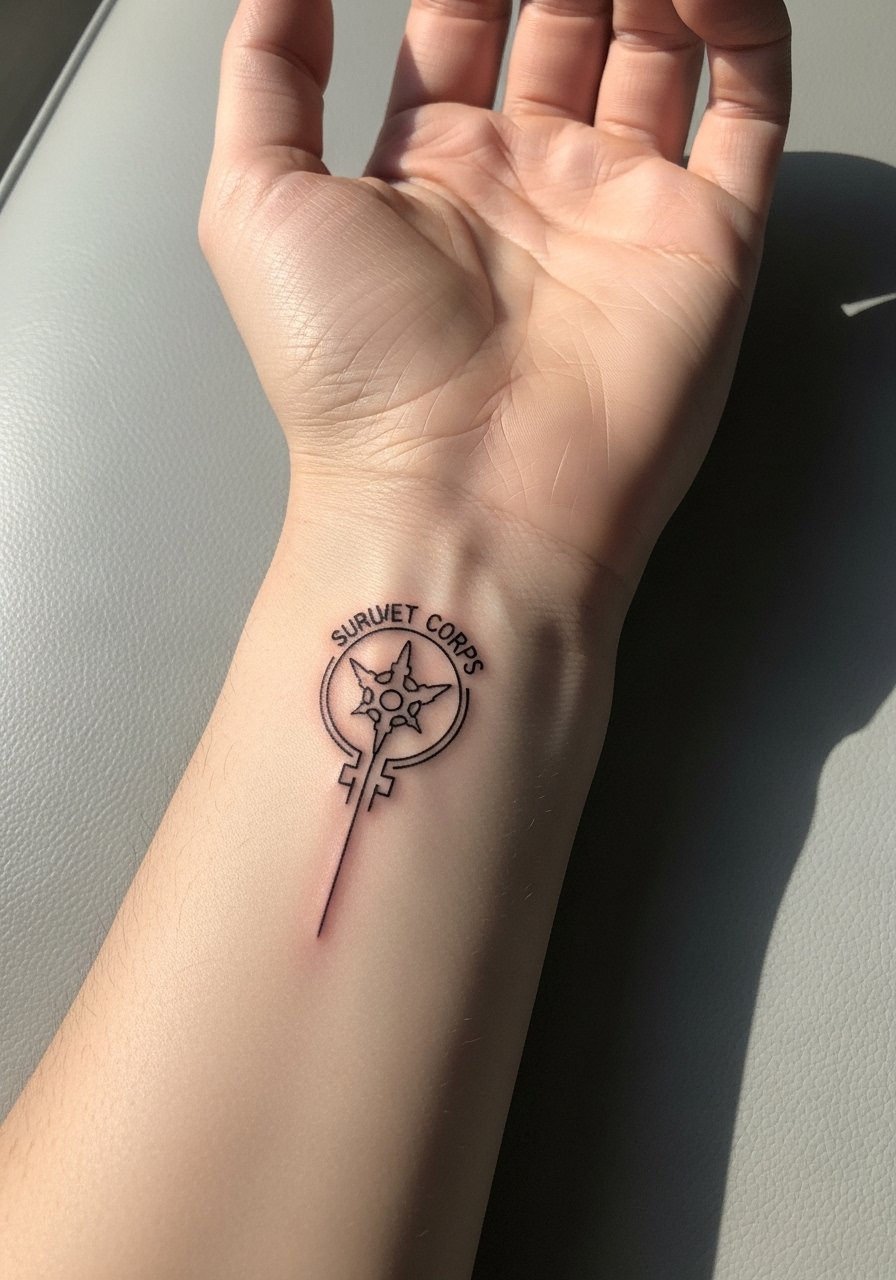
I've seen this tiny emblem on wrists that never needed a touch-up for four years, and on others that blurred in a year. Fair warning, wrist skin moves and washes a lot. Ask your artist for slightly bolder single-pass linework and a hair more spacing than the reference art. The session feels quick and stingy near the bone. Wear a loose button-down shirt the day of so the sleeve slides without rubbing the fresh tattoo. A common mistake is copying screen-sized details without scaling for wrist anatomy. Expect a light touch-up at year two if you want kept crisp.
2. Micro Eren Silhouette Behind the Ear

The behind-the-ear spot give subtle fandom energy that only shows when hair is up. Artists are split on whether delicate designs hold here. One camp argues the movement and thin skin blur lines quickly. The other says careful depth and spacing keep it fine. For consultations mention hairline placement and ask for a single thin outline rather than internal detail. This area needs a specialist who does micro work. For session access, pin your hair up and bring a clip so the artist can see the exact space to tattoo.
3. Minimal Titan Eye on the Collarbone

There is a real visual reward here because the collarbone frames the piece. Most people underestimate pain on the bone edge. If you want the lines to last, keep detail sparse and avoid tiny cross-hatching near the bone. Tell the artist you want clear single-line contour with negative space inside the eye. For showing it off, pair the placement with a thin chain pendant necklace that sits above the script so the tattoo reads like a subtle statement. The area often needs a touch-up at year three if you go too fine.
4. Slim SnK Script on Inner Forearm

I recommend inner forearm for any linear script tied to the series because the skin stays relatively flat and washes gently. Bring a few font options and point out the exact line weight you want. The biggest mistake is choosing a font that’s too condensed. In six months fine script usually reads clean. By year three, letters can weaken if lines were too hairline-thin. For session comfort wear a loose linen shirt with sleeves you can roll up easily. Expect mild soreness for a day and a touch-up possibility at two to three years.
5. Minimalist ODMF Gear on Outer Calf
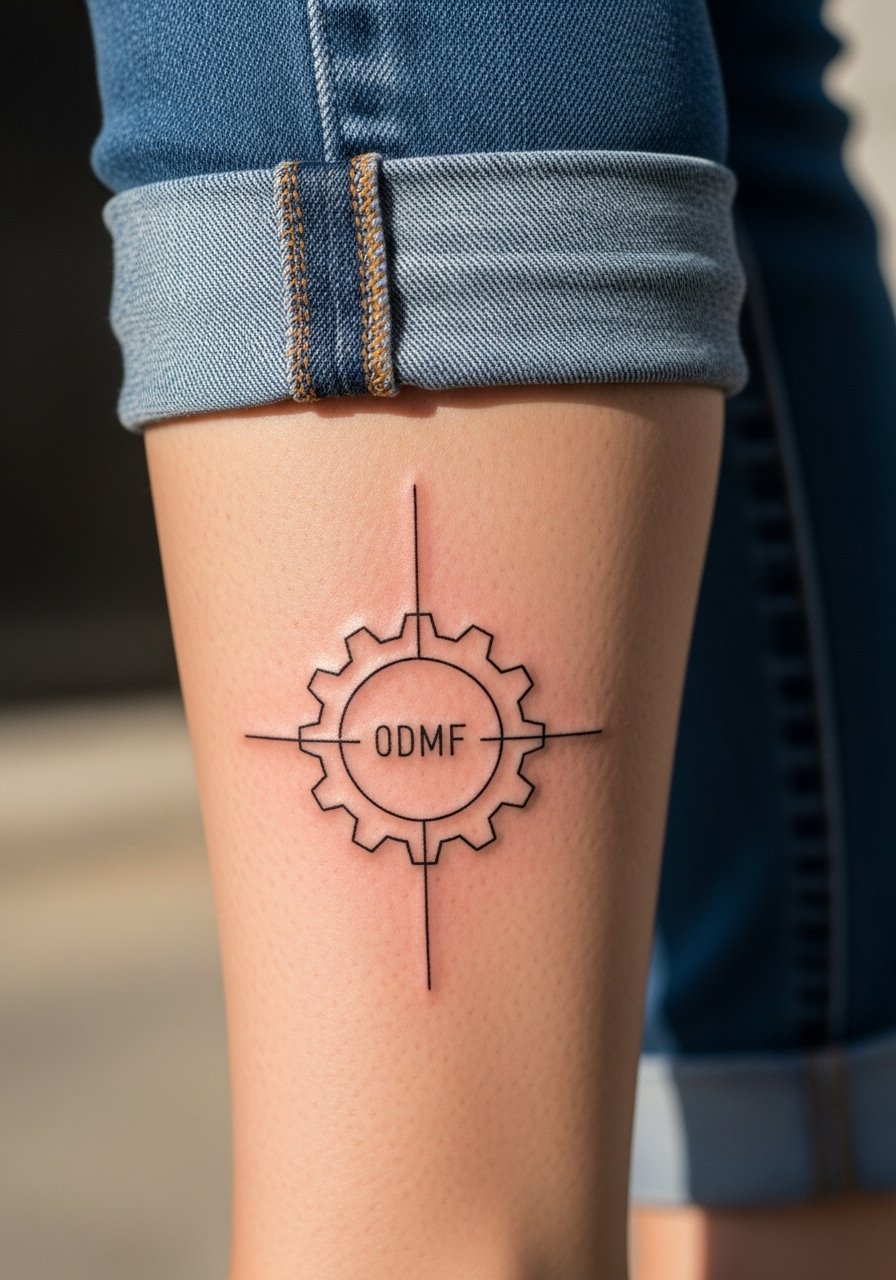
The calf is forgiving of slender detail thanks to thicker skin and lower friction than ankles. If you want longevity, opt for slightly increased line weight in curves and avoid super-tiny negative shapes inside gears. During the consultation say you want the piece to be readable at a distance. The session is comfortable but expect muscle twitching if the artist works along the side. When showing it off, roll jeans or wear cuffed linen shorts so the linework gets daylight without being crowded by socks or shoe collars.
6. Tiny Mikasa Knife Silhouette on Finger Side
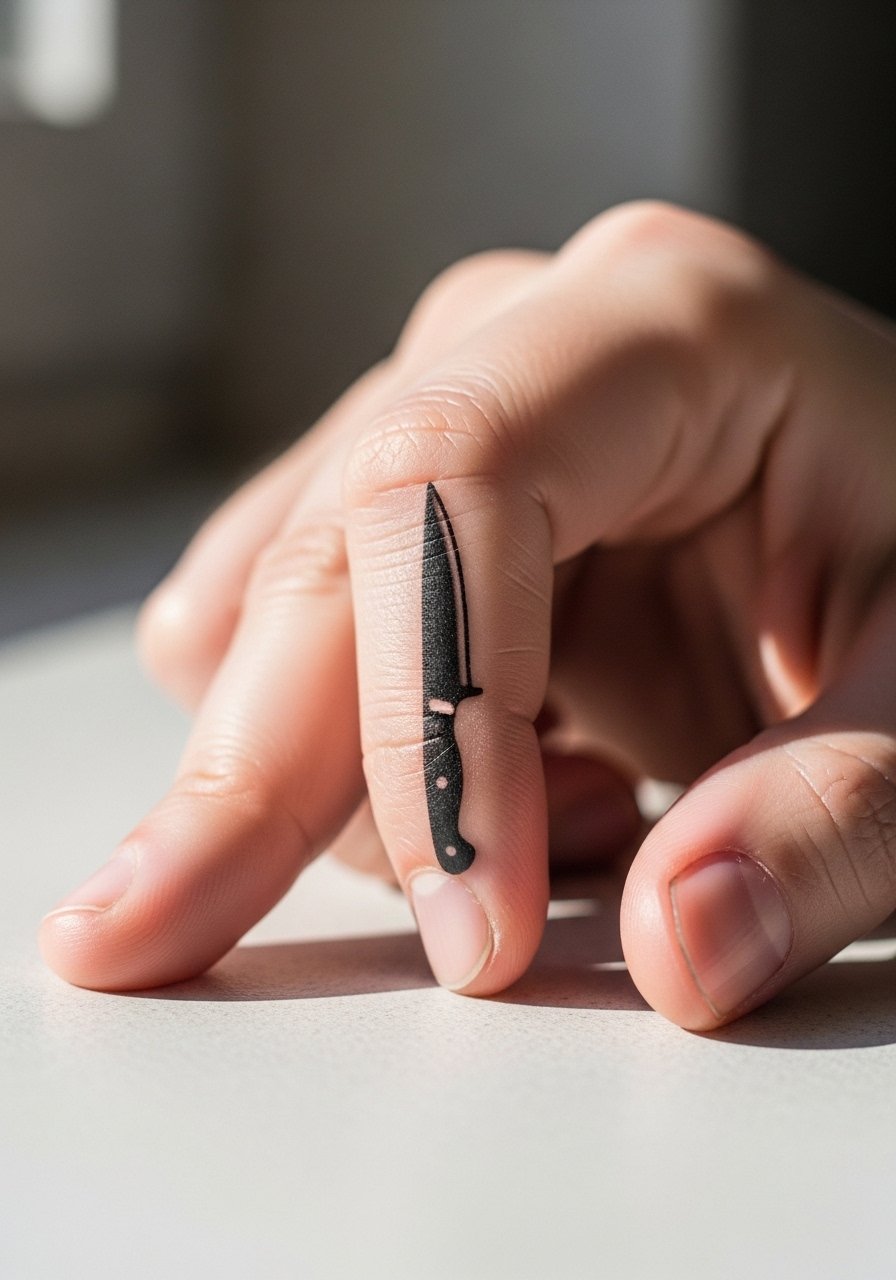
Finger skin sees constant friction and frequent washing. Most tiny finger tattoos fade faster than the same line on the forearm. Ask for slightly thicker outline and plan for touch-ups. The session is sharp and fast but can sting more because of thin tissue. For styling, thin stacked rings can frame the area without obscuring the silhouette. Avoid placing the blade on the joint. Hand tattoos may affect some workplace policies so think about career implications before booking.
Pre-Session Essentials
The wrist, collarbone, and finger pieces above all need different prep than larger limb work, and a short kit covers those needs.
-
Stencil transfer paper kit. Lets you preview exactly how minimal line details sit on curved spots like the wrist and collarbone before inking.
-
Topical numbing cream. Works for brief sessions on fingers and ribs to take the edge off without affecting the artist's line placement.
-
Thin protective film roll. Keeps small wrist and finger tattoos clean through the first week of frequent hand washing and friction.
-
Fragrance free gentle body wash. Gentle cleansing helps preserve tight linework on delicate areas while the skin heals.
-
Aquaphor healing ointment. A thin layer for the first days keeps the surface moisturized so minimal lines settle rather than crust and flake excessively.
7. Micro Survey Wings on the Side Neck
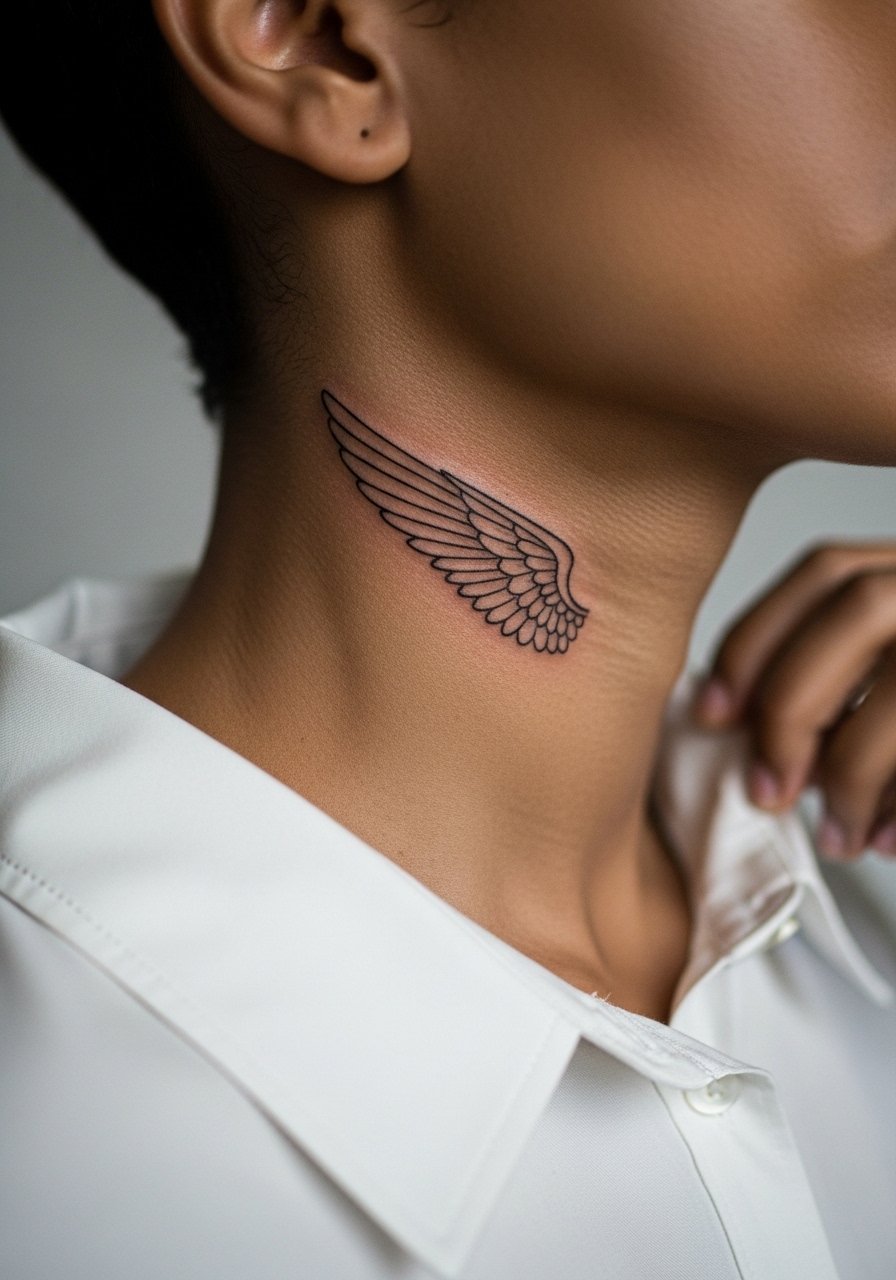
Neck placements demand conversation about career visibility and pain. The side neck allows for a slim motif that shows when collars are open. Tell your artist you want minimal internal detail and clean contour. One mistake is packing too many ticks and feathers into a small space. The session feels abrasive and buzzing near cartilage. For showing the piece, open collars and a wide-neck sweater frame it without looking intentional. Book an artist comfortable with micro placements.
8. Tiny Wall Rose on Upper Arm Outer Bicep
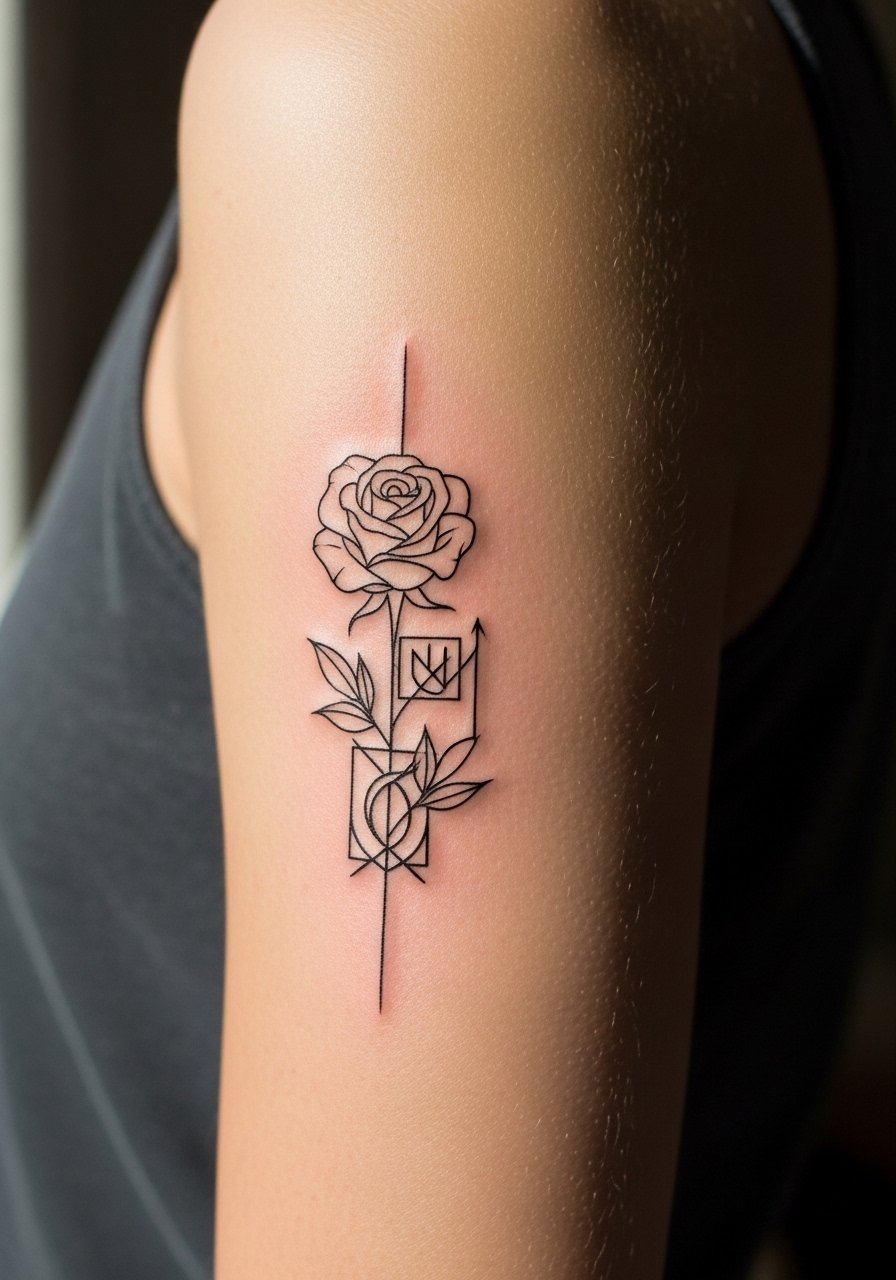
Outer bicep is forgiving and ages well when lines are delicate. I've seen roses in this spot remain crisp for five years when the line weight was adjusted slightly thicker than the reference art. In consultation, specify that you want negative space between petals to prevent merging over time. The session is low to moderate in pain. For show-off pairing wear a racerback tank so the piece reads with the shoulder silhouette. A touch-up window at year three is realistic for minimal work.
9. Stacked Minimal Coordinate Bars on the Ribcage

Fair warning, the ribcage is high on the pain scale, and thin linework there is controversial. One group of artists says the constant expansion of the torso blurs fine lines. Another group argues that with correct needle depth and spacing the lines can hold. Name the camp you trust during your consultation. For session wear bring a zip-up hoodie you can pull down so you stay warm between passes without rubbing the area. Small rib pieces often need touch-ups by year two or three if too hairline-thin.
10. Minimalist 3-Panel Ackerman Crest on the Sternum
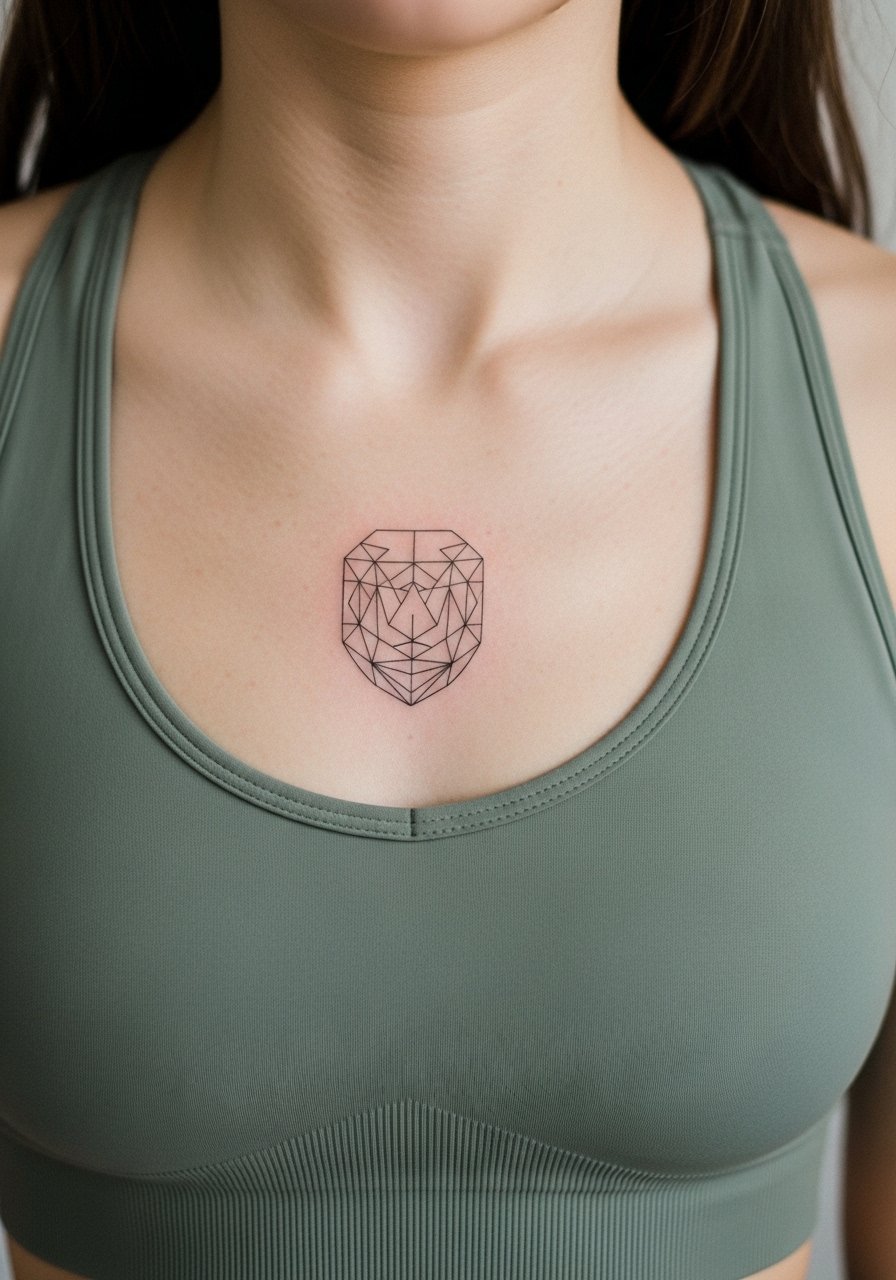
Sternum tattoos are intimate and require precision. The skin here can be soft and move with breathing, so avoid very dense details. Tell your artist you want clean single-stroke lines and room between elements. For the session wear a fitted sports bra you can unzip or pull down so the artist has controlled access. This placement is less visible day-to-day, so it is a good choice if you want a personal piece that rarely needs to be shown. Expect soreness when lying down for the first two nights.
11. Micro-Blade on Thumb Side

Thumbs are high-friction zones and the skin regenerates fast. Most micro pieces here need periodic touch-ups. Ask for slightly heavier contour so the shape still reads after frequent washing. The session hits sharp on the bone and the pad area which is sensitive. Keep in mind that hand tattoos carry more visible stigma in some workplaces. For showing off use thin stacking rings rather than bracelets so the thumb design stays visible and unobstructed.
12. Minimal Coordinate Script Along the Spine
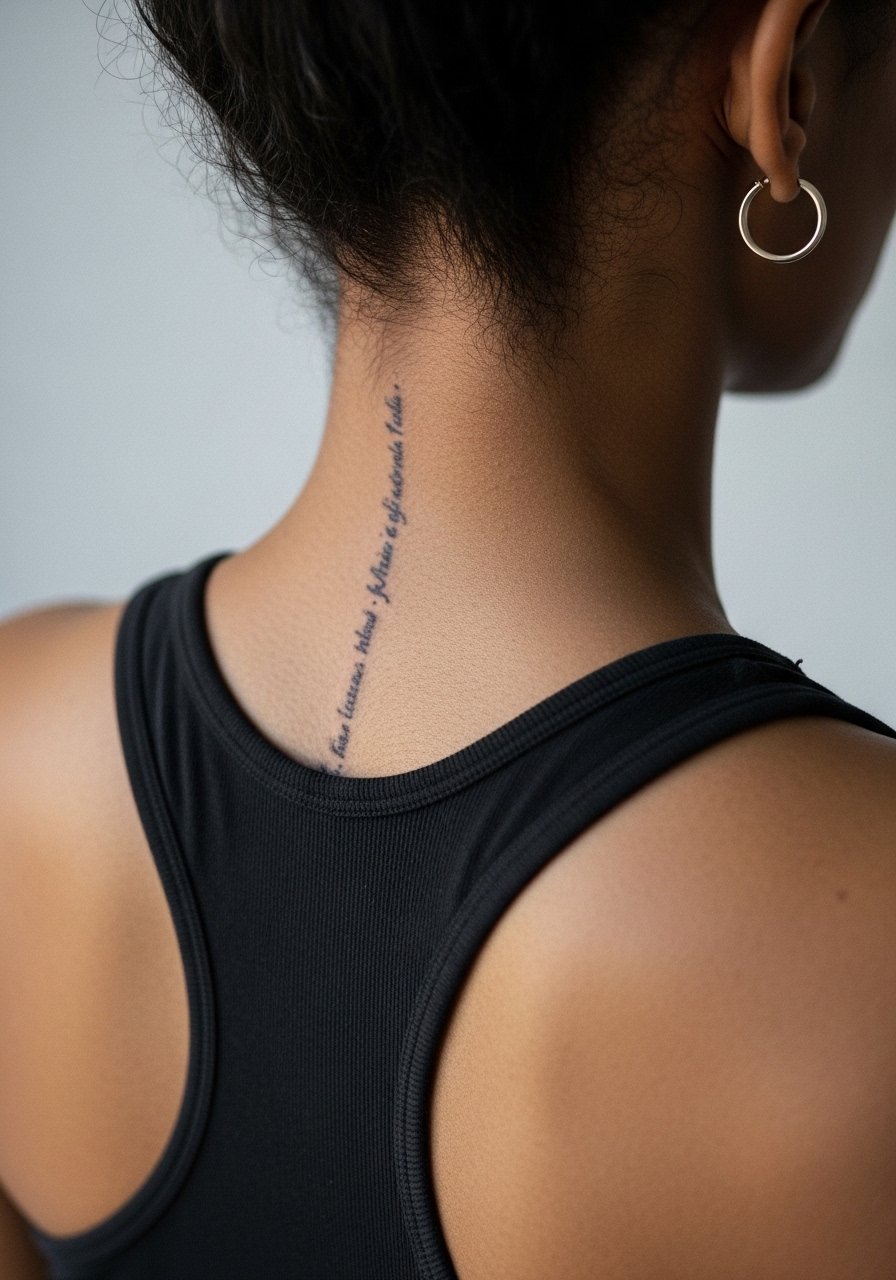
Spine placements look striking with uninterrupted vertical lines, but they demand experienced linework. The main mistake is compressing too many characters into a narrow column. During consultation, show the exact spacing you want. The session can be intense around vertebrae points. For showing, open-back tops or a racerback dress highlight the verticality without distraction. Expect touch-ups if letters begin to merge at year three.
13. Minimal ODM Gear on the Ankle Side

Ankle skin takes a beating from socks and shoes. If you want detail to hold choose slightly bolder curves and keep the design off the joint. The session is brief but can sting near the bone. For the appointment wear slip-on shoes or sandals so you do not press fabric against the fresh work when leaving. Expect fading faster than calf placements if friction is constant.
14. Minimalist Eren Silhouette on Upper Thigh

The upper thigh is forgiving and hides well while healing. I recommend this spot for slightly larger minimal silhouettes that still keep a discreet vibe. Bring loose shorts for the session so the artist can access the area without fabric pressure. For show-off moments, high-waisted skirts or shorts frame the piece. The biggest mistake is letting tight clothing press while the skin is sealing. Expect a comfortable session with moderate tenderness for a day or two.
15. Tiny Wall Titan Outline on the Calf Inner Side

Inner calf is a calm choice for pieces that need a little protection from sun and abrasion. Most minimal outlines here age well with only occasional touch-ups. Tell your artist you want a clean silhouette and no micro shading. Session discomfort is low. For showing, pair with mid-length shorts so the tattoo peeks without being crowded by sock lines. Consider how often you wear tall boots if you choose this placement.
16. Minimalist Scout Flag on the Side Rib

Rib placements are divisive for fine line work. One school says breathing and flexing blur thin lines. The opposing view is that with correct needle depth and spacing it settles fine. State your concern openly and ask which method the artist uses for rib micro work. The session is painful but quick. For the session wear a cropped athletic top so the area is easy to expose. Plan for at least one touch-up if the lines are very thin.
17. Minimal ODM Hook on the Outer Shoulder

Outer shoulder is one of the most durable spots for fine line. The skin is thicker and less exposed to friction. Say you want slightly increased spacing between parallel lines to avoid merging over time. The session is comfortable and quick. For showing off, wear a loose tank top or a short sleeve that sits just above the art so it reads naturally. Touch-ups are less frequent here than on hands or ribs.
18. Micro-Constellation of Titans on the Ankle Top
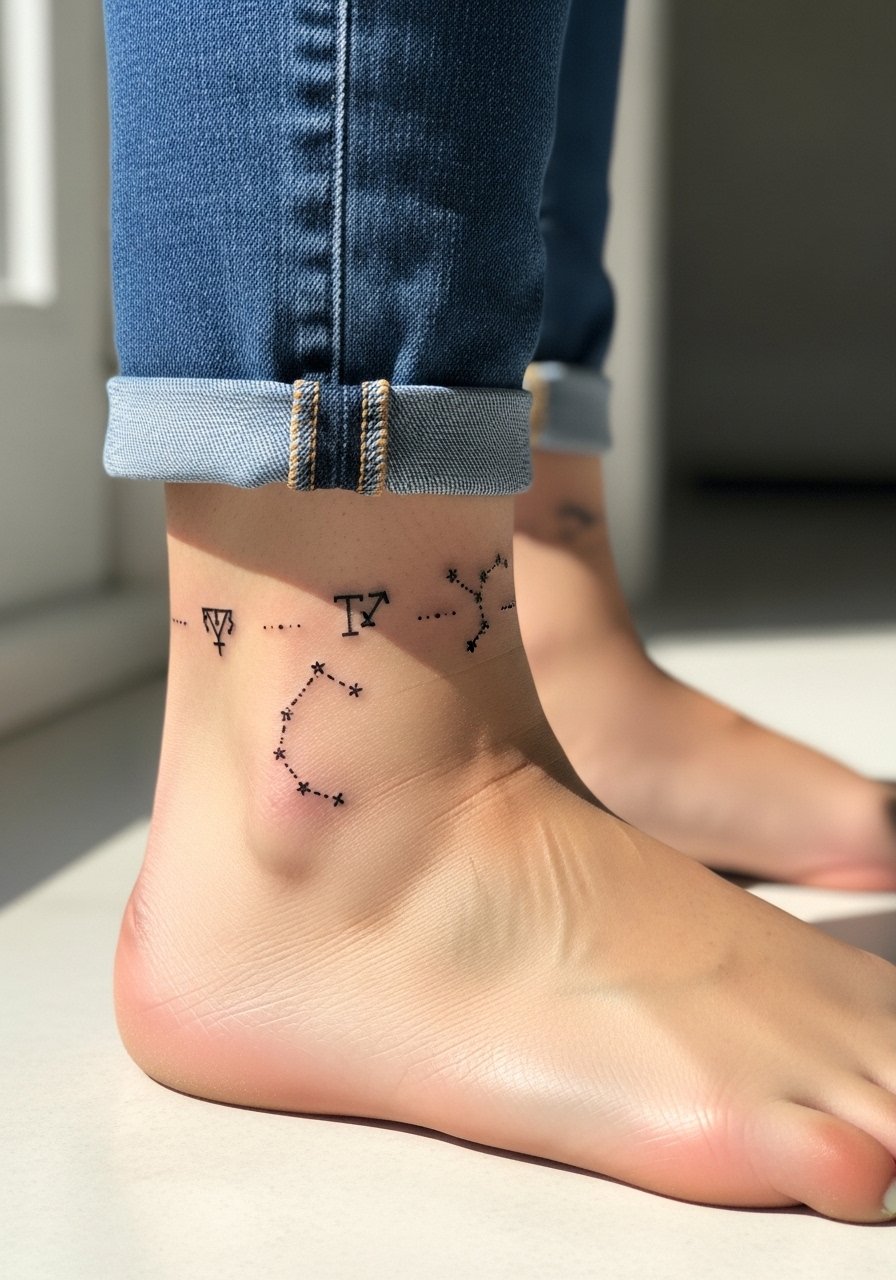
Top of the ankle shows well but takes hits from footwear. Keep motifs small and spaced so each symbol breathes. A typical mistake is packing multiple tiny marks on the joint. The session is a sharp sting in small bursts. For styling wear low-profile sneakers or sandals that do not rub the area afterward. Expect to revisit the artist in a year or two for refreshes if shoes constantly rub.
19. Minimalist Scout Wings on the Back of the Shoulder
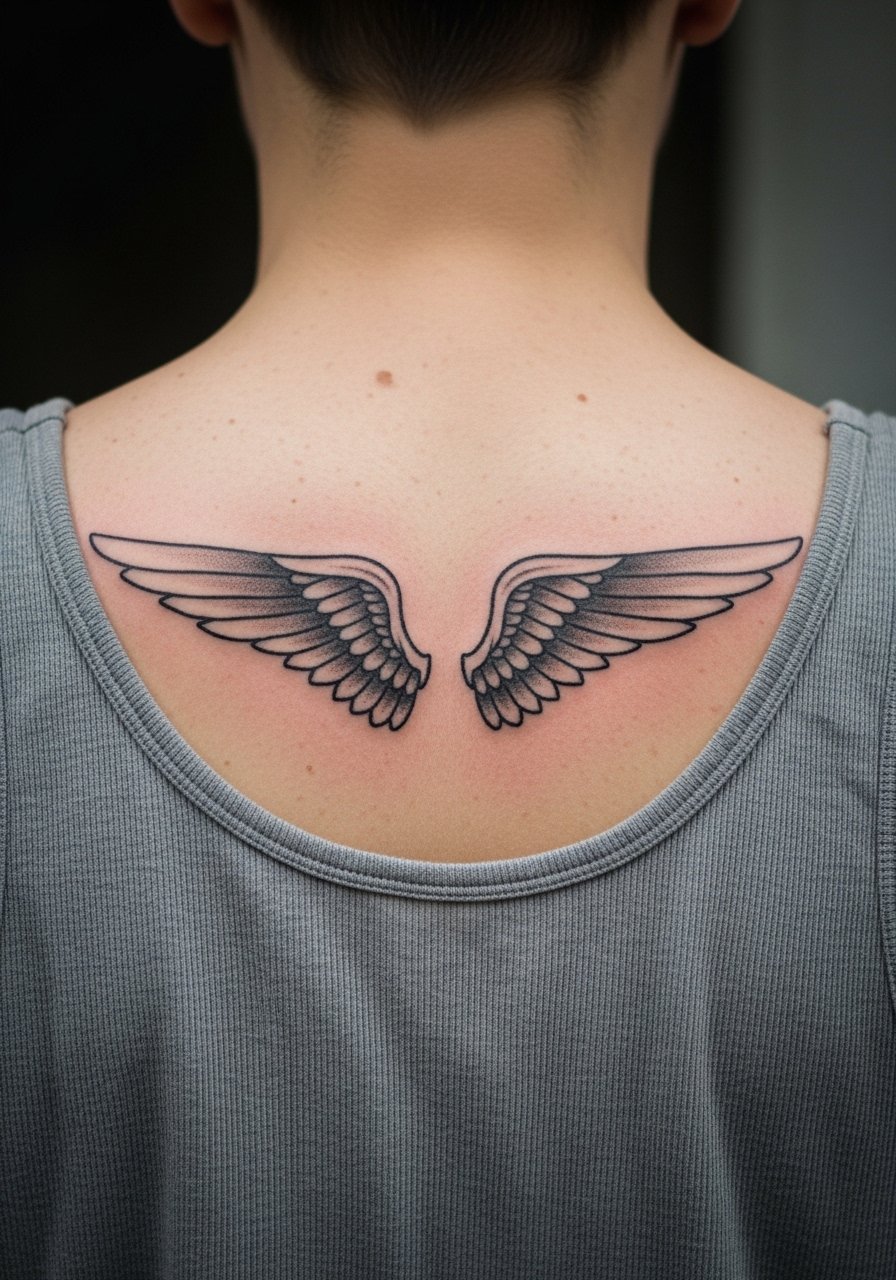
Back of shoulder allows slightly larger minimal designs with good longevity thanks to low friction. Tell your artist you want the lines to read at arm length and to avoid overly intricate interior detail. The session can be done seated or on a table depending on the studio. For showing the piece, an open-back or strapless top works well. Consider a light touch-up at year four for high-contrast minimal pieces.
20. Minimalist Coordinate Bars on the Wrist Wrap
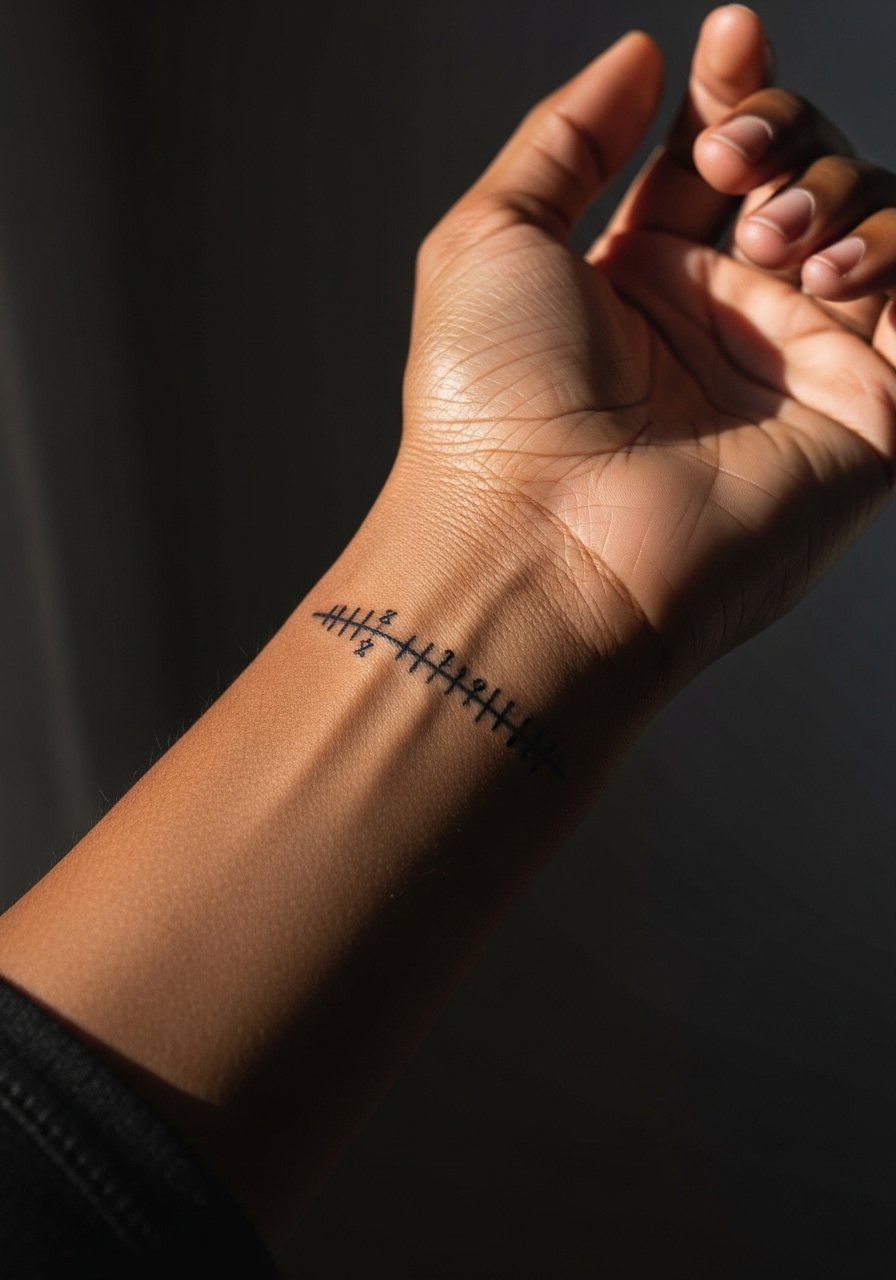
Wraps that go slightly around the wrist face more friction where the band meets the palm. Ask for a break in the wrap at the inner wrist so the art does not rub constantly. The session is brief and sensitive. Wear a loose button-down shirt for exit so fabric does not press the fresh wrap. Expect touch-ups sooner than a straight forearm line because of hand movement.
21. Minimalist Helm of a Titan on the Upper Chest

Upper chest tolerates minimal linework well when the piece sits off the sternum. The main mistake is pushing too much detail onto a small chest patch. Say you want clear outer contour with interior negative space. The session can be tender near the bone. For showing, wear a wide-neck tee that exposes the piece without overreaching. Clean lines here age well with normal sun care.
22. Micro-Outline on the Side of the Finger
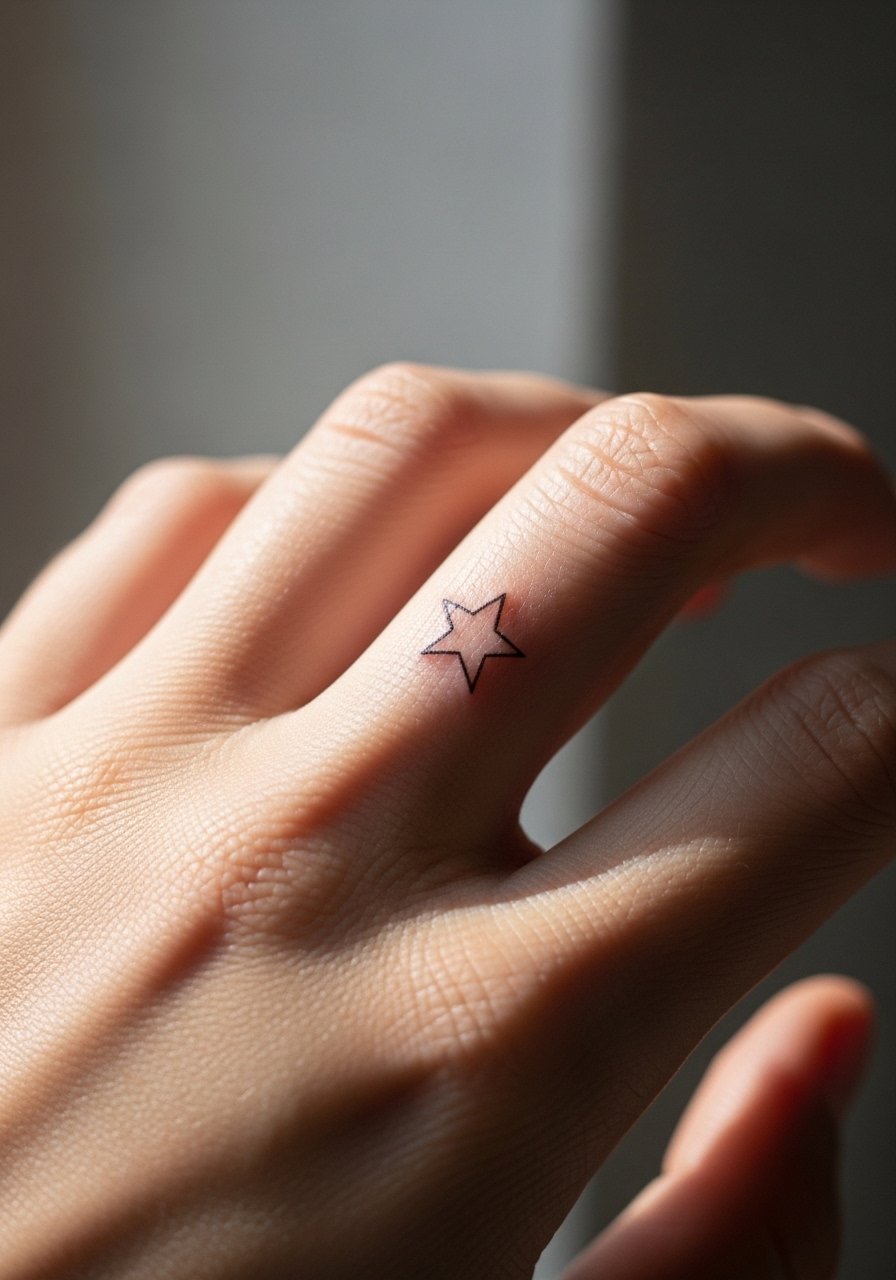
Side finger tattoos often fade fast because the skin is thin and regenerates quickly. Most artists will warn you about longevity. For this tiny outline ask for an artist experienced in hands and expect periodic touch-ups. The session is brief but can feel sharp. Keep in mind workplace visibility. Use thin rings to accent the area rather than wide bands that might frustrate the healing.
23. Minimalist Roaring Titan Line on the Rib Lower Side

Lower ribs flex a lot with movement. The controversy here is the same as upper ribs. Name the camp you trust during booking. If you prefer minimal longevity, place the design slightly forward on the oblique where skin has less stretch. The session is painful but quick. For session comfort wear a cropped tee and high-waisted jeans so you can reveal just the narrow strip without exposing your torso. Plan for a potential touch-up at a year.
24. Mini ODM Gear on the Side Hip
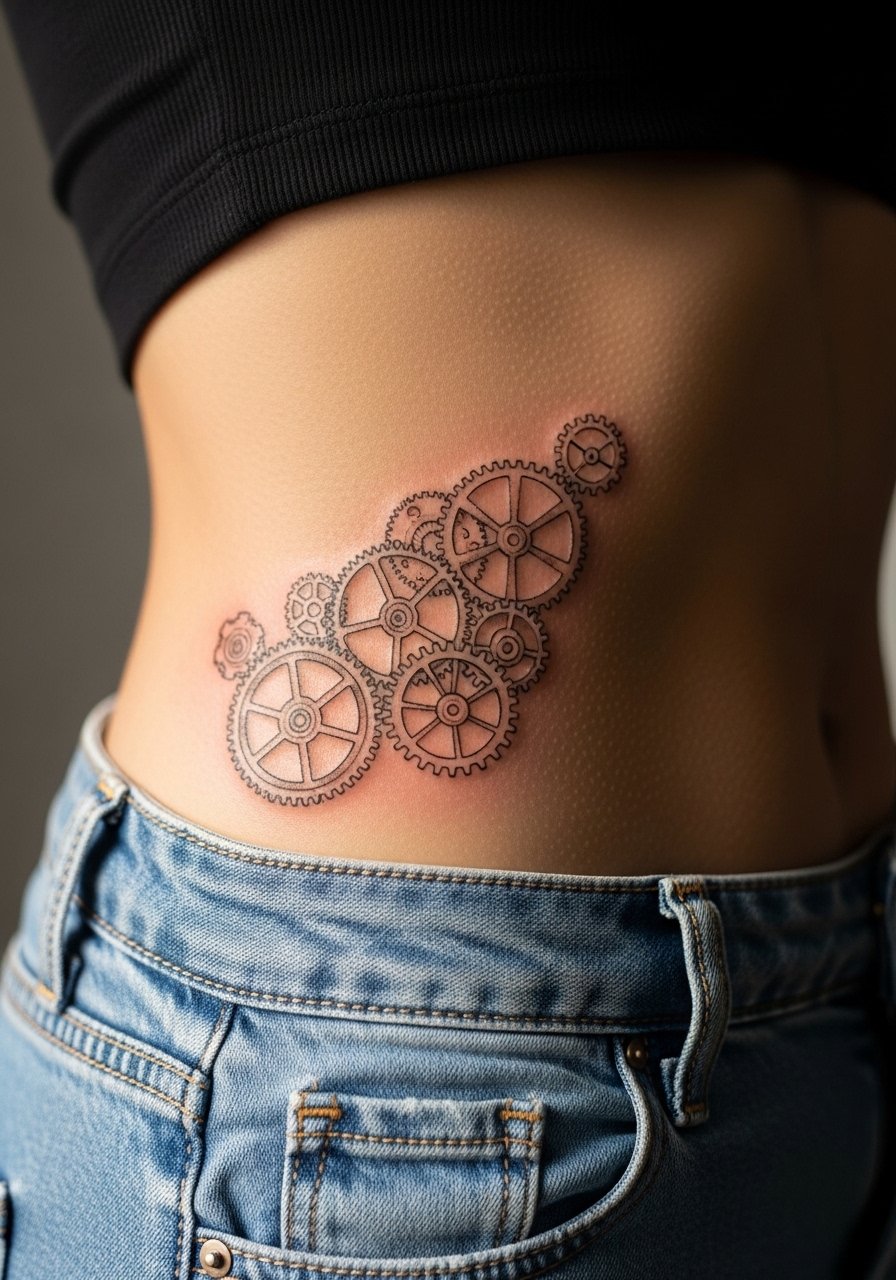
Hip placements hide well while healing and are comfortable for moderate sessions. The main mistake is putting too many small shapes into a small hip pocket. Ask for spacing to read under clothing. For the session wear high-waisted bottoms you can lower slightly so the artist has access without full exposure. For show-off moments choose swimwear or low-rise bottoms that reveal the motif intentionally.
25. Minimalist Titan Eye on the Upper Thigh Inner Side
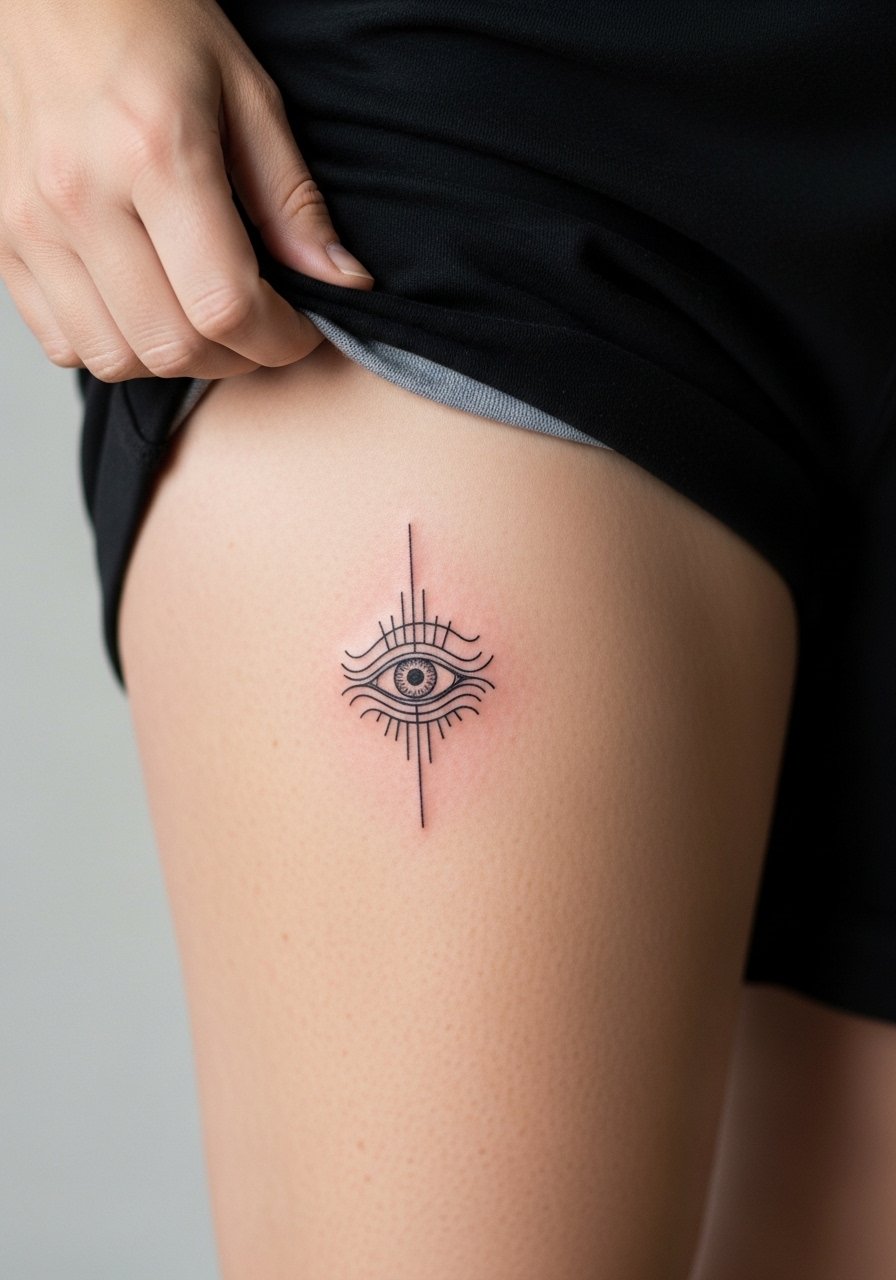
Inner thigh works well for pieces that you want private but bold. The skin here is softer so avoid too many micro details that can blur. For the session come in loose shorts you can shift slightly without pinching the skin. This area is great for designs that age without daily sun exposure. Expect tenderness for two to three days and minimal public visibility while it heals.
26. Minimal Scout Emblem on the Lower Back

Lower back gives a wide flat canvas that preserves minimal detail well. Keep inner motifs simple and rely on silhouette to read. The session is comfortable but can be awkward for sleeping the first nights. For showing, a cropped top or low-rise waistband frames the area. Consider sun protection since lower back can see midday exposure with crop tops and low-rise bottoms.
27. Micro-Survey Compass on the Foot Instep
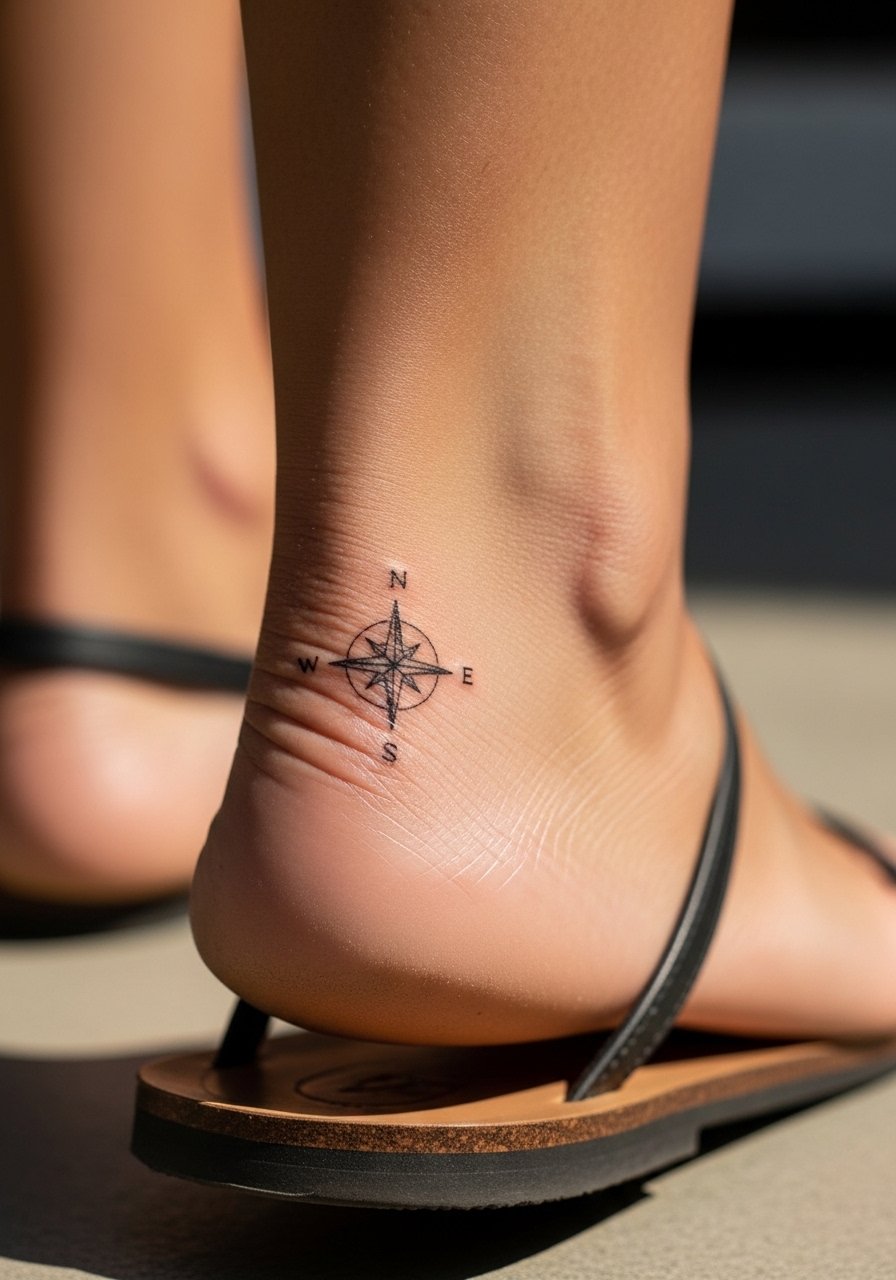
Foot instep tattoos face constant wear from shoes and walking. Expect quicker fading and possible need for touch-ups. Tell your artist you accept a simpler outline and slightly heavier key points. Sessions are sharp and the area swells more than limbs. For healing wear open sandals and avoid tight sneakers for two weeks. This spot reads well with ankle bracelets but avoid metal that could rub the fresh ink.
Frequently Asked Questions
Q: Will a minimal line Attack on Titan tattoo blur faster than a bolder blackwork piece on my ribs?
A: It depends. Ribs flex and breathe with motion so thin lines have more chance to merge over time. Bolder blackwork generally holds longer on ribs. If you love minimal lines, ask your artist for slightly heavier contour and extra spacing to help it age.
Q: How often should I expect touch-ups for fine line work on hands and fingers?
A: Plan for touch-ups every one to three years depending on friction and washing. Hands and fingers regenerate faster and face more abrasion. Choosing slightly thicker outlines helps, but touch-ups are common for these spots.
Q: Are there clothing tips to show off a collarbone Titan motif without exposing too much?
A: Yes. A wide-neck shirt or a thin chain pendant necklace draws the eye upward so the collarbone linework reads as a deliberate accent without needing deep exposure.
Q: Should I avoid getting micro details behind the ear because of hair movement?
A: Not necessarily. Behind-the-ear placements work if you place the art on the skin below the hairline and choose clean silhouettes. Tell the artist you want minimal interior detail and expect to pin your hair for sessions so the stencil stays accurate.
Q: Can minimal line tattoos be converted into larger pieces later if I change my mind?
A: Yes. Minimal linework often becomes the seed for larger compositions. Discuss future expansion in your initial consultation so the artist places lines with possible additions in mind.
