
Fine line and illustrative Billie Eilish tattoos can read like a mood board on skin, all neon accents, small portraits, and lyric snippets. The trick is picking a motif that will still read as you age, not just in the week of fresh ink. Below are 17 illustrative ideas that translate Billie-inspired imagery into pieces that wear well, with notes on placement, session feel, and what to ask your artist.
1. Fine Line Billie Portrait on Inner Forearm

I recommend the inner forearm for a small illustrative portrait because the flat canvas keeps linework readable and reduces blowout risk. Expect a three to four hour session for a portrait in fine line with subtle stipple shading. Tell your artist you want slightly heavier anchor lines around the eyes and jaw so the face still reads at year three. The common mistake is going too tiny and relying only on micro lines. At six months the contrast should soften a touch, and by year three light touch-ups are common for portraits in this scale. For showing it off, roll up a linen sleeve shirt to frame the forearm and keep attention on the portrait.
2. Tiny Shark Tooth on Side Finger

Finger tattoos are bold choices that feel intimate and collectible. Pain is higher and the session is short but abrasive because the skin there is thin. Tell the artist you want single-needle linework with a shallow pass to avoid oversaturation. The frequent error is dense shading on a tiny canvas which leads to fast fading and feathering. Expect touch-ups around year one to two depending on hand use. Finger work fares best with minimalist jewelry rather than chunky rings while healing. Pair the tooth with a thin chain ring stack when it has healed to keep the focus on the tiny black shape.
3. Neon-Accented Shark Smile on Ankle

Ankle placements read well for angular graphic motifs and let you show off color without daily sun exposure. Pain sits in the mid range for most people and sessions run around two hours for a small colored piece with solid saturation. Ask for color packing that favors a slightly denser black outline to protect the neon green from washing out. A common mistake is using too thin color fills that fade unevenly with shoe friction. At two years expect some softening along the neon edges and plan for a touch-up if you want the original pop. Wear sandals or roll your jeans, and consider a pair of slide sandals to show the ankle without rubbing during the first heal.
4. Illustrative Ribcage Lyric Strip

Ribcage placements are dramatic and private, and they spotlight lyrical lines or small motifs. Expect a longer session because the area is sensitive and you will need breaks. Artists split into two camps on fine line ribs. One camp says the skin stretch and movement blur thin lines within two to three years. The other camp says precise depth and slightly increased spacing mean fine line holds. Name both views in consultation and ask where the artist stands. A common mistake is requesting single-needle script at micro scale without spacing. At six months the script looks crisp, and by year three the lines may soften enough to need a touch-up. Consider the pain trade-off and plan your session with rest breaks.
5. Collage Wristband of Symbols
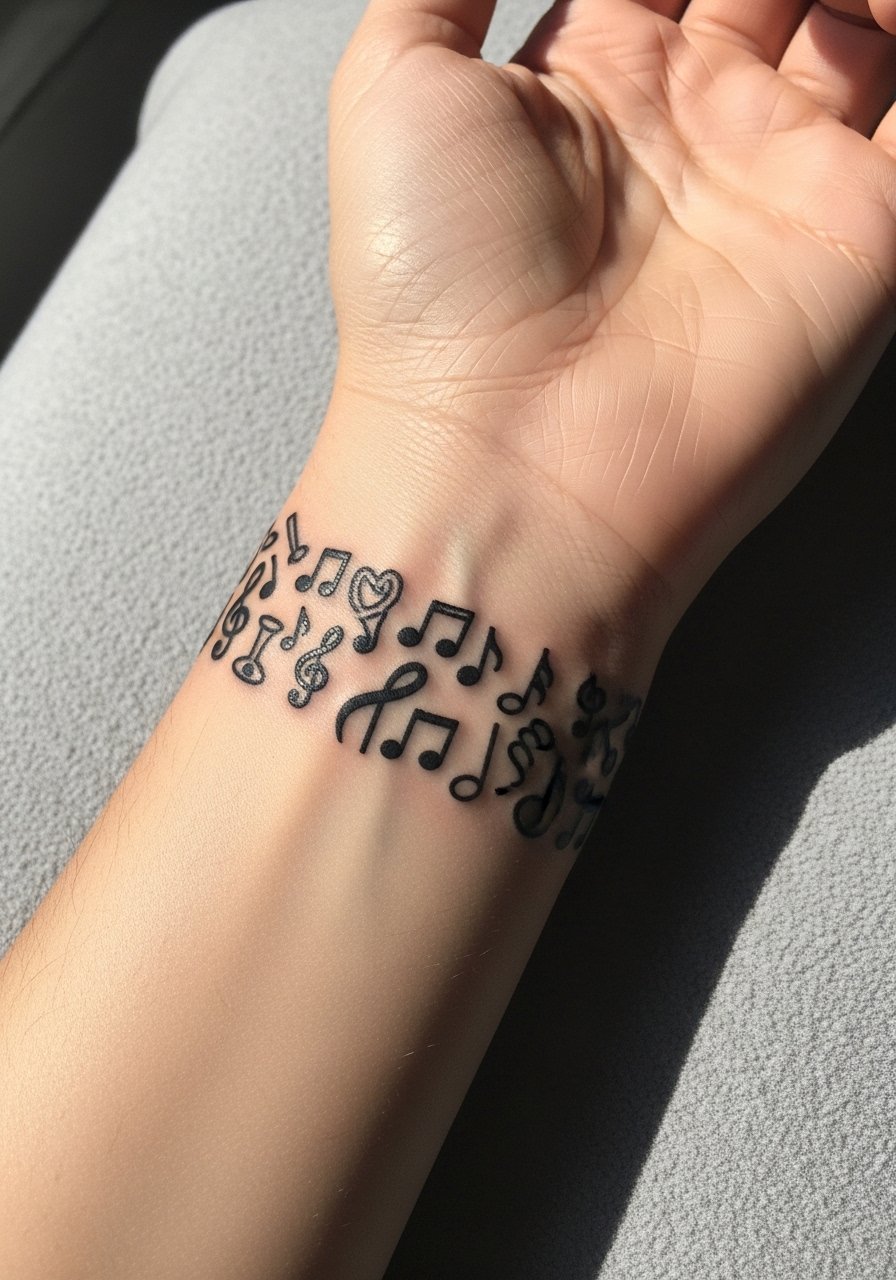
A wristband made from tiny motifs allows for storytelling without a full sleeve. The wrist is high-movement and touch frequency increases fading risk. Ask for slightly bolder connecting lines and leave breathing room between icons so they do not merge over time. The typical mistake is tight clustering that looks busy after a year. Sessions are usually one to two hours depending on complexity. For showing off, stack thin bracelets or a minimalist leather cuff after the healing window so the art sits between jewelry rather than under it.
6. Nape Micro-Realism Eye
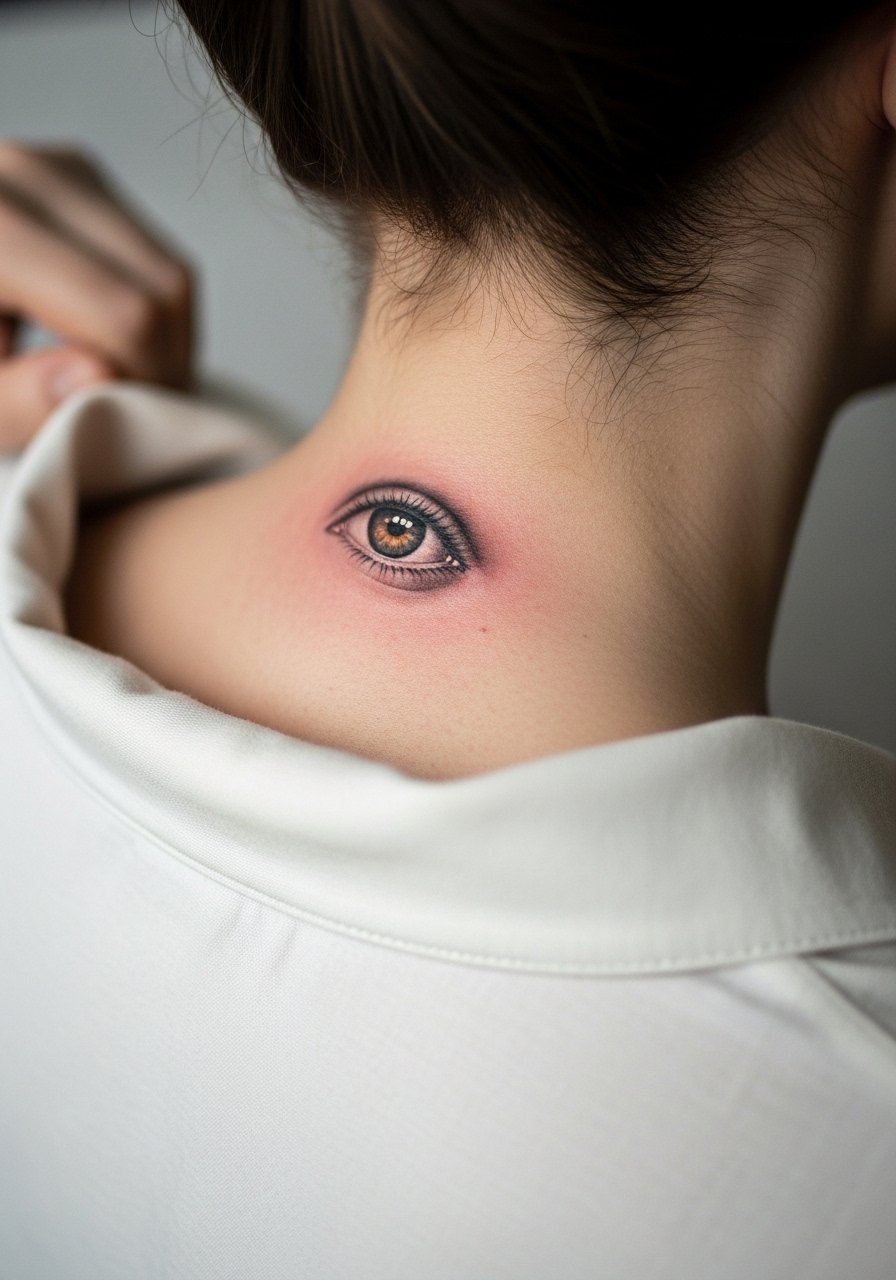
The nape gives a small canvas for micro-realism and illustrative eyes translate Billie-themed mood into a quiet placement. Pain varies but is usually manageable. Request a slightly heavier outer line and stipple shading rather than solid fills to reduce future blurring. A common mistake is asking for ultra-dense black shading at such a small scale which can lead to pooling. Healing at six months should show texture and depth, and by two years expect gentle softening. For the session, wear a wide-neck shirt you can shift aside so the artist has access while keeping the rest of your neck covered.
Studio Day Picks
The first six pieces above include visible wrist, ankle, forearm, neck, and rib placements, and those spots need slightly different prep and materials for the session and first week.
- Stencil transfer paper kit. Helps you and the artist preview exact placement on flat areas like the forearm and wrist before the needling begins.
- Topical numbing cream. Useful for ribcage and ankle sessions when sensitivity spikes, applied per your artist's guidance.
- Thin protective film roll. Keeps heel and wrist pieces clean through the first few days of movement and washing.
- Fragrance-free gentle body wash. Mild cleansers reduce irritation on fine line work while you shower.
- Aquaphor healing ointment. A thin layer helps lock in moisture for small detailed pieces during the initial healing window.
7. Minimalist Script Behind the Ear
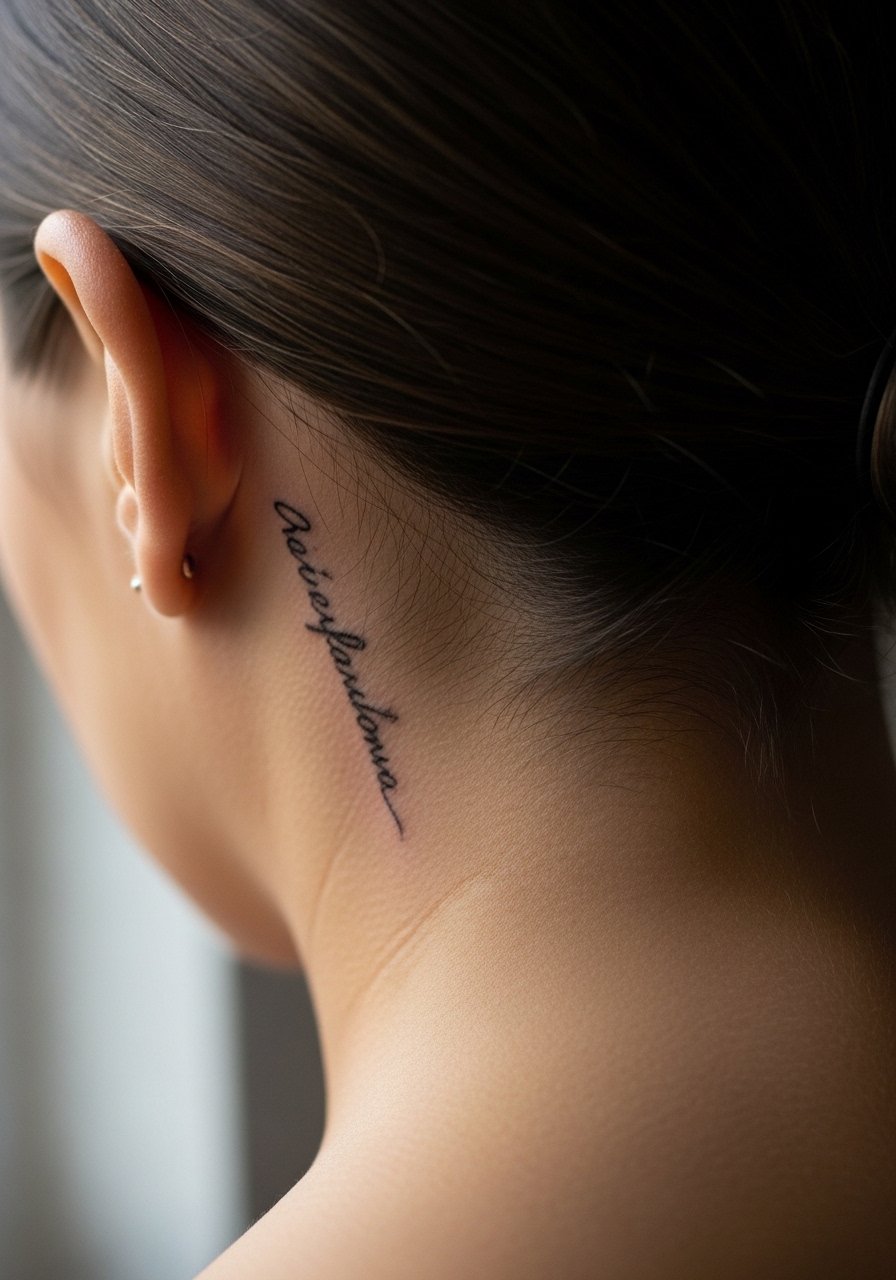
Behind-the-ear placements are whisper-quiet and work well for a short lyric or a single word in a Billie-inspired palette. The area requires precise placement below the hairline so the design sits on the neck skin, not the ear. Pain is moderate because the skin is thin and breaks are common. Tell your artist you want legible spacing and a slightly bolder baseline to maintain clarity. The main mistake is asking for too many characters which will blur. Expect touch-ups sooner than on the forearm. For session comfort, tuck hair back and wear a hair clip set so the artist has an unobstructed view.
8. Sleeve-Adjacent Botanical with Billie Motifs
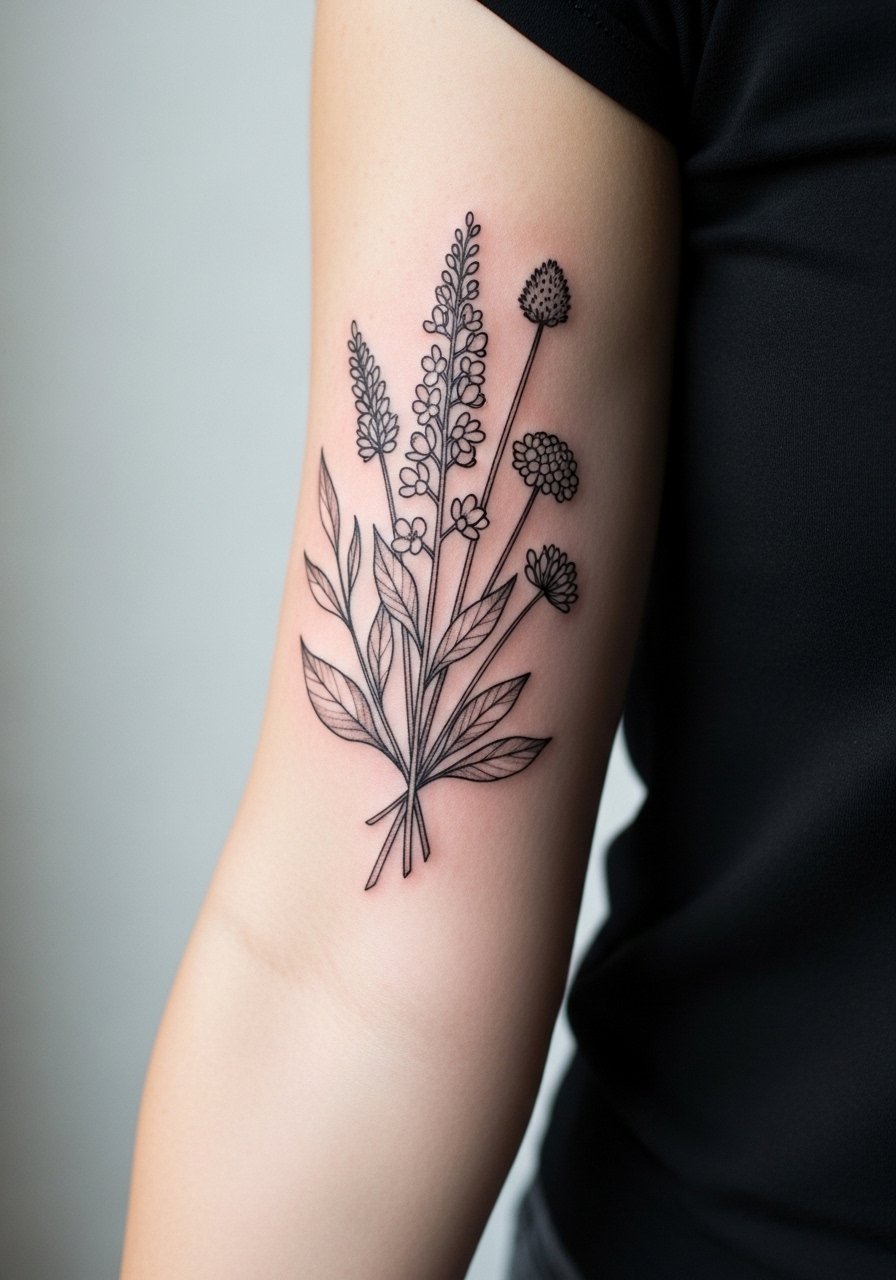
If you do not want a full sleeve but like an arm story, a sleeve-adjacent cluster of botanical elements and small Billie-inspired icons carries visual weight without committing to a full wrap. Expect sessions over multiple sittings. Ask the artist for varied line weights and stipple shading for longevity. A frequent error is insisting on uniform micro lines across a large area which can read flat after a few years. At two years the stippling will keep depth while thinner lines soften. This placement pairs well with short sleeve tees and a rolled cuff linen shirt to show the transition from wrist to elbow.
9. Chest Pocket Motif Near Collarbone

A pocket-sized motif on the upper chest reads like a secret charm. Pain is moderate and sessions are usually short. Ask for slightly increased spacing around dense details to avoid merging across the flat but moving chest skin. The mistake is packing too much tiny detail into a pocket-sized area. At six months most of the contrast will remain and by five years the area can look softer. For evening wear, an open-back top or a wide-neck tee helps frame the motif without overexposure.
10. Calf-High Illustrative Moth
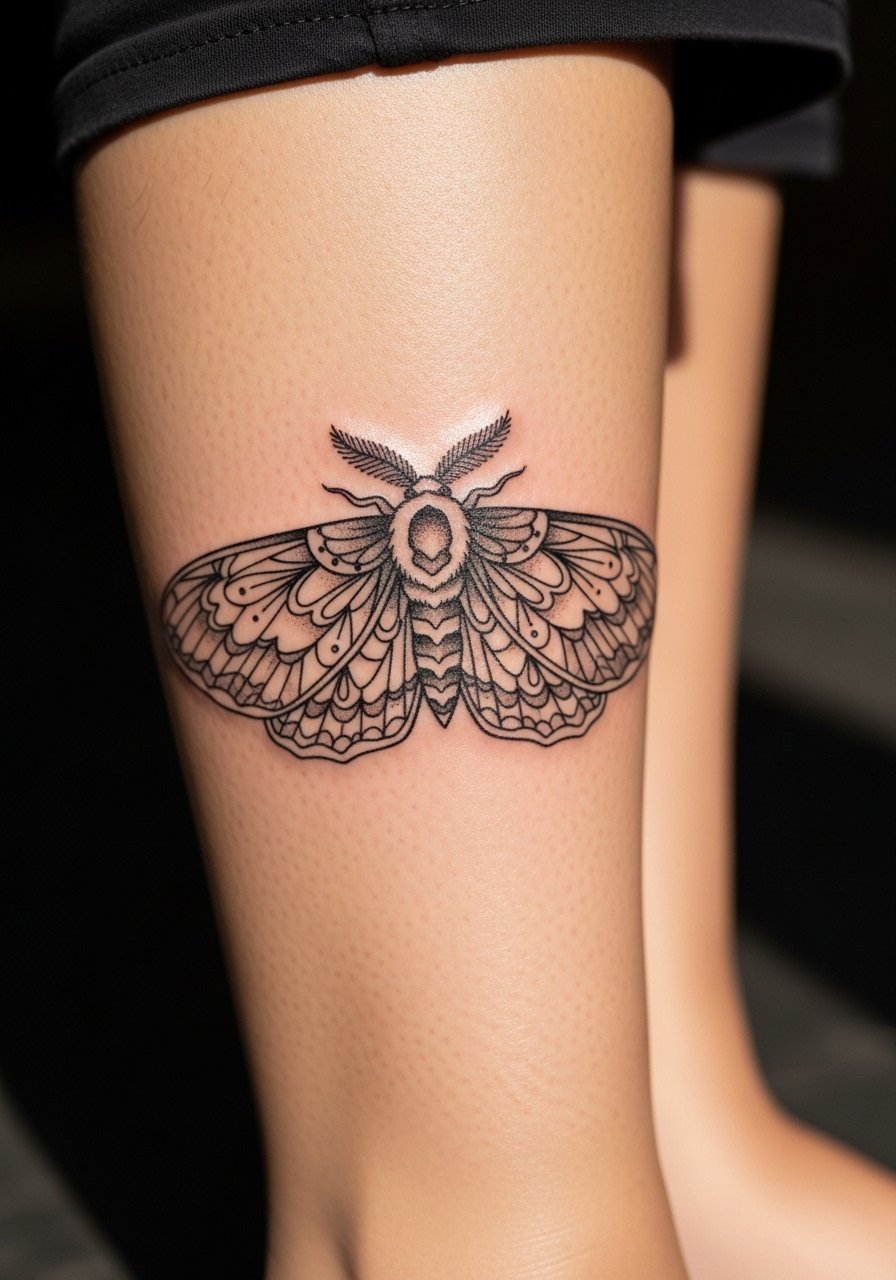
Calf placements are forgiving and visible with skirts or shorts. The calf's thicker skin takes saturation well and blowout risk is lower. Sessions for a moth with shading run around two hours. Tell your artist you want stipple and whip shading for texture rather than large flat fills. The common mistake is overly heavy black blocks which age into flat patches. At year two expect the edges to soften slightly and a touch-up might be needed for crisp wing veins. Pair the design with mid-calf boots or a knit midi skirt to let the moth peek while avoiding constant sun.
11. Back Shoulder Blade Collage
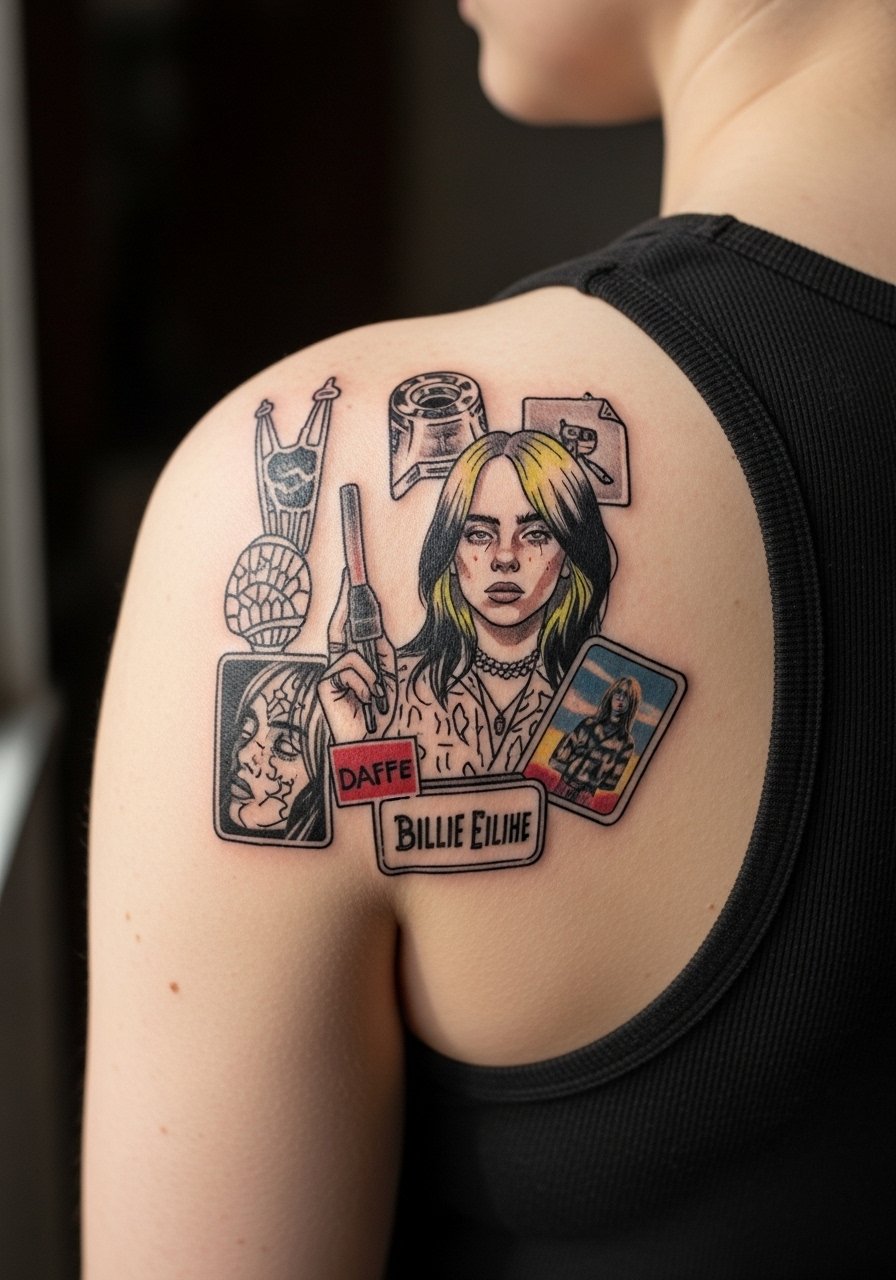
Shoulder blade tattoos offer a larger canvas for storytelling and they age well because sun exposure can be controlled. Sessions vary by size but expect multi-hour sittings. Ask for a composition that leaves negative space to prevent visual crowding as the piece heals and softens. A mistake is crowding linework against the spine or shoulder tip where movement causes distortion. By year three well-spaced compositions maintain clarity. Show it off with a sleeveless tank that frames the blade without rubbing against the art.
12. Miniature Green Hair Silhouette on Lower Neck
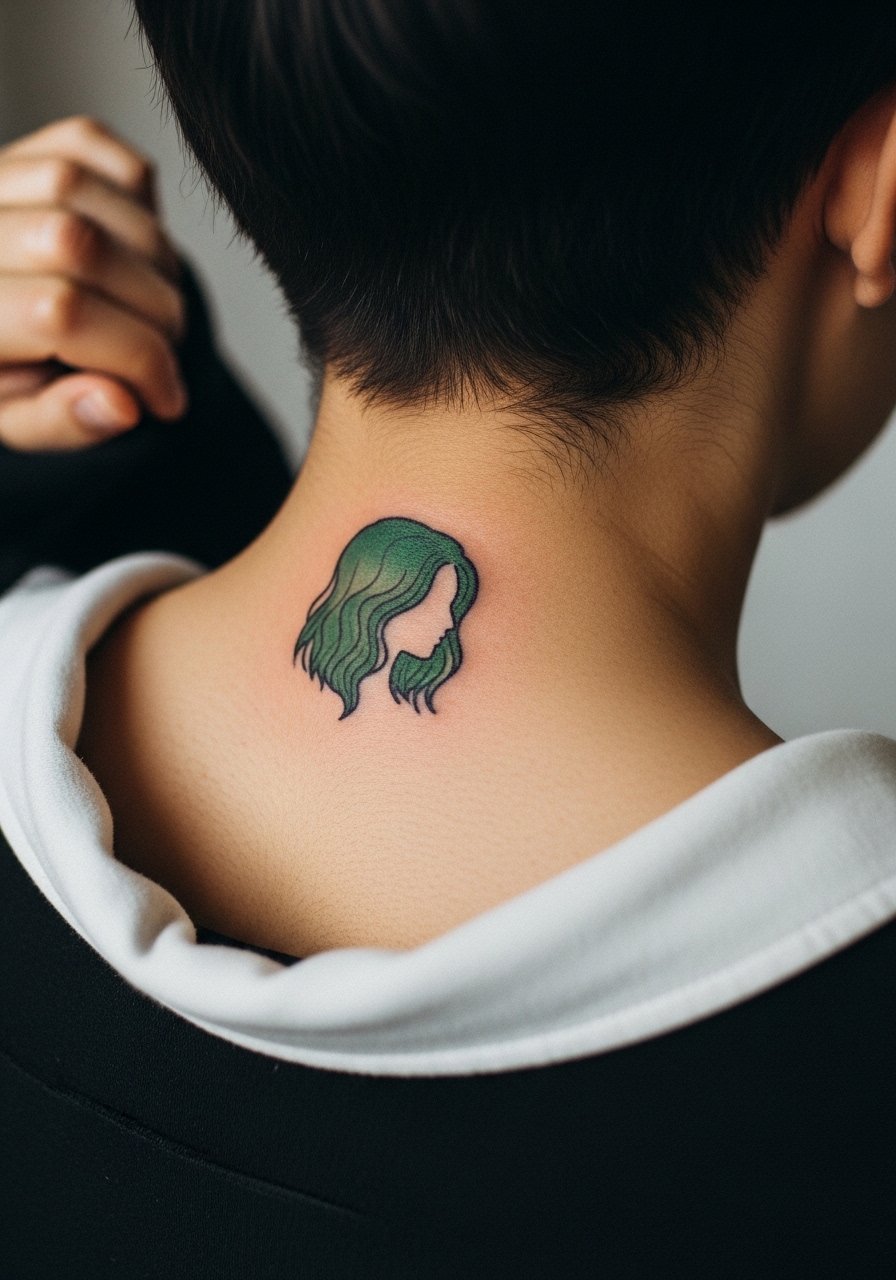
A lower neck silhouette nods to Billie with color accents while staying small and elegant. The area needs careful depth control to prevent blowout. Sessions are short and will likely feel sensitive. Tell the artist to favor a single pass with solid color packing and to avoid dense black underlayers that can push up. People often ask for more detail than the canvas allows. At two years color can fade, so expect occasional top-ups if you want the green bright. For session ease, wear a button-up shirt you can slide aside so the neck area remains covered but accessible.
13. Hand-Edge Graphic Tooth
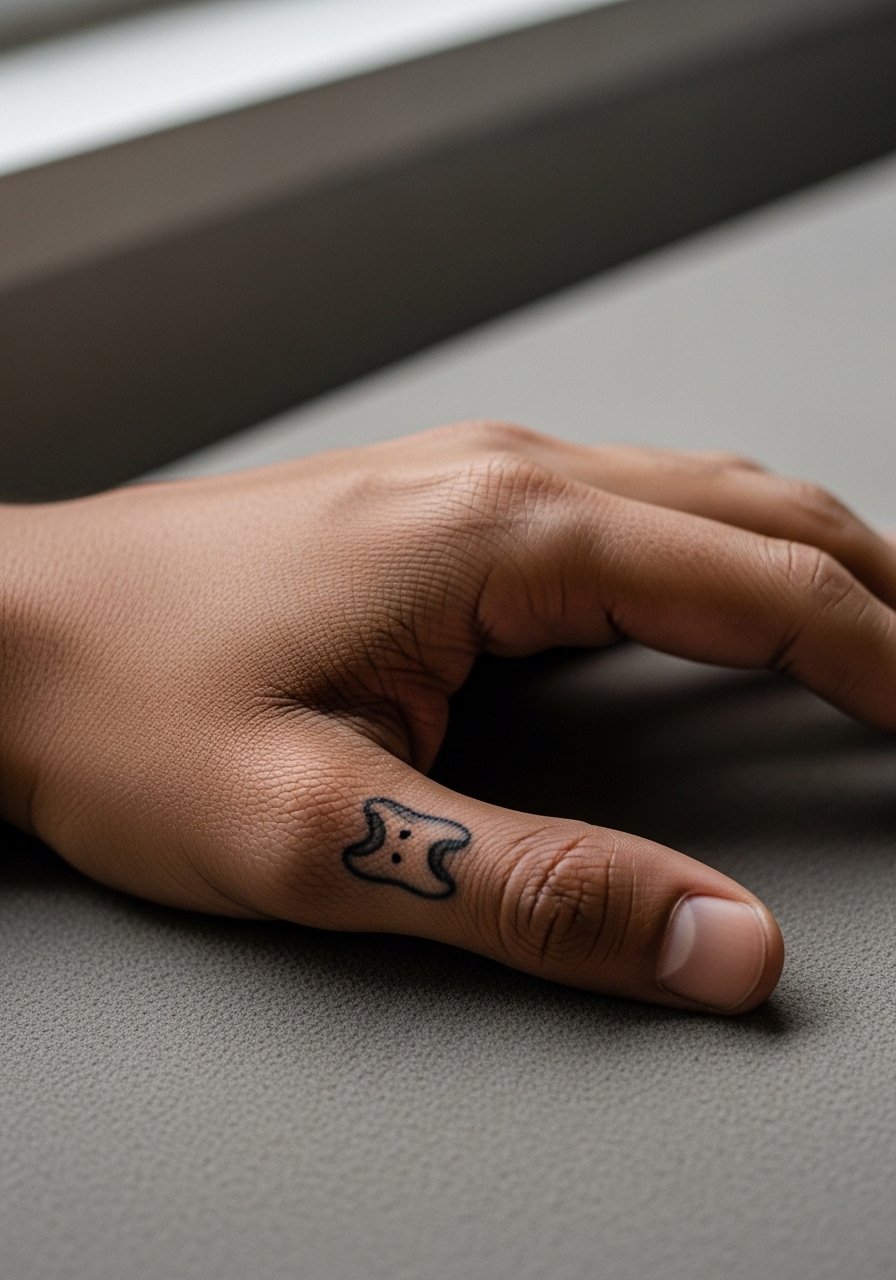
Hand-edge tattoos are statement pieces that show immediately. The skin here endures frequent washing which accelerates fading. Expect a short but sharp session. Ask for slightly bolder linework and a plan for touch-ups in the first year. A common mistake is requesting ultra-fine detail which disappears under daily use. The blowout risk is higher on fleshy edges if the needle depth is inconsistent. Pair the hand motif with thin, open rings and a dainty bracelet after healing to balance the look without covering the art.
14. Inner Thigh Botanical Sketch
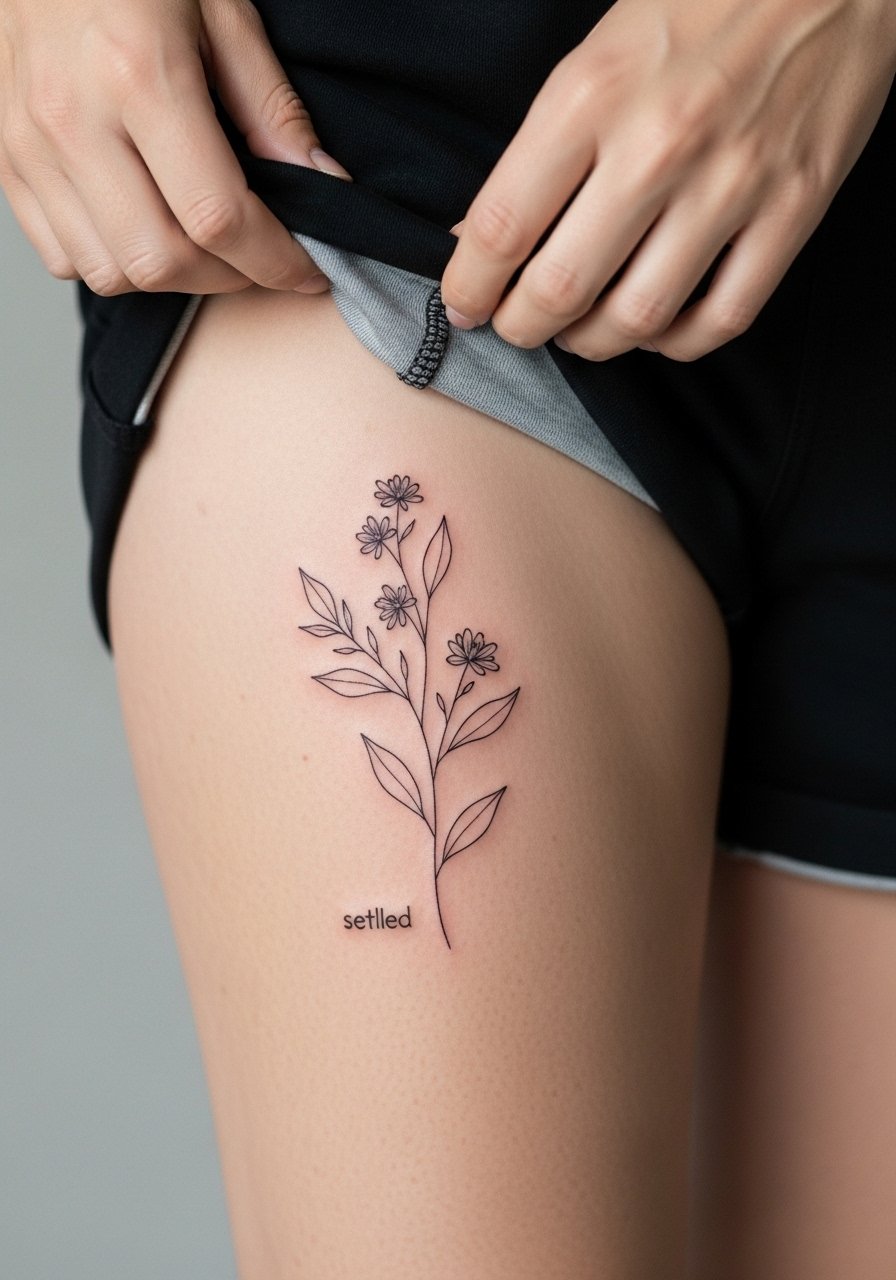
Inner thigh placements are intimate and heal in private, but they demand a specialist's touch because the skin there is soft and moves a lot. Pain ranges higher for many people. Ask for slightly more spacing and avoid ultra-fine connected networks of linework. The mistake is treating the inner thigh like a forearm which leads to merging. At six months most of the detail will be intact, and at year three the piece may require a light touch-up. For the session wear loose shorts you can pull slightly up to give the artist room without full exposure.
15. Collarbone Mini Shark Teeth Row

A linear row across the collarbone reads clearly and plays with Billie aesthetics. The collarbone area flexes and moves which makes spacing important. Sessions are short and usually done in one sitting. Tell your artist you want consistent negative space between teeth and slightly thicker anchor points to preserve readability. The common mistake is placing teeth too close which causes the row to blur into a stripe. For showing off, an open-neck blouse or a delicate chain necklace sits above the row and keeps the piece visible without competition.
16. Miniaturized Album-Style Icon on Inner Wrist
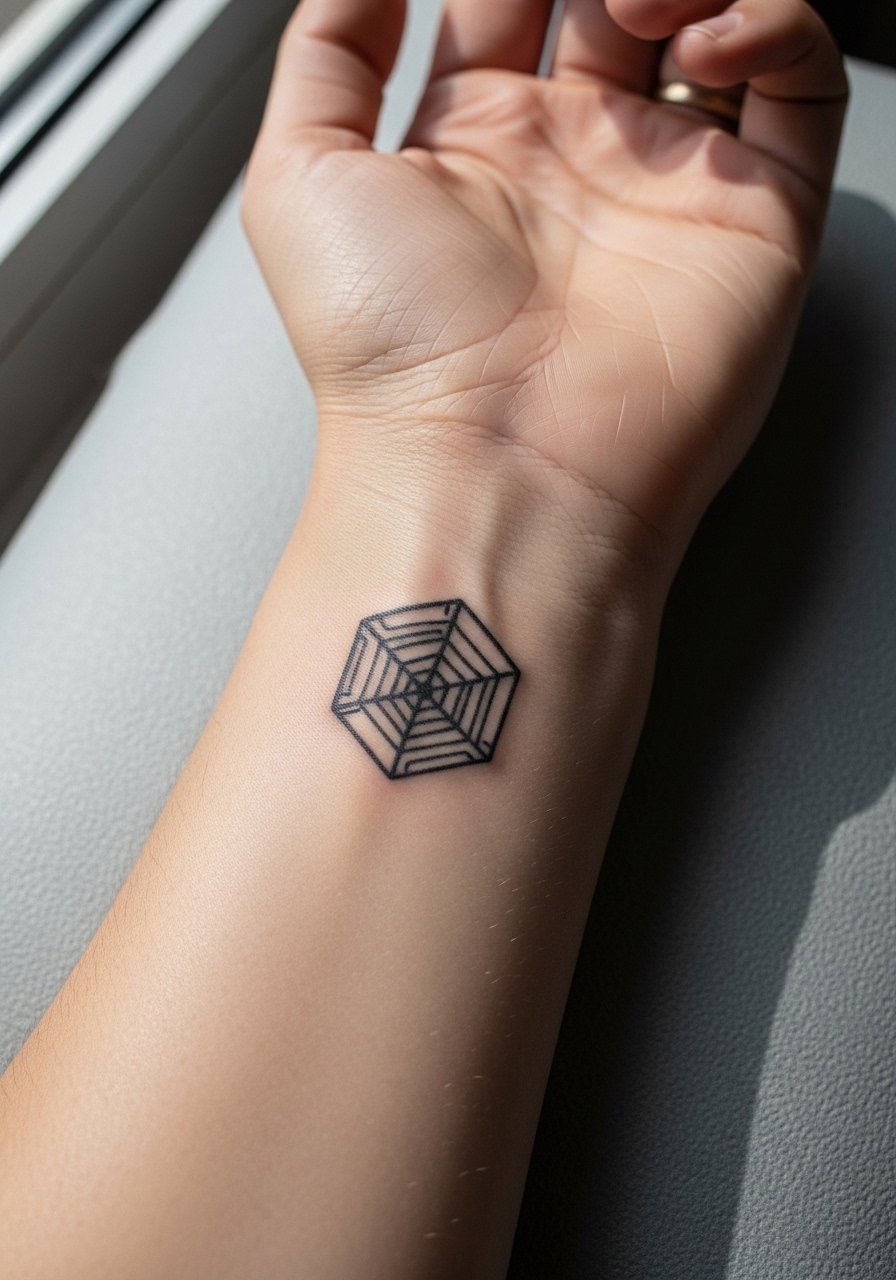
The inner wrist is ideal for a tiny album-inspired icon or glyph. Pain is moderate and sessions are brief. Ask for a slightly bolder outline with interior stippling rather than solid fills for longevity. The mistake is too much micro detail inside a tiny icon. At two years the icon will soften and may look like a shallow silhouette if no touch-up is done. For daily wear, pair the wrist motif with a minimalist watch after healing so the design sits in conversation with accessories rather than disappearing under bands.
17. Spine-Adjacent Script with Dotwork Flourish

A vertical script along the spine margin reads like a secret message and suits Billie-inspired lyrical snippets. Pain can be high near the spine and sessions often require breaks. Ask your artist for slightly wider letter spacing and dotwork accents that create separation between characters. One mistake is requesting compact script with heavy baseline which can blur into an unreadable patch. At year three expect some softening along the edges and plan light touch-ups. Because this placement is private, consider clothing choices like low-back dresses to reveal the line when you want to show it.
Frequently Asked Questions
Q: Will fine line Billie-style portraits blur faster than bolder work on forearms and ribs?
A: In my experience, fine line portraits on flat, low-motion areas like the inner forearm age better than the same work on ribs. Ribs stretch and move with breathing which raises the risk of lines merging. Ask your artist about increased spacing and slight anchor lines for portraits you want to keep crisp.
Q: How do small color accents like Billie-green hold up on places with friction like the ankle or hands?
A: Color on friction zones fades faster because of shoe rub and hand washing. For ankle pieces, a denser outline helps protect the color. For hand and finger work, expect touch-ups within the first one to two years if you want the color to stay vivid.
Q: Are behind-the-ear and neck placements appropriate for first-time tattoo clients?
A: They can be, but they demand a steady tolerance for discomfort and a good conversation with your artist about longevity. Behind-the-ear pieces often need bolder baselines to stay legible. Bring clear reference and ask for a stencil test so you see placement before committing.
Q: I want a lyric near my ribs. How should I prepare for pain and session length?
A: Rib lyric sessions often require shorter passes and multiple breaks. Expect higher sensitivity and plan for a slightly longer session time than wrist or forearm work. Come hydrated, rested, and in loose clothing that gives the artist easy access to the area.
Q: Which clothing choices help me show off a collarbone or shoulder blade piece without stressing healing ink?
A: After initial healing, open-neck shirts, sleeveless tanks, and delicate necklaces highlight collarbone and shoulder blade work. For sessions, wear a wide-neck or button-up shirt you can move aside rather than a tight bra strap that will rub the area.
Q: How do I find an artist who understands illustrative Billie-inspired work if I do not have a local recommendation?
A: Start with portfolio searches on community directories and tag exploration. Look for artists whose portfolios show healed photos of fine line portraits and illustrative color, not just fresh shots. Community threads and local shop walk-ins still give the best real-world sense of an artist's healed results.
