
Fine dotwork black roses read like fine print on a page when they are spaced and saturated right. The difference between crisp stipple shading that still reads at year five and a blotchy smudge often comes down to needle spacing, how the artist layers dots, and where you place the piece. Below are 27 ways to use dotwork and black roses that prioritize longevity, placement, and how you show them off.
1. Dotwork Black Rose on the Inner Forearm
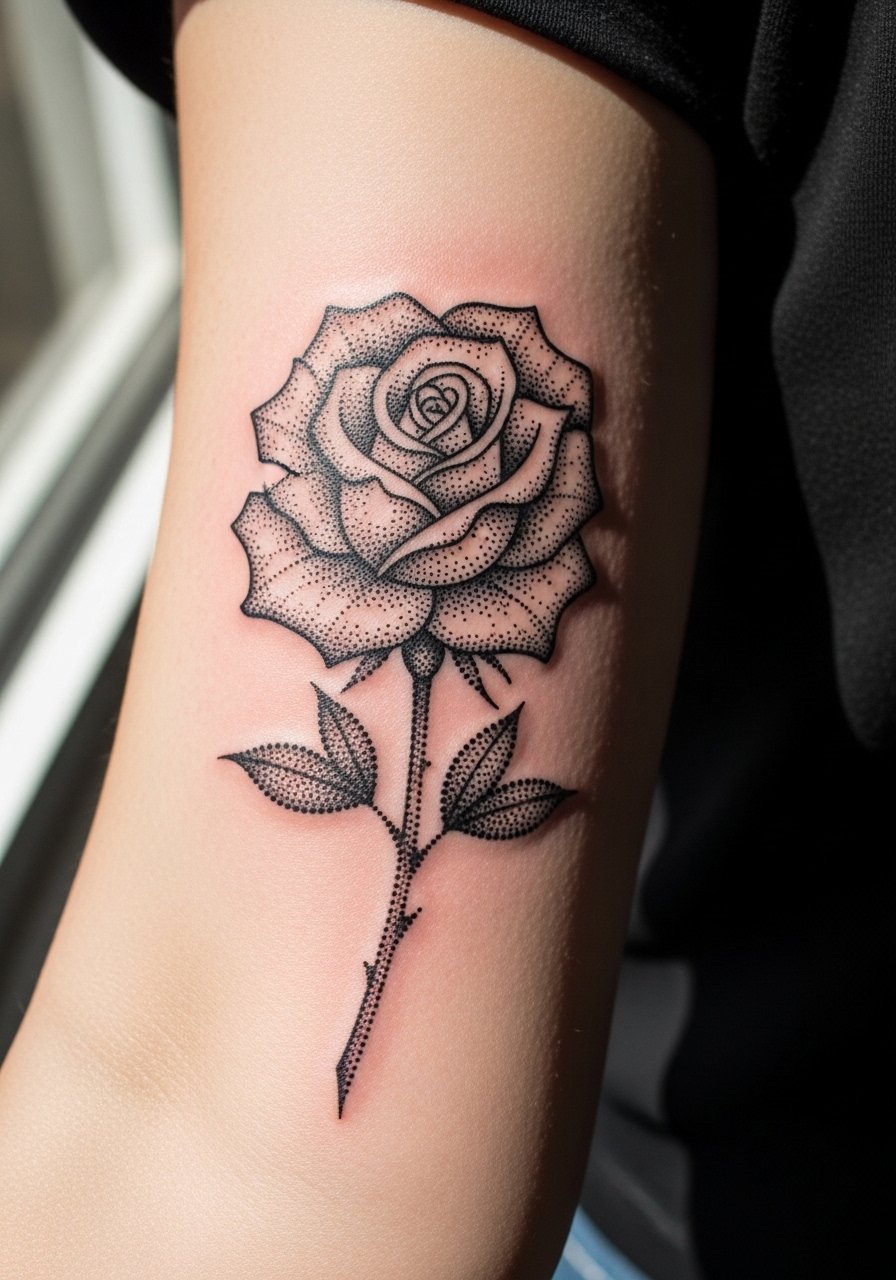
I recommend this placement when you want a piece you can both hide and show easily. Pain is moderate, the session usually runs one to two hours for a medium-sized rose, and touch-ups are common around year three for dense stipple. Tell your artist you want spacing between dot clusters so the shading keeps its texture over time. A common mistake is packing dots too tight, which ages into a gray patch. For wardrobe, pair the forearm with a rolled sleeve linen shirt like a loose button-down shirt to show off the bloom without overexposing fresh ink.
2. Micro Dotwork Rose Behind the Ear, Below the Hairline
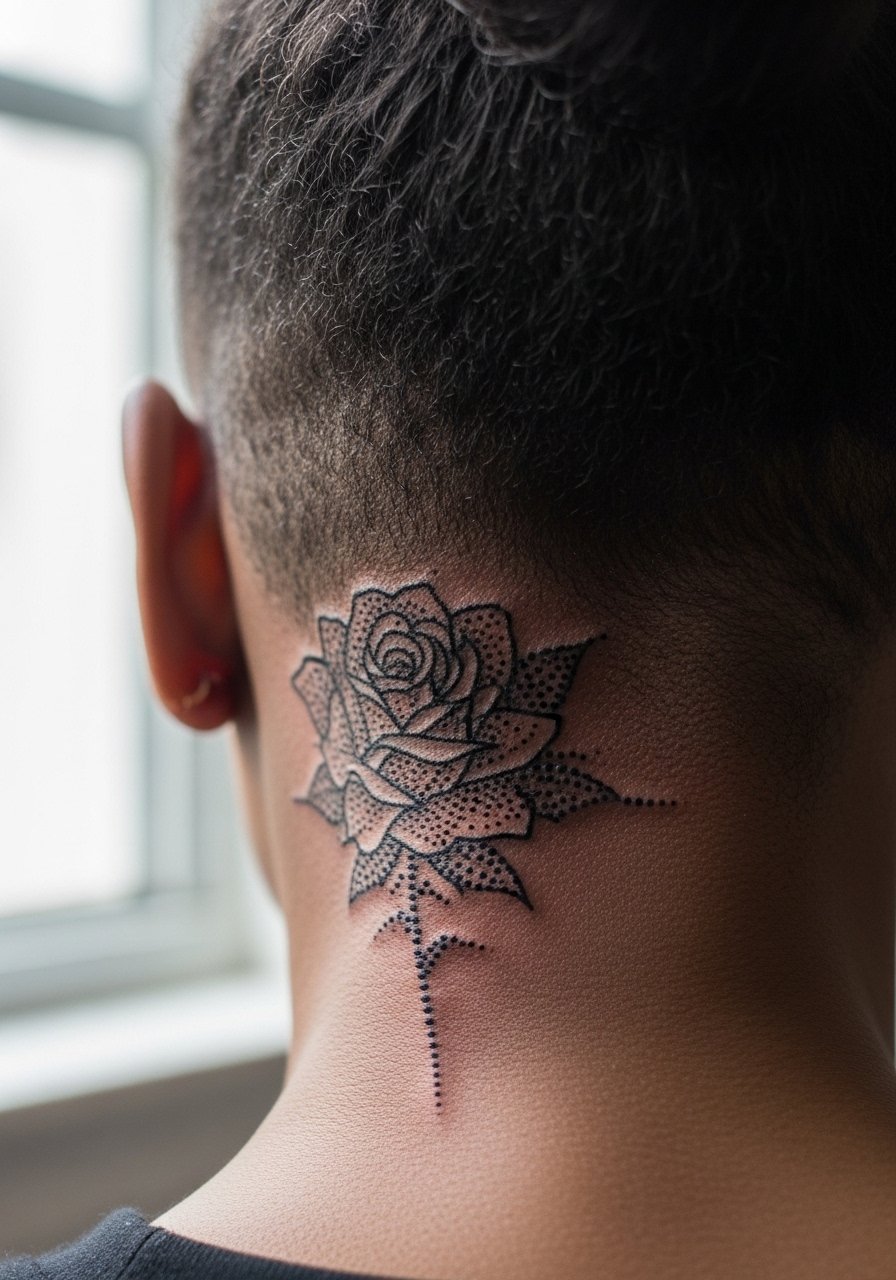
This mini placement is discreet and delicate. Expect a quick session of 20 to 40 minutes and a higher likelihood of blurring because the area is tight. Ask the artist for slightly bolder outline dots than they might use on the forearm so the piece holds its shape. The biggest mistake is making the design too intricate. Hand over a simplified reference during consultation and ask how their dotwork behaves on similar skin. For professional considerations, note that neck-proximate tattoos can still affect some hiring decisions.
3. Half-Sleeve Cluster of Black Roses with Stipple Shading
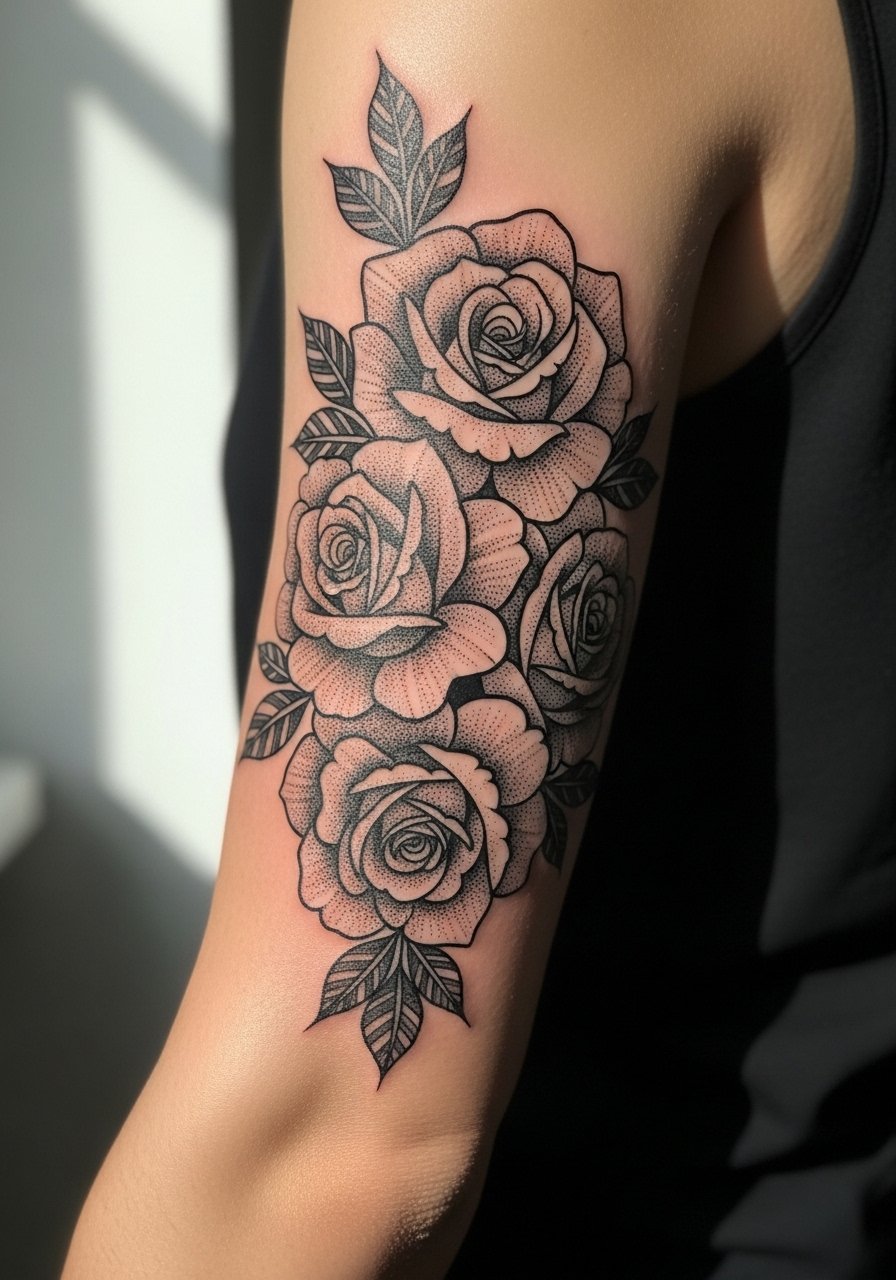
These read as a bold tattoo from a distance but stay textured close up. Sessions are multiple hours across two or three visits depending on size. Tell your artist to plan negative space between clusters so the dotwork keeps contrast as it ages. A common aging issue is overpacking black in crowded areas which causes the dots to melt together. For wearing, the half-sleeve pairs well with a rolled-up short sleeve linen shirt that frames the work without covering the upper arm.
4. Single Stem Rose Along the Ribcage
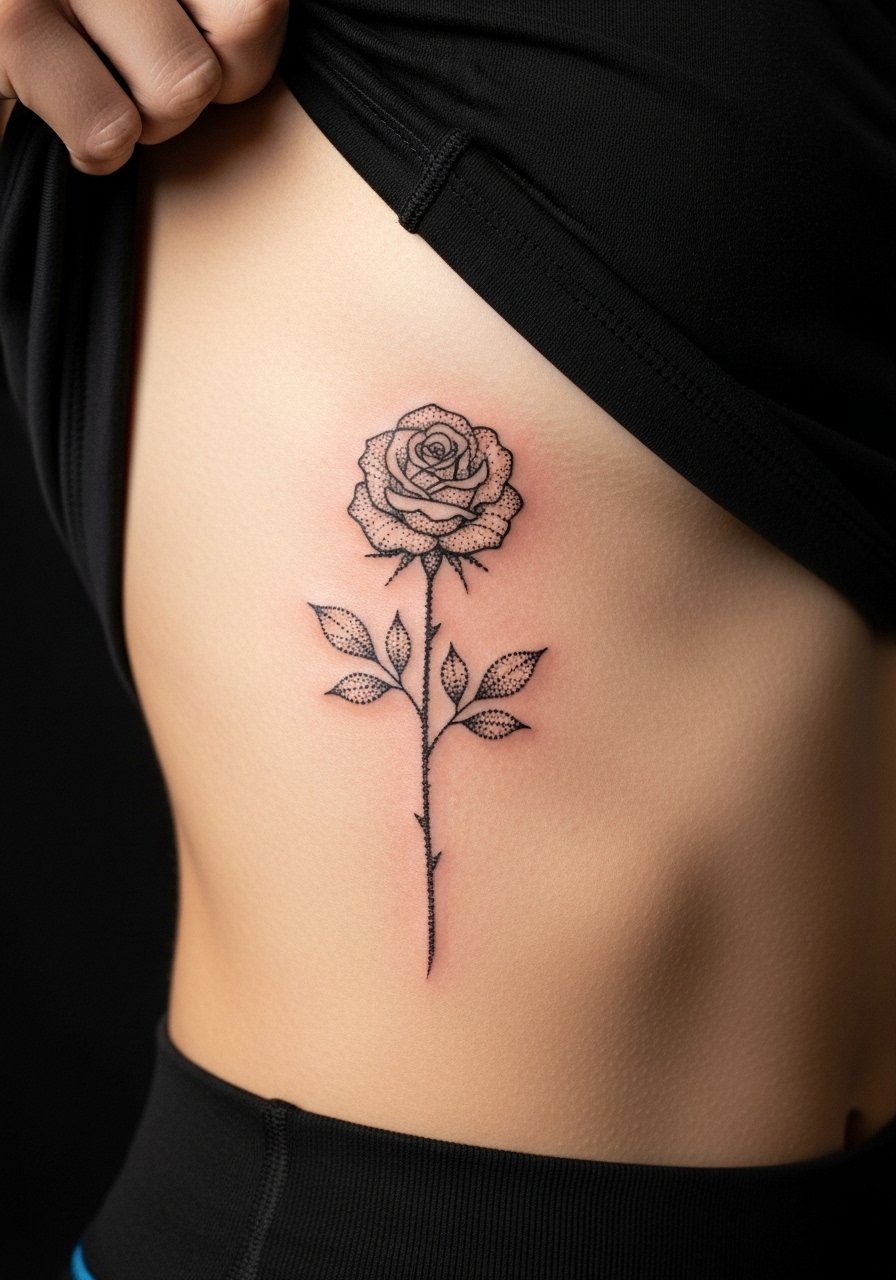
Fair warning, the ribcage is one of the more painful spots. Sessions can be fragmented depending on your tolerance. Artists split on whether fine line and dotwork hold up on ribs. One camp says skin stretch makes lines blur within two years. The other camp says proper depth and spacing keeps dotwork readable. Ask your artist where they stand before booking. For aging, rib tattoos can soften faster than forearm pieces so plan for a touch-up at year two or three.
5. Black Rose and Mandala Hybrid at the Sternum
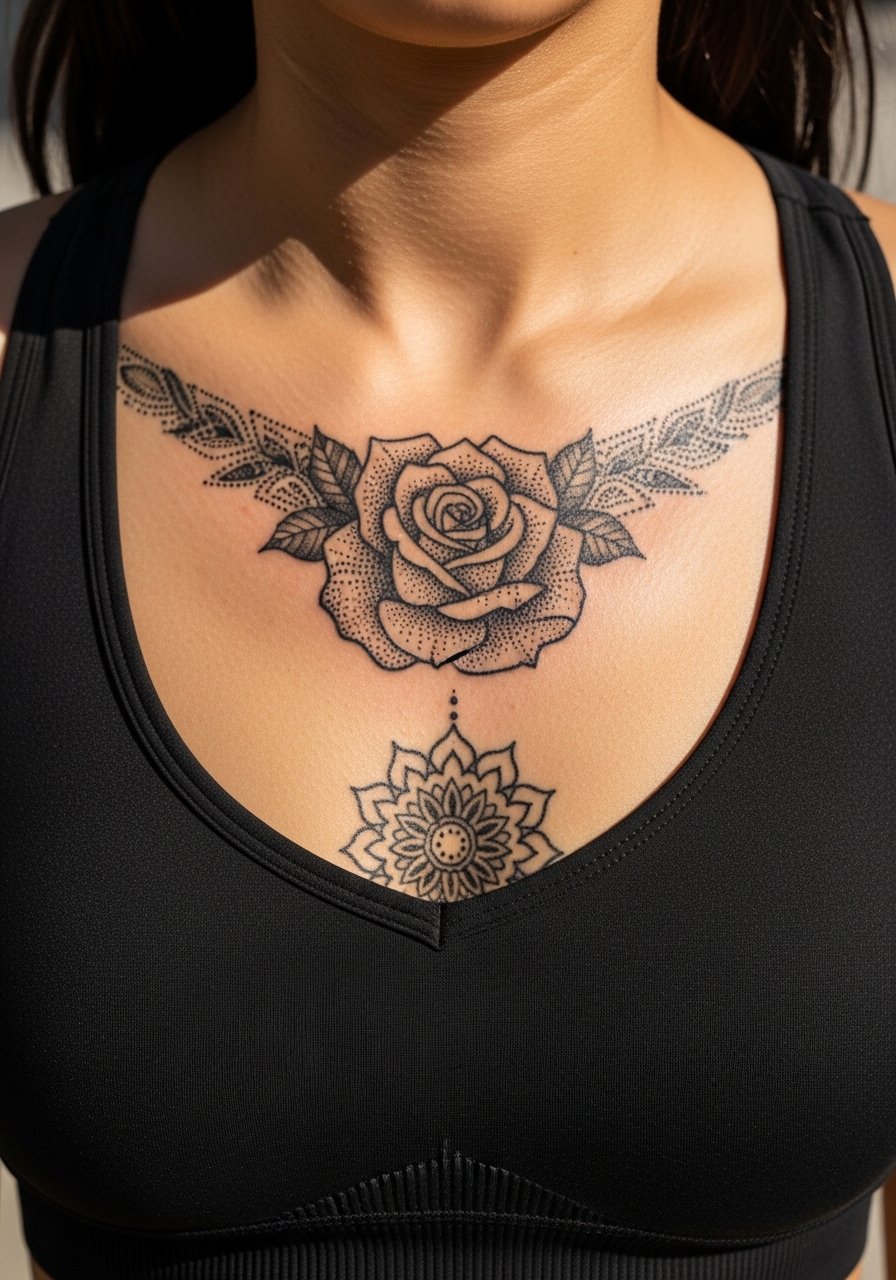
Sternum work reads beautifully when it breathes. Sessions vary but expect two to three hours for a clean layout. During consultation, ask the artist to size the mandala holes larger than you think they need to be to avoid merging. A frequent mistake is too-dense dot clusters near the center. For showing this off, the piece plays nicely with a thin chain pendant necklace that sits above the design and draws the eye without competing.
6. Tiny Black Rose on the Side of the Finger
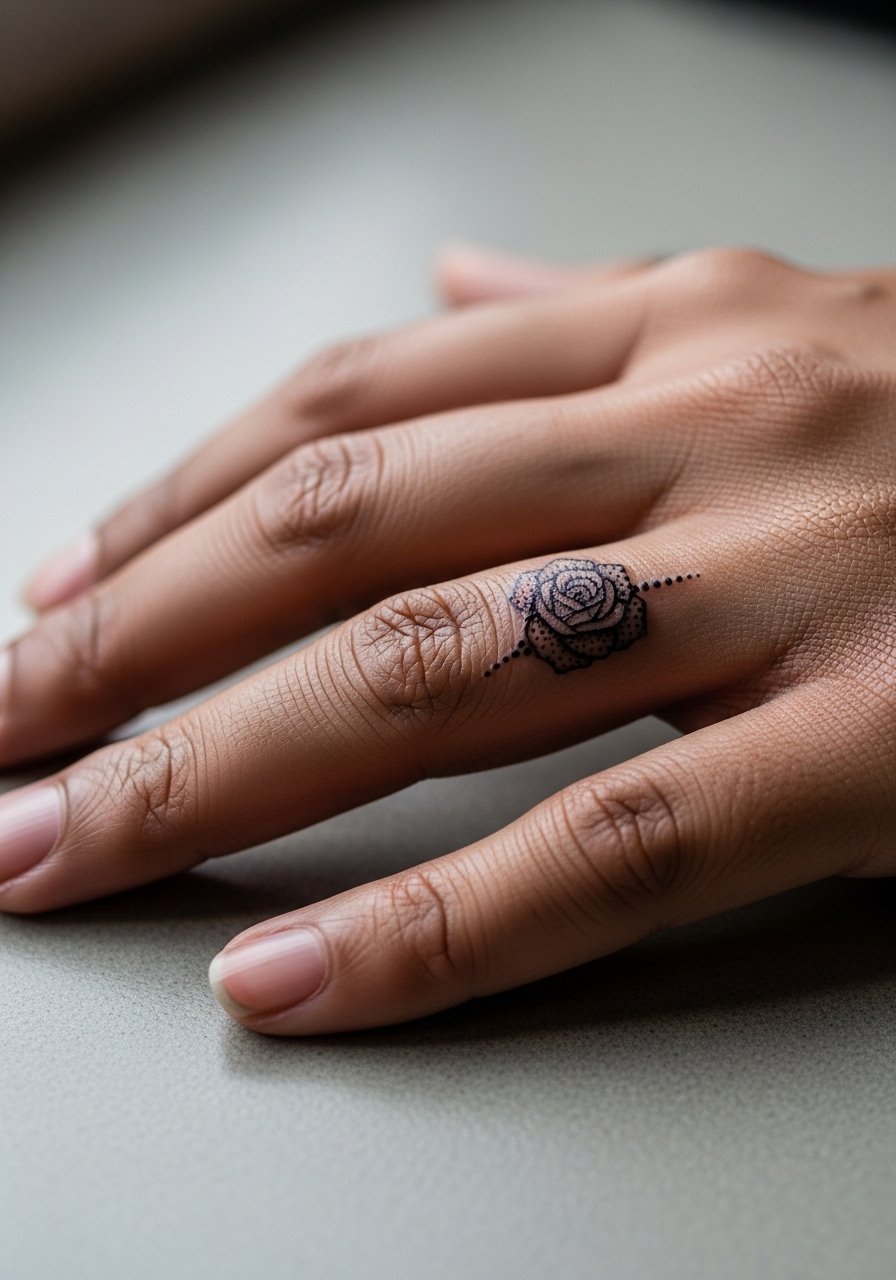
Finger skin moves and wears quickly so expect frequent touch-ups and faster fading. The session is short but the lifetime maintenance is higher. Ask for shallow dotwork with slightly bolder outer dots so the design resists early blur. A real mistake is choosing too much detail for such a tiny canvas. For daily life, be mindful of friction from rings and soaps.
Studio Day Picks
The wrist, forearm, and sternum pieces above all ask for small but specific prep items that make the session and first week smoother.
-
Stencil transfer paper kit. Lets you and the artist preview placement on skin before the first pass, which is helpful for the forearm and sternum pieces listed above.
-
Topical numbing cream. Applied per instructions about 45 minutes before the session it eases sensitivity on ribs and fingers without affecting linework when used correctly.
-
Thin protective film roll. Useful for small areas like fingers and wrists to shield fresh dotwork from daily friction for the first few days.
-
Fragrance-free gentle body wash. Cleanses healing work like the inner forearm and sternum without irritating the dot patterns that require careful aftercare.
-
Aquaphor healing ointment. A thin layer in the first 48 to 72 hours helps retain moisture for dense stipple work without clogging the surface.
7. Black Rose with Geometric Backdrop on the Upper Shoulder
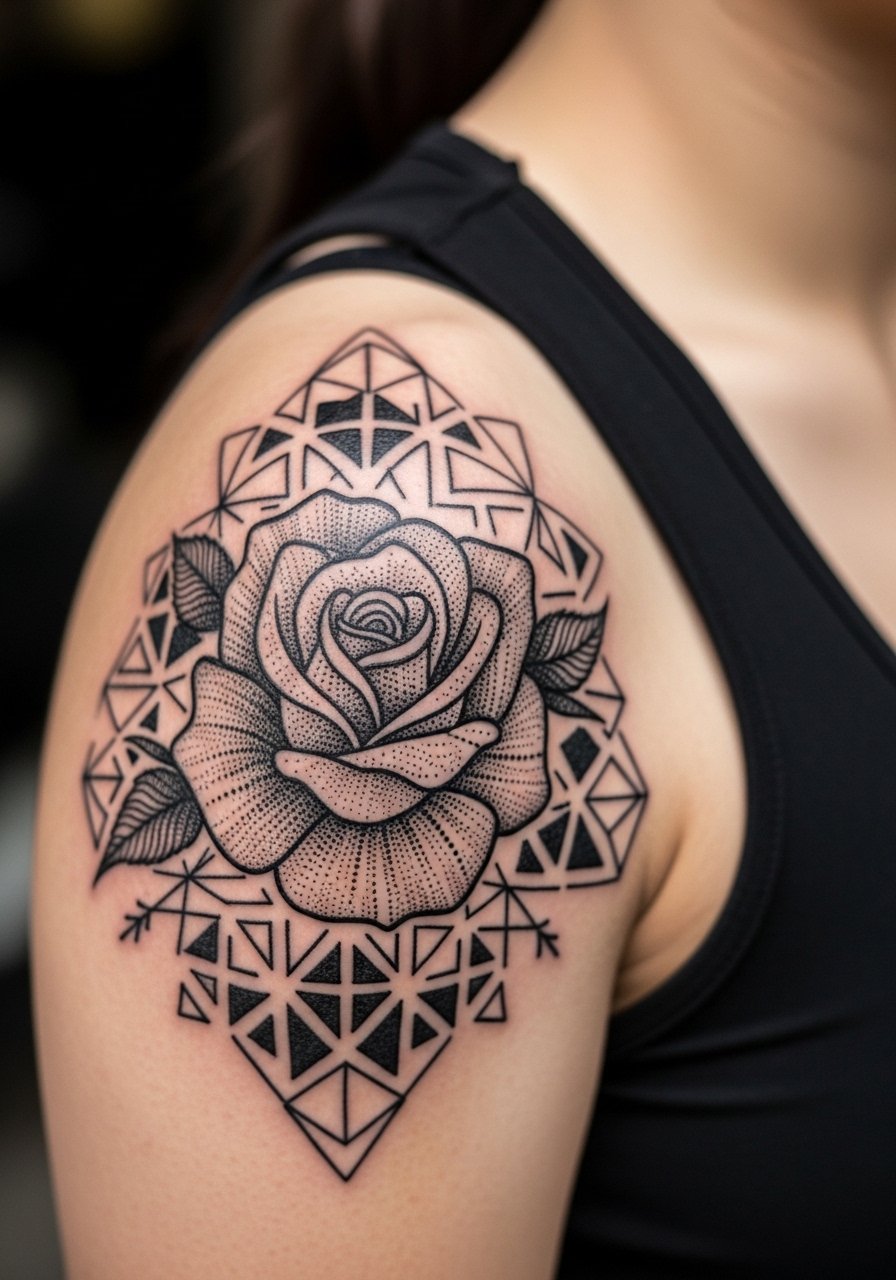
This combination gives a strong silhouette while keeping the rose textured. Shoulder sessions are tolerable for most and can usually be done in one two-hour sitting depending on size. Tell the artist you want negative space between the geometric elements and the dot shading so the rose reads as a separate layer. Mistakes happen when the pattern overwhelms the floral form. For showing off, wear a loose tank top that exposes the shoulder without needing to stretch fabric across fresh ink.
8. Ankle Black Rose Anchored with Dotwork Lace
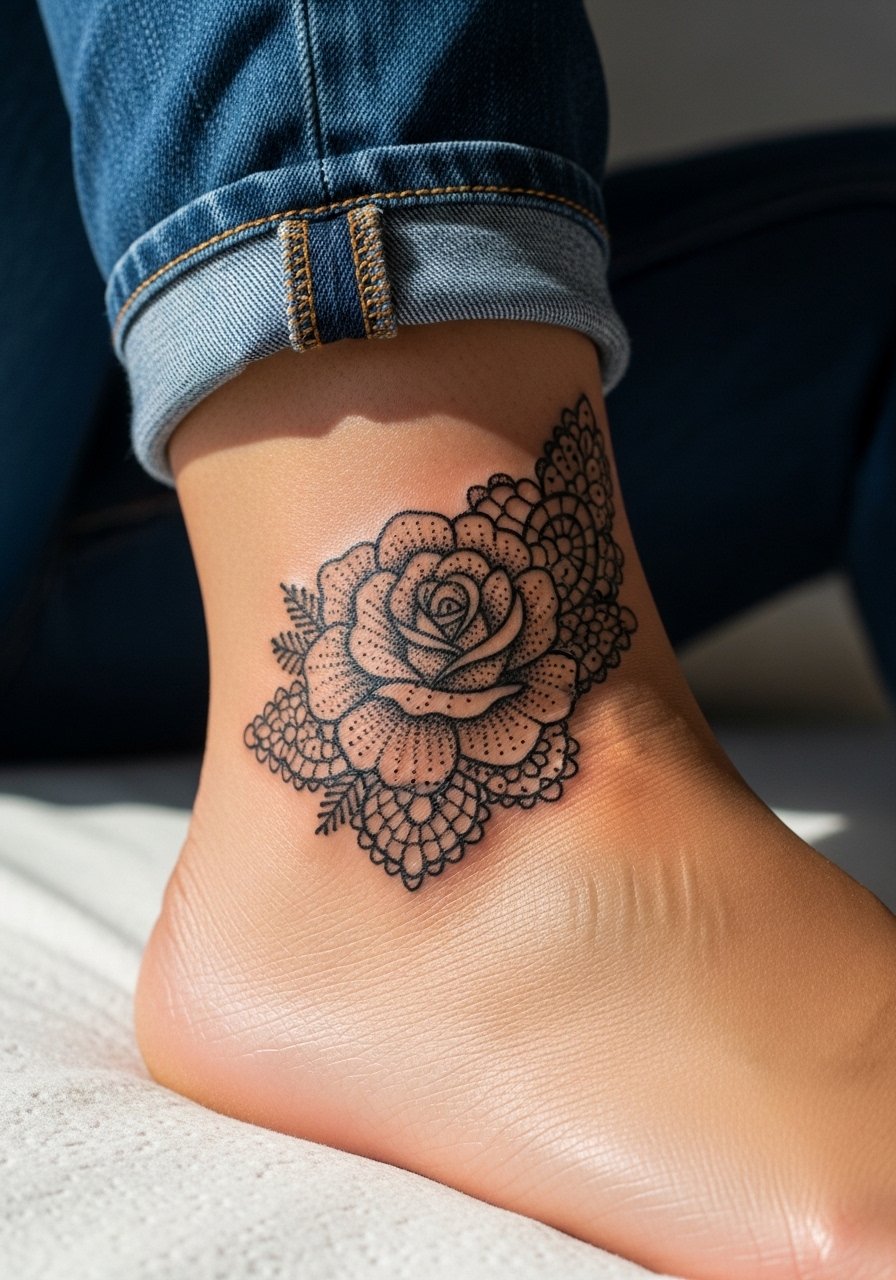
Ankle skin is thin and sits near friction points so expect gradual fading. Sessions are short but the area heals under socks and shoes, which raises the risk of scabbing from pressure. Ask for slightly bolder dots on outlines and delicate stippling inside to preserve shape. The usual error is making the lace too delicate where shoes will rub. Pair this with low-profile footwear and a pair of sandals when you want to show off the detail.
9. Back-of-Hand Black Rose with Stippling
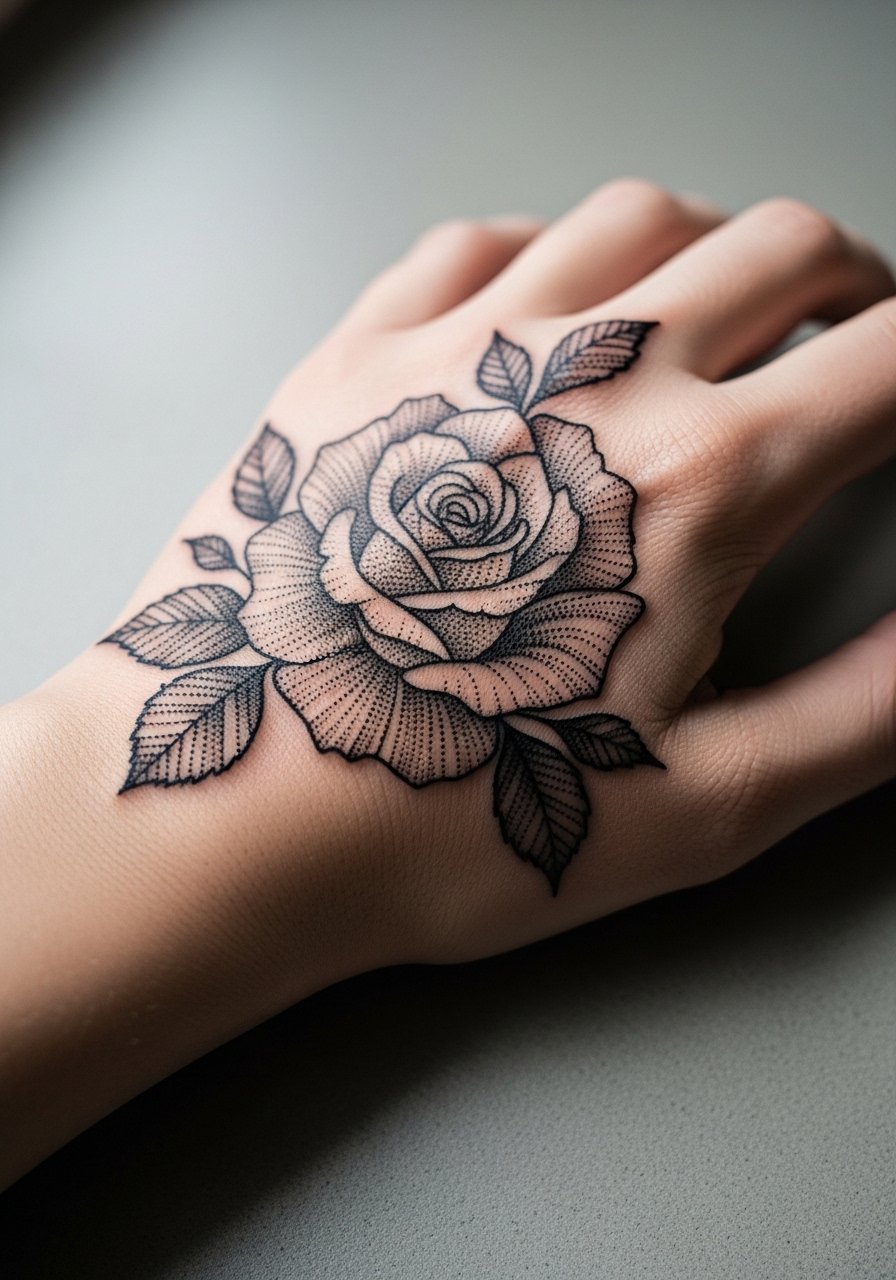
Hand tattoos blur and fade faster because of constant washing and sun exposure. Expect touch-ups at year one or two. Ask the artist how they manage dot density on hands and whether they avoid tiny interior dots that will likely fill in. A common mistake is not accounting for how washed hands are multiple times a day. For accessories, a minimalist watch band keeps attention on the hand without rubbing directly across the bloom.
10. Thigh Black Rose Panel with Dotwork Gradient
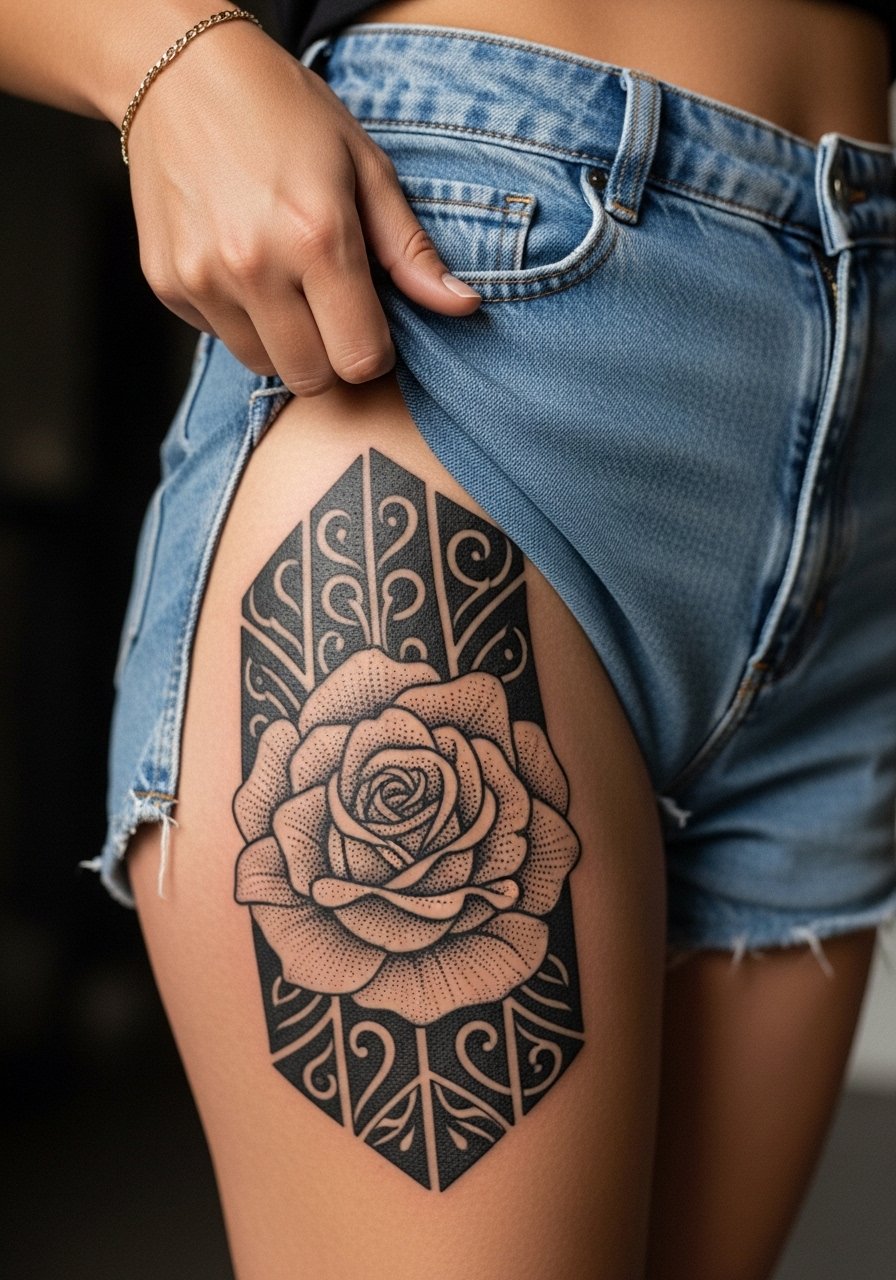
Outer thigh gives room to scale up detail and the skin there takes ink predictably. Sessions can be long but are comfortable because the area lies flat while you sit. Tell your artist you want a gradient in stippling from dense center to airy edges so the design ages with depth. A mistake is crowding the piece into a narrow band. For showing it off, consider high-waisted shorts that reveal just the top of the panel.
11. Collarbone Accent Rose with Fine Dots
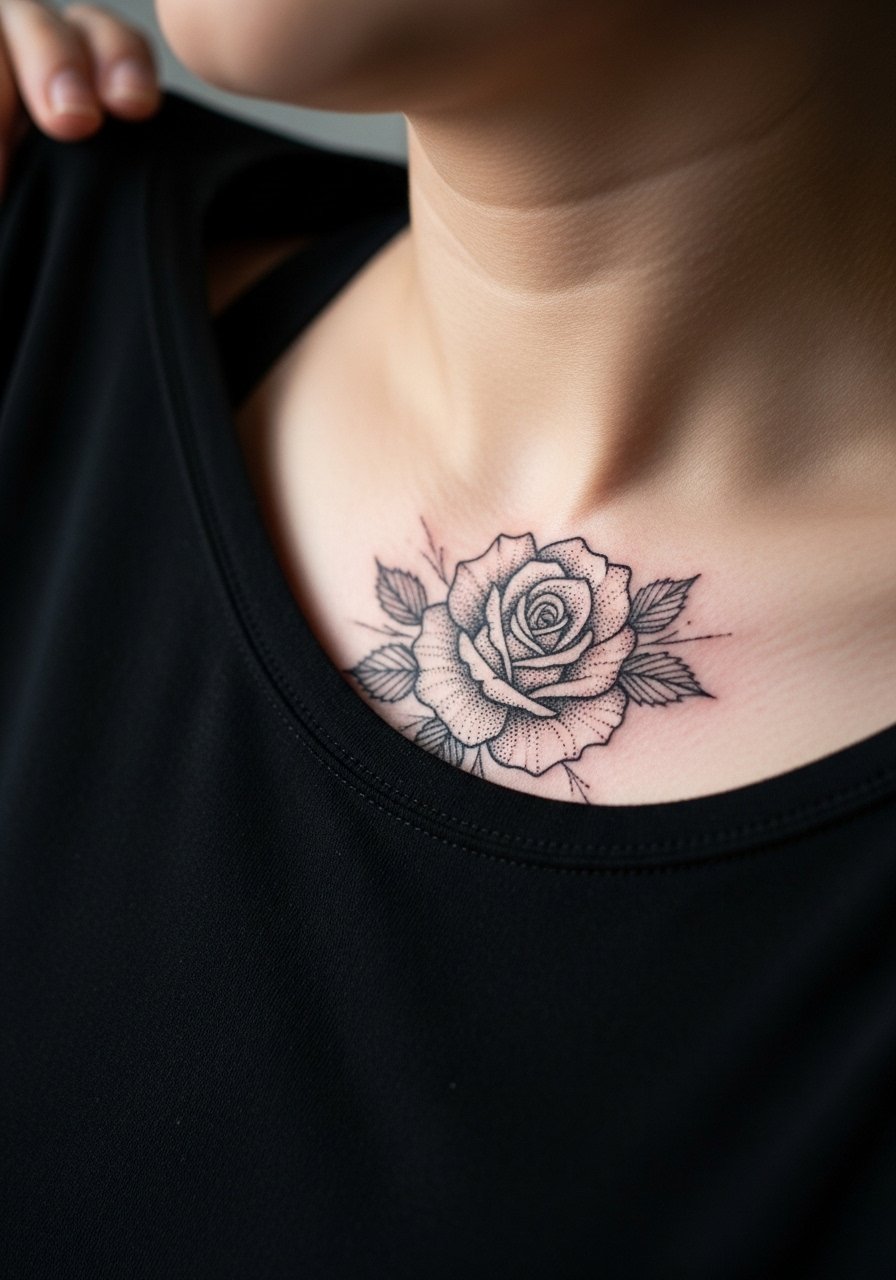
Collarbone placement looks delicate and photographs well. The session is usually under an hour for a small accent piece. Ask the artist to keep dotwork slightly bolder along the bone edge so it does not fade into an indistinct shadow over time. A frequent misstep is placing the design too close to the bone where touch-ups become tricky. For styling, the collarbone pairs with an open-neck blouse that frames the ink.
12. Full Back Bouquet of Black Roses in Dotwork
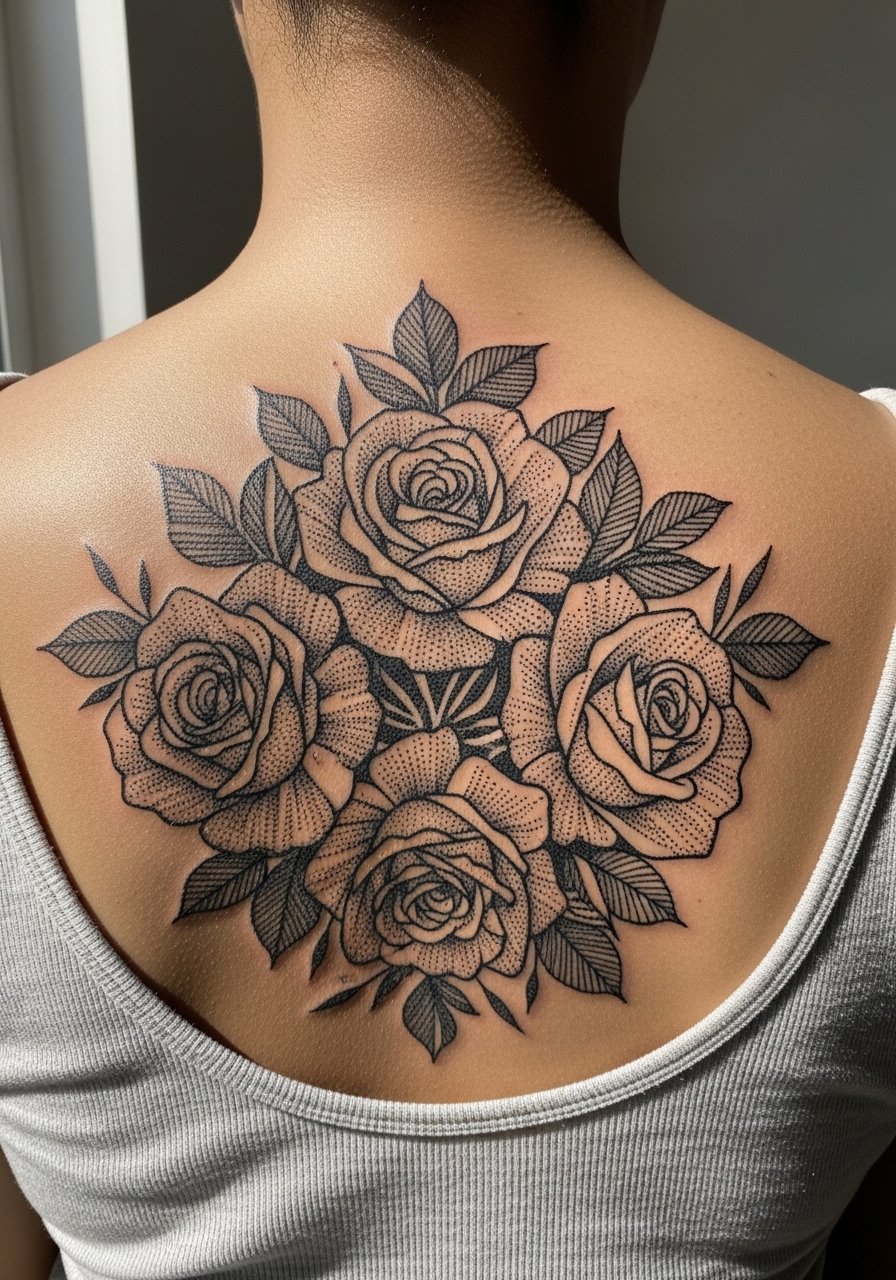
Full-back pieces are long-term commitments that usually require multiple sessions across several months. They age well if the artist plans pockets of negative space to avoid saturation puddles. Tell your artist you want staged sessions so the black saturation is layered rather than forced in one sitting. The common mistake is saturating large areas in one go which increases scarring risk. For the appointment, bring a loose button-down you can pull aside easily.
13. Geometric Stem Rose Wrapping the Calf
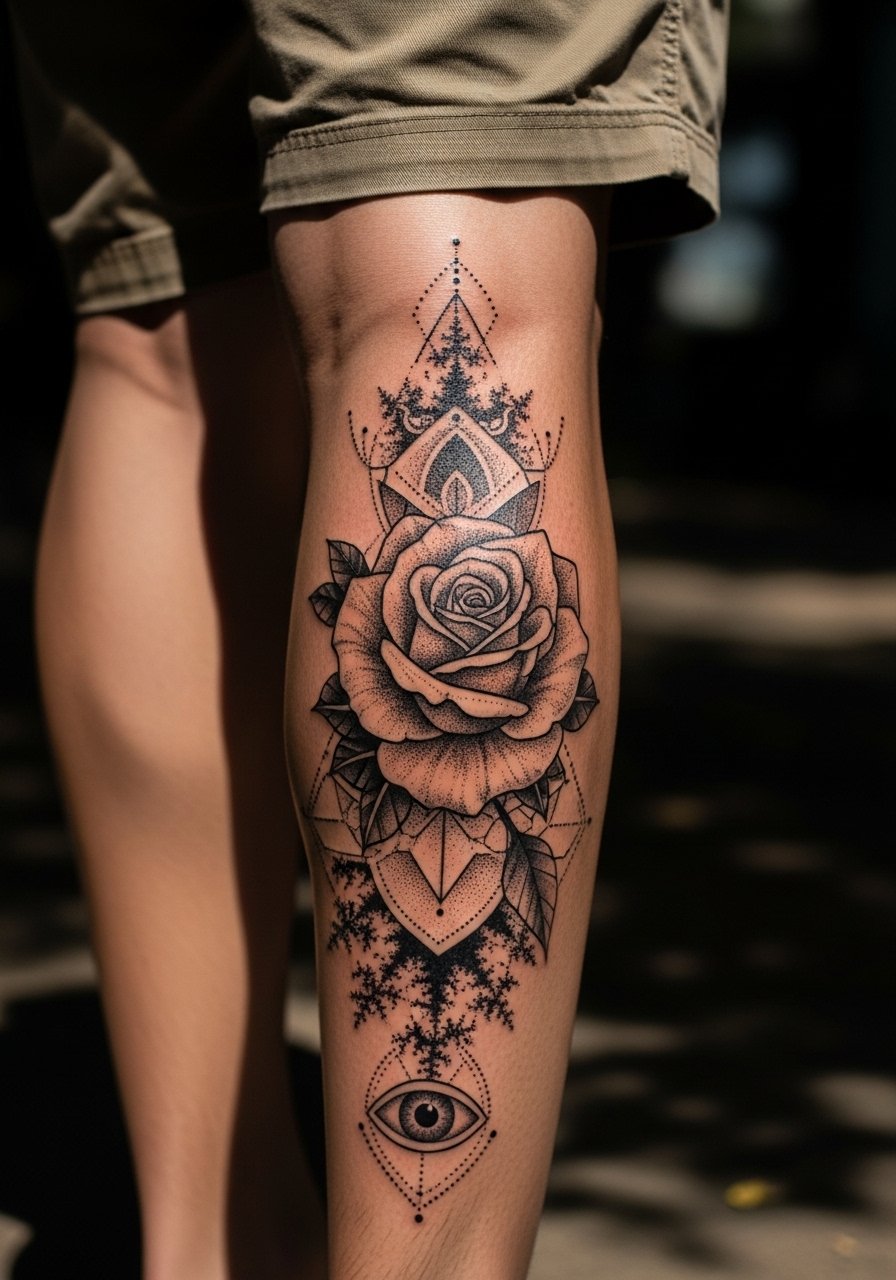
Calf skin tolerates larger work and generally heals with good saturation. Sessions are medium in length and often completed in a single visit for mid-sized pieces. Ask the artist to map how the wrap will look from both standing and seated angles. A common error is ignoring how clothing like boots or thick socks will rub during healing. For showing it off, a pair of shorts or cropped trousers highlights the wrap.
14. Single Black Rose Behind the Knee with Subtle Stippling
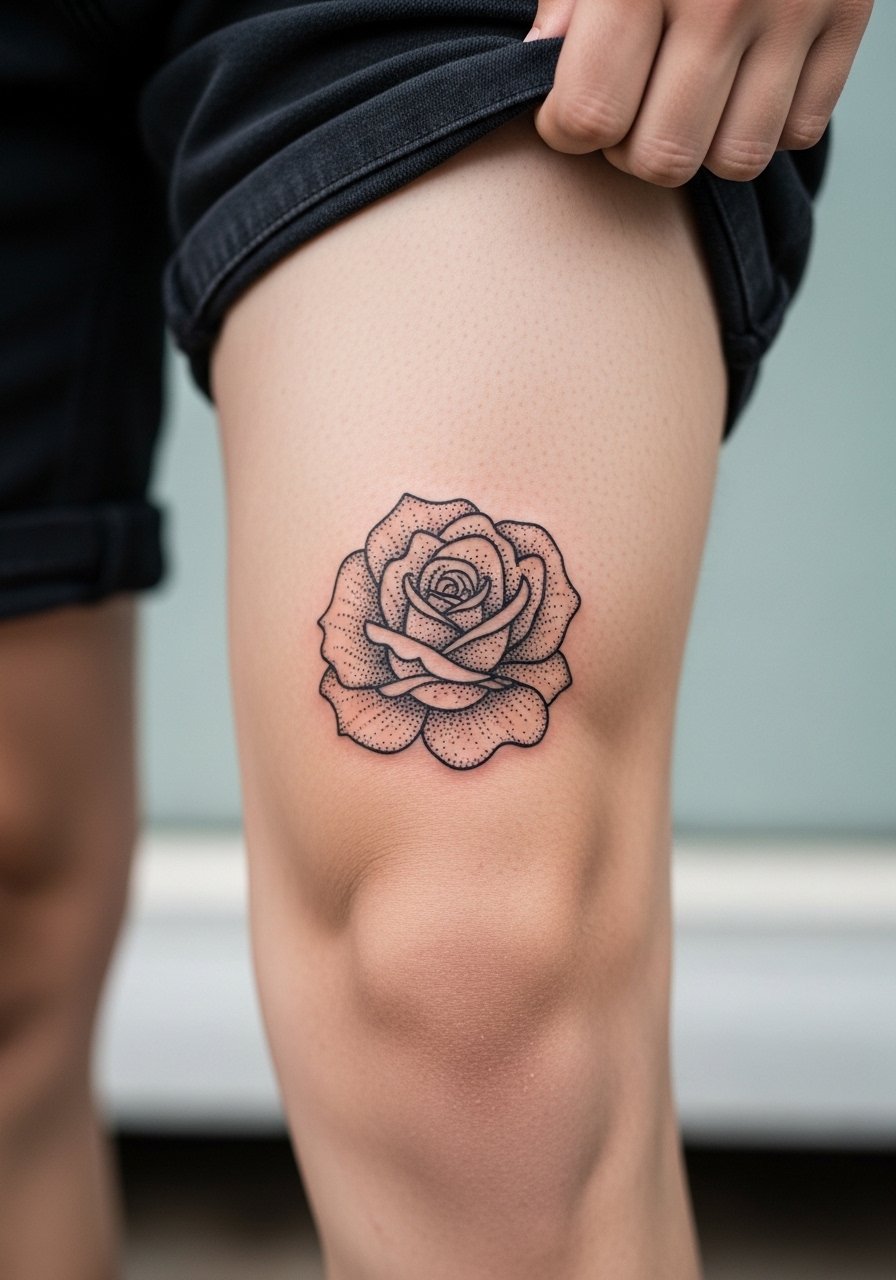
Behind the knee is mobile and can be prone to scabbing where skin folds. Sessions are short but tricky because the area moves. Ask the artist about session positioning so dot placement avoids major fold lines. Mistakes happen when the design crosses a crease and loses definition. For the session, wear loose shorts so the artist can access the area without pressure.
15. Finger Side Rose with Negative Space Band
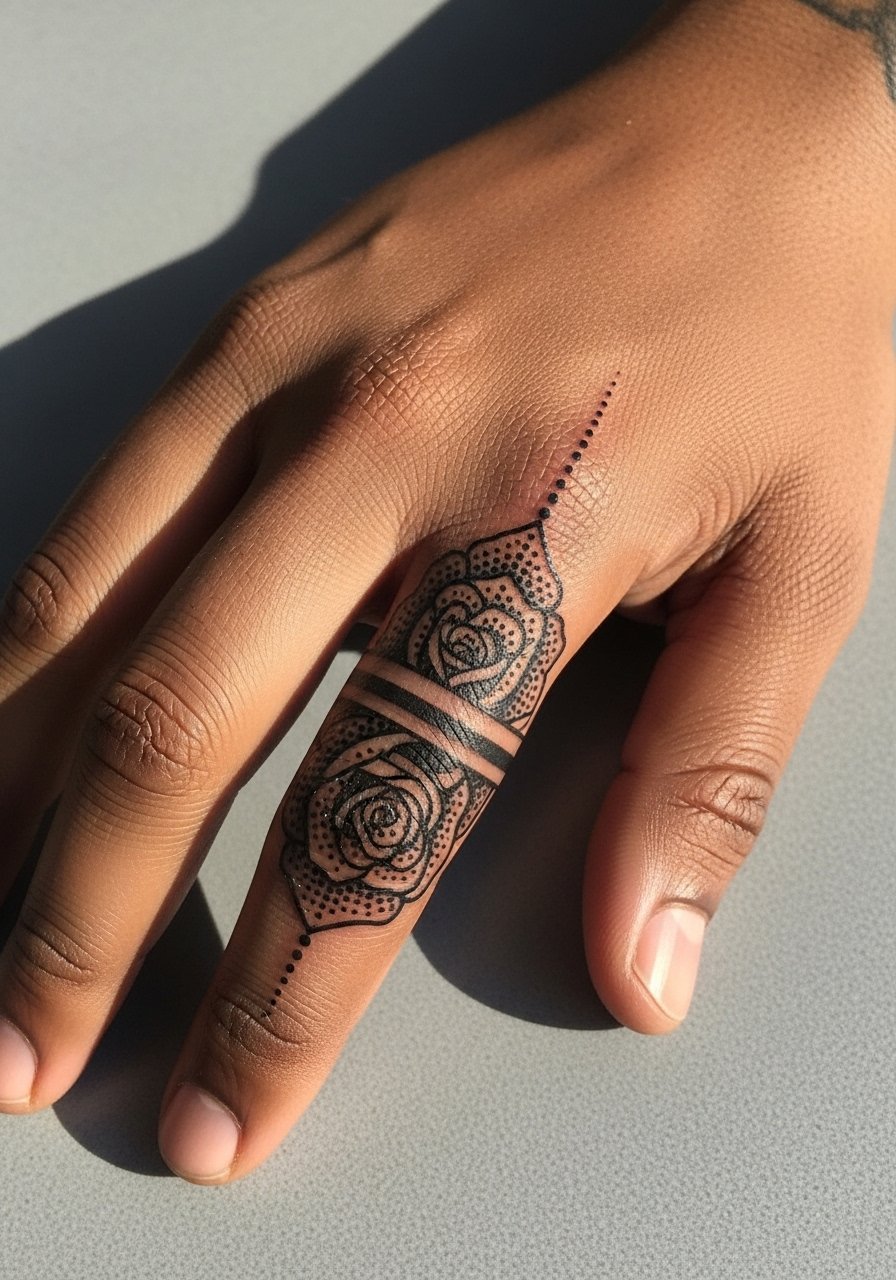
Fingers demand simplified forms and plan for yearly touch-ups. The session is quick but the maintenance is ongoing. Tell the artist you want the band to be open rather than fully saturated so the ring area does not fill in and blur the dotwork. A mistake is layering too much detail into the band and bloom. For accessories, minimalist rings that do not sit over the bloom work best.
16. Throat-Side Black Rose Accent
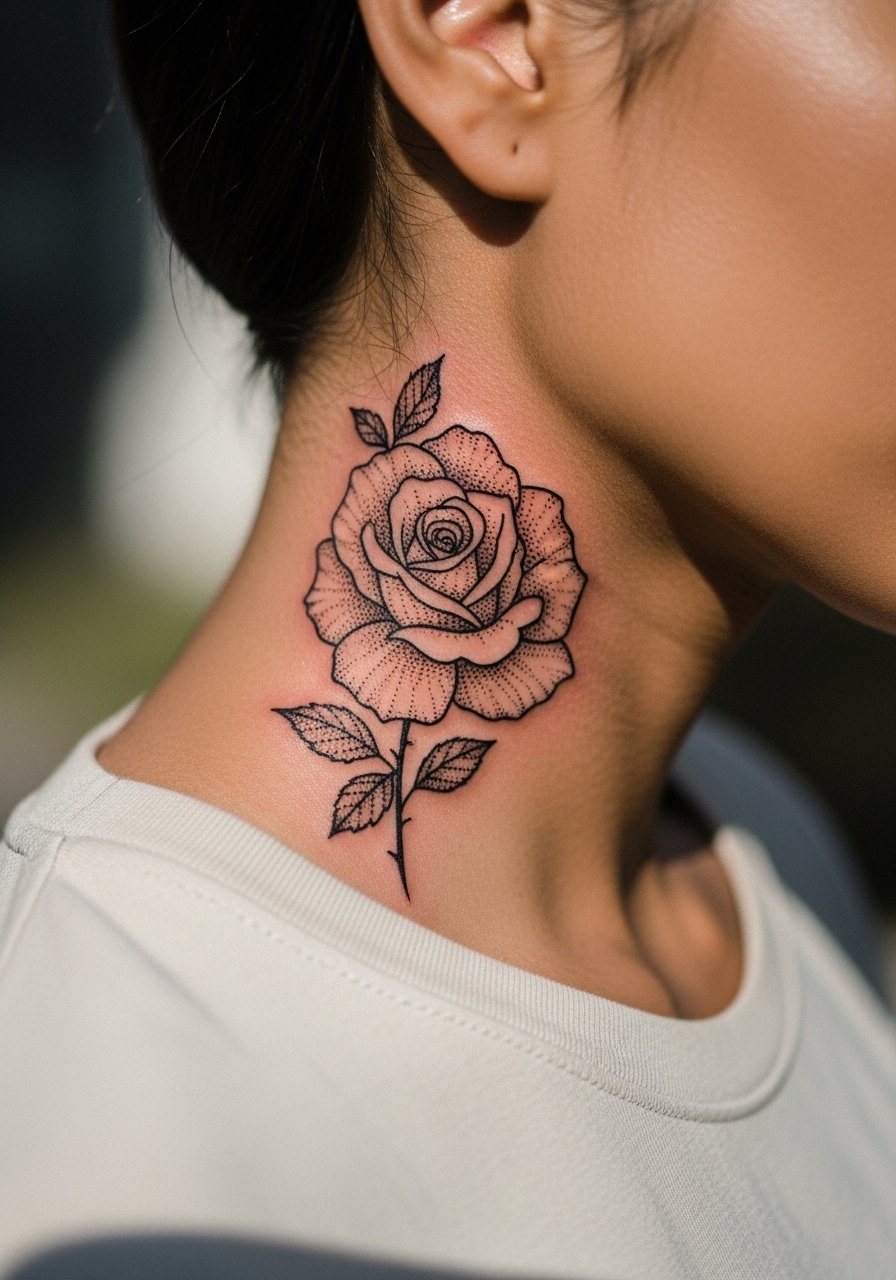
Side-of-neck pieces are visible and demand consideration for career contexts. Sessions are short but visibility is high. Ask your artist about line weight for visibility without aggressive heaviness. The error is making lines so thin they disappear in a year. Professional considerations matter more here than on covered placements.
17. Black Rose Over the Hip with Stipple Background
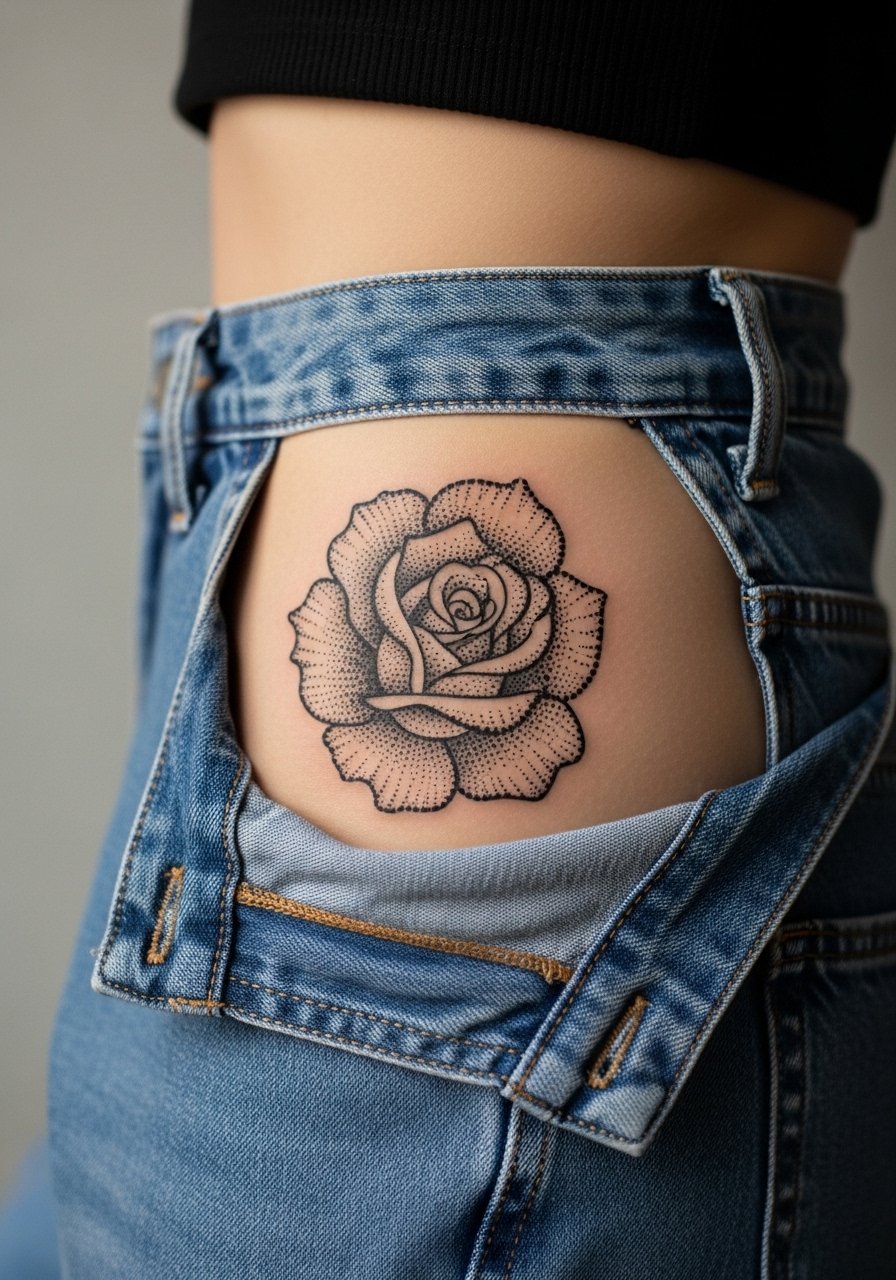
Hip placements are intimate and heal under clothing, so expect careful session prep. Sessions vary by size but are comfortable. Ask the artist to plan dot density away from high-friction zones that will rub against waistbands. A common mistake is placing too much detail close to the waist where elastic sits. For the session, wear high-waisted bottoms you can lower slightly without revealing more than the tattoo.
18. Black Rose Sleeve Accent with Whip Shading
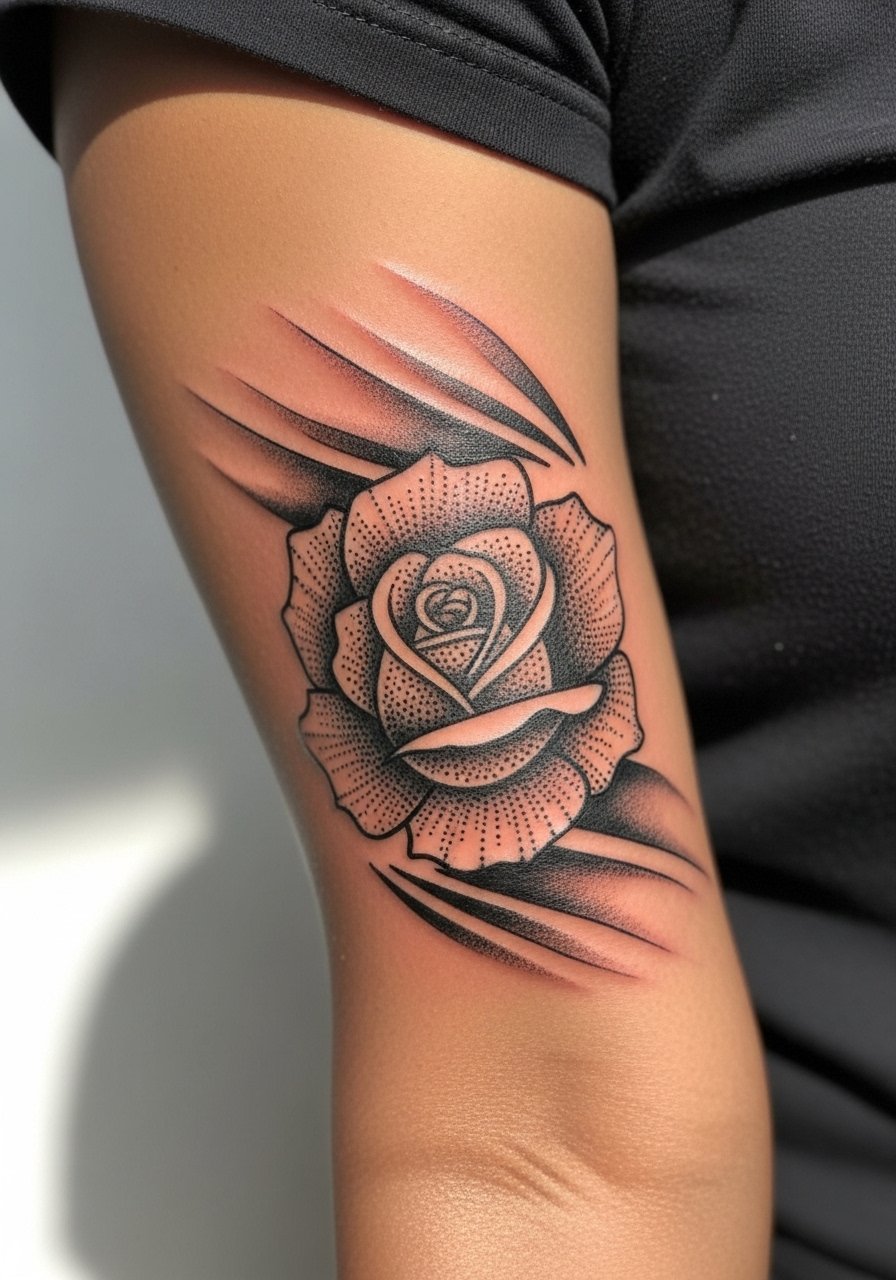
Sleeve accents require composition planning so each bloom has room. Sessions are long and staged. During consultation, discuss how the rose will transition into surrounding elements and whether whip shading or stipple will dominate. People often cram images too tightly which hurts legibility over time. For daily wear, a rolled short sleeve keeps the sleeve visible and comfortable.
19. Minimalist Single-Petal Rose Near the Ear
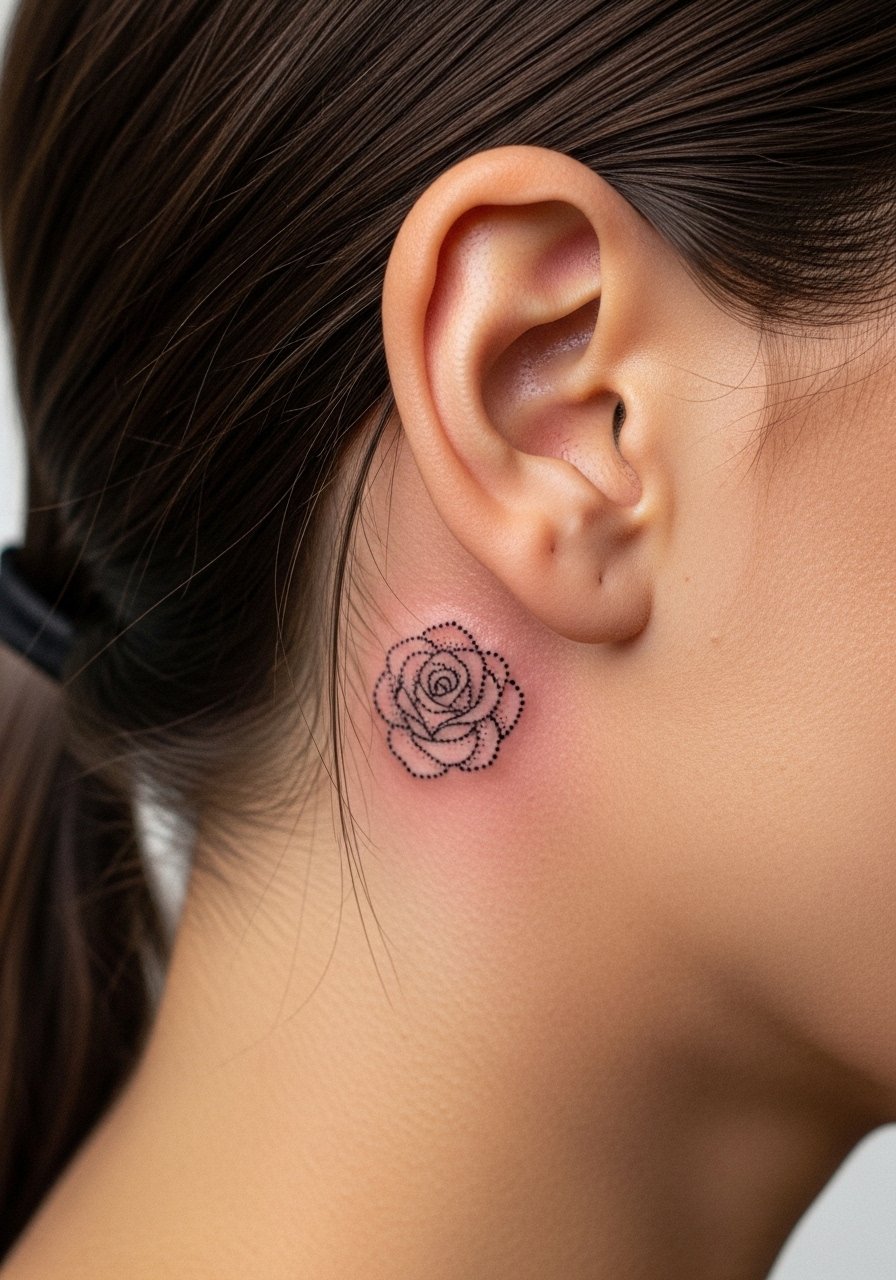
This discreet mark is quick to do and subtle to show. Sessions are brief and healing is straightforward if you avoid hair products on the area. Ask for bolder dot anchors so the petal does not blur into skin texture. A mistake is letting hairstyling products coat the fresh ink during the first week.
20. Bold Black Rose on the Outer Thigh with Negative Space Leaves
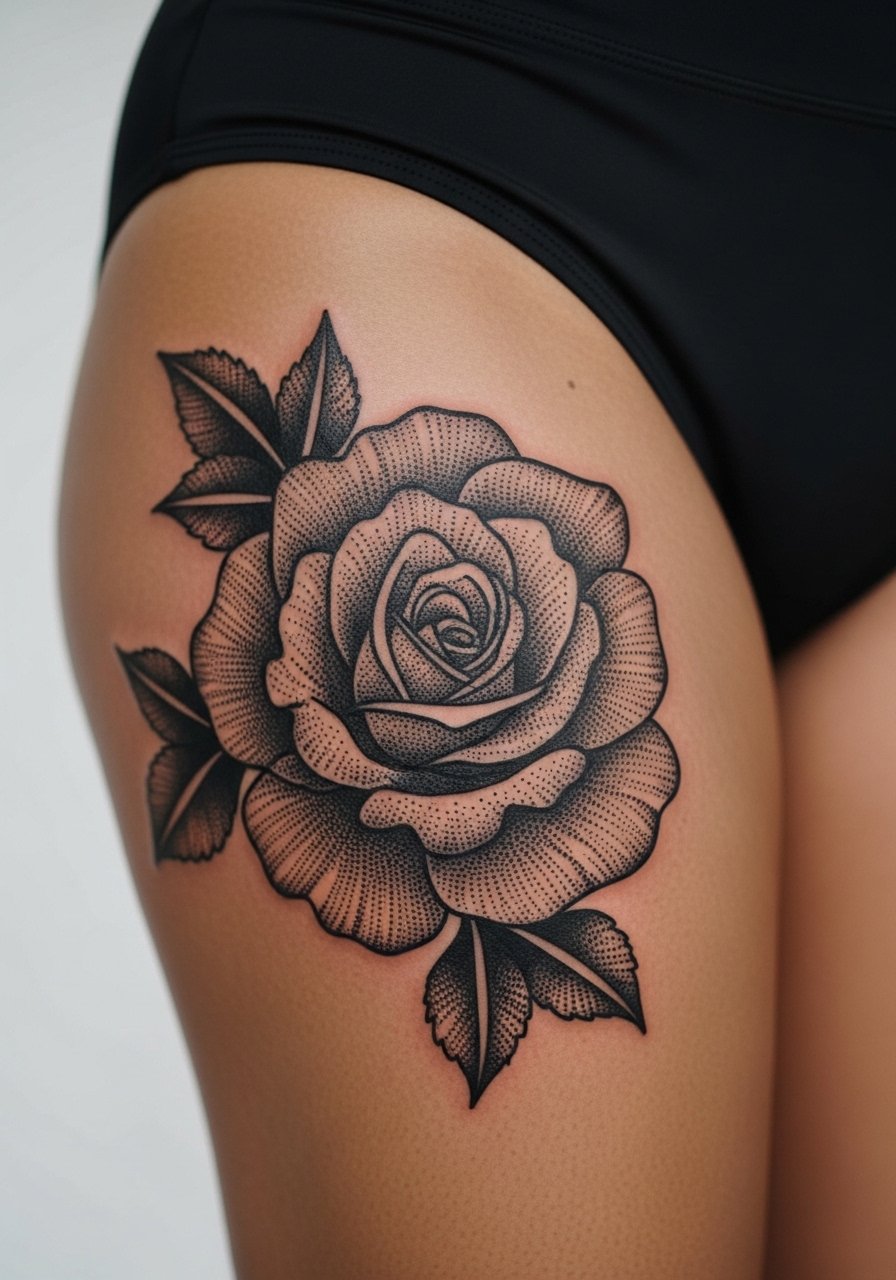
Outer thigh holds saturation well and gives scale. Sessions are long but forgiving. Tell your artist you want leaves as negative space to keep the core rose readable. Overfilling leaf areas leads to a flat look as time passes. For showing it off, a high-cut swimsuit bottom reveals the panel beautifully.
21. Small Black Rose at the Base of the Neck
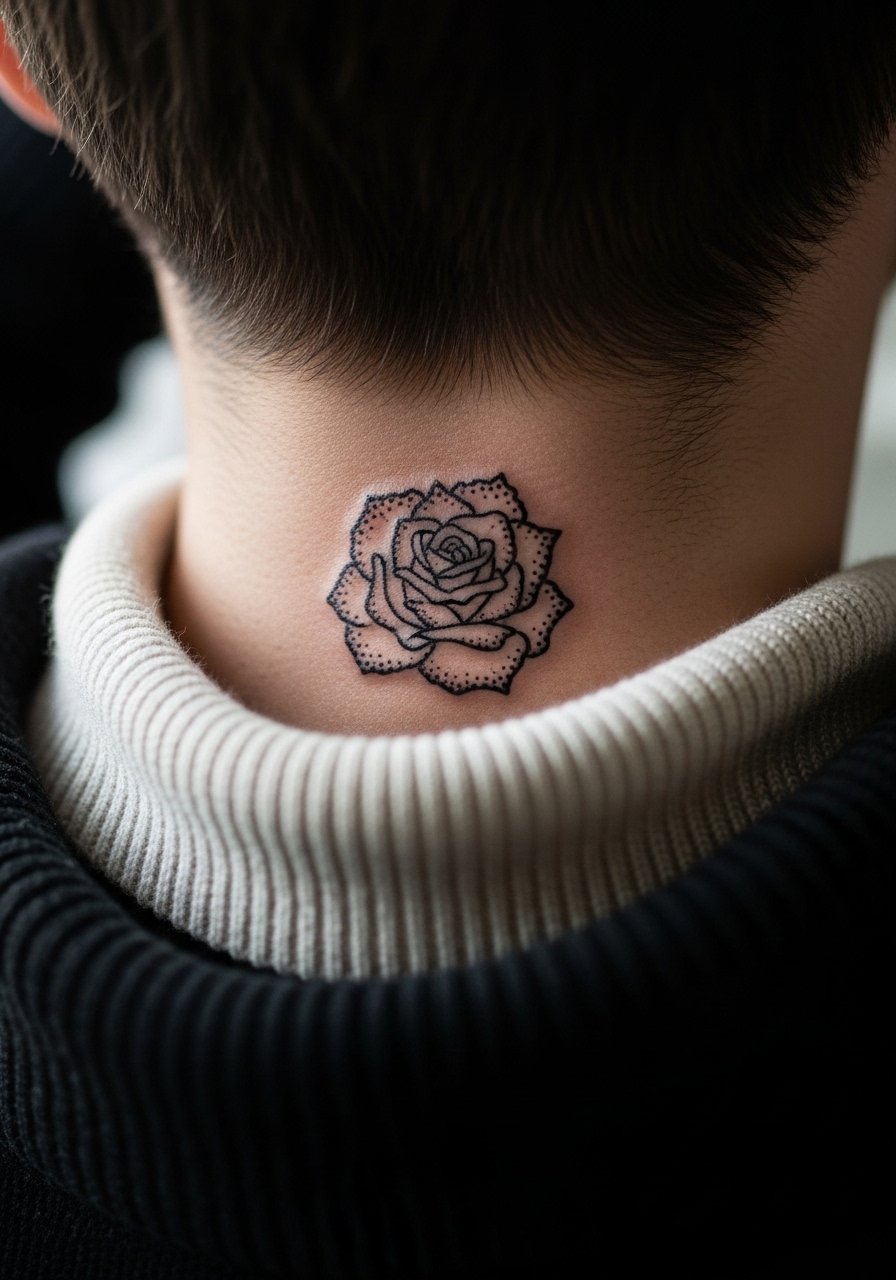
Nape pieces are generally discrete but visible with certain hair styles. Sessions are short and healing is straightforward with low friction. Ask for slightly heavier dots on the edges so the silhouette remains strong as hair rubs. A common error is placing a too-intricate design where head movement will stress the lines. For wardrobe, a low-collar top helps reveal the nape without trapping fabric.
22. Black Rose Cluster on the Side Torso
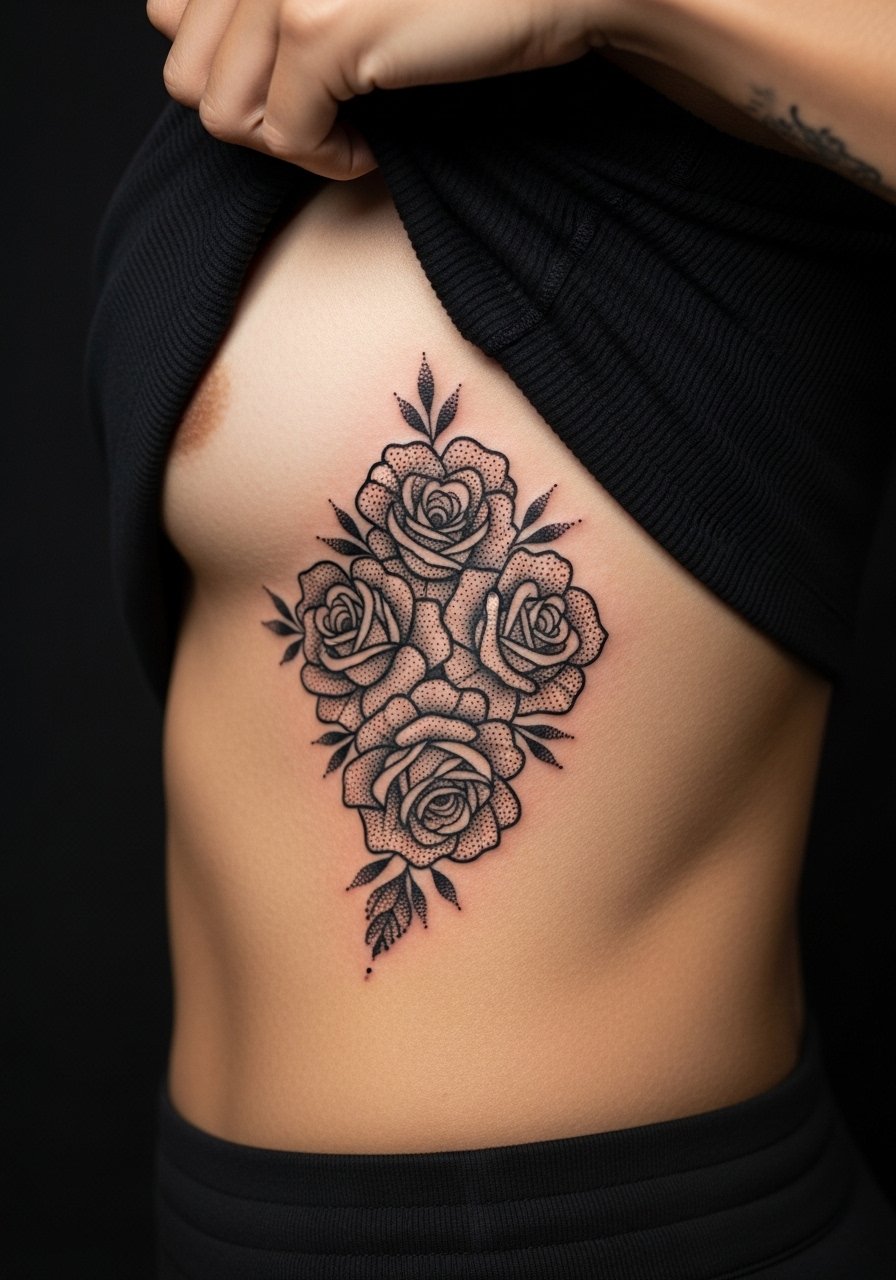
Side torso pieces can be very flattering but are near high-stretch zones. Sessions are medium length and often split. Tell the artist to account for breathing and how the skin expands when sizing the cluster. The mistake is compressing multiple blooms into a small area which invites future touch-ups. For the appointment, wear a zip-up hoodie you can pull to one side so the artist has clean access.
23. Single Bold Rose on the Calf with Linear Dot Trail
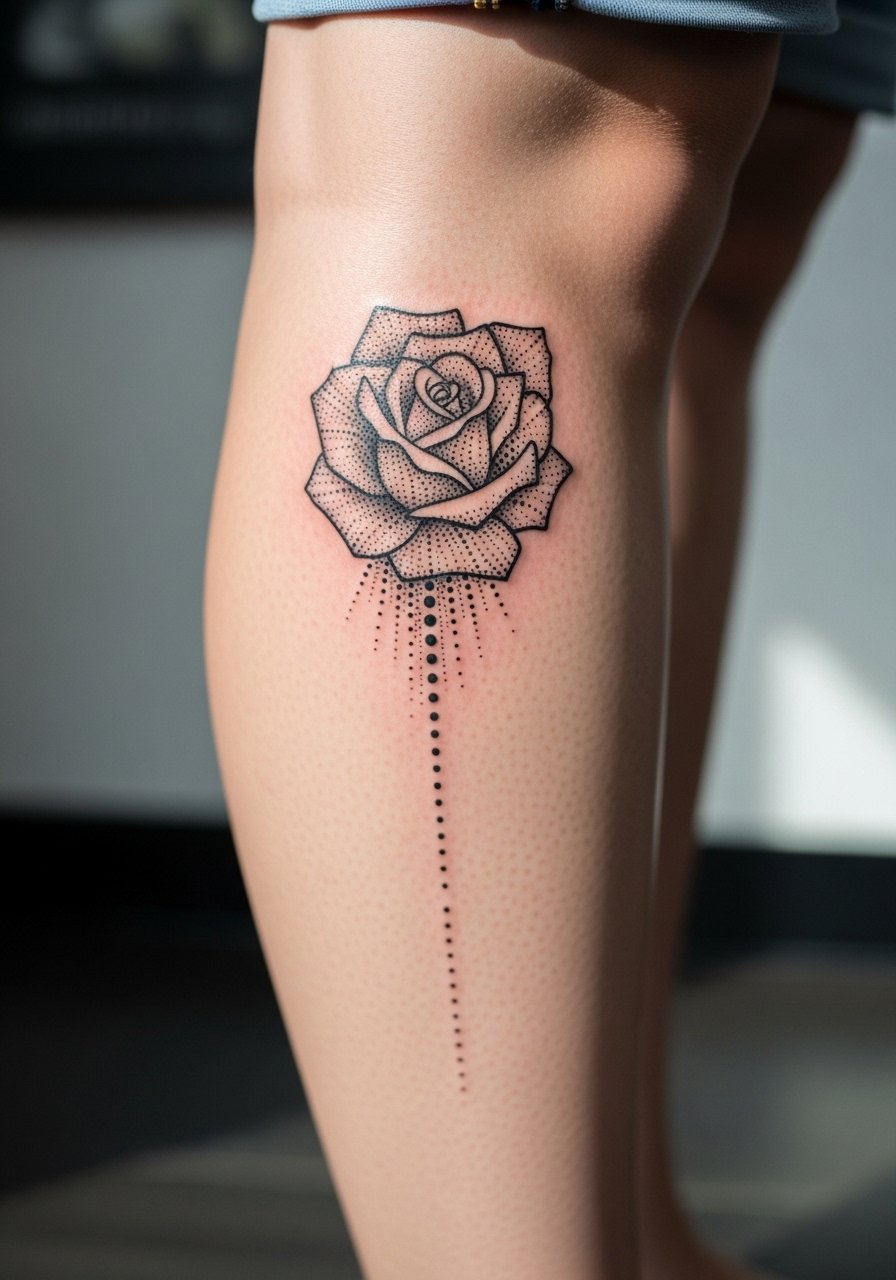
Calf pieces heal well and age predictably. Sessions are comfortable and often completed in one go. Suggest a dot trail with incremental spacing to the artist so the trail stays airy rather than clogging. A common mistake is making the trail too dense too close to the main bloom. For easy display, pair with cropped trousers.
24. Black Rose Memento on the Sternum with Micro Text
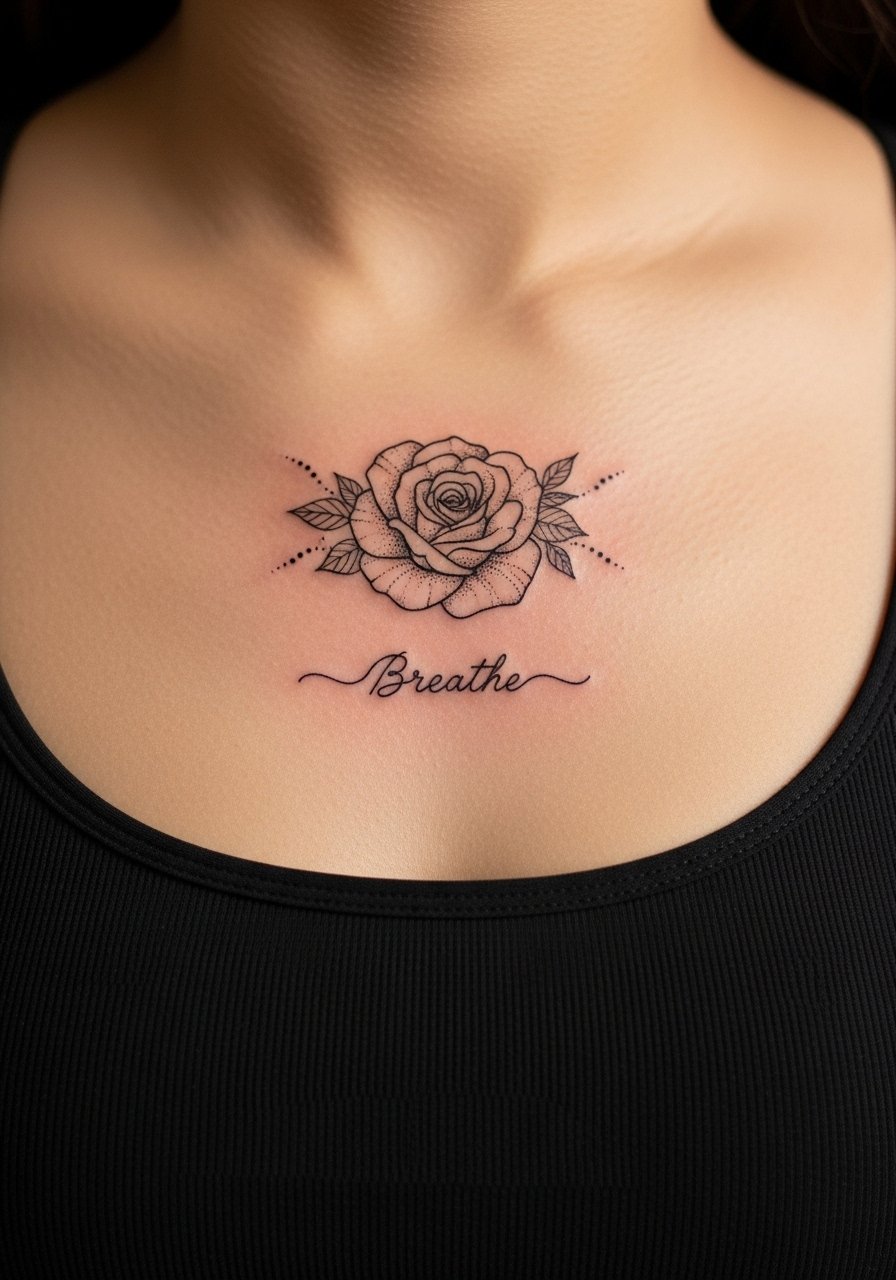
Sternum text requires exact lettering choices. The image prompt includes the word so the layout is precise. Sessions are careful work because the area is tender. Ask the artist about font weight and whether they recommend slightly heavier lettering for legibility over time. The common error is choosing script so fine it disappears when healed.
25. Black Rose Over a Rib Panel with Stipple Halo
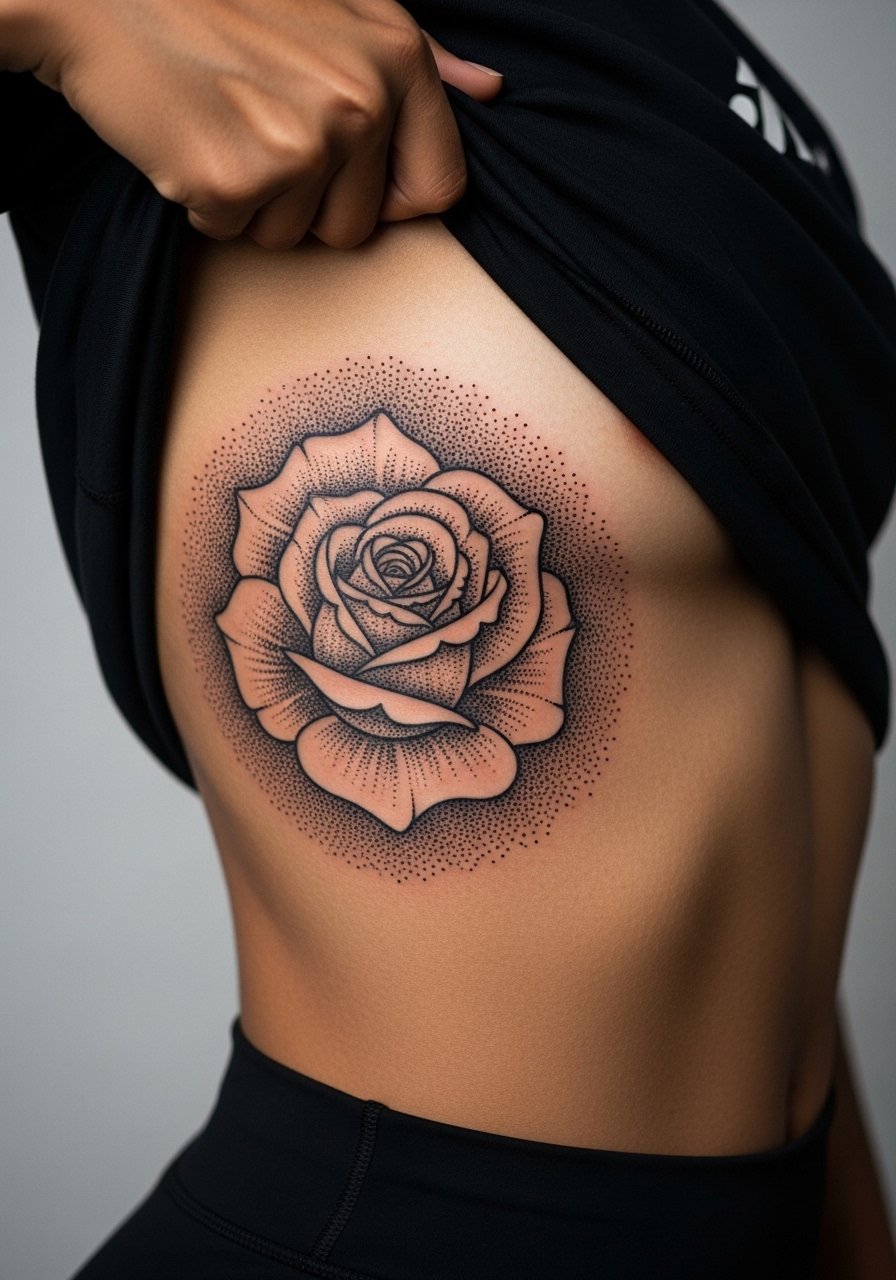
Rib panels show contours beautifully but are high pain. Sessions are usually broken into segments. The rib controversy is relevant here again. Some artists say ribs make fine line and stipple blur too quickly. Others say careful depth and spacing lets it hold for years. Ask your artist about their history with rib dotwork before booking. For healing, avoid tight waistbands pressing over the area.
26. Tiny Black Rose Near the Ankle with Dot Halo
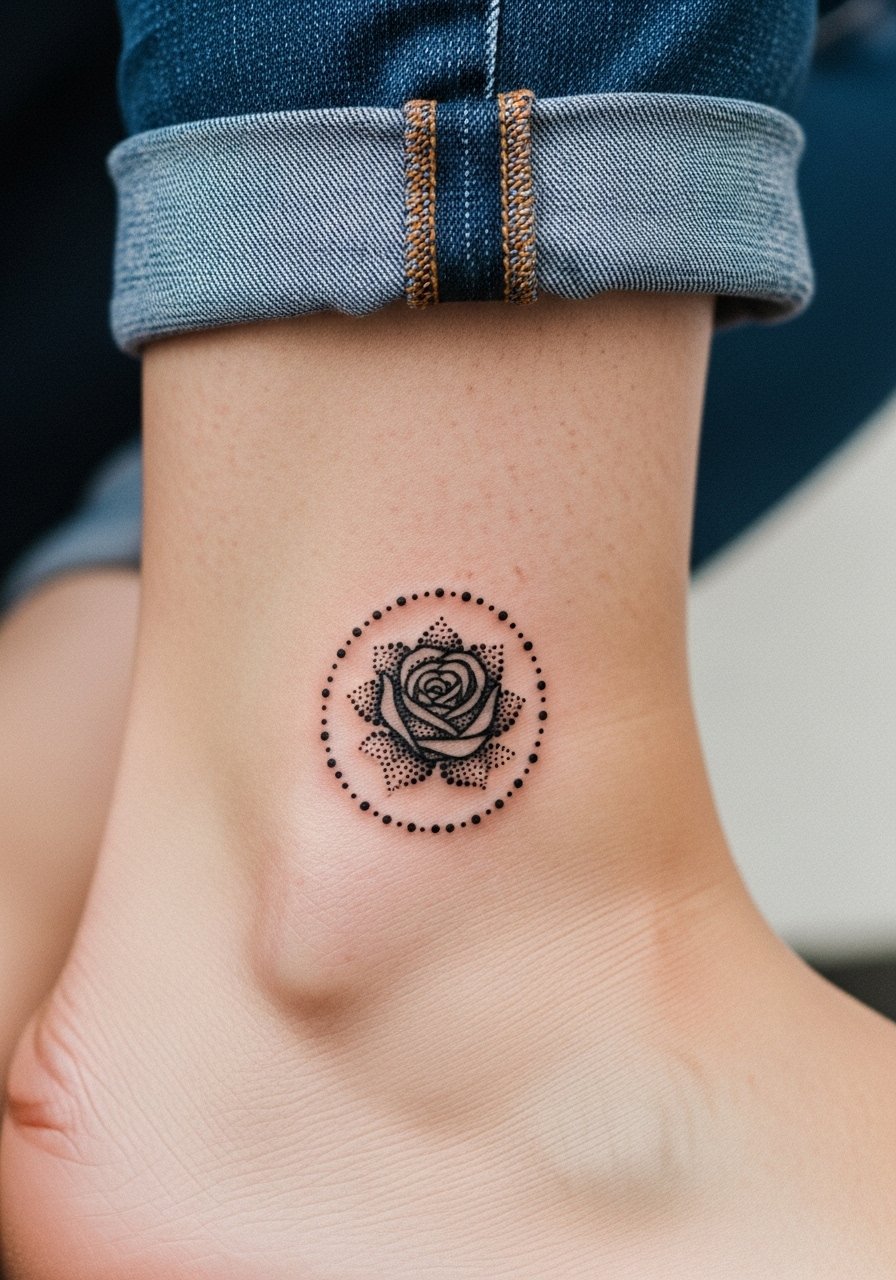
Ankle tattoos have modest pain and visibility. The canvas is small and rub from shoes is the main antagonist. Tell your artist you prefer a halo with descending dot density so the halo does not become a continuous shadow. The usual mistake is over-detailing small halos. For showing off, roll jeans or wear low-cut shoes.
27. Back of Neck-to-Shoulder Sweep of Dotwork Roses
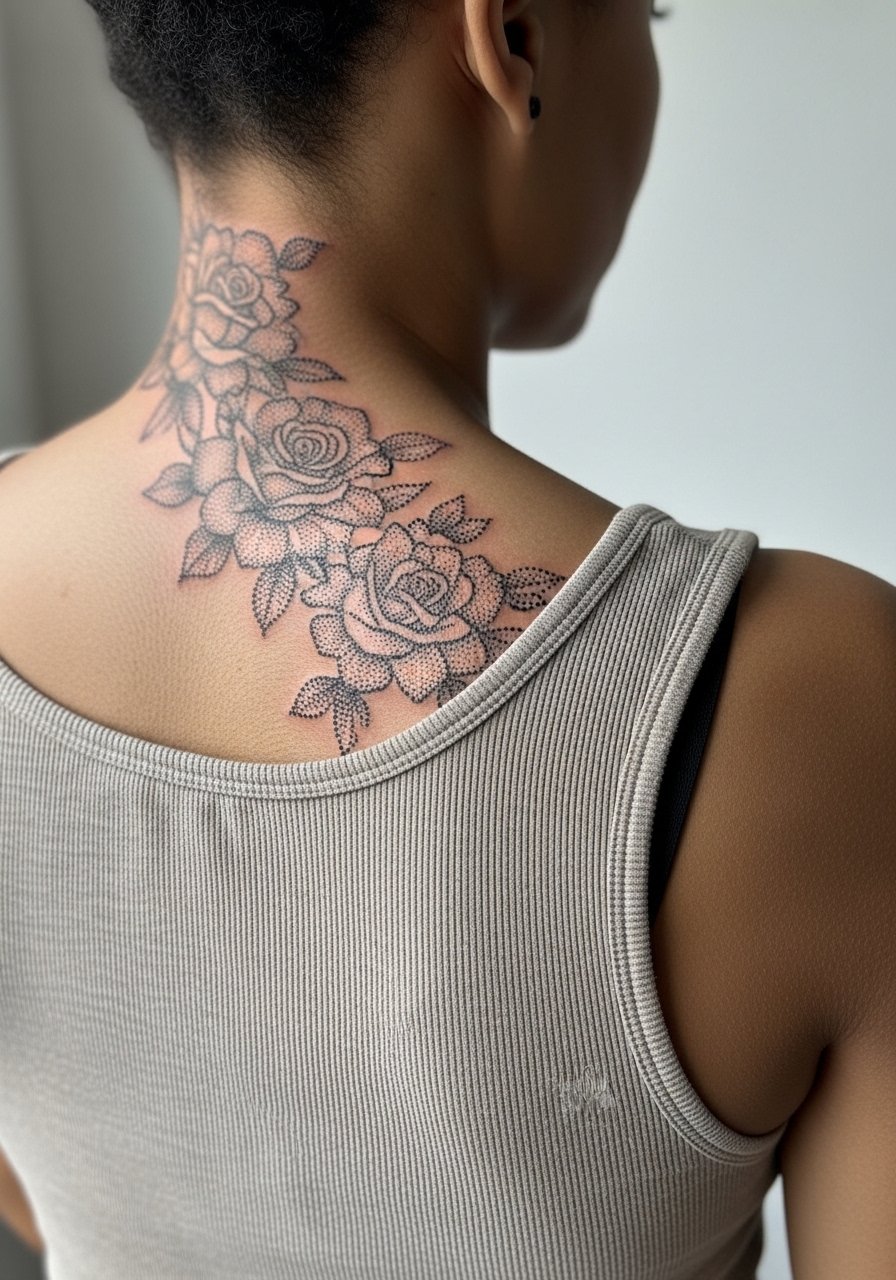
This sweep creates motion and photographs well. Sessions are staged and often comfortable if done in sections. Ask the artist to map how the sweep looks with natural shoulder movement and whether the dot density will flex with skin motion. Overcrowding blooms in a narrow band is the common mistake. For apparel, a tank top shows the sweep without forcing fabric across fresh ink.
Frequently Asked Questions
Q: How long do dotwork black roses usually need touch-ups based on placement?
A: It depends on placement and daily wear. Fingers and hands often need touch-ups as early as year one, ribs and sternum commonly see softening around year two to three if dots were packed tight, and forearms, shoulders, and thighs usually hold longer with touch-ups around year three to five in my experience.
Q: Can dotwork roses be combined with geometric blackwork without losing texture?
A: Yes if the artist plans negative space and varied dot density. The trick is mapping which areas get stipple and which get solid black. Tell your artist during consultation you want the rose to remain the focal point so the geometric elements serve as backdrop rather than crowding the dots.
Q: Are there special wardrobe tips for showing off sternum or rib roses during healing?
A: For sessions and the first week wear fitted pieces you can slide aside like a fitted sports bra or zip-up hoodie to minimize movement over the area. After healing, open-back tops and wide-neck shirts frame sternum and rib work without rubbing.
Q: I want a tiny dotwork rose on my finger. Is it worth it given maintenance?
A: If you want that look and accept yearly touch-ups, go for it. Fingers are special in that they tell a story quickly and require commitment. Ask the artist for a simplified silhouette rather than an intricate bloom.
Q: How should I discover an artist who understands dotwork stippling if I do not have names?
A: Search local shop directories, browse hashtag portfolios for dotwork examples, and check convention lineups in your region. Look at healed photos with detailed close-ups and ask about healed results during consultation rather than only viewing fresh photos.
Q: Do black roses from dotwork translate well into cover-ups if I change my mind?
A: They can be effective cover-up bases because dense black can mask underlying ink, but the final approach depends on the colors and placement of the older work. Expect multi-session work for full coverage and ask a covering artist how the dot densities will interact with existing saturation.
