
Fine line cat outlines are everywhere on saved boards, but what actually holds up is less obvious. Trends push ultra-thin single-line pieces, and they can look exquisite fresh while still settling into a soft whisper after a couple of years. These 21 illustrative cat outline tattoo ideas balance the look you want now with the spacing and placement that help the design read clean as it ages.
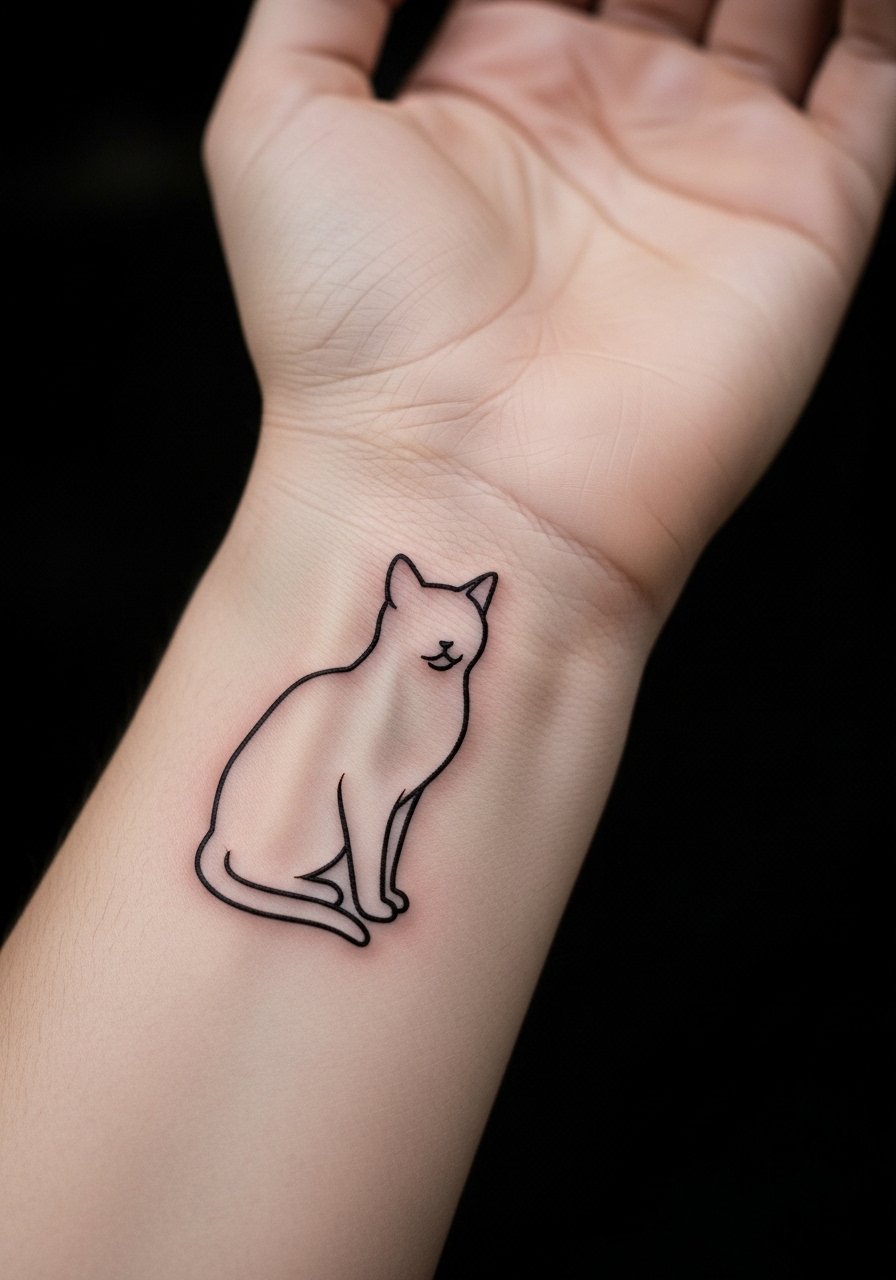
1. Fine Line Sitting Cat on Inner Forearm
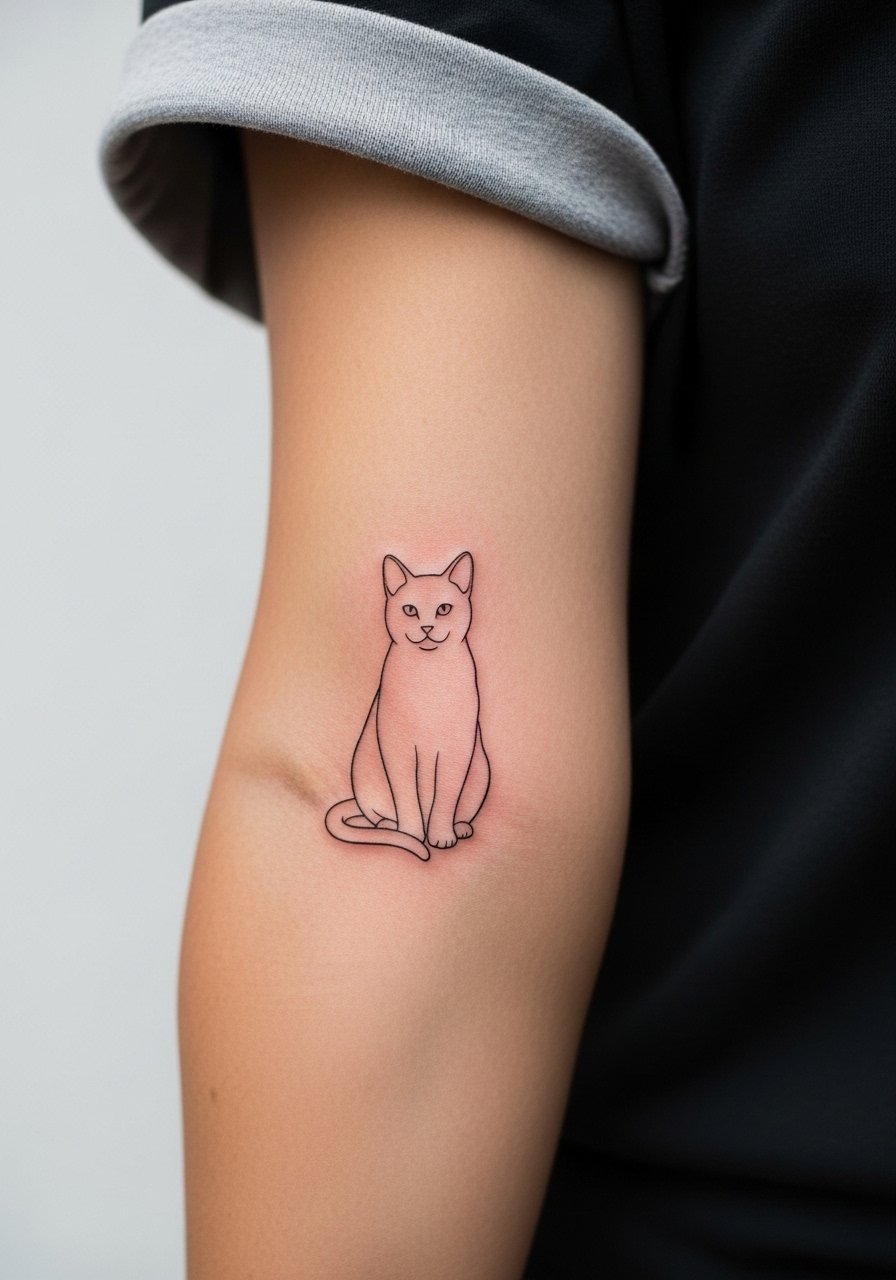
I recommend this when you want a readable piece that stays visible in daily life. Tell your artist you want slightly heavier terminal points and open spacing in the whisker area so the thin sections have room to breathe. Pain sits low to medium for the inner forearm and a session is often under an hour. Common mistakes include asking for hairline lines everywhere, which can blur into a fuzzy edge by year two. Expect a touch-up window around year three for very thin strokes. For showing it off, roll up sleeves and pair with a loose button-down shirt that frames the forearm.
2. Continuous-Line Cat Wrap on Wrist
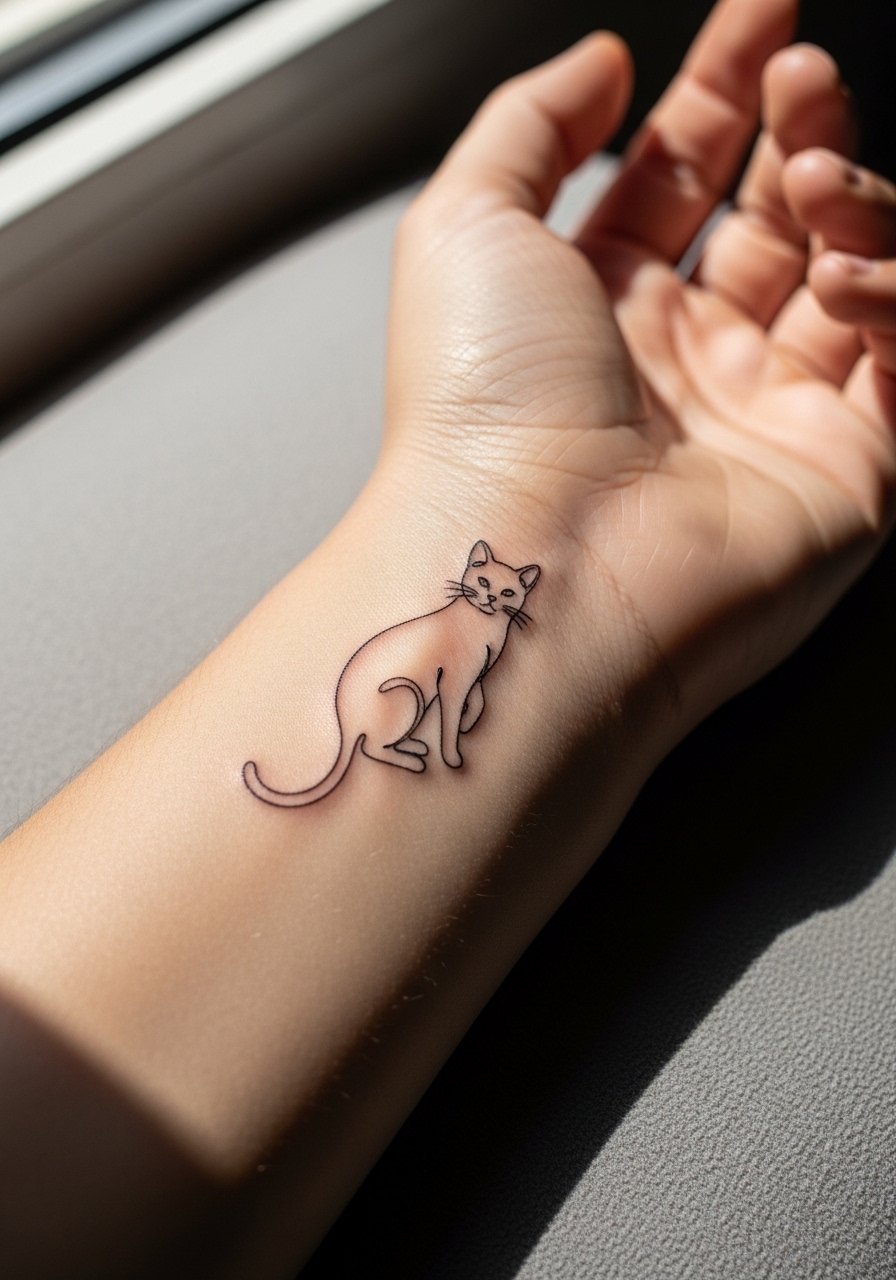
This design feels modern but watch for blowout on the wrist from thin curved lines. Ask for slightly bolder linework where the wrap overlaps skin creases. The wrist is sensitive so pain is medium to high, and sessions run 30 to 60 minutes. The common error is making the continuous loop too thin. Over time the loop can soften against the skin fold near the thumb. For wearable styling, stack a minimalist leather bracelet beside the line to frame the cat without covering it.
3. Micro-Realism Cat Silhouette on Ankle
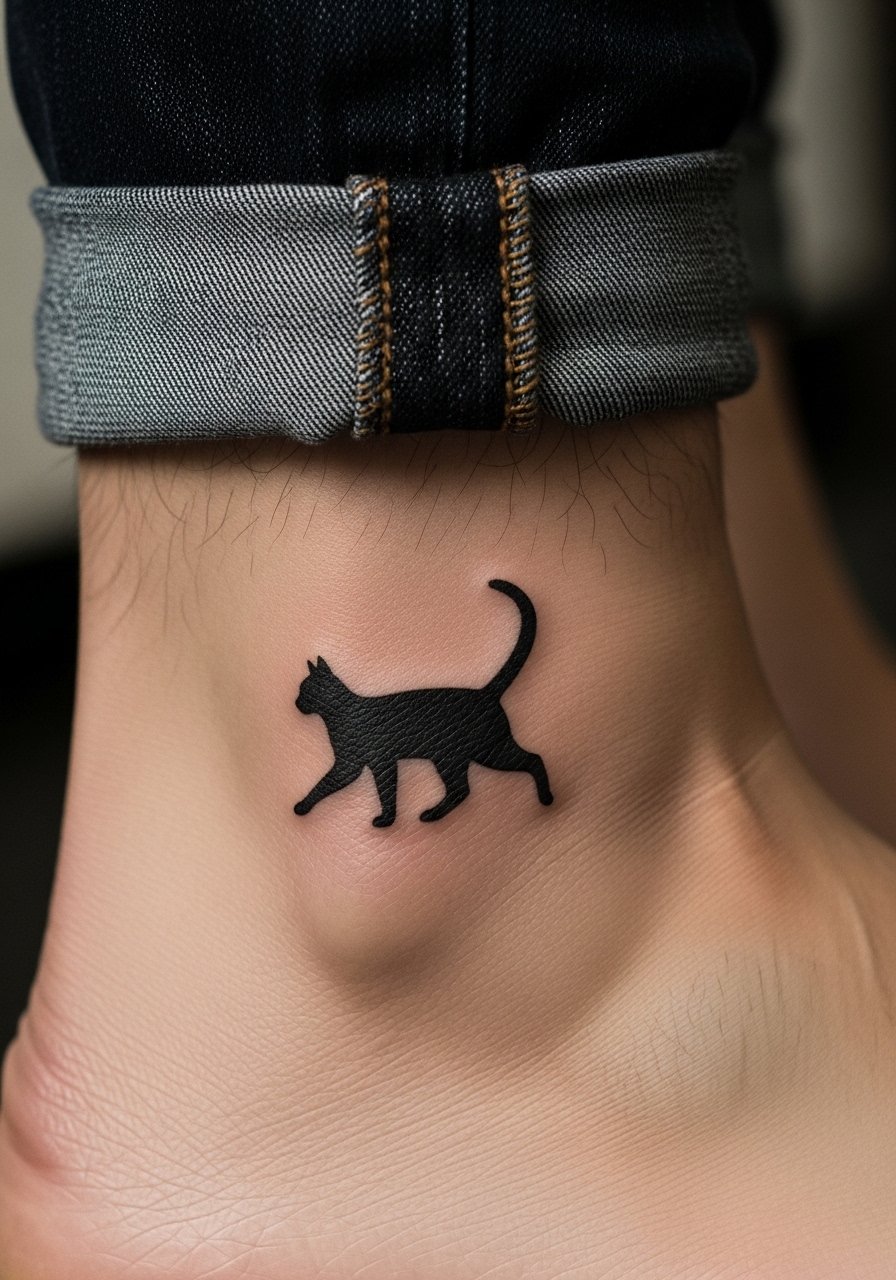
A filled silhouette reads from a distance and ages more predictably than ultra-fine lines. This placement is lower pain and session time is under an hour. Ask for clean edge saturation and avoid stippling too close to the edge, since dense dots near the border can soften in time. The mistake is shrinking the silhouette too small, which loses its visual weight within a year. For evenings or sandals, this pairs neatly with a strappy ankle sandal to let the silhouette show.
4. Geometric Cat Outline with Dot Work on Shoulder Blade
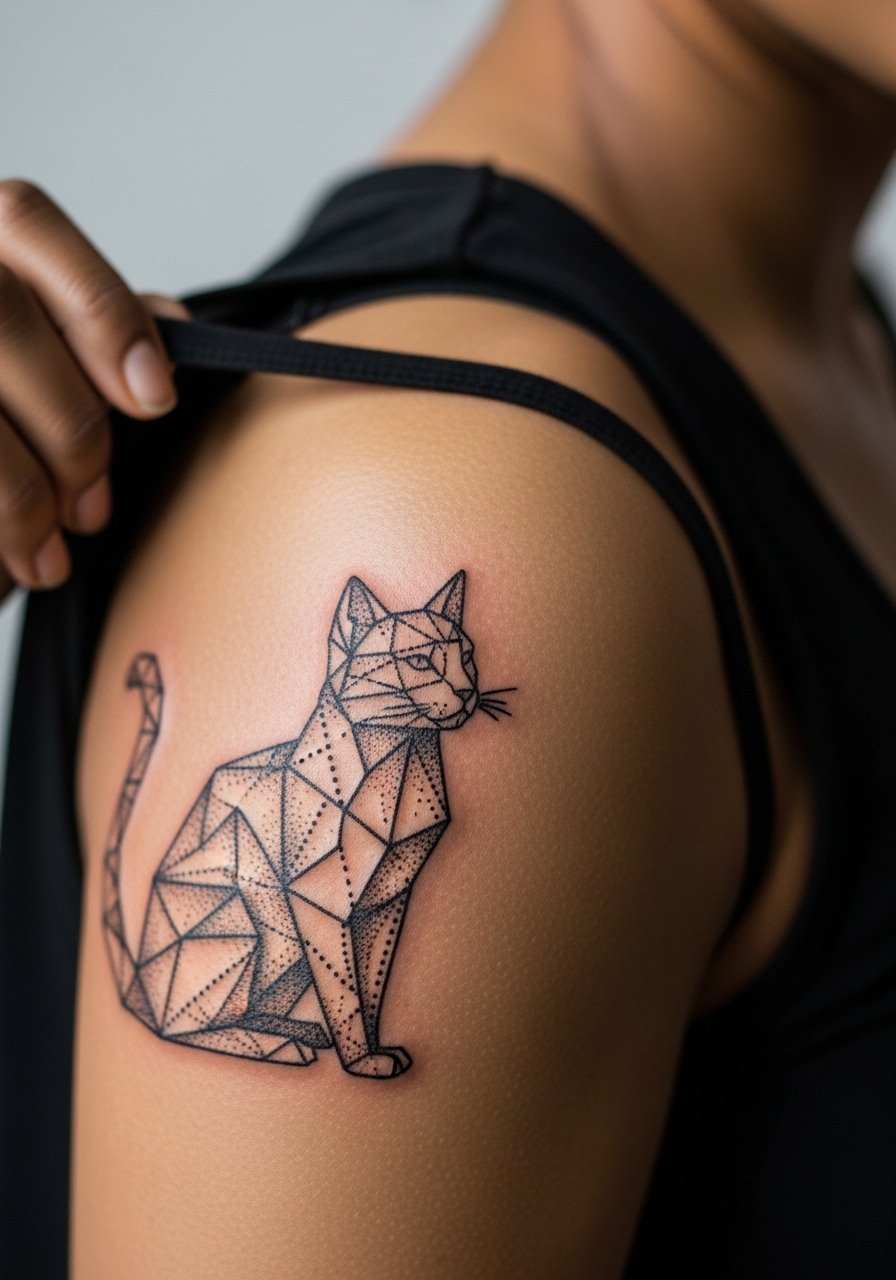
This blends clean linework and stipple shading to keep contrast as it heals. The shoulder blade is moderate pain and often takes 1 to 2 hours depending on size. Tell the artist you want spacing between geometric edges and the dot work, because dense dot packing close to lines can merge later. A common mistake is over-detailing the negative space. For showing this one off, reach for a loose tank top that reveals the shoulder blade when you want to highlight the geometry.
5. Tiny Cat Face Behind the Ear, Hidden Linework
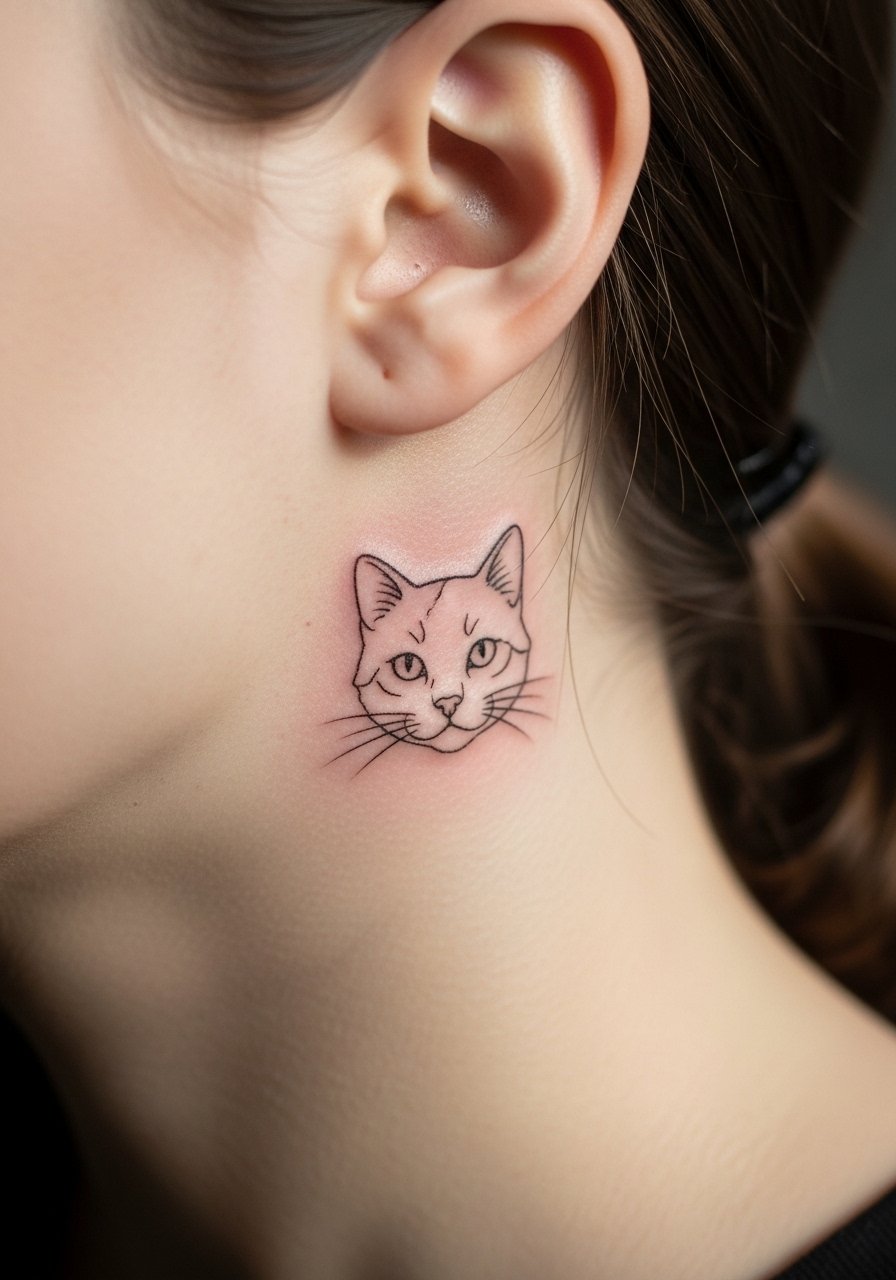
Behind-the-ear placement requires careful stencil positioning because the curve and hairline change how the design reads. Pain is low to medium and sessions are very short. Artists debate fine detail here. One camp says the skin there shifts too much and blurs tiny lines within two years. The other camp argues that with precise depth and a slightly bolder outline, it keeps crisp. Ask where your artist stands before booking. For the session, wear your hair up so they can access the area easily.
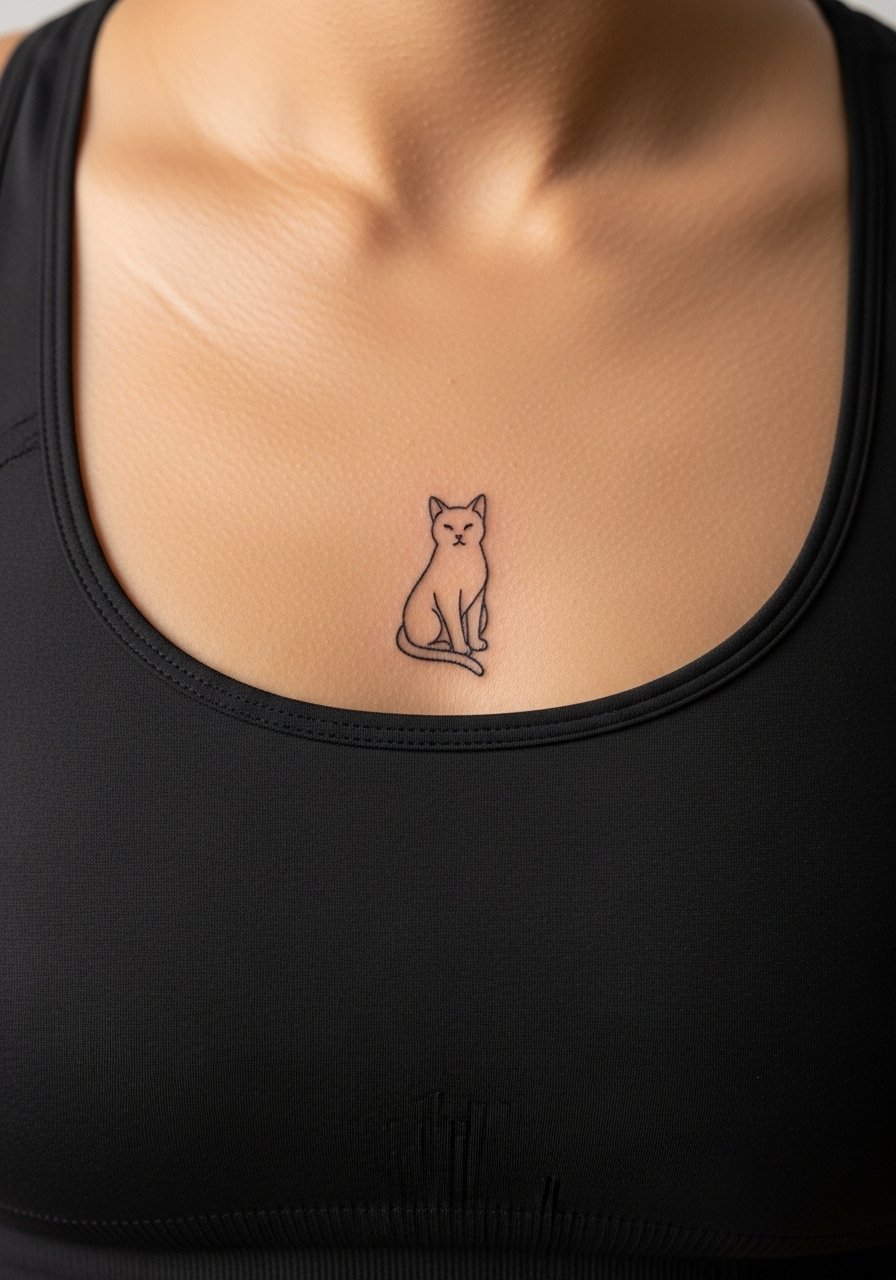
6. Crescent Moon Cat on Collarbone
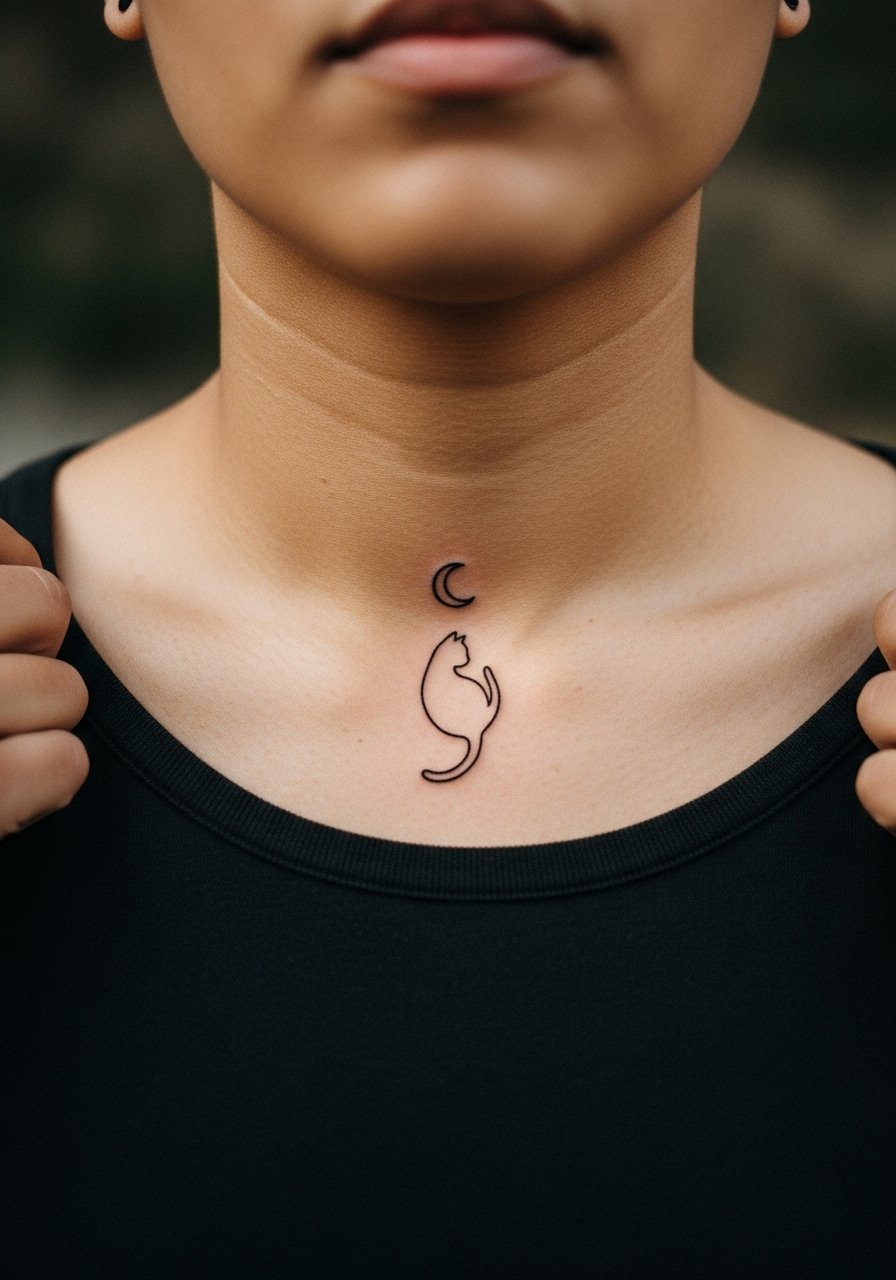
The collarbone shows off linear pieces because clothing often frames the spot. Pain ranges medium to high near the bone and a small piece is usually under an hour. Tell the artist you want the moon slightly offset so the cat's tail does not sit over the bone. A frequent mistake is placing a thin curve right on the clavicle, which hurts more and can heal with patchy saturation. Pair this with an open-neck blouse when you want it visible, and wear a wide-neck top to the session for easy access.
Studio Day Picks
The first six designs include delicate spots and collarbone work, so a few studio day items smooth the appointment and the first week.
- Stencil transfer paper kit. Lets you preview placement on curved areas like the collarbone and behind the ear before the needle hits skin.
- Topical numbing cream. Applied before wrist or collarbone sessions it can take the edge off without affecting how the artist lines up fine detail.
- Thin protective film roll. Helps with friction-prone spots such as the wrist and ankle during the first nights of healing.
- Fragrance-free body wash. Gentle cleansing avoids irritating the delicate linework around the neck and inner forearm.
- Aquaphor healing ointment. A thin layer during the first 48 hours helps keep moisture in for tight linework without blocking necessary air.
7. Minimalist Cat Paw on Side Ribcage
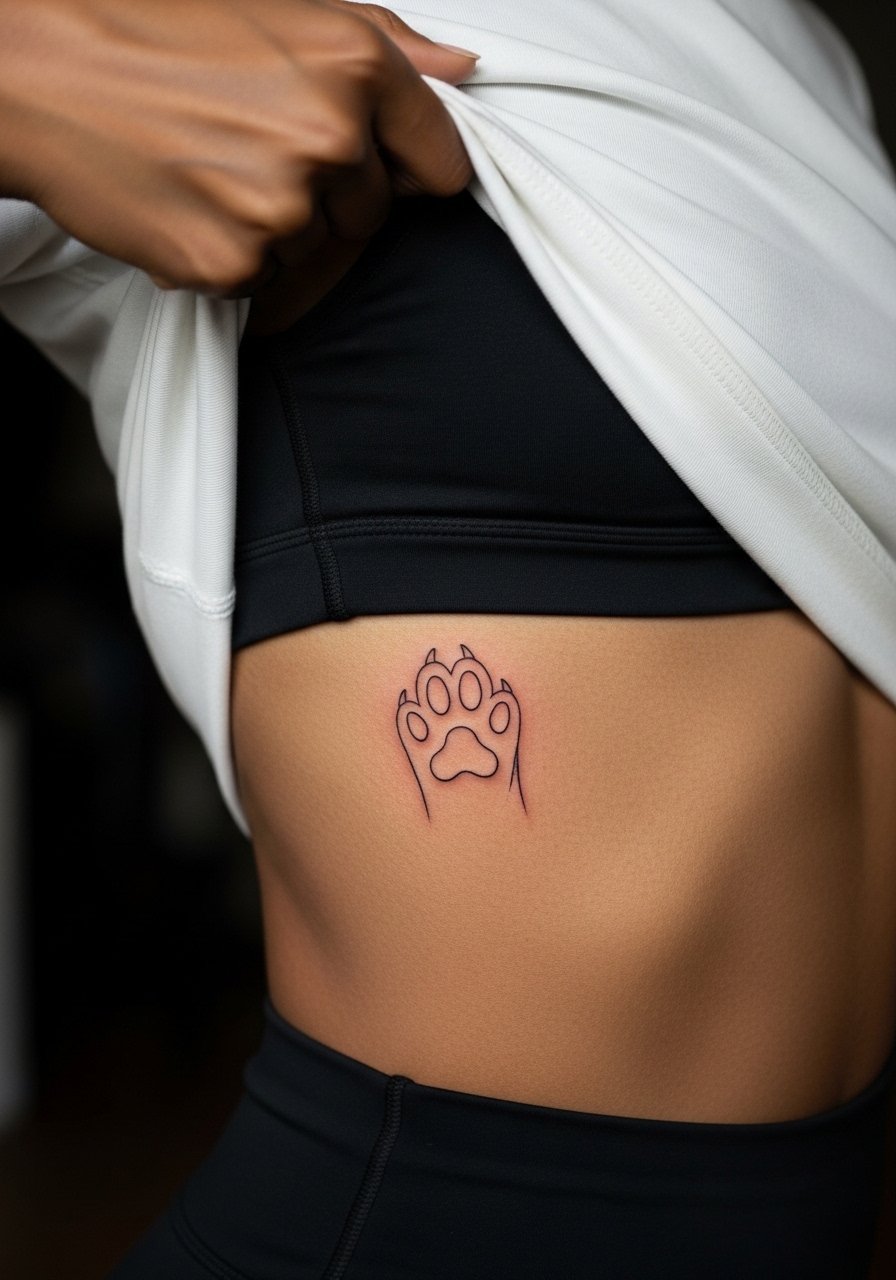
Ribcage placements are painful and they show aging quickly if lines are too close. Pain is high and expect 45 minutes to an hour for a small piece. Artists split into two camps here. One group says skin stretch on the ribs makes ultra-fine lines blur fast. The other group says careful depth and spacing can make fine work last. When you ask for a rib tattoo, request slightly thicker anchor lines and more breathing room in the design. A typical mistake is packing tiny detail into a narrow band. For the session, bring a zip-up hoodie or a strapless top so you can lift the garment without exposing more than needed.
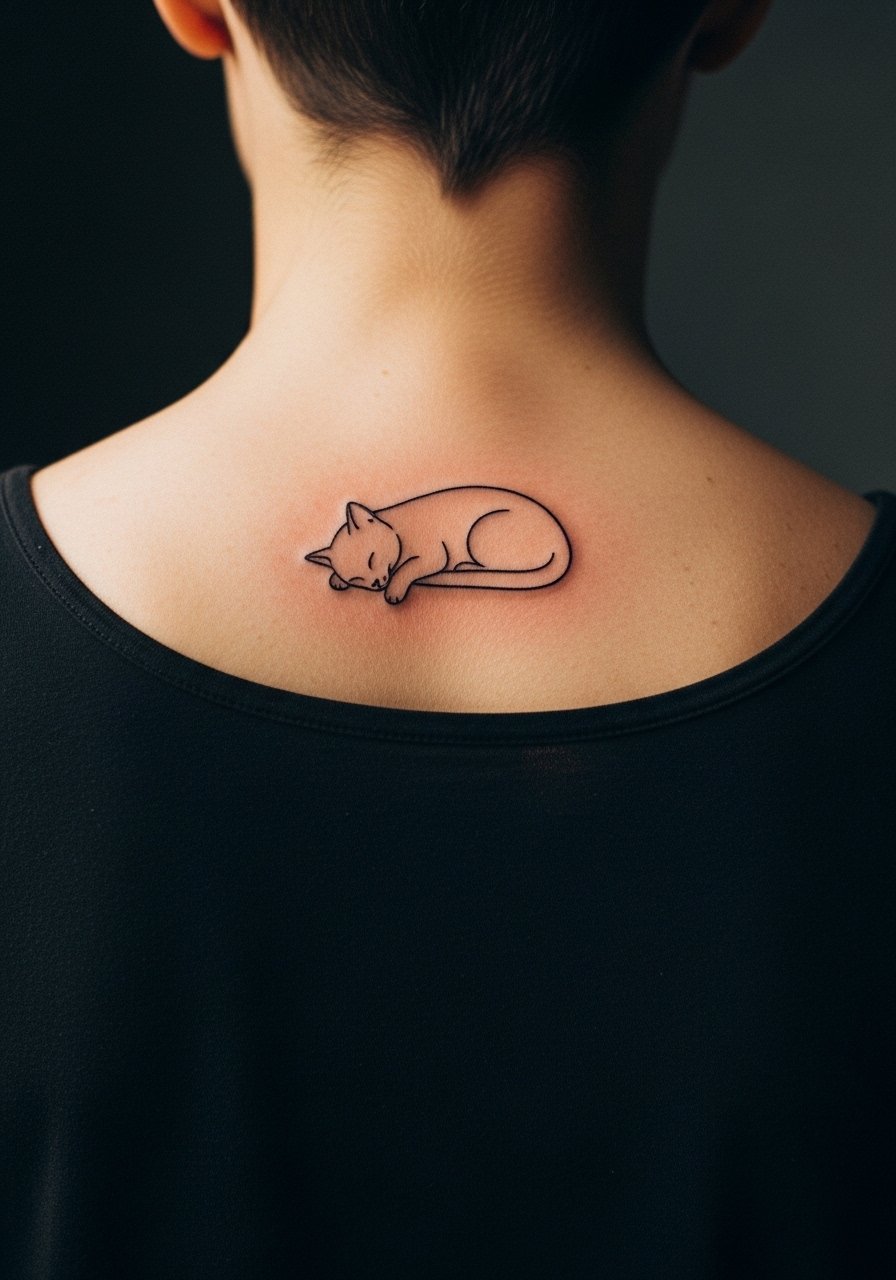
8. Sleeping Cat on Upper Thigh

The thigh tolerates longer sessions and holds linework well. Pain is low to medium and a 1 to 2 hour sit is comfortable for most. Ask your artist to position the cat along the natural curve of the muscle so movement does not distort the silhouette. A common error is putting the piece too low near seams or elastic, which brings friction during healing. For the appointment, wear loose drawstring shorts so the artist can expose the area without pressure from tight waistbands.
9. Negative Space Cat Outline on Inner Wrist
A negative space approach keeps the skin tone as part of the image, which reads clean as it heals. The wrist is a medium pain spot and sessions are short. Tell your artist you want crisp borders and enough surrounding line weight so the negative space does not look like a gap later. Mistakes include making the negative area too small. Over two years the surrounding ink can soften into the void if spacing is tight. For showing this one off, a thin chain bracelet sits above the outline without obscuring it.
10. Origami Cat on Outer Forearm
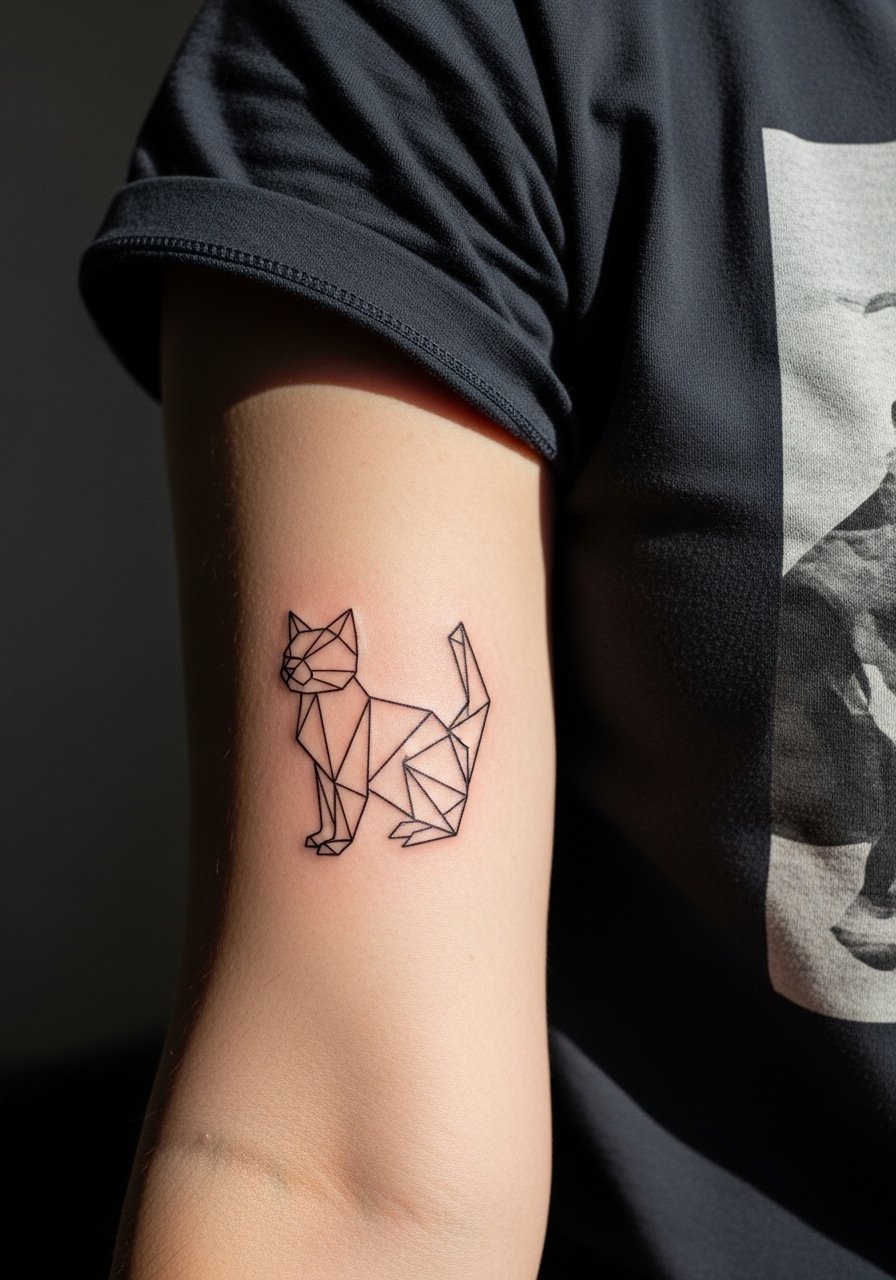
Origami geometry benefits from clean vertices and clear negative space. Pain is low to medium and sessions are usually an hour. Ask your artist to keep vertices slightly rounded so tiny shifts in aging do not make the shape look broken. The common mistake is insisting on razor-sharp points at too small a scale. Over time those points can blur and lose definition. Pair with a rolled sleeve linen shirt for a casual look that frames the geometric edges.
11. Tiny Cat Outline on Finger
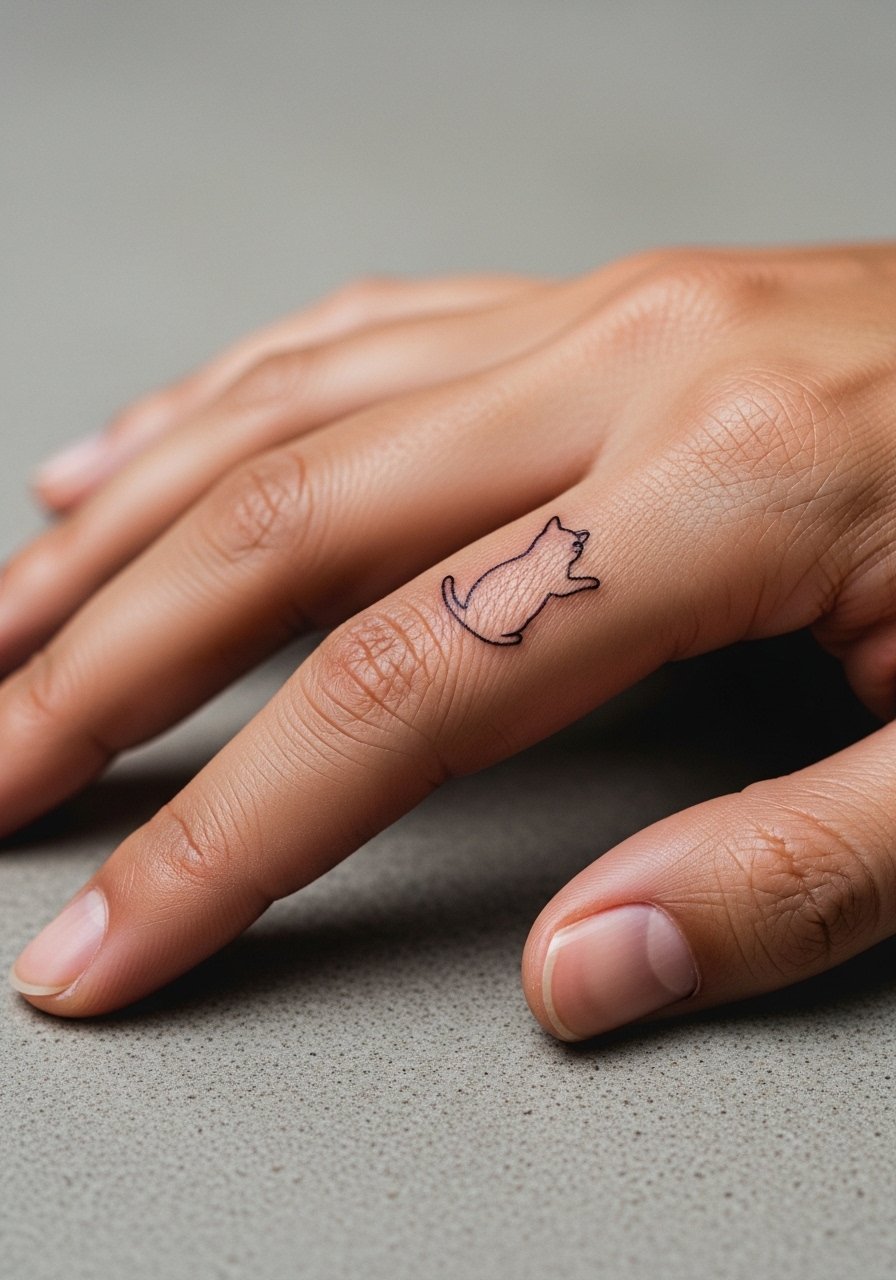
Finger tattoos are high risk for fading and blowout because of constant washing and thin skin. Pain is medium and sessions are short. Expect touch-ups sooner than other spots. Tell your artist you accept a bolder line weight than the smallest hairline if you want longevity. A common mistake is choosing micro-detail here. It rarely holds past a year. Consider placement on the side of the finger rather than the pad. A minimalist ring look pairs well with a delicate stacking ring set.
12. Silhouette Cat with Stipple Tail on Calf
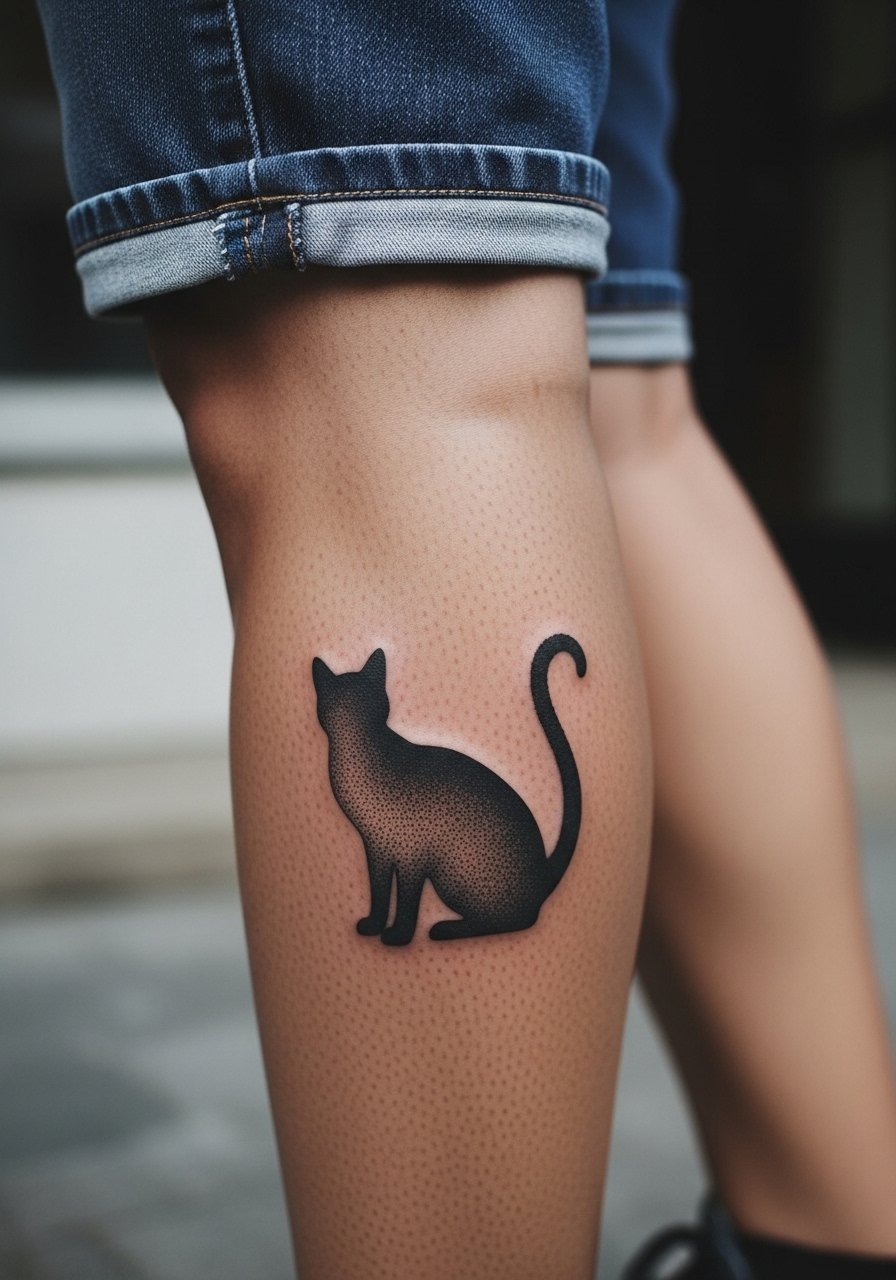
Calf skin takes saturation well and stands up to stipple shading. Pain is low and sessions can be one to two hours. Ask for stipple shading that graduates away from the outline so the edges remain bold over time. Mistakes include placing too many dense dots near the outline. After one to two years, dot edges can soften. For wardrobe, calf work pairs with mid-calf boots or cropped pants when you want to display it.
13. Tiny Cat Outline on the Nape of the Neck
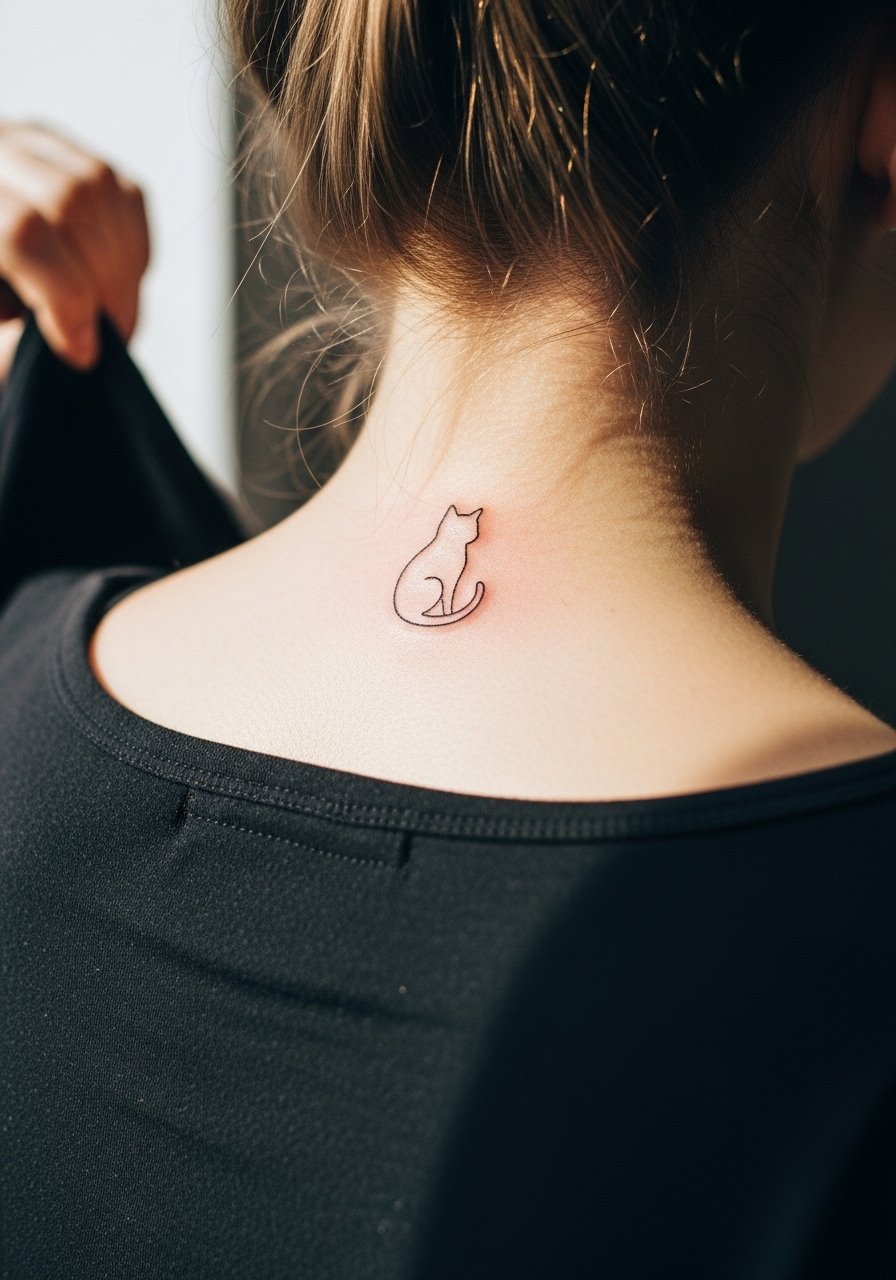
The nape is discreet and professional-friendly when placed low. Pain is low and sessions are brief. Ask your artist to place the design just below the hairline so a collar or hair covers it when needed. A mistake is centering it too high near the hairline where daily styling can rub the area. This placement wears well and needs fewer touch-ups than fingers. For showing off, pair with a low-collar sweater.
14. Cat and Crescent on Sternum
Sternum work sits on sensitive skin and near bone so pain is high. Sessions are short for small pieces but plan for breaks. Many artists caution about fine detail here because the area moves with breathing and can shift during healing. A typical error is cramming symmetric detail that becomes uneven. For the session, wear a strapless or sports bra so the artist has clear access without unnecessary exposure to the rest of the torso.
15. Playful Arching Cat Along Collarbone
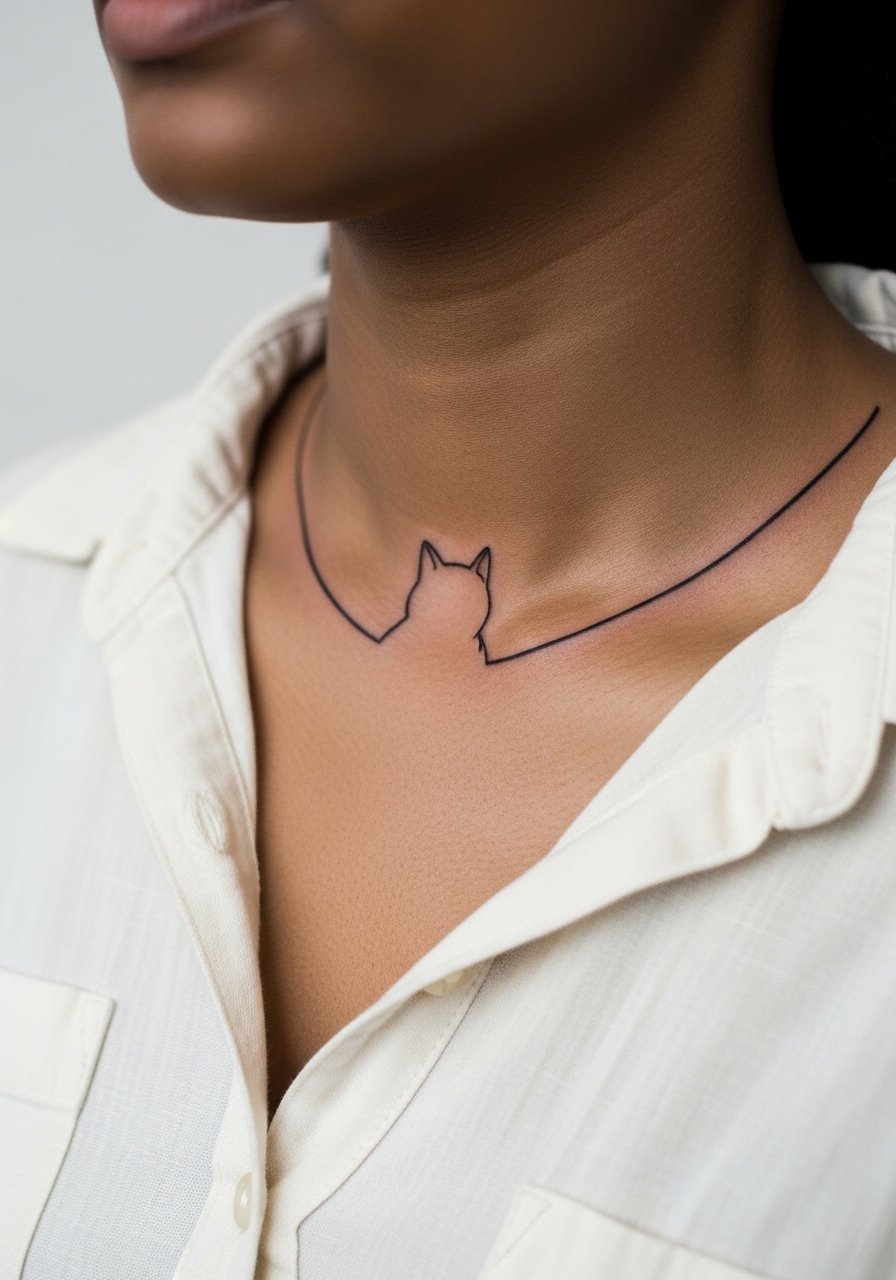
Using the collarbone curve gives motion to a simple line. Pain ranges medium to high near bone and the piece usually takes under an hour. Tell your artist you want the curve to sit just off the clavicle to avoid painful placement right on bone. Mistakes include letting the tail line cross too many anatomical landmarks which causes uneven healing. For evenings, an open-back midi dress or a slash-neck top showcases the arc.
16. Geometric Polygon Cat on Upper Arm

Upper arm skin is forgiving and keeps sharp geometry well. Pain is low and sessions range one to two hours depending on size. Ask for slightly thicker landmark lines so the polygons retain structure as the skin settles. A mistake is shrinking each polygon too small. Over time those tiny angles can merge into a less readable shape. This pairs well with a rolled sleeve tee when you want to keep the arm visible.
17. Tiny Cat Outline on Lower Back
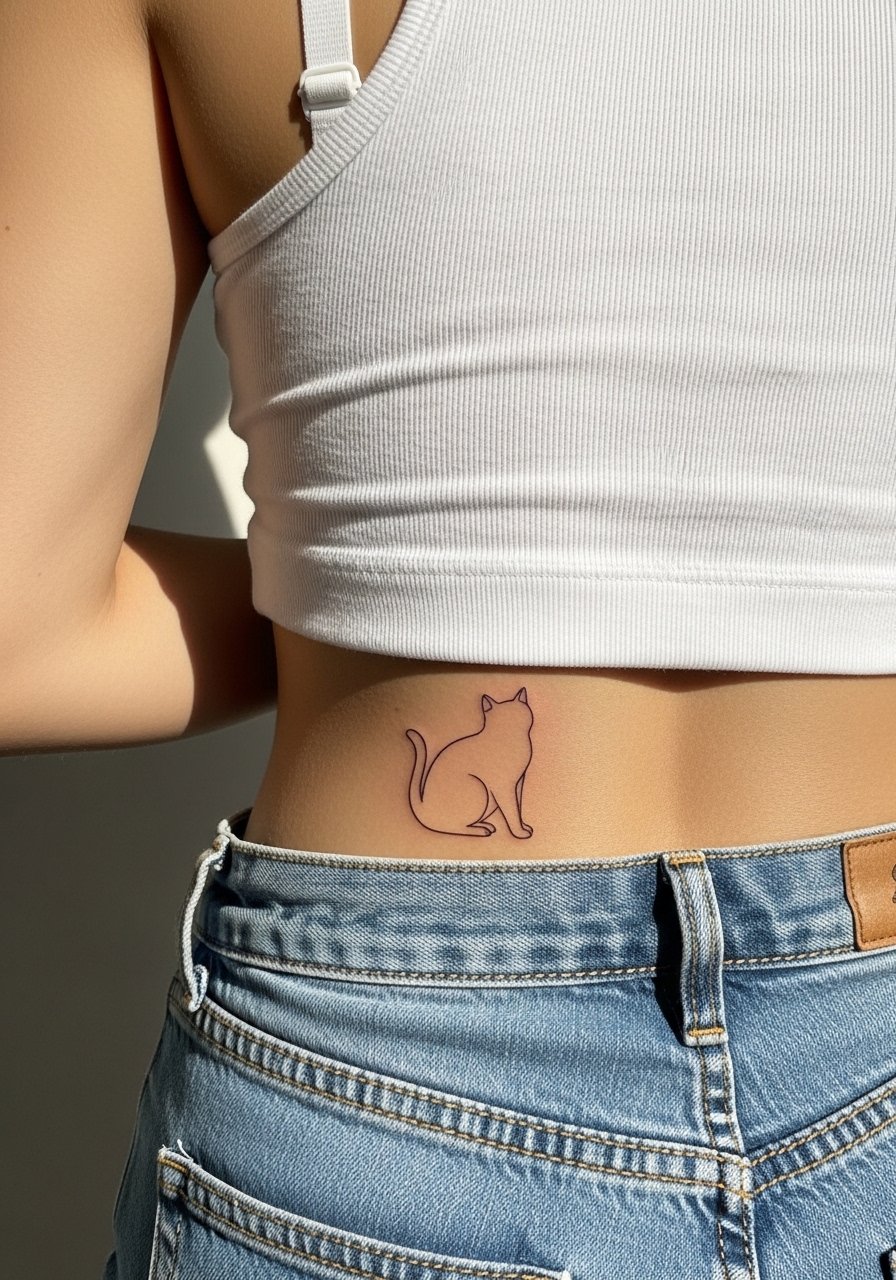
Lower back pieces sit in a spot that is easy to conceal and age steadily when not exposed to constant friction. Pain is medium and sessions are brief. Tell your artist to consider how waistbands will sit over the design during healing. A common error is placing the tattoo directly under tight elastic. For showing off, a crop top or low-rise jeans creates the look without straining the area during healing.
18. Cat Outline with Floral Accent on Hip
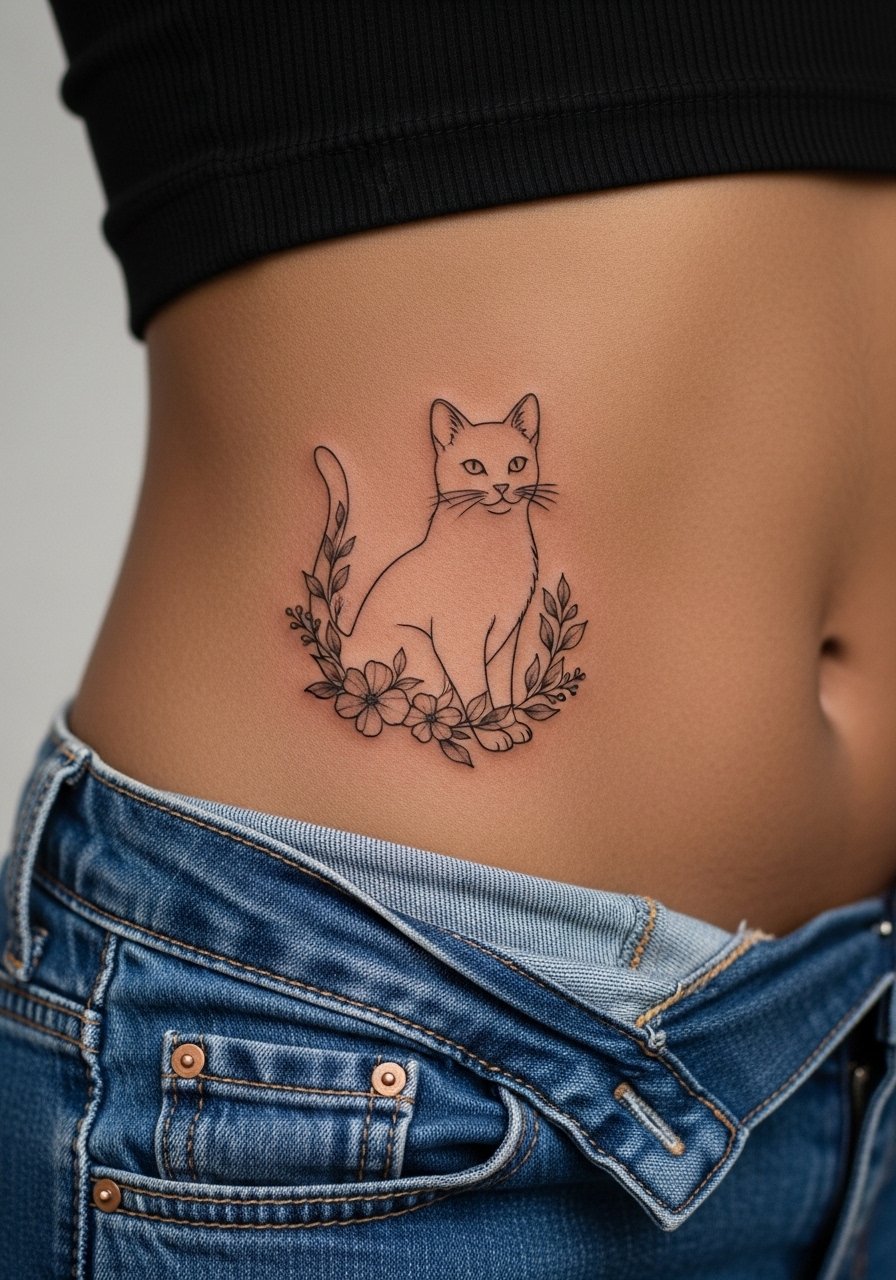
Hip tattoos can be flirtatious and they tolerate shading well. Pain is medium and sessions can be up to one hour. Ask for floral accents that sit just outside the cat outline so they do not crowd the silhouette. A mistake is placing flowers directly on the cat line, which can become a single muddied shape over time. For the session, wear high-waisted jeans that can be lowered slightly without irritating the area.
19. Sleeping Cat Across the Spine
Spine placements need a steady artist and a steady client. Pain is high near the vertebrae and sessions are often split into short passes. Tell the artist you want the piece centered on a skeletal landmark so it moves predictably with posture. Common mistakes are mismatched centering and claiming too small a scale. This design pairs with open-back tops for evenings out, but for the studio wear a loose button-down you can pull aside without exposing your whole back.
20. Tiny Cat Paw on the Back of the Hand
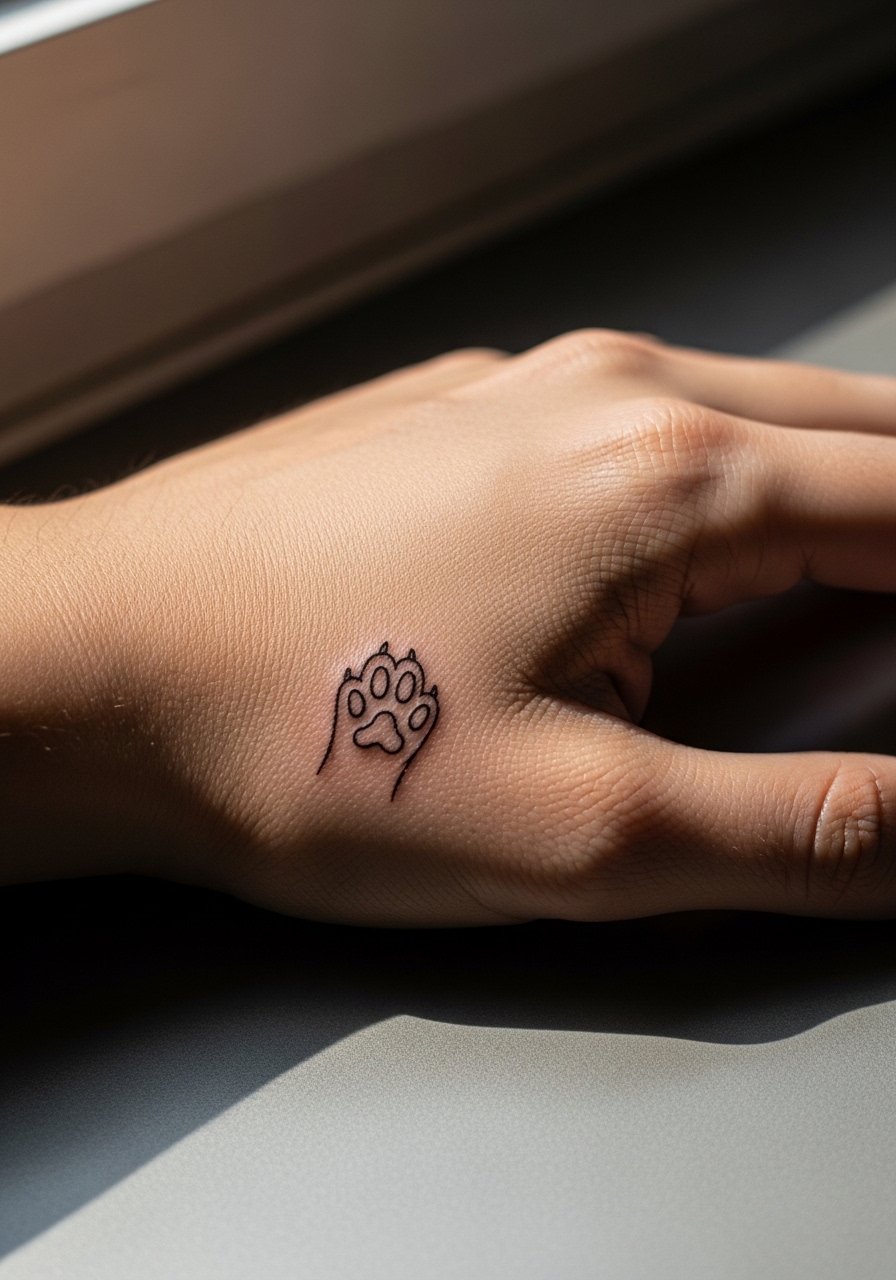
Hand tattoos age differently because of constant use and sun exposure. Pain is medium and sessions are short. Expect touch-ups earlier than other spots. When you sit down with an artist, discuss thicker anchor lines for the paw pads rather than hairline detail. A mistake is insisting on hairline dots that become patchy. For accessorizing, a simple cuff bracelet can frame the paw without rubbing it.
21. Cat Outline with Star Constellation on Outer Thigh
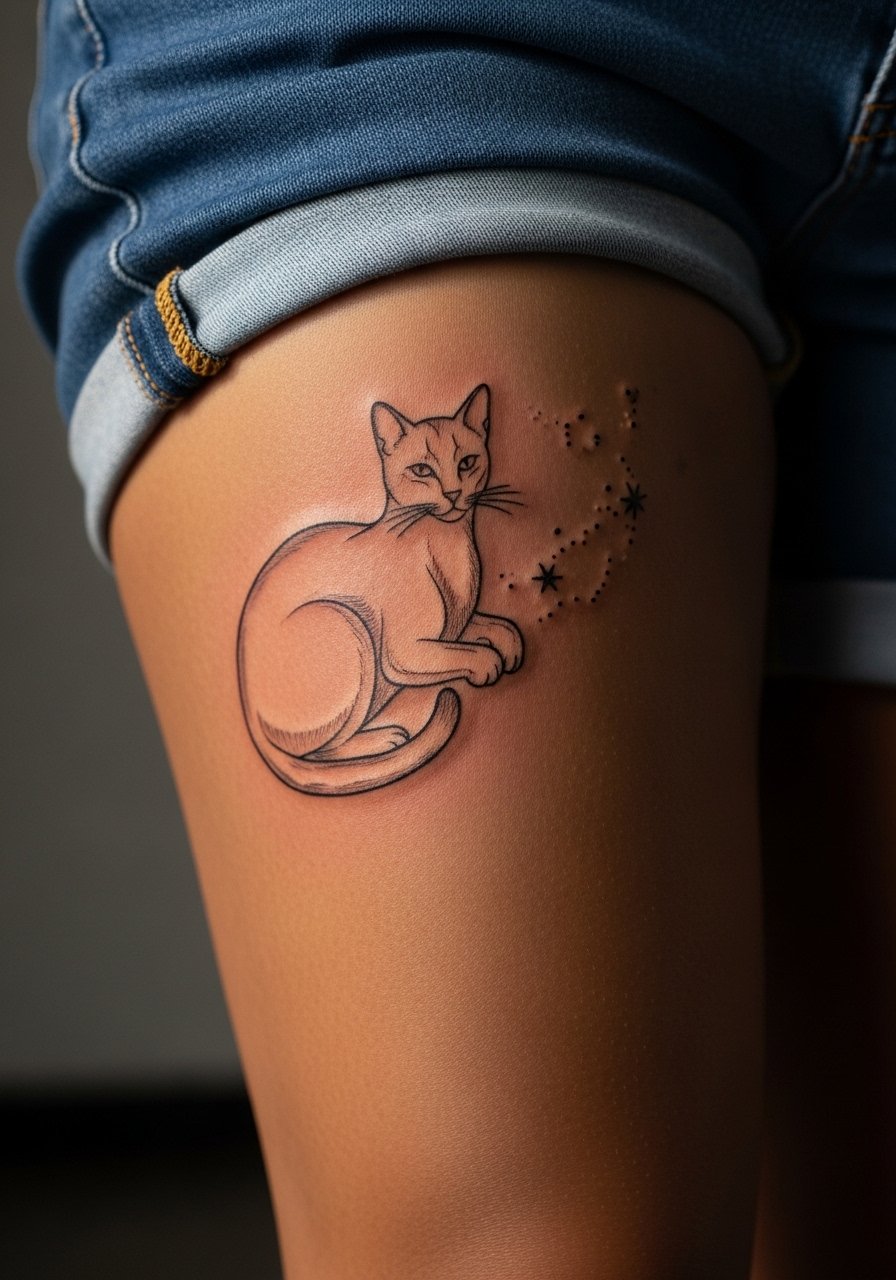
Outer thigh pieces settle nicely and absorb small dot work without early blur. Pain is low to medium and session time is flexible for scale. Tell your artist you want the constellation spaced so each star has room to age separately from the cat outline. A common mistake is crowding the dots close to the main line. For the session, wear loose drawstring linen pants you can roll up comfortably without pressure on the area.
Frequently Asked Questions
Q: How do fine line cat outlines age differently from silhouette or filled pieces?
A: Fine line work depends on spacing and skin type more than filled pieces do. Thin lines can blur into a softer edge by year two to three on high-motion areas, while silhouettes usually hold their visual weight longer. Ask your artist for slightly bolder anchor lines if you want lines that remain readable without losing the delicate look.
Q: Are ribcage cat outlines a bad idea if I want detail?
A: Artists are split. One camp argues the stretch and movement on ribs blur fine detail quickly. The other camp says careful depth and spacing can make it last. If you want detail there, request a consultation about scale and accept a possible touch-up down the line.
Q: Can I get a tiny cat outline on a finger and expect it to last?
A: You can, but fingers see more washing and friction and usually need touch-ups sooner. Choose slightly bolder lines and consider side placement rather than the pad for more longevity.
Q: What should I wear to a shoulder blade or upper back session?
A: Bring a tank top or loose button-down you can shift without full exposure. A loose tank top gives the artist access while keeping you comfortable and modest during longer sessions.
Q: How soon will a tiny behind-the-ear cat need a touch-up compared to a forearm piece?
A: Behind the ear can hold better than fingers but worse than mid-forearm in many cases. Because of hair growth, styling, and less sun exposure, touch-ups may be needed later than fingers but earlier than thicker-skinned forearm spots. Ask your artist for a realistic touch-up timeline based on your skin and daily habits.
