
The stencil goes on and the room smells faintly of green soap, and right there you feel the real choices: placement that hurts less but hides the detail, a style that looks incredible fresh and needs touch-ups sooner, and whether your reference art will actually read on skin. Those three worries show up in half the consultations I sit in on, and the ideas below give concrete fixes for each one so you can pick a Dark Souls tattoo that ages the way you want.
1. Fire Keeper Portrait on Upper Chest, Neo-Traditional
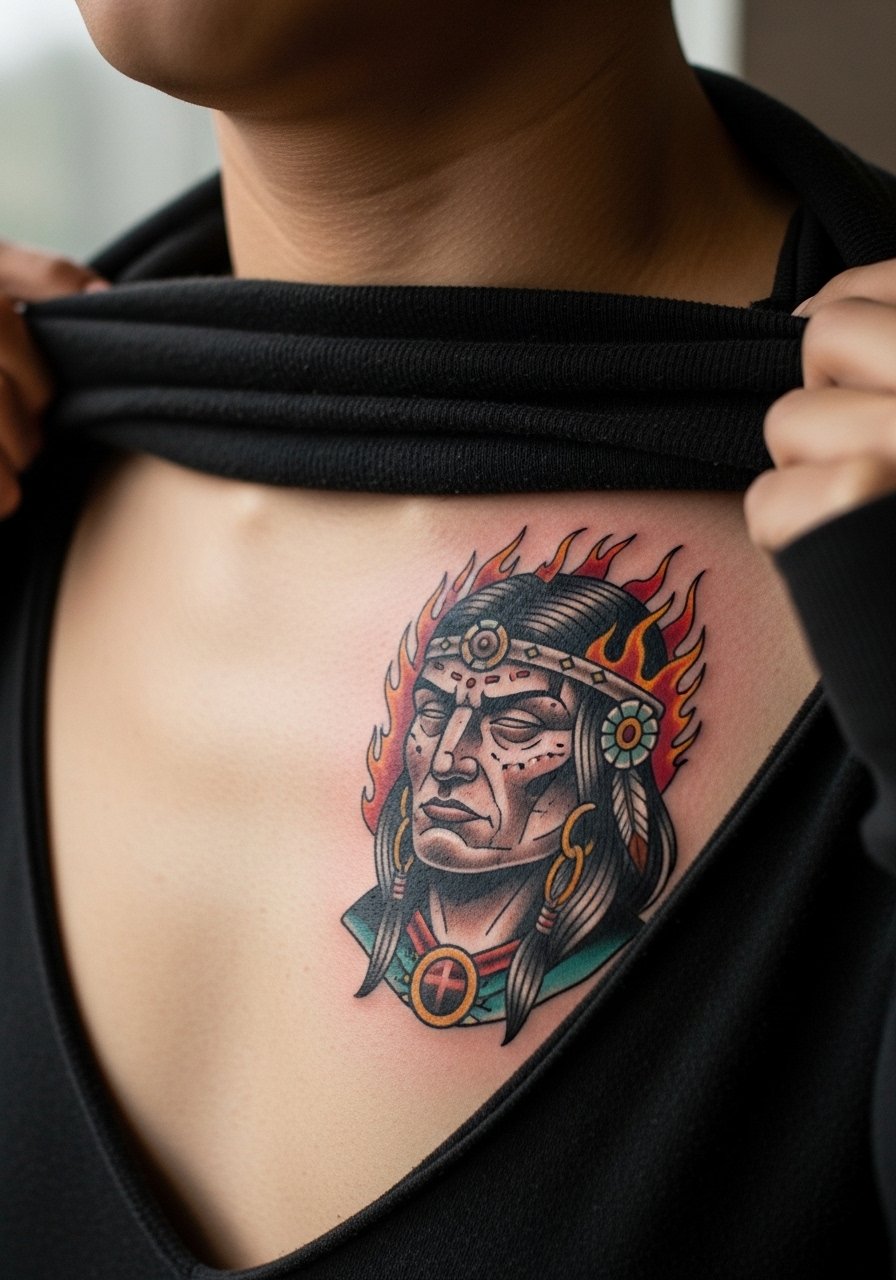
A chest portrait reads like a banner for someone who wants lore on display without shouting. Expect a moderate pain level because the sternum and upper chest are bony in spots, and sessions often split into two to preserve saturation and facial detail. Tell your artist you want bold outlines around the face and softer stipple shading for the candles to keep contrast as the piece heals. The common mistake is packing too much tiny detail into the portrait at a small size, which softens into muddled gray at year three. For the session wear a deep v neck tee so the artist can reach the area without shifting fabric.
2. Sunlight Gesture on Outer Forearm, Solid Blackwork
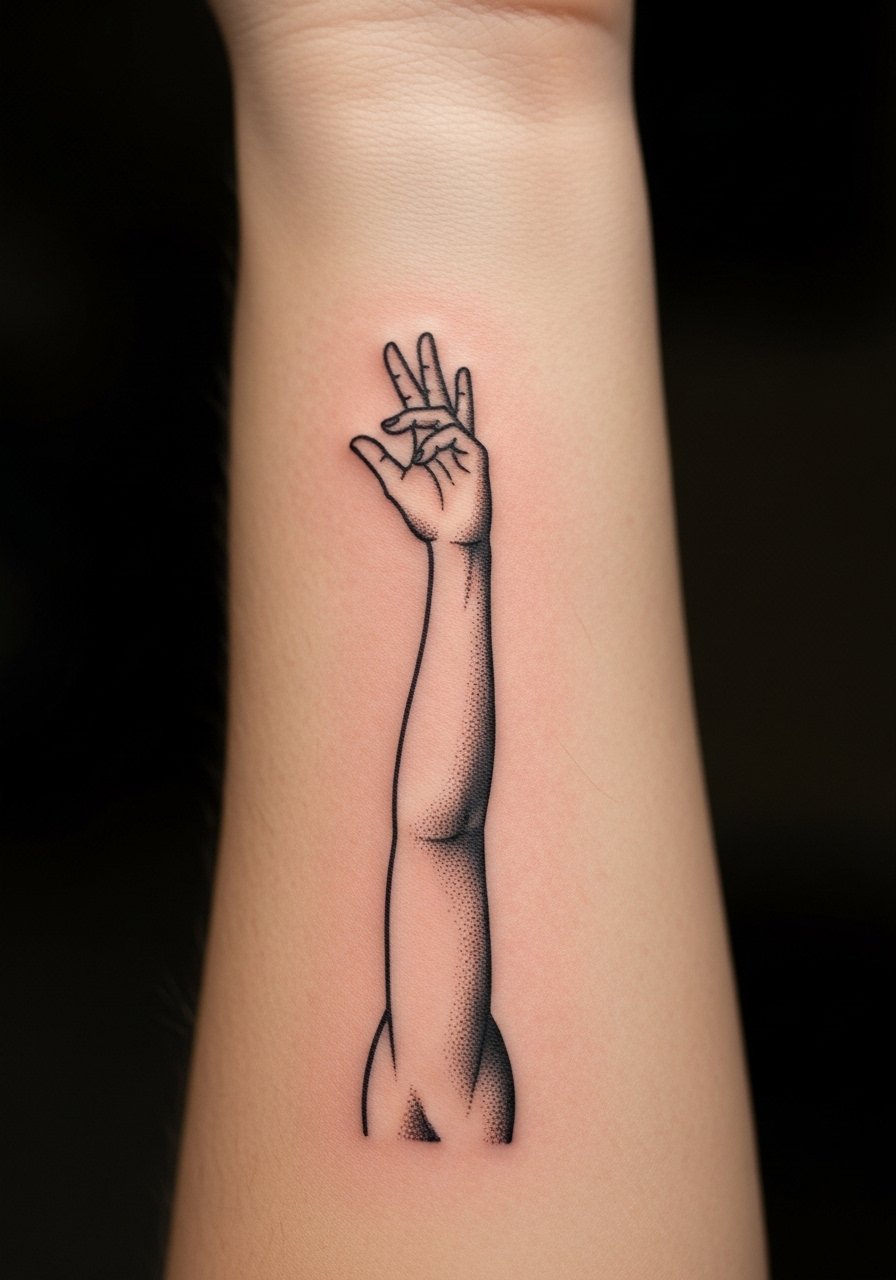
The outer forearm is forgiving for linework and usually among the lower-pain placements, which makes this gesture great as a first Dark Souls piece. Black saturation holds well over time, so the look often improves as the skin settles. A frequent error is insisting on ultra-fine lines for a symbol that will rub against sleeves and fade unevenly. Ask for slightly heavier linework and a dense fill so it reads clean at two and five years. For showing it off, roll sleeves up and consider a charcoal henley shirt to frame the forearm without distracting from the silhouette.
3. Gwyn Silhouette on Collarbone, Fine Line Silhouette
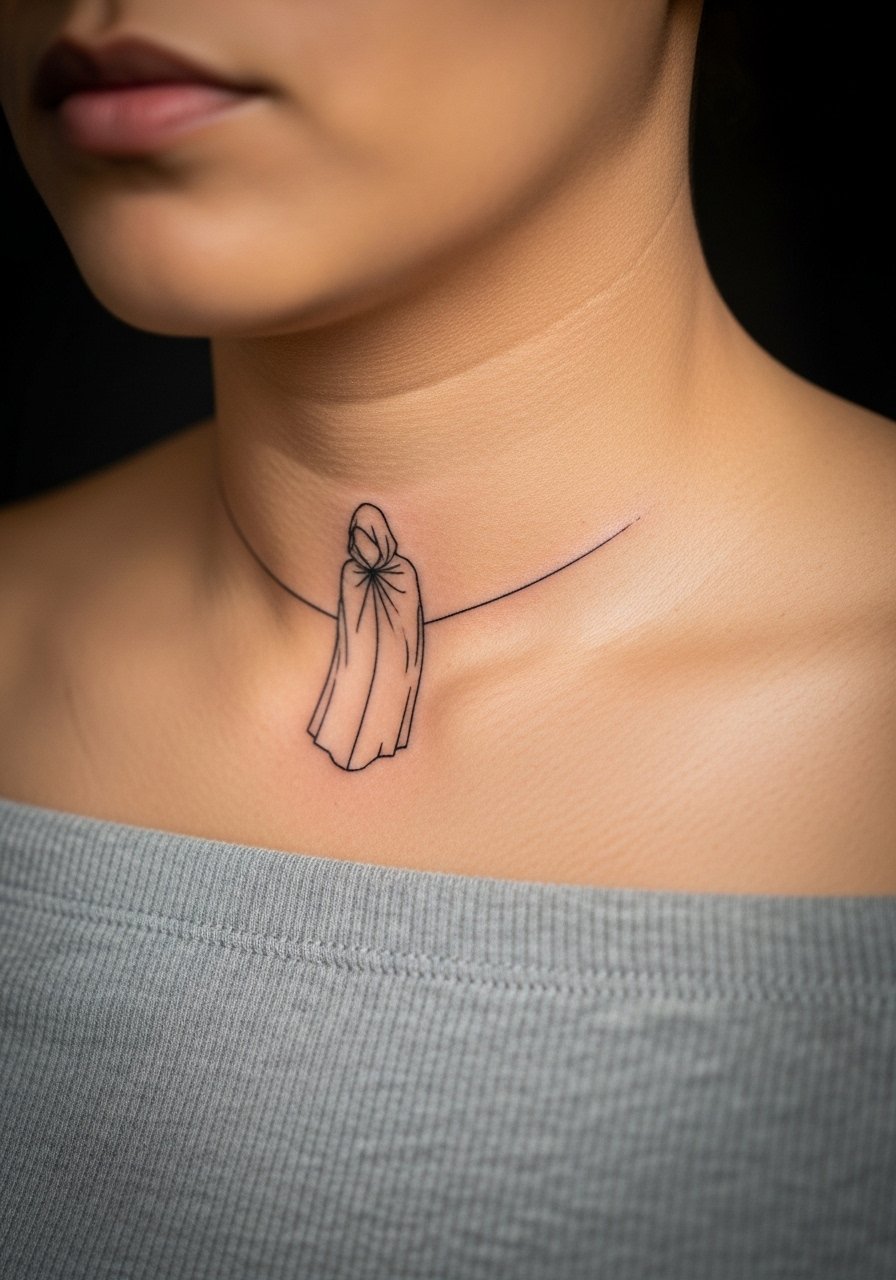
Collarbone placements give a graceful read but they move with breathing and clothing, which can distort very thin lines. If you want the tragic silhouette feel, tell your artist to place slightly thicker contour lines and leave negative space around the shape so the piece keeps definition as it heals. The ribcage and collarbone area spark a debate among artists on fine line: one camp says the skin there stretches and blurs lines within two years. The other camp says proper depth and spacing make fine line settle fine. Ask your artist how their work ages on collarbones before you book. For evenings out, an off shoulder top frames the silhouette without crowding it.
4. Artorias and Wolf Slash on Calf, Micro-Realism Scene
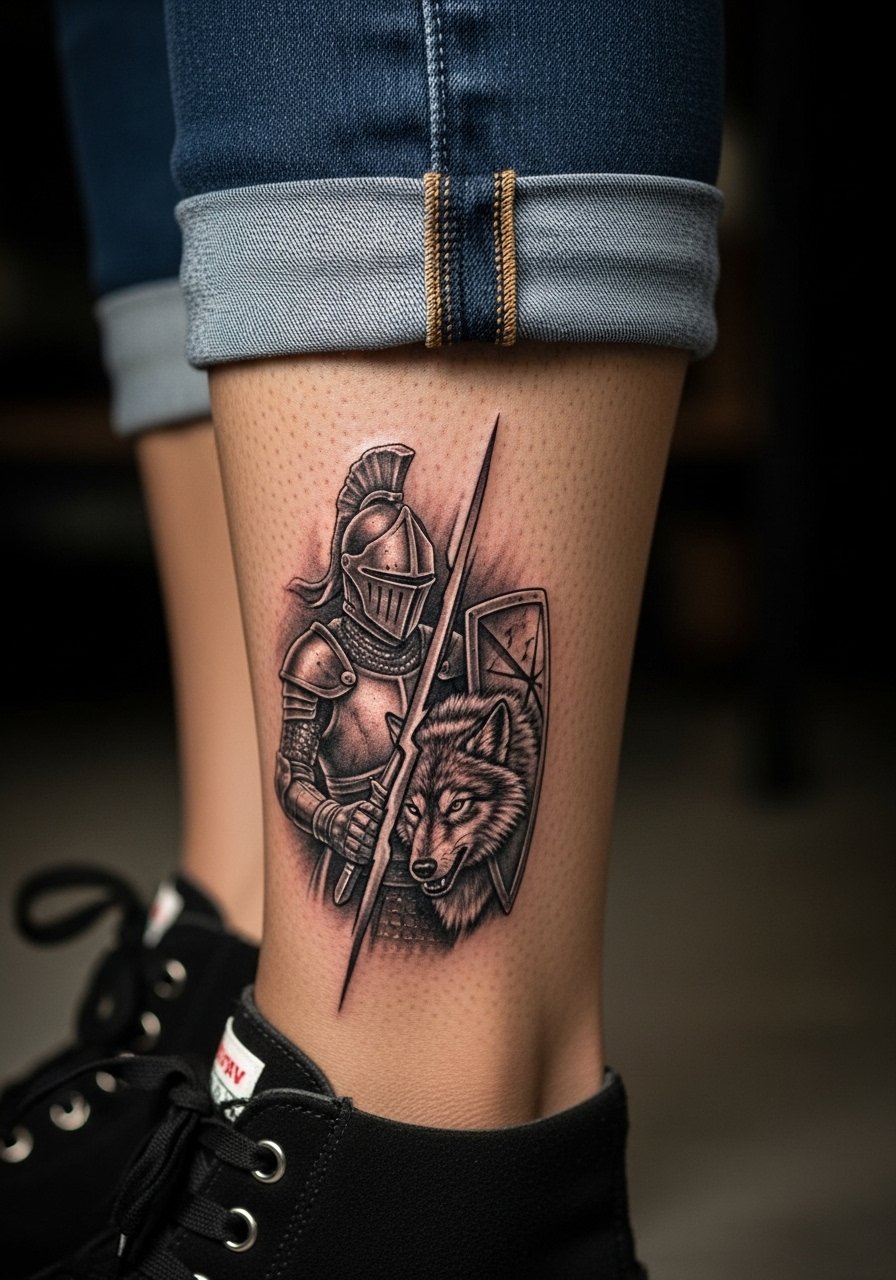
Calf placements let micro-realism breathe and keep larger compositions readable over the years because the skin there shifts less than the torso. Expect a medium pain level and two or more sessions for the layered gray washes. During consultation, point to the specific tonal range you want for the wolf fur and ask for slightly more contrast in the knight's armor so the figures separate at a glance. A common mistake is asking for too much tiny texture that compresses into a gray mass after a couple of years. Show-off pairing works well with cuffed trousers, so consider cuffed joggers men to let the calf show without forcing shorts year-round.
5. Sif Companion Watercolor Outline on Inner Forearm
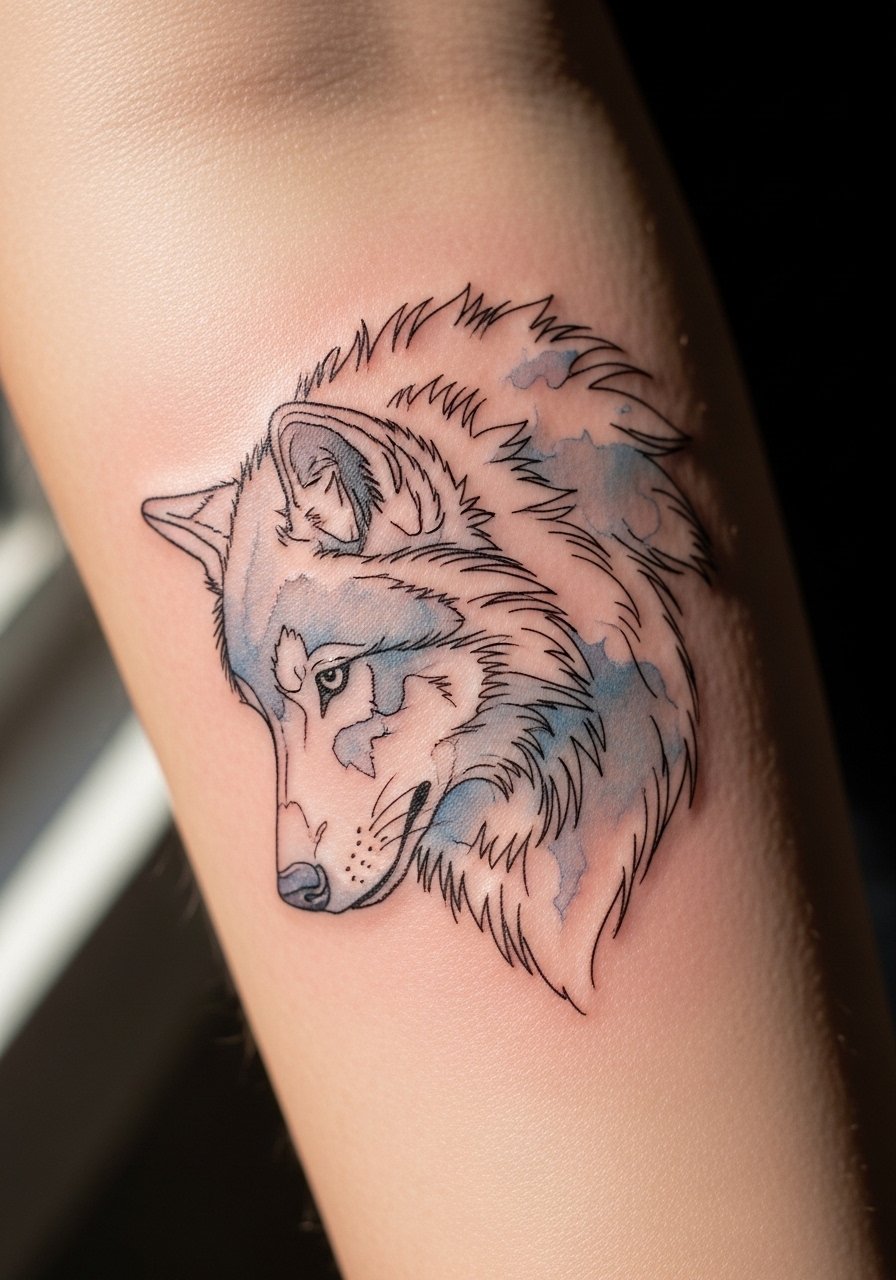
Inner forearm is a surprisingly low-pain area and keeps watercolor washes looking deliberate for longer because it avoids constant friction. The watercolor wash will lose intensity faster than solid blacks, so plan on a refresh at year three if you want those soft blues to stay vivid. Ask the artist for a defined outline to protect the watercolors and for layered washes rather than a single thin flood. For the appointment, wear a rolled sleeve tee men so the artist can access the inner arm without fabric tugging. Expect the piece to look airy at six months and slightly muted at two years.
6. Bonfire Icon on Wrist, Minimalist Linework
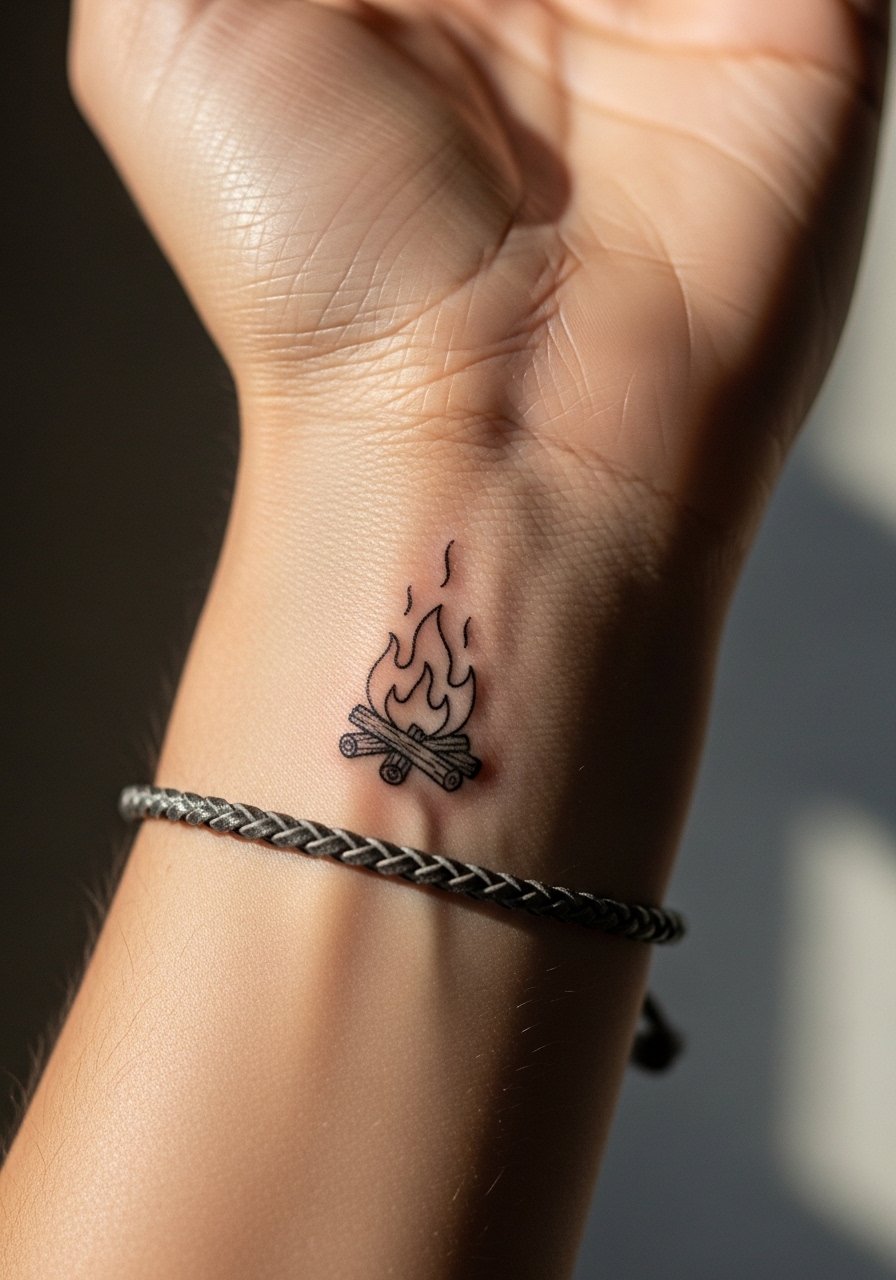
Tiny wrist icons are classic first tattoos because they carry low session time and immediate symbolism, but wrists undergo constant washing and exposure which accelerates fading. Request slightly thicker outer lines and clean negative space. A common mistake is insisting on extremely thin script or tiny flames; those elements tend to blur within two years. During the session wear a thin leather cuff bracelet on the opposite wrist only so the artist has clear access and you keep a styled look after healing.
Studio Day Picks
The chest and arm pieces above ask for different prep than the tiny wrist and forearm icons, so a few targeted items smooth the session and the first week.
- Stencil transfer paper kit. Lets you preview placement on the chest and limb pieces before the needle touches skin, which is crucial for portraits and multi-part designs.
- Topical numbing cream. Applied as directed before a calf or sternum session it reduces edge pain so you can sit longer and keep still.
- Thin protective film roll. Ideal for wrist and ankle pieces that see a lot of friction from shoes and sleeves during the first days.
- Fragrance-free body wash. Gentle cleansing keeps fine line and watercolor zones from inflaming while they scab and flake.
- Aquaphor healing ointment. A thin layer during the first two days preserves moisture for delicate linework without suffocating the skin.
7. Nameless Sky God Back Panel, Neo-Traditional Dragon
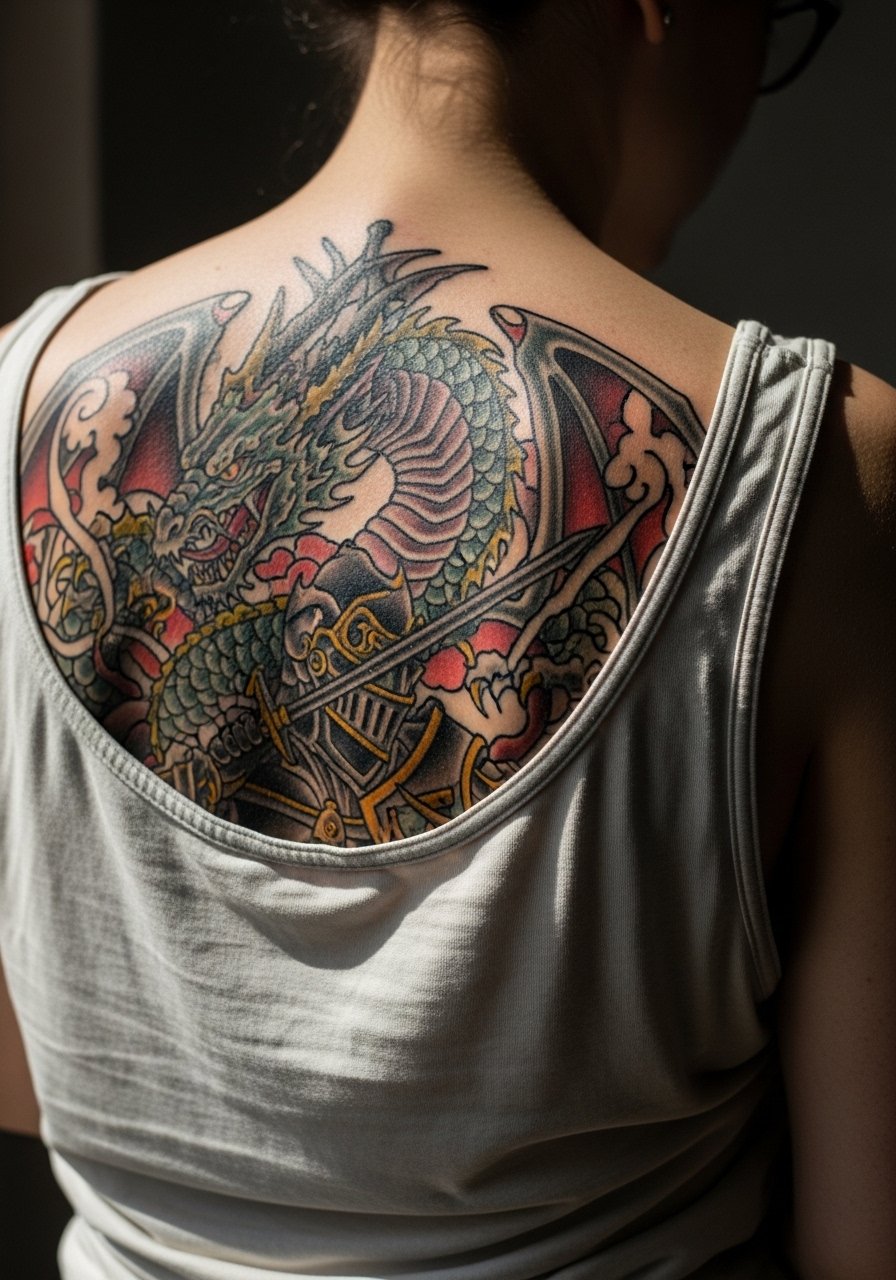
Large back or full-sleeve neo-traditional work rewards patients who want a multi-session commitment. Expect multiple sessions spread over months, each aimed at blocking in color and then refining saturation. My observation is that bold color choices like gold and blue survive better than subtle pastels here. Tell your artist you want clear negative space around the dragon's wings to prevent color bleed into the background as the skin ages. For studio comfort wear a loose tank top you can slide without tugging the whole garment, and plan on short sessions at first to manage soreness.
8. Dark Sign on Neck or Ribcage, Solid Blackwork Symbol
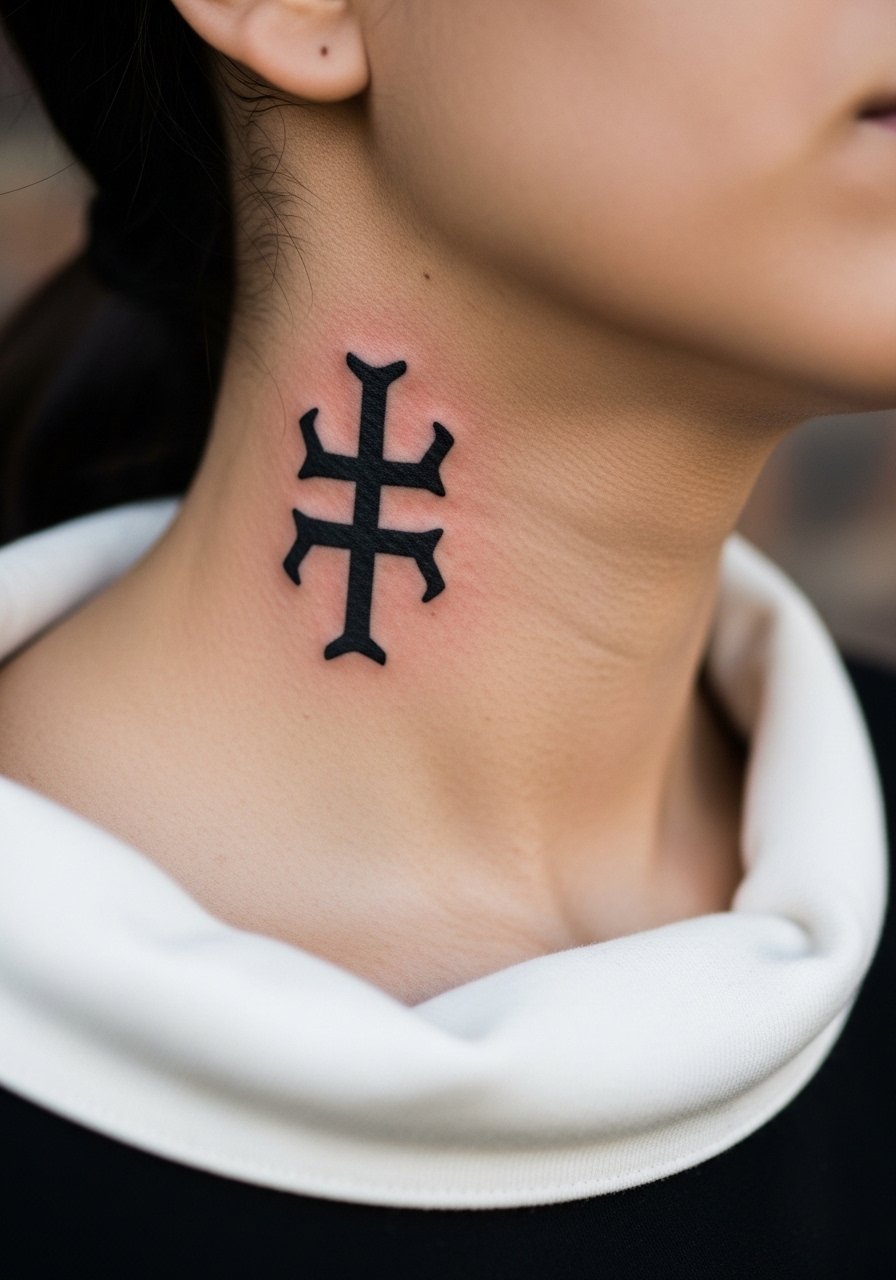
A bold symbol on the neck reads like a statement and on the ribcage it becomes more private. Neck placements have higher visibility and can complicate conservative work contexts, so consider that before booking. Solid blackwork holds extremely well on these spots when the artist overlines slightly and uses dense saturation. A mistake people make is asking for tiny versions of these symbols in high-movement areas, which blur. If you choose the ribcage, be ready for a higher pain score but also a canvas that protects line clarity for longer. For the session wear a loose button-down shirt you can pull aside easily.
9. Soul of Ember Multi-Phase Thigh Piece, Fine Line Evolution
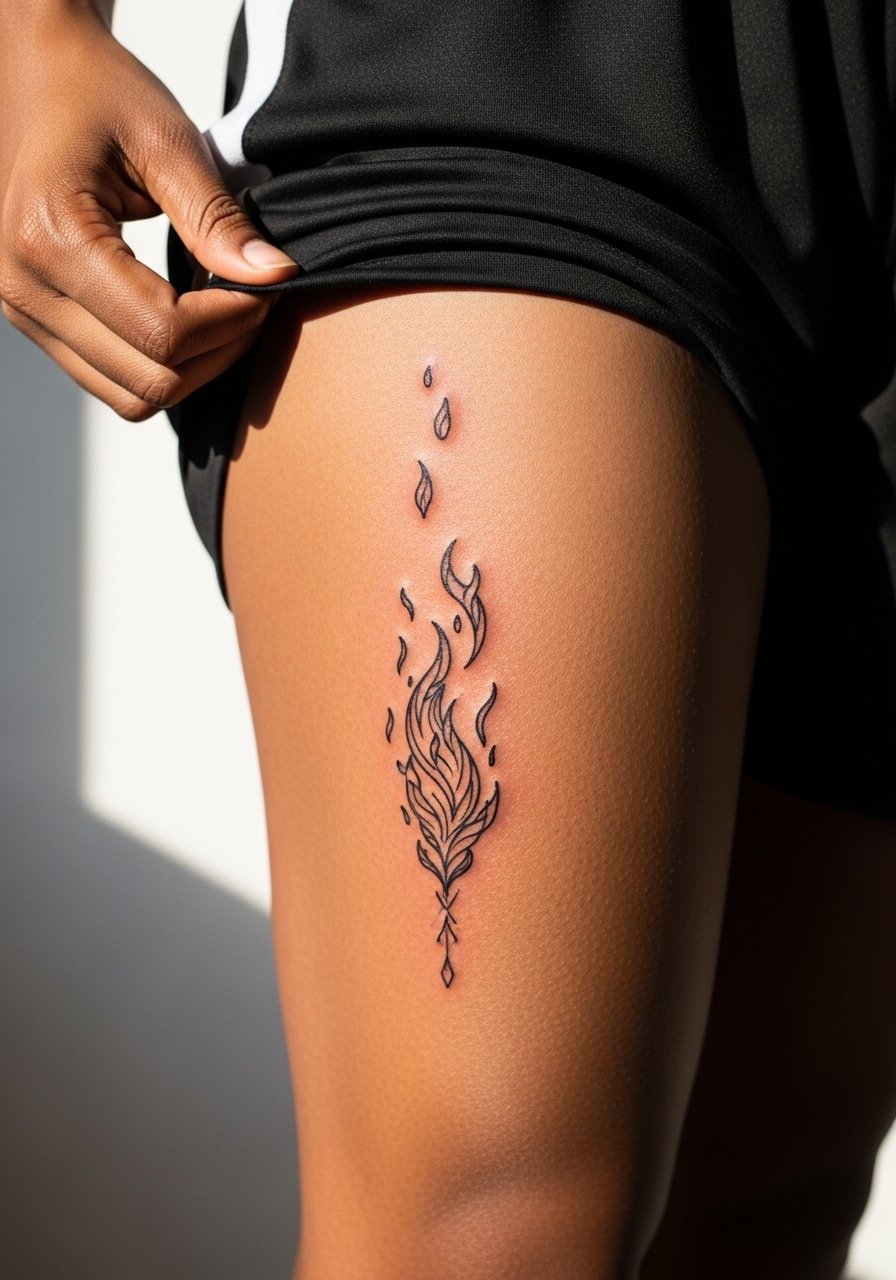
Thigh pieces let you design work that changes across sessions, like a multi-phase final boss motif. Outer thigh skin takes ink well and suffers less from daily friction, but larger pieces need planning for how each phase will layer. A common error is compressing phases too close together; give each scene breathing room to avoid overcrowding at year five. Expect two to three sessions depending on size and shading. For the appointment wear loose basketball shorts so the artist can access the area without fabric pressure while you sit.
10. Grotesque Sludge God on Shoulder Blade, Ornamental Horror
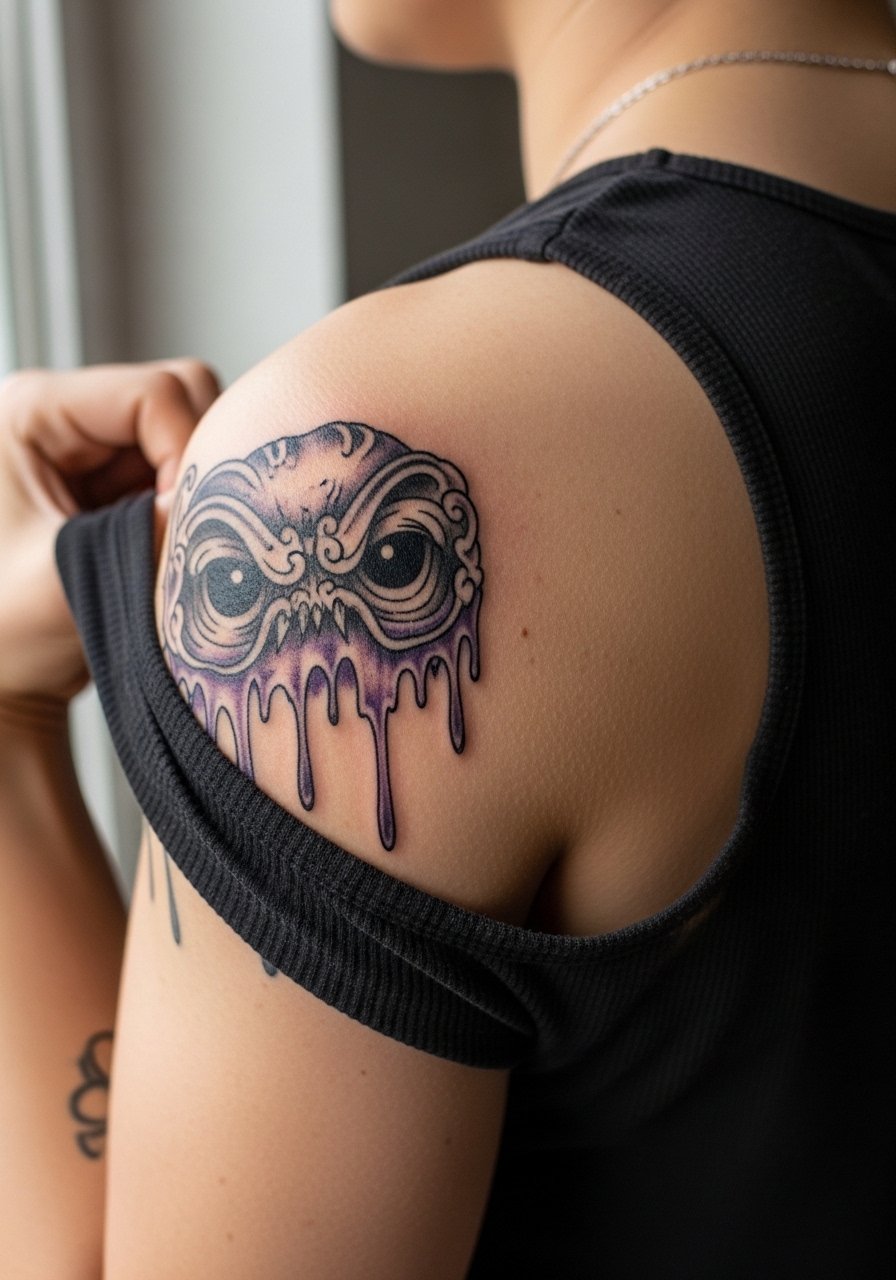
Shoulder blade work balances show-off potential and concealability because a shirt covers it easily. Ornamental horror with heavy black and purple shading reads well when given bold negative space so the slime textures do not merge into a single dark mass later on. The typical mistake is asking for the same level of micro-detail used in facial realism; that scale does not translate well into the shoulder blade's natural movement. For the session wear a loose button-down shirt or a tank you can slide to one side so the artist can work without fabric shifting.
11. Nito Skeletal Motif on Forearm, Traditional Heavy Lines
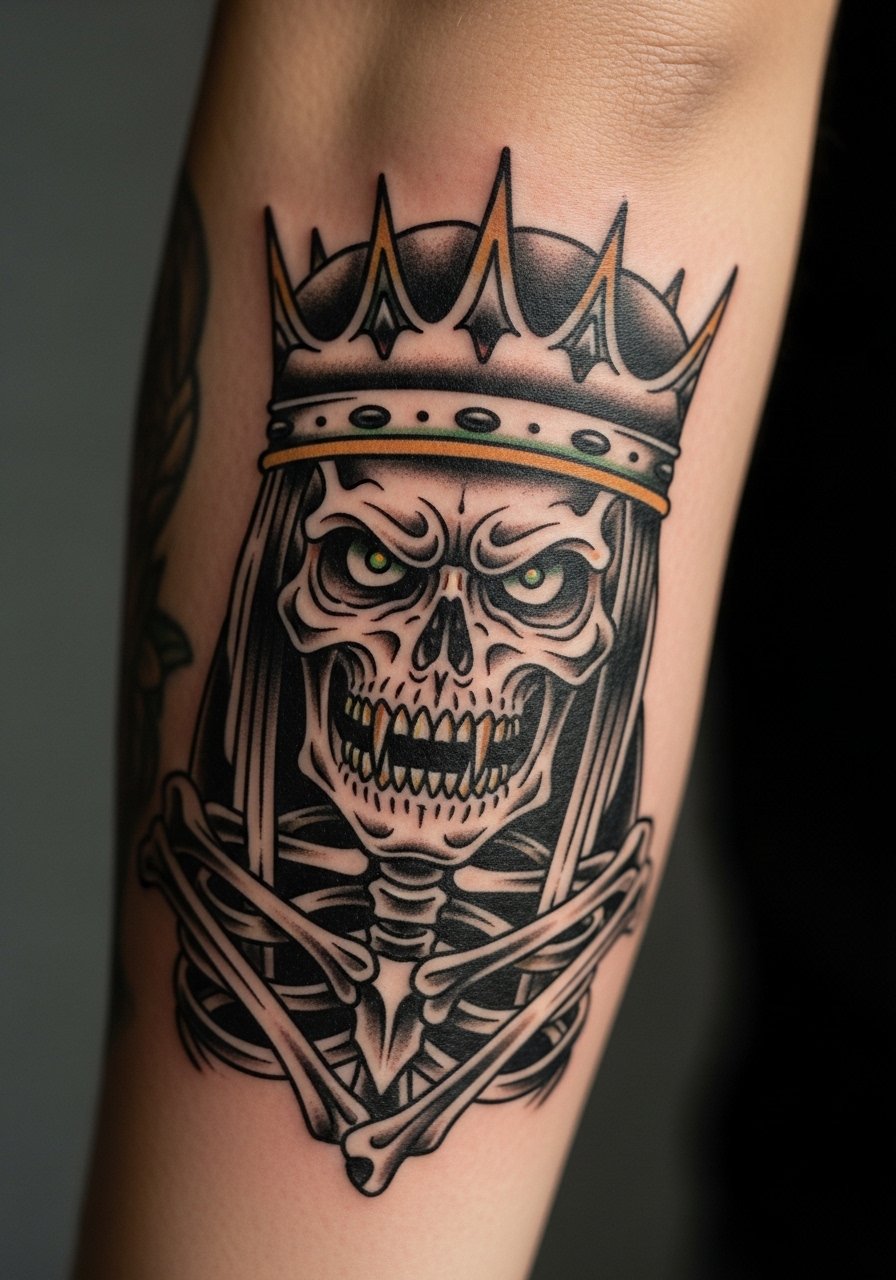
Traditional bold work is forgiving and tends to age with character because the thick linework resists spreading into illegibility. Forearm placement keeps the piece visible and low fuss. Tell your artist you want strong outline separation between bones and background ornament so the green accents hold their own as saturation softens. A real mistake is packing too many tiny cross-hatches into the bone texture at small sizes. Expect a single or two short sessions and touch-ups only if you want the green to remain vivid after several years. Pair with rolled sleeves for a classic display.
12. Onion Knight on Bicep, Ignorant-Style Bold Character
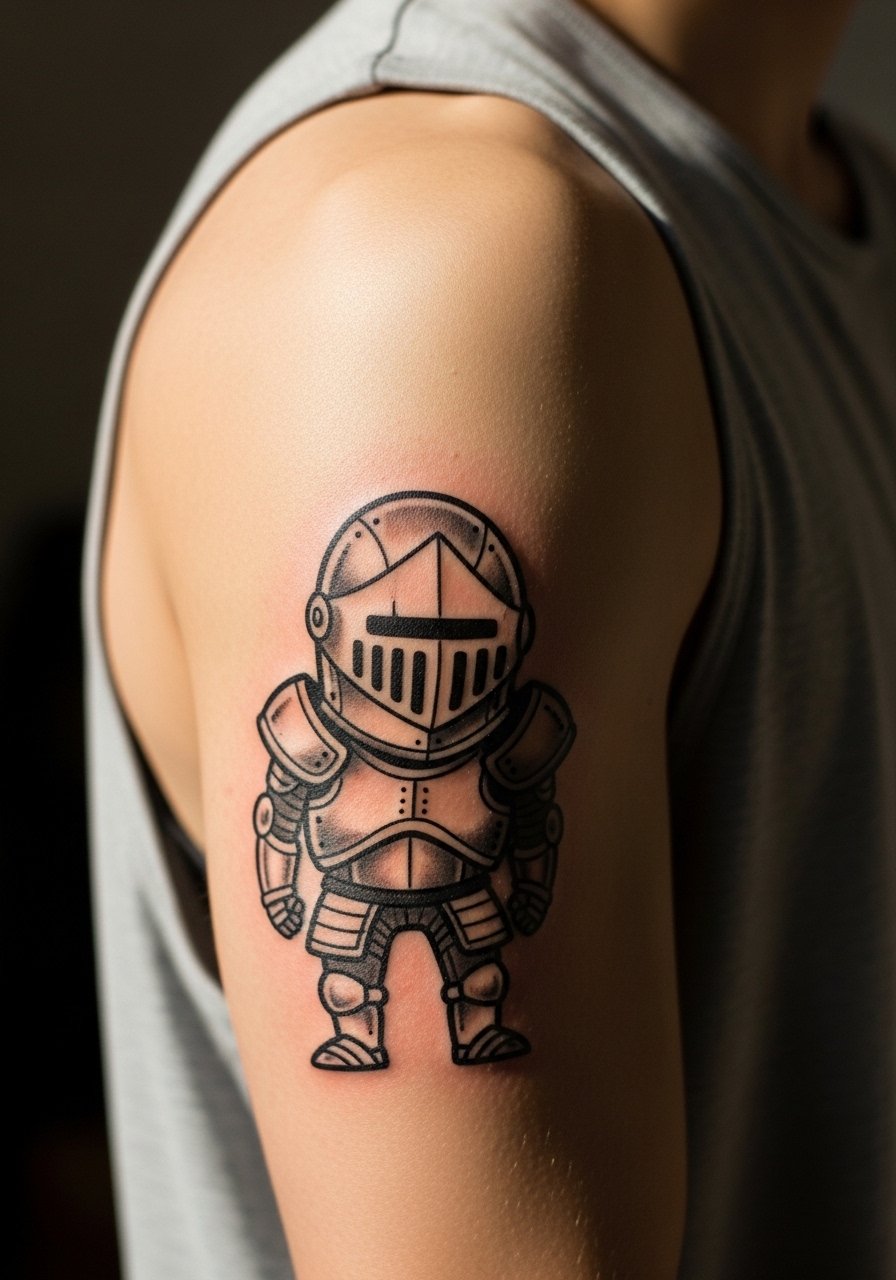
The outer bicep is a low-pain, high-impact canvas for blocky, cartoonish ignorant-style pieces. The look benefits from chunky lines that age into a readable silhouette, which is the style's point. Ask your artist for solid black fills and minimal internal detail to avoid early softening. A common mistake is requesting too many small features inside the helmet, which get lost as the skin relaxes. For showing it off wear a sleeveless muscle tank so the bicep moves freely and the bold shapes stay visible.
13. Mimic Trap on Ankle, Playful Blackwork
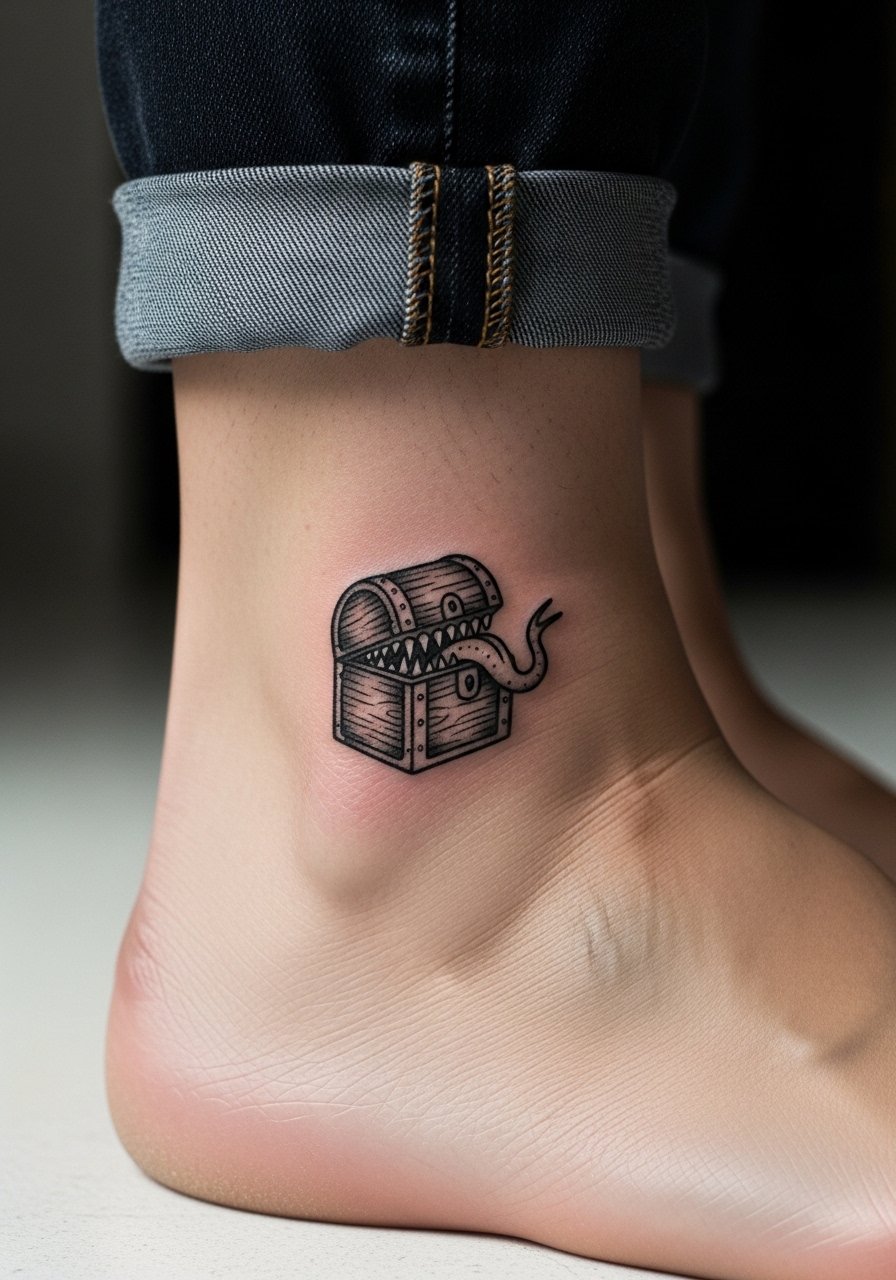
Ankle tattoos are tiny and cheeky but they live in a high-friction zone with shoes and socks rubbing the area. Solid black fills survive this environment better than delicate lines, and a common mistake is picking micro-detail right next to shoe seams. For the session wear pants you can roll well above the ankle or dark denim shorts so the area stays accessible. Expect a single short session and a protective mindset about footwear for the first two weeks.
14. Micro-Realism Knight on Calf Inner, Single-Figure Focus
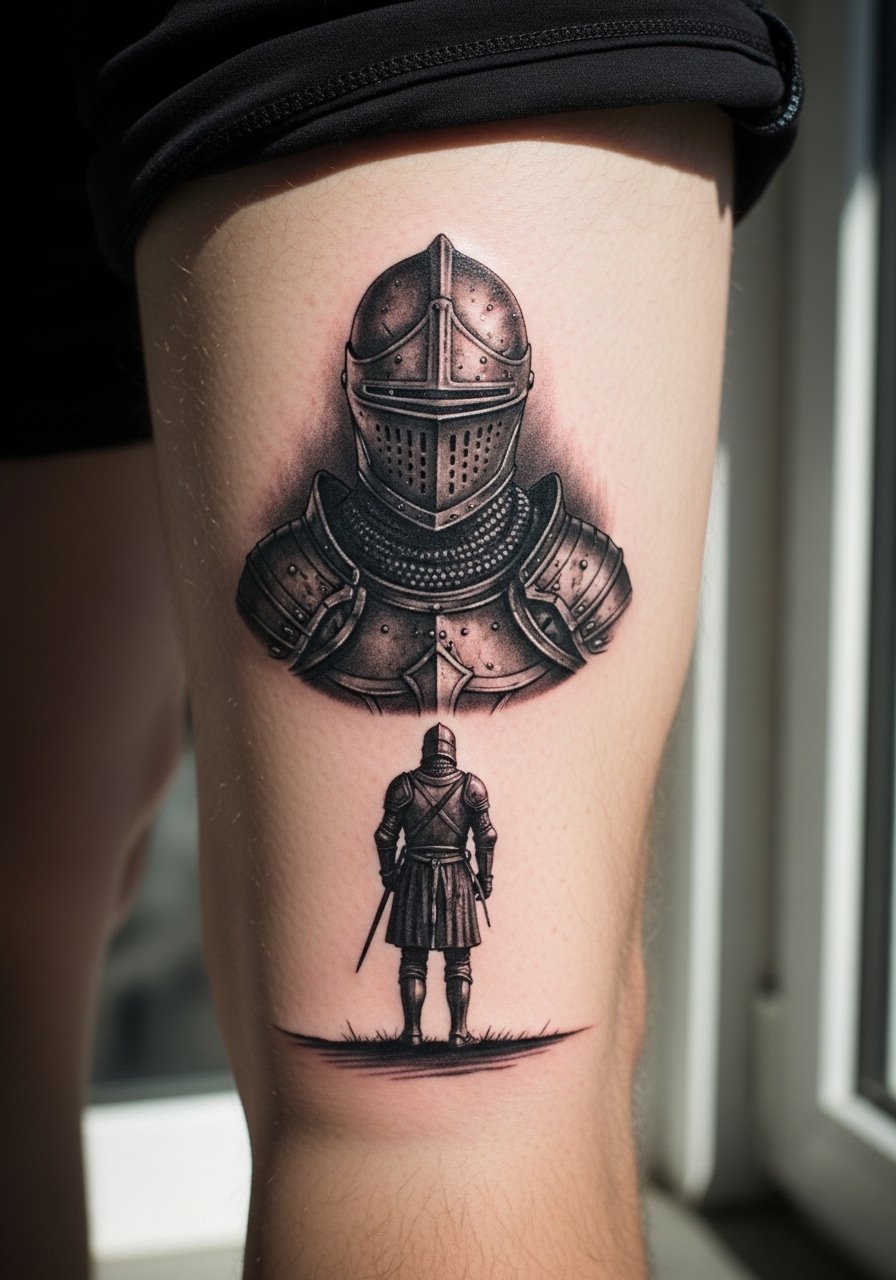
The inner calf handles micro-realism with fewer compromises than more mobile areas, which is why single-figure compositions keep clarity for longer. Pain is moderate and sessions are comfortable because you can rest the leg and the artist can work without constant repositioning. A typical mistake is trying to shoehorn background texture into the same area as delicate facial detail. Tell your artist to prioritize contrast in the figure's edges and keep backgrounds minimal. For summer show-off pair with slim fit jogger cuffs or shorts so the detail remains visible.
15. Collarbone Script or Small Sigil, Fine Line Accent
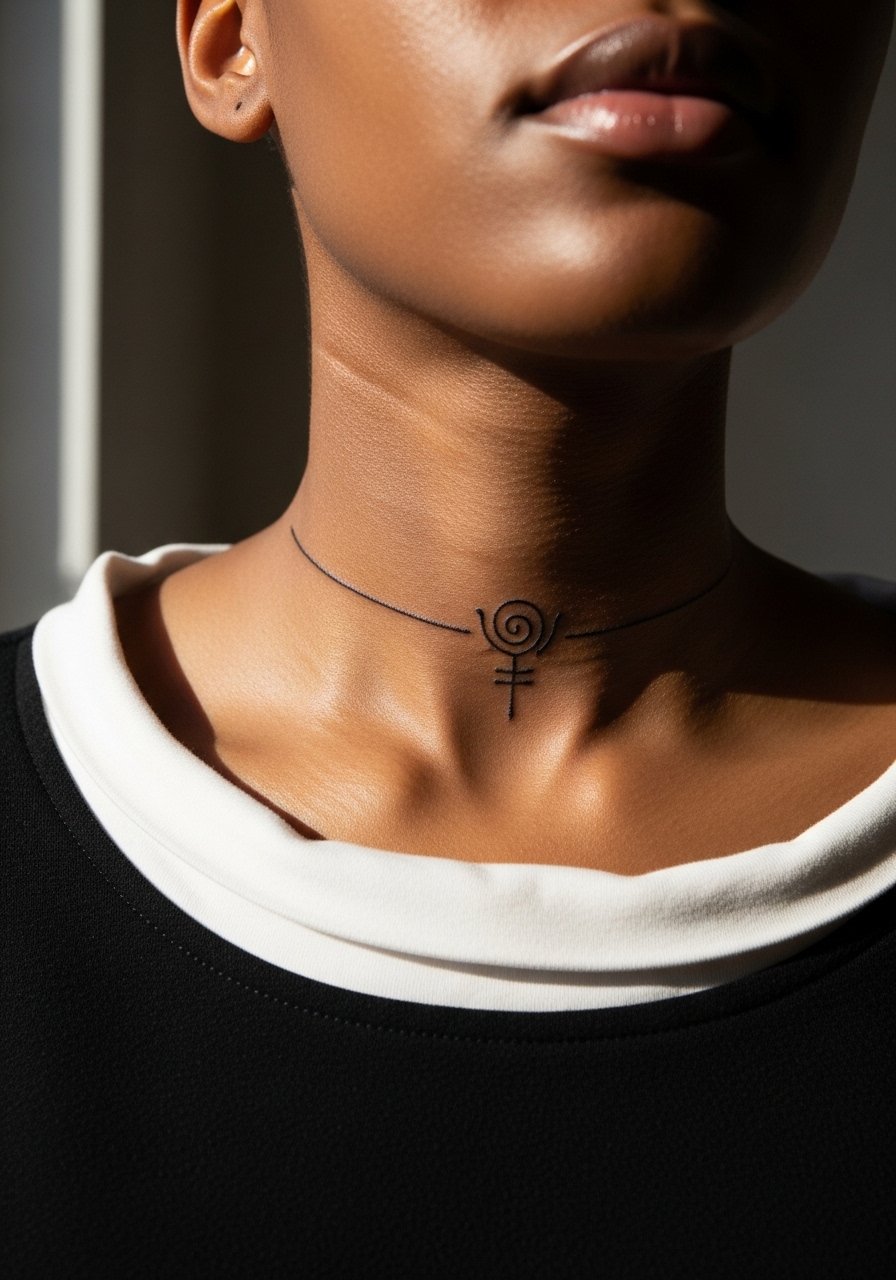
A thin sigil along the collarbone is subtle and intimate but demands spacing and confident line weight because collarbone skin moves with shoulders and breathing. Ask for open spacing around the sigil and slightly heavier main strokes rather than ultra-fine hairlines. The common mistake is asking for letter-spacing or filigree that will merge at year two. For the session wear a wide-neck shirt you can pull aside easily without exposing more than the immediate work area.
16. Nameless King Storm Sleeve Teaser on Upper Arm, Neo-Traditional Panel
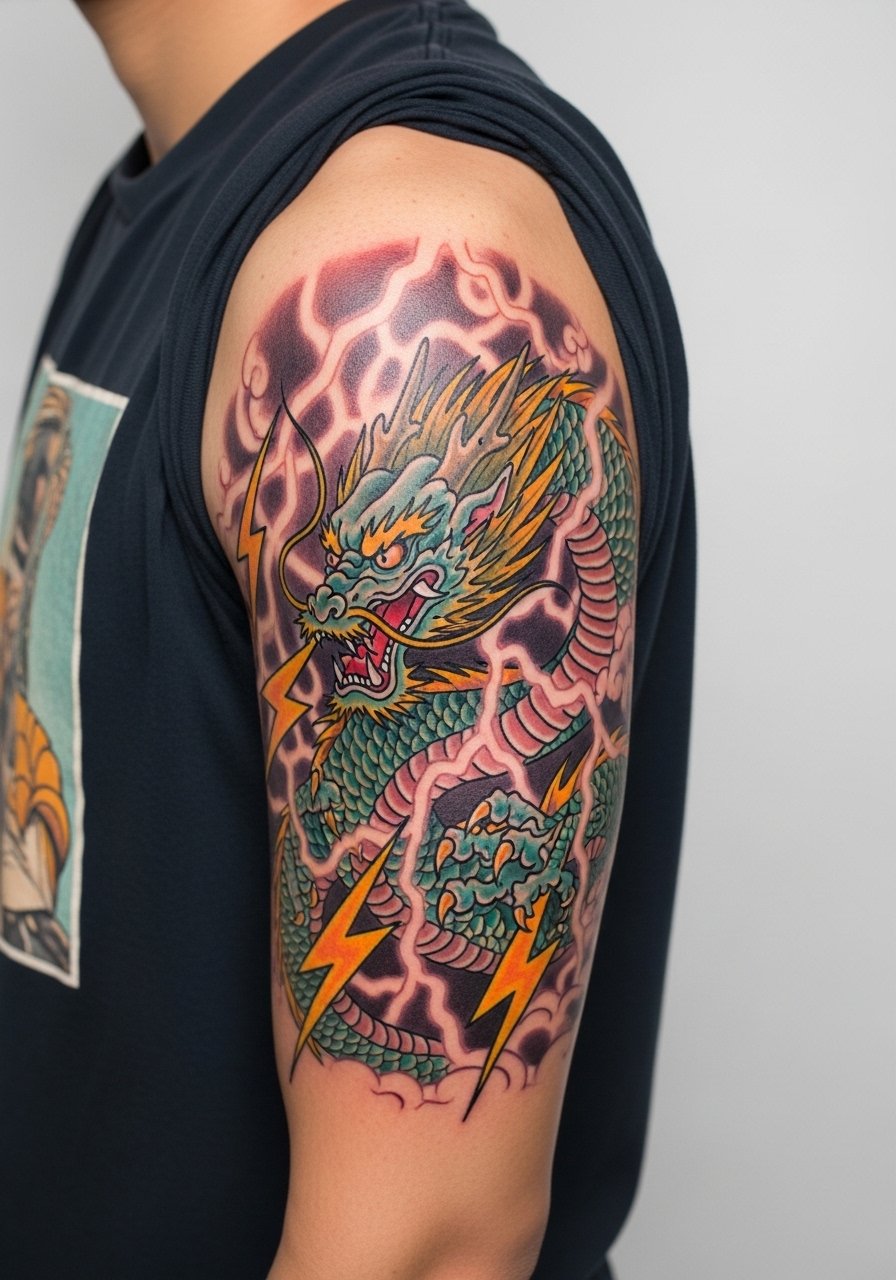
An upper-arm panel is the start of a sleeve without committing to the forearm. The area is forgiving and generally low pain, so artists can work denser color into the first sessions. Ask for strong separations between cloud, lightning, and dragon scales so the elements do not collapse into a single dark field as saturation shifts. A common error is stacking too many overlapping shapes near the bicep fold, which ages into a muddle. For session comfort wear a loose short-sleeve tee so the artist has clear room to work.
17. Grotesque Chest Trap Mimic Tiny Ankle, Playful Placement Swap
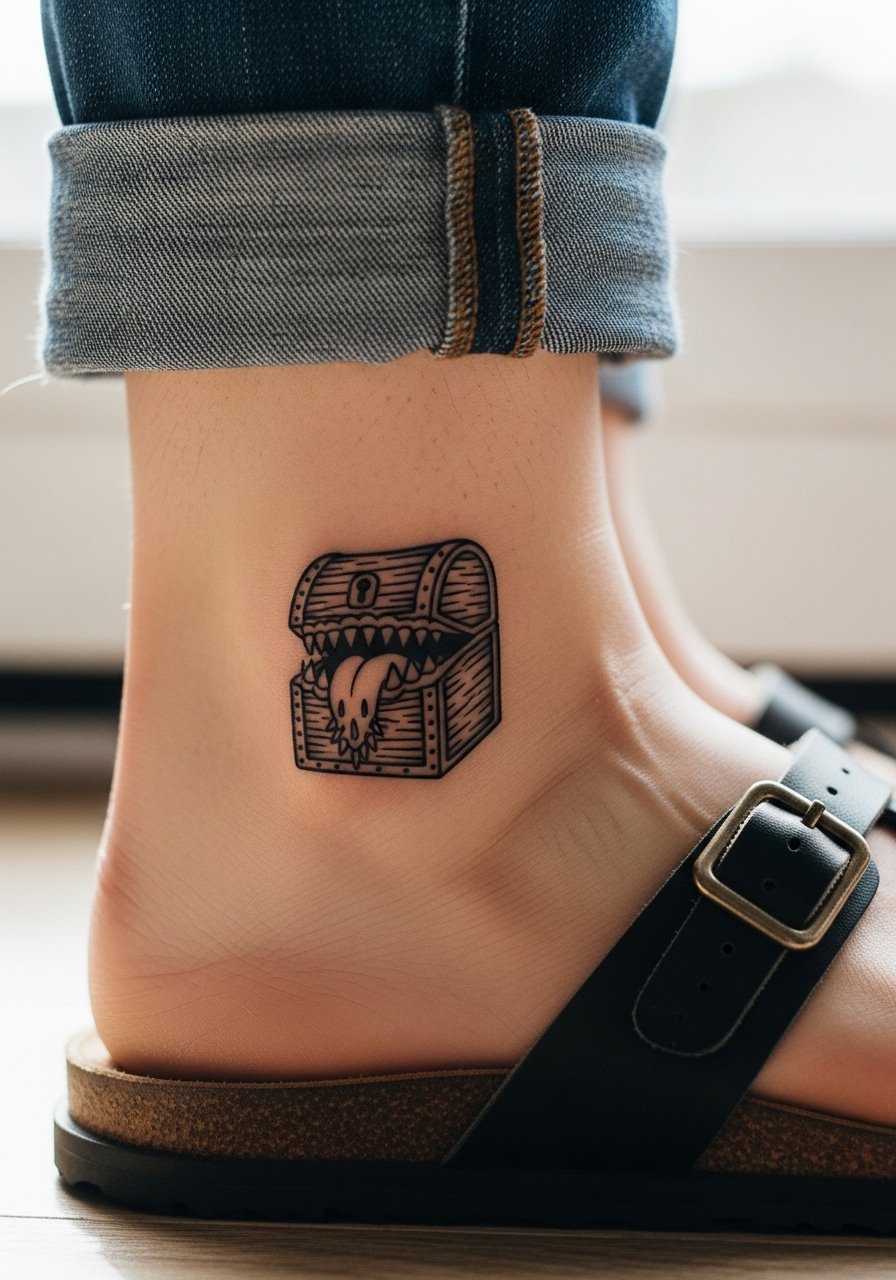
Putting a mimic motif on the ankle flips scale expectations and plays with surprise placement. The ankle is a high-friction location, so pick heavy black fills and simplified tooth or jaw shapes to avoid early blurring. Session wear should include shoes you can remove easily and pants that roll cleanly above the ankle. For the appointment choose dark denim shorts or sandals so the artist can check angles while you stand or sit. Expect a short session and plan for a protective film or low-friction sock for the first week.
Frequently Asked Questions
Q: How much does a blackwork Dark Souls tattoo on the forearm usually cost?
A: Prices vary by studio and region, but forearm blackwork tends to be one of the more affordable options because sessions are short and the work is straightforward. Expect session-based pricing and ask studios about hourly rates and estimated session counts during consultation since complexity and size drive the final cost.
Q: Will fine line portraits on chest or collarbone need touch-ups sooner than bold traditional pieces?
A: Yes, fine line pieces generally require touch-ups earlier than bold traditional work because thin lines and tiny details blur faster with sun exposure and skin movement. A realistic plan is to budget for a touch-up around year two or three for fine line portraits if you want them to stay crisp.
Q: Is forearm really less painful than hand or ribs for Souls-themed designs?
A: From what I've seen, the forearm is typically less painful than hands and ribs because it has more muscle padding and fewer nerve endings. Hands and ribs tend to be higher on standard pain scales, so placement choice should factor in both visibility and your pain tolerance.
Q: How do I find a studio that can execute micro-realism or neo-traditional Dark Souls work without the result blurring?
A: Look for portfolios that show healed photos, not only fresh work, and ask the artist how their healed tattoos hold up at two or more years. Use hashtags and location tags to search portfolios and check tattoo directories for studios that list these styles. If possible, ask to see work on similar skin tones to yours so you can set realistic expectations.
Q: Do watercolor-style Sif pieces need different aftercare than blackwork icons?
A: The aftercare basics are the same, but watercolor washes can benefit from careful sun protection once healed and possibly a touch-up sooner because pigments fade faster. Keep the area out of direct UV for the first few months and follow your artist's instructions for moisture and sunblock after the skin has healed.
