
Fine line is dominating saved boards, and the tattoo that looks best fresh is not always the one that reads best five years later. New collectors worry their angel will look too religious, that color will vanish on darker skin, or that a winged chest piece will balloon the price. These twenty-one ideas balance what trends photo well with what actually heals, so you can pick something that still sits right after a few seasons.
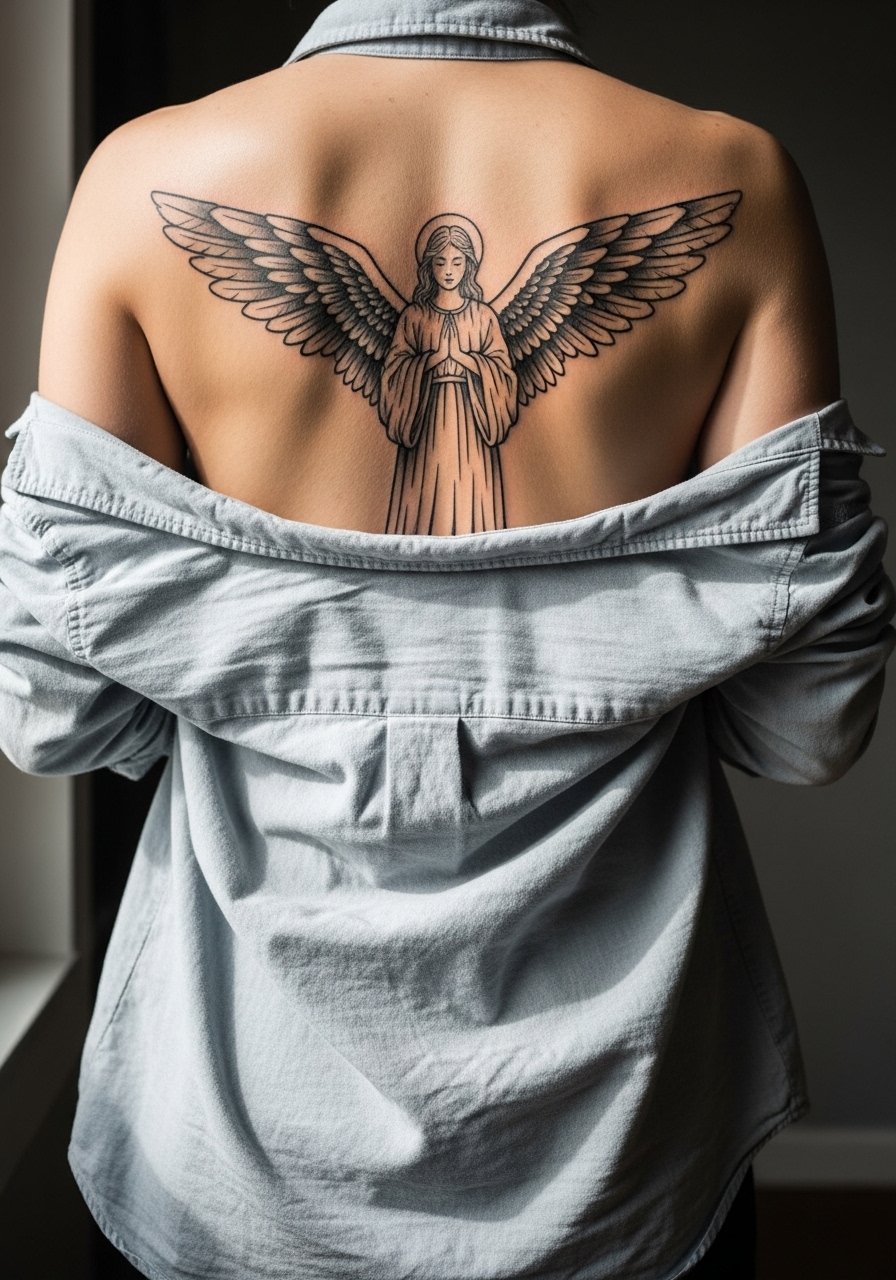
1. Illustrative Wings on Full Back for Spread and Scale
I've seen this style on people who wanted a piece that reads from across a room, and the back is the place to do it properly. Ask for heavier linework at the wing base and stipple shading toward the feather tips so the design keeps separation as it settles. Common mistake is cramming too much tiny feather detail into a medium canvas, which blurs at year three. Expect two sessions, moderate discomfort for long sittings, and a touch-up around year two for the feather edges. For showing it off, low-back crop tops work beautifully, and for the day of the session wear a loose button down shirt you can pull aside without rubbing the area.
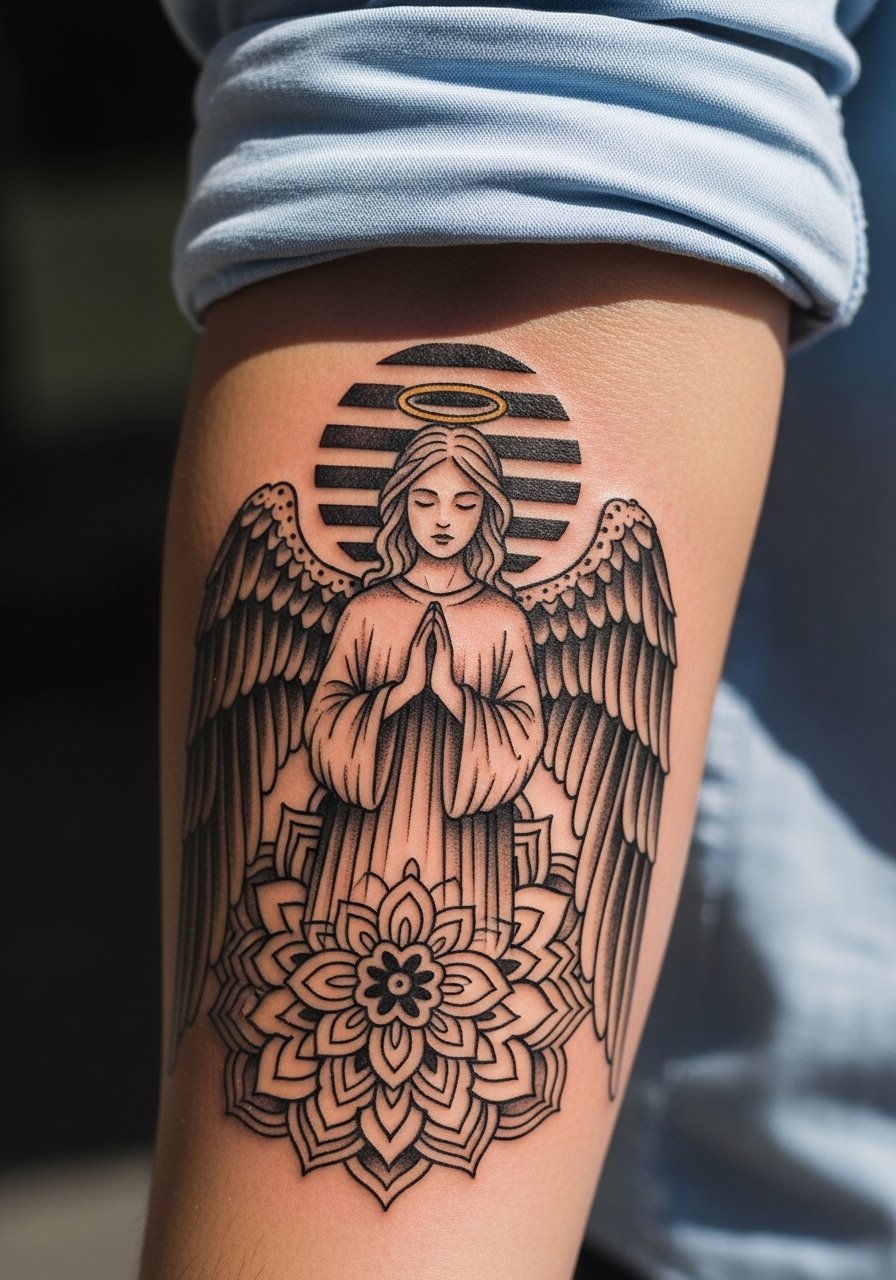
2. Striped Halo Forearm with Floral Mandala Base
Personal observation: the forearm is forgiving for blackwork halos, and a striped halo creates motion without heavy color. Tell your artist you want bold negative space stripes in the halo and a mandala base with room between petals so the dots do not merge. The usual error is packing a mandala too tightly, which fills in over time. Pain is low to moderate, session time one to two hours. Pair this with rolled sleeve button-ups for evenings out and slip on a thin leather cuff bracelet to balance the arm visually.
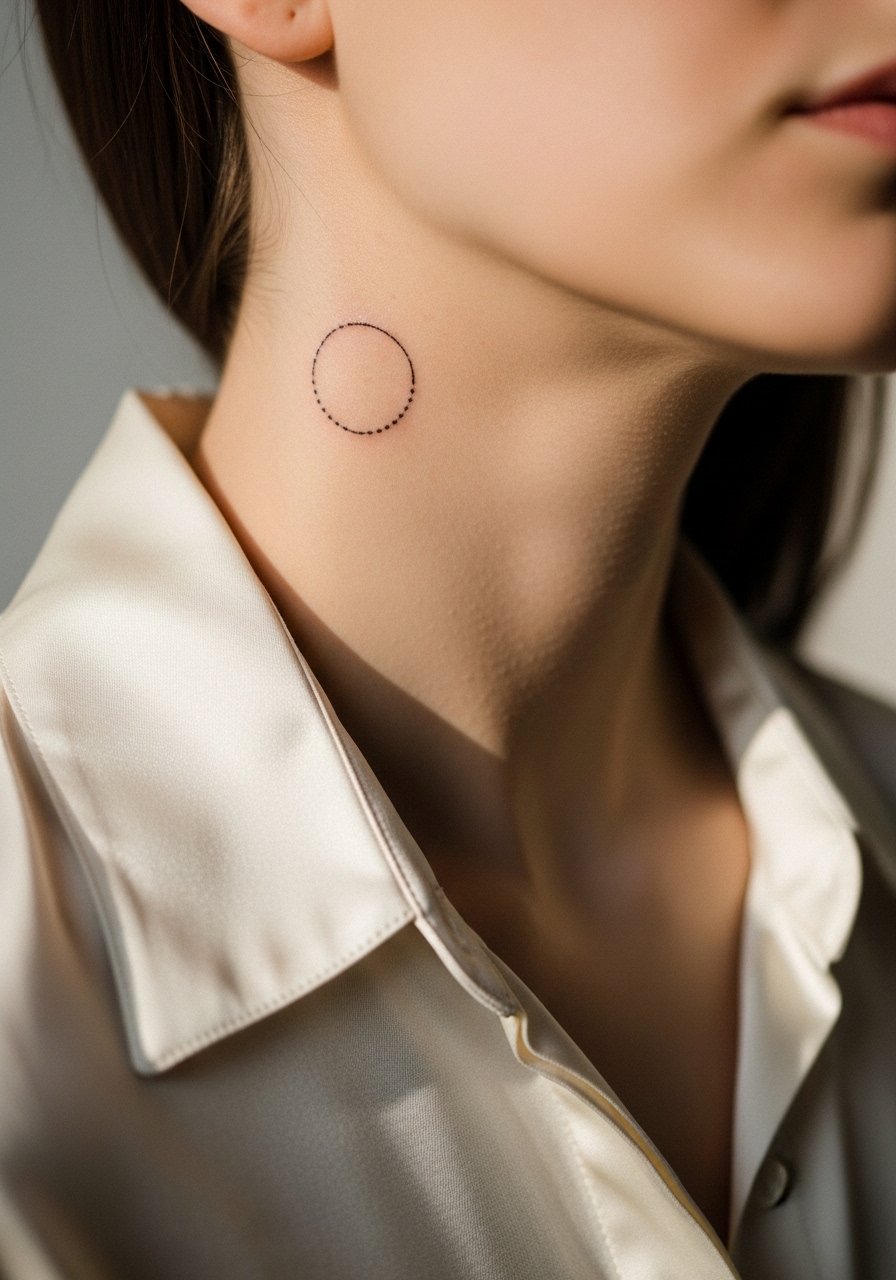
3. Minimalist 3D Halo on the Neck for Subtle Visibility
Fair warning: the neck sits higher on the pain scale, but a tiny 3D negative-space halo reads intimate and personal. When you consult, ask for slightly thicker outer linework and a lighter inner pass to create the floating effect without relying on color saturation. Fine line on the neck divides artists into two camps. One camp says the area stretches and blurs lines fast. The other camp says with correct depth and spacing it can last well. Ask your artist which side they fall on before booking. Wear a silk open collar blouse to the appointment so the collar can be moved without tugging the skin.
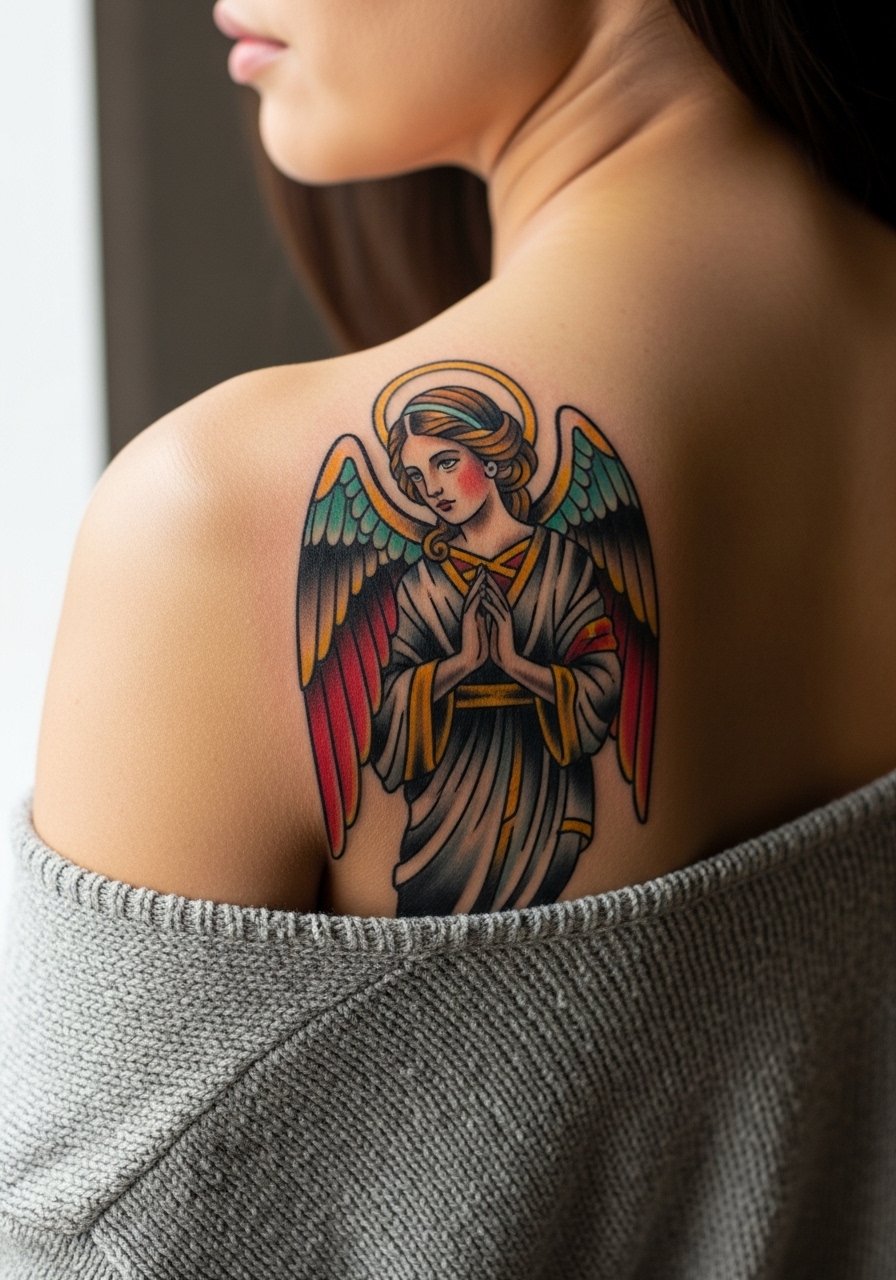
4. Neo-Traditional Upper Back Angel with Color Accents
There is something about neo-traditional saturation that reads like a painting from a few feet away, and the upper back gives the wings room to breathe. In consultation, show palette choices and ask for color saturation only in accents so black and gray holds the structure. A common issue is over-saturating every feather, which ages into a muddy look on some skin types. This placement is medium pain with two to three sessions for a large piece and a likely touch-up in year two. For outings, an off-shoulder sweater frames the shoulders, and a delicate chain necklace sits without competing.
5. Micro-Realism Chest Portrait for a Personal Anchor
When someone wants photorealism, chest placement gives the face space to sit naturally over breathing contours. Tell the artist you want soft stipple shading around the jaw and feather texture suggested rather than fully rendered all the way out. The mistake is pushing too much contrast into small faces, which creates a carved look as it heals. Chest sessions are tender and usually booked across multiple sittings. Wear a button-front shirt so you can easily expose the area during the session and keep a minimal pendant necklace nearby to balance the neckline when healed.
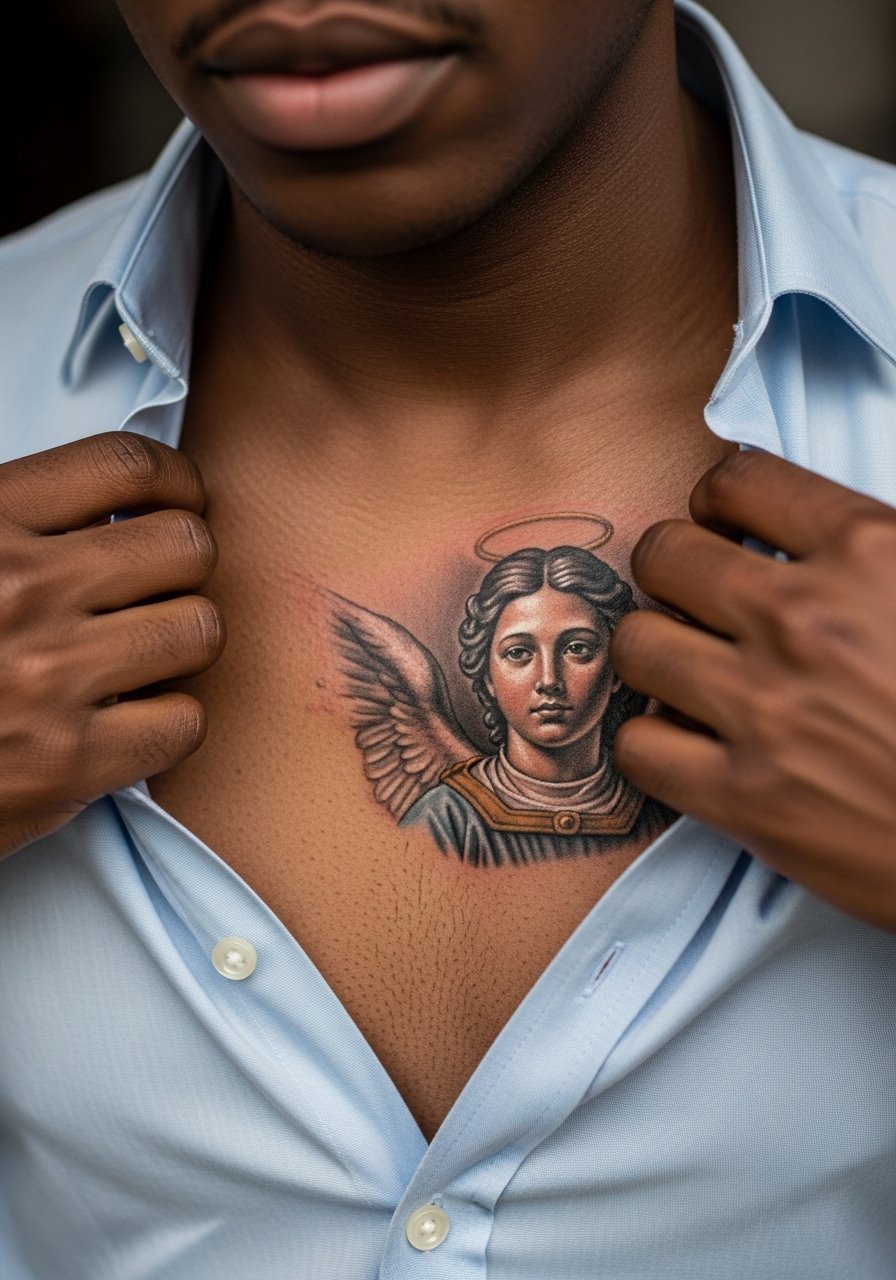
6. Black-and-Gray Inner Arm Angel with Somber Halo
I've noticed inner arm pieces age differently than outer arms because of friction and softer tissue. For an inner arm guardian angel ask for denser blacks at the core and lighter whip shading outward to avoid early smudging. A common mistake is overly fine linework that fills in after wash cycles. Sessions are moderate in pain and typically two hours. For the appointment wear a short sleeve henley you can roll without compressing the fresh lines. Expect a touch-up in twelve to twenty-four months if you want crisp contrast.
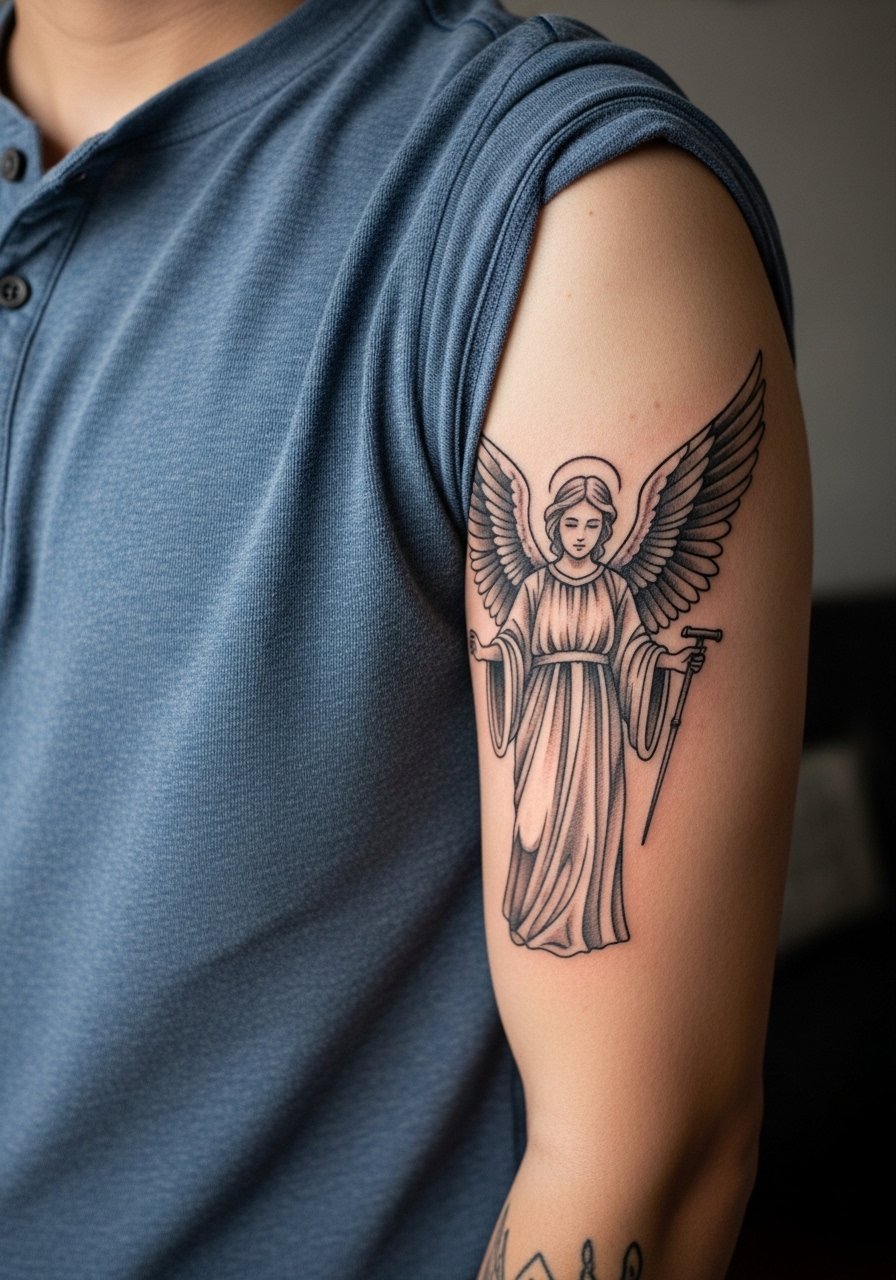
Studio Day Picks
The shoulder, chest, and inner arm pieces above need different prep than small wrist work, so a few studio-day items make the session smoother.
-
Stencil transfer paper kit. Lets you preview line placement on the skin before the needle hits, handy when scaling wings for a back or chest piece.
-
Topical numbing cream. Use as directed to ease rib and chest sensitivity for longer sittings without affecting the artist's linework.
-
Thin protective film roll. Useful for small areas like inner arm or wrist to shield from friction during the first 48 hours.
-
Fragrance free gentle body wash. Cleans without irritation for delicate black and gray finishes in the week after a session.
-
Aquaphor healing ointment. A thin layer in the first days supports moisture balance for fine line and micro-realism pieces without clogging the healing channels.
7. Watercolor Ethereal Haze on Thigh for Soft Edges
Most watercolor pieces on the thigh hold their dream-like edges better than on high-motion spots. I recommend asking for light washes of color anchored by thin black linework so the design keeps form as pigment fades. The usual mistake is relying on watercolor only with no line anchor, which often diffuses into an indistinct wash. Thigh sessions are lower on the pain scale and often finish in a single two-hour slot for small to medium pieces. For showing it off after healing, high-waist denim shorts look great, and for the session wear loose shorts so the artist can access the area without rubbing the site.
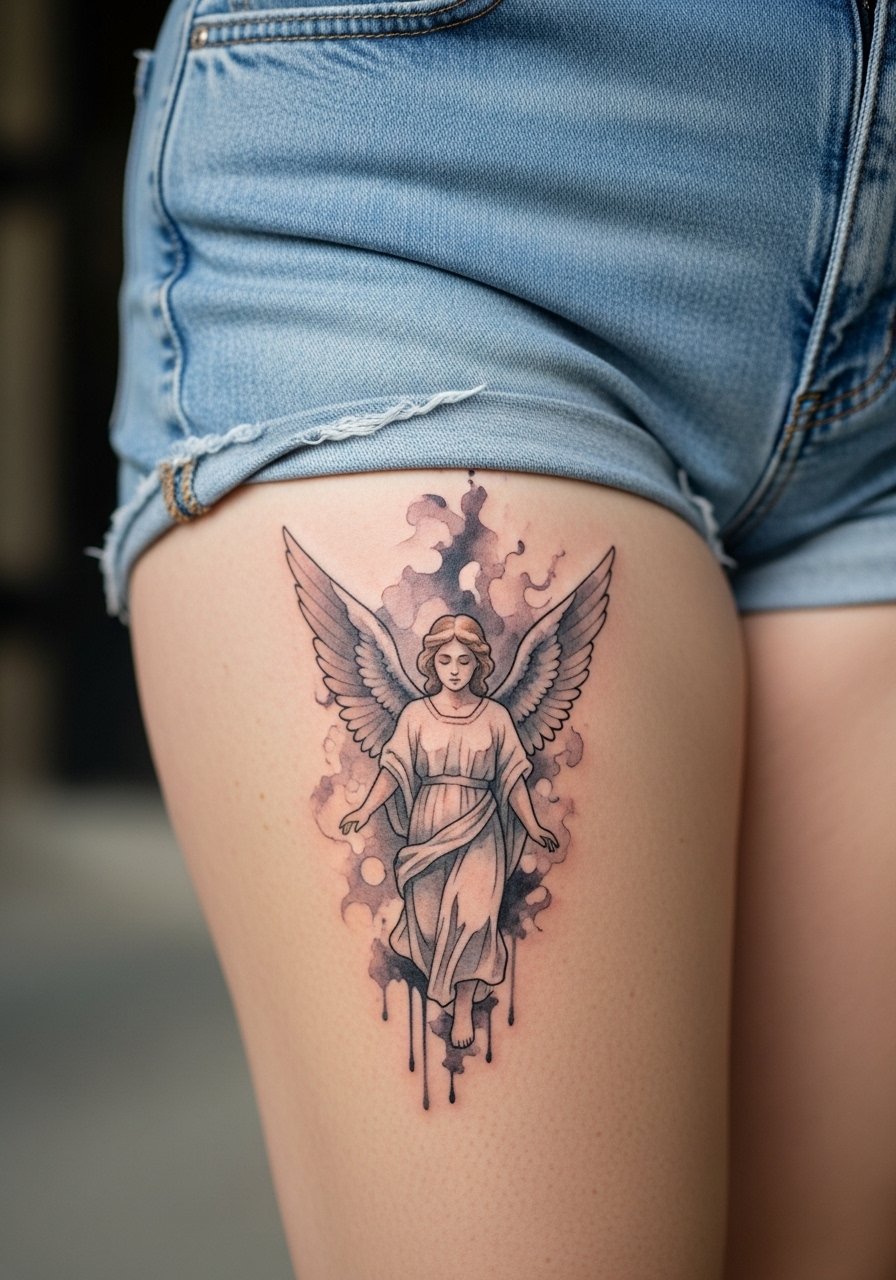
8. Baby-Cradling Angel on the Forearm for Parental Tribute
A forearm canvas is ideal for a guardian angel cradling a child because it allows readable facial cues and arm gestures. Tell the artist to scale the baby and angel proportionally and to add a small date or initial in negative space so the design feels owned. People err by shrinking the baby to tiny icon size, which loses emotive detail after a year. Forearm pain is low to moderate and touch-ups are common at year two if the lines soften. For display, rolled sleeve button-ups are a clean frame, and a thin leather cuff bracelet on the opposite wrist balances the visual weight.
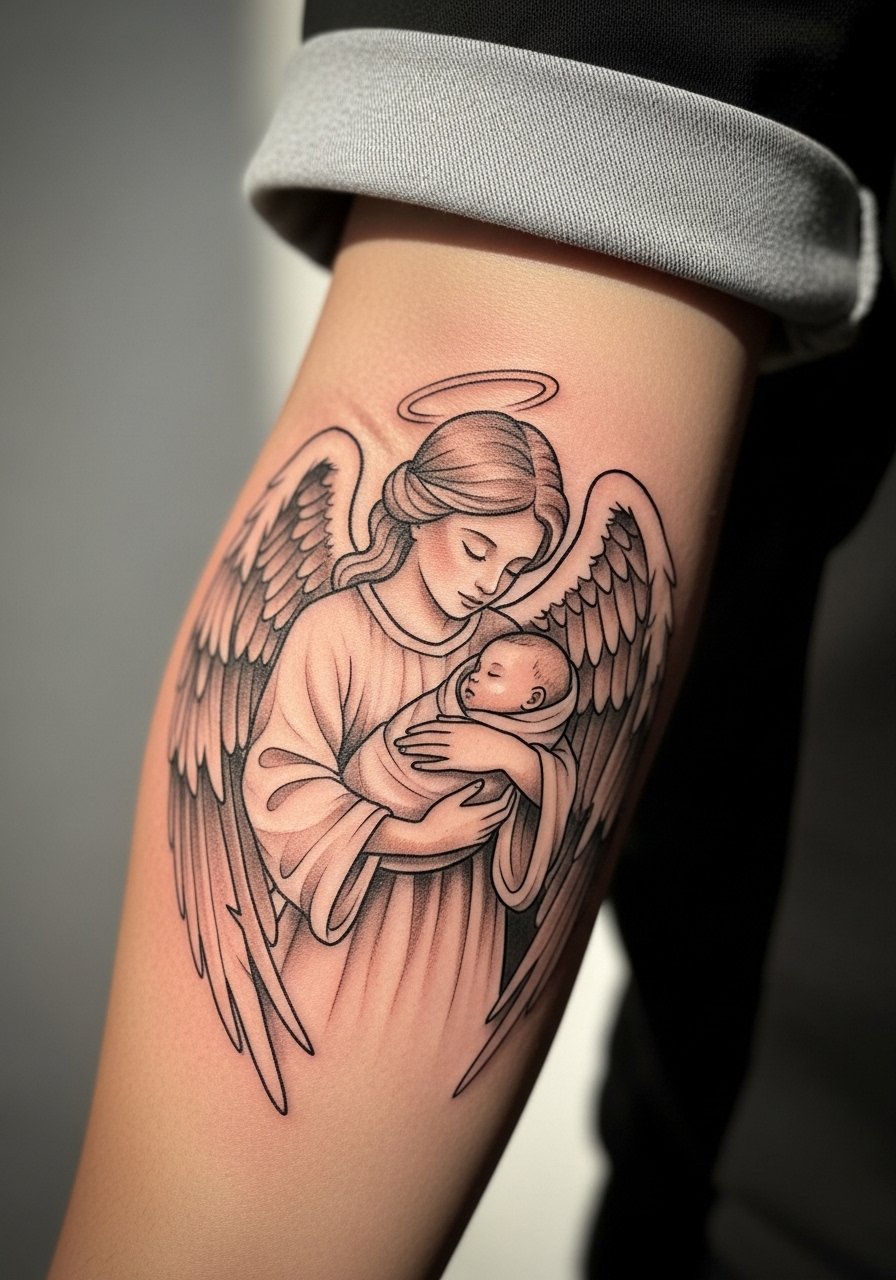
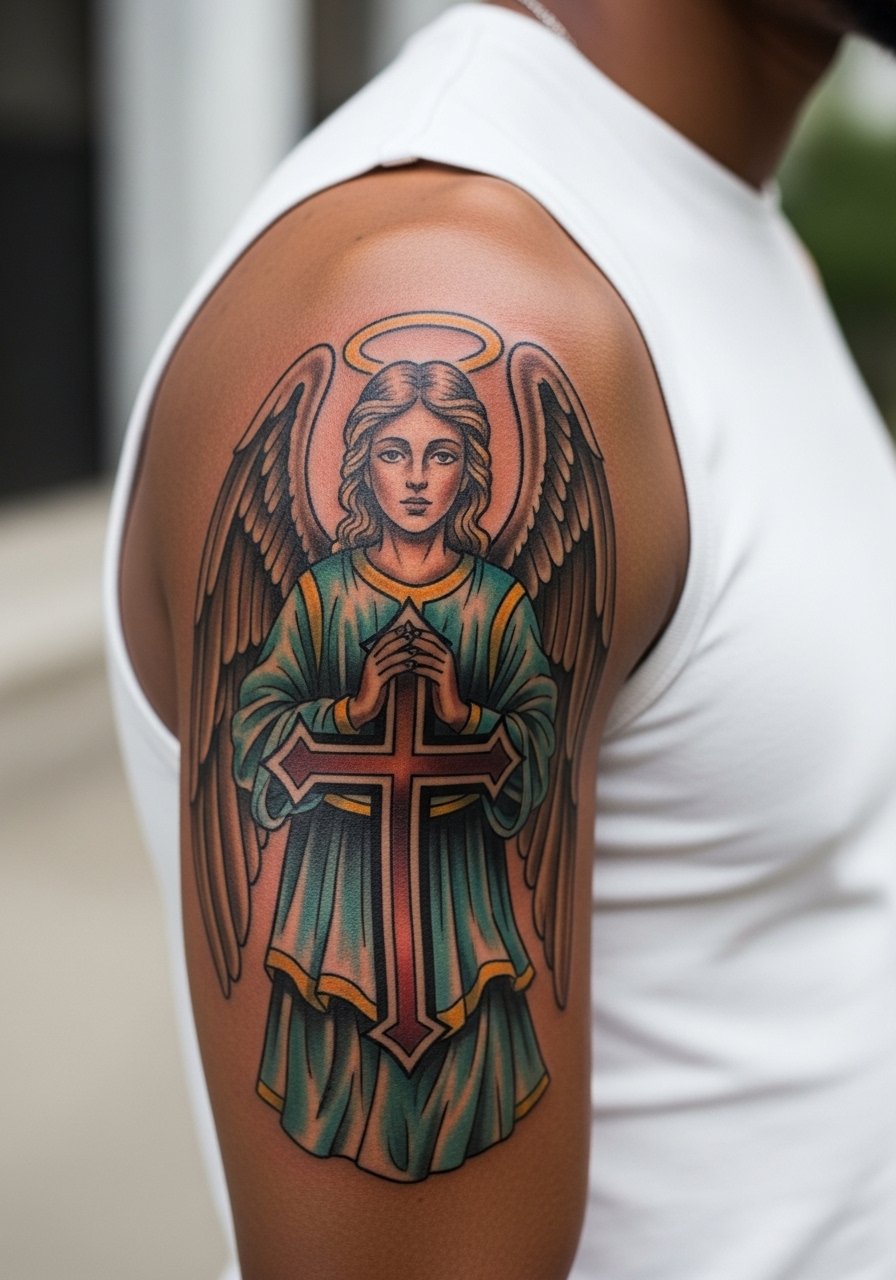
9. Cross-Fused Angel on Upper Arm for Faith Statements
Consultation lead: if you want an angel integrated with a cross, be explicit about the hierarchy in the design. Do you want the angel as the focal figure or the cross as background symbolism? Artists often default to equal emphasis, which muddies both elements. Upper arm placement is moderate in pain and lends itself to medium-size pieces with color or black and gray. Expect a touch-up at eighteen months if you use saturated color. For daily wear, fitted sleeves with cut sleeves show off the arm, and a sleeveless fitted tee works well to display the design.
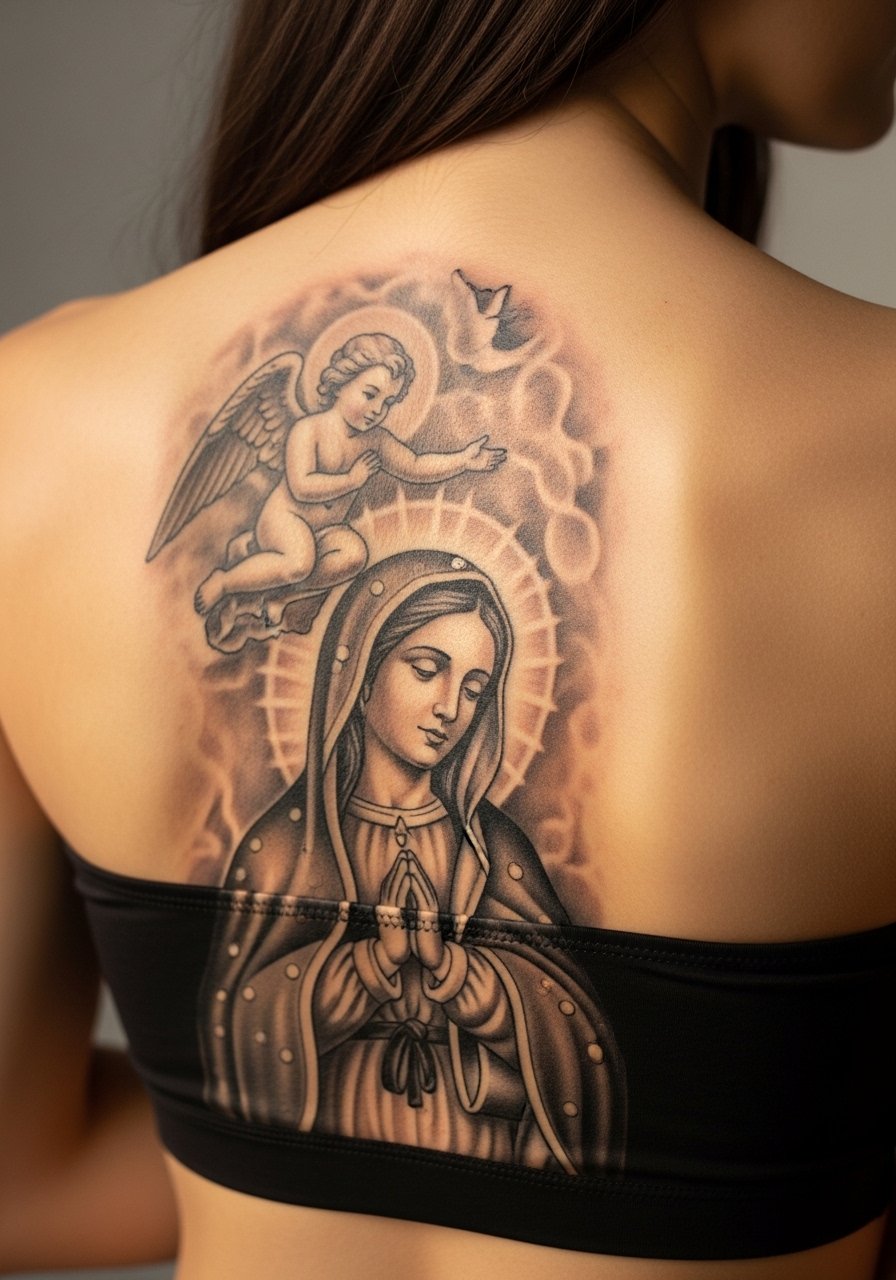
10. Virgin Mary and Angel Upper Back Pairing for Religious Context
Visual impact lead: placing a Virgin Mary figure with a guardian angel above the upper back creates a vertical read that suits clothing with lower backs. This is a heavier, more detailed composition and usually requires three sessions. A common regret is shrinking the Mary figure to fit a smaller canvas, which loses facial fidelity in realism. Because the design blends distinct religious iconography, consider subtle variations rather than direct replicas to respect origin. For appointments, a strapless bralette or a loose tank helps the artist access the upper back without irritation.
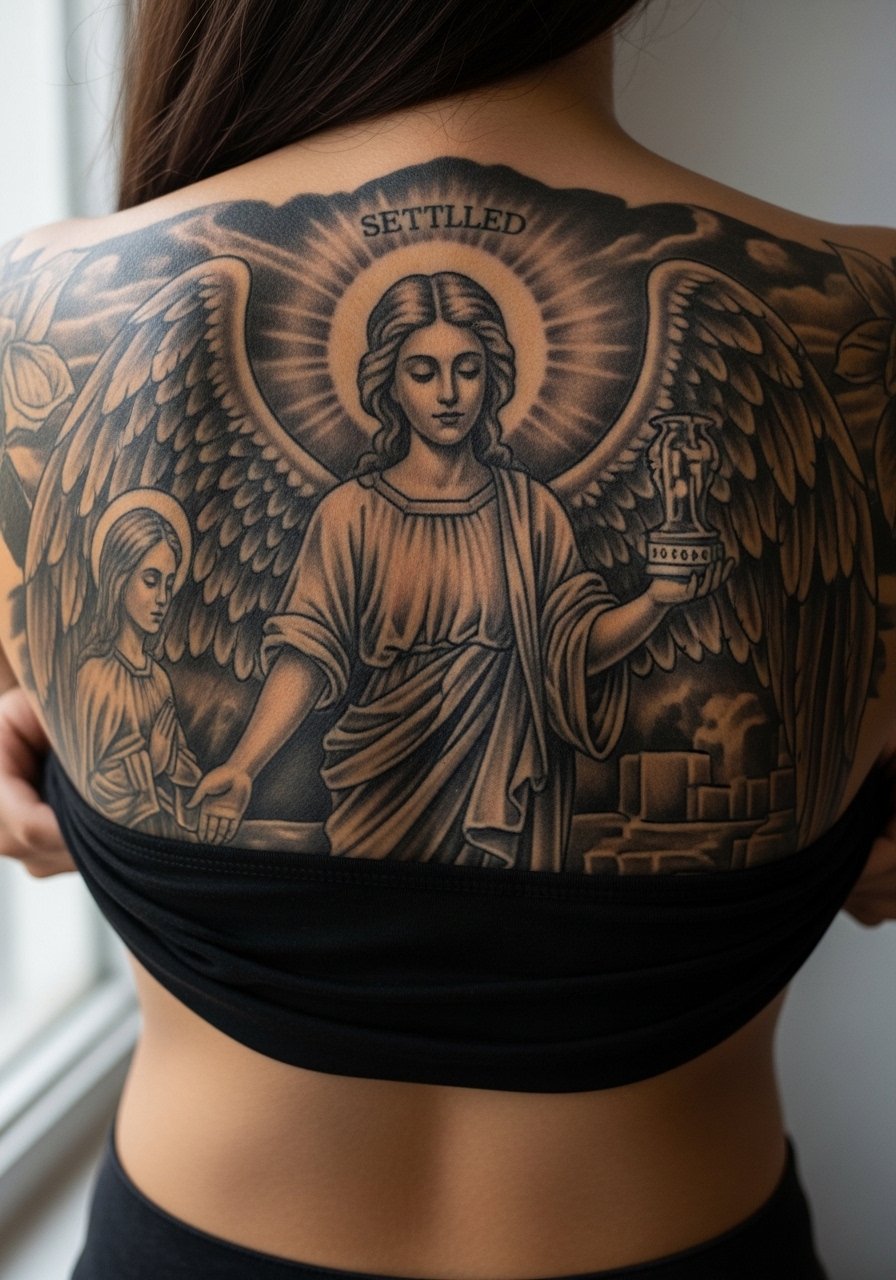
11. Protective Angel with Cross and Background Jesus Scene on Full Back
Aging and realism lead: large back scenes allow photorealistic elements, but they are expensive because of multiple sessions and dense shading. When people ask for a whole-sacred-scene look, the pitfall is trying to cram too much tiny detail; faces and distant figures need space to exist. Back sessions are lengthy and may require breaks to manage pain and swelling. For wardrobe after healing, low-back crop tops frame the wings and scene together. During the consult, discuss how much negative space you want to preserve to avoid future muddiness.
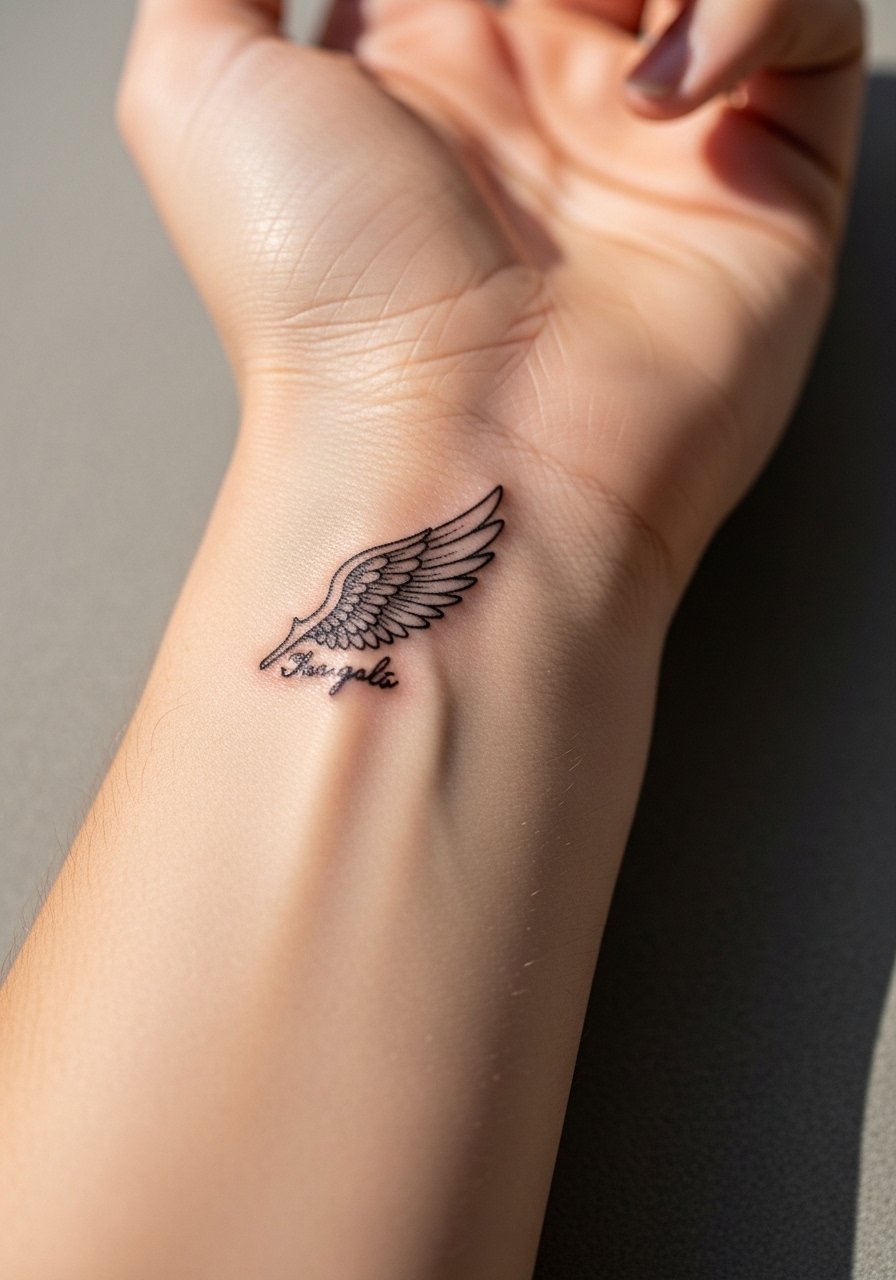
12. Delicate Wing Script on Wrist for Everyday Reminder
Personal observation: wrist pieces are constantly exposed to washing and sunlight, so delicate wings with script need both spacing and strong line anchors. Tell the artist you want slightly bolder primary strokes and thinner cross-hatching for the feather texture. The most common mistake is asking for ultra-fine script without room, which blurs in months. Pain on the wrist is moderate and thin protective film can help in the first week. For styling, stack thin bangles on the opposite wrist and consider a thin gold bangle set to complement without crowding.
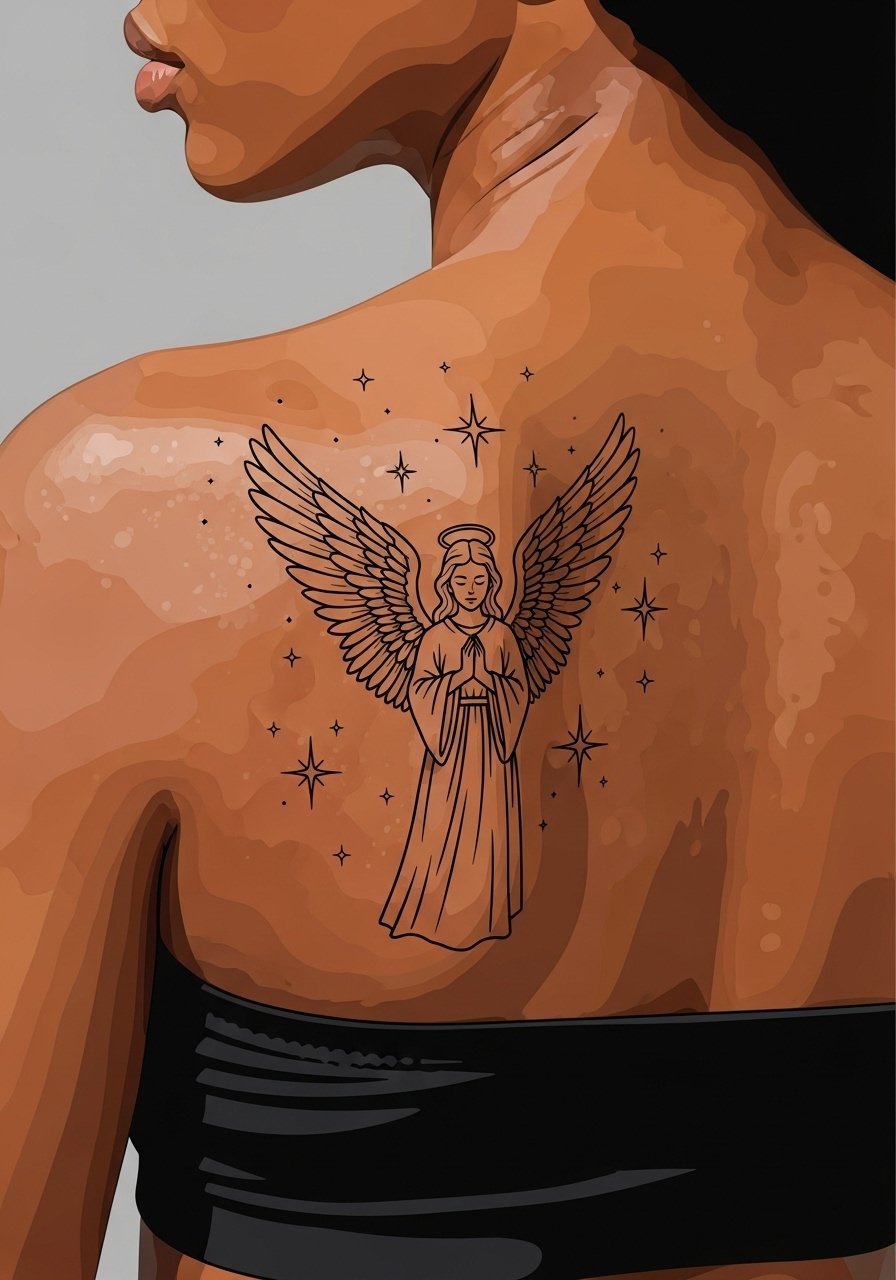
13. Vector-Style Angel on Shoulder Blade for Graphic Clarity
Visual impact: vector linework with small stars and clouds reads sharply on the shoulder blade because skin there moves less. Ask your artist for consistent line weight and a small amount of negative space between stars so they maintain separation as the ink settles. A mistake is shrinking stars tight, which joins into a solid. Shoulder blade pieces are low to moderate pain and usually finish in under two hours. For showing it off, an off-shoulder sweater or a strapless bralette pairs cleanly and echoes the composition.
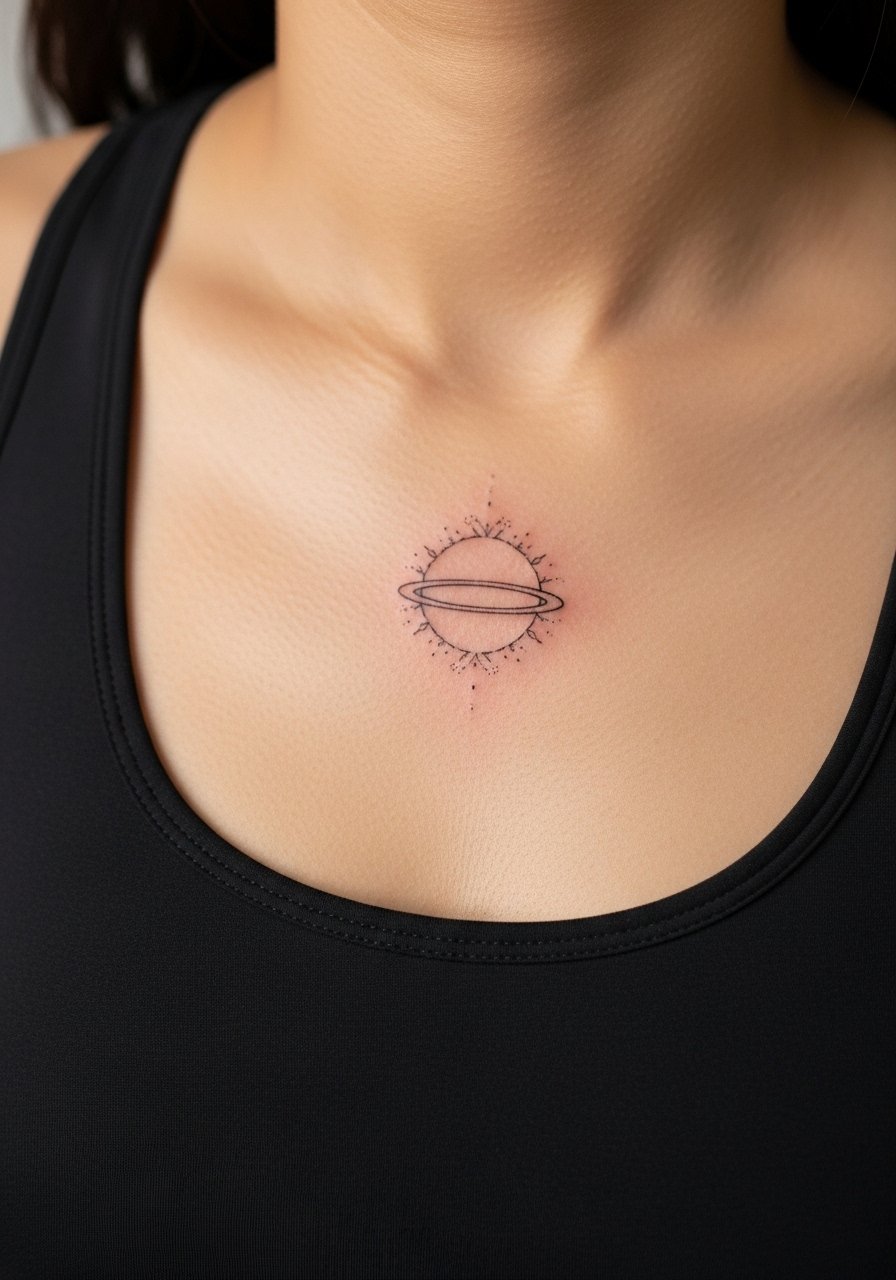
14. Small Sternum Halo with Script Under a Sports Bra
Mistake lead: sternum placements are tempting for symmetrical halos, but the area moves with every breath and often requires an experienced hand. If you pick this spot, request a fitted sports bra on the day so only the immediate area is exposed. Ask for slightly bolder outer strokes so the halo keeps its ring effect as it settles. Expect higher tenderness and possible multiple short sessions. Because this is an intimate placement, choose a design that can be pared back to linework if you ever want to simplify.
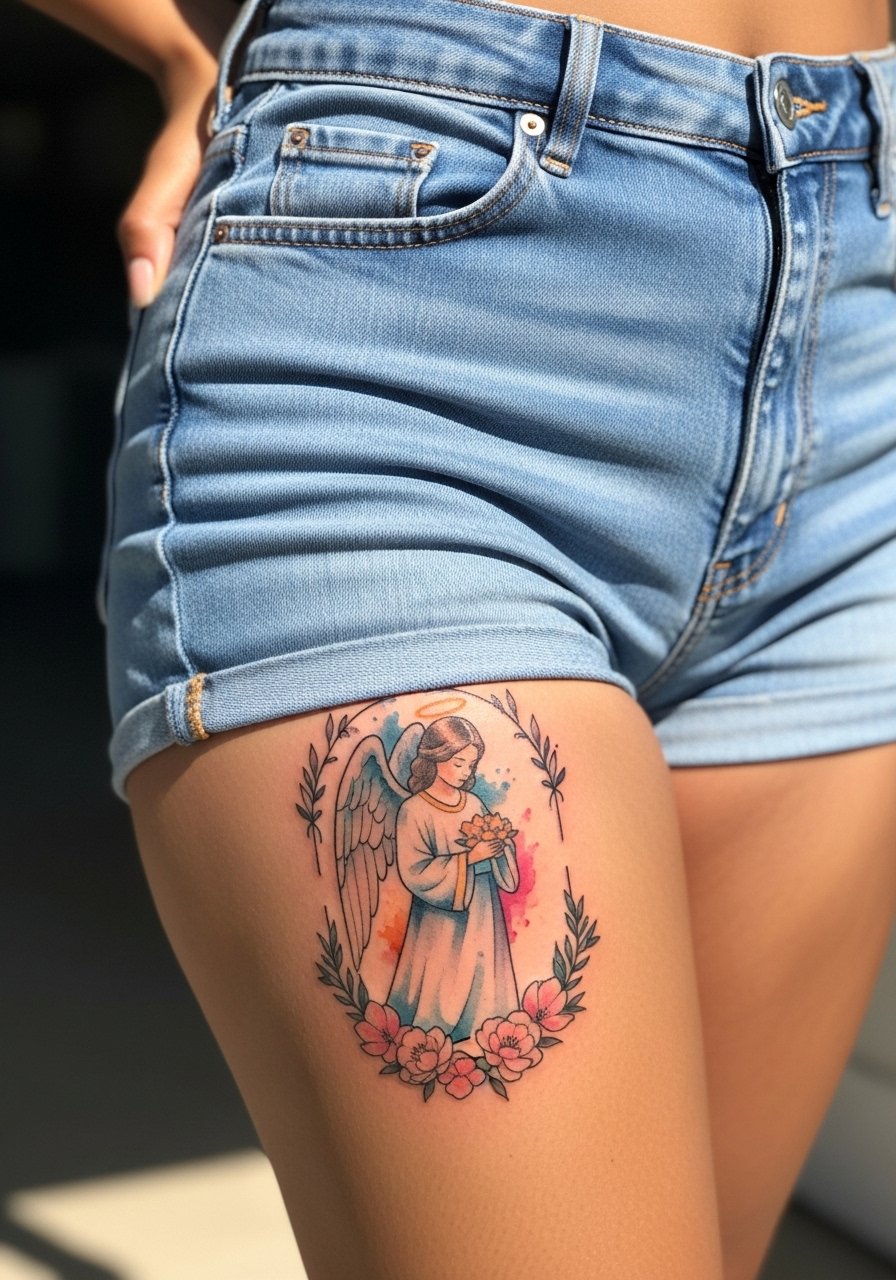
15. Thigh Guardian with Floral Frame for Seasonal Showing
Consultation lead: floral framing around a thigh angel gives the piece seasonal wearability. Ask for heavier anchors at the core design and soft watercolor washes in the surrounding florals so the angel reads as the focal point. A frequent error is applying saturated color across the entire field which fades unevenly on darker undertones. Thigh work is generally lower pain and suits single-session pieces. For summer show-off looks, pair with high waist denim shorts and layered anklets.
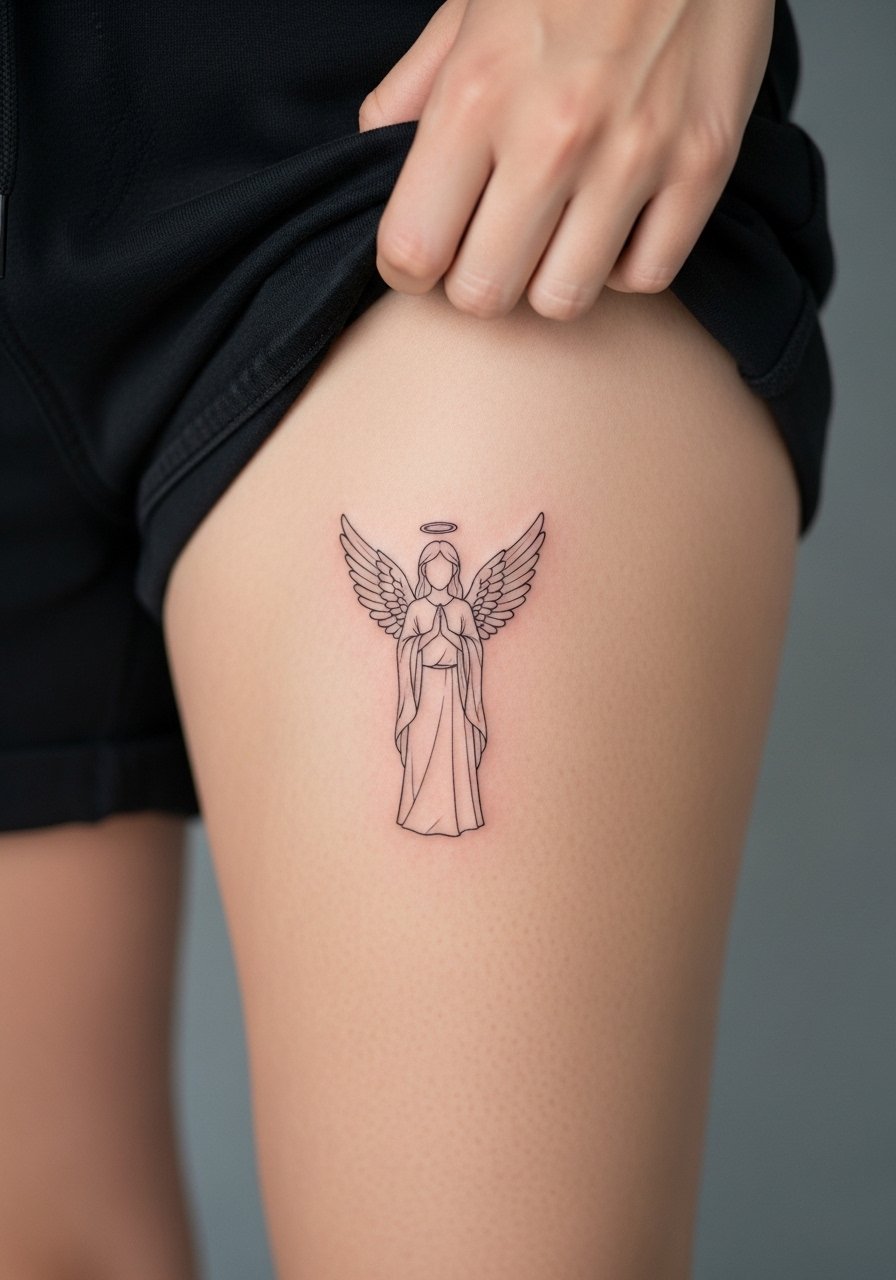
16. Inner Thigh Botanical Angel for Private Tribute
Mistake lead: inner thigh is a high-motion and high-friction area, so delicate dot work can blur if placed too close to the groin line. When you brief your artist, be specific about how far from the seam you want the design and ask for slightly heavier anchors in the core. Sessions are more private and require relaxed positioning, so wear shorts you can shift comfortably. For safety and comfort, choose an artist with experience on inner-thigh pieces.
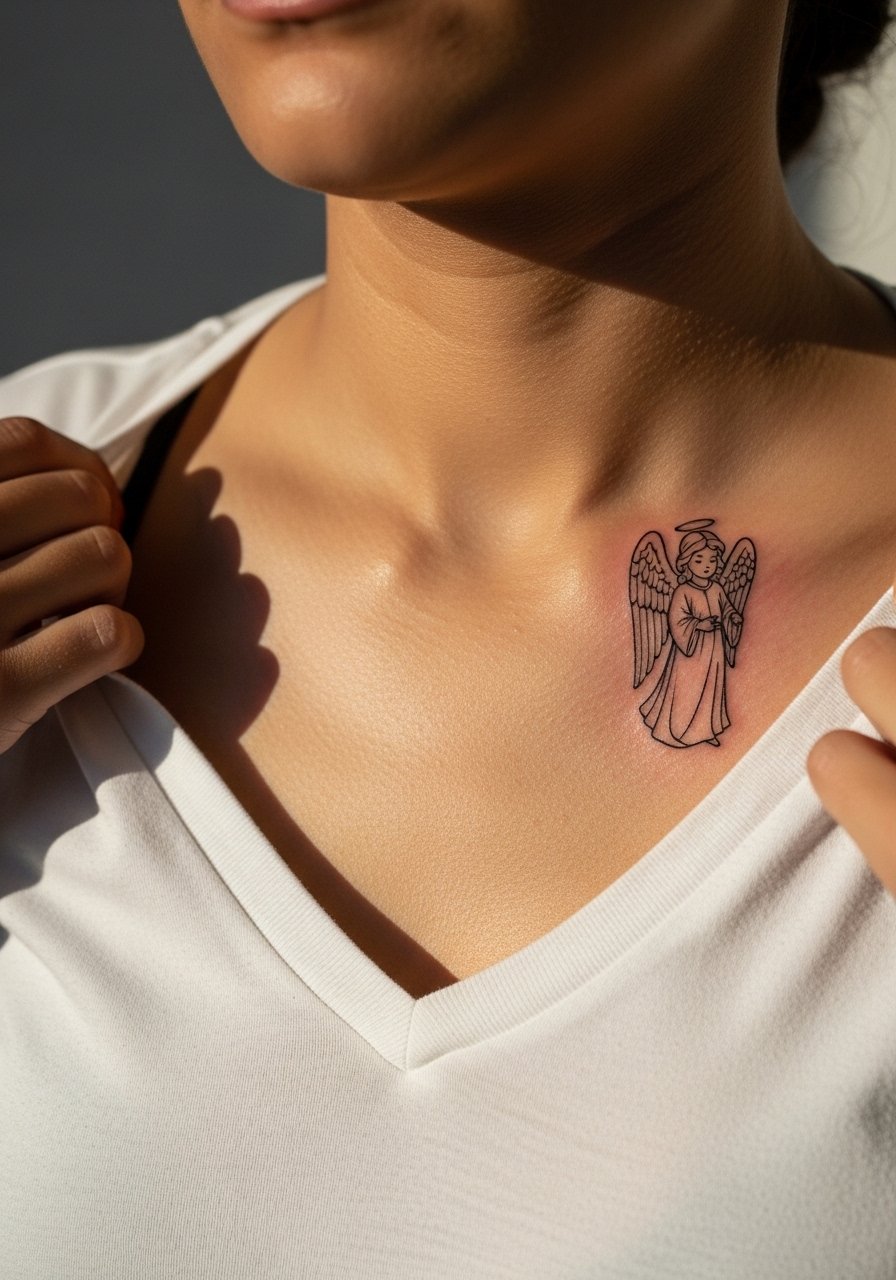
17. Collarbone Mini-Angel for Visible, Low-Commitment Placement
Visual impact lead: collarbone pieces show up immediately but demand precise linework because movement and sun exposure are constant. Tell the artist you want slight spacing between feather linework and the script or halo to help longevity. Common error is crowding the clavicle zone with dense detail which softens into a blob after a year. Pain is mild to moderate and sessions are short. For showing it off, deep V-neck tees or a deep V neck tee men style for unisex looks keep attention on the collarbone.
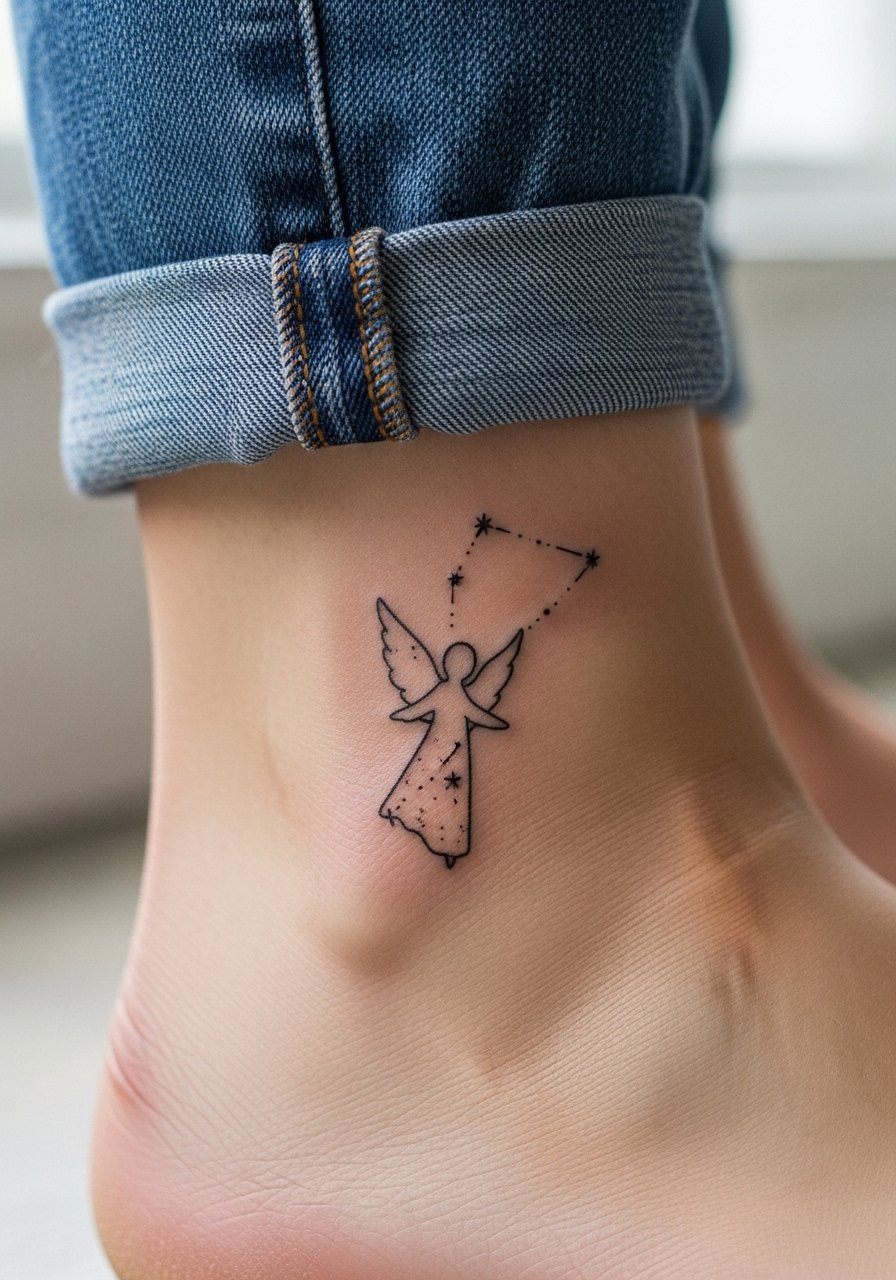
18. Ankle Constellation Angel for Tiny, Portable Pieces
Personal observation: ankle tattoos are low-profile but face friction from shoes and socks, so fine detail needs spacing and strong primary strokes. Ask for a slightly bolder main contour and minimal internal dot work to retain shape through daily wear. Ankle sessions are quick and tolerable but require careful aftercare in the first week to avoid scabbing from rubbing. For display, jeans rolled up or sandals highlight the area and keep attention on the piece.
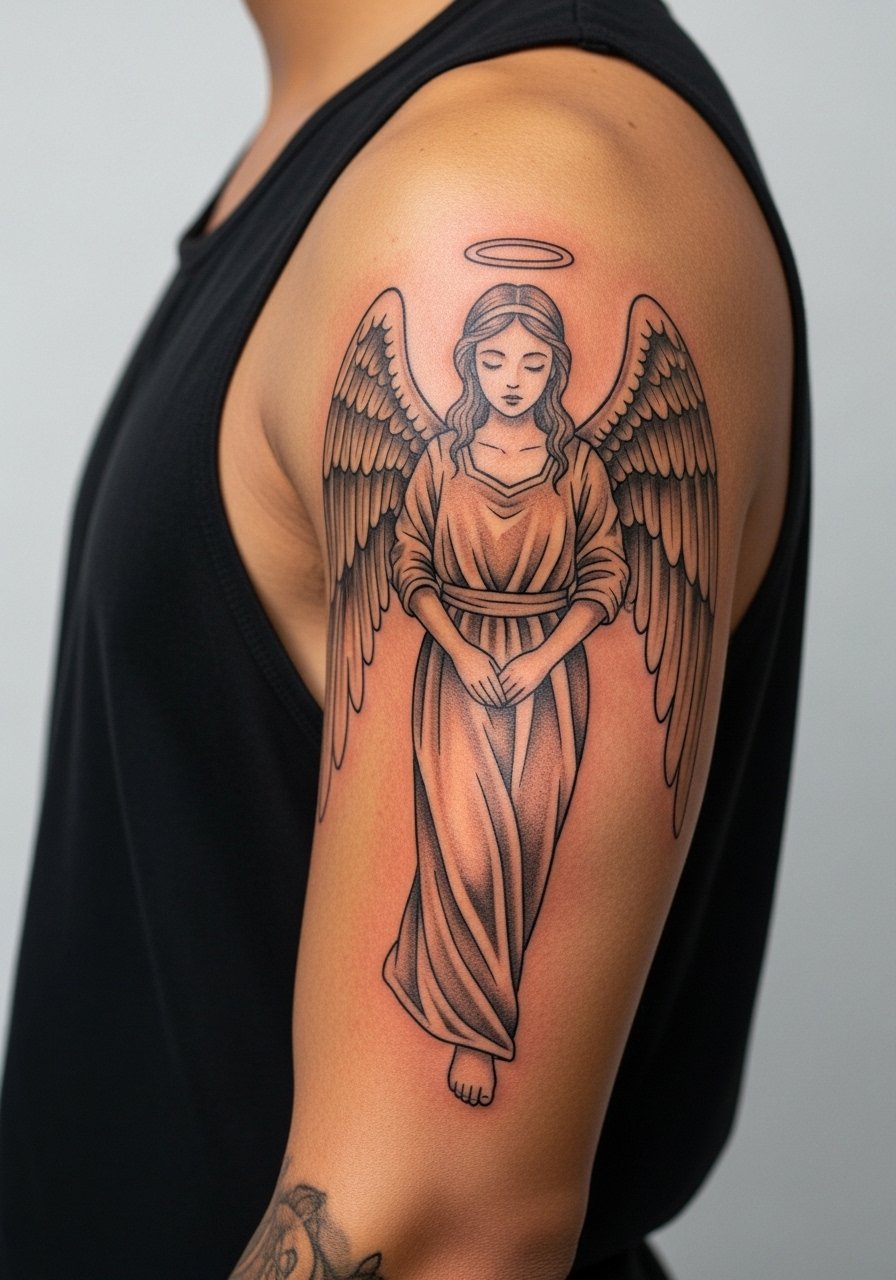
19. Arm Sleeve Fragment with Angel Motifs for Future Expansion
Consultation lead: when planning a sleeve fragment, think modular. Place a guardian angel panel where future fills can flow into feather or floral elements. The common mistake is locking in a style that cannot be blended later. Discuss needle weight and shading approach so future artists can match saturation and texture. Sessions are medium in pain and require periodic touch-ups to keep saturation even across panels. Wear a muscle tank top for easy arm access on session day.
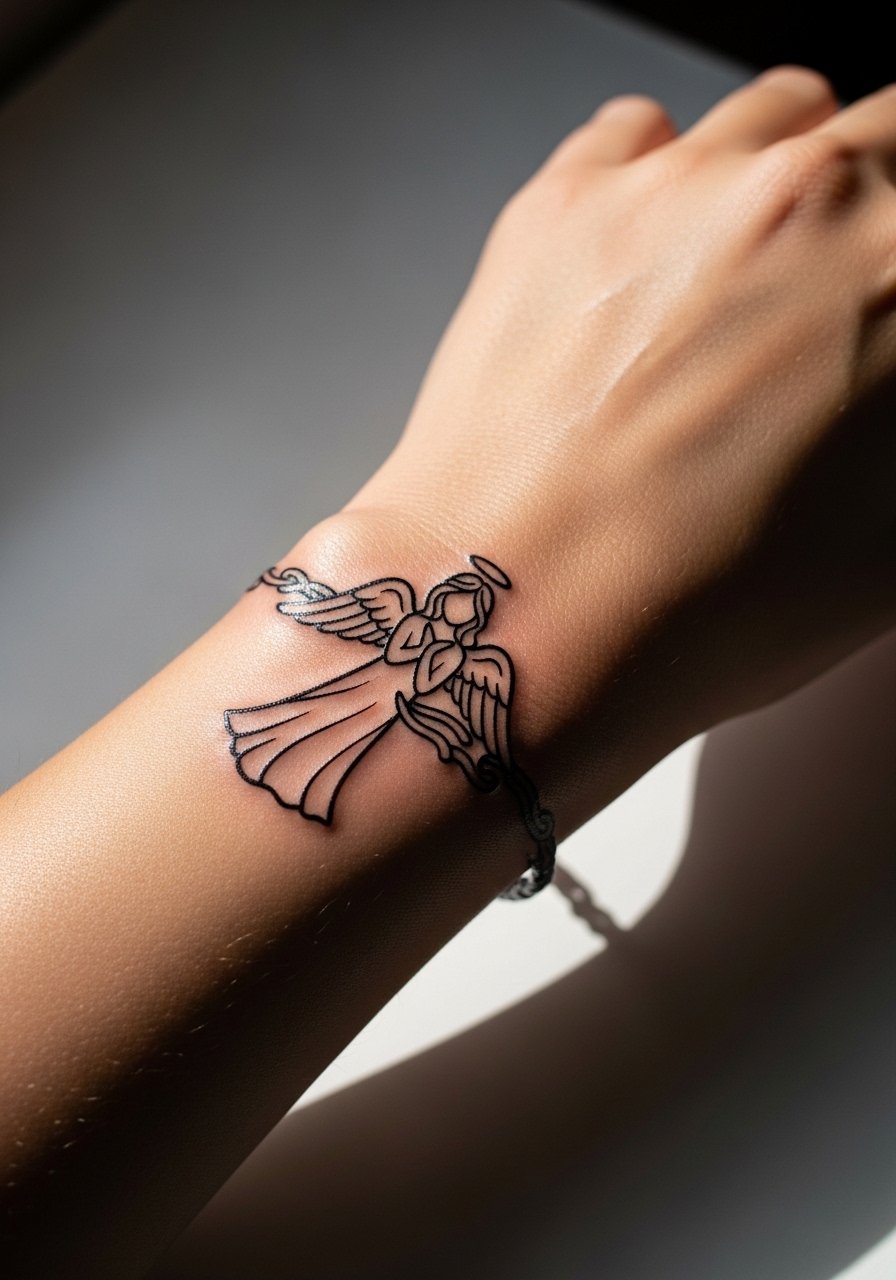
20. Wrist Bracelet Angel for Jewelry-Style Placement
Aging lead: wrist bracelets that wrap into an angel motif need breathing room between elements because the wrist flexes constantly. Ask for slightly heavier anchors where the band meets the angel so that as skin moves the focal point remains readable. The usual mistake is cramming too many tiny stars or script into a narrow band. Wrist pain is moderate and thin protective film in week one helps prevent rubbing. Pair with a thin gold bangle set for a jewelry look that complements the tattoo.
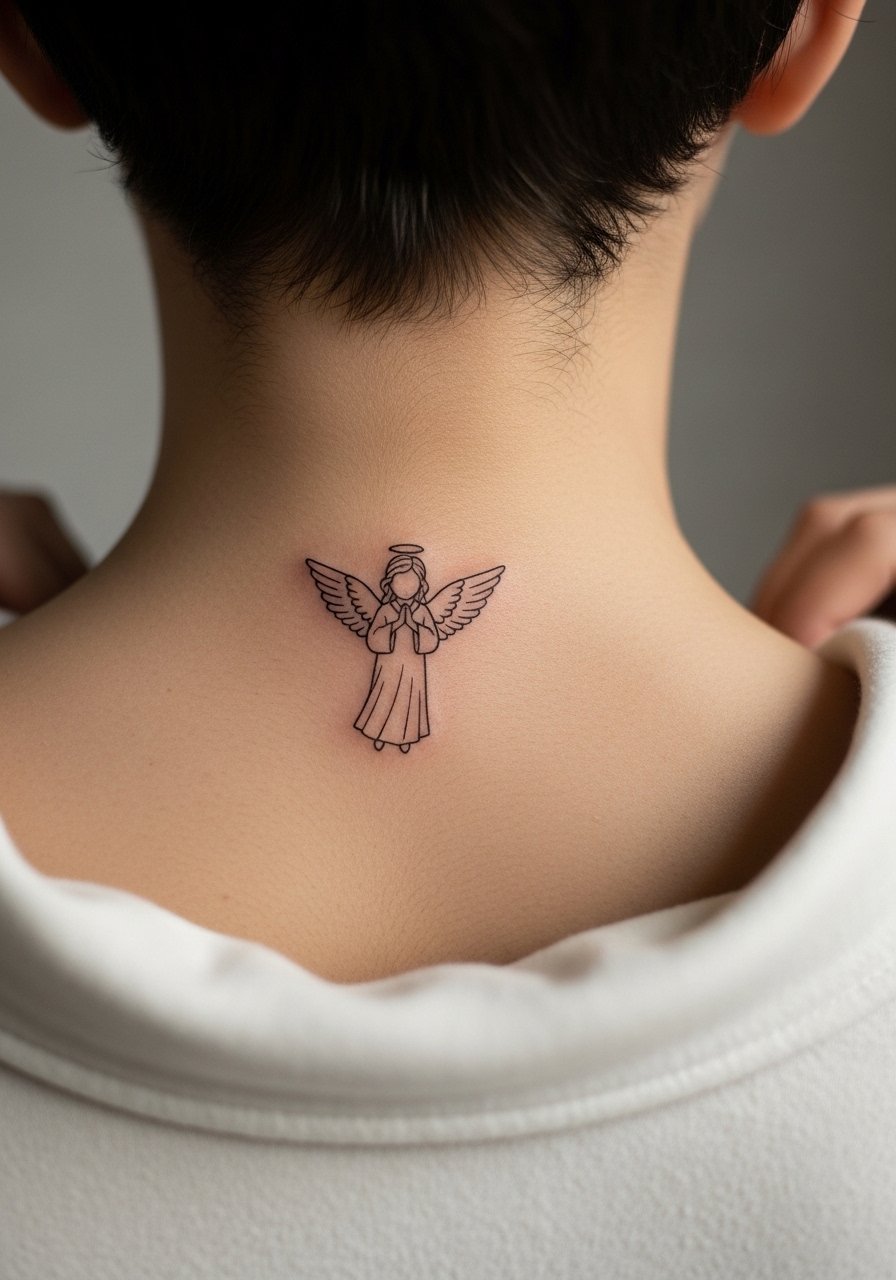
21. Small Back-of-Neck Angel for Concealable Visibility
Decision-pressure lead: back-of-neck pieces are visible with hair up and concealable otherwise, which makes them a flexible choice. If you choose this spot, request a slightly stronger outer line and lighter interior shading to help the motif endure hair friction and sun. Artists split on how fine line holds here. One group prefers bolder anchors for longevity. The other group still does fine line but with greater spacing. Ask your artist which technique they recommend. Wear a wide-neck shirt on session day so the collar can be moved without stretching the skin.
Frequently Asked Questions
Q: How much does a guardian angel tattoo cost for different sizes and styles?
A: Costs vary by size and style, but a general range is small fine line pieces around $100-$300, medium black and gray or aesthetic blackwork around $300-$900, and large realism or detailed back pieces from $1,000 and up. Complex color realism usually sits in the higher end and often needs multiple sessions.
Q: Will color show up well on darker skin tones for a watercolor angel?
A: Color can read differently on darker skin, and muted washes or strong black anchors often give the best longevity. If you want color, ask the artist about contrast strategies like using black outlines or saturated accents so the washes still read over time.
Q: Do fine line halos on the neck blur faster than neo-traditional wings?
A: Artists are split on this. One camp says fine line on the neck loses crispness sooner because the skin moves and stretches. The other camp says proper depth and spacing lets fine line settle well. This depends on the artist's experience with neck placements, so discuss touch-up expectations during the consult.
Q: How should I dress to a session for a thigh or ribcage piece?
A: For thigh work wear loose shorts or a skirt you can shift; for ribcage pick a cropped top or a shirt you can lift without tugging. Bring easy-to-remove layers so the artist can keep the area clean and you stay comfortable through long sittings. A loose drawstring linen pant is a good travel item for lower body sessions.
Q: How visible will aging be on illustrative wings versus neo-traditional wings?
A: Illustrative black and gray wings with careful spacing and stipple shading tend to soften gracefully, while neo-traditional wings with heavy color read boldly at first and may need color refreshes by year three to five depending on sun exposure. Plan touch-ups into your long-term care if you pick heavy color.
Q: What should a first-timer ask an artist when booking a guardian angel piece?
A: Ask about their portfolio for the specific placement and style, how they handle spacing for longevity, expected session count, realistic touch-up timelines, and whether they have experience with your skin tone. If you want fine line on a tricky area, ask them which technique they prefer and why.
Q: Can I test a design before committing to permanent ink?
A: Yes. Temporary transfers or short-term henna-style previews let you wear scale and placement for a few days to see how it sits with clothing and movement. That step helps avoid regret if you later feel the piece is too religious or too visible for your daily life.
