
Fine line flower tattoos are everywhere on saved boards and in studio portfolios, and the truth is they look incredible fresh but they do not all age the same. Placement, skin type, and spacing decide whether a bloom still reads clearly at year three. Below are 27 focused references that show how to ask for delicate floral linework that holds up, and what to say in the consultation.
1. Single Stem Rose on the Inner Wrist
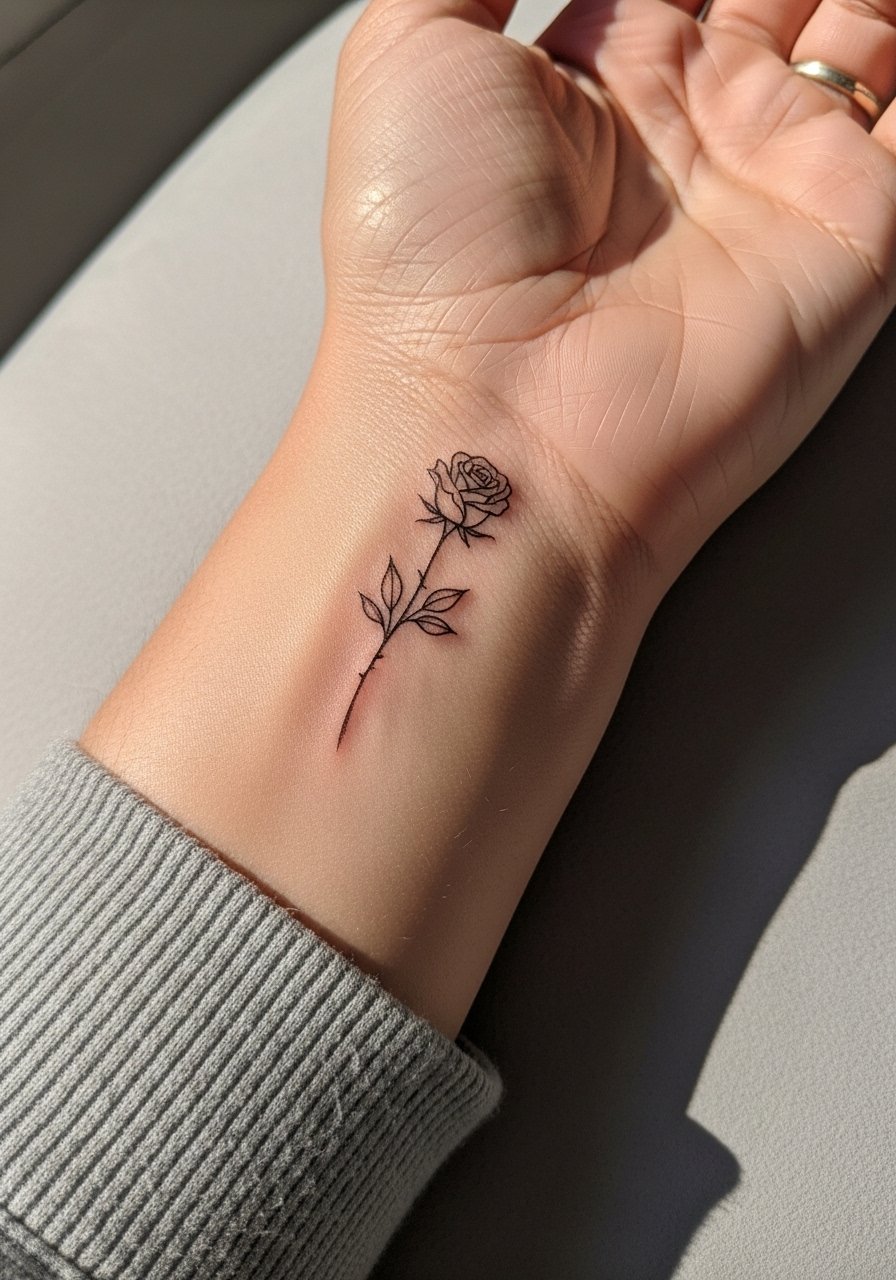
I recommend a single stem rose on the inner wrist when you want a simple motif that still reads from close range. Tell your artist you want slightly open spacing between petals and a 0.5 to 1 mm line weight so the petals do not merge over time. Fair warning, the wrist sees a lot of movement and friction from watches and sleeves, so expect a touch-up around year two to three. For showing it off, pair the piece with a stacked dainty bracelet, which keeps attention on the wrist without crowding the linework.
2. Trailing Vine That Wraps the Forearm
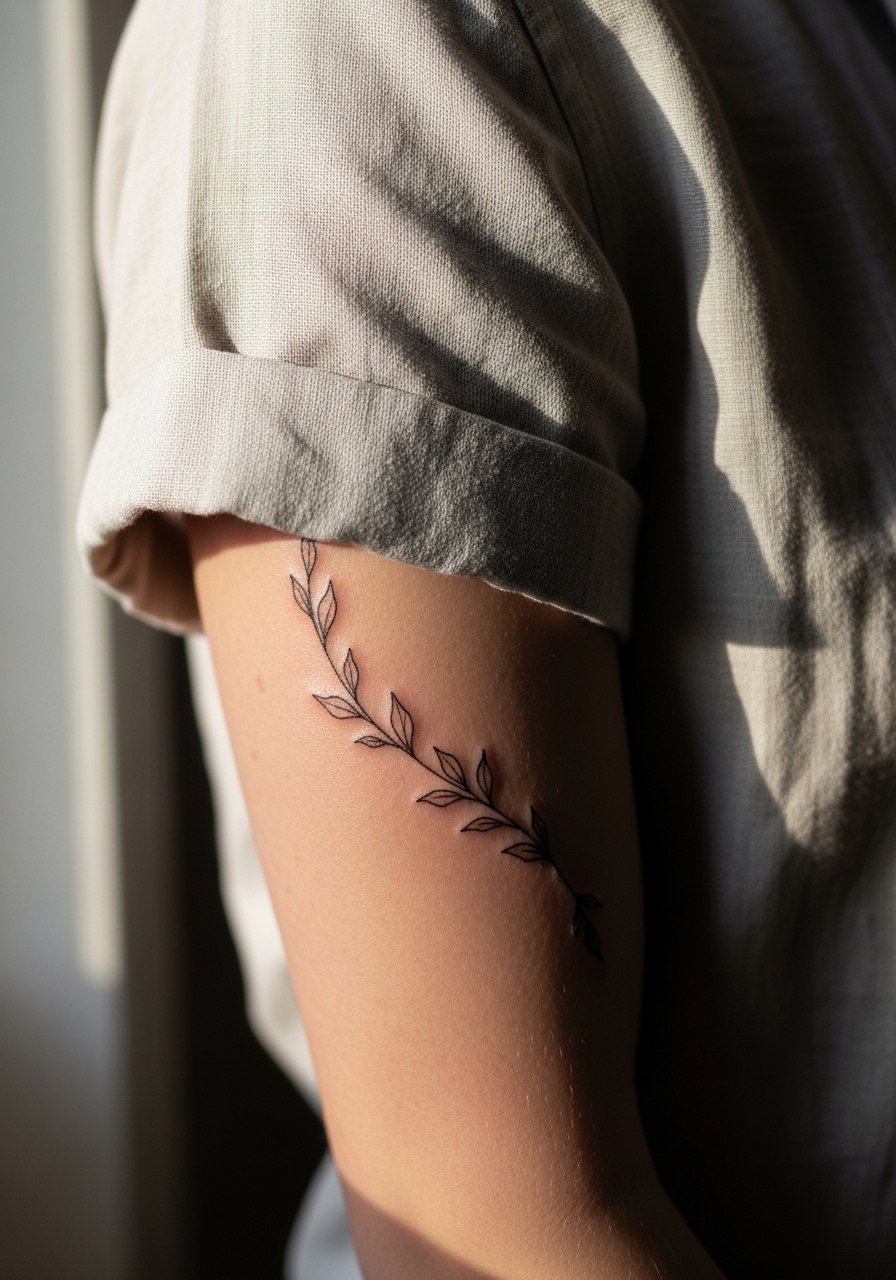
I've seen this style work best when the vine has built-in breathing room, not a continuous crowd of tiny leaves. Request a composed flow that follows your forearm's natural curve and ask the artist to map the vine on your arm before inking. The forearm is lower risk for blowout than hands, but small dense leaves can blur at year five. During the appointment wear a loose button-down shirt you can roll up so the artist has clean access while keeping the rest of you covered.
3. Micro Daisy Cluster Near the Ankle
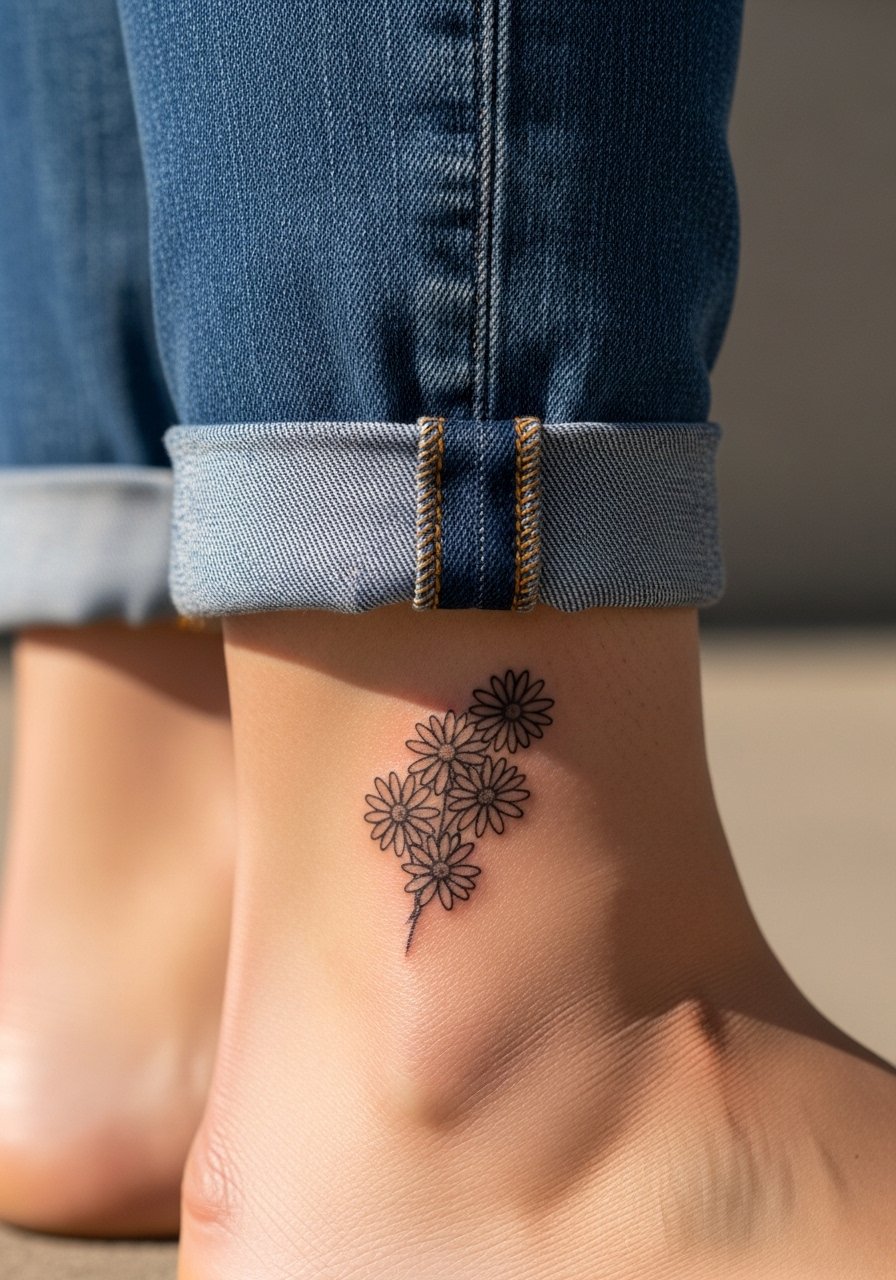
Ankle linework reads well if you avoid overly dense clusters. The mistake I see is requesting a thicket of petals at ankle scale. Ask for negative space between blooms and a bit more line weight than the tiniest finger tattoos. The session feels short and sharp because the ankle has thin skin over bone, and you might need a touch-up in two to three years if your footwear rubs the area during healing. For evenings out, pair the piece with strappy sandals that show the ankle without rubbing the fresh ink.
4. Tiny Blossom Behind the Ear
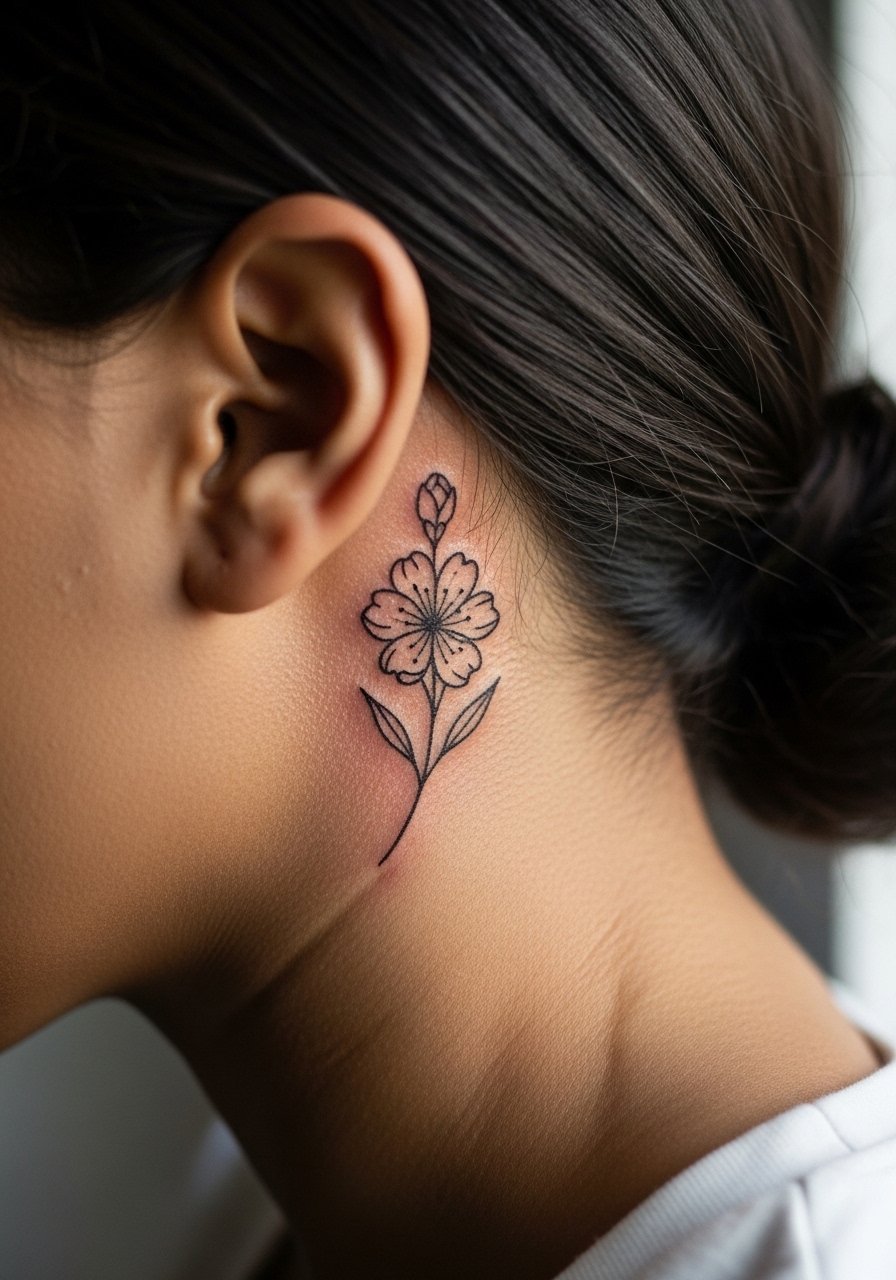
This is a discreet spot for a small floral accent, and it works when the design is shallow and spare. In consultation say you want minimal fill and thin stems so the ink sits lightly under the skin. Note that the behind-the-ear area is sensitive to scabbing, so the session is quick but the first week needs gentle care. For visibility without overexposure, style your hair with a thin chain pendant necklace and tuck a few strands back to show the bloom.
5. Single Stem on the Ribcage
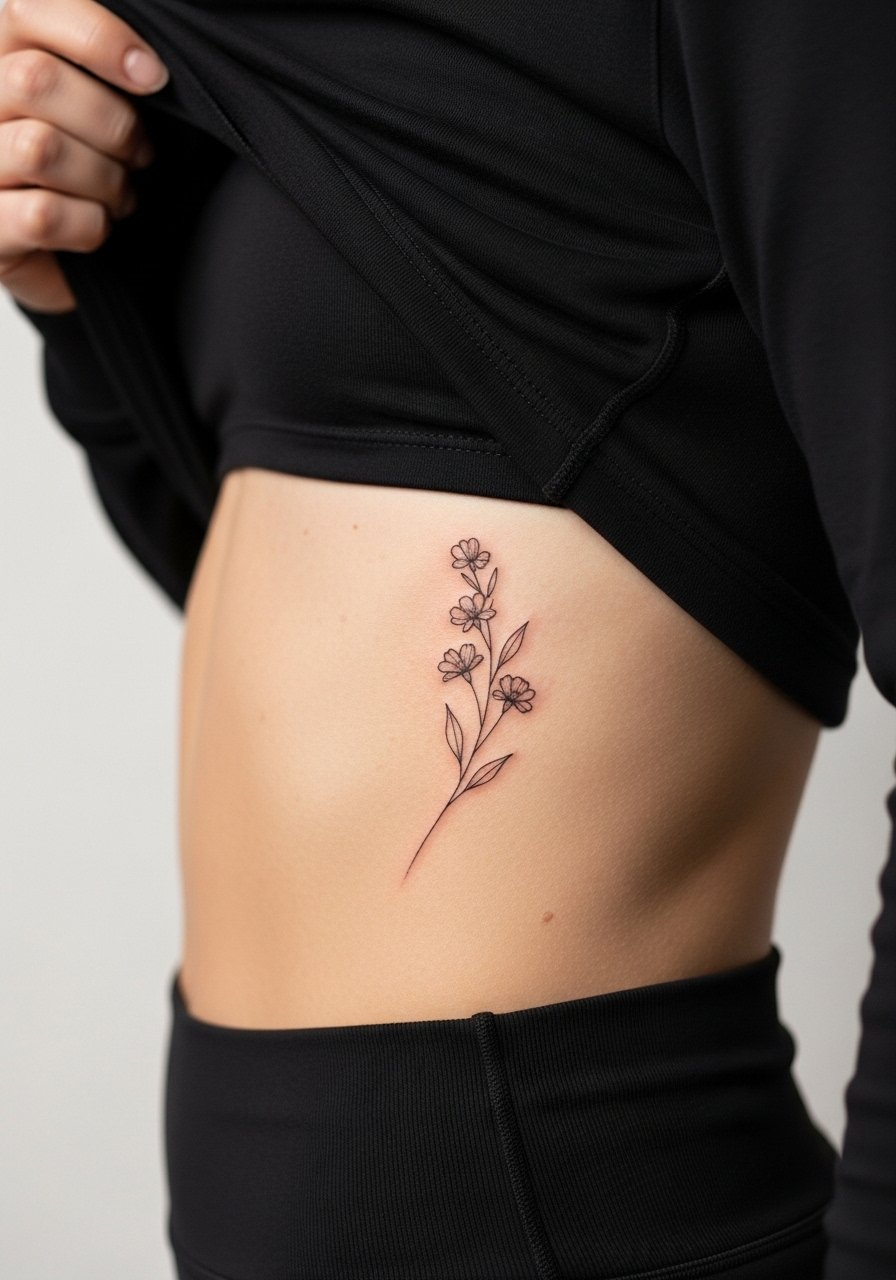
Artists split on fine line on ribs. One camp says the frequent stretch of the skin there blurs delicate lines within two years. The other camp argues that with slightly deeper placement and deliberate spacing it settles fine. Be explicit in consultation about how much movement your ribcage gets when you breathe, and expect a stronger sensation during the session because the ribs are a higher pain zone. If you choose this placement plan for a touch-up at the two year mark and wear a loose top the day of the session for comfort.
6. Sternum Floral Accent
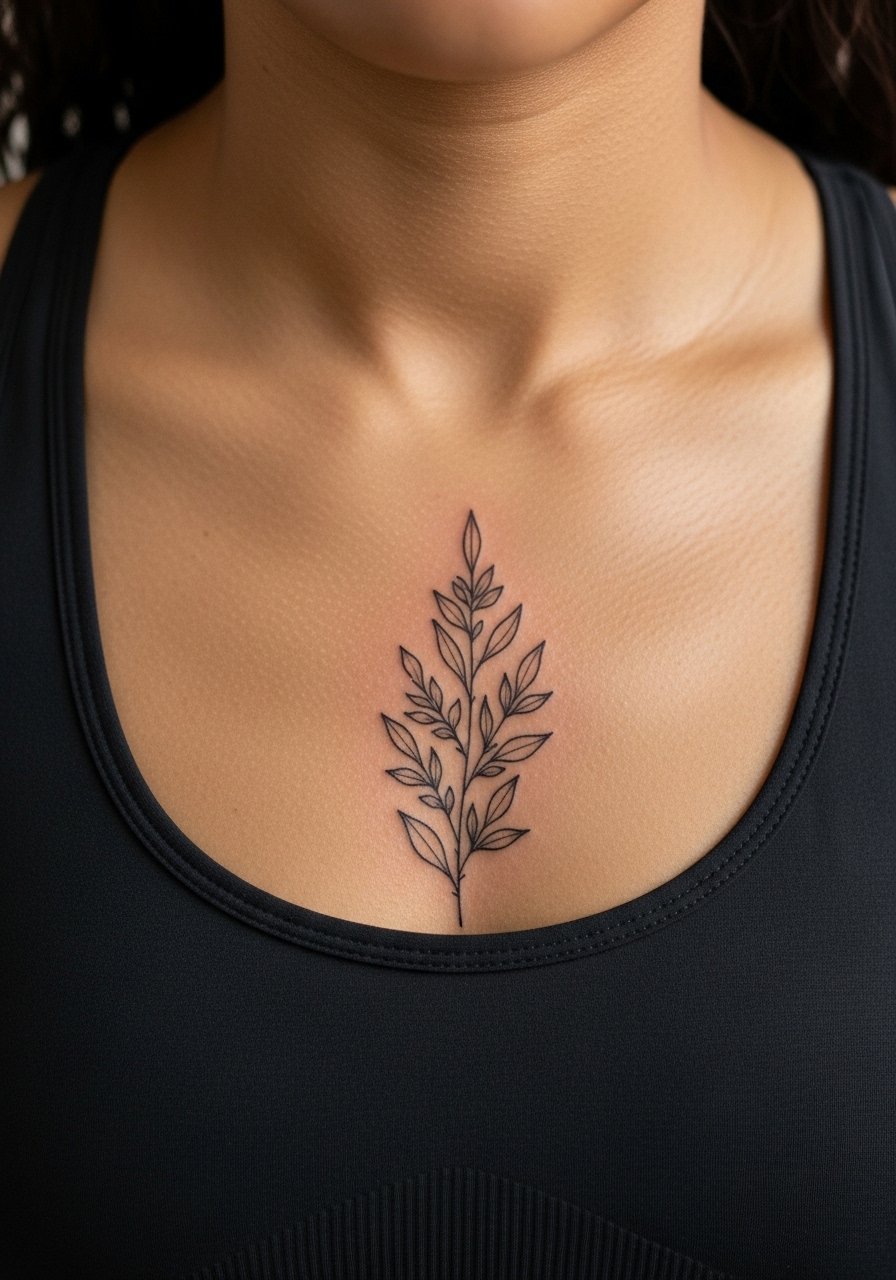
Sternum pieces read best when the composition complements the body center line. Ask for a mirrored or slightly asymmetrical layout based on your collarbone spacing. The sternum can be painful and the session may require short breaks, so prepare mentally for a longer single appointment. Expect that dense central shading will fade into a gray wash over time, so favor open linework. For the session wear a fitted sports bra you can easily adjust so the artist has clear access.
Studio Day Picks
Those first six references include wrist, forearm, ankle, behind-ear, ribcage, and sternum placements, and each asks for slightly different prep and first-week care.
- Stencil transfer paper kit. Lets you preview the linework on skin before committing, especially helpful for the wrist and sternum mappings above.
- Topical numbing cream. Applied 45 minutes before reduces the sharp edge during areas like ribs and sternum without affecting the overall session flow.
- Thin protective film roll. Keeps ankle and finger tattoos clean during the first week when friction and water exposure are highest.
- Fragrance-free gentle body wash. Mild cleansers are kinder to fine line areas as they scab and heal.
- Aquaphor healing ointment. A thin layer in the first days helps retain moisture for delicate linework without over-occluding.
7. Tiny Wildflower Ring Around a Finger
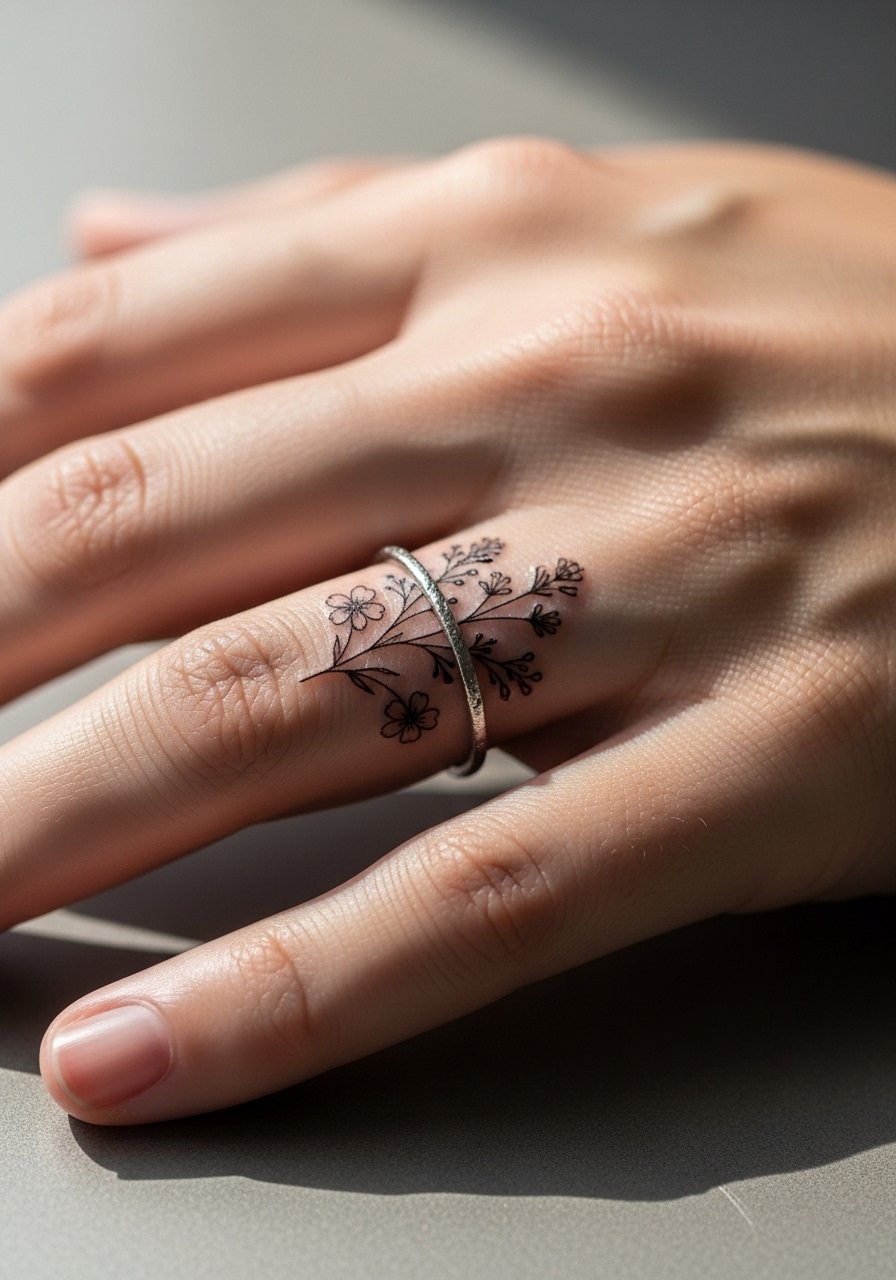
Finger rings are visible and take a lot of washing and friction. The common mistake is asking for ultra-thin stems around the entire circumference. I advise a spaced band with small breaks so the ink has room to breathe. Expect faster fading and frequent touch-ups because finger tattoos sit in shallow skin and see constant movement. For the session keep your hand relaxed and consider wearing a thin stacking ring set after healing to decorate without rubbing the new ink.
8. Shoulder Cap Bouquet
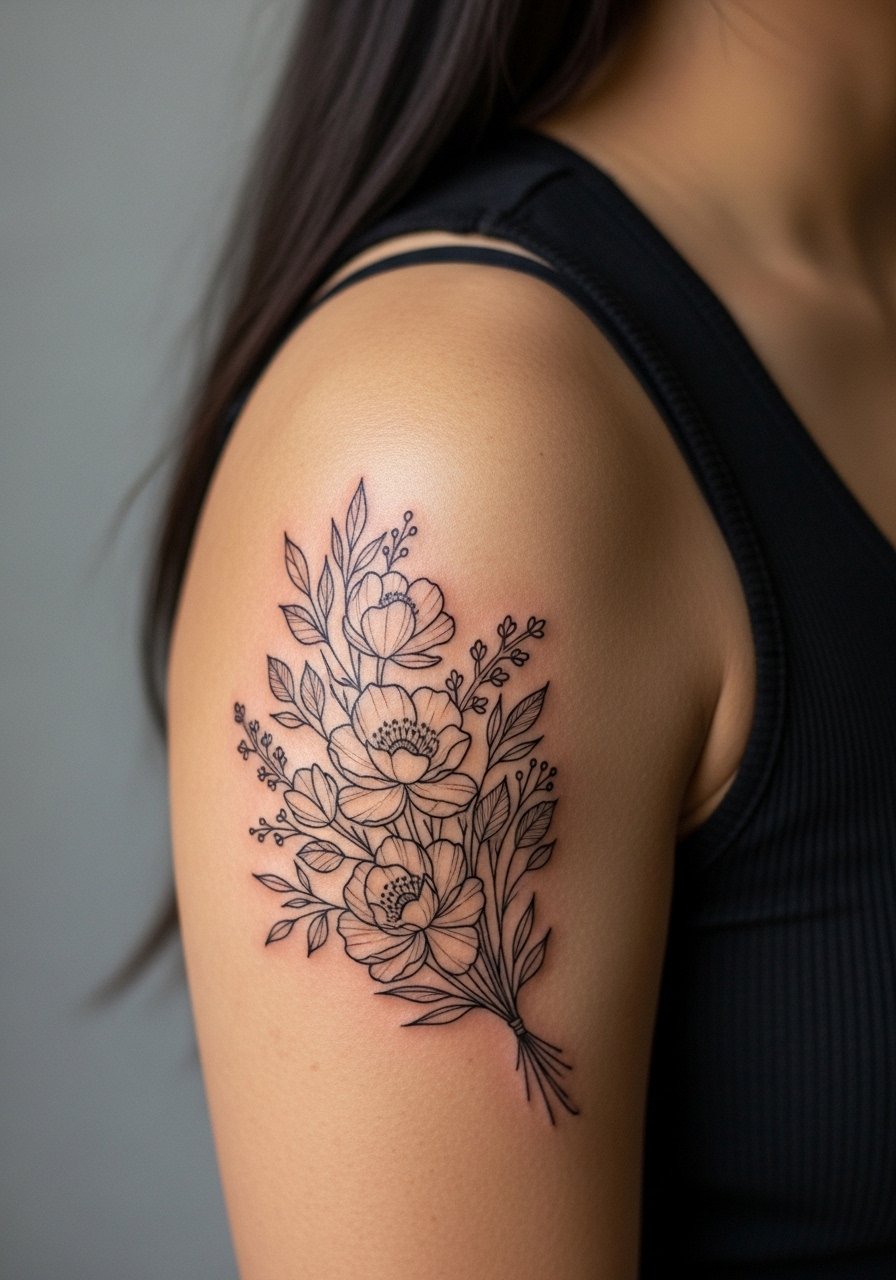
A shoulder cap bouquet gives you room for varied flowers and keeps detail safe from skin stretch. When booking, bring references showing overall shape instead of individual tiny petals. The shoulder tolerates slightly denser work, but heavy stipple shading can compact into a soft gray over several years. The session feels moderate and you can break it into two sittings if you want color later. For the appointment wear a loose tank top that the artist can slide aside without you feeling exposed.
9. Single Line Poppy on the Upper Arm
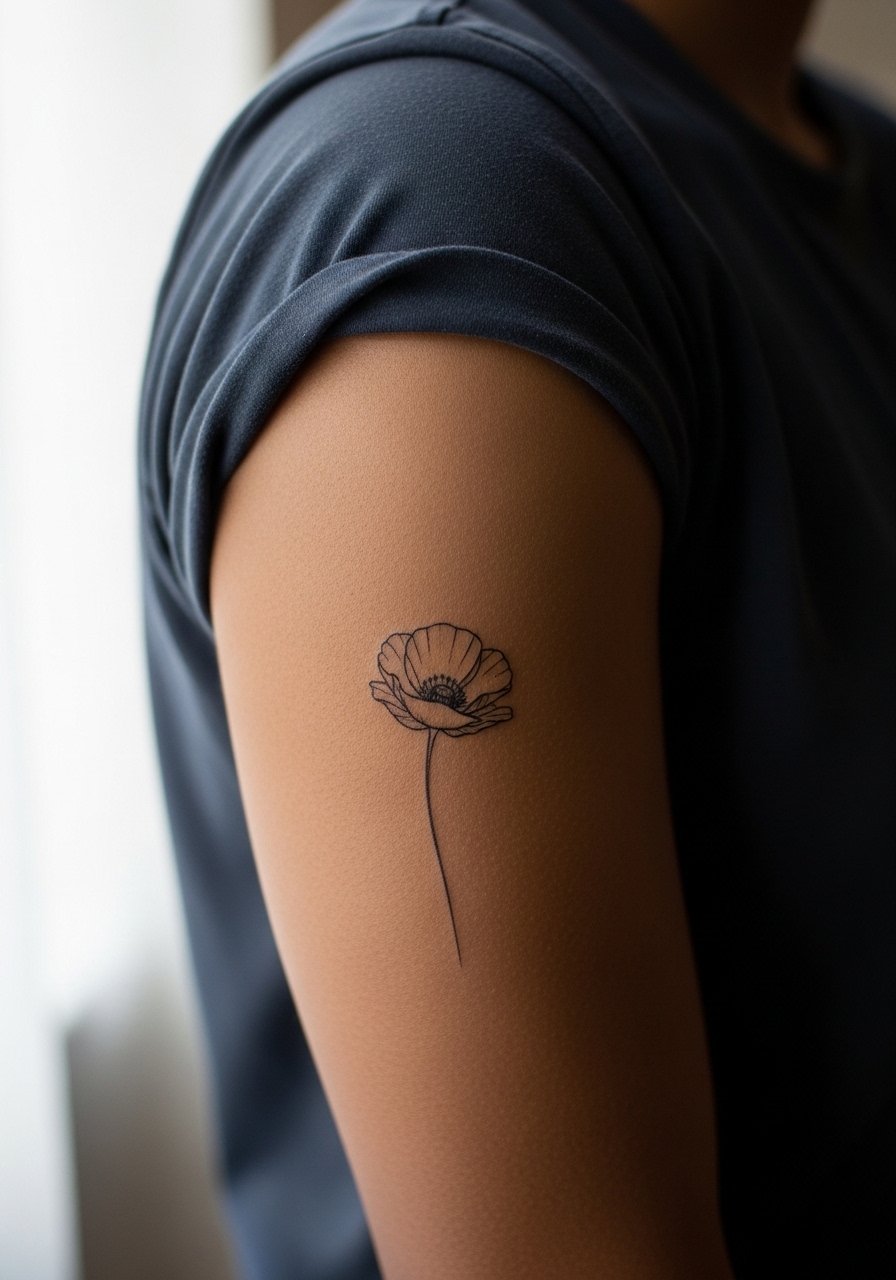
Upper arm placements are forgiving of fine line details because the skin there ages more slowly than hands or calves. Ask for a slightly bolder outline on a poppy so the interior lines do not disappear with time. A common mistake is packing micro shading into the center of the petal which blurs into a flat tone. Expect low maintenance and a single session for a small piece. Pair this with a loose button-down shirt with sleeves rolled for casual shows without overexposing the shoulder.
10. Delicate Floral Collarbone Accent
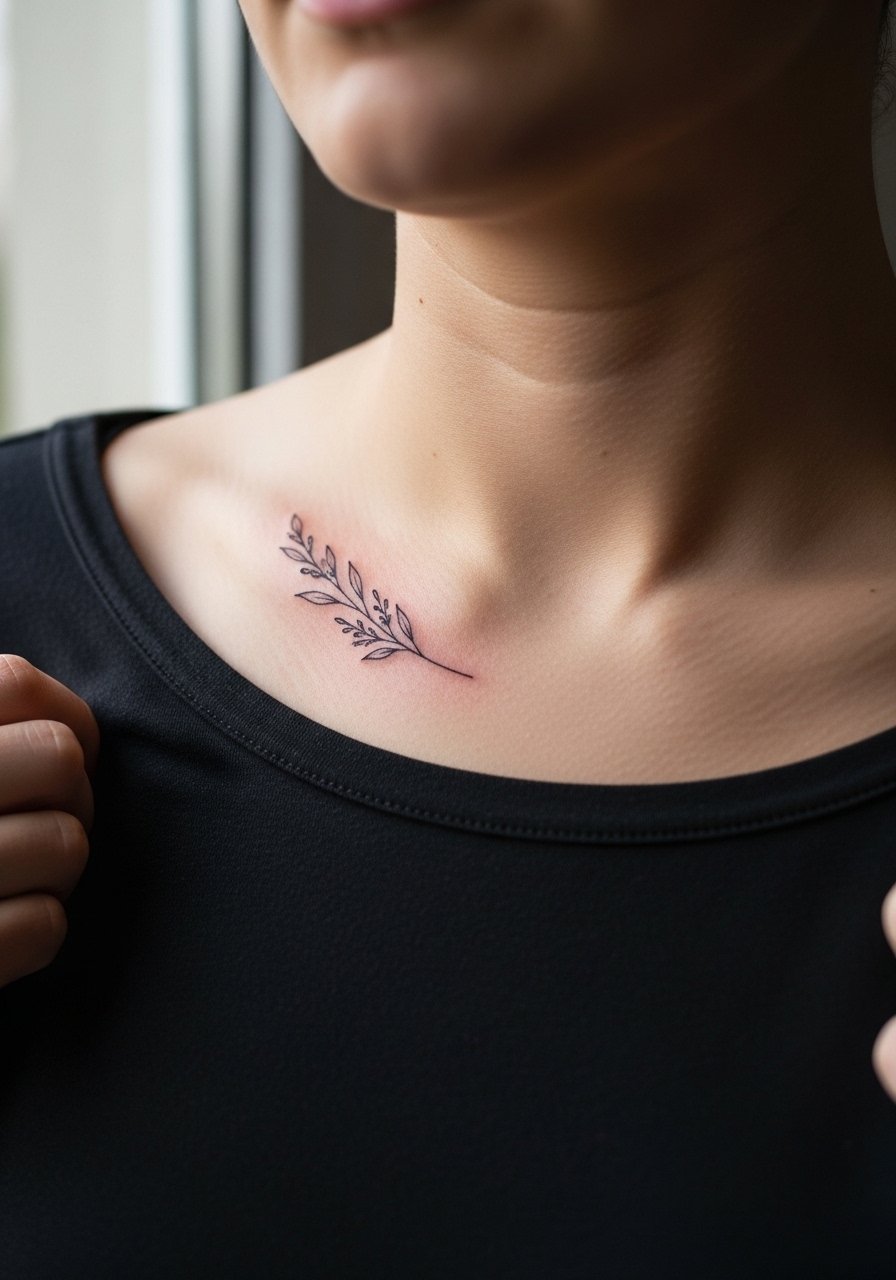
Collarbone florals sit on a plane that moves a lot with posture, so give the artist multiple reference photos of your neckline in different positions. The error I see is requesting extremely tight clusters that follow the bone too closely. Instead choose a light touch and ask for slightly longer stems to follow your collarbone. The skin here can cause crisp lines to soften after several years, so spacing matters. For evening wear try an open-back midi dress if you want to reveal the piece without tugging at fabric.
11. Small Botanical Inner Bicep
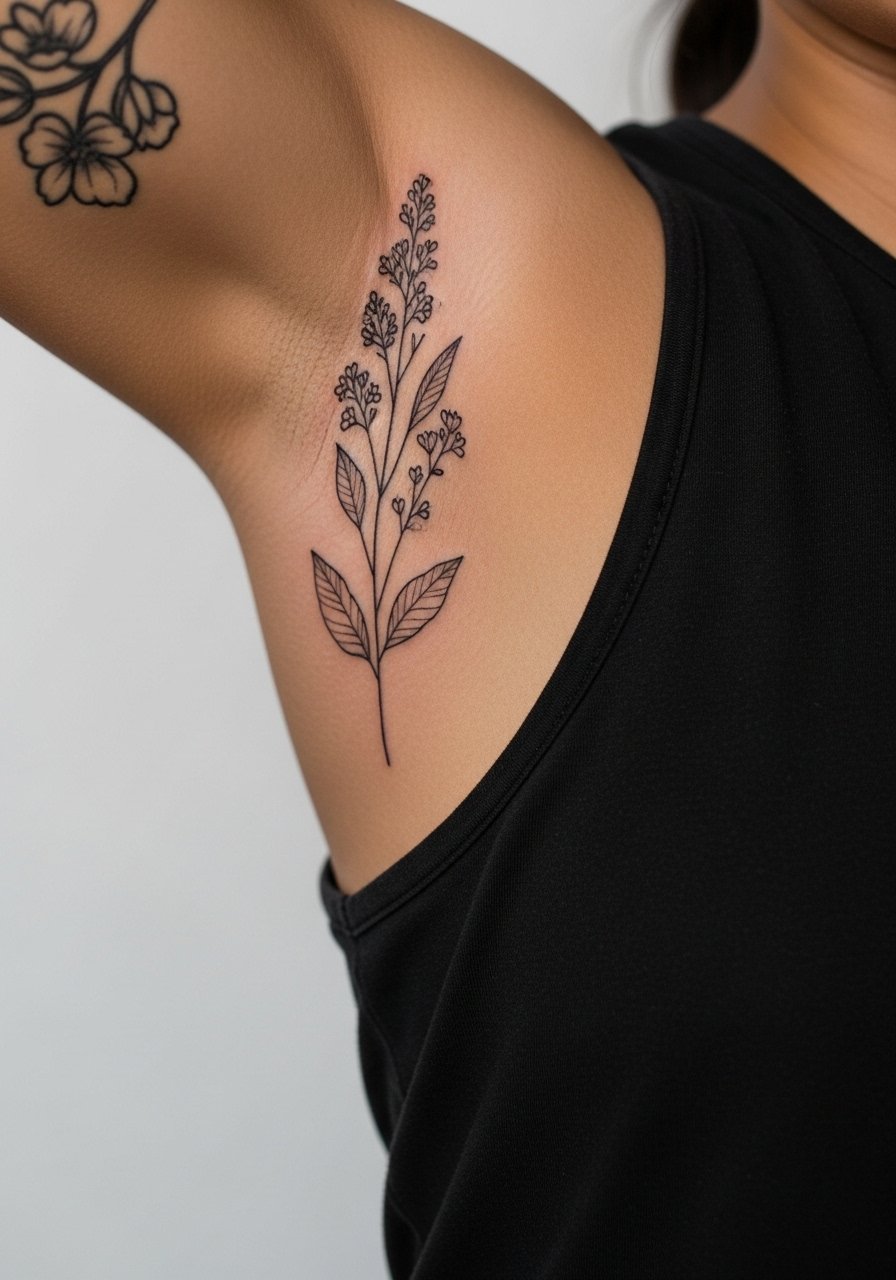
The inner bicep yields soft, private linework that looks delicate up close. Fair warning, this area can bruise and the session is tender due to softer tissue. Ask for slightly thicker stems than finger work and avoid tight stippling near the center. The piece looks great at year one and often needs minimal touch-up if you avoid sun and friction. For the session wear a loose tank top you can lift so the artist has clear access without rubbing your skin.
12. Calf Floral Sprig Cluster
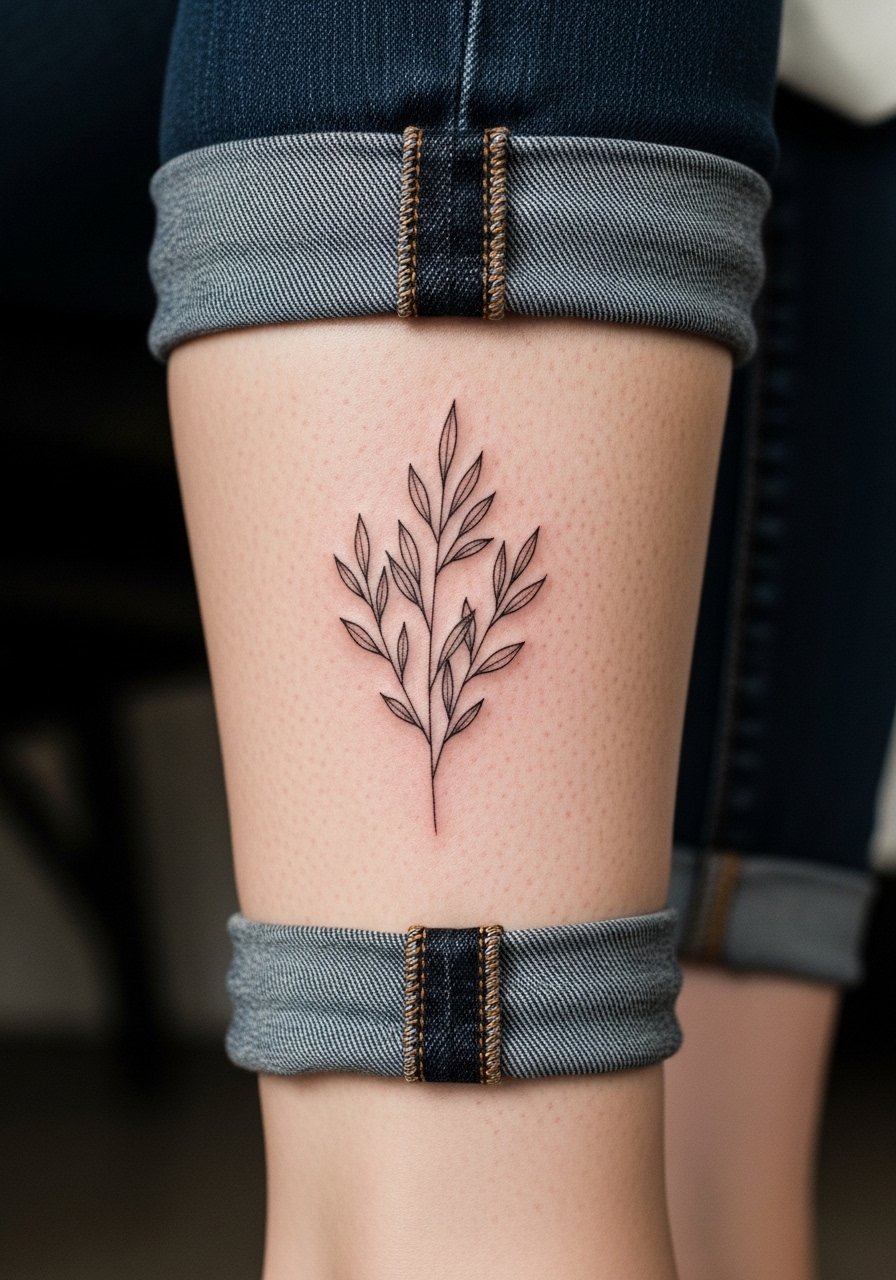
Calf pieces are reliable for slightly larger fine line groups because the canvas is broad and less likely to experience friction from daily wear. Ask for a composition that follows muscle curves and avoids tiny internal detail that will blur after heavy training or running. The session is usually comfortable and you can stand or recline. For showing it off with summer outfits, choose a loose drawstring linen pant so you can roll the leg for visibility without strain.
13. Micro-Realism Single Bloom on the Thigh
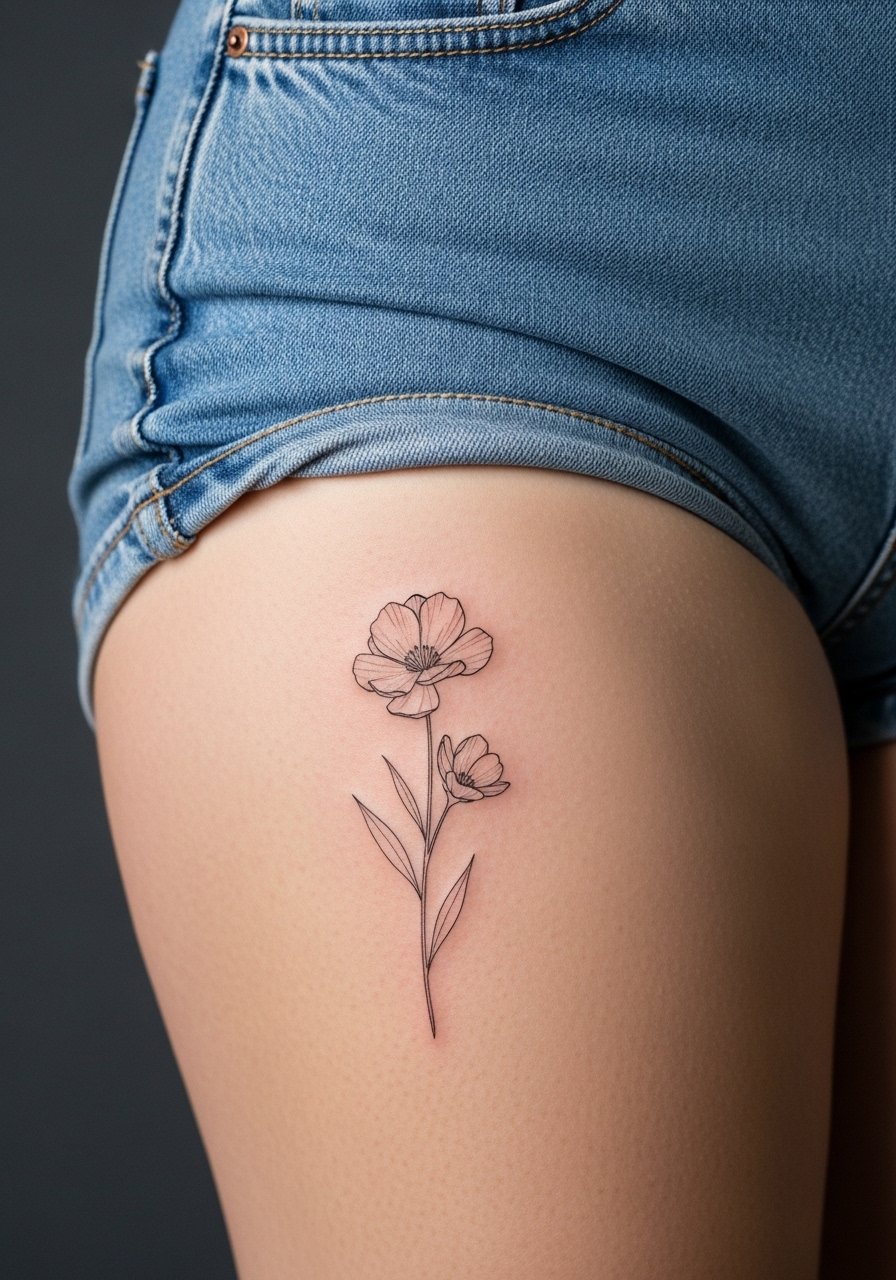
Thigh placements allow for micro-realism with subtle shading, but the mistake is asking for extremely fine stippling without contrast. Tell the artist you want a slightly stronger focal line and softer supporting dots so the shape holds as the skin moves. The thigh typically ages well, however fluctuation in weight can change the design over time. For the session wear high-waisted denim or loose shorts so the artist can access the area while you remain comfortable.
14. Tiny Floral Cluster Near the Ankle Bone
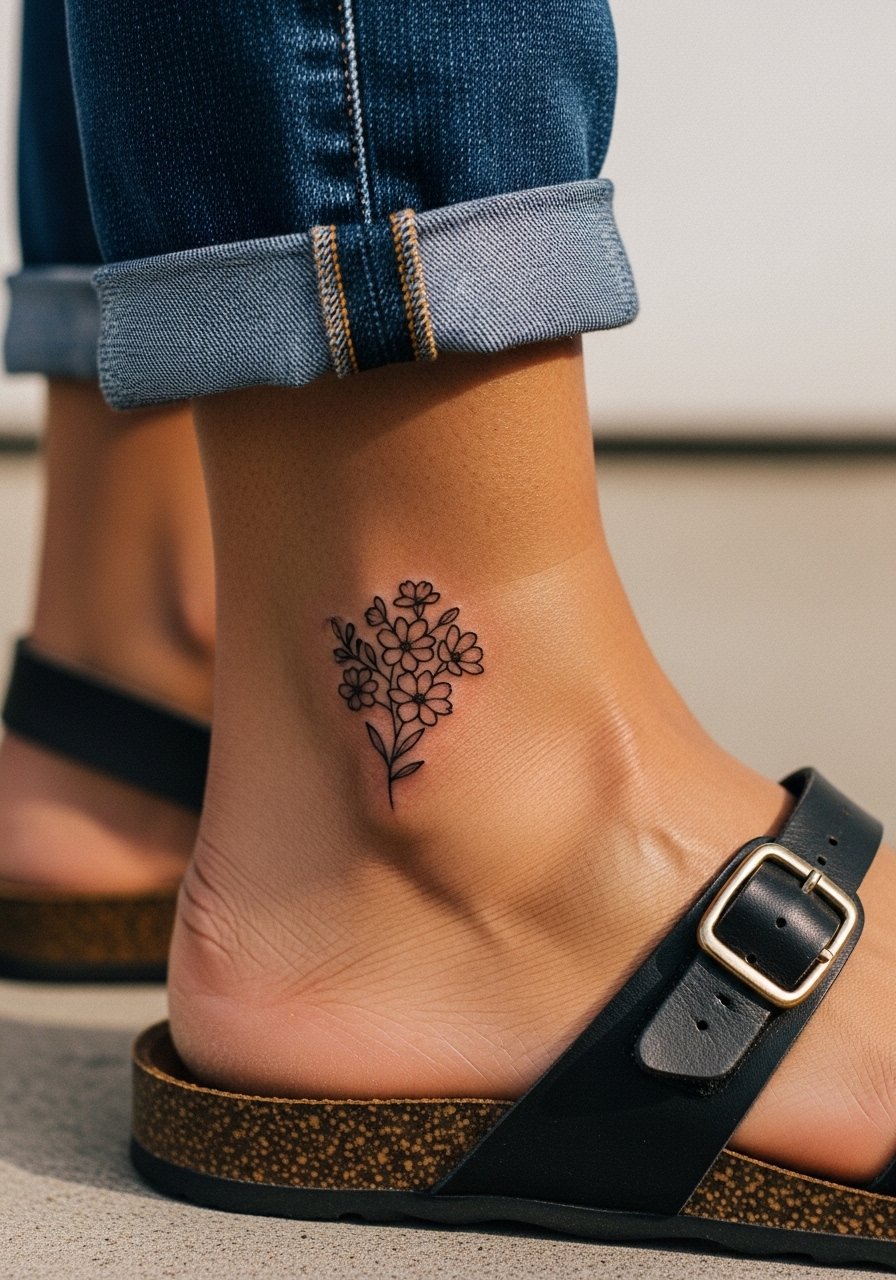
Placement just above the ankle saves the design from shoe rubbing that causes early fading. A mistake is letting the cluster wrap under the foot or into the shoe zone. Ask for placement that sits clear of common friction points. Expect a small session and possibly a touch-up if you spend a lot of time hiking or wearing ankle boots. Pair this with sandals that show the ankle so the piece gets attention without suffering from constant rubbing.
15. Single Bloom Behind the Collar of a Shirt
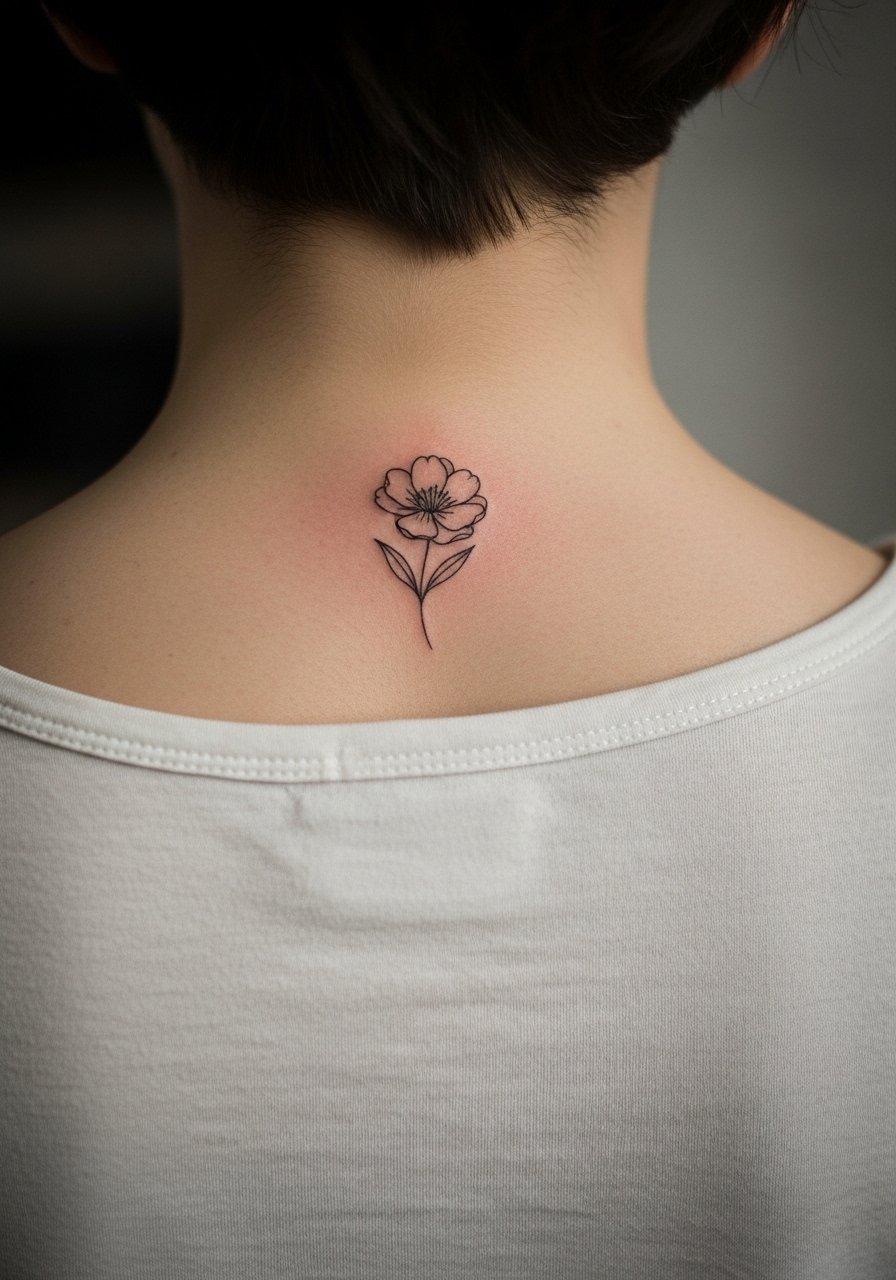
Upper back blooms are pleasant because they stay protected from the sun when covered and can be framed by certain clothing. Ask for a design with a clear center point and stems that taper so the silhouette reads when clothed. The session is moderate and you can plan a second short appointment for small touch-ups if needed. For easy reveal try an open-back midi dress or a wide-neck top that you can adjust to show the piece without full exposure.
16. Minimalist Line Sunflower on the Wrist Side
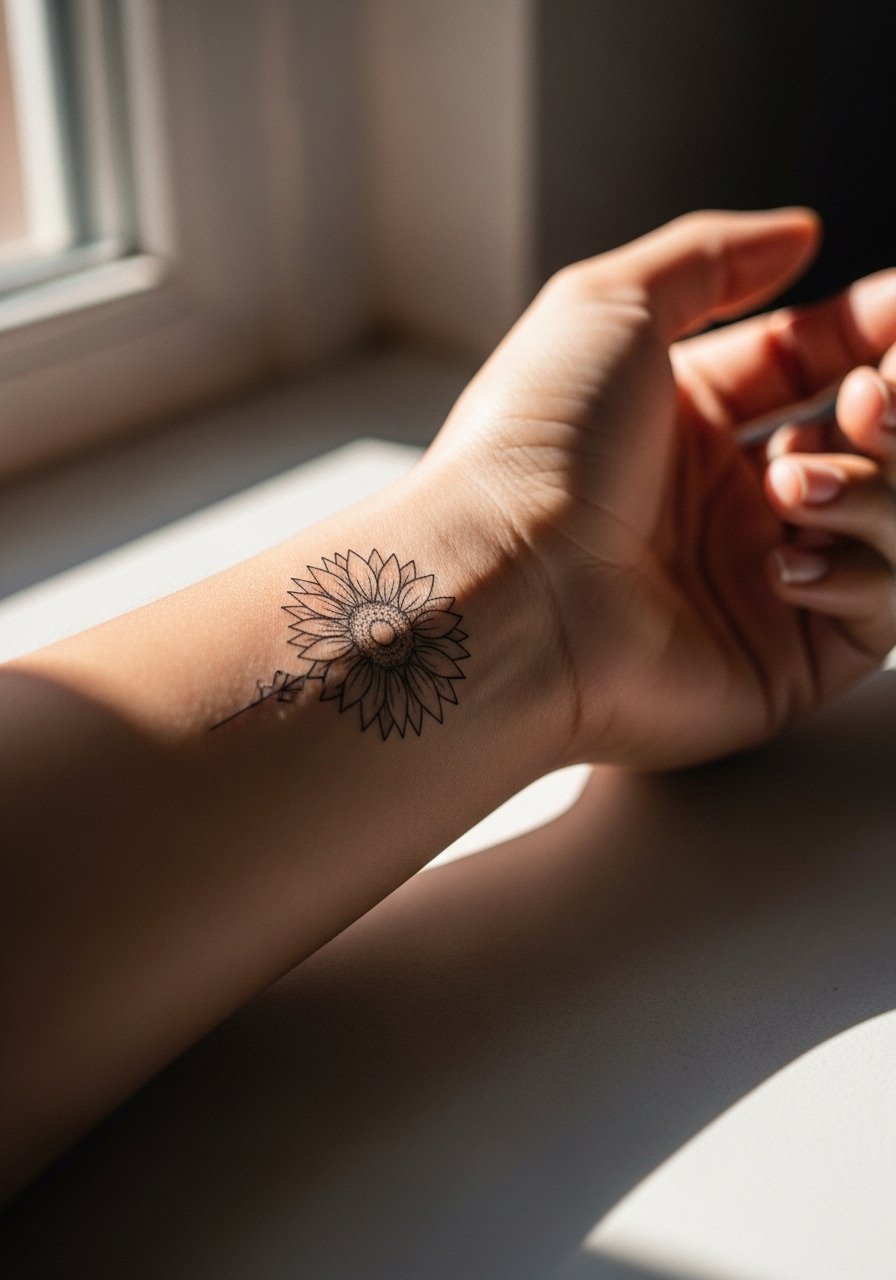
Side wrist placements look great when the sunflower is slightly simplified. The common error is asking for too much internal texture which can become indistinct after a year or two. Tell your artist you prefer a clear petal silhouette and modest center detailing. Expect gentle sensitivity during the session and a likely touch-up window at year two. A thin chain bracelet complements the sunflower without covering the linework.
17. Clustered Tiny Blossoms Along the Spine
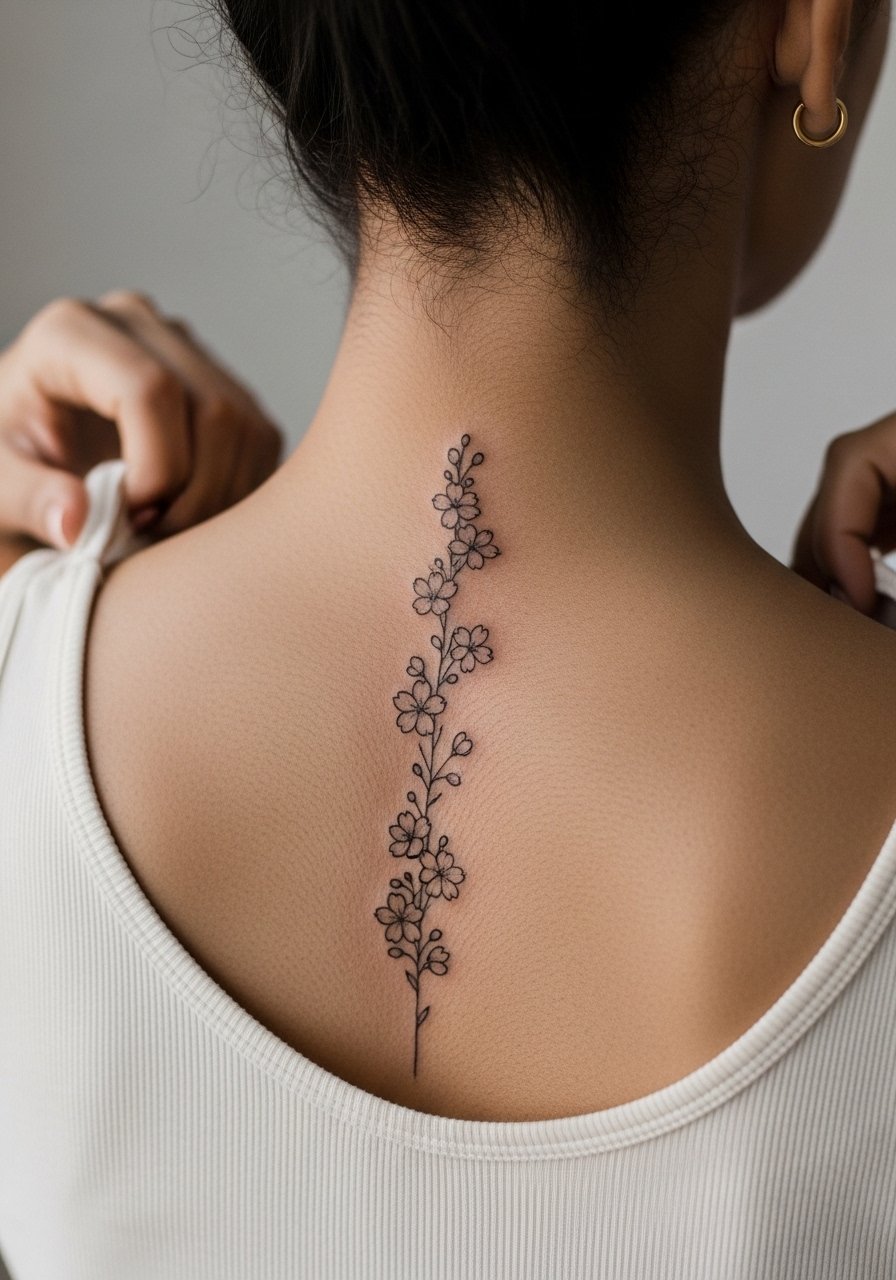
Spine work looks striking when the composition respects vertebral spacing. The mistake is stacking identical blooms with no flow. Ask the artist to stagger sizes and tilts so the cluster travels naturally along your spine. The session can be uncomfortable because the bone is close to the skin, so expect short breaks. For nights when you want to show the line consider an open-back top that frames the vertical composition without irritating the healed lines.
18. Small Lotus at the Base of the Neck
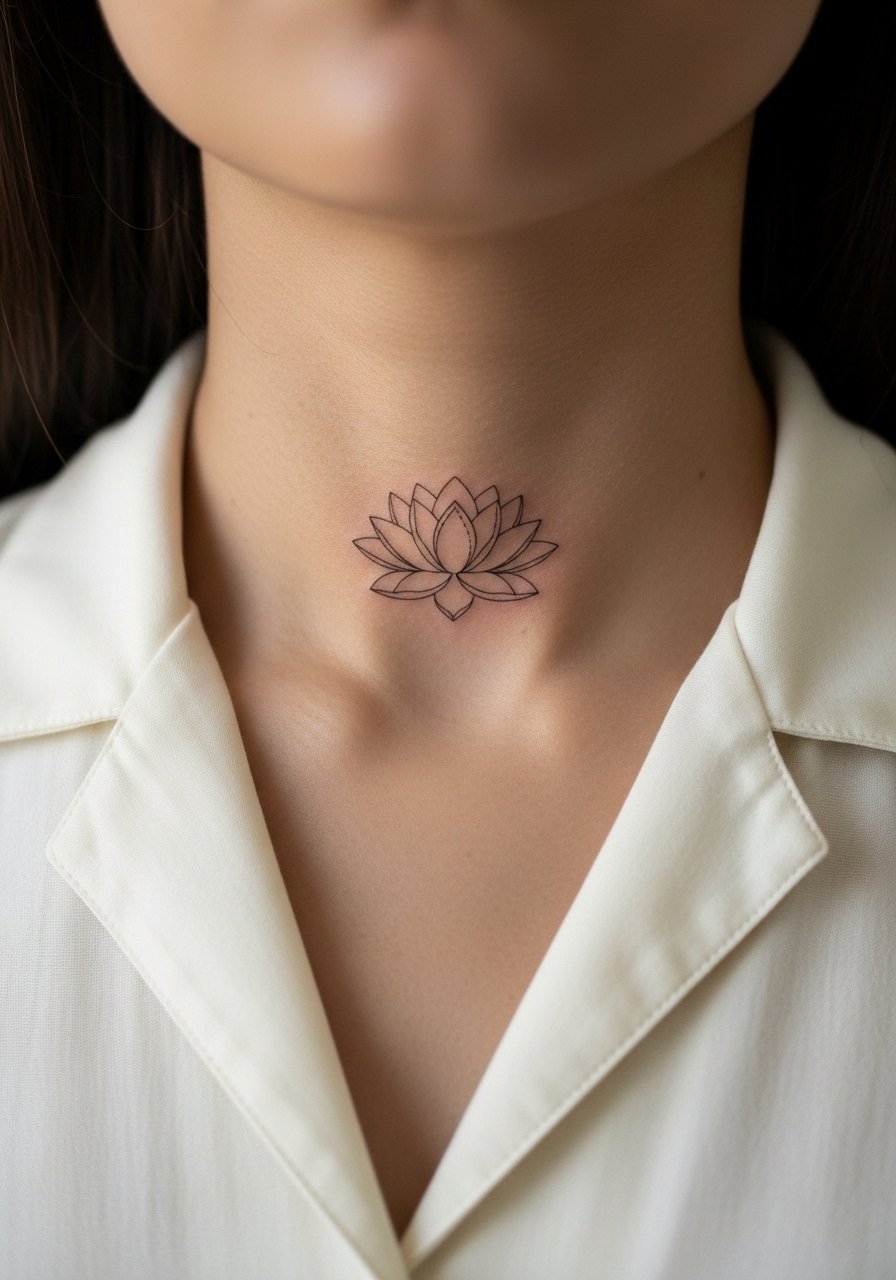
Neck placements are visible and often polarizing because of social and career perceptions. If you choose this spot be clear about scale and placement so the lotus does not feel cramped. The skin here can cause thin lines to soften, so ask for balanced spacing and a bit more contrast in the center. Sessions are quick and sensitive. For a subtle reveal wear a thin chain pendant necklace that sits just above the lotus and draws the eye without covering it.
19. Petite Magnolia on the Hand
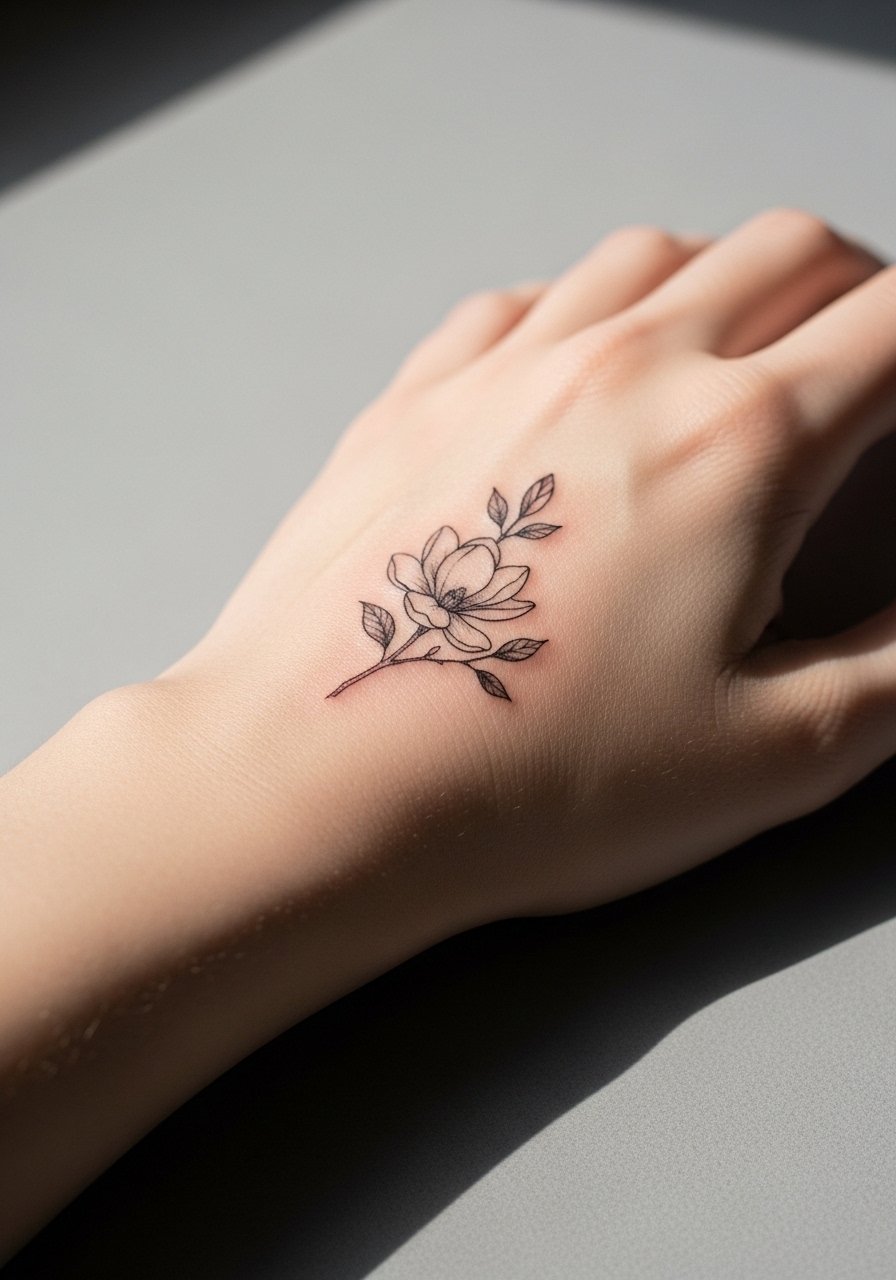
Hand tattoos age differently because of frequent washing and sun exposure. The controversy here is practical rather than artistic. Some recommend hand work only in bold black, while others will do fine line if you accept frequent touch-ups. If you want a hand magnolia, ask for slightly stronger stems and accept a higher maintenance schedule. For showing the piece once healed, choose a minimalist ring that frames the hand without rubbing the tattoo.
20. Botanical Ankle Band That Circles the Limb
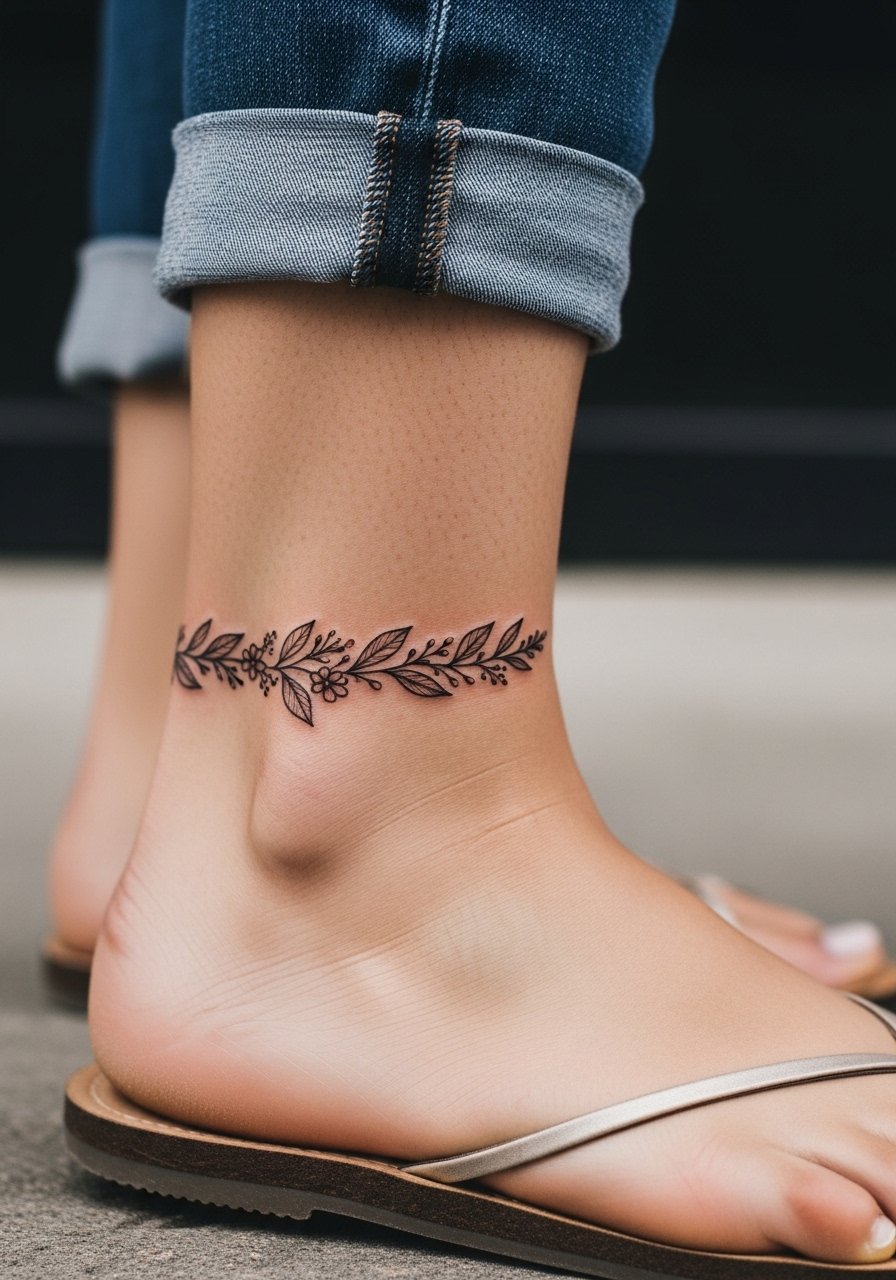
Circular ankle bands are charming but run the risk of the joins blurring if the band is too tight in detail. Ask for small breaks in the band composition and slightly larger leaf shapes so the pattern does not turn into a gray line over time. The session is short and the area tolerates movement, but be cautious with footwear in the first week. For casual styling pick low-profile sandals that expose the band without pressure.
21. Fine Line Hibiscus on the Hip
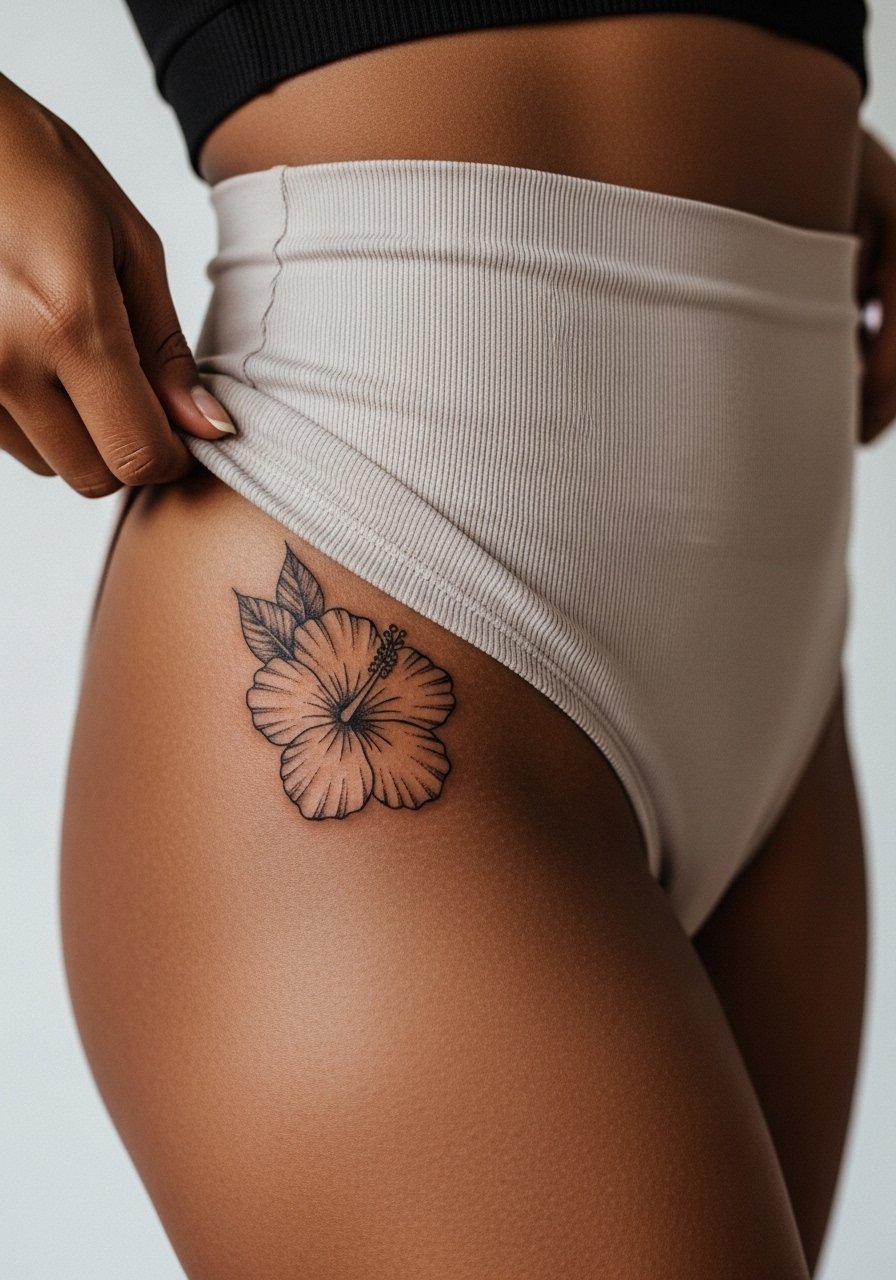
Hip tattoos let you place a sizeable bloom with controlled detail because the area is often covered and protected. During your consultation request modest negative space inside the petals to avoid heavy fill that can age like a blotch. The session is comfortable and recovery is usually private. For the session wear high-waisted bottoms so you can expose just the tattoo zone without full undress.
22. Petite Wildflower Cluster Along the Collar
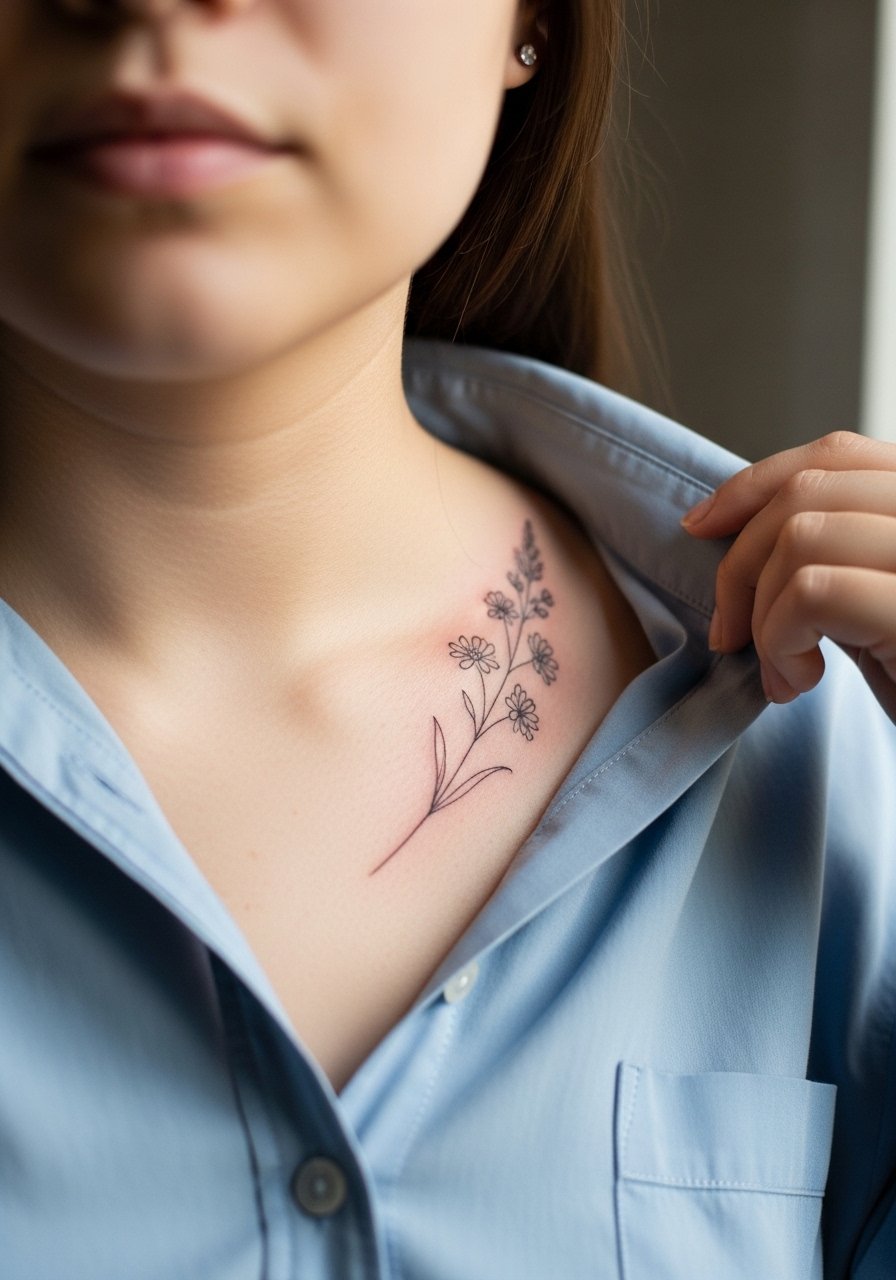
Collar-adjacent clusters should follow the natural slope of your shoulder. The common mistake is demanding too many tiny elements that disappear into each other after sun exposure. Ask for a few slightly larger anchor blooms to maintain shape. Expect moderate tenderness but low long-term maintenance. Pair this placement with a thin chain pendant necklace that sits just above the cluster and complements the lines.
23. Tiny Botanical Wrist Cuff
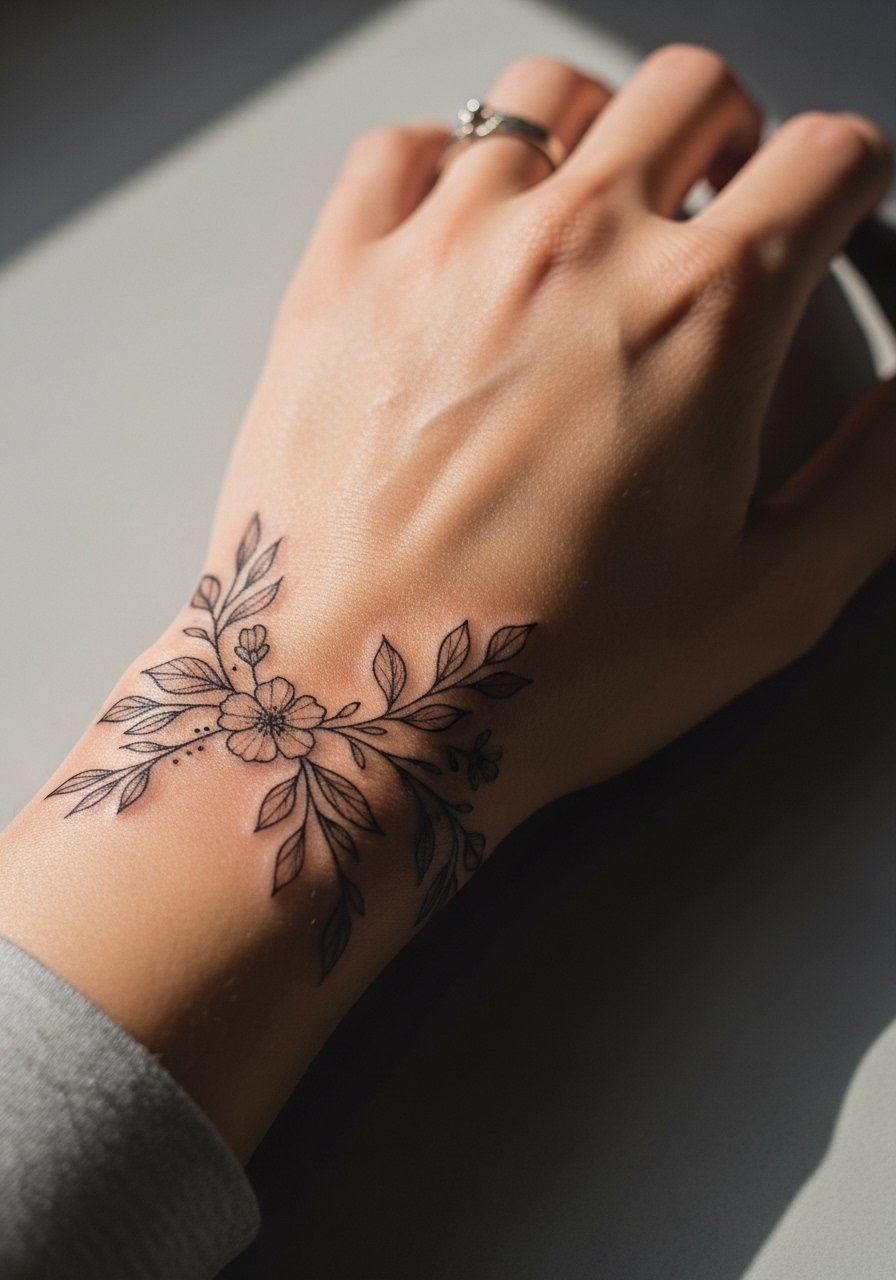
Wrist cuffs can age well if you design them with intermittent gaps so the ink does not form a continuous thin line. Tell your artist you want micro breaks and slightly varied leaf sizes. The wrist gets frequent sun and washing, so plan for touch-ups at year two to four. For the session wear a loose button-down shirt you can roll up without friction against the fresh work.
24. Single Stem Violet on the Back of the Neck
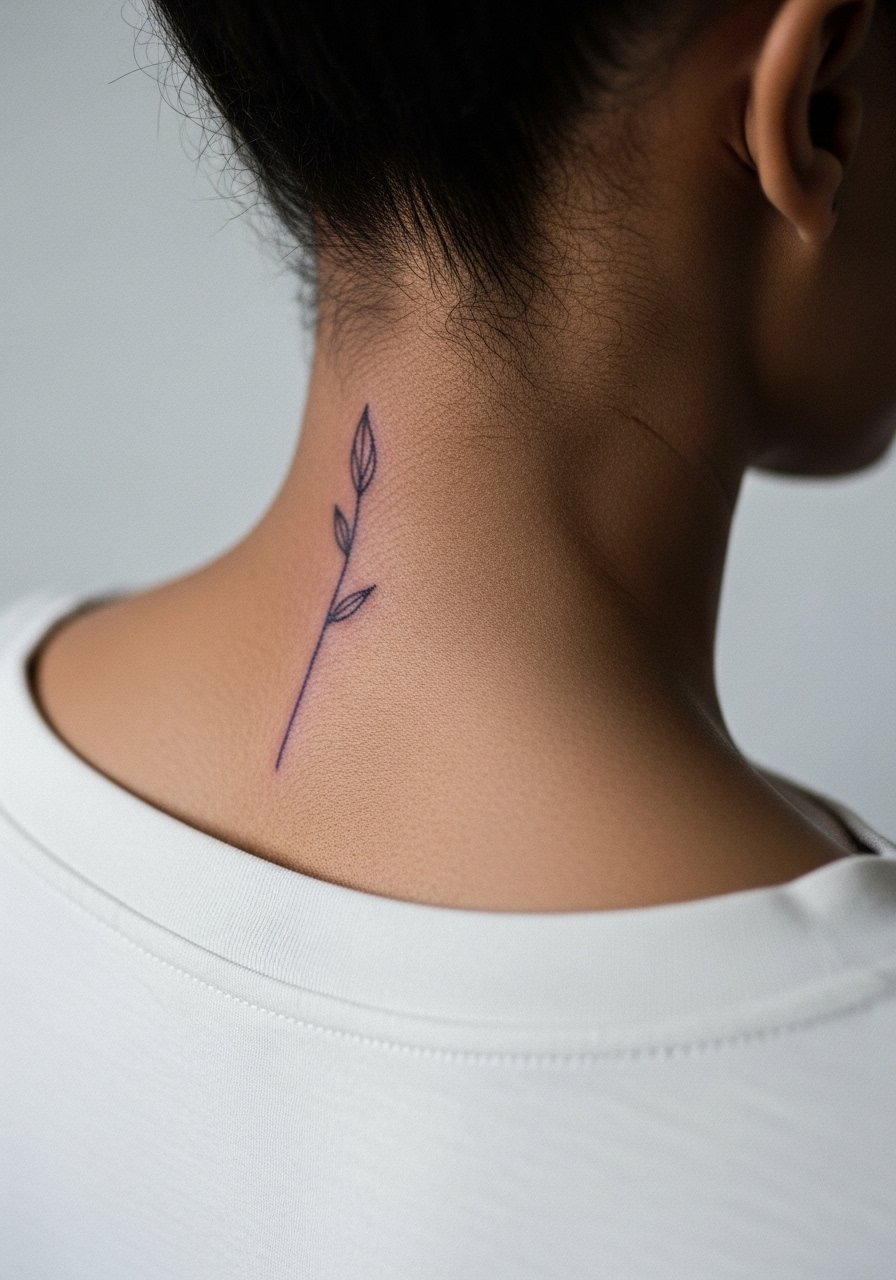
Back of neck placements are subtly visible and can be a quick appointment. Ask for a slightly vertical composition that follows hairline growth so the design remains visible if your hair grows longer. The area can fade with sun exposure if you wear open-neck tops often, so keep placement a touch lower to stay naturally covered. For the session choose a wide-neck shirt that allows access without full exposure.
25. Micro Bouquet on the Inner Thigh
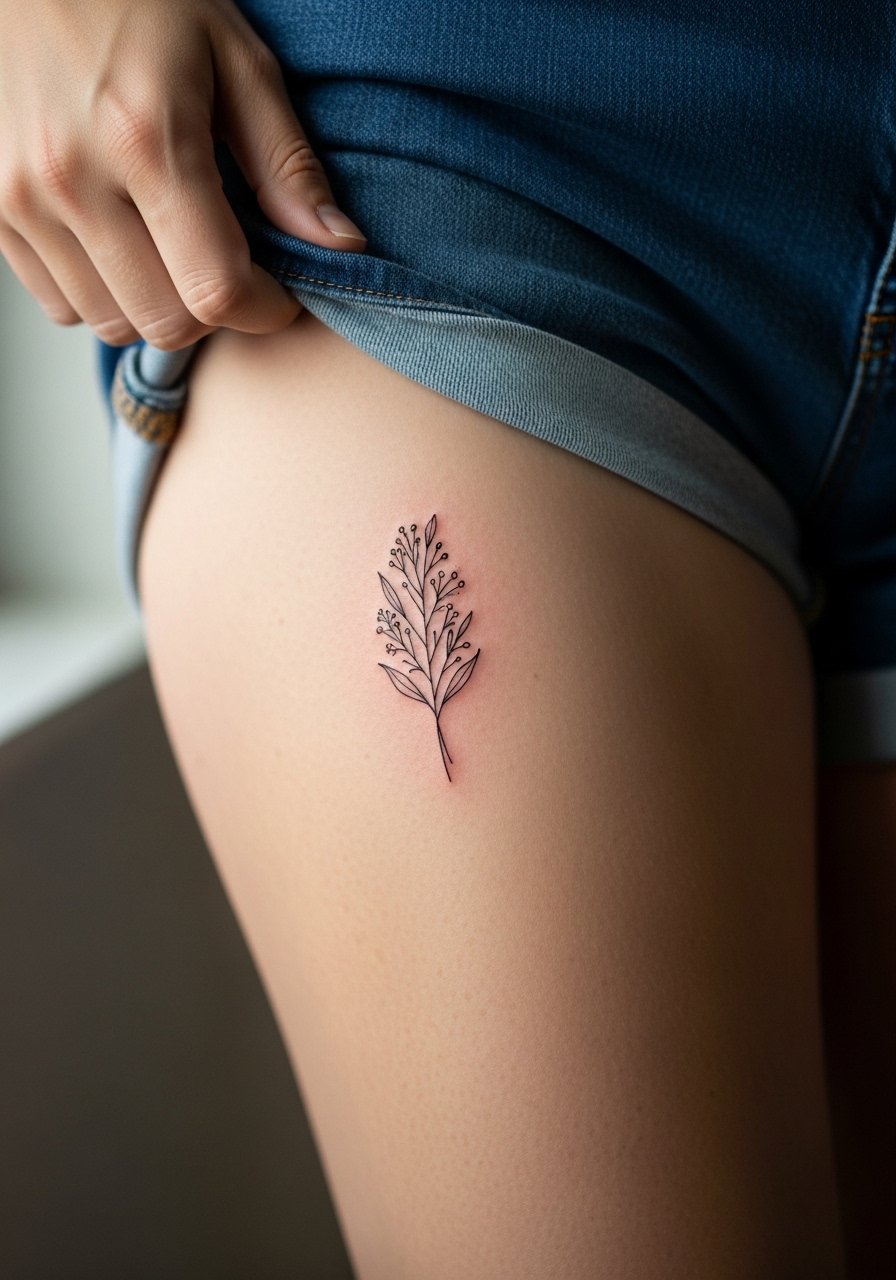
Inner thigh work is intimate and tends to heal protected from sun, which helps line longevity. The common mistake is extremely tight dot work that compacts during healing. Ask for slightly open petals and stems that do not press against each other. Sessions can be uncomfortable because of sensitivity, so plan your timing. For the appointment wear shorts you can shift easily so the artist can access the inner thigh without you being uncomfortable.
26. Small Floral Accent on the Side of the Foot
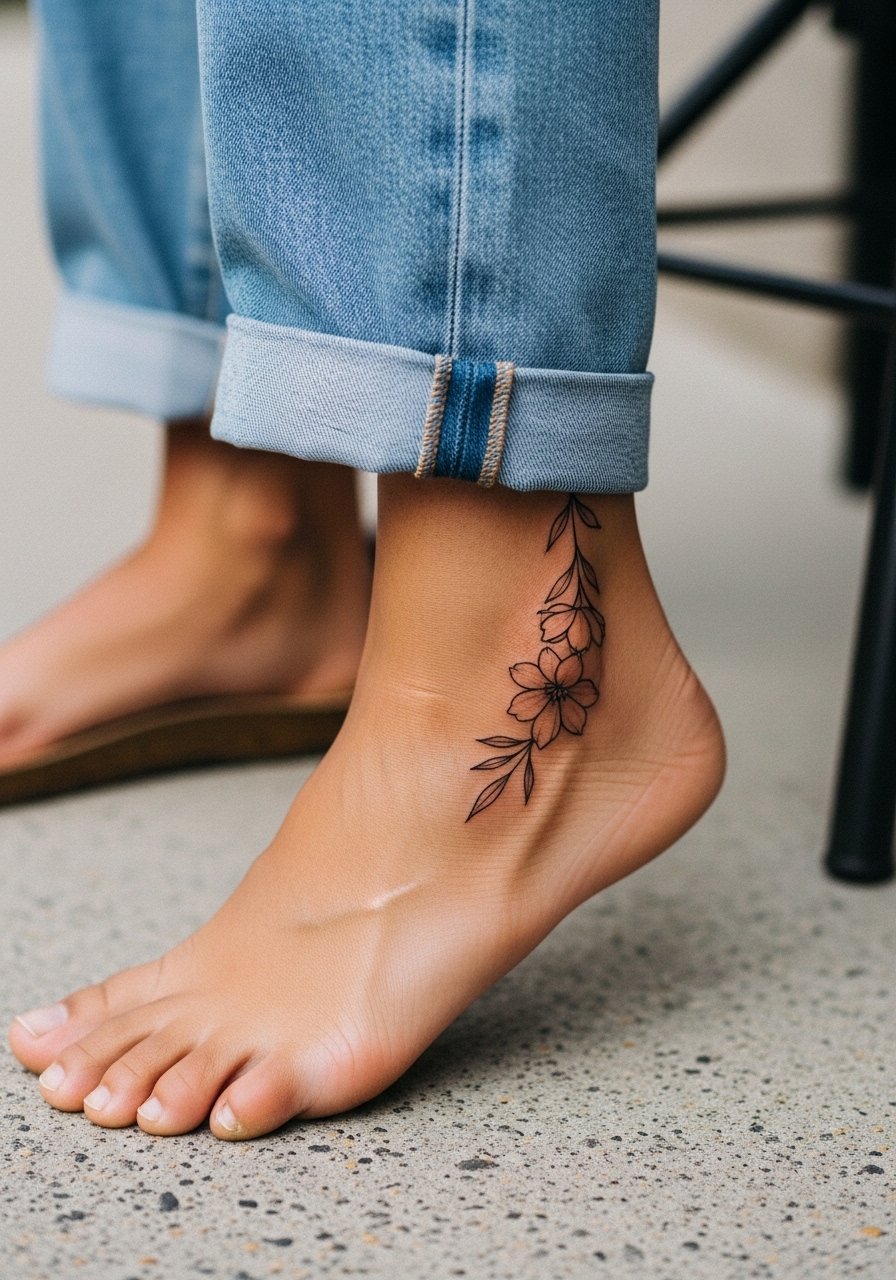
Foot tattoos face friction and moisture challenges. The error I often see is asking for dense interior detail that fades fast under shoe straps. Instead ask for open stems and minimal petal texture. Expect slower healing and a higher chance of touch-up after a season of shoes. For wearing once healed choose breathable sandals that do not press across the fresh ink.
27. Tiny Field of Mixed Mini Flowers on the Lower Back
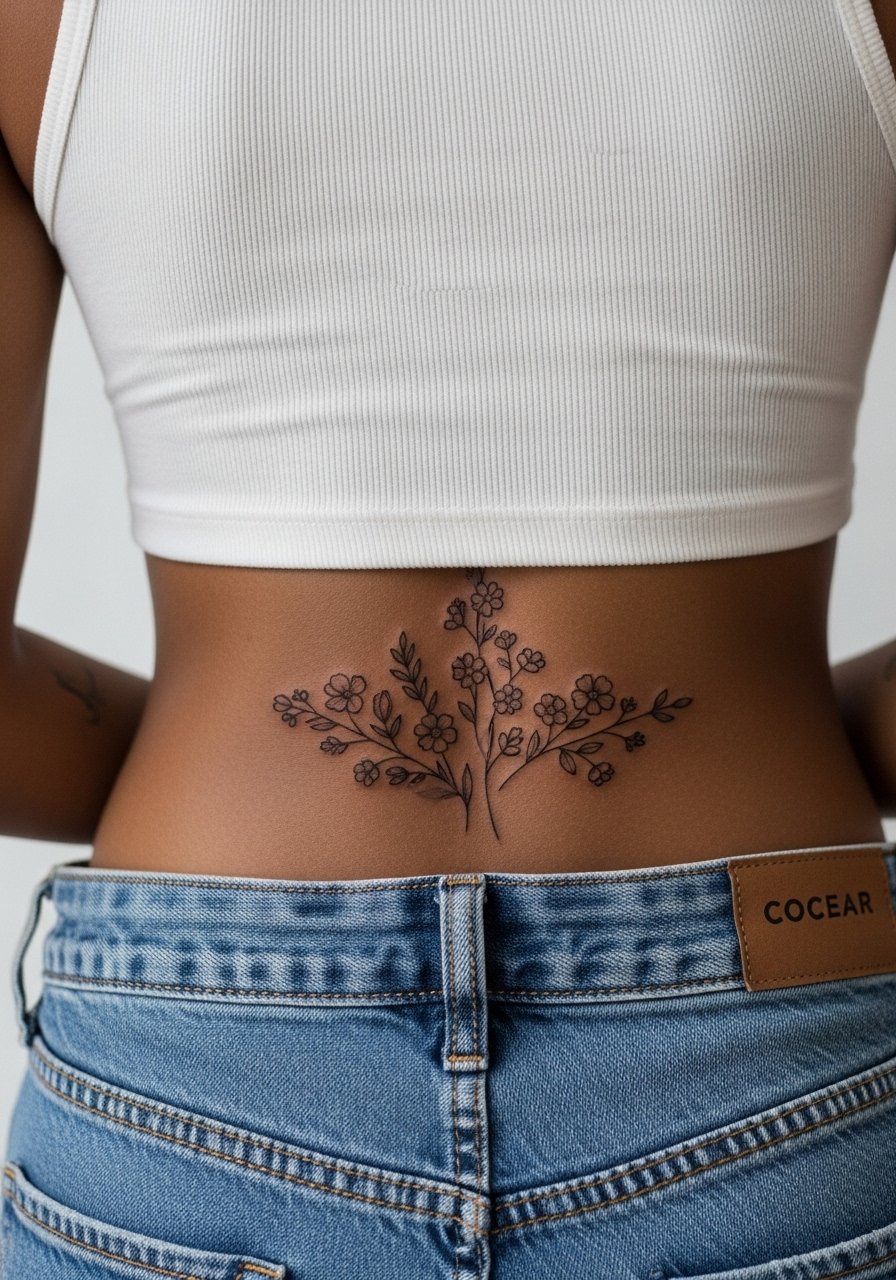
Lower back floral fields give you small variety without committing to bold color. The mistake to avoid is compressing many tiny motifs into a narrow band which can blur as the skin moves. Request varied sizes and some negative space between blooms so the patch reads over time. The session is comfortable and usually short. For the session wear a tank top with high-waisted jeans so the artist can access the lower back with minimal exposure.
Frequently Asked Questions
Q: Will fine line flower tattoos blur faster on darker skin tones?
A: From what I've seen, fine line pieces behave similarly across skin tones when the artist adjusts spacing and line weight. Darker skin benefits from slightly bolder primary lines and more negative space. The key is an artist experienced with your skin type, which you can find through discovery pathways like local shop directories and community hashtag searches.
Q: How do I ask for a fine line flower that will last longer on the ribs?
A: Be explicit about spacing and ask the artist to map the design while you breathe so they can see natural expansion. Mention you prefer slightly deeper placement and modest line weight rather than ultra-thin lines. Also plan for a touch-up at the two year mark as a realistic expectation.
Q: Are tiny floral hand and finger tattoos worth it if I want low maintenance?
A: Hands and fingers require the most maintenance due to constant washing and sun. If low upkeep is your priority choose slightly larger scale on the fingers or opt for a spot like the outer wrist or inner forearm. If you proceed with the hand, accept touch-ups as part of the plan.
Q: What should I wear to the studio for a sternum or rib tattoo session?
A: Wear a fitted sports bra or a zip-up hoodie you can adjust so the artist has direct access while you stay covered. Comfort matters for long sessions and clothing that you can easily move without cold drafts helps during breaks.
Q: Can fine line floral tattoos be combined into a sleeve without losing clarity?
A: Yes, if you plan spacing and scale across the arm so each motif has room to breathe. Start with a consultation that maps the sleeve on your limb rather than placing many micro elements piecemeal. Expect denser areas to soften over years and consider touch-ups to preserve crispness.
Q: How do I find an artist experienced with botanical fine line work without relying on individual names?
A: Use discovery pathways such as studio directories, local tattoo conventions, and community hashtags to view portfolios. Look for consistent healed photos and examples across different skin tones. Ask about healed work specifically during the consultation so you know how those lines held up over time.
