
Fine line deer skulls are trending on saved boards, but what holds up on skin is not always what racks up likes. I keep seeing pieces that look delicate in photos and then need touch-ups sooner than expected because of placement choices or scale. Below are 17 references that weigh technique, placement, and what to tell your artist so your skull still reads clean years from now.
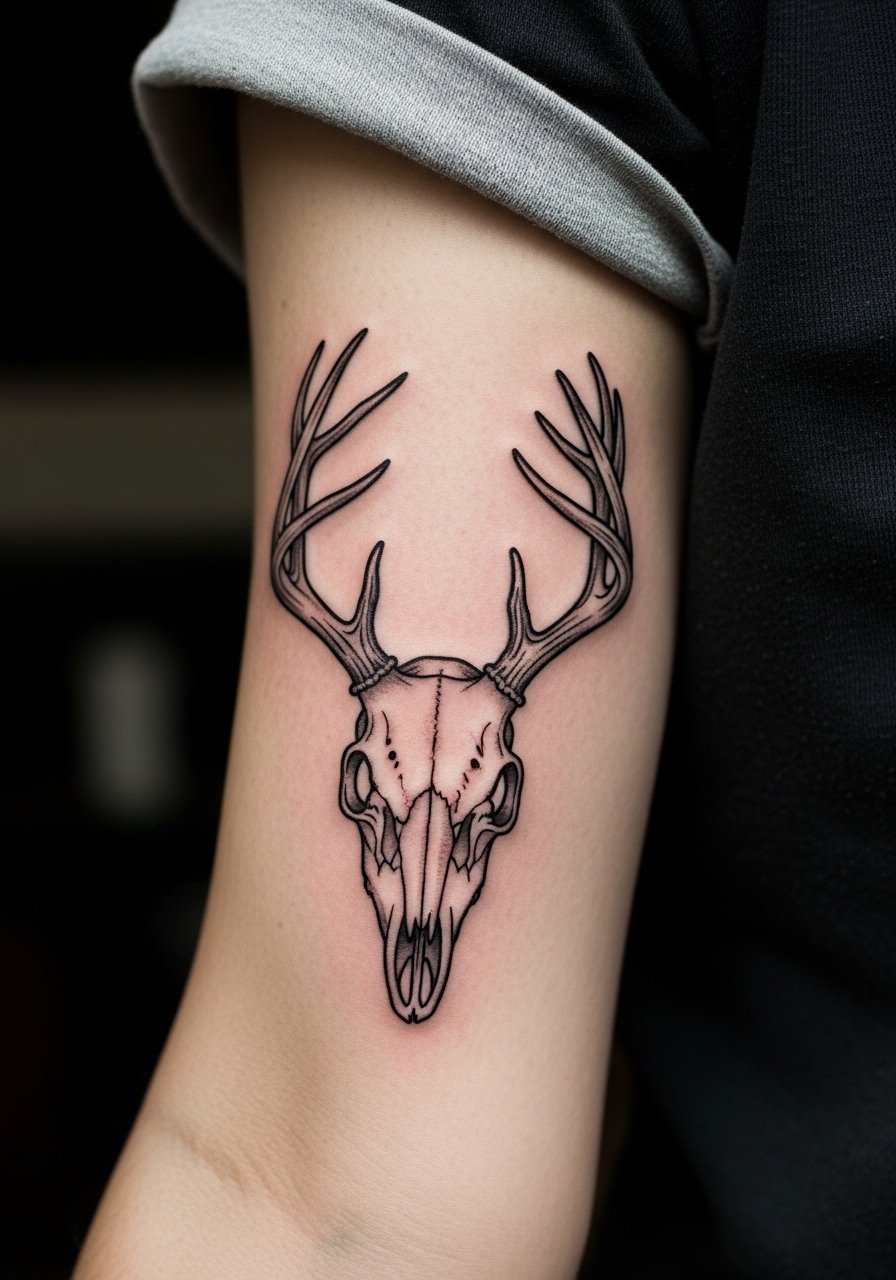
1. Realistic Deer Skull with Antlers on Outer Forearm
I've seen this version on forearms for three years and the piece that keeps its depth uses dense black and gray shading rather than wafer-thin hairlines. Ask your artist for micro-realism reference photos that show bone texture up close and request 2 to 3 staggered sessions so saturation builds without overworking the skin. Fair warning, the outer forearm is visible daily so expect light sun exposure to soften contrast at the two-year mark. For the session wear something easy to roll up like a henley shirt with rolled sleeves so the artist has clean access and your arm stays comfortable.
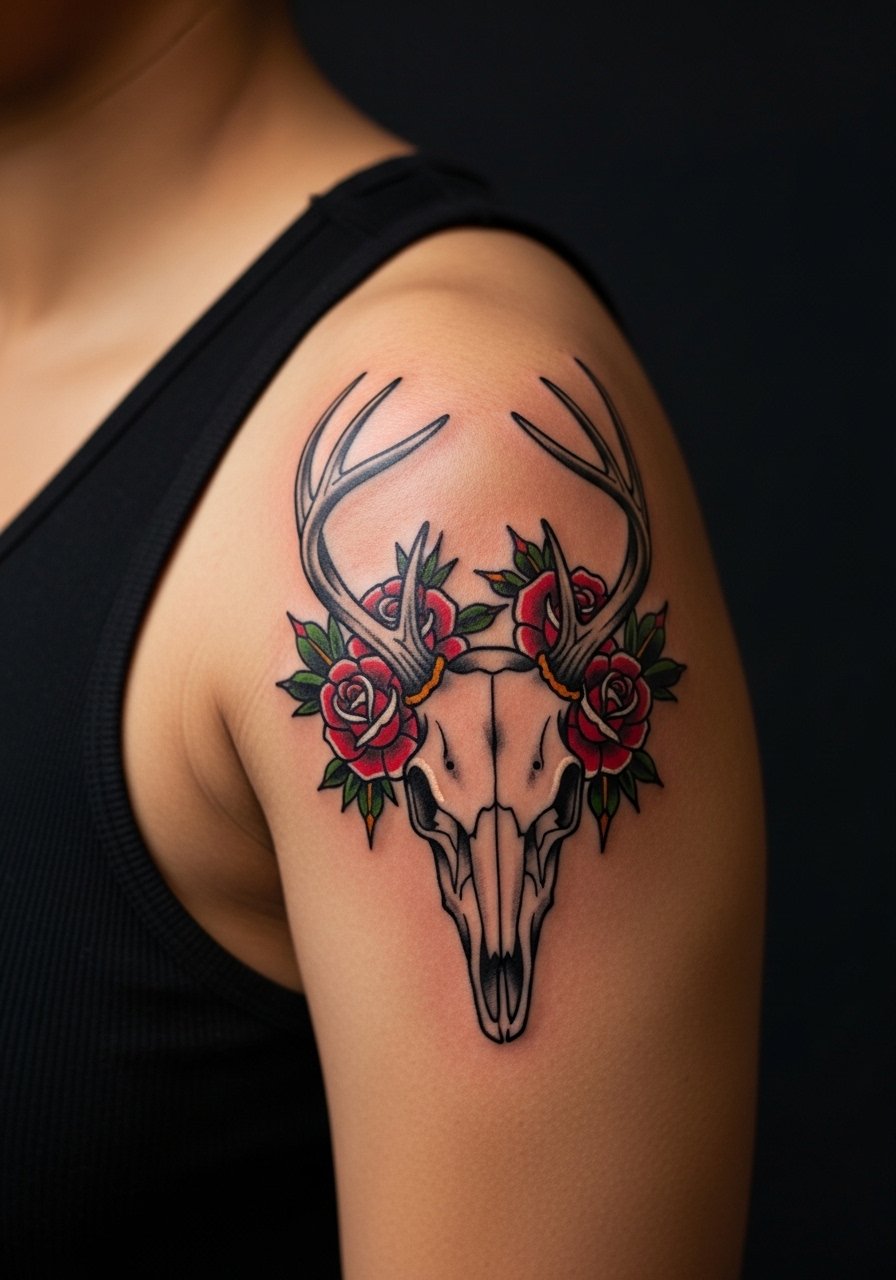
2. Traditional Deer Skull with Flowers on Shoulder
When you want something that reads from across a room, classic saturated work is the route. The shoulder handles color saturation well and usually finishes in a single session unless you ask for extra detail. The common mistake is shrinking the flowers until they lose their form over time. Tell your artist to keep flower petals larger and pigment dense so each element ages into a legible shape. For showing it off, pair the finished piece with an off shoulder tank top that reveals shoulder contour and keeps focus on the color blocks.
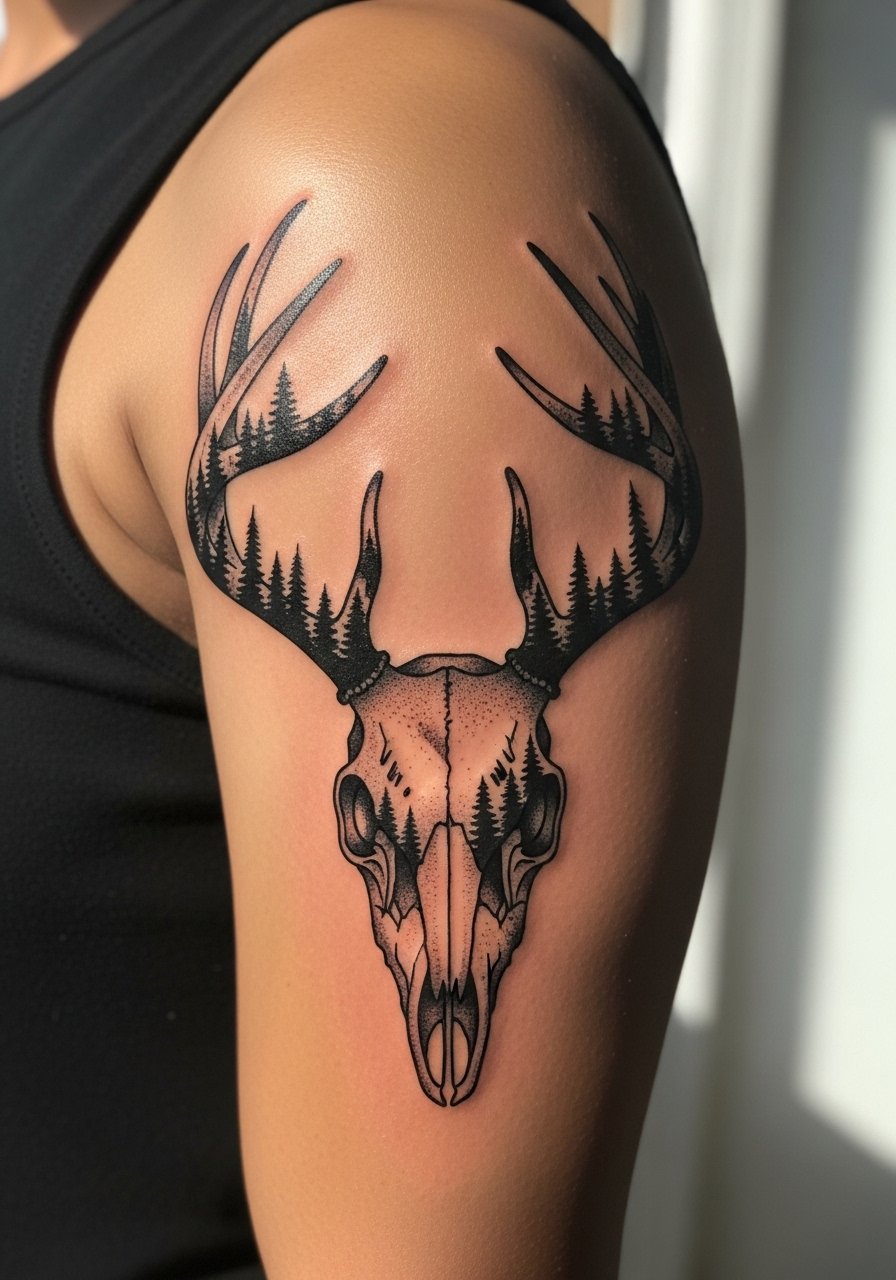
3. Double Exposure Deer Skull Sleeve with Landscape
A sleeve that hides tiny scenes inside antlers makes a story out of negative space, but this is a long haul. Expect four sessions and constant scaling conversations. The real mistake here is packing too many small landscape elements into tight antler curves. That leads to muddiness by year three. Ask for bold separations between the skull outline and the landscape fill so the silhouette stays readable at distance. Sleeve sessions feel long physically and mentally, so bring a playlist and plan for breaks during shading blocks.
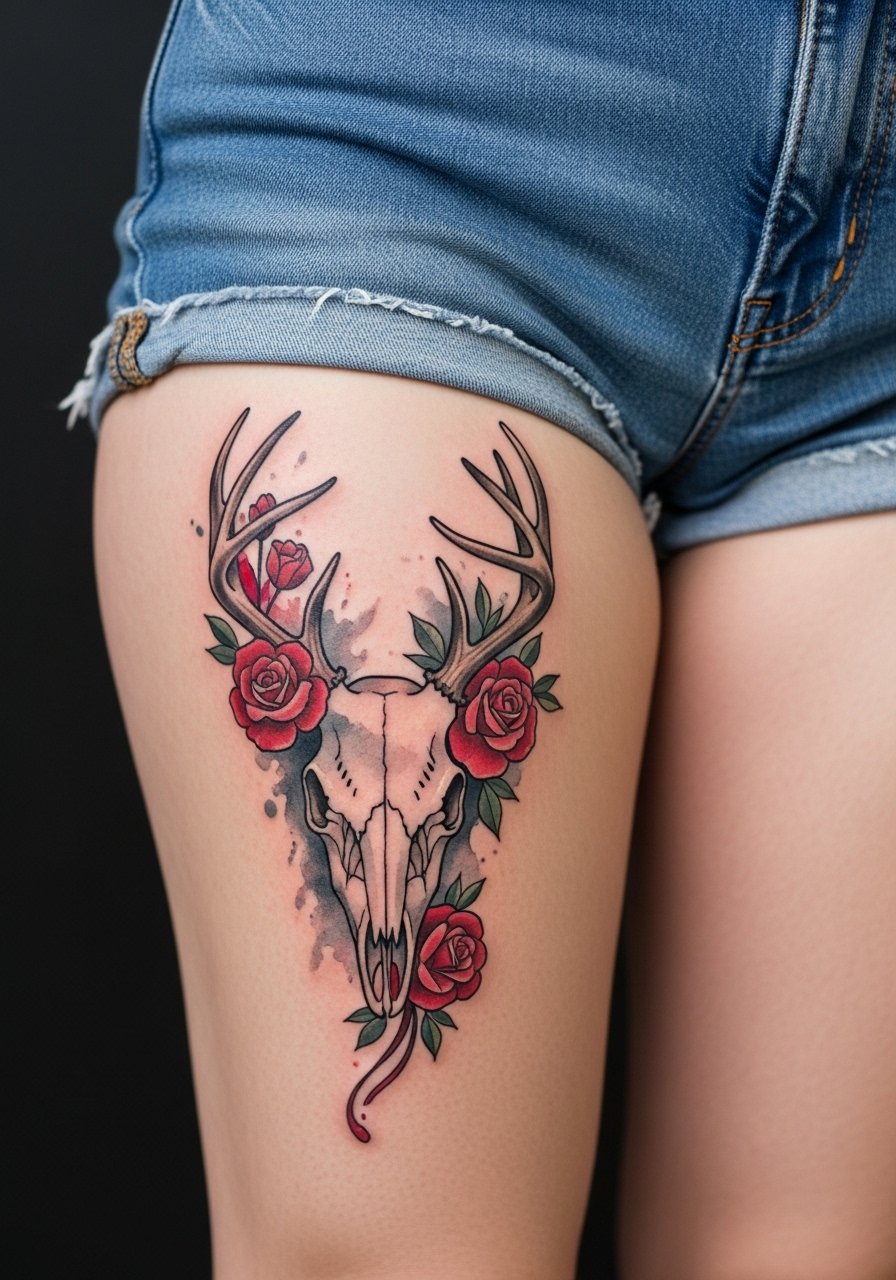
4. Watercolor Deer Skull with Red Roses on Thigh
Most watercolor pieces on thighs keep their color longer than those on hands. The thigh gives plenty of real estate for soft washes and for color to breathe, which reduces early patchy fading. The error I see is placing watercolor over weak outlines. Ask for a subtle black-and-gray skull base with layered color washes on top so the form stays readable as pigments soften. For showing it off in summer, try tailored pieces like tailored khaki shorts so the color contrasts pop without distraction.
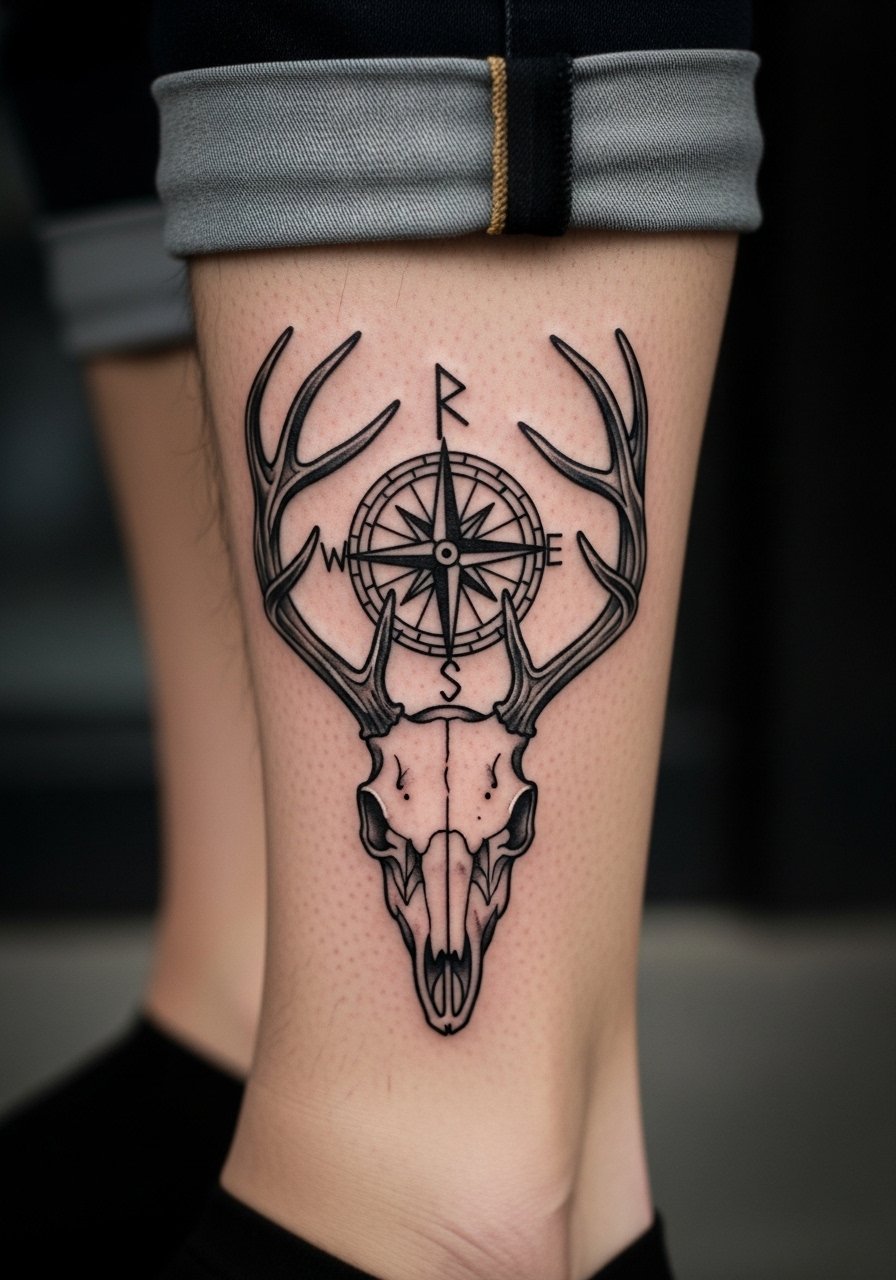
5. Viking Rune Compass Deer Skull on Calf
The lower leg is ideal for vertical motifs like a rune compass integrated into antlers. Sessions take two to three visits depending on rune detail and color accents. A common downside is letting small rune lines sit too close together. The safer route is slightly larger runes with crisp negative space so the symbols remain clear when the skin stretches. For casual show-off, roll chinos at the ankle, for instance a slim fit olive chino rolled at the ankle, to keep the motif visible without crowding.
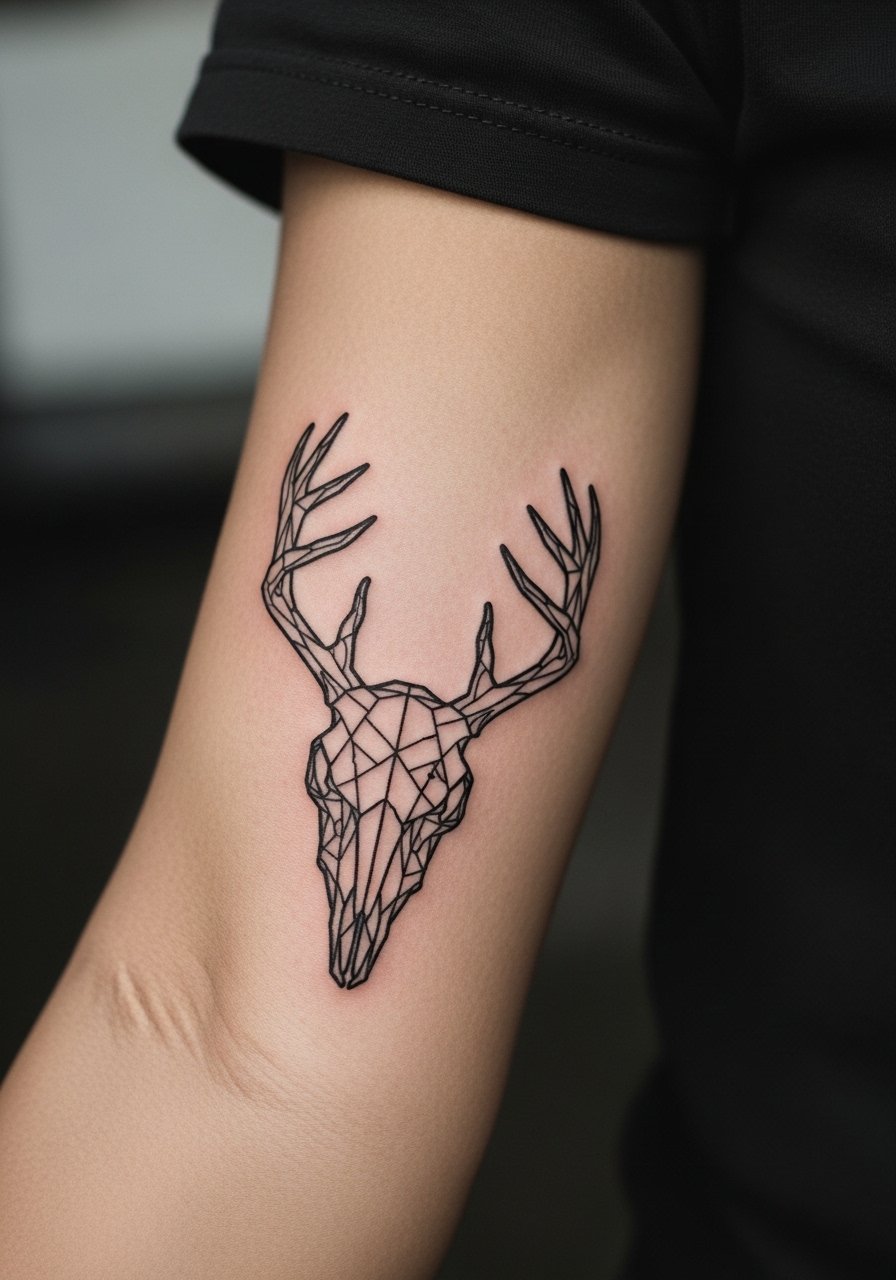
6. Geometric Deer Skull Outline on Inner Forearm
When scale is tight, geometric work needs breathing room. The biggest mistake is compressing too many intersecting lines into a narrow band. That causes merging after a few years. During consultation, say you want negative space buffers between angular antler shapes and the skull. Expect a single session for a clean outline with short shading touches. Inner forearm pieces show minor pain and heal predictably. They do take sun exposure badly, so plan sleeve choices accordingly.
Studio Day Picks
The outer forearm, shoulder, and thigh designs above need different prep from delicate wrist or rib pieces, so pack a few items that make the session and first week easier.
-
Stencil transfer paper kit. Lets you preview line placement on skin before the needle work starts, which is useful for antler spacing and geometric outlines.
-
Topical numbing cream. Applied per instructions before a sensitive calf or rib session helps with the initial sting without affecting linework.
-
Thin protective film roll. Keeps ankle and wrist pieces clean through the first days of friction from socks or bracelets.
-
Fragrance-free gentle body wash. Baths and quick showers are inevitable the week after a thigh or back session; this avoids irritation around delicate washes.
-
Aquaphor healing ointment. A thin layer for the first days helps with fine line sealing without suffocating the skin.
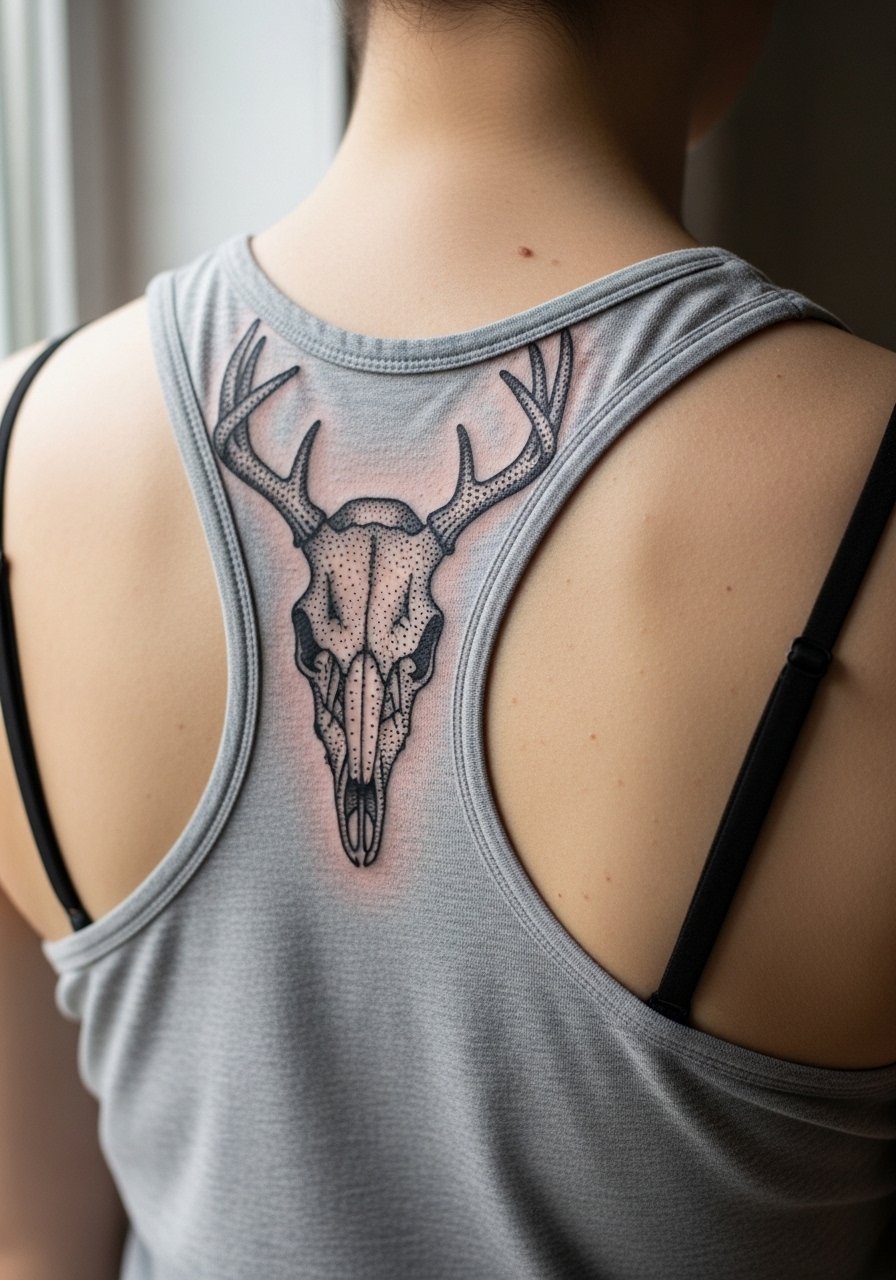
7. Dotwork Deer Skull with Texture on Upper Back
Dotwork thrives on larger canvas and the upper back is perfect for stipple gradients that read as texture rather than solid shade. Expect three sessions depending on detail. A frequent error is crowding dots too densely close to lines, which can merge after healing. Tell your artist to stagger dot density so antlers keep their silhouette against the textured fill. For evenings out, pair this with a racerback tank in black that exposes the central detail without competing.
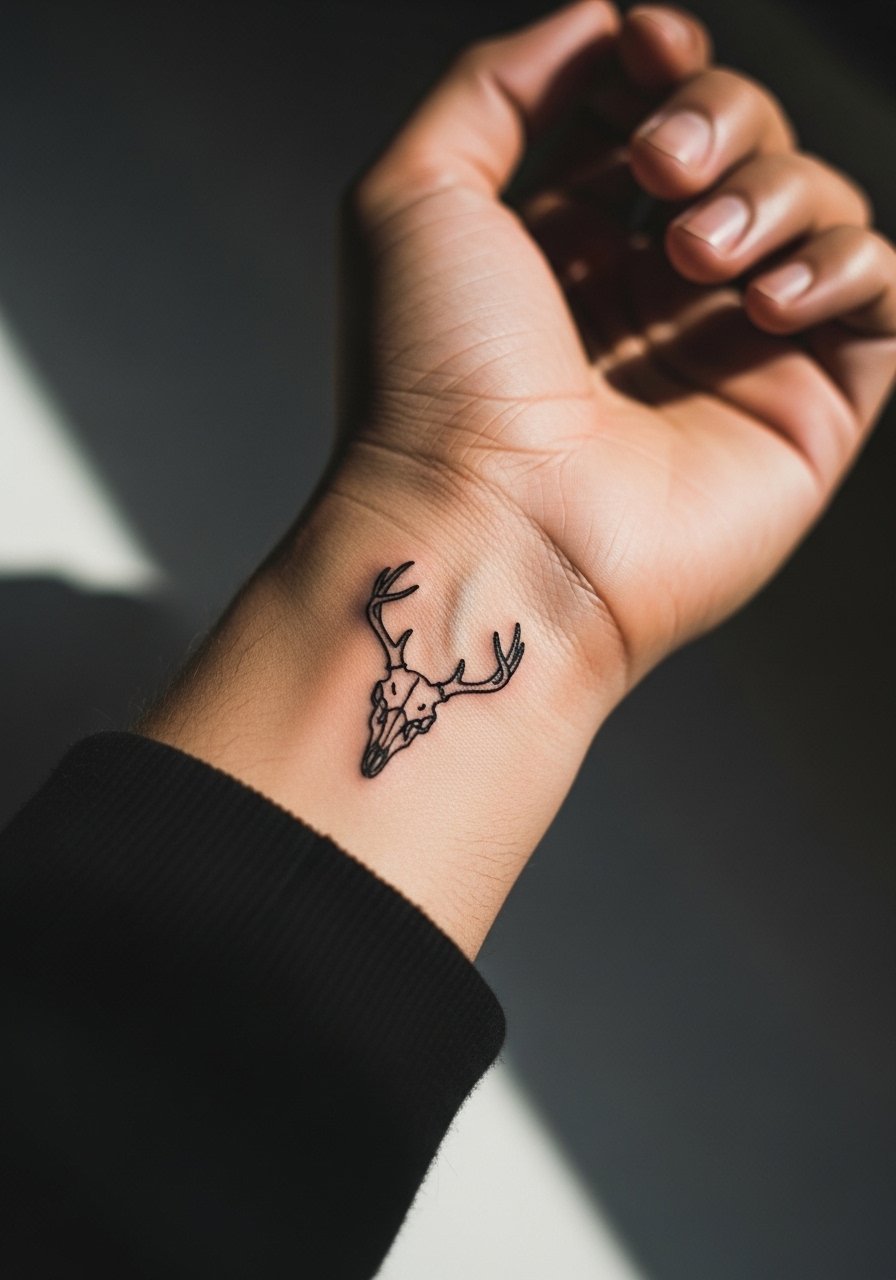
8. Minimalist Deer Skull Silhouette on the Wrist
Wrist pieces are small and forgiving for a first deer skull as long as you accept limited detail. The main mistake is trying to force shading into a fingertip-scale design. Keep the silhouette single-line and ask the artist to plan for a touch-up at year two. Wrist sessions are quick but acute in sensitivity because of thin skin and bone proximity. A single thin leather cuff on the opposite wrist is a tasteful way to frame the piece during show-off moments and keeps focus on simple contours.
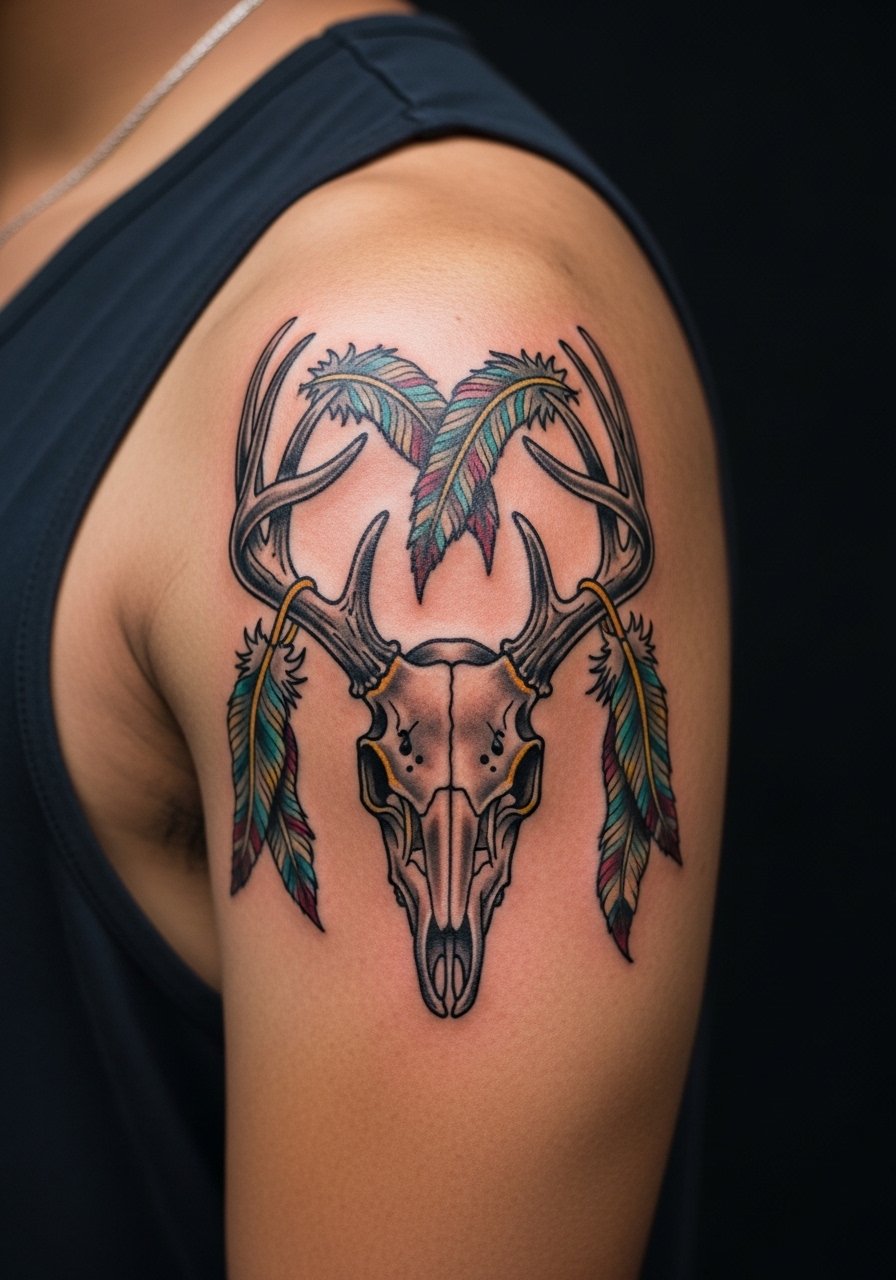
9. Neo-Traditional Deer Skull with Feathers on Outer Upper Arm
Neo-traditional color with feathered antlers ages well on the outer upper arm because saturation holds there. A three-session plan is common for layered color and clean outlines. The misstep to avoid is over-detailing tiny feather veins in a compact area. Request simplified feather cues that read as texture at a distance. For styling, an open muscle tank or leather jacket frames the upper arm without hiding the palette. When booking, ask whether the artist prefers multiple short sessions or fewer long ones so you can plan recovery days.
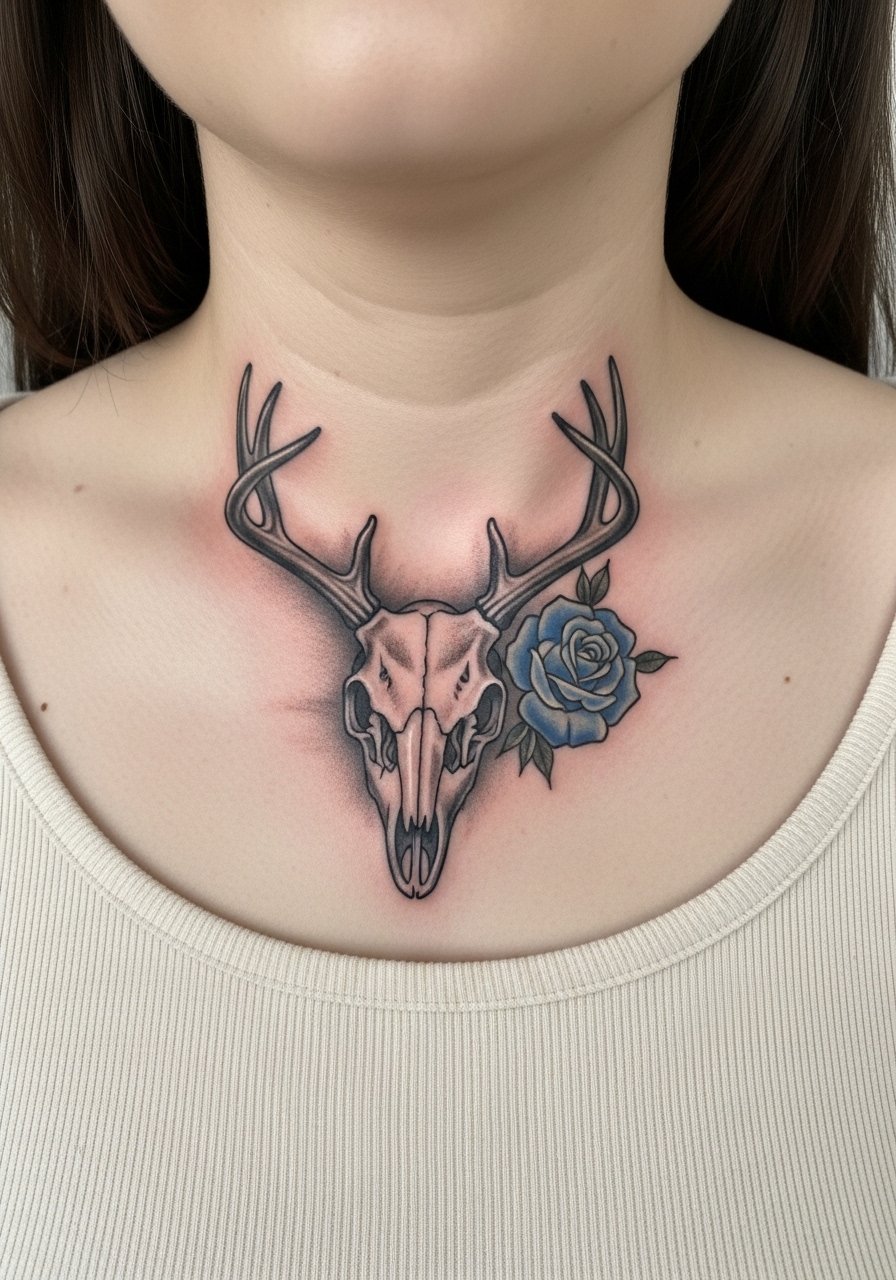
10. Black and Gray Deer Skull with a Single Blue Rose at the Collarbone
Collarbone placements are subtle and they frame clothing well. The pitfall is letting shading bleed into clavicle highlights. Ask for shallow grey washes and a single saturated element like a blue rose to anchor the piece visually. Sessions are short but the area is tender because the bone sits directly under the ink. For day-to-day framing, a v neck tee in cream keeps the collarbone visible and complements the cool rose tone.
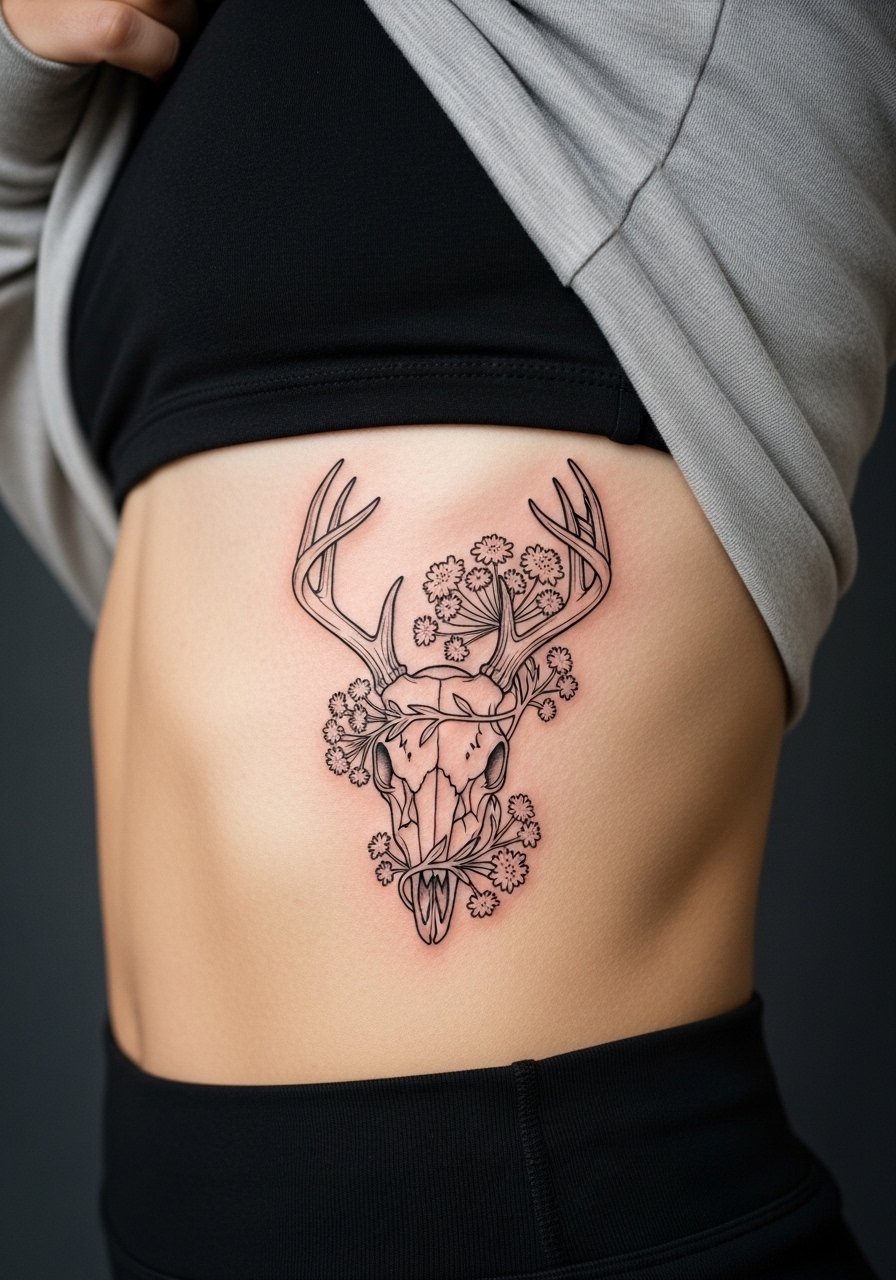
11. Queen Anne’s Lace Floral Deer Skull on the Ribcage
Fair warning, the ribcage is a high pain area for many people. Still, the rib side gives long organic lines that make delicate wildflowers wrap naturalistically. Artists split on fine line here. One camp says ribs stretch and blur thin lines within two years. The other camp argues that with controlled needle depth and spacing fine line settles fine on ribs. Ask your artist where they stand and whether they recommend slightly bolder stems to preserve the floral shapes. During the session wear a cropped athletic top you can lift so access is clean.
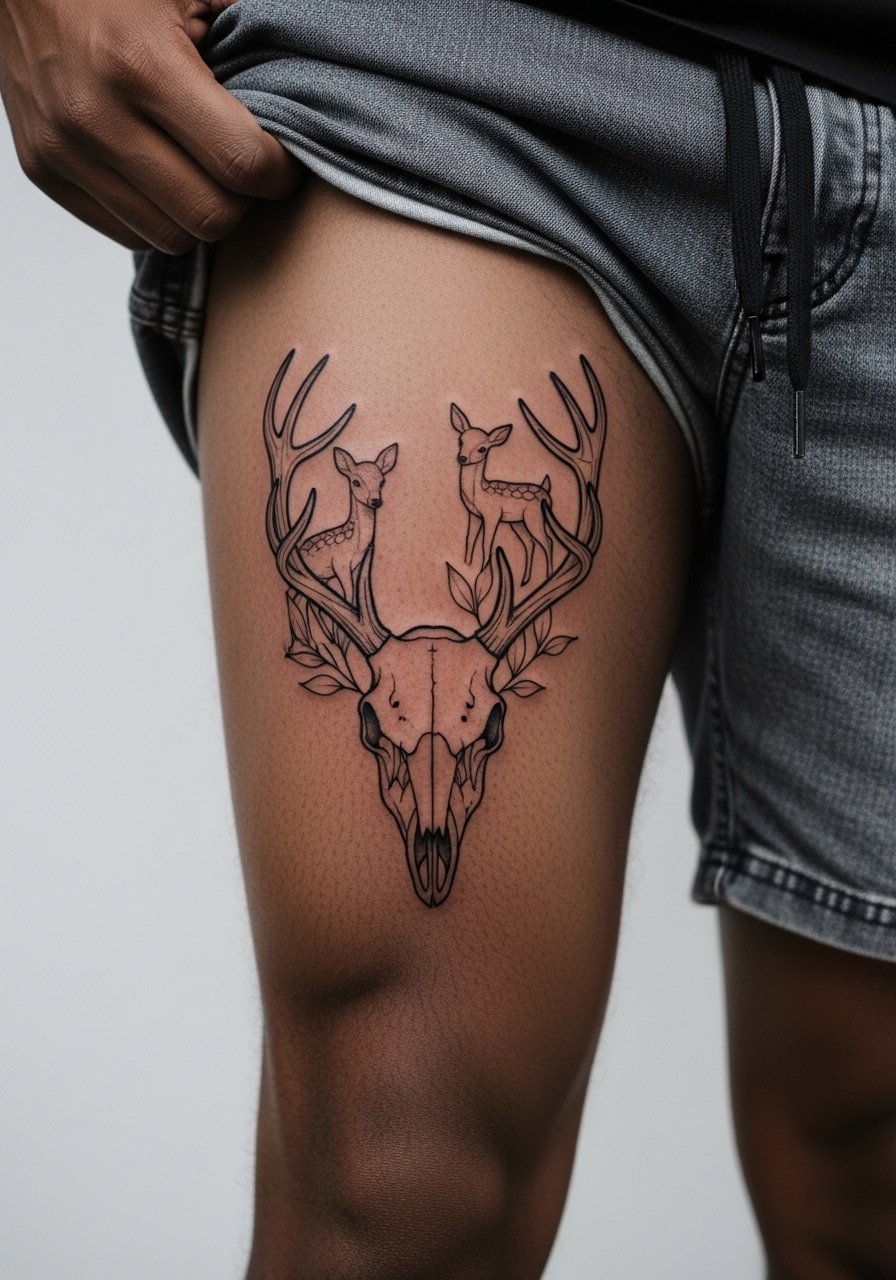
12. Stag Skull Blended with Fawn Motifs on Inner Thigh
Inner thigh work requires trust in placement because skin movement and friction affect long-term clarity. The piece works best when the fawn motifs are slightly larger than you might expect so tiny features do not vanish. Expect two to three sessions with careful shading that avoids heavy saturation at the skin fold. For the appointment wear loose shorts or a skirt you can shift so the artist has full, comfortable access. Consider career and comfort since thigh pieces can be intimate by nature.
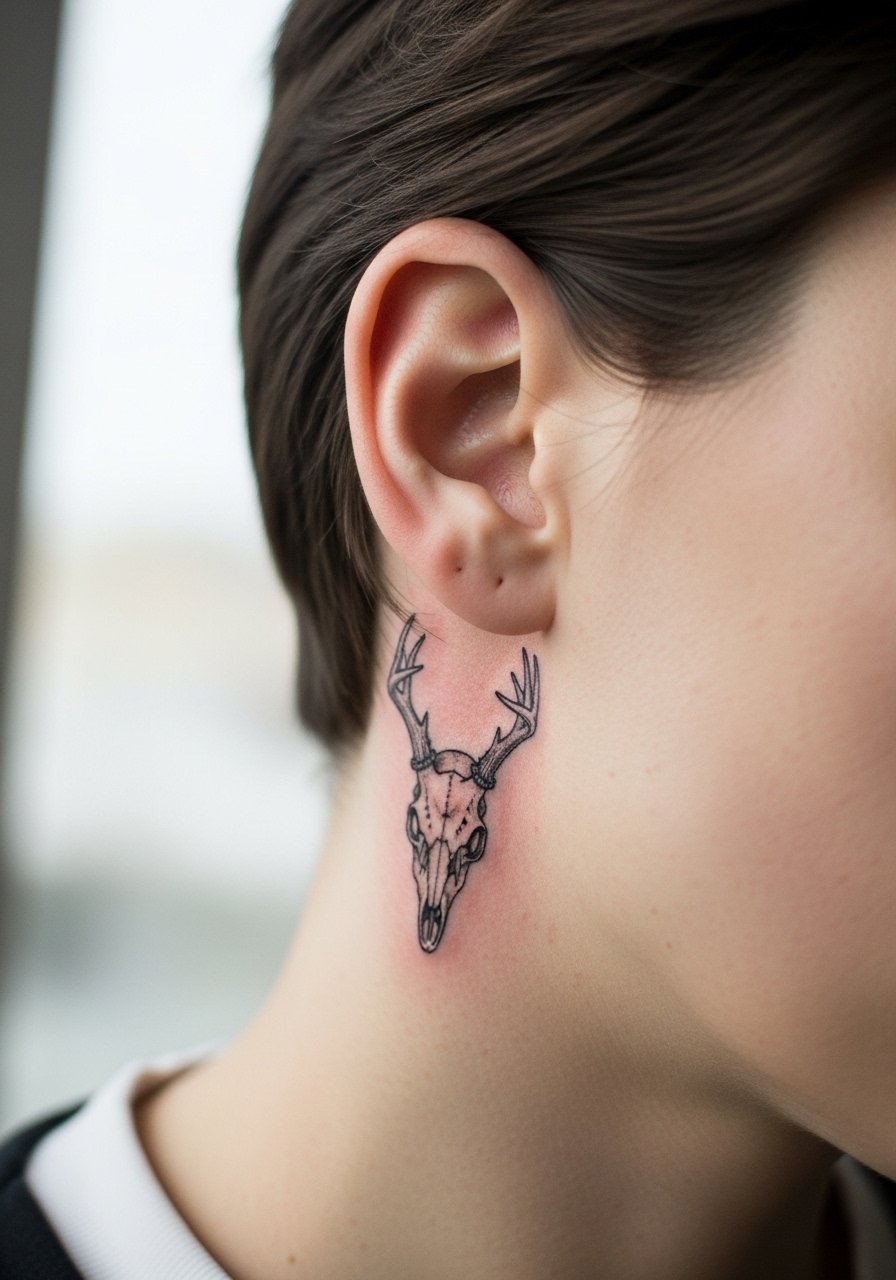
13. Micro-Realism Mini Deer Skull Behind the Ear
Behind-the-ear small pieces read as accents and they fit anyone who wants a hidden nod to the motif. The area requires precise needle control and a confident stencil because touch-ups there are visible. A common error is asking for too much texture in such a tiny zone. Ask your artist to simplify bone cues into a compact silhouette and keep the shading sparse. For the image, frame the skin below the hairline so the tattoo is visible without showing full head or neck.
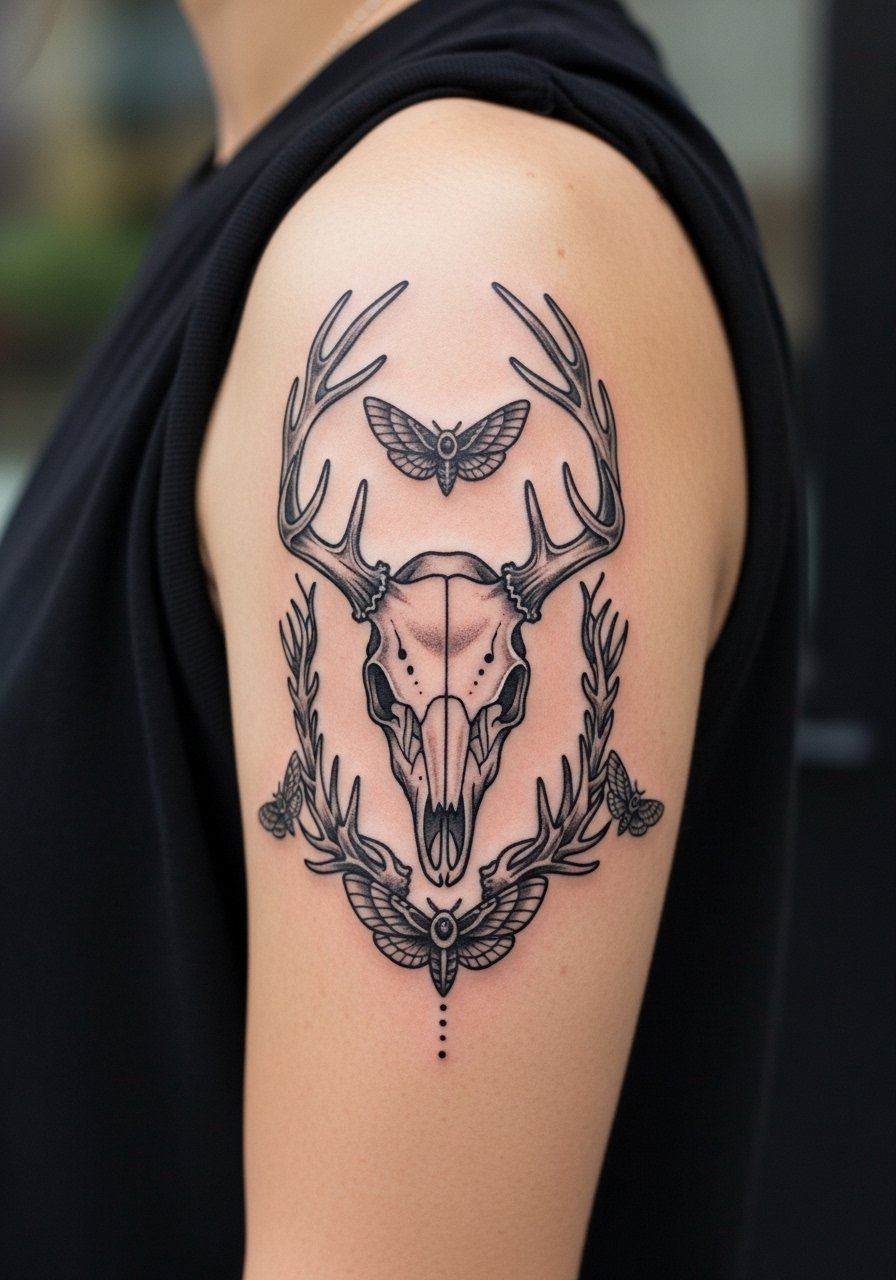
14. Antler Wreath with Moths on the Outer Upper Arm
Combining insects with antlers gives motion and a narrative arc to the skull. The outer upper arm tolerates layered color and soft wing details well. Avoid cramming moth wing veins into tiny spaces. Instead, request broader wing shapes with subtle texture so they read as wings across time. For wardrobe pairing, a black leather jacket thrown over the shoulder keeps the arm motif visible when you want to show it off and offers contrast at night. Sessions usually run two to three hours depending on color layers.
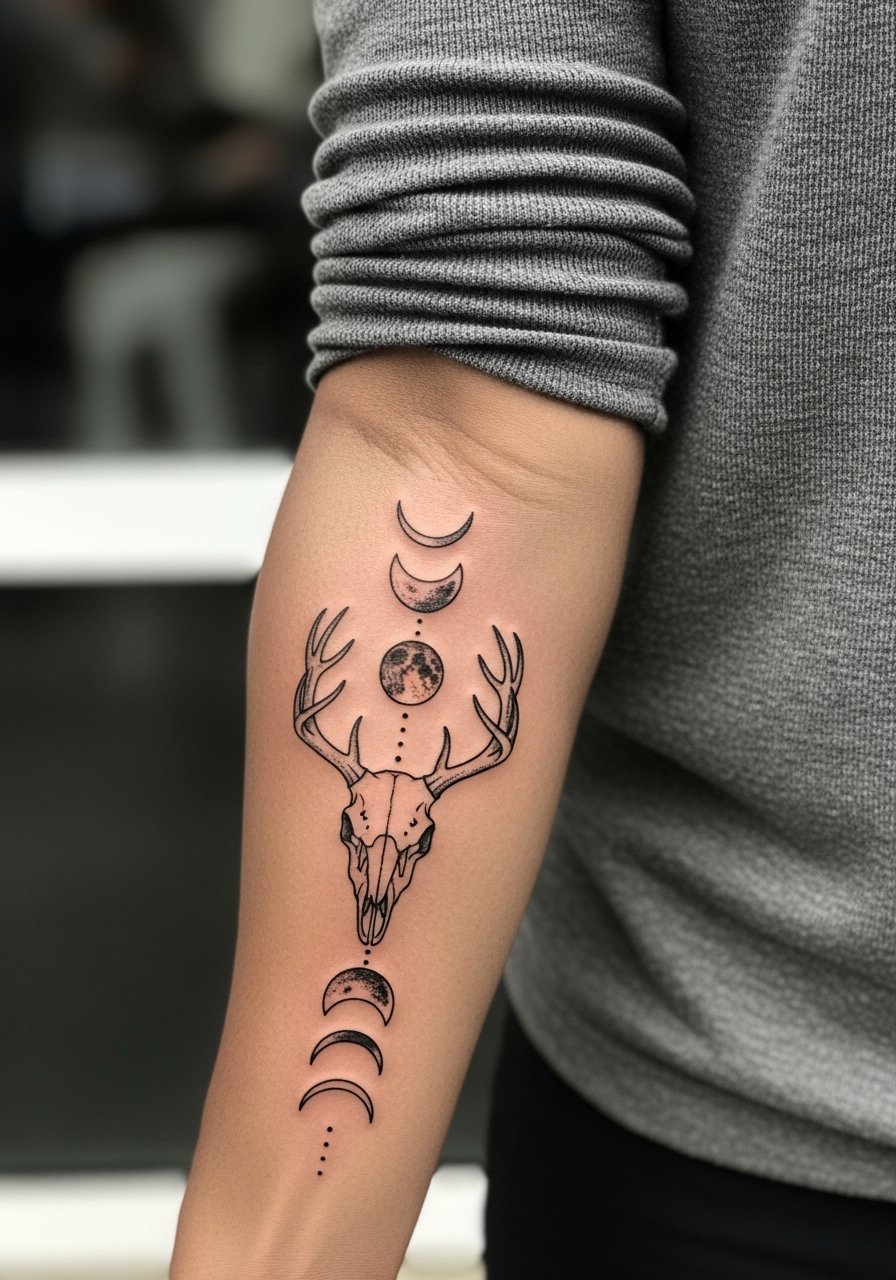
15. Negative Space Deer Skull with Moon Phases on the Forearm
Negative space designs on the forearm use skin as part of the composition, which is forgiving for small touch-ups later. The trap is making the negative areas too thin so they fill in over time. Ask for wider negative bands around moon phases and a slightly heavier outer contour for the skull so it ages with clarity. Forearm sessions are moderate on pain and usually single visits for clean outlines. Rolled sleeves or a fitted henley highlight the contrast when you want the motif to stand out.
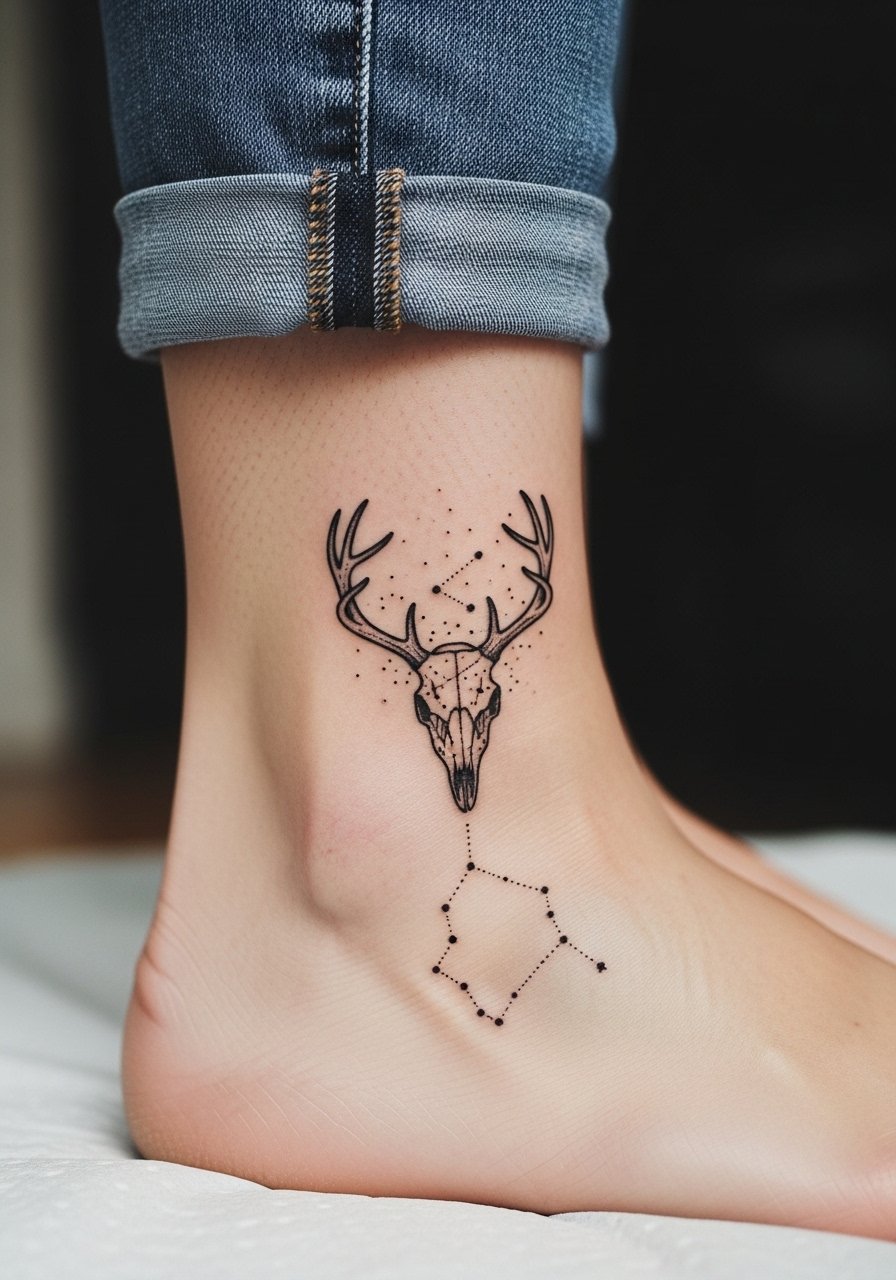
16. Constellation Overlay Deer Skull at the Ankle
Ankle pieces face friction from footwear and daily washing, which softens very fine dots faster than expected. The design works if constellations are spaced and slightly enlarged so the star points maintain separation. Sessions are brief but can sting near bone. For the image, jeans rolled up or sandals that reveal only the ankle area keep the photo tasteful and focused on the work.
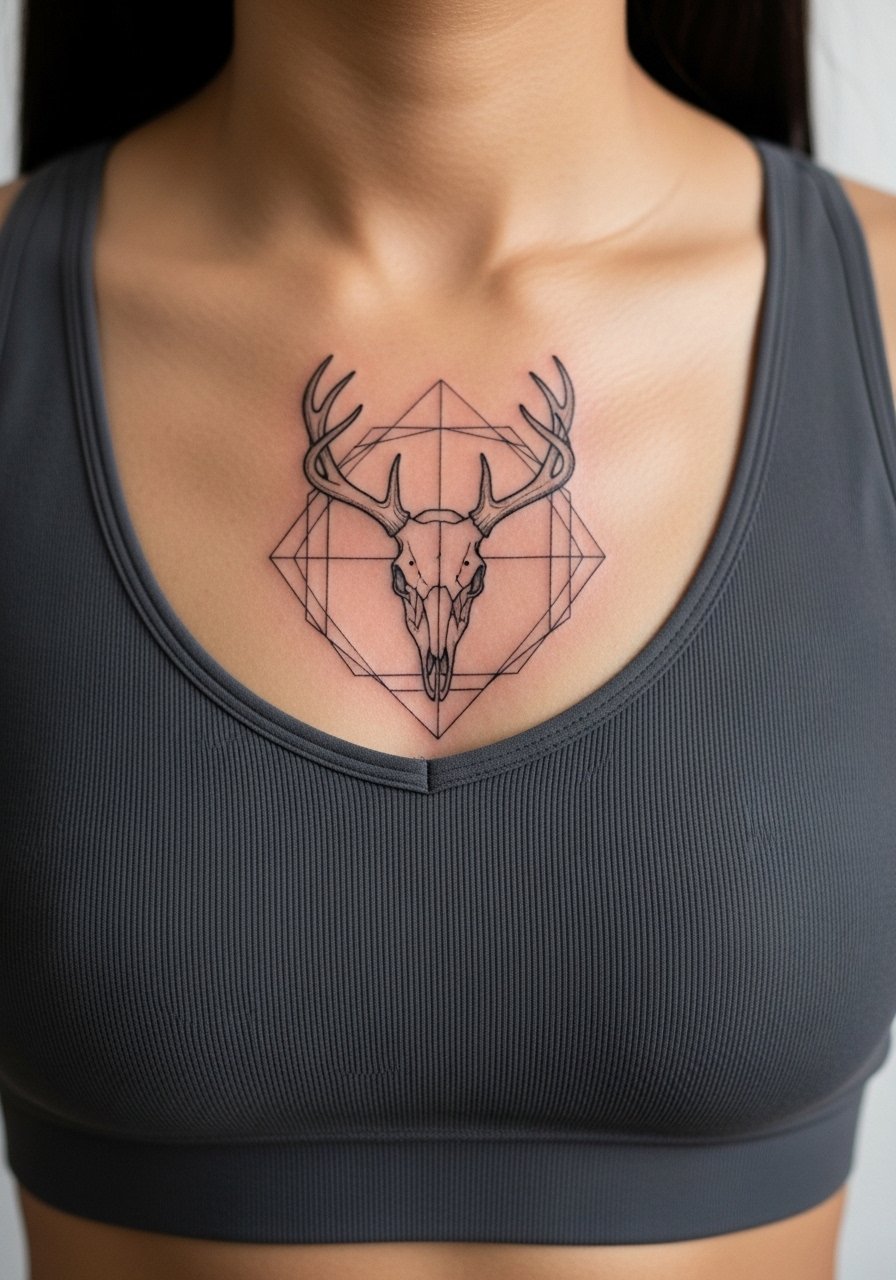
17. Sternum Deer Skull Framed by a Geometric Cage
Sternum work is tender and often done with a fitted sports bra for modesty and access. The first session is usually shading and contour, with a second pass for texture. A typical mistake is over-detailing the central cage so that skin movement blurs intersections. Ask your artist about spacing and whether a slightly larger geometric frame would keep lines readable as the body moves. This placement calls for careful after-session rest and clothing that avoids pressure on the area while it heals.
Frequently Asked Questions
Q: How often should I expect to need a touch-up on a fine line deer skull on the forearm?
A: From what I have seen, fine line forearm pieces often benefit from a touch-up around year two to three, especially if the arm sees a lot of sun. Ask your artist about planned saturation and whether they prefer a staged touch-up during the first year to lock contrast.
Q: Do watercolor deer skulls need different care than black and gray realism in the first month?
A: Yes. Watercolor pieces tend to rely on softer pigment layers so keep them out of prolonged sun and avoid aggressive exfoliation as colors settle. Black and gray pieces usually tolerate short sun exposure slightly better but both need gentle cleansing and minimal friction during the first two weeks.
Q: Is ribcage fine line work worth it if my pain tolerance is low?
A: The ribcage is one of the more painful placements for many people. If pain is a strong concern, consider a slightly larger scale or a less dense line approach which can be done in shorter sessions. Discuss numbing options with your artist and plan breaks during the session.
Q: Will a deer skull sleeve still read clearly if I add landscape double exposure elements?
A: It depends on scale and spacing. Double exposure requires clear separations between the outer skull silhouette and interior scenes. Keep inner landscape elements simpler and avoid tiny architectural details unless you want extra sessions for saturation and contrast.
Q: What should I wear to a thigh watercolor session to make the artist's job easier?
A: Wear loose shorts or a skirt you can shift so the artist has a clean, comfortable field. Bring a light pair of slip-on shoes to avoid tugging at the thigh area when you get up after long sessions.
Q: How do I find more reference photos and studios for deer skull work in my city?
A: Search for style-specific hashtags and location tags, browse tattoo directories with deer skull filters, and check forum threads for recent portfolios. I have spent time looking through several shops across Brooklyn and in every city the same patterns emerge: artists who specialize in your chosen style will have clearer portfolios and realistic healed photos.
