
Fine line behind-the-ear tattoos dominate feeds right now, and they look gorgeous in a tied-up hairstyle. They also sit on very thin skin, so expect a sharper sting, faster softening of micro lines, and extra wear from short hair or headphones. These 17 references pick designs that photograph well and stand a better chance of aging clean, plus what to tell your artist at consult.
1. Fine Line Crescent Moon on the Mastoid Curve
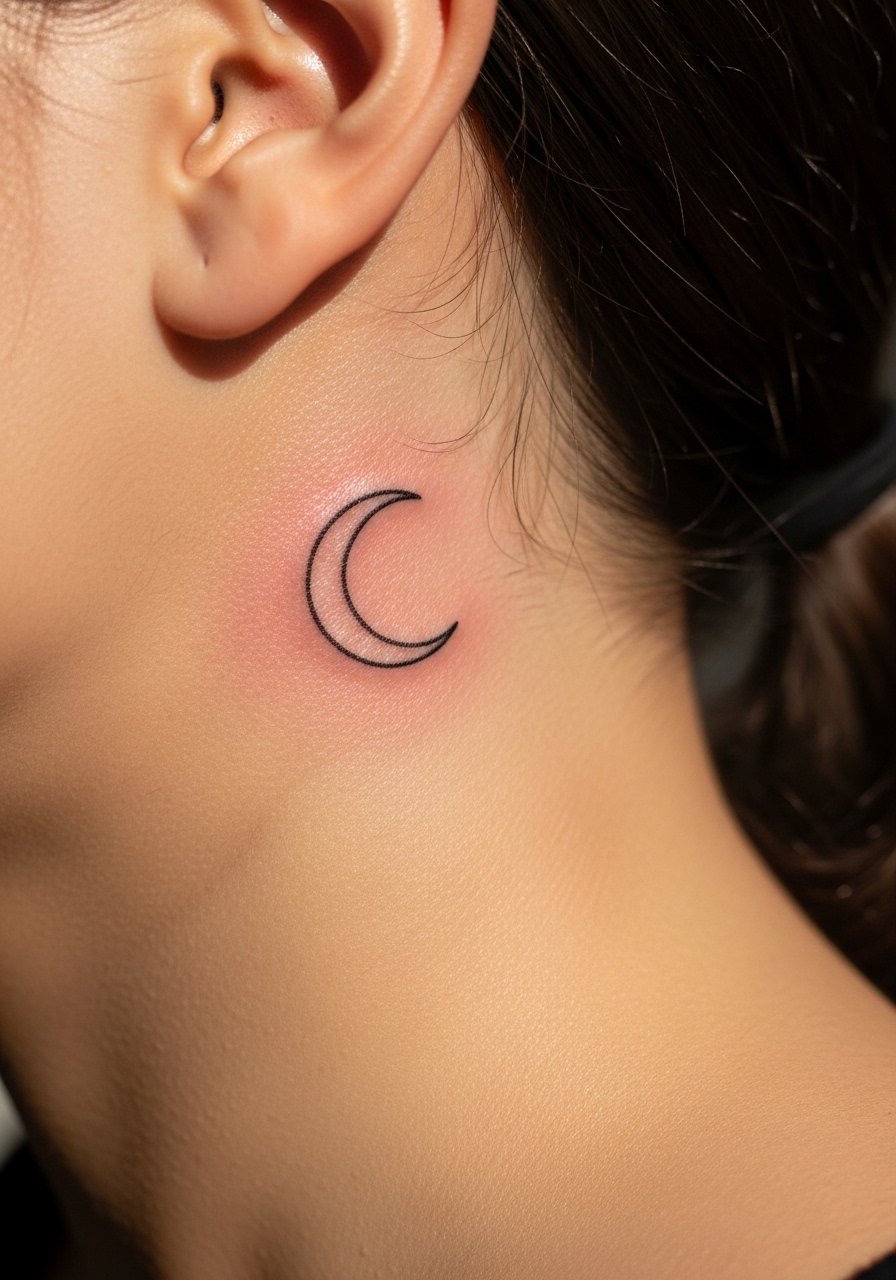
A tiny crescent that follows the mastoid curve uses the ear's natural frame to read like a tucked-in accent. I recommend asking for single-needle linework and a slightly thicker outer contour so it keeps shape after healing. Pain sits on the higher end for behind-ear work because the skin is thin and close to bone. Session time is short, usually under 30 minutes. Common mistakes are going too filigree-thin, which blurs at year two to five. Tell your artist you want one clean needle pass and plan for a touch-up at year three if lines soften. For showing it off, try a high ponytail hair tie with a simple ear cuff.
2. Minimalist Anchor Outline at the Back of Ear
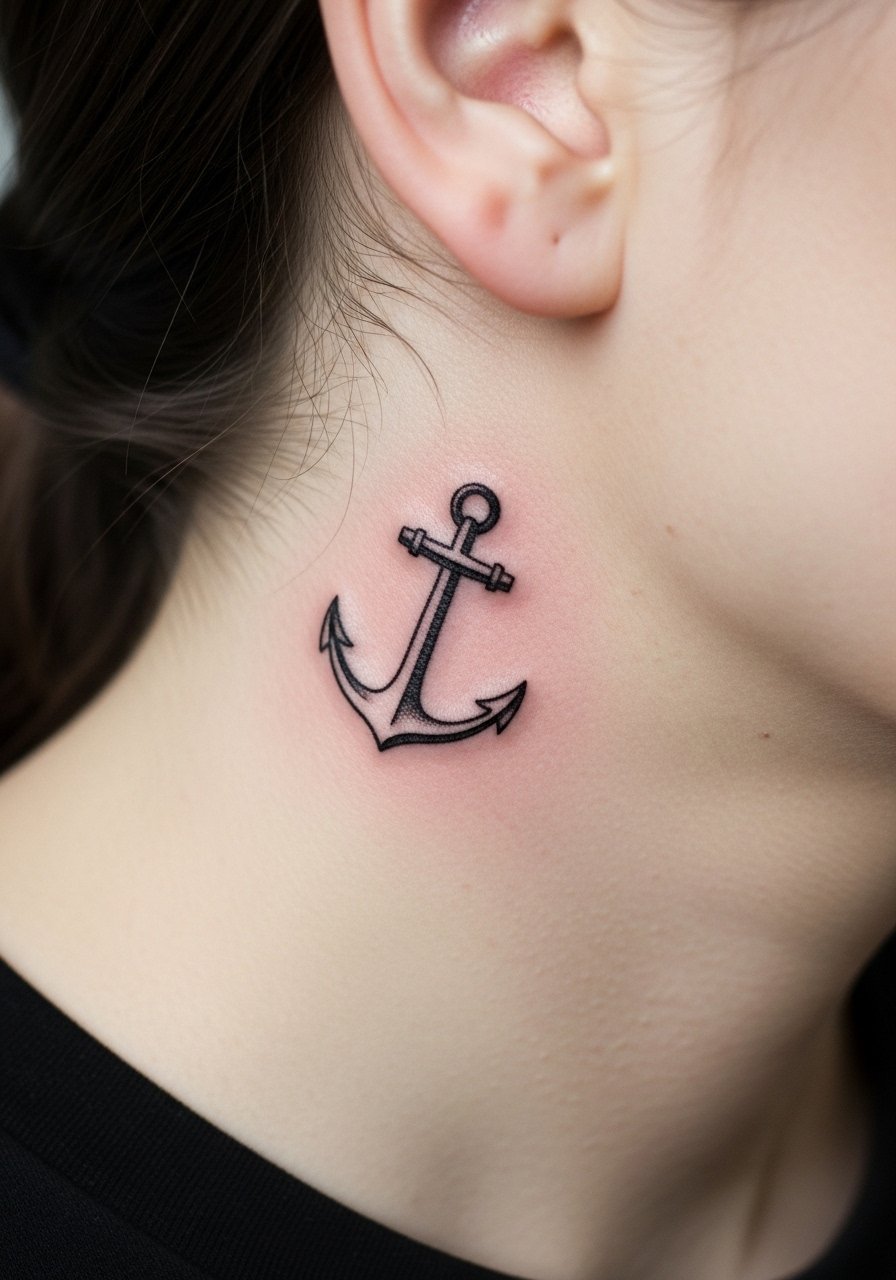
This tiny anchor works well where short hair or a tucked style lets the symbol peek out. Ask for a compact silhouette under one inch and black-and-gray shading only. The session is quick and the pain moderate because of bone proximity. A common mistake is requesting a tiny, overly detailed anchor that loses clarity as it settles. For longevity, bold single lines hold up better than hair-fine crosshatching. During the appointment wear a V neck blouse loose or button-down you can move aside. Pair the finished piece with minimalist gold studs when you want it visible.
3. Delicate Butterfly Linework, Slightly Offset
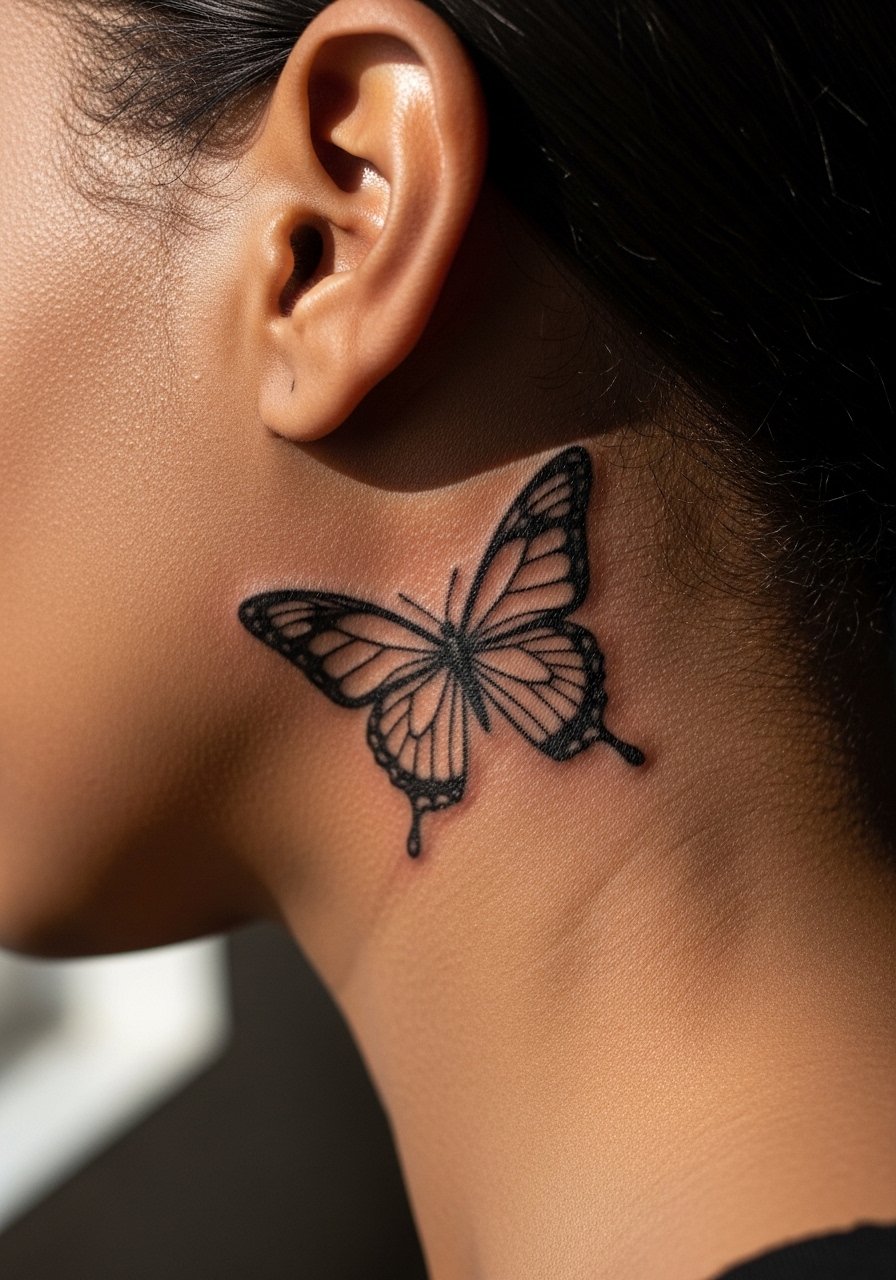
A compact butterfly with wing veins done as single lines reads as transformation without taking over the mastoid curve. Tell your artist you want negative space within wings and a gentle thicker spine so the shape ages into a recognizable silhouette. Expect a sharper sting where the skin thins, but the session stays under 45 minutes. A mistake I see is requesting full micro-shading in the wings. That dense work on this spot tends to soften unevenly. For outings, the design pops with a pearl drop earrings dainty look and an updo. For the appointment, pull hair into a high pony or bun to give the artist clear access.
4. Small Sunflower Outline Behind the Ear
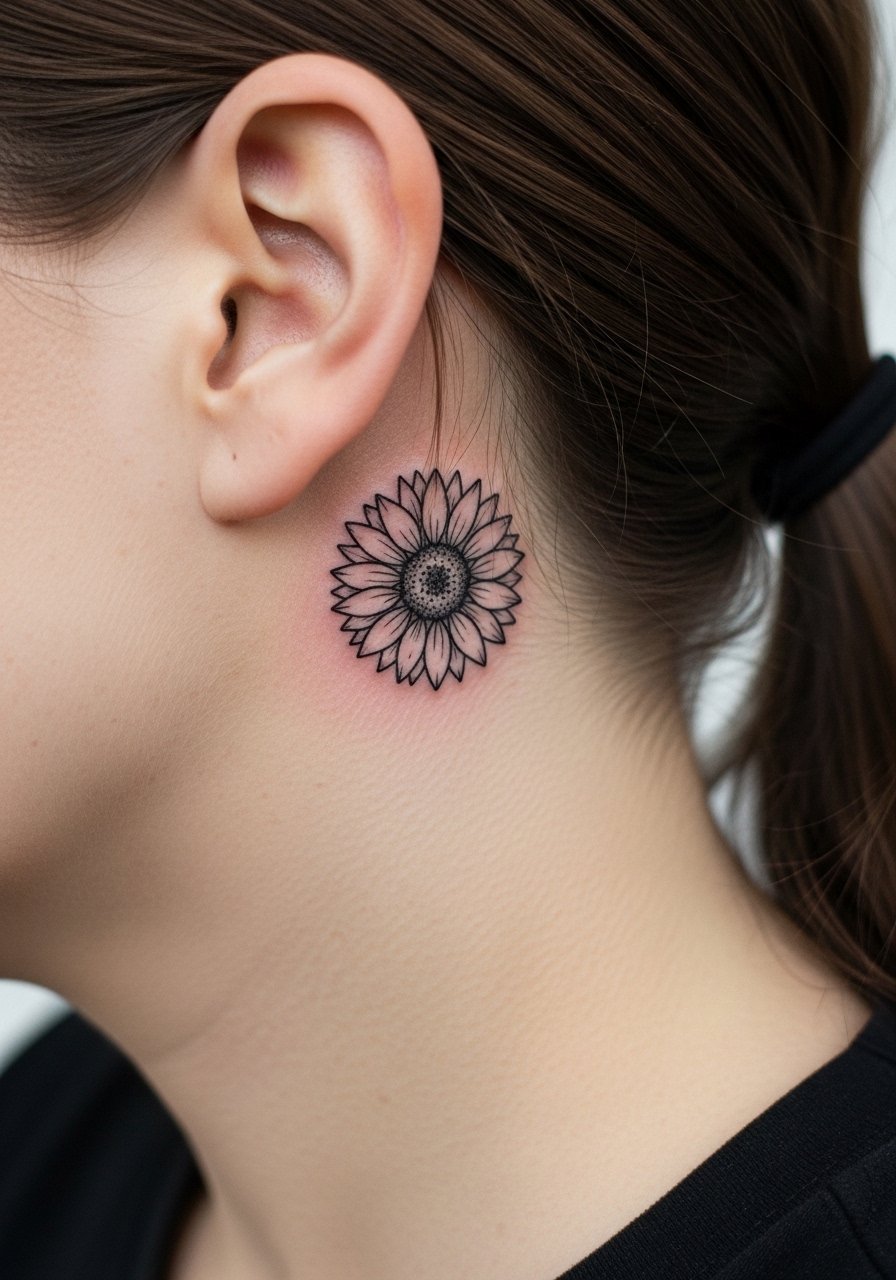
A sunflower converted into a tiny outline brightens the curve without heavy shading. I tell people this is best if you want a wearable symbol that still hides when hair is down. Ask for clean petal spacing and avoid interior stipple. The most common error is packing too many petals into a 1-inch piece. That leads to merging lines as it heals. Plan for a single session and a likely touch-up at year two if headphones or sun accelerate fade. Style with a linen sundress yellow or secure it during work with a half-up twist and floral hair pins.
5. Orion’s Belt Star Cluster Curving with the Ear
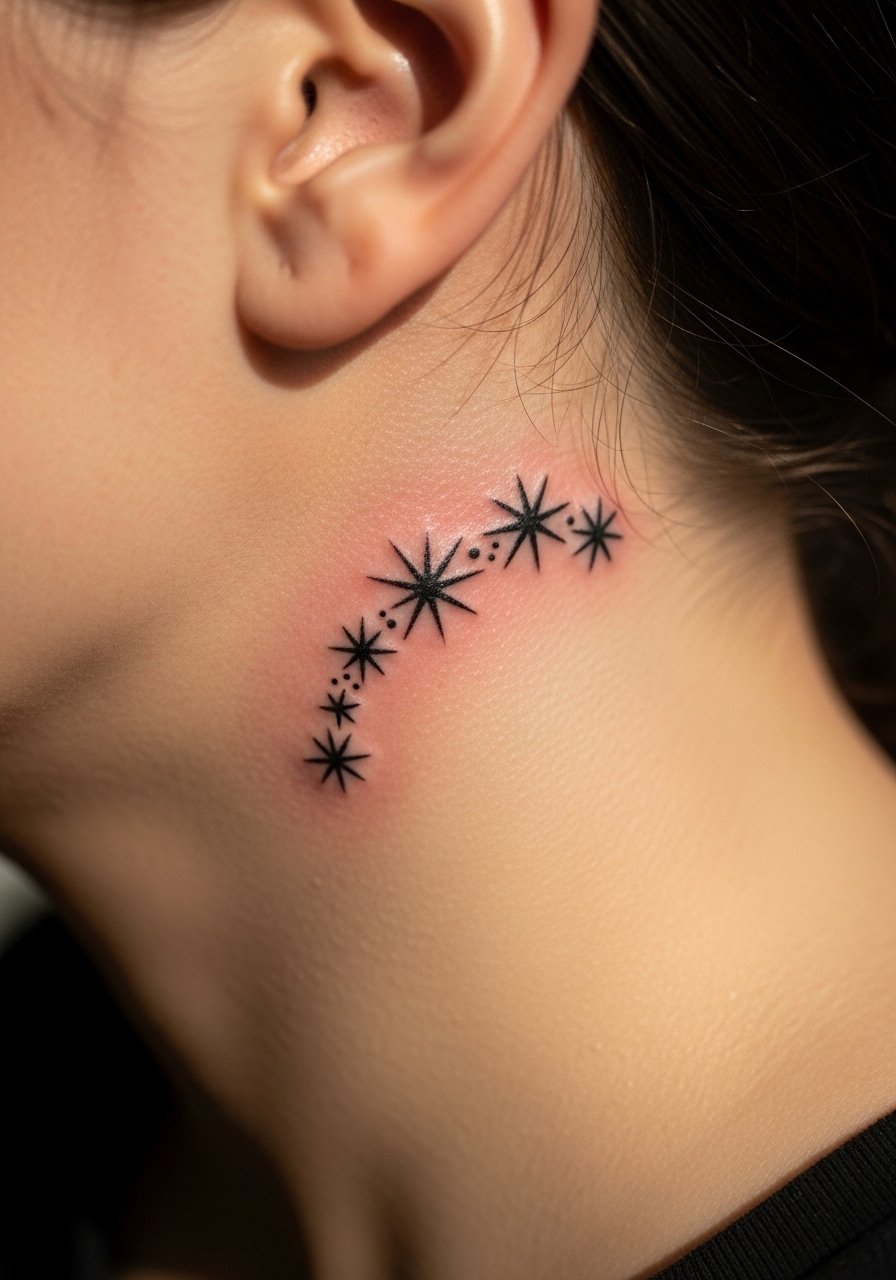
Three tiny stars placed along the mastoid curve make a subtle directional piece. Tell the artist to space the stars so they read individually at six months and still map as a cluster at two years. The session feels short but sharp near the bone. One common mistake is asking for micro dot fill inside each star. That level of texture can blur under constant friction from collars or headphones. For a show-off look, slick hair back and wear a black silk blouse women. Consider a yearly check-in for a touch-up if you swim or spend a lot of time in sun.
6. Thin Line Dragonfly Paired with a Tiny Trail
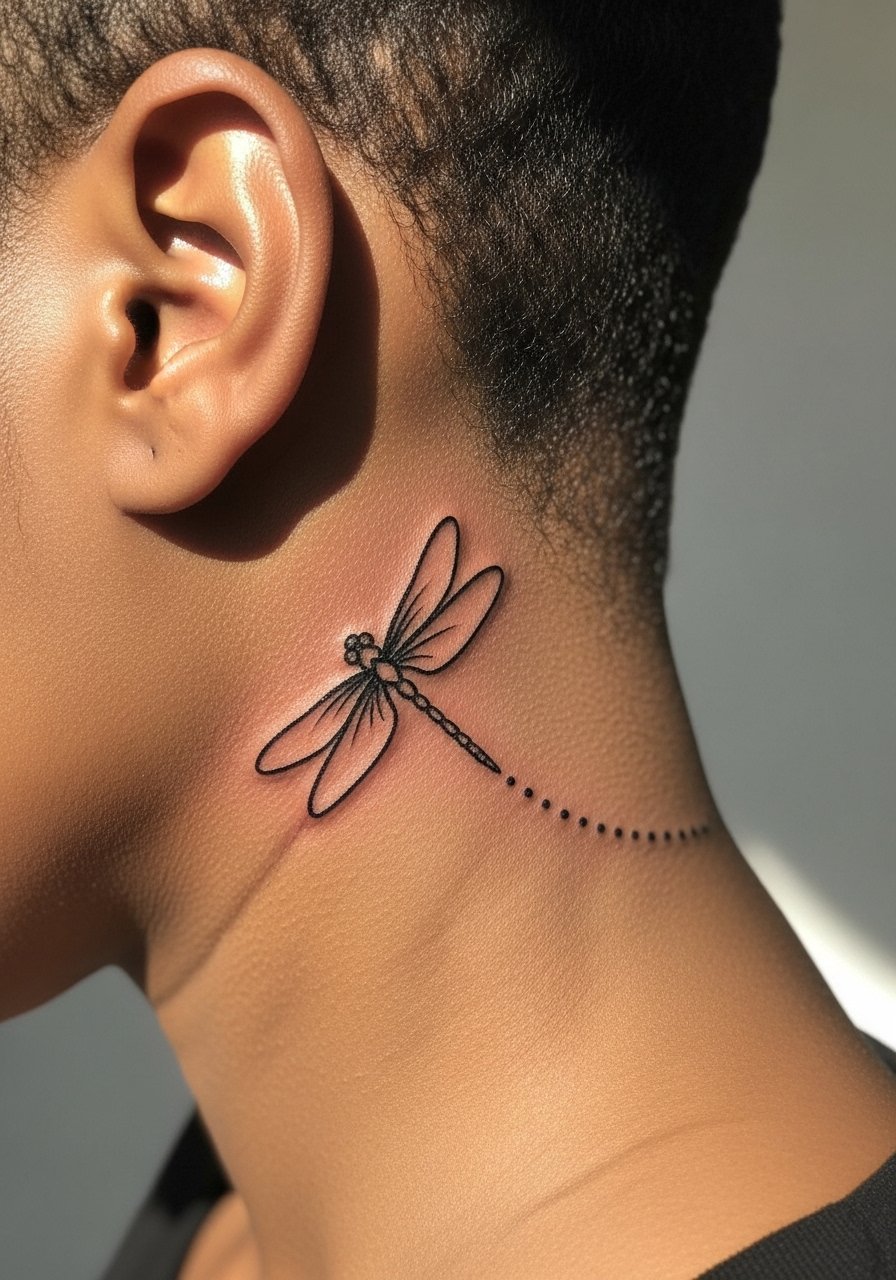
A dragonfly rendered as thin linework with a dotted motion trail reads like movement while staying micro in size. I usually recommend a slightly heavier thorax line so the wings do not wash out over time. Expect the session to be under 40 minutes and the pain to be sharper than forearm work. People often ask for intricate wing veins and then regret it when the veins soften into patches. For reveal styling, pair with a high ponytail scrunchie and drop earrings. Keep headphones loose during the first two weeks to cut friction.
Studio Day Picks
The moon, the anchor, the sunflower, and the dragonfly above share thin lines and small footprints, so a few session-day items make those first 7 to 10 days less fussy.
-
Stencil transfer paper kit. Lets you preview exact placement on skin before the needle, which helps with tiny mastoid-curve pieces.
-
Topical numbing cream. Applied per artist guidance about 45 minutes ahead eases the behind-ear sting without changing the linework.
-
Thin protective film roll. Useful for keeping headphone pressure and collars off a fresh micro piece during the first few days.
-
Fragrance free gentle body wash. Cleanses the area without irritating tender lines and helps prevent scabbing that pulls fine work.
-
Aquaphor healing ointment. A thin layer for the first 48 hours helps keep moisture at the surface while the ink settles.
7. Script Name or Single-Word Curve Along the Ear Line
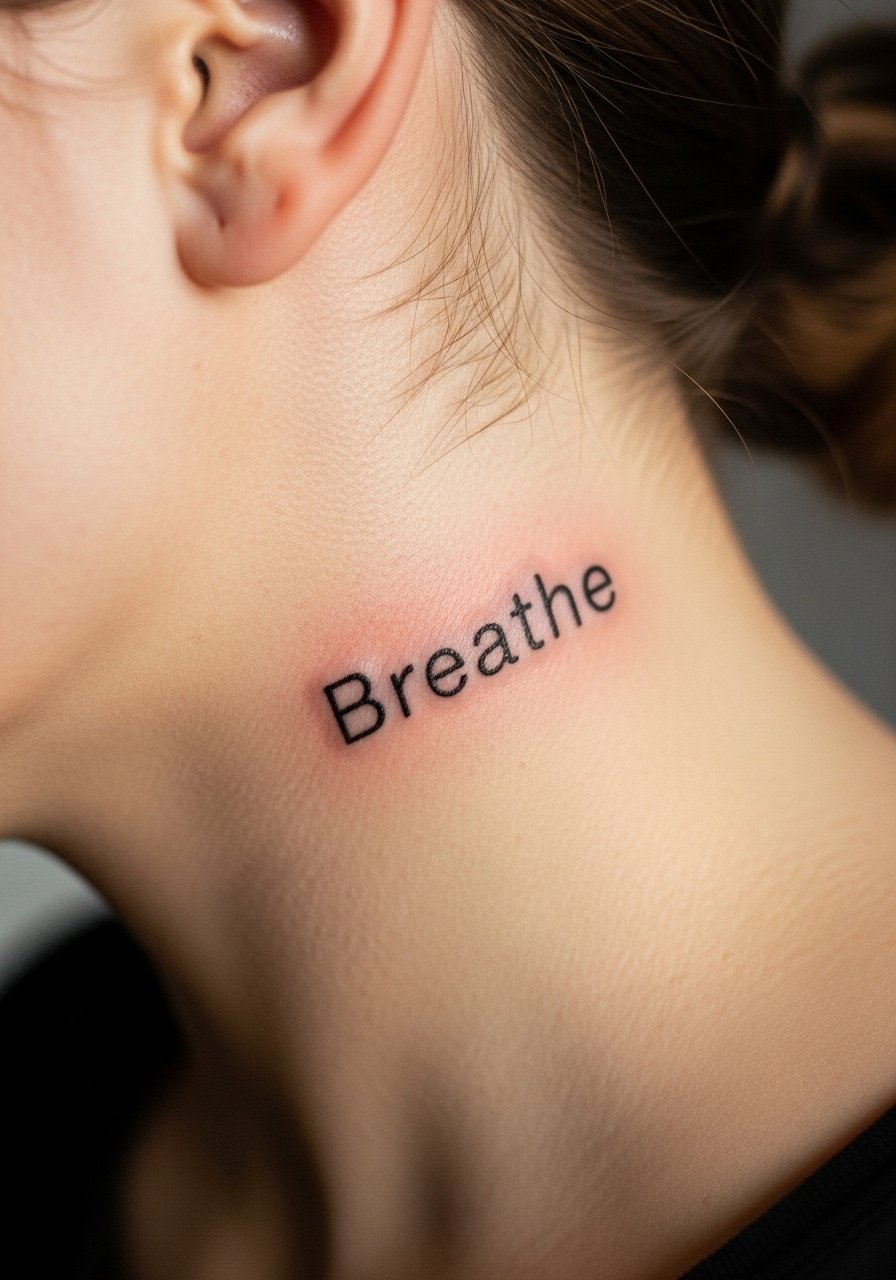
Short text under five letters in sans-serif is the readability sweet spot for behind-ear script. Artists split on fonts here. One camp says sans-serif under five letters lasts years with legibility. The other camp warns that any script will blur on thin ear skin. Say you want clean spacing, even stroke weight, and a plan for touch-up at three to five years. Mistakes include choosing italic or highly cursive fonts that loop and become a smudge as they age. Pain is quick and sharp. For sessions wear a loose button-down shirt you can pull aside. Avoid heavy necklaces that rub the area while it heals.
8. Celestial Earth with Micro Stars Accent
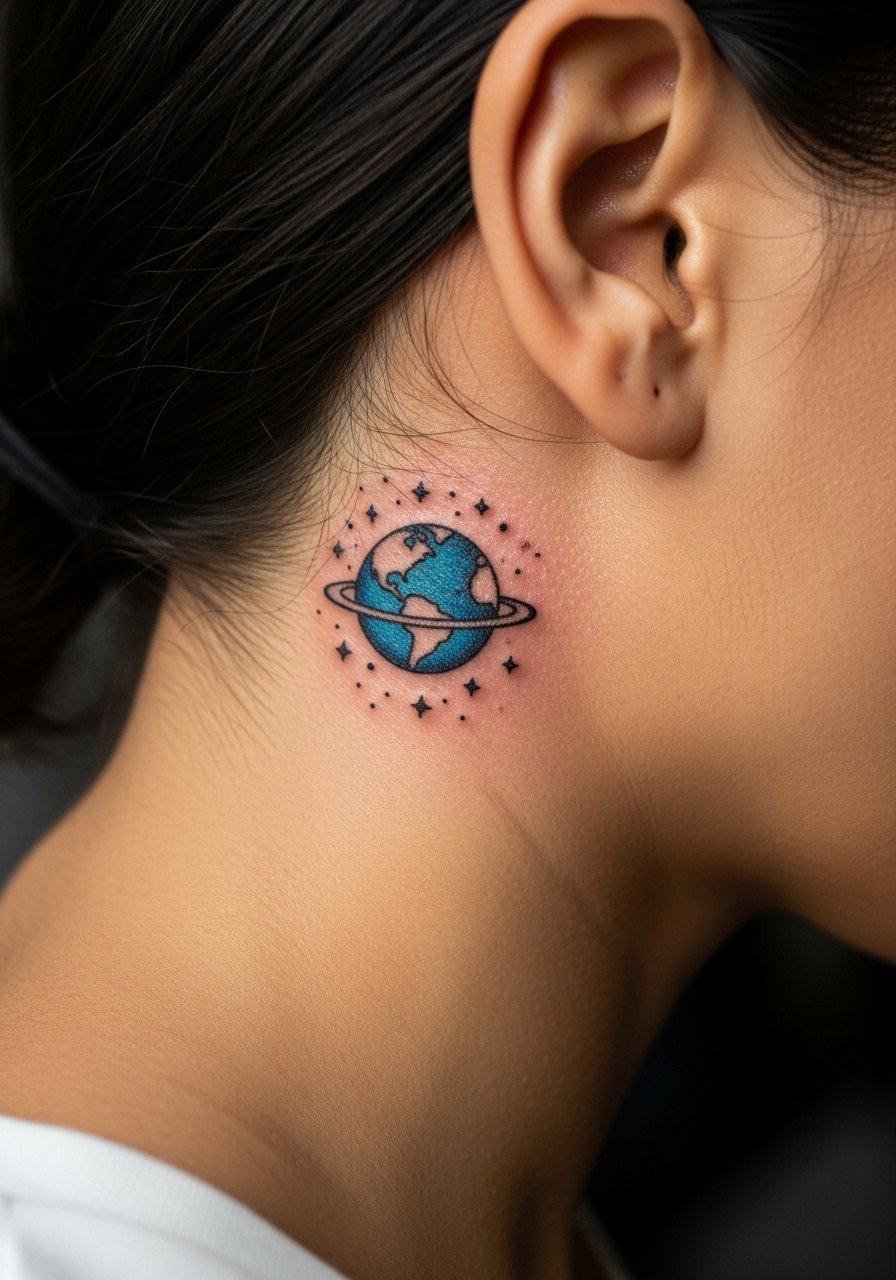
A tiny planet rendered with a hint of blue anchors travel or wonder themes while staying compact. Ask for limited color saturation and a single outline so the blue does not feather into the black. This placement ages more slowly with sparse color than with full fills. People sometimes request dense blue shading that migrates into surrounding lines. Session time is short but the color may need a lighter touch to avoid blowout. For showing it off, an ear cuff minimalist silver pairs cleanly. Plan for sun protection on the scalp to keep color from fading.
9. Lightning Bolt Micro Mark
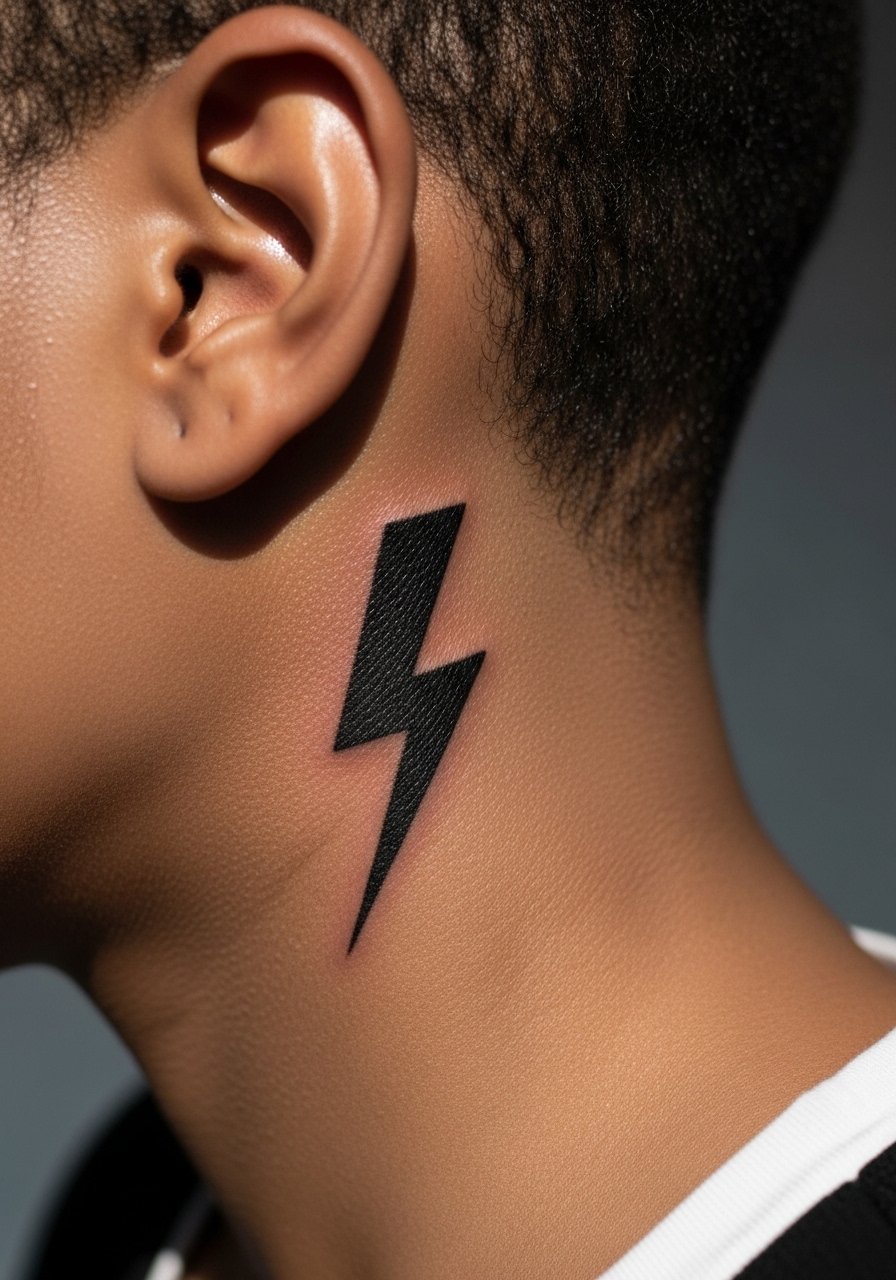
A tiny lightning bolt reads edgy and intentional when done as a single bold stroke. I advise one clear, slightly heavier stroke rather than multiple thin zigzags. It feels sharper because of bone proximity but the session is fast. The common error is over-detailing the bolt in a space under one inch. That invites blurring. For daily wear try a shaved-back or slicked style for reveal moments. The bolt pairs well with a leather jacket or collared top when you want to show it.
10. Tiny Turtle Outline Nestled Behind the Ear
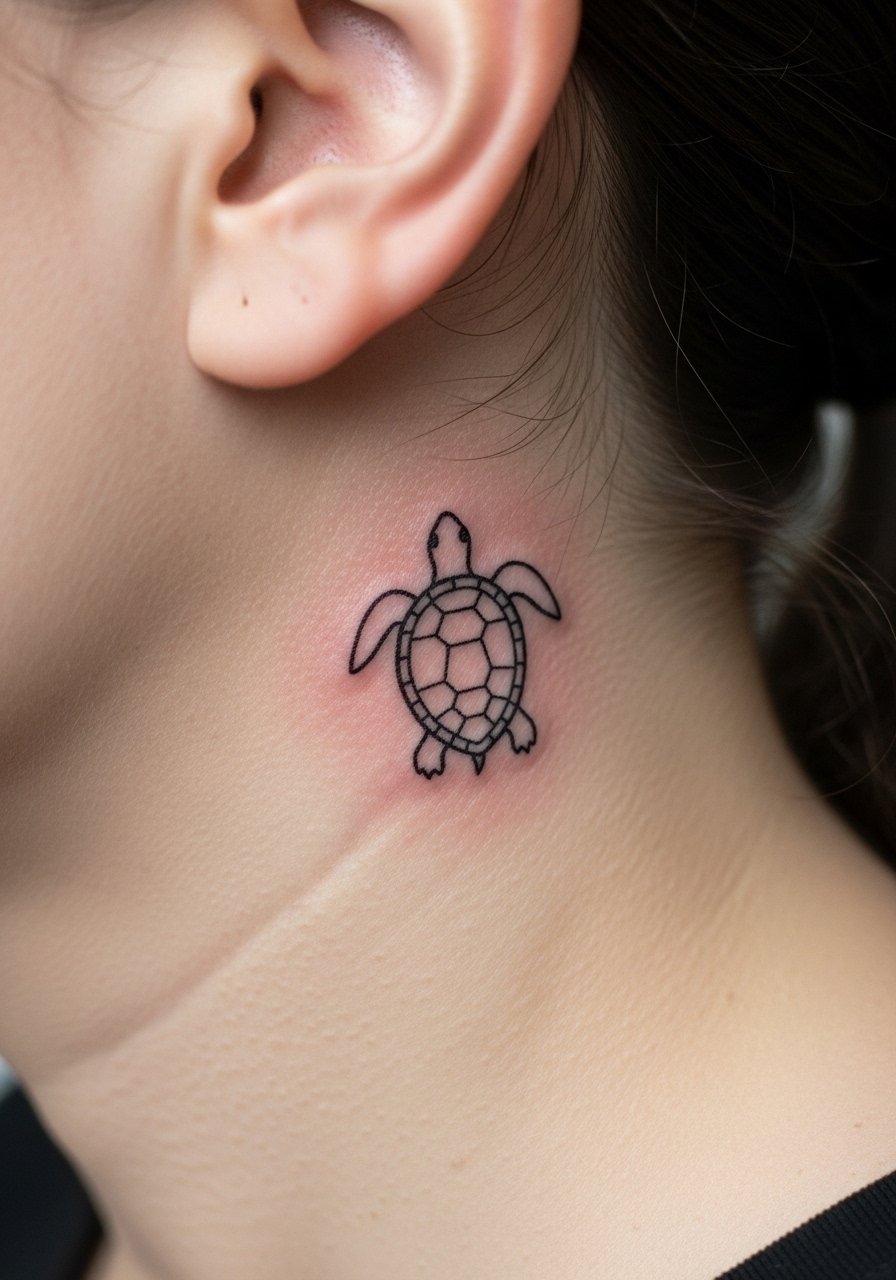
A micro turtle gives longevity symbolism without occupying much curve. Tell your artist to keep the shell pattern open and avoid tiny internal dots. That kind of interior detail tends to merge after a year. Sessions are brief and the sensation is sharp on the mastoid. Touch-ups at year two are common for animal fine lines if you wear earbuds often. When you want to display it, a half-up hair twist and simple hoops work well.
11. Whale Silhouette Emphasizing the Tail
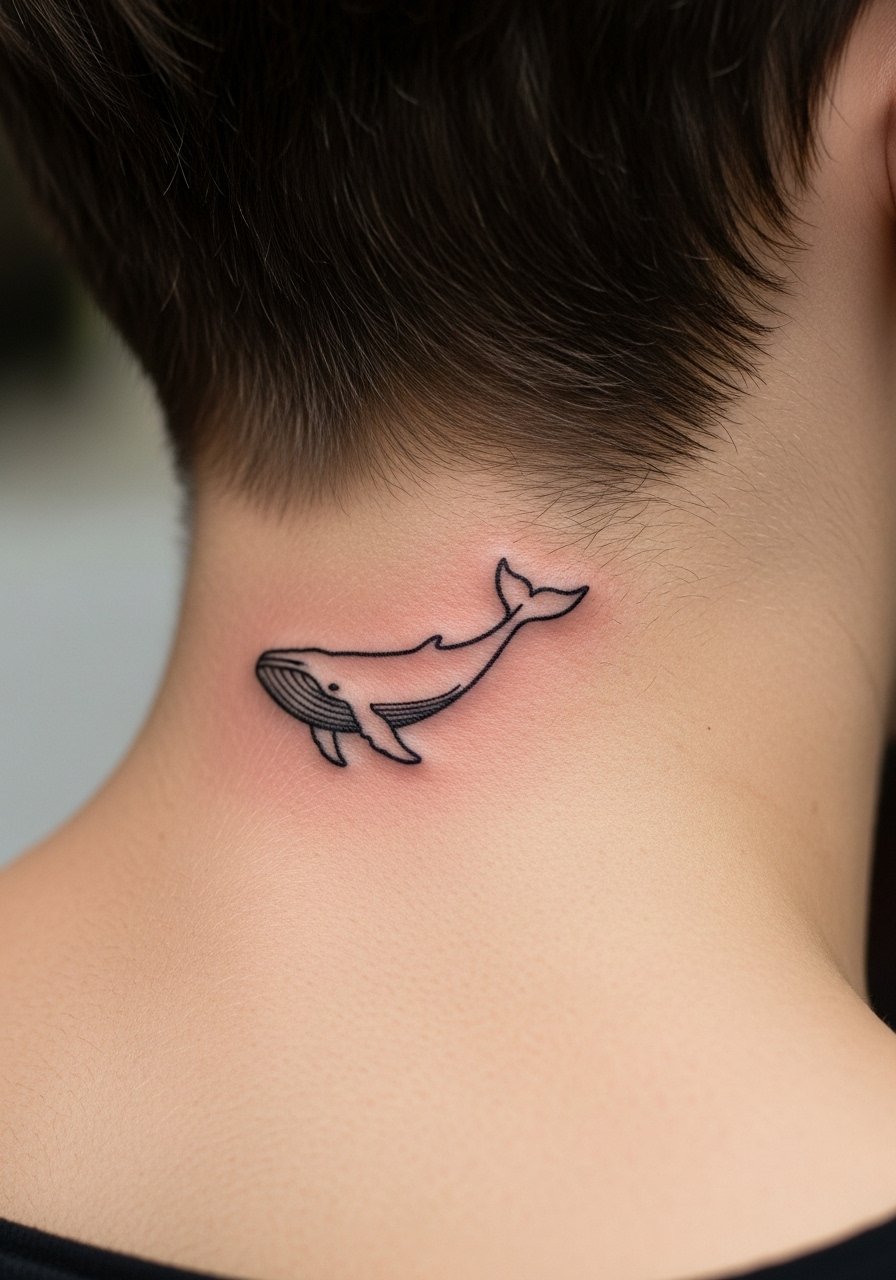
A whale silhouette with an emphasized tail can read like depth and movement while staying tiny. Ask for a slightly thicker ventral line so the small shape reads from a distance. A mistake I see is asking for interior shading in such a small area. That shading softens unpredictably. Expect a short session and consider yearly touch-ups if you swim or spend long time in sun. For a show-off look, pair with minimal studs and a top that lifts the hairline.
12. Geometric Tribal Pattern on the Mastoid Curve
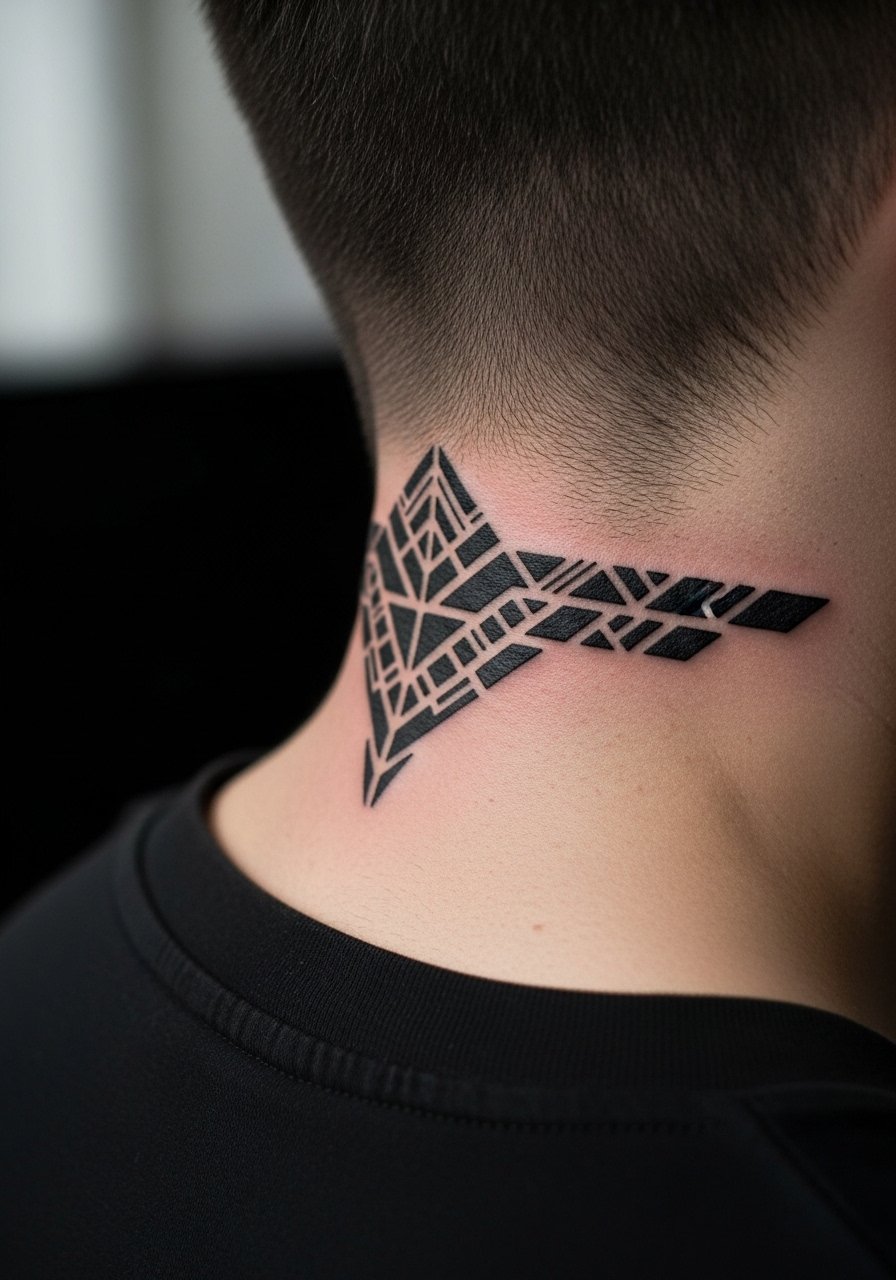
Bold geometric lines laid along the mastoid curve create an edge that reads masculine or graphic depending on styling. There is a debate. One camp says bold blackwork holds better than fine line on thin ear skin over five to seven years. The other camp argues that carefully executed fine lines can still settle well when spacing is right. Name both camps directly to your artist and ask which approach they prefer for this placement. This work takes a bit longer because of precise angles and the pain is moderate. Pair it with a popped collar or leather jacket for contrast.
13. Single-Line Floral Motif Blooming Toward the Jaw
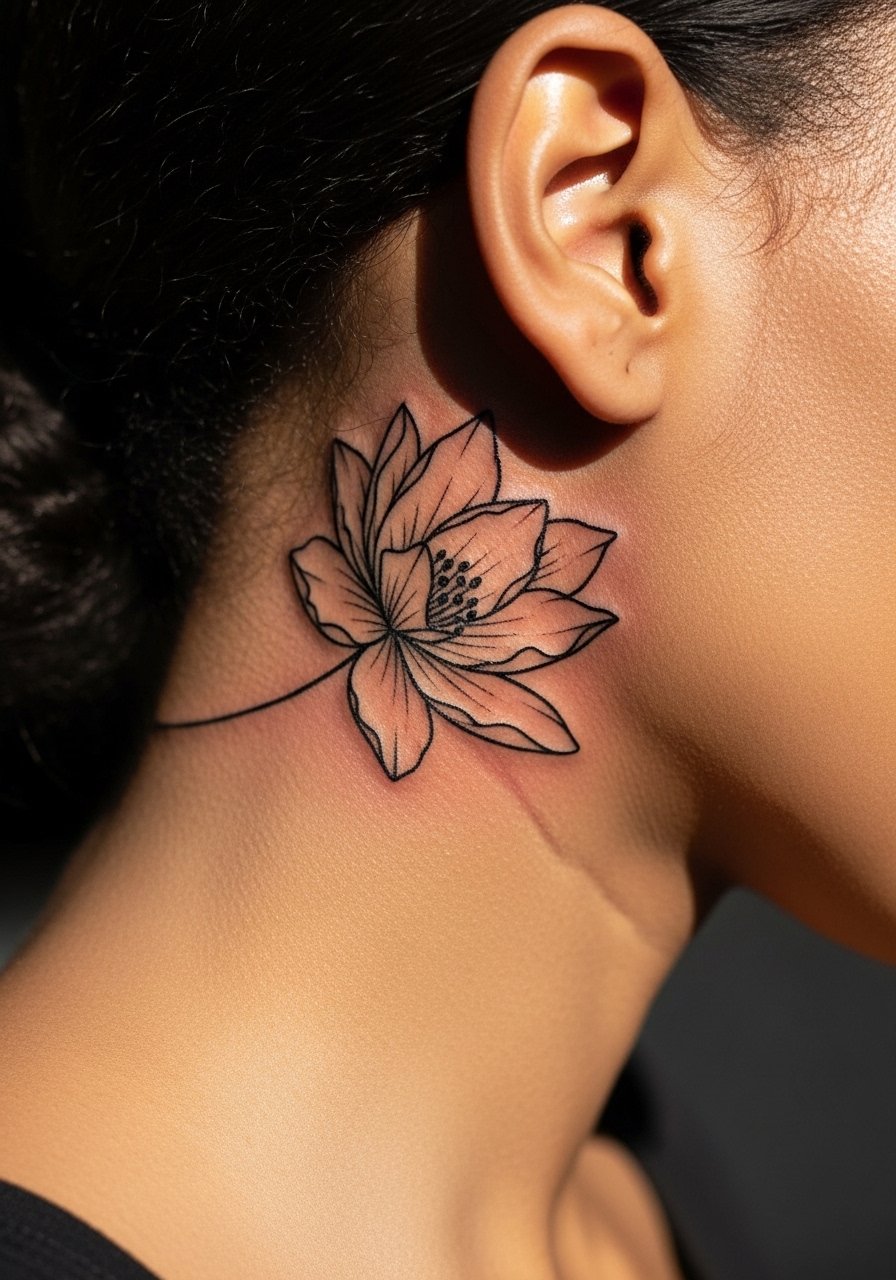
A single-line floral that opens toward the jaw makes the most of the mastoid slope. Request continuous single-line execution with minimal interior detail. The main mistake is asking for clustered blooms in a micro space, which leads to loss of negative space as the piece heals. Expect a compact session under 45 minutes and a likely touch-up at year three for line sharpening. Style with a messy bun with drop pearl earrings to frame the petals.
14. Micro Compass Pointing Backward
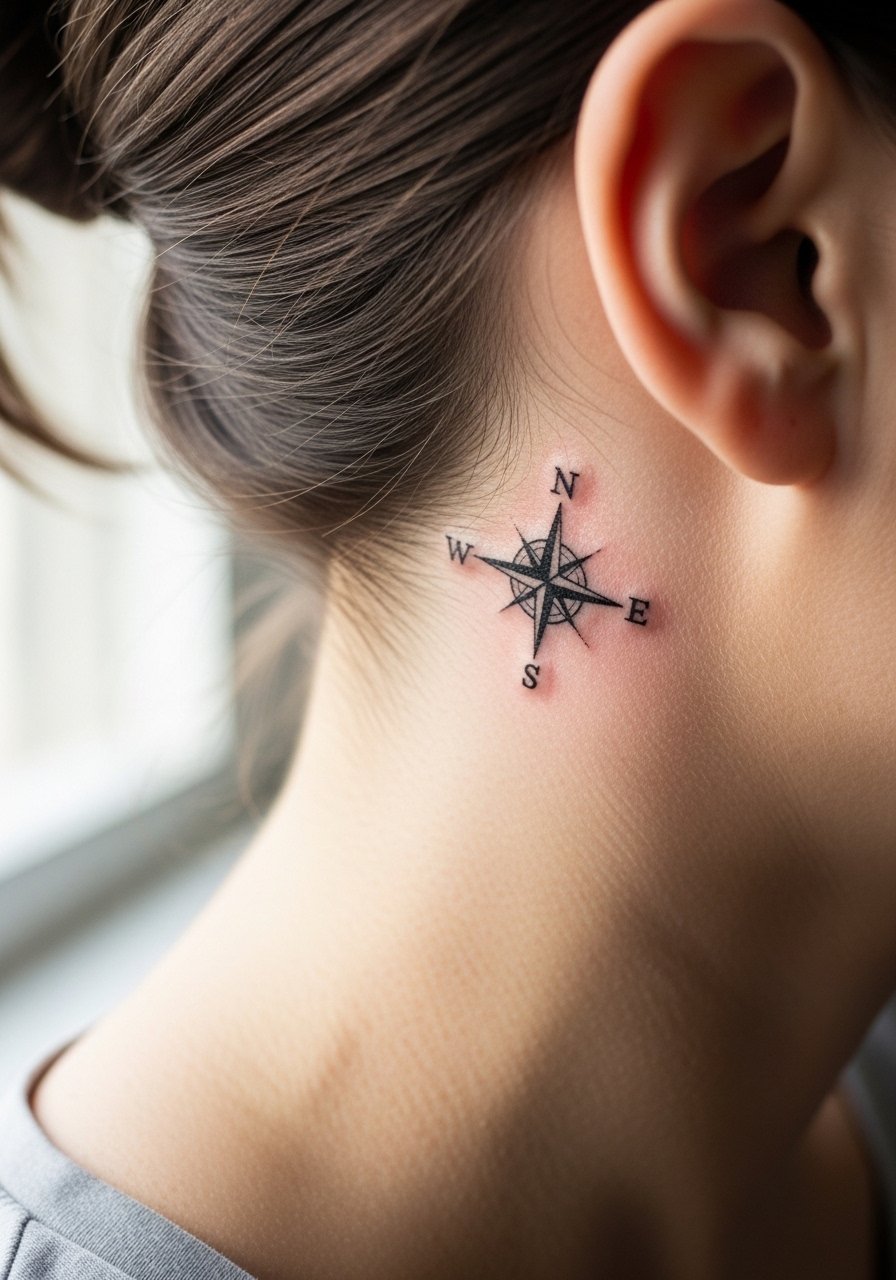
A compact compass needle gives a directional statement without bulk. Ask for a clear outer ring and a simple north marker only. The most common error is packing minute cardinal points into a micro circle. That detail blurs into a blob as it ages. The session is short. Expect a faster touch-up cycle if you sleep on that side often. For sessions wear a loose tank top so you can tilt your head easily.
15. Tiny Wave Line That Follows the Curve
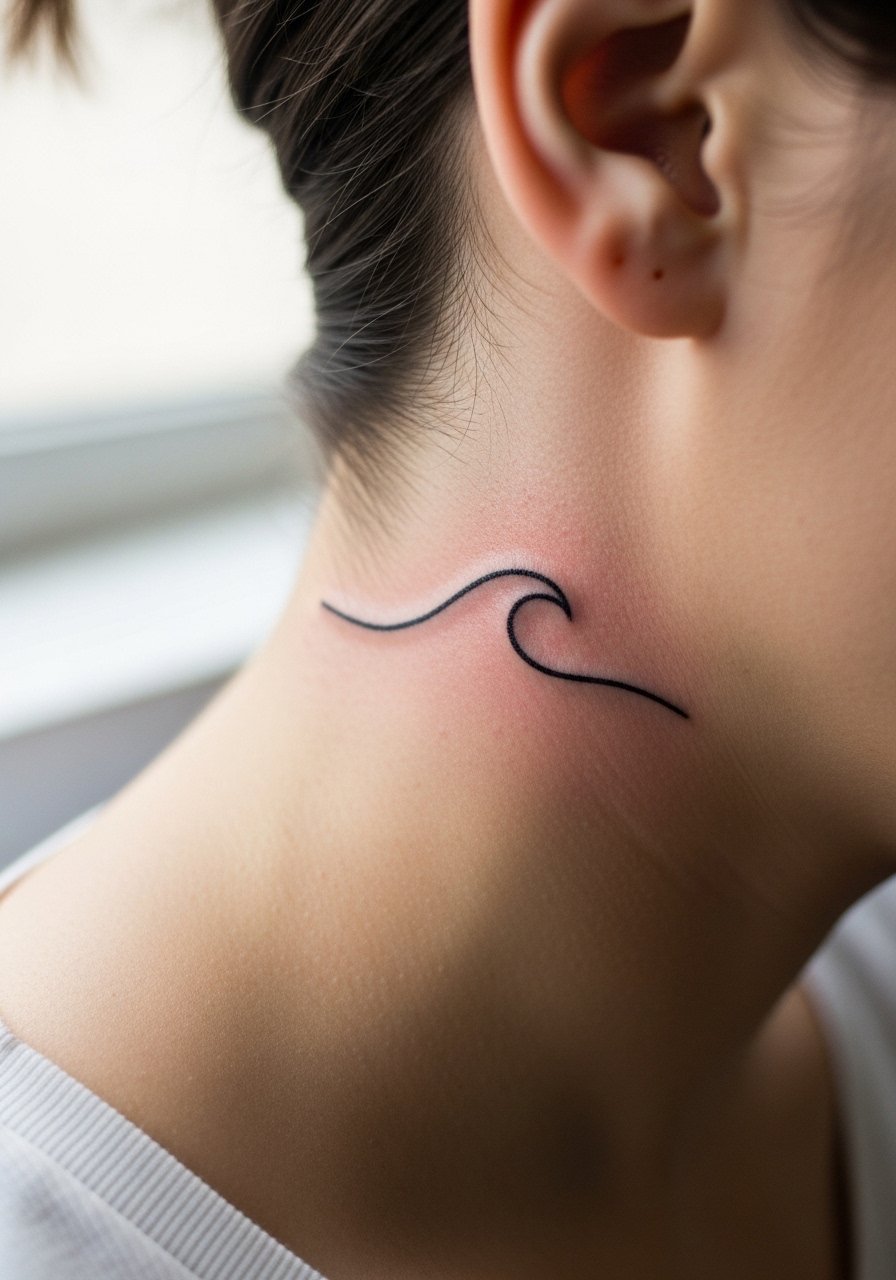
A single flowing wave can read like movement and ocean connection in a very small footprint. I recommend one confident sweep with moderate line weight to avoid eventual breakage of continuity. The common mistake is requesting a multi-line wave pattern that looks busy at micro scale. Sessions run short and the sensation is sharp against the bone. For show-off styling, half-up hair with a racerback tank or off-shoulder top makes it peek in a balanced way.
16. Tiny Geometric Sunburst at the Mastoid Edge
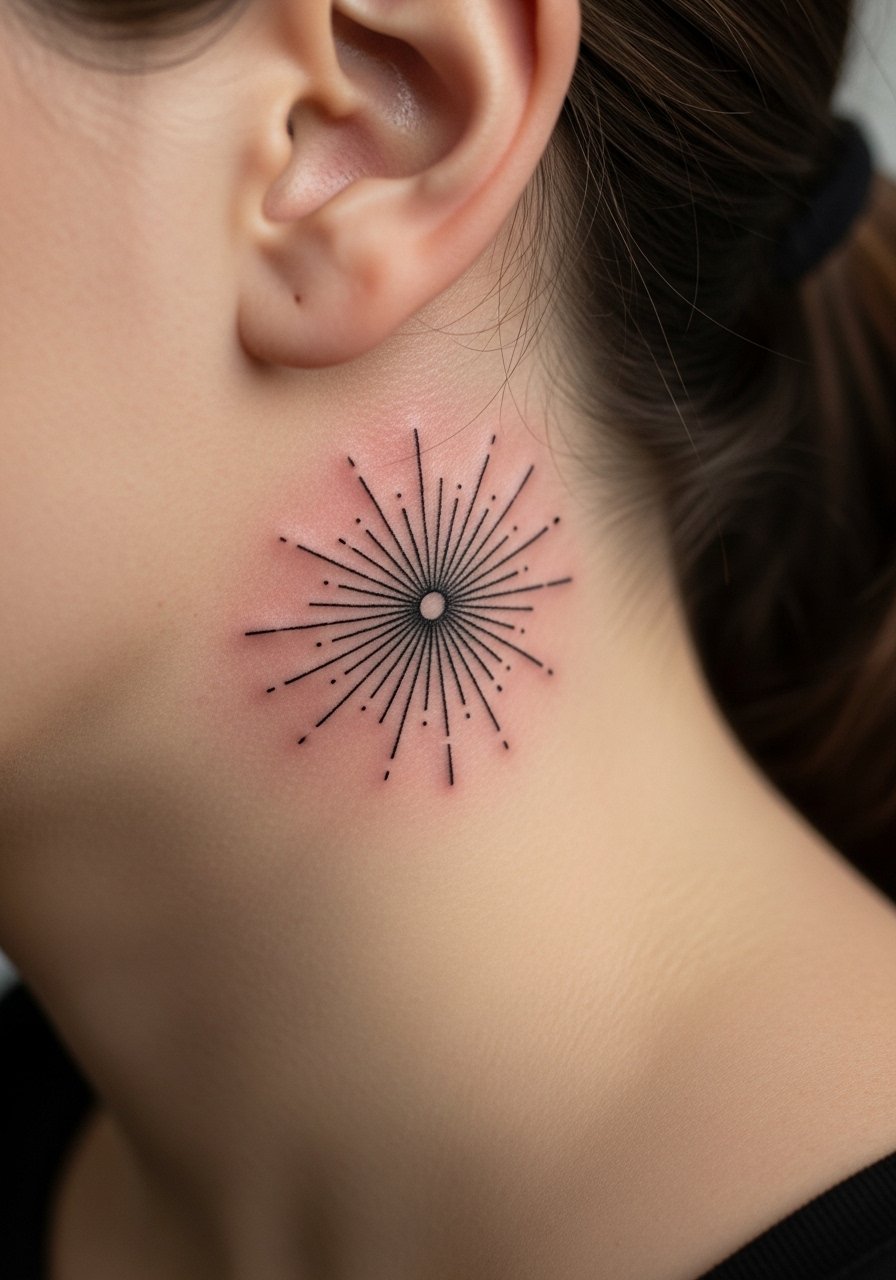
A micro sunburst uses short radial strokes that must have breathing room to preserve definition. Tell your artist you want slightly longer rays with space between each. The mistake is compressing rays into a tiny circle, which makes them merge in months. Expect a sharper sensation and a quick appointment. For display pair it with a sleek updo or a thin chain necklace that sits above the ear line.
17. Single-Needle Arrow Curving with the Ear
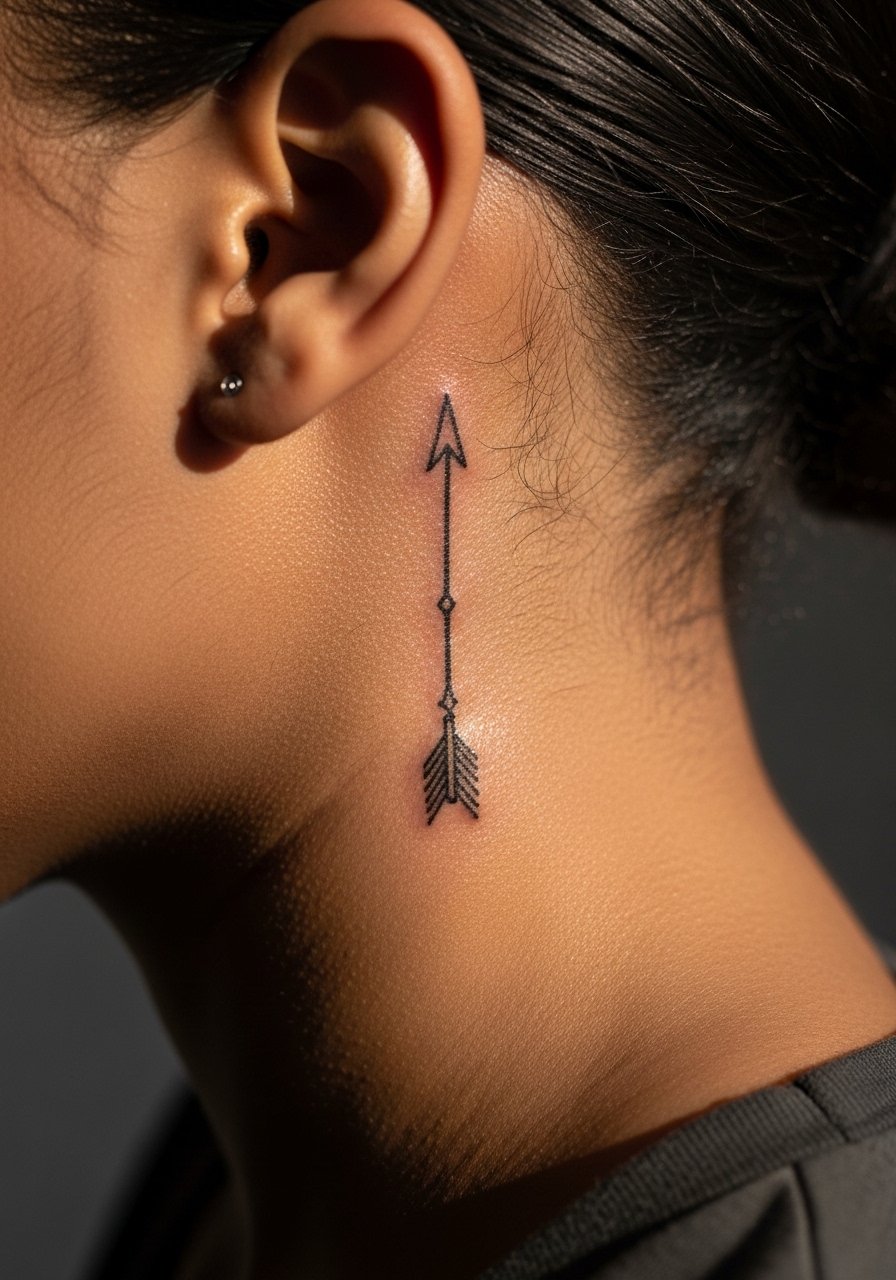
A curved arrow executed with a single needle gives a streamlined look that wears well when spaced correctly. I often advise a modest outer stroke to maintain the arrow head definition after healing. People sometimes request double-line shafts that fill in as they age. The session feels sharp and quick. Expect a touch-up around year three to restore any softened points. For appointment day wear a hair clip strong hold so the artist has unobstructed access.
Frequently Asked Questions
Q: How painful is a behind the ear tattoo compared with a forearm piece?
A: Expect a sharper, more intense sensation behind the ear because the skin is thin and near bone. Forearm work usually feels more like sustained vibration. Short sessions under 30 to 45 minutes are common for mastoid curve pieces to limit discomfort.
Q: Do fine line designs fade faster back there and should I pick bold lines instead?
A: Artists split into two camps. One camp says fine line blurs faster on thin ear skin and that bold lines hold crispness longer. The other camp believes carefully executed fine lines with correct spacing can settle well. My practical advice is to ask your artist which approach they have success with on mastoid work and plan for touch-ups sooner if you pick ultra-fine detail.
Q: How should I prepare clothing and hair for a behind the ear session?
A: Tie your hair up in a high ponytail or bun and wear a loose top the artist can move aside, like a loose button-down shirt. Avoid necklaces and tight collars that will rub the area immediately after the appointment.
Q: Will headphones or hats ruin a new behind the ear tattoo?
A: Friction from headphones and repeated hat bands increases wear and can accelerate fading. Try loosening or avoiding them during the first two weeks and consider lighter on-ear options while the area is settling.
Q: Are there visibility or career concerns with this placement?
A: Short hair or updos reveal these tattoos easily. If concealment is important for work, keep the size under one inch and test placement with a temporary decal before committing. A tucked hairline hides most micro pieces when needed.
