
Fine line black roses have taken over saved boards, but they come with choices that matter more than the picture you pin. Fading, placement pain, and whether the design will still read in five years are the questions I hear most. Read on for specific black rose ideas, what to say in consults, and how to prep your body and wardrobe so the design you pick actually ages the way you expect.
1. Fine Line Bud on the Inner Wrist

I usually recommend this tiny wrist bud to first-timers who want subtle but readable work. Pain is low to moderate at the wrist. For the consult, ask your artist to show the exact line weight you want on skin, not just on screen. The fine line camp will tell you this is the elegant choice. The bold line camp will warn it may need touch-ups faster in high-friction areas. Tell your artist you want slightly increased spacing between petal lines to avoid merging at year two. For showing it off, pair with a thin leather wrap bracelet on the opposite wrist and wear a sleeveless black tank to the appointment for easy access.
2. Thorny Stem Wrapping the Outer Forearm

This wraparound forearm piece reads bold from across a room because of saturated blackwork. Expect moderate pain and a two-session build if you want deep saturation. During consultation, say you want the thorns to follow natural arm contours rather than forcing symmetry. A common mistake is making the wrap too tight around the wrist where skin folds cause blowout. For longevity, heavier linework and solid fill age much better than micro detail in this spot. For session wear bring a loose button-down shirt you can roll up so the artist has clear access.
3. Micro-Realism Velvet Petals on the Shoulder Blade

Shoulder blade realisms let artists show petal texture without constant sun exposure. Expect moderate pain and longer sit times over multiple sessions for layered shading. Tell the artist you want velvet-like texture with stipple shading in the deepest curves and soft whip shading toward the edges. A poor version tries to cram too much tiny detail into a three-inch piece, which blurs after a year. This placement pairs with off-shoulder tops when you want to reveal the work. For the session wear a racerback tank so the artist can access the full blade without you being uncomfortable.
4. Neo-Traditional Rose with Skull Accent on Upper Arm

This version uses bold outlines and gray wash for a narrative edge. Pain is moderate and sessions run medium length. In consults ask how the skull sits relative to the bloom so negative space reads clearly at arm distance. A frequent mistake is shrinking the skull until it loses form when healed. If you like storytelling in tattoos, say you want clear separation between motifs so each element survives the aging process. Wear a charcoal rolled sleeve tee to the session for easy access and a look that frames the upper arm afterward.
5. Minimalist Outline with Single Thorn on the Inner Ankle
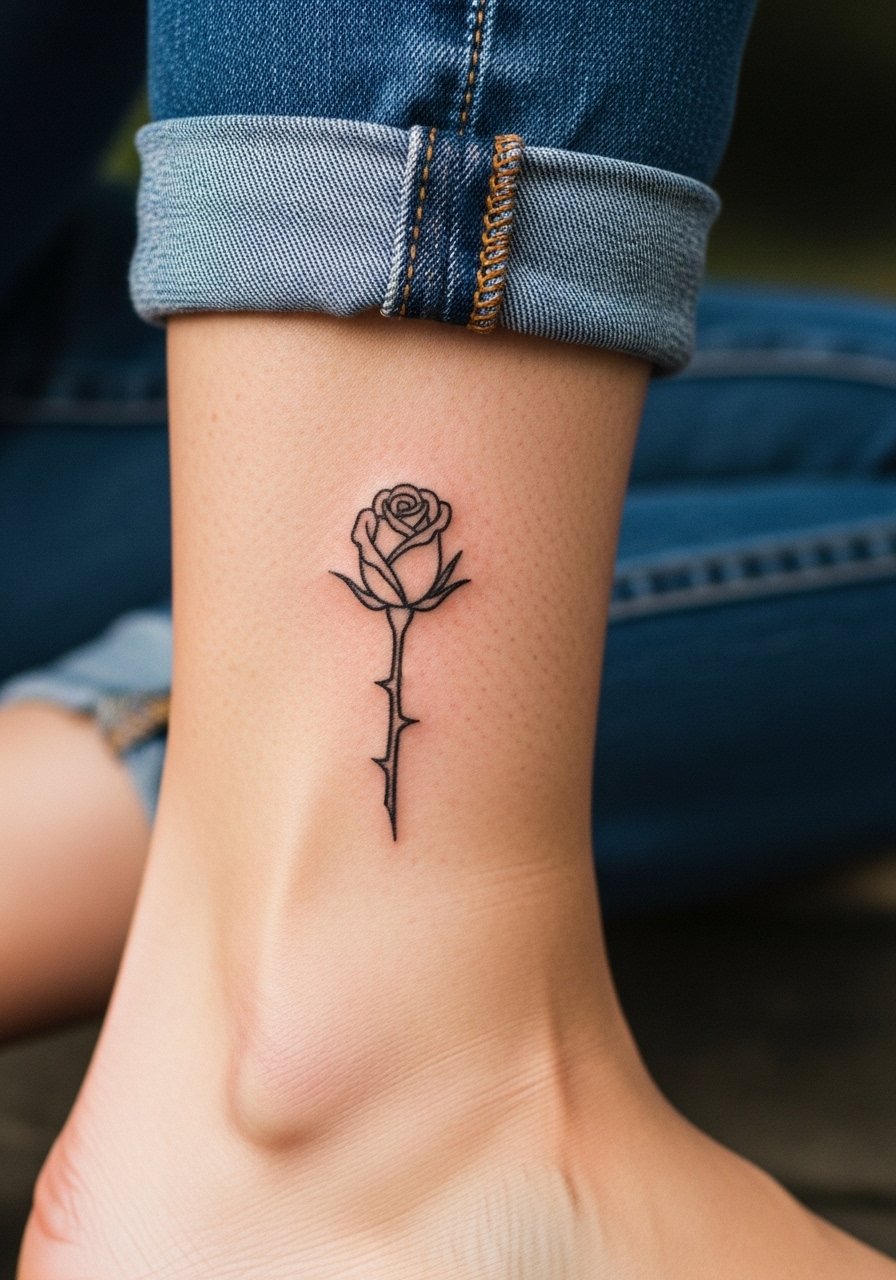
Ankle pieces are vulnerable to rubbing and seasonal wear. Pain at the ankle varies but most report a sharper sensation over bone. Tell your artist you want single-needle clean lines with slightly thicker anchor lines so the outline reads after the first year. The common error is making the lines too hairline thin. For showing it off, cuff slim jeans or slip-on sandals. Bring slim ankle joggers to the session so you can roll them without pressure on the fresh tattoo.
6. Geometric Bouquet Down the Ribcage

Fair warning, ribs are commonly rated higher on the pain scale. This neo-ornamental piece uses geometry to give structure around organic petals. In consultations explain you want negative space between the geometry and petals to prevent the shapes from blurring together as the skin settles. Artists are split on fine line vs bold here. One camp argues the stretch on ribs blurs delicate work within two years. The other camp says careful depth and spacing can keep fine line readable. Ask which camp your artist belongs to and why. For the session wear a cropped black tee so they can lift fabric without fuss.
Studio Day Picks
The wrist, forearm, and ribcage pieces above need different prep and small items that make the session smoother and the first week less fussy.
-
Stencil transfer paper kit. Lets you test placement directly on skin so the small wrist and ankle pieces land where you expect.
-
Topical numbing cream. Applied as directed before ribcage sessions this can reduce edge pain without impacting the artist's work.
-
Thin protective film roll. Useful for wrist and ankle tattoos that face friction from clothes and shoes during the first days.
-
Fragrance-free gentle body wash. Keeps delicate linework from irritation during showers after a forearm or shoulder session.
-
Aquaphor healing ointment. Thin layers in the first 48 hours help fine line work retain crispness without suffocating needle channels.
7. Dotwork Rose with Spiderweb Collarbone Accent

Collarbones take shallow shading well but avoid overly dense dots too close to the sternum. Pain is moderate with a tingly sensation over bone. Ask your artist for dot spacing samples on similar skin tones so you know how dense the stippling will look healed. A common mistake is packing dots into tight areas that merge into gray blocks after two years. For showing it off choose a v-neck black blouse or a thin black choker that sits below the tattoo line.
8. Watercolor Shadowing on the Thigh

Thigh placements are kind to tattoo aging since they avoid constant sun and friction. Watercolor-style black roses that bleed into shadow need slightly more pigment layering to avoid patchy fading. Pain is generally low to moderate on the outer thigh. Tell your artist you want a defined black base with soft gray washes rather than thin diluted ink alone. A mistake is relying on weak washes hoping they will age like fresh photos, which often leaves blotchy patches. For session comfort bring high waisted black shorts so the artist can access the area without tight fabric.
9. Traditional Dagger Piercing the Stem on the Calf

Calf pieces are great for bold traditional work because the skin tolerates saturation well. Pain is moderate and sessions are usually quick. In consults specify how much dagger detail you want near the bloom so the contrast does not overwhelm the rose. Newer artists sometimes shrink dagger blades until they read as blobs when healed. For show-off styling roll your jeans or wear mid calf leather boots with the tattoo visible above them.
10. Ignorant Style Naive Rose at the Ankle
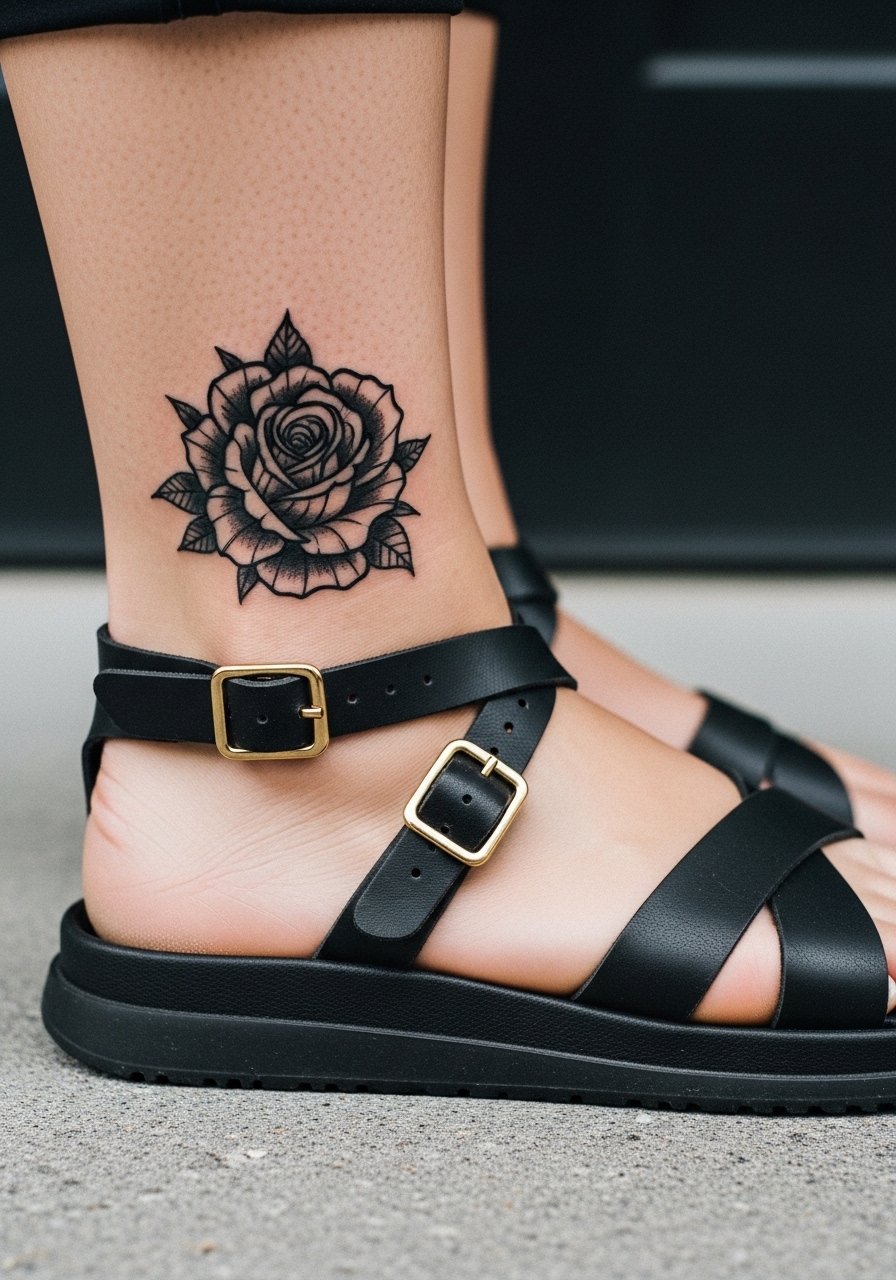
Ignorant style celebrates charm over polish, so heavy black lines and playful proportions make this read well even as it blurs. Pain is similar to other ankle pieces. Tell your artist to embrace bold, uneven line weights rather than microscopic detail. The frequent error is trying to "clean up" ignorant work into something too tight, which kills the style. For summer visibility wear black strappy sandals and cuffed jeans.
11. Black Rose Sleeve Segment with Flowing Vines

Sleeve segments require planning for negative space so the next addition does not clash. Inner bicep skin is sensitive and the session will be longer with frequent breaks. During consultation map future pieces and agree on vine thickness to avoid future filling conflicts. One common mistake is patchwork shopping for random designs that do not share line weight. Expect multiple sessions and discuss a touch-up timeline up front. For the session wear a loose tank top so the artist can move your arm freely.
12. Small Black Bud Behind the Ear, Below the Hairline
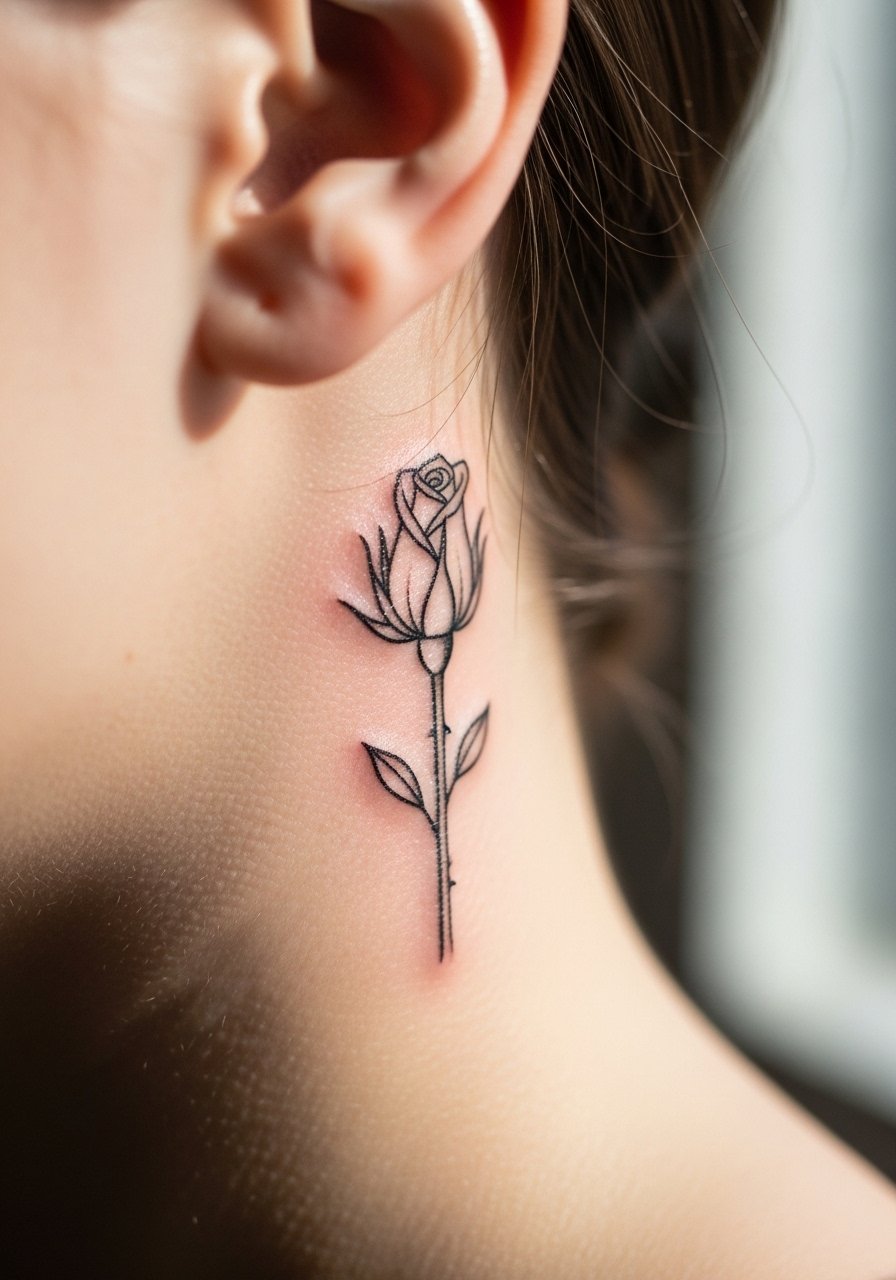
Behind-the-ear pieces need careful placement because visibility is limited by hair and they are prone to snagging. Pain is low to moderate. Make sure you describe exactly how much hair will hide the work and test placement with a stencil that sits under the hairline. A mistake is assuming a tiny bud will always be invisible when hair grows differently. This area can require touch-ups sooner because hair products can irritate healing skin. Keep the consult specific and small.
13. Geometric Black Rose Pairing Order and Chaos

This hybrid leans on contrast between sharp geometry and organic petals. Forearms are ideal for showing that visual interplay. During the consult bring images that clearly show the ratio of geometric fill to organic edges. Too much geometry crammed into small areas is a mistake because lines can merge as they age. For daily wear roll sleeves to mid-forearm with a charcoal rolled sleeve tee if you want casual visibility.
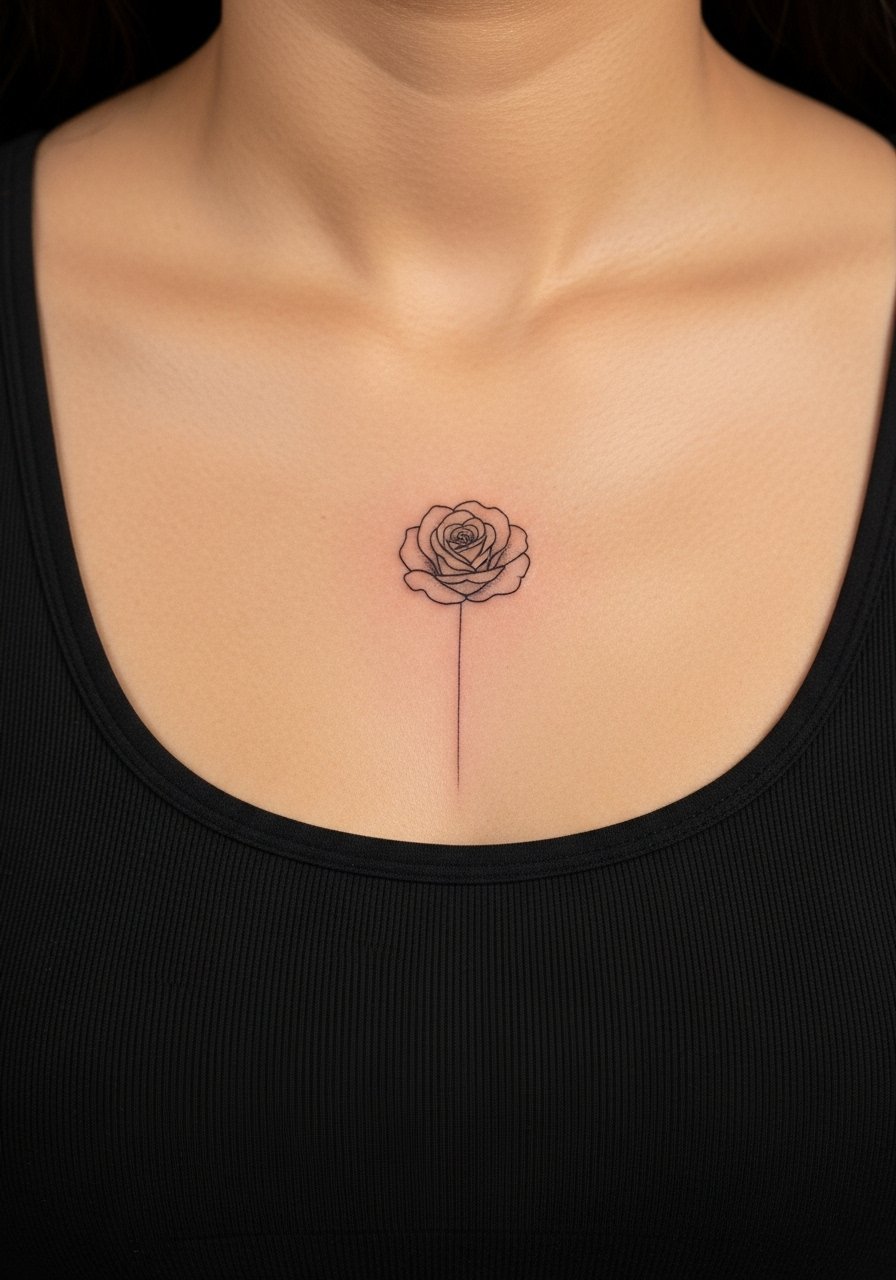
14. Black Rose Boutonniere on the Chest Near the Collarbone

Upper chest pieces sit close to clothing lines so sizing matters. Pain ranges moderate to high depending on proximity to bone. Ask your artist for a template that aligns with your shirt necklines. People often place these too low or too small causing awkward gaps with clothing. For showing it off choose an off shoulder knit top or a wide-neck shirt that frames the motif.
15. Irish Independence Inspired Black Rose Motif on the Upper Arm
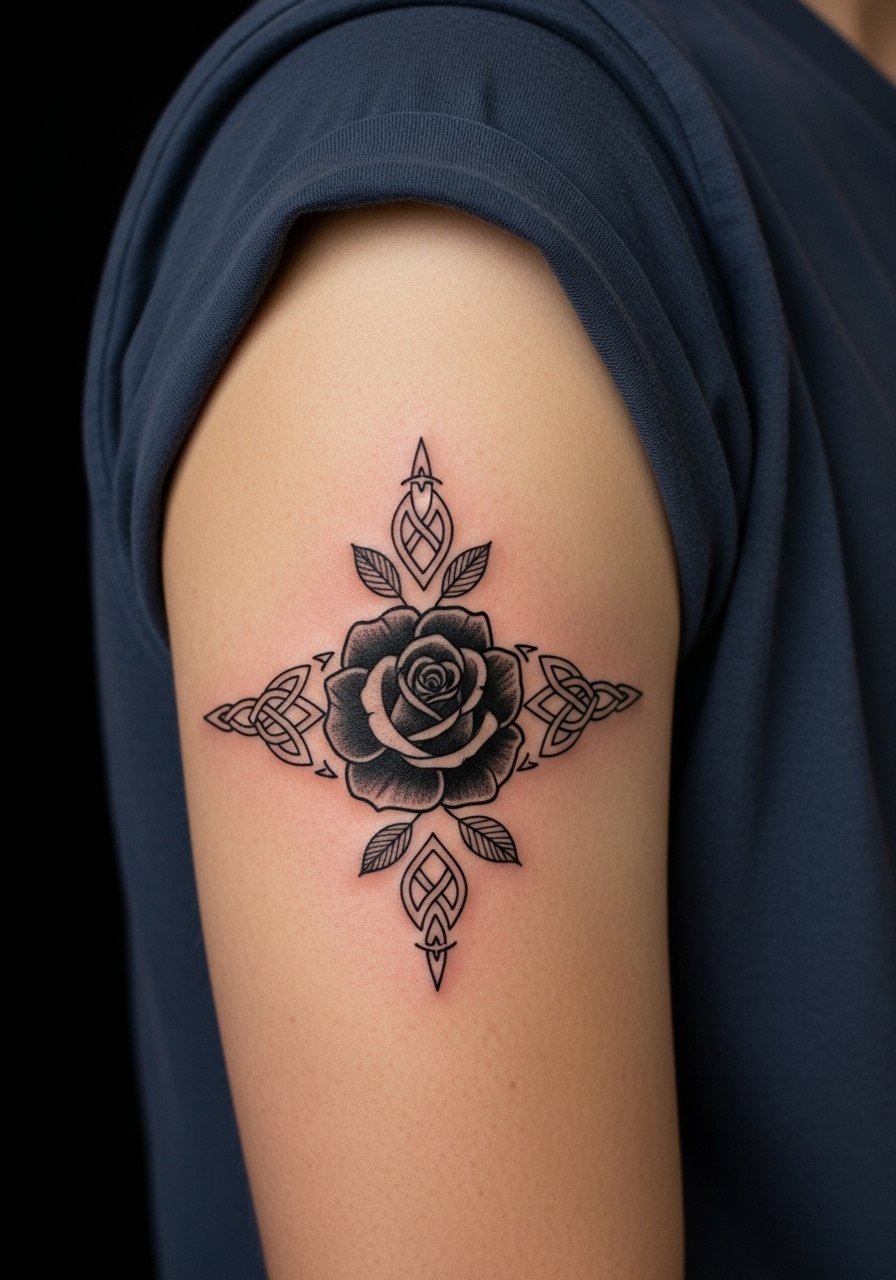
This less-common angle nods to 19th-century resistance symbols rather than grief alone. When choosing historical motifs be specific about which elements you want included, so the design avoids clichéd or inaccurate references. Upper arm placement tolerates saturation and handles medium-sized designs well. A mistake is using decorative elements that look forced without context. Ask the artist to explain how the knotwork cues sit with the rose so symbolism reads as intended.
16. Black Rose with Dotted Spiderweb Accent Behind the Knee

Behind-the-knee placement moves with walking and sitting, which affects how dense detail settles. Pain here is moderate and sessions may include reposition breaks. Tell your artist you want dot spacing tested on similarly mobile skin so the web and petals keep distance as you move. The common error is over-detailing in high-flex zones. For comfort wear loose drawstring shorts to the appointment.
17. Black Rose Wristband Circlet

Wristband circlets act like jewelry and need precise placement so closures and veins do not distort the design. Pain is low to moderate. In consults have the artist mark the exact circumference while your wrist is relaxed and while it is flexed so you avoid distortion. A common mistake is not accounting for bracelets and watches that cause extra friction during healing. If you want to accessorize, pair with a thin leather wrap bracelet on the opposite wrist to balance the look.
18. Black Rose Thigh Panel with Negative Space Petals

Thighs are forgiving for size and allow bold negative space to breathe. Pain is usually lower here. During the consult discuss how much negative space you want and test the sketch laid flat on skin so curves do not bend the petal gaps. A typical mistake is shrinking the negative areas too much, which makes the design read heavy rather than airy when healed. For evenings out, a slit midi skirt shows the panel without overexposure.
19. Single Petal Falling into a Shadow Near the Sternum
Sternum placements can be intense in pain but offer intimate framing for small motifs. This single-petal approach reads clean if kept simple. During consults specify exact distance from the fabric line so clothing frames rather than cuts through the motif. Many people underestimate movement caused by breathing which can slightly shift lines during healing. For the session wear a fitted sports bra that makes access and modesty simple.
20. Black Rose with Whip Shading and Subtle Gray Wash for Contrast

Whip shading gives petals a softer gradient while preserving contrast. Forearms handle this technique well but avoid packing too many tiny hairline strokes. In consults ask for a healed reference from the artist using whip shading on similar skin tones. A mistake is requesting the exact same gradient that appears in someone else’s photo without accounting for skin contrast. For casual wear roll sleeves to mid-forearm so the piece reads cleanly and try a slim silver cuff bracelet opposite the work.
21. Ornamental Black Rose Bouquet for a Rib-to-Thigh Sweep

This large sweep demands planning across body changes like weight fluctuation and clothing lines. Expect higher pain on ribs and moderate on the thigh. In consultation map the entire sweep and discuss how each sitting will fit into your schedule. A common error is treating this as a single session project when it needs staged sessions and consistent aftercare. Discuss touch-up timing up front and consider how dresses and waistbands will intersect the piece when clothed.
Frequently Asked Questions
Q: How do fine line black roses fare on high-movement spots like wrists and ribs?
A: Fine line looks beautiful fresh but tends to blur faster on high-movement skin. There are two camps here. One camp recommends bold linework for wrists and ribs because it holds longer. The other camp says fine line can work if the artist increases spacing and uses slightly heavier anchor lines. Ask which approach your artist prefers and why, and plan for a possible touch-up at year two to three.
Q: Will a black-only rose look flatter than one with subtle color highlights?
A: Black-only keeps the palette cohesive and usually costs less. Some artists and clients prefer a tiny color pop to add depth, but others find that color can muddy the symbolism and change how the piece reads as it fades. Decide on color in the consult and look at healed examples from the artist on similar skin tones before committing.
Q: What are practical wardrobe choices for showing off a collarbone or shoulder blade piece?
A: For collarbone work try a v-neck blouse or a wide-neck shirt that lets the tattoo breathe. For shoulder blade pieces an open-back or racerback top frames the work without overstretching the skin. These options let you reveal the art selectively without rubbing fabric across fresh ink.
Q: How soon should I expect a touch-up for a small fine line wrist bud versus a bold forearm rose?
A: Small fine line wrist pieces commonly need attention around year two to three depending on sun exposure and friction. Bold forearm roses with heavy saturation tend to hold longer, often needing touch-ups later. This depends on lifestyle, sun care, and whether you favor tight single-needle lines or slightly thicker anchor lines.
Q: Are there cultural or interpretation concerns I should consider for black rose motifs?
A: Yes. Some cultures interpret black roses as morbid or socially charged. Others link them to regional history like Irish resistance in the 19th century. If your design borrows cultural motifs, mention that in the consult and ask the artist about respectful variations rather than direct replicas.
Q: How can I reduce blowout risk on softer skin zones like the inner bicep or ribs?
A: Ask your artist about needle depth and line spacing for those zones. Deeper, more saturated lines are not always better. Proper spacing and slightly bolder anchor lines reduce the chance of ink migrating. Also plan sessions with experienced artists who show healed examples on similar skin areas.
