
Bold blackwork ages differently than most trends. The dense blacks of a poison tree design read strong for years when the linework sits at the right depth and the branches are given room to breathe. Pick placement with aging in mind, tell your artist where you sleep and what clothes you wear, and these ideas will give you long-lived contrast rather than a smudged silhouette. The first section shows a wearable starting point.
1. Mini Poison Sapling on Inner Forearm
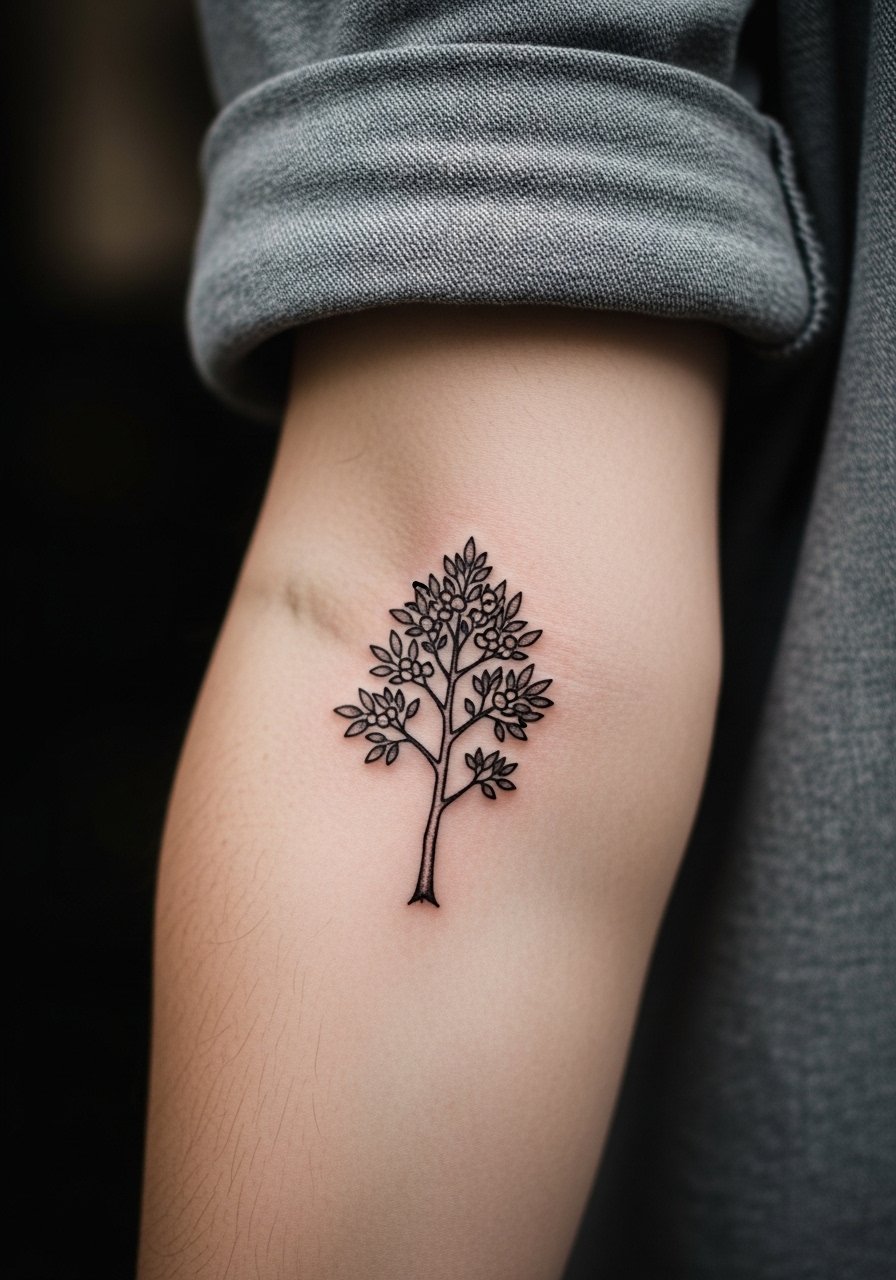
I recommend this compact inner forearm version for someone who wants bold blackwork without a full sleeve. Tell your artist you want thicker trunk linework and negative-space leaves so the sapling still reads at six months and at two years. Common mistake is requesting too many tiny branches, which merge over time. Expect a one to two hour session and mild discomfort under the needle. For showing it off, roll up sleeves and try a loose linen short sleeve shirt that frames the forearm without crowding the design.
2. Thicker Trunk on Outer Bicep
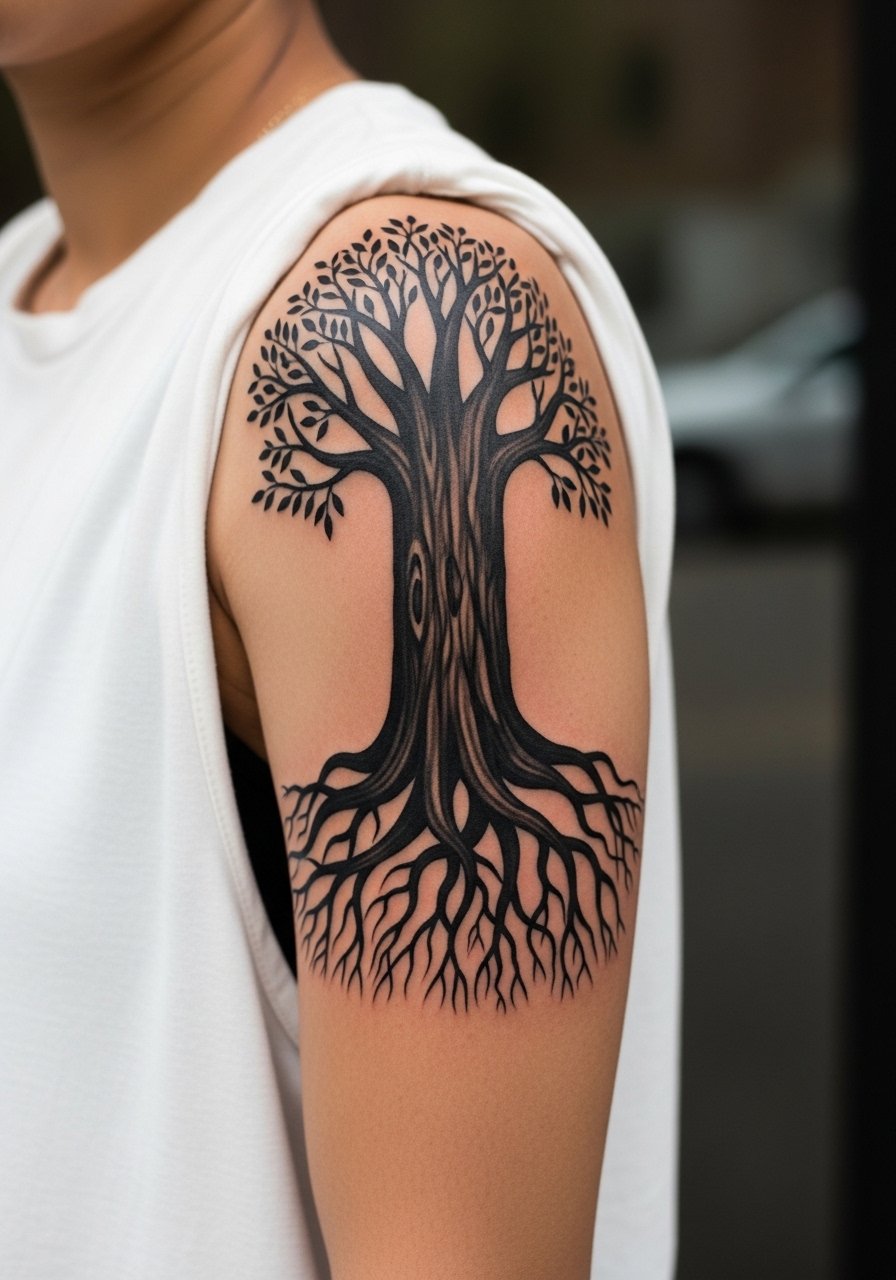
The outer bicep gives muscle shape to a poison tree trunk and tolerates heavy saturation well. In consultation, ask for a clean border between trunk and root fills to avoid saturation bleeding into the muscle fold. Most people get this in a single two to three hour session. A mistake I see is packing too many tiny dot leaves near the hollow of the elbow where motion causes blurring. Wear a sleeveless button-up to the appointment so the artist can access the area easily.
3. Wrist Band Poison Vine
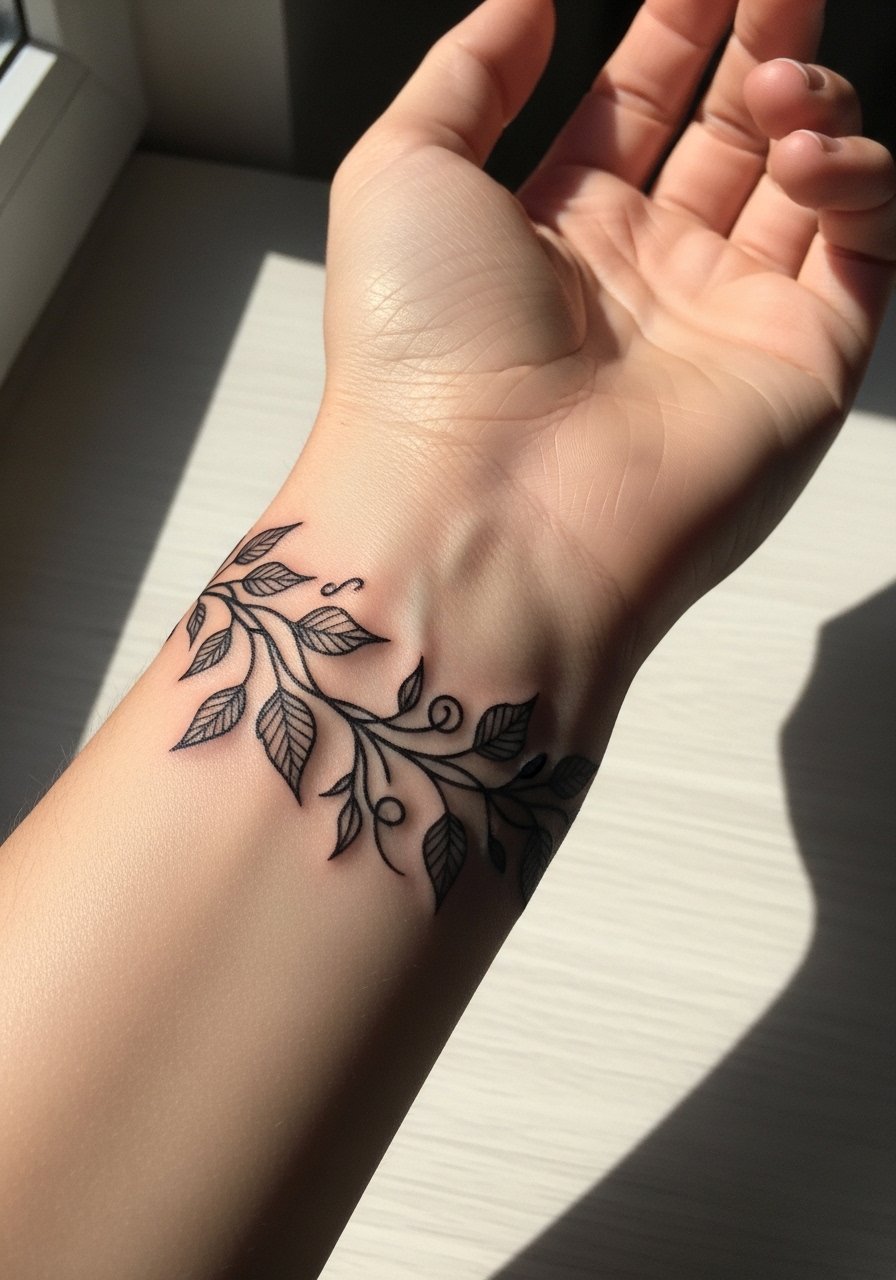
A wrist band version reads like jewelry and is ideal if you want a bold statement in a small space. Ask for wider gaps between leaf clusters so the band does not blur into a solid black ring at year three. The wrist heals under friction from watches and sleeves, so expect a touch-up around year two for fine line details. Session time is short, often under an hour, but pain is higher because of thin skin. Pair it with a minimalist leather cuff bracelet when you want to show the design.
4. Ribcage Poison Tree Panel
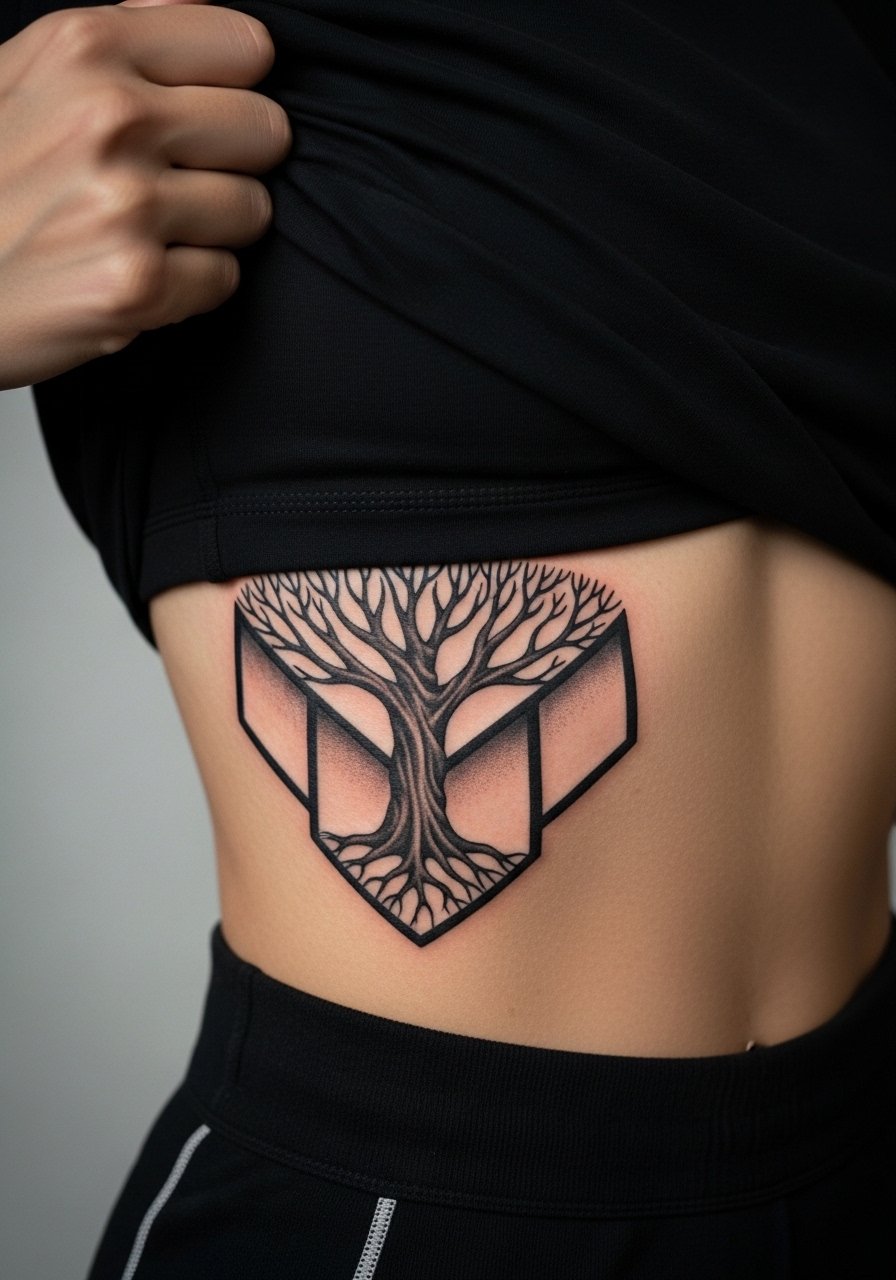
Ribcage placements split artists into two camps. One camp says fine line and thin branches blur quickly because the skin stretches. The other camp says deep, spaced linework can settle well on the ribs. Name the debate during your consultation and ask the artist which approach they use. This piece is painful and can take multiple sessions. A common error is requesting dense twig work without spacing, which tends to merge by year three. Expect longer healing and plan for a touch-up around year three if you sleep on your side a lot.
5. Ankle Rootlet
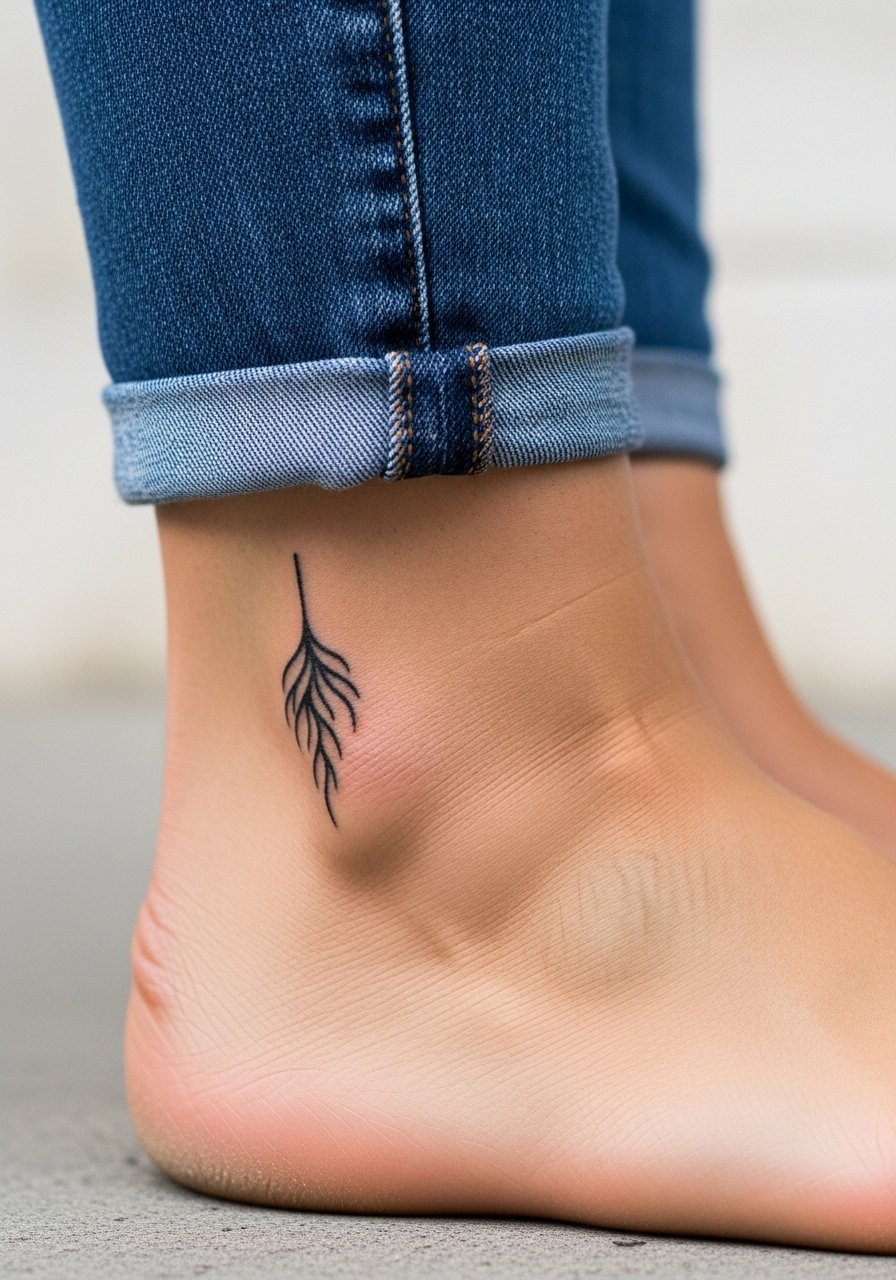
An ankle version acts like a secret detail that shows when you want it to. Because the ankle faces lots of abrasion from shoes and socks, ask for slightly bolder linework and leave more negative space around the smallest roots. Blowout risk is moderate near bony areas, so expect a careful session of under an hour. The typical mistake is making lines too thin to survive frequent washing and socks. For show-off outfits, try a pair of strappy sandals with cropped trousers so the tattoo peeks out.
6. Collarbone Poison Branch
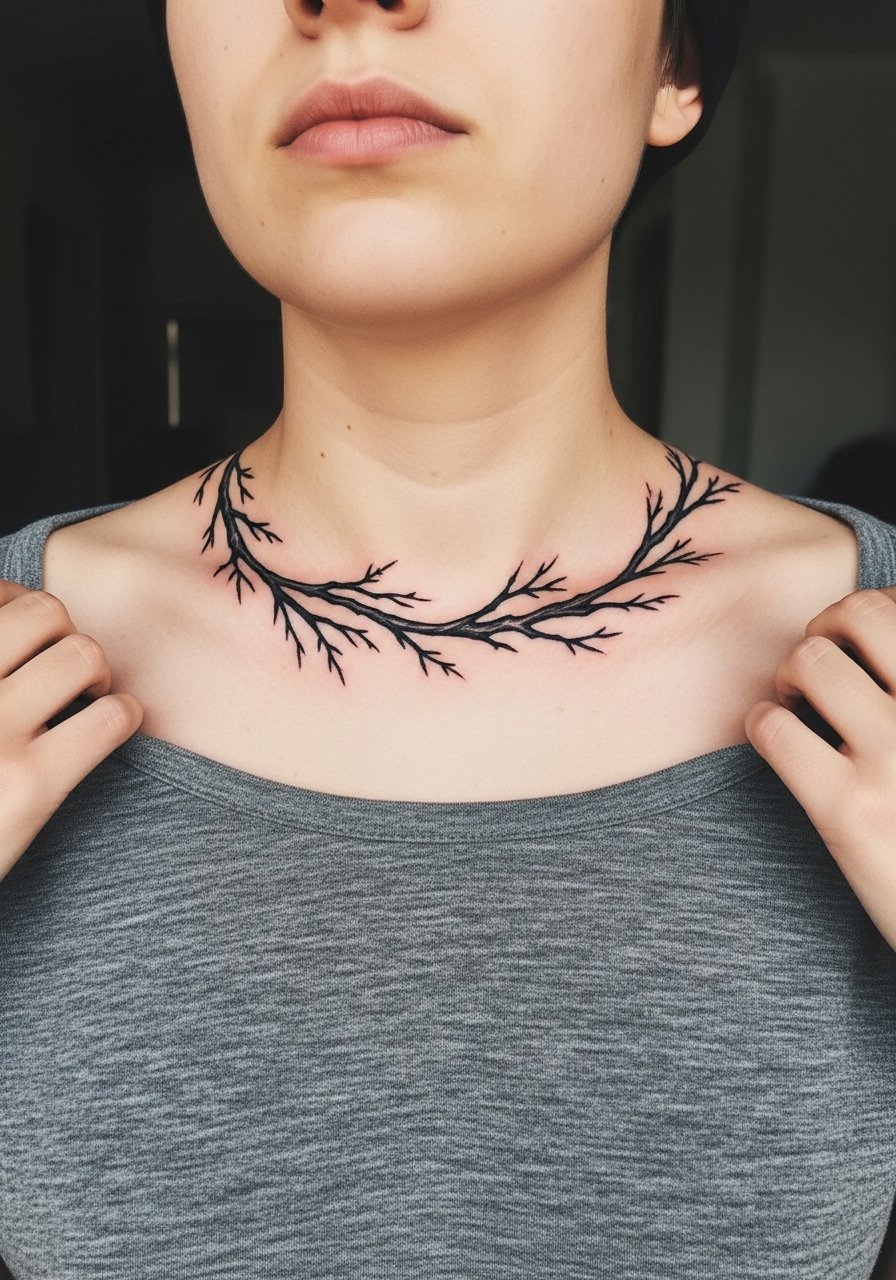
Collarbone pieces age well when the artist balances line weight with the bone contour. Tell your artist you want negative-space leaves that follow the collarbone curve so the design stays readable as the skin moves. Pain is moderate because of the bone, and sessions are usually under two hours. A common mistake is compressing leaves too close to the bone, causing sharp spots that fade oddly. Pair with an open-neck blouse to show the branch at night and a loose tank for the appointment.
Pre-Session Essentials
The wrist, ankle, and collarbone pieces above need different prep from a ribcage session, and a few items smooth out both the chair day and the first week.
-
Stencil transfer paper kit. Lets you preview how the poison tree layout sits on skin, which is useful for the collarbone and wrist shapes.
-
Topical numbing cream. Applied 30 to 45 minutes before can ease the edge for sensitive zones like the ribs and ankle.
-
Thin protective film roll. Helpful for keeping the wrist band and ankle rootlet clean during the high-friction first week.
-
Fragrance-free gentle body wash. Cleans the healed areas without stripping the tight blackwork that relies on saturation.
-
Aquaphor healing ointment. A thin layer for the initial days helps lock in moisture for bold black fills.
7. Full Sleeve Poison Grove
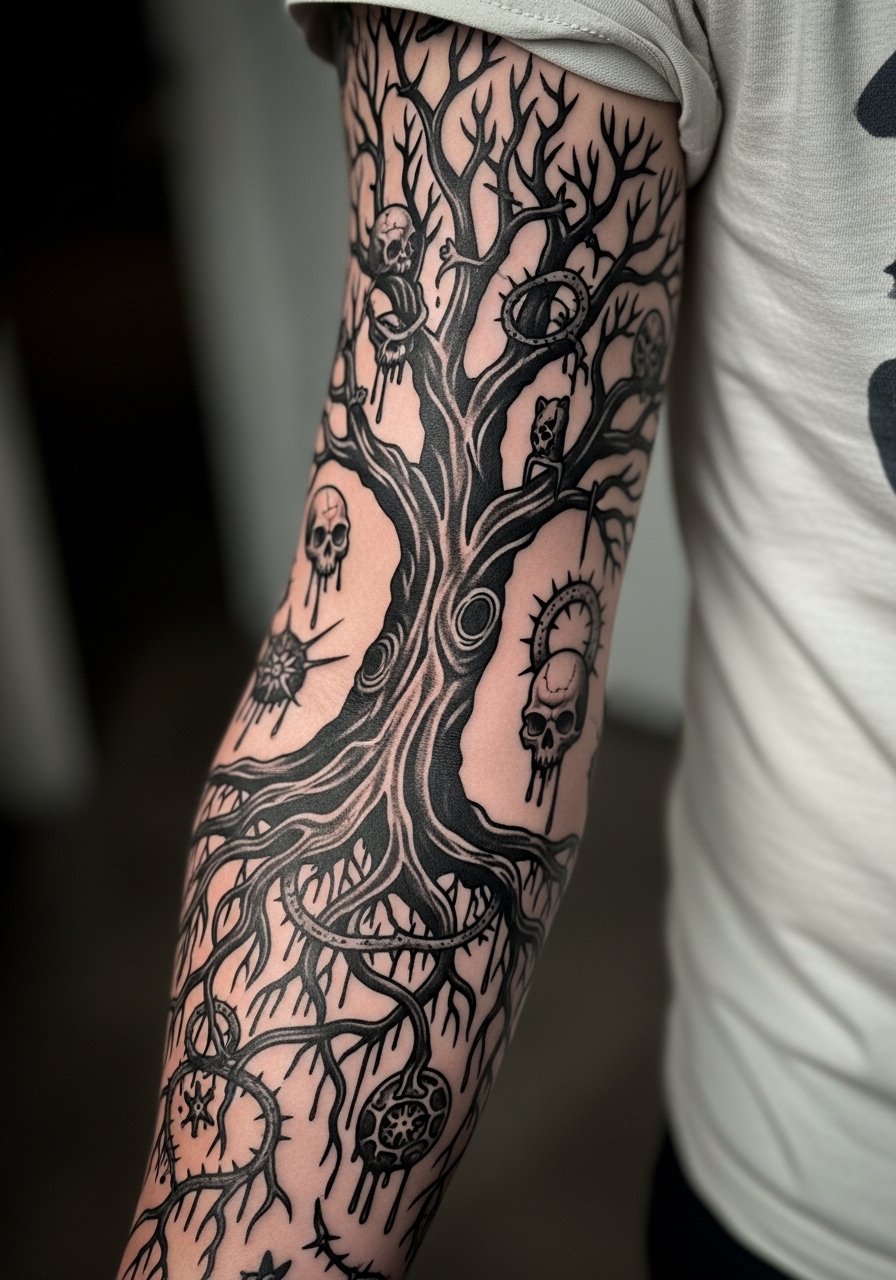
A full sleeve lets you play with scale, shifting a heavy trunk on the upper arm into thinner branches near the wrist. In a consultation ask for staged density so the sleeve keeps contrast at different distances. Most sleeves take multiple sessions across months and heal in a patchwork way. A common mistake is insisting on uniform density, which reads flat after settling. Expect touch-ups where motion is high, like the inner elbow. For showing off, roll sleeves and use a short sleeve linen shirt to accent the arm without hiding details.
8. Sternum Poison Tree Spray
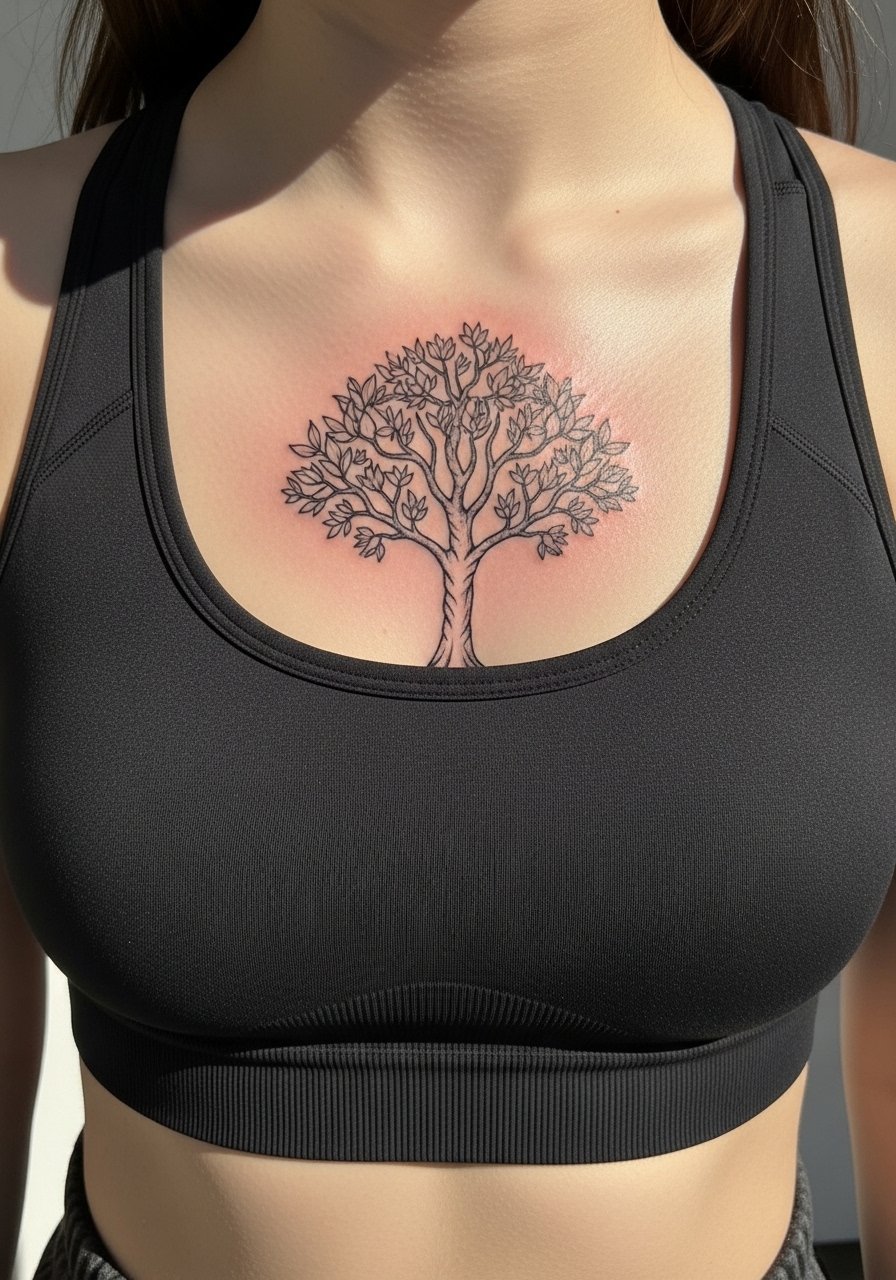
Sternum work needs careful stencil placement because clothing rubs the area during healing. Bring a fitted sports bra to your appointment so the artist can judge how the piece sits relative to fabric lines. This placement is painful and often takes a single longer session. A mistake is overcrowding tiny branches toward the center which traps scabs. Expect a touch-up in the first year if you wear low-cut or underwire garments frequently. Consider a strapless bandeau for the first few nights to reduce fabric friction.
9. Calf Poison Tree Silhouette
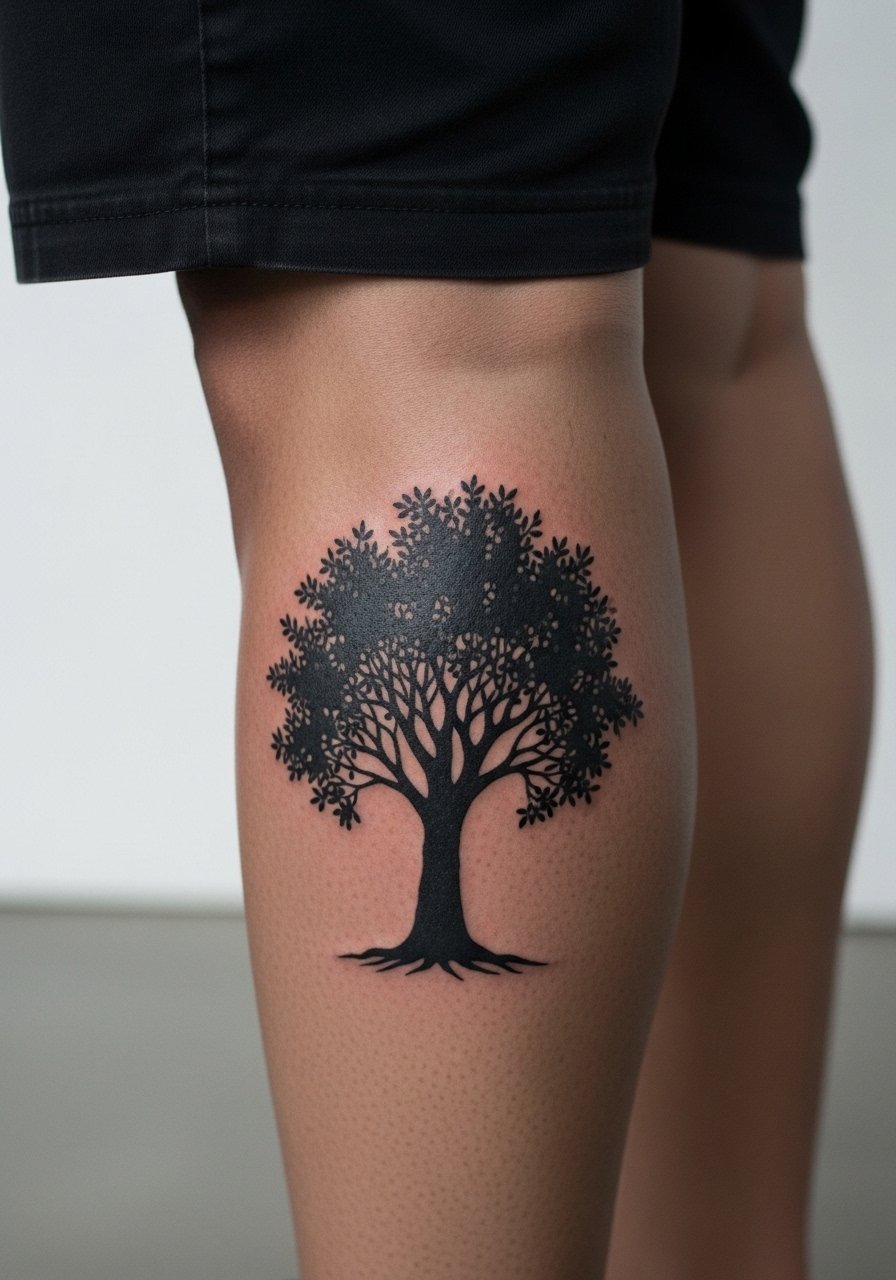
Calf placements handle heavy saturation well and show from a distance. Ask your artist for a clear silhouette edge so the tree reads against pants and boots. Sessions are comfortable for many people and often finish in two to three hours. A common error is cramming dense twig patterns into a small calf area which flattens after healing. If you want rotation between boots and sandals, plan for touch-ups where boot friction occurs. For show-off looks try pairing the calf piece with high ankle boots that contrast the silhouette.
10. Neck Side Branch
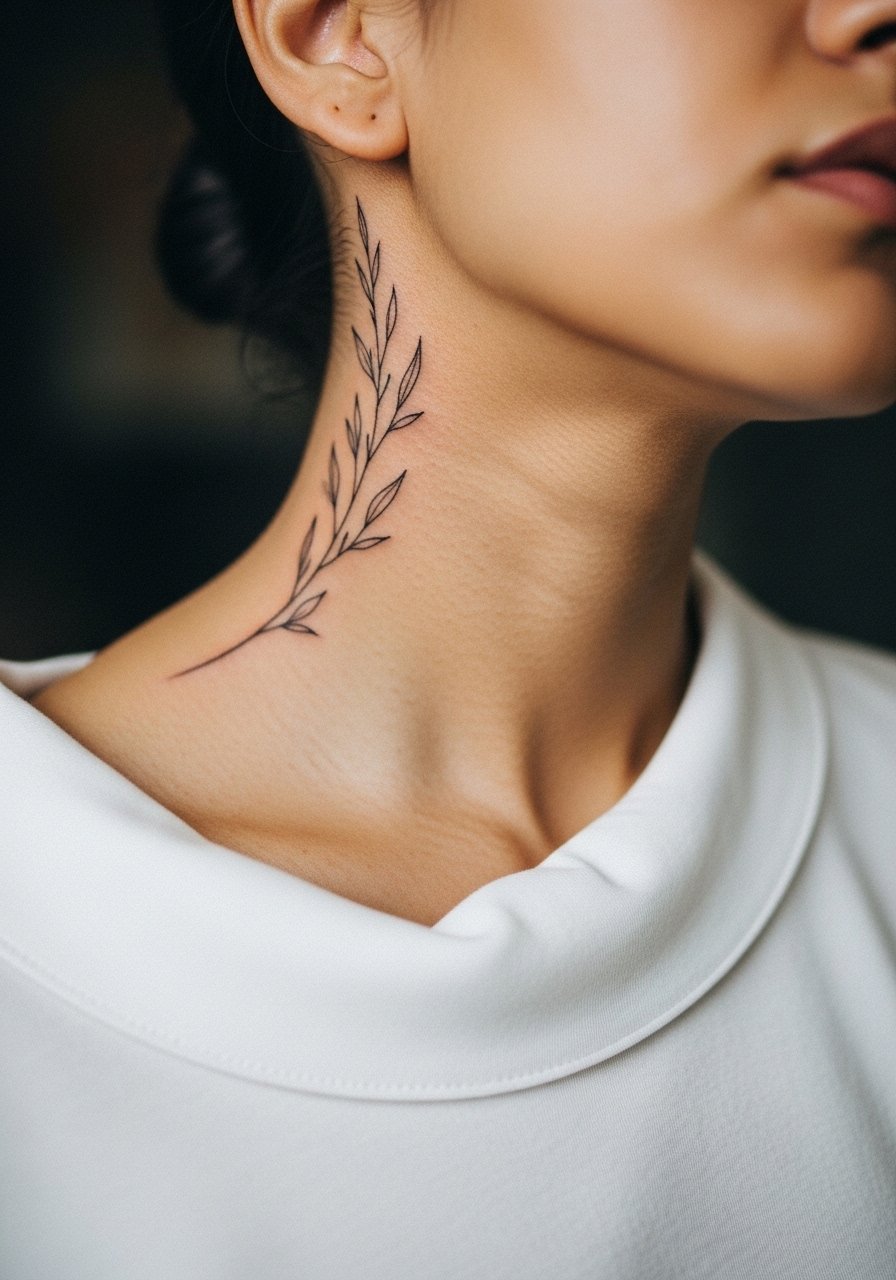
Neck placements are visible and have social implications in some workplaces, so consider that before committing. Ask for a softer edge and slightly thicker primary lines so the piece stays crisp against moving skin. Pain is moderate to high and touch-ups are common because of sun and clothing exposure. A mistake is choosing extremely fine needles for this area, which can blur along the neck lines. If you plan to hide or show the work, choose shirts with collars that can be shifted, and try a wide-neck sweater for evenings out.
11. Hand Edge Sap
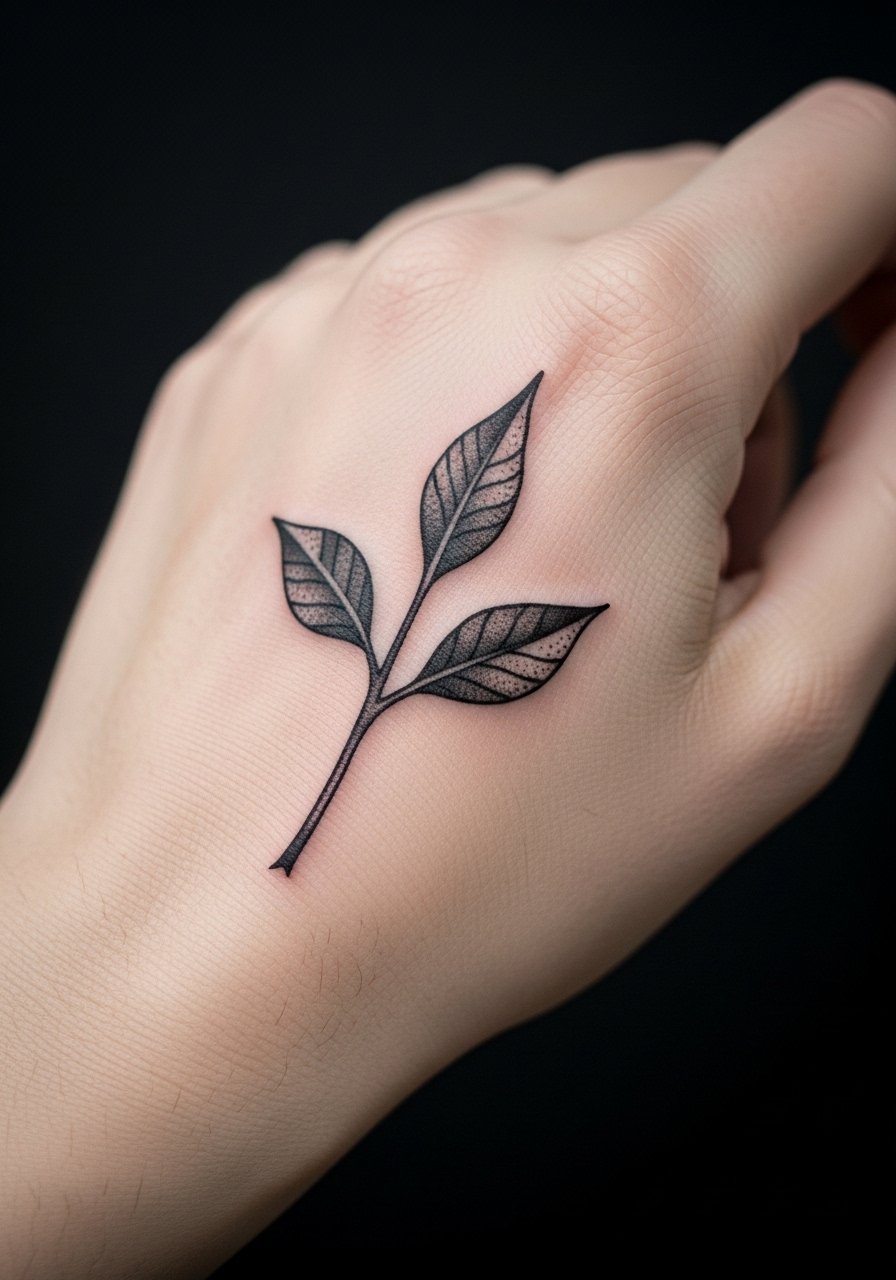
Hand tattoos fade faster because of constant washing and exposure to sun. For an edge sap design ask your artist to make the outer lines sturdier and leave negative-space inside leaves. Expect touch-ups in one to two years. A frequent mistake is insisting on extremely fine interior detail that the hand loses. The session is short but painful because of thin skin. If you need a subtle way to display the piece, wear a thin chain bracelet that frames the hand without covering the tattoo.
12. Micro-Realism Poison Seed on Finger
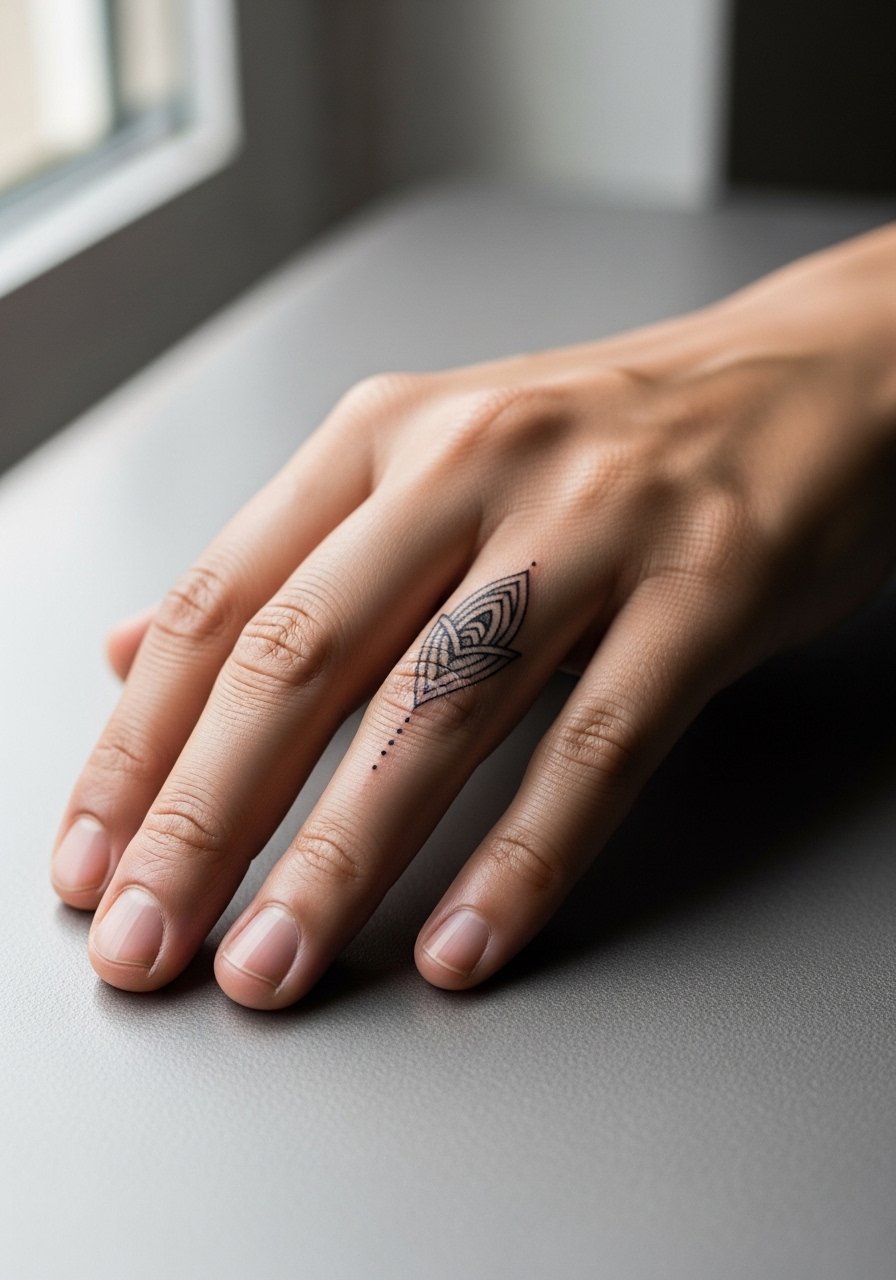
Finger tattoos are high maintenance because the skin regenerates quickly and encounters friction constantly. If you want a micro-realism seed, go slightly larger than your instinct and ask for solid negative-space around it. A common mistake is choosing unreadable tiny details that disappear. Expect this to need touch-ups every year or two. The session is quick and discomfort is high. For showing the piece without rubbing, avoid tight rings and try a thin open band ring that complements but does not press the tattoo.
13. Spine Poison Tree Column
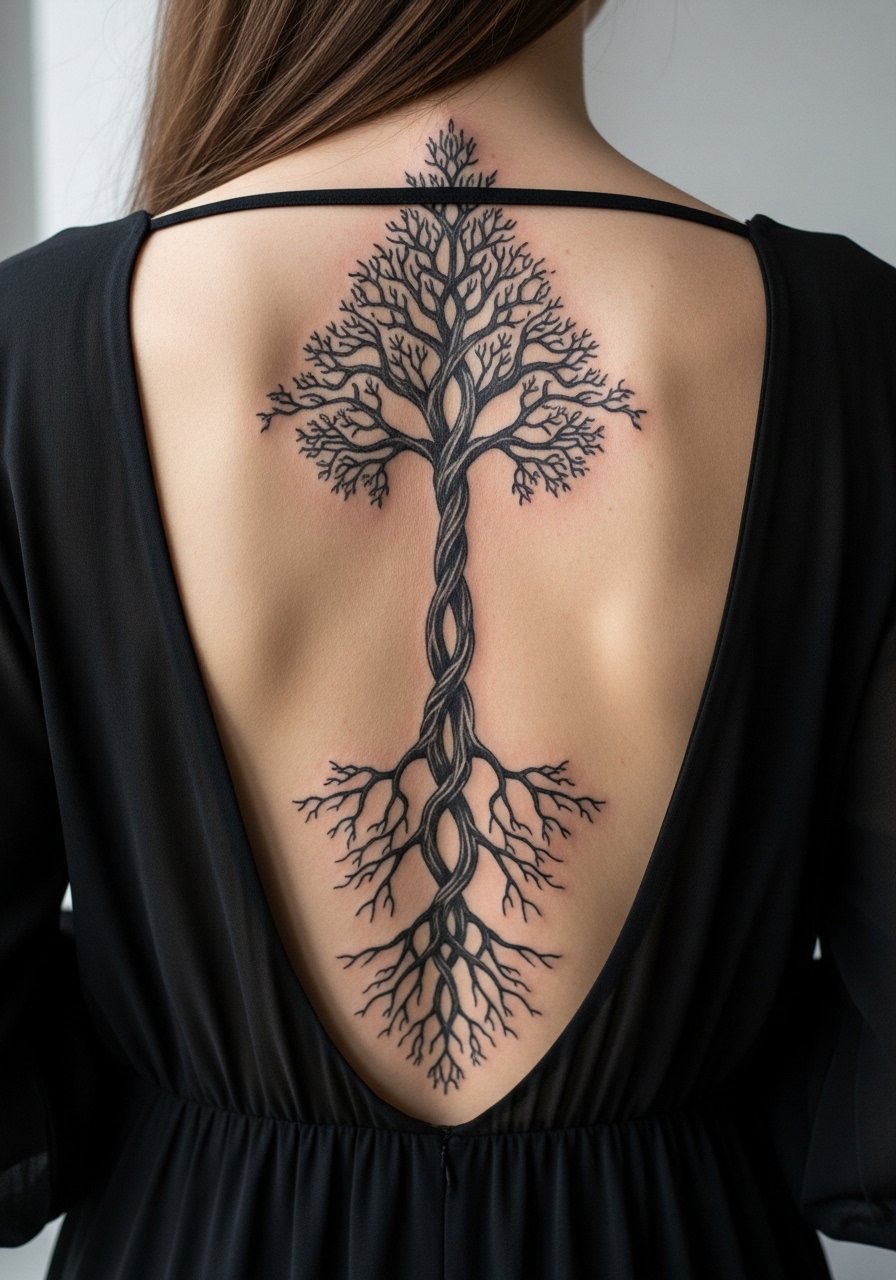
Spine pieces benefit from strong central trunk lines and spaced lateral branches so the design ages into a readable column. Tell your artist if you plan to wear open-back clothing often so they can balance contrast versus delicate detail. This placement is painful for many and sessions often require breaks. A mistake is packing too many thin cross-branches which blur between vertebrae motion. For evening wear choose an open-back midi dress that showcases the column without rubbing during the day.
14. Inner Thigh Poison Cluster
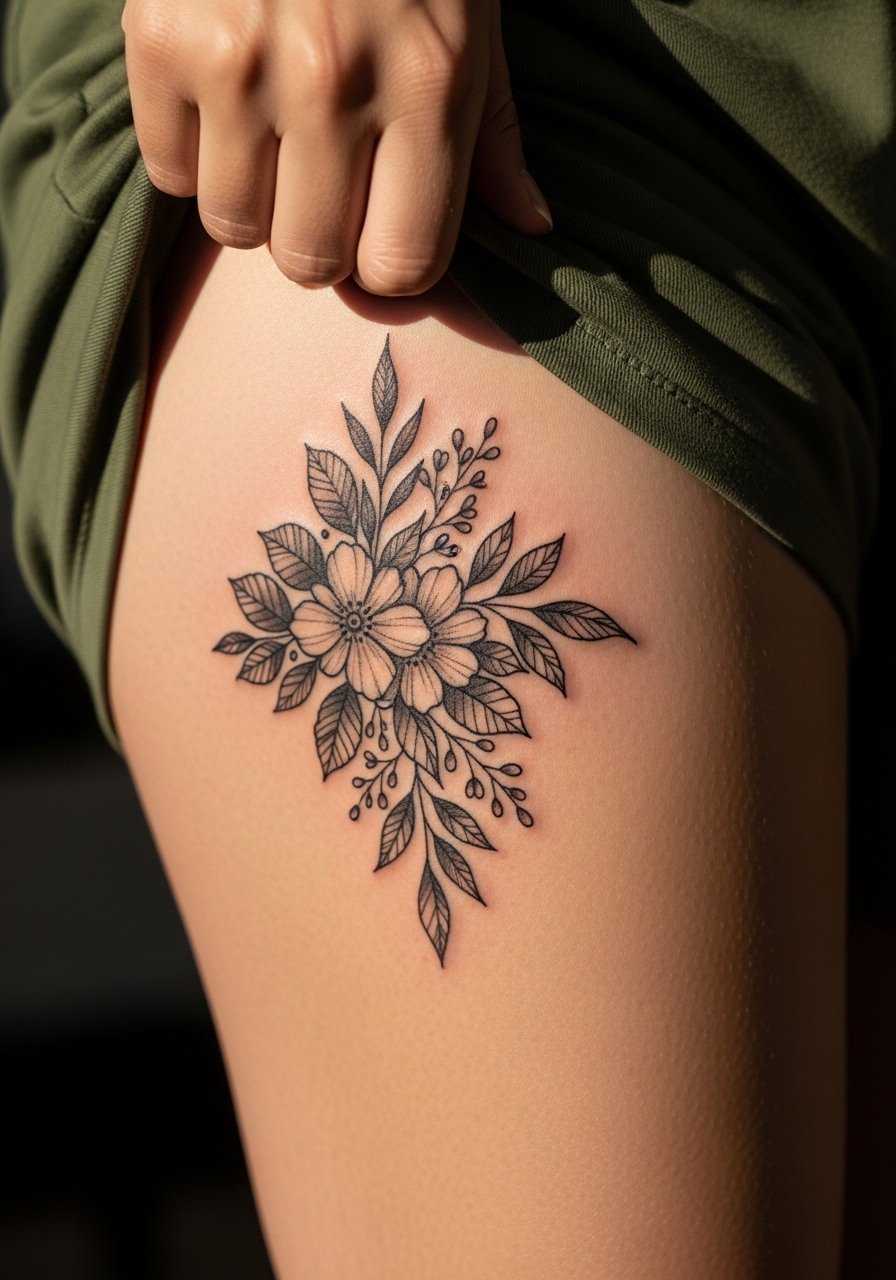
Inner thigh placements are intimate and need discretion during design and healing. In consultation mention friction from clothing or frequent workouts so the artist can leave breathing room between dense clusters. Sessions tend to be less painful than ribs, though tender. A common mistake is overcompacting tiny leaves which trap scabs and extend healing. For the session wear loose drawstring shorts so the artist has access and you avoid pressure afterward.
15. Scapular Poison Grove
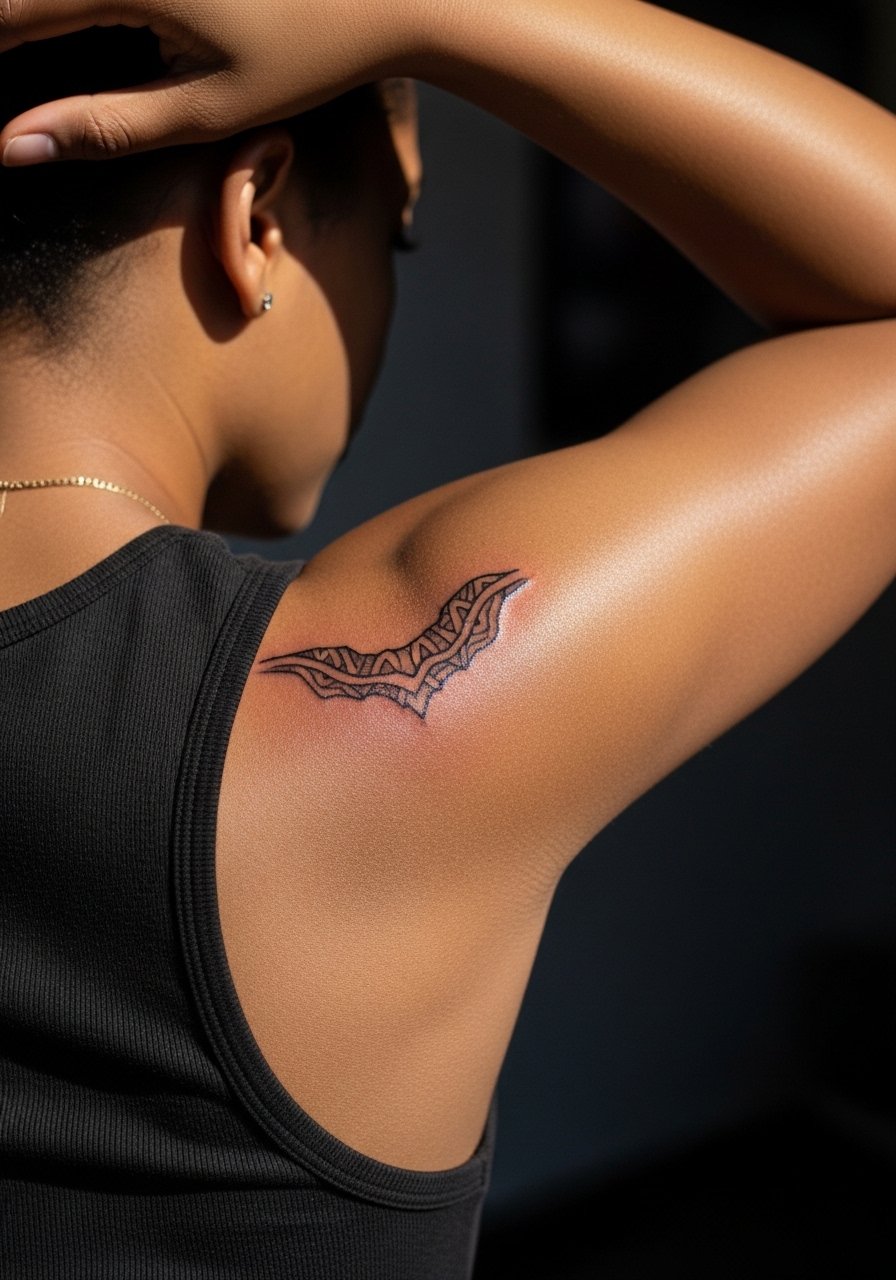
Shoulder blade placements sit well beneath clothing and age favorably with thicker roots and spaced canopy. Tell your artist if you sleep on your back often so they can plan density and shading accordingly. Sessions are usually comfortable and may be completed in a single two-hour block. People sometimes make the mistake of compressing the canopy into a tiny square which loses depth. For night or summer wear try a racerback tank that frames the scapula without rubbing.
16. Thigh Wrap Poison Vines
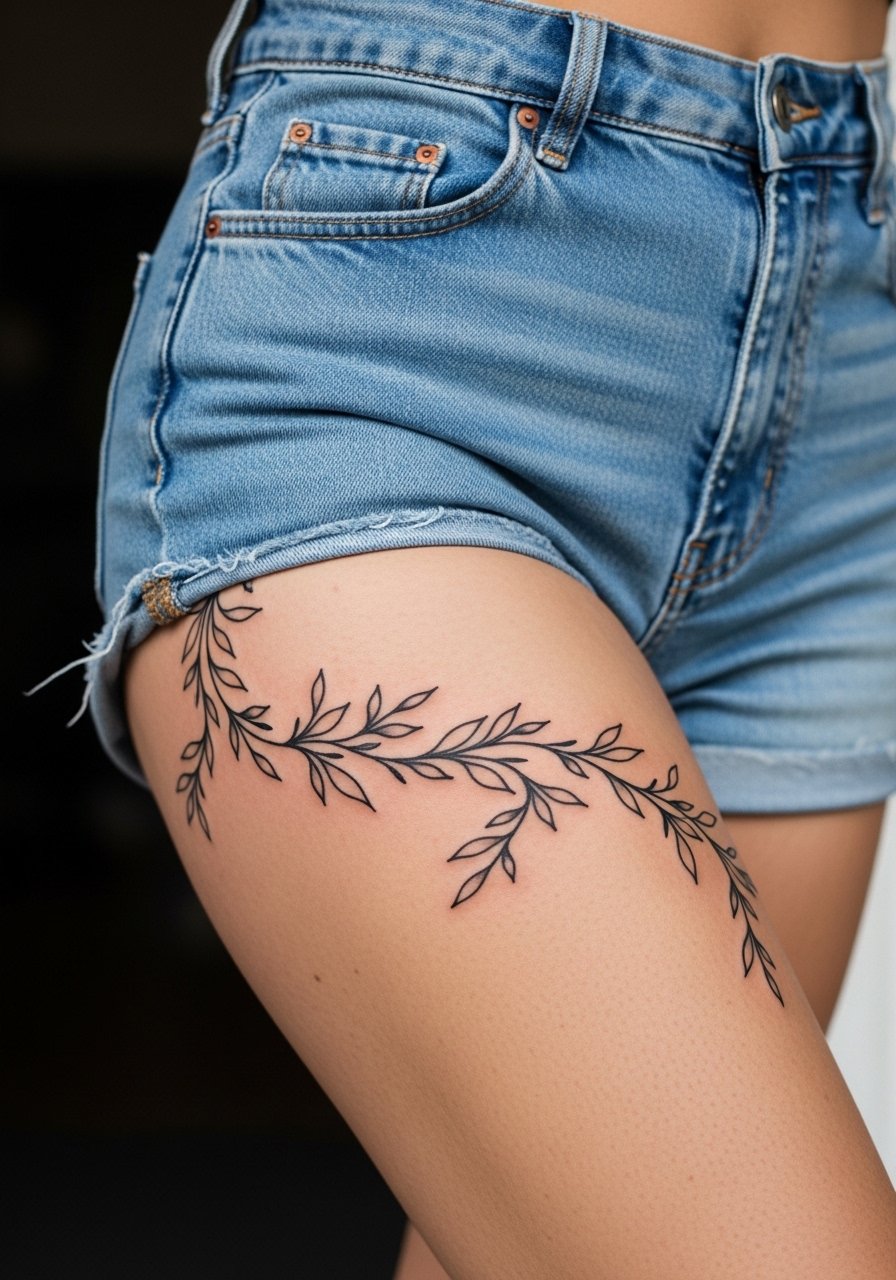
Thigh wraps let you play with negative space and scale. Ask for progressive thickness so the vine reads from across a room and still retains details close up. The thigh tolerates saturation and holds contrast for a long time. A frequent error is squeezing too many small leaves into the wrap, which can soften into a gray mass after a few years. Sessions can be long but comfortable. For appointments wear high-waisted shorts to allow the artist to access both hip and thigh easily.
17. Calf-to-Ankle Gradient Tree
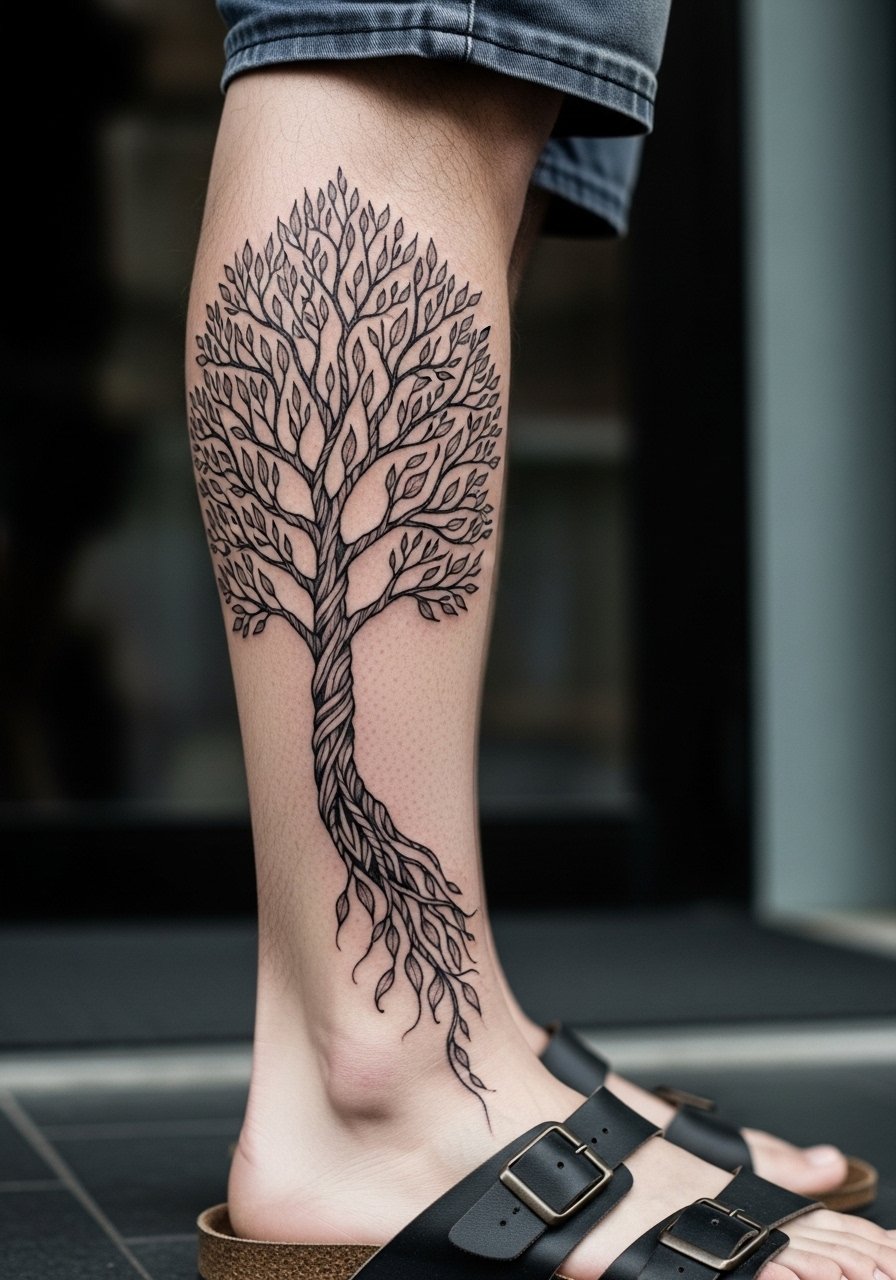
A gradient design that moves from heavy trunk to delicate root detail needs intentional spacing so the ankle does not lose its twig work. During the consultation mention footwear and sock habits so the artist can protect the ankle branches. This finishes in multiple passes and touch-ups are common at the ankle. Avoid asking for extremely fine stipple near the ankle. For showing the taper, use a pair of cropped trousers and sandals.
18. Behind-Ear Poison Sprig
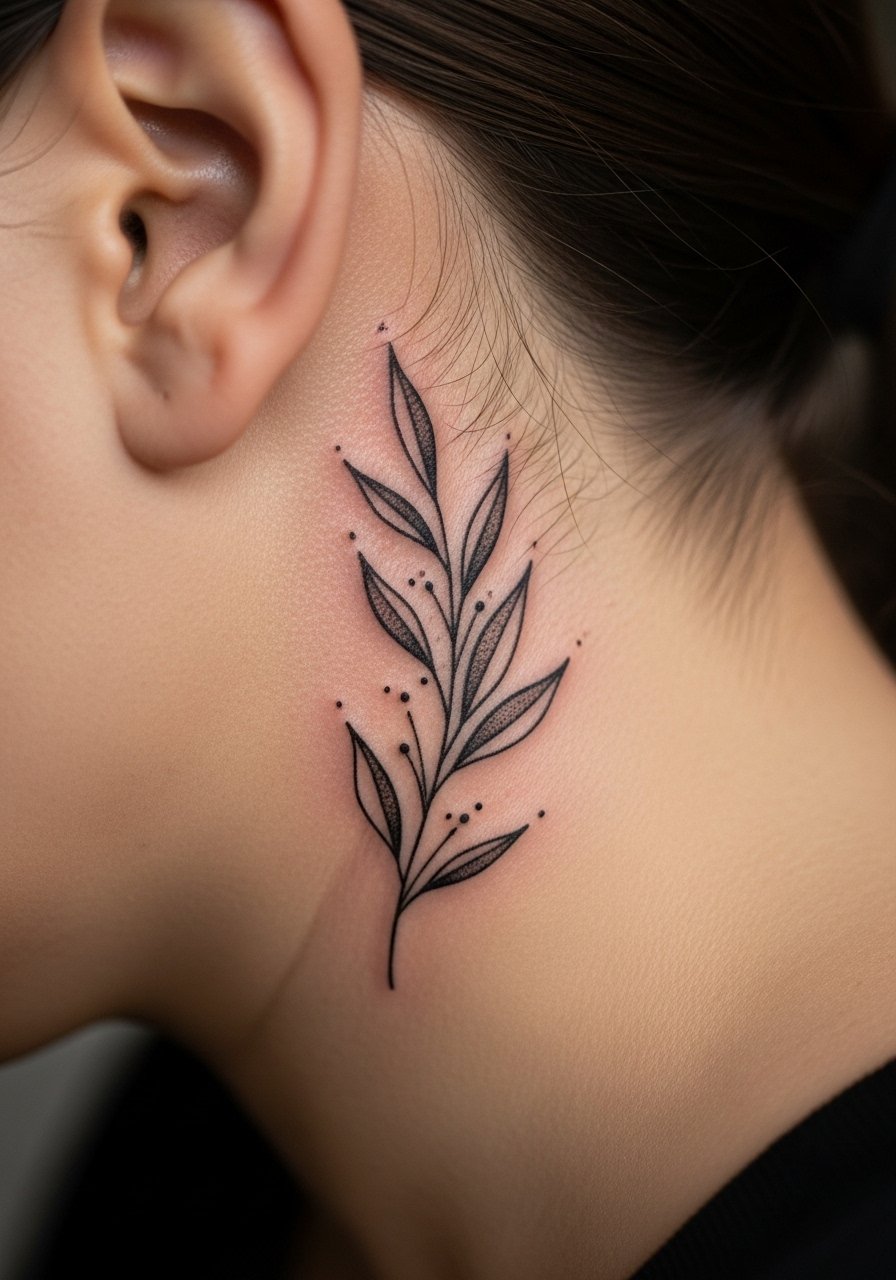
Behind-ear placements require a specific artist comfort level because of the tight zone. Describe how you plan to wear your hair so the artist can place the sprig where it will peek out naturally. This area heals quickly but can be sensitive while working. A mistake is asking for dense fill right at the hairline which looks messy as hair grows. For display, tuck hair behind the ear or try a thin chain pendant necklace that draws the eye upward.
19. Back of Hand Poison Thorn
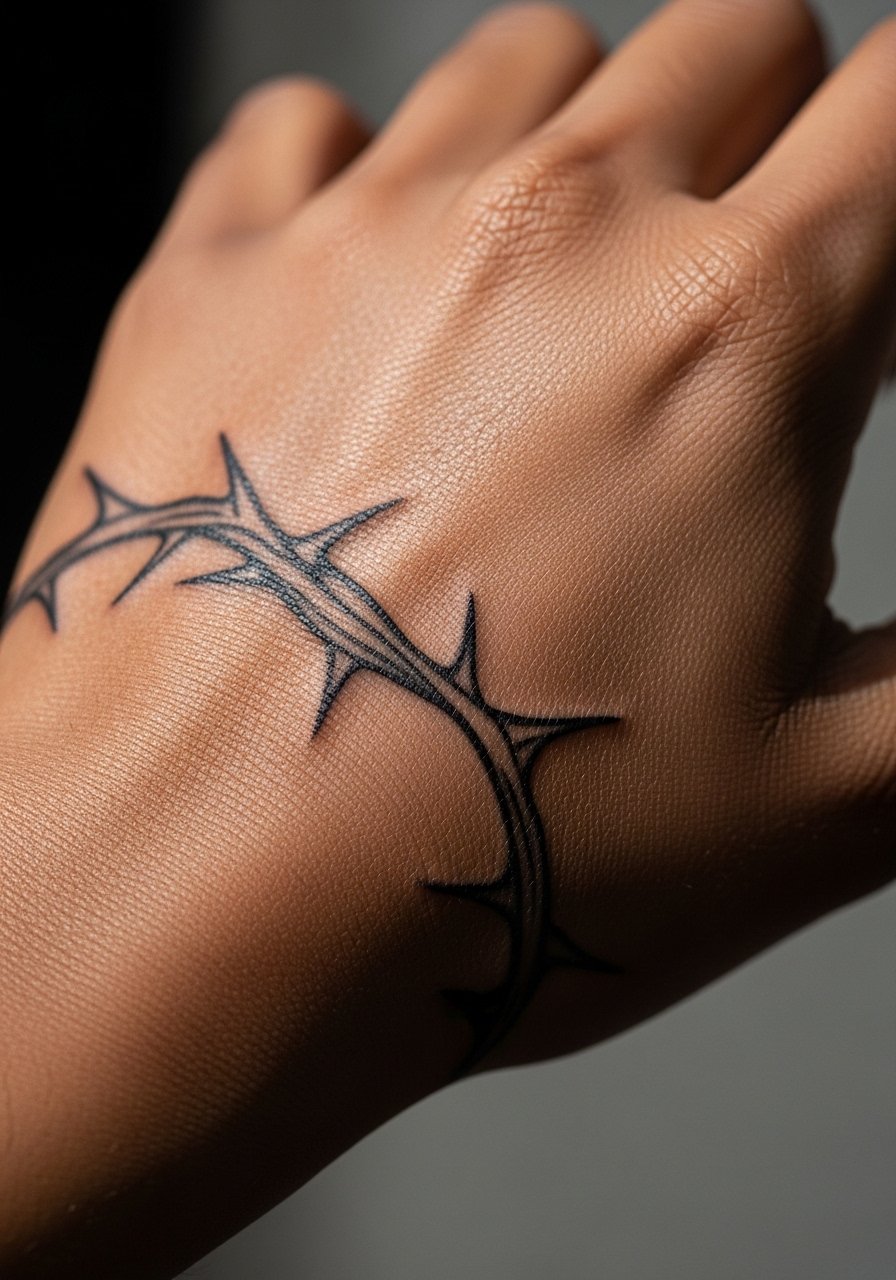
Back-of-hand pieces are always high maintenance because of sun exposure and regular washing. If you want a thorn motif, opt for bolder primary lines and leave tiny interior texture to negative space. Expect fade and touch-ups within one to two years. A common misstep is over-detailing small areas that cannot be preserved. The session is sharp but quick. A complement for display is a minimalist silver ring set that highlights the hand without abrasion.
20. Upper Chest Poison Spread
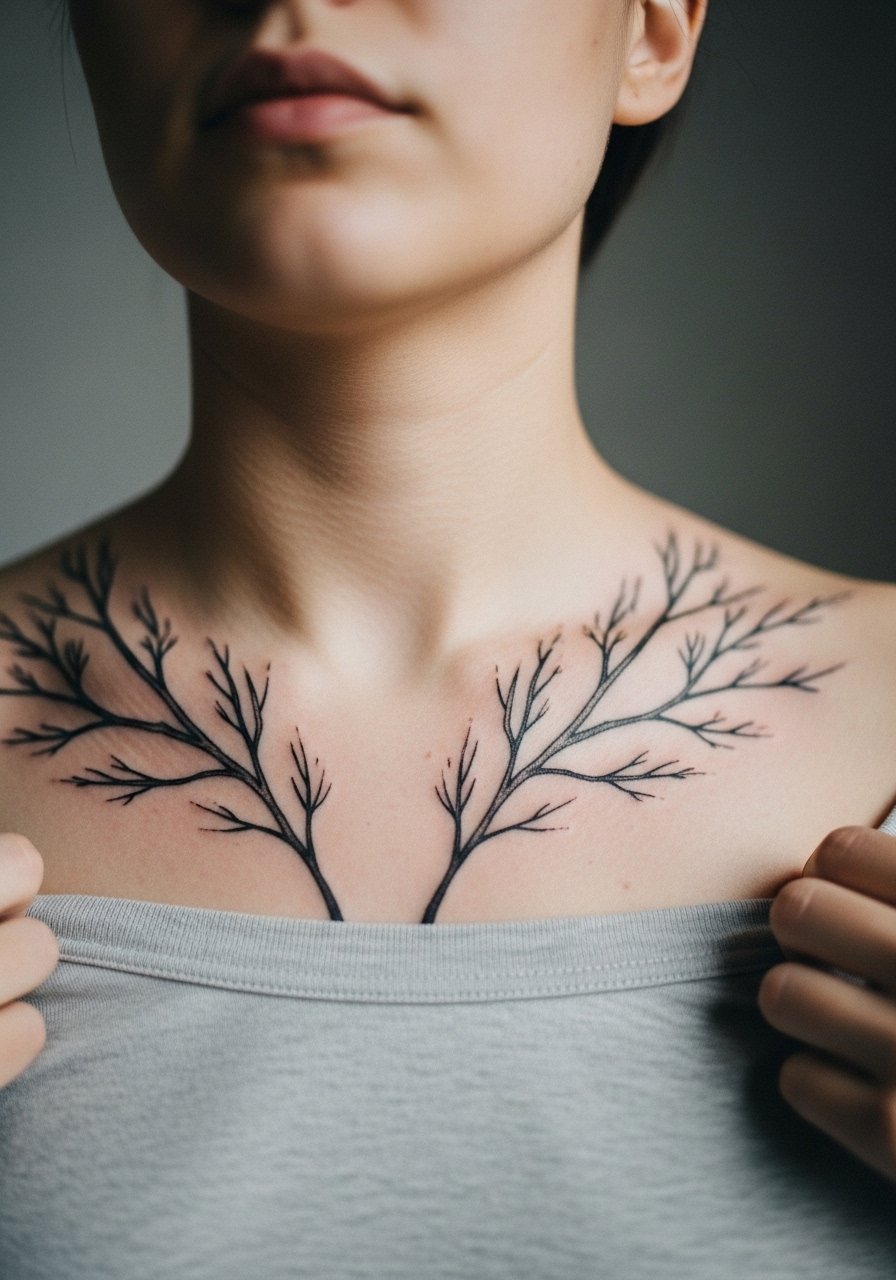
Upper chest pieces face fabric and sun and need slightly bolder fills where friction occurs. Tell the artist about frequent shirt types so they can place branches away from heavy seams. Sessions are moderate in pain and can be done in one or two sittings. Overcrowding is the usual mistake, which causes uneven healing. If you want to show the spread, choose a soft cotton V-neck that frames the branches.
21. Blackwork Poison Rose Hybrid
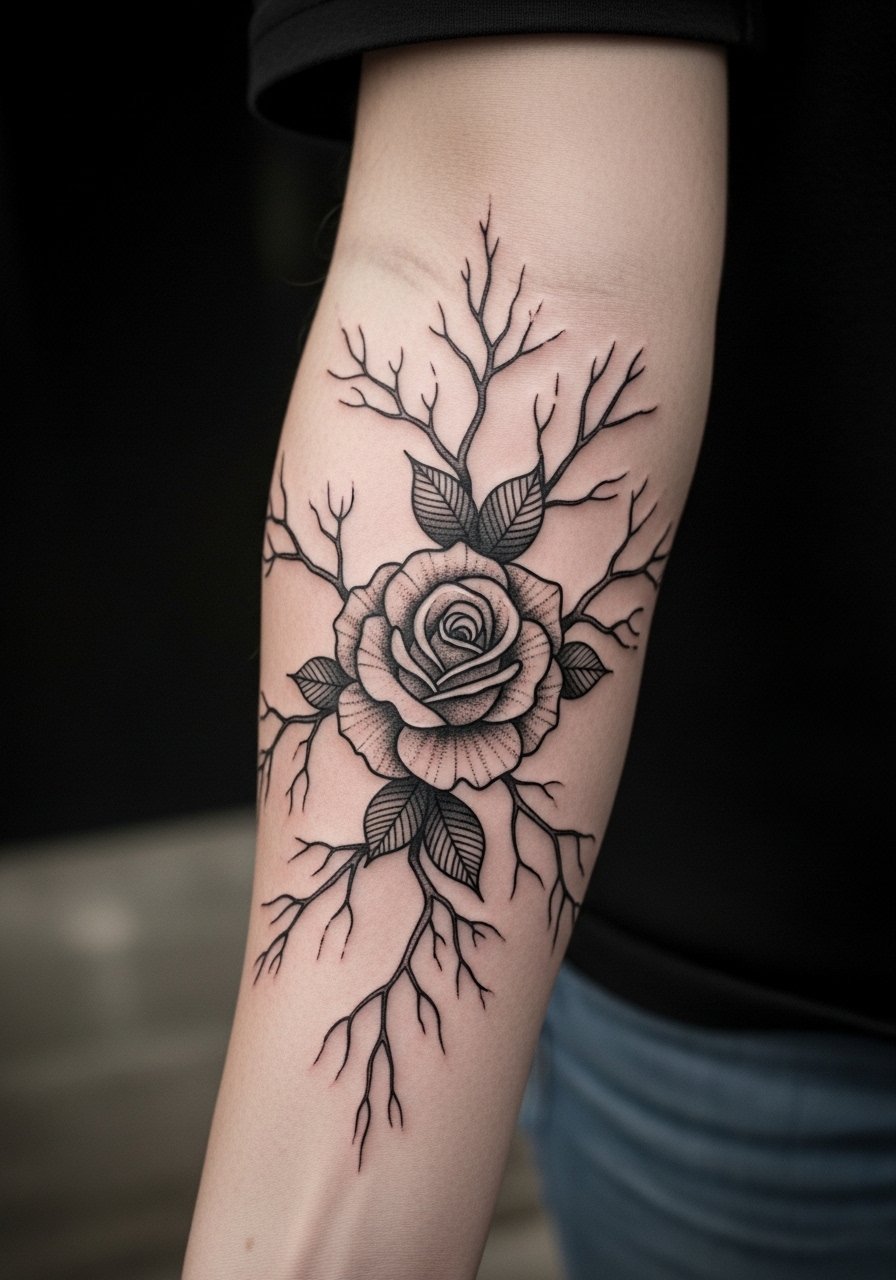
Combining a rose with poison tree branches gives a focal point amid negative space. Ask your artist for a bold rose silhouette with branchwork that avoids tiny interior petals. This holds up better than dense petal detail which flattens over time. Session time is moderate and healing is straightforward on the forearm. Avoid requesting both hyper-detail and small scale. For display wear a sleeve-cuff bracelet that sits below the rose and complements the trunk.
22. Foot Arch Poison Root
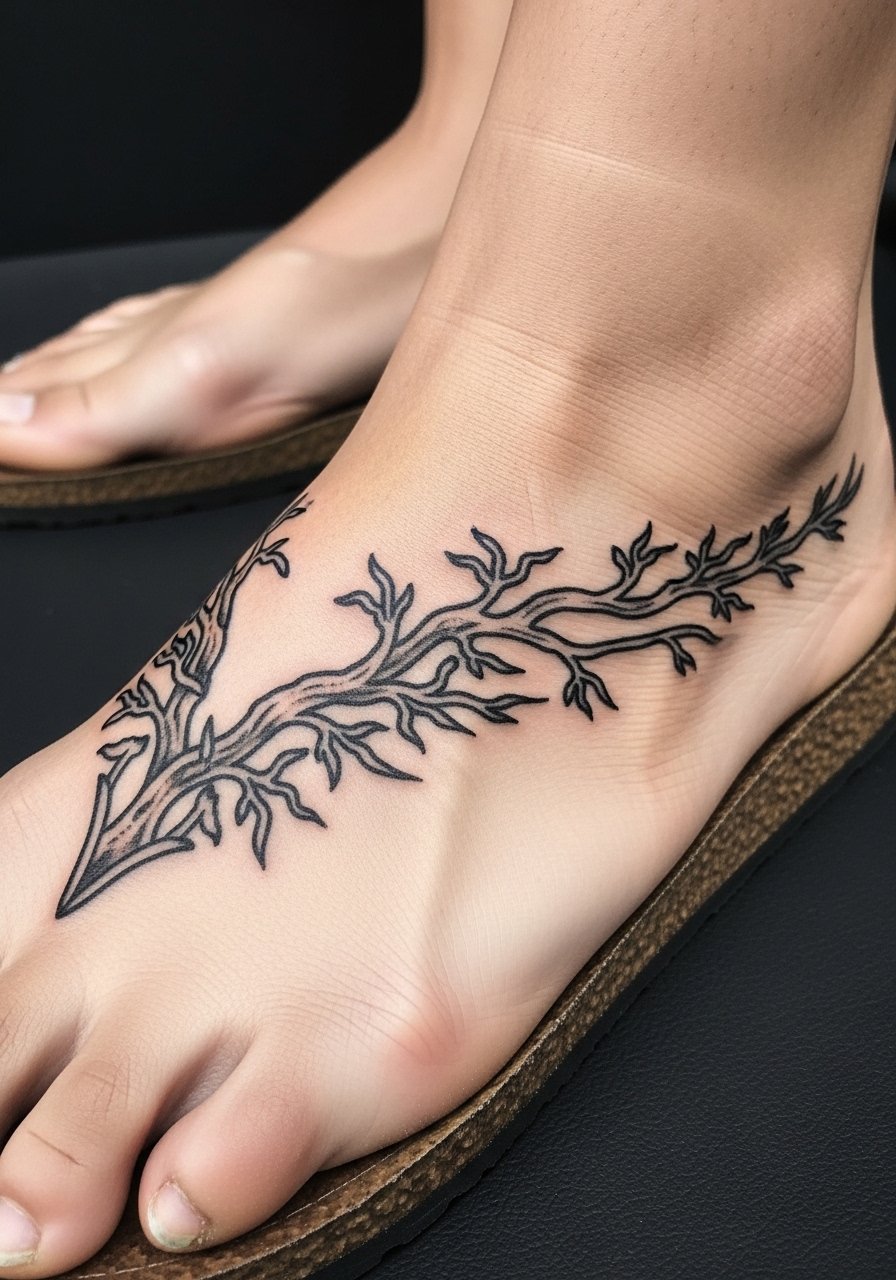
Foot arch placements are sensitive to shoes and require bolder primary lines to survive. During the consult note your footwear habits so the artist can avoid placing delicate roots where shoes rub. The session is uncomfortable and healing takes longer due to swelling. A common mistake is asking for tiny cross-hatching which comes away during early walking. For showing the arch choose open sandals and avoid tight sneakers during the first few weeks.
23. Inner Bicep Poison Leaf
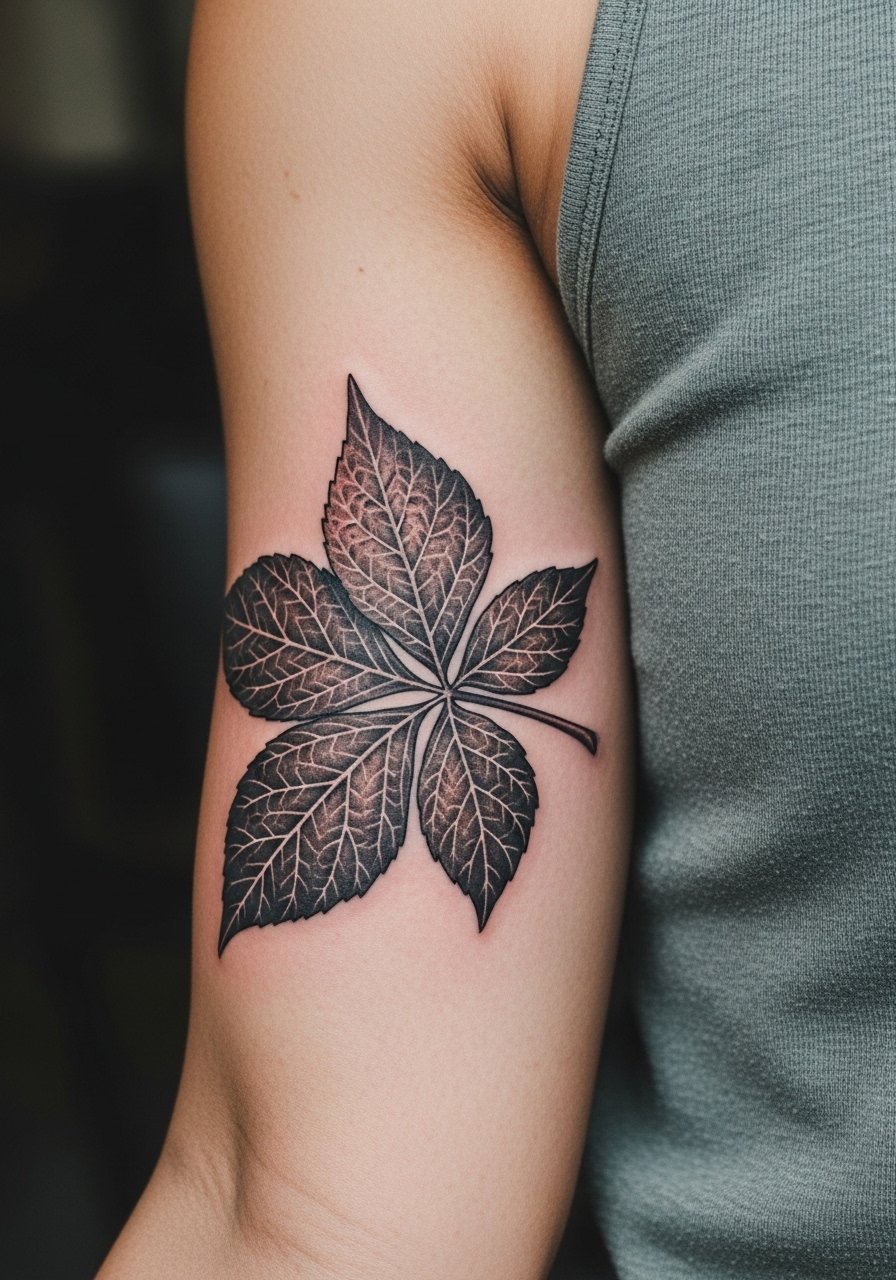
Inner bicep placements look intimate and move a lot during daily use. Ask your artist to account for stretching by spacing detail and favoring sturdier lines. Pain is moderate and sessions are usually short. A typical mistake is cramming too much stipple shading which distorts as muscles flex. Bring a loose tank top to the appointment so the artist can access the area and you stay comfortable afterwards.
24. Shoulder Cap Poison Bloom
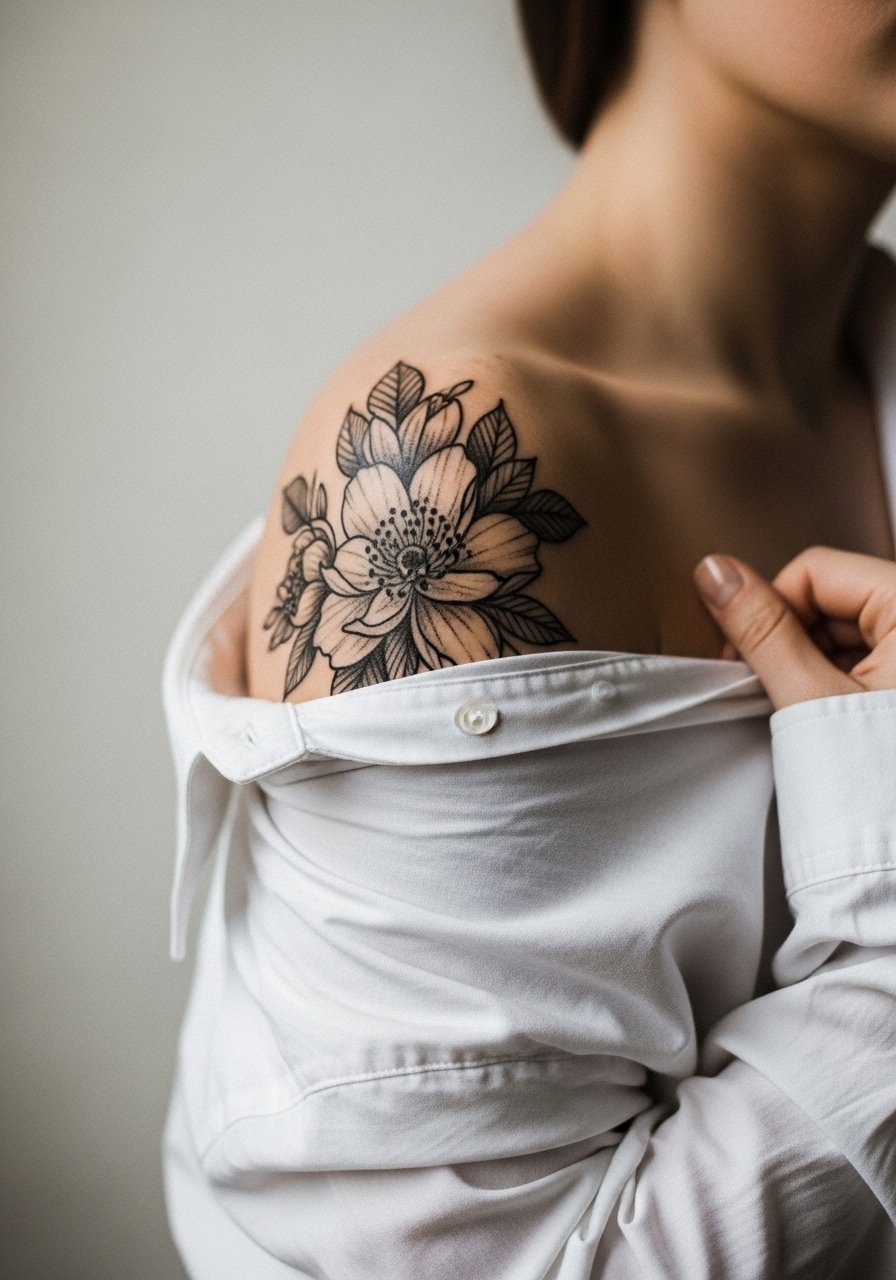
Shoulder cap tattoos are forgiving with heavy fills and age into strong silhouettes. Tell your artist how often you carry bags or straps on that shoulder so they can place the bloom away from constant pressure. Sessions are usually quick and healing is straightforward. The mistake to avoid is asking for too intricate inner textures that the area cannot maintain. For evening wear pick a loose button-down shirt you can pull aside without rubbing the fresh ink.
25. Chest-to-Arm Poison Flow
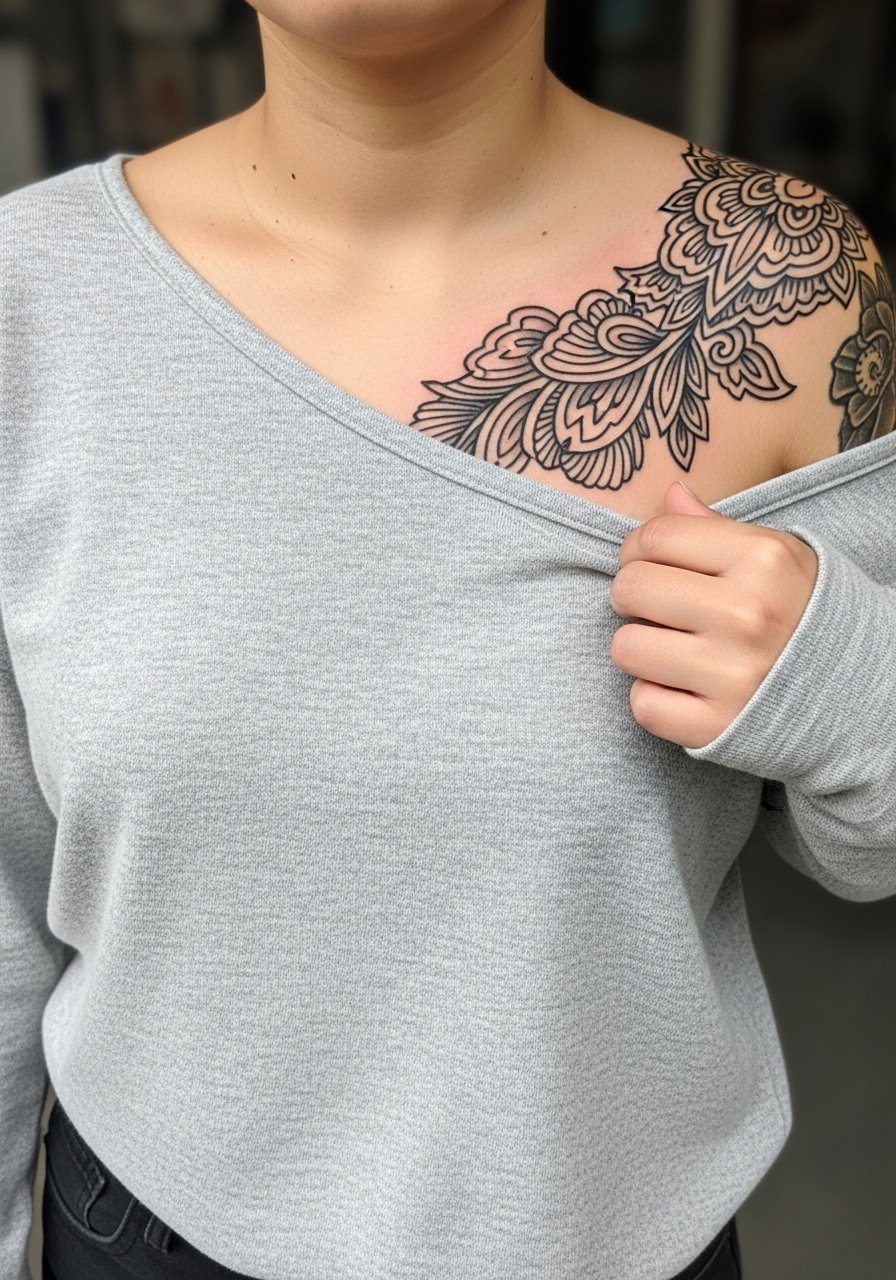
A chest-to-arm flow gives a cohesive look when planned with negative space in mind. During the consult show the artist your favorite tops so they can map how the piece sits under clothing. This typically takes multiple sessions. A common error is treating chest and arm as separate pieces, which causes mismatch in density. For nights out consider an open-shoulder top that reveals the flow.
26. Small Collar Poison Accent
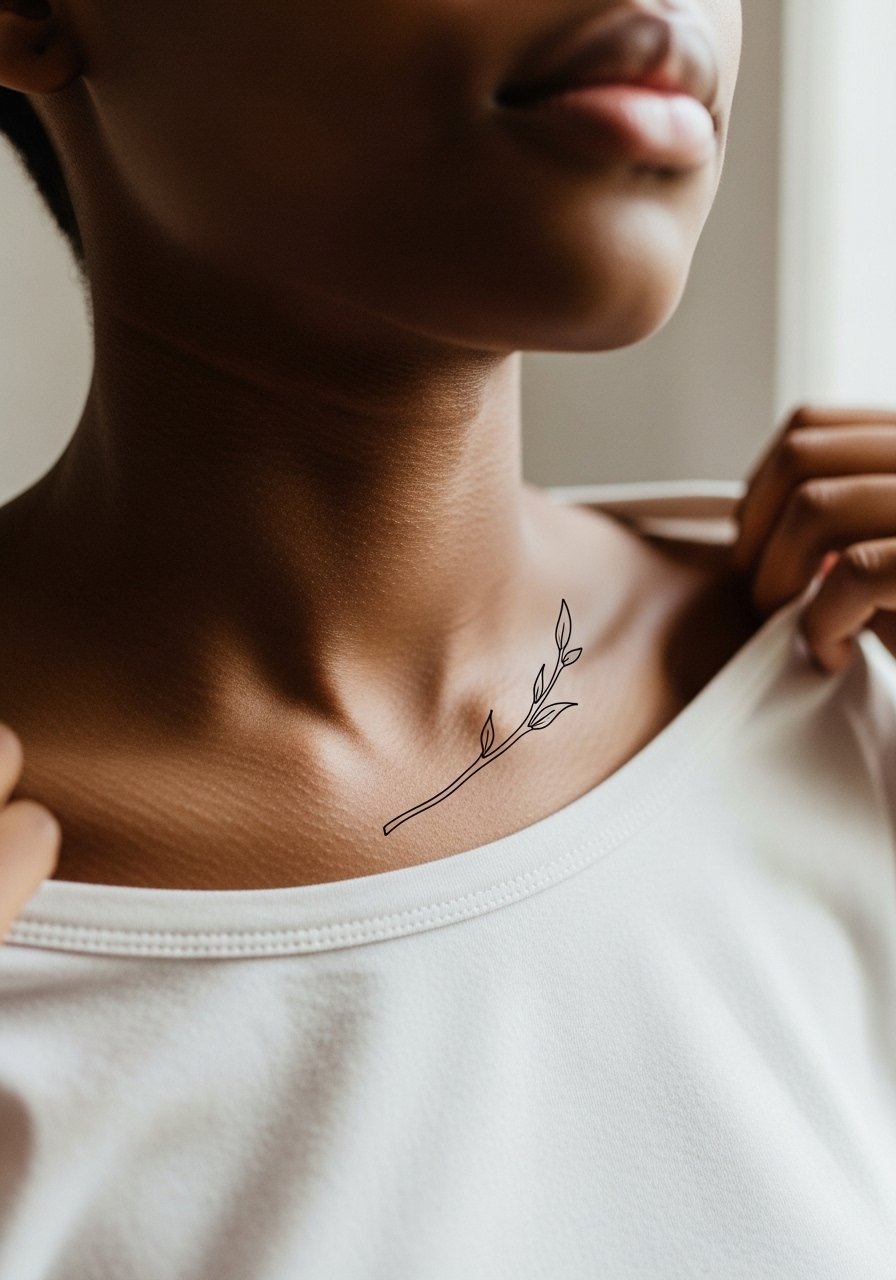
A small collar accent reads like jewelry and is low commitment but visible. Ask for slightly bolder primary strokes and open interior space so the accent does not blur into a smudge after repeated washing. This is a low-pain session under an hour. The mistake is asking for micro-detail inside the tiny accent. For display choose a thin pendant necklace that sits above the accent without rubbing it.
27. Low Back Poison Rootlet
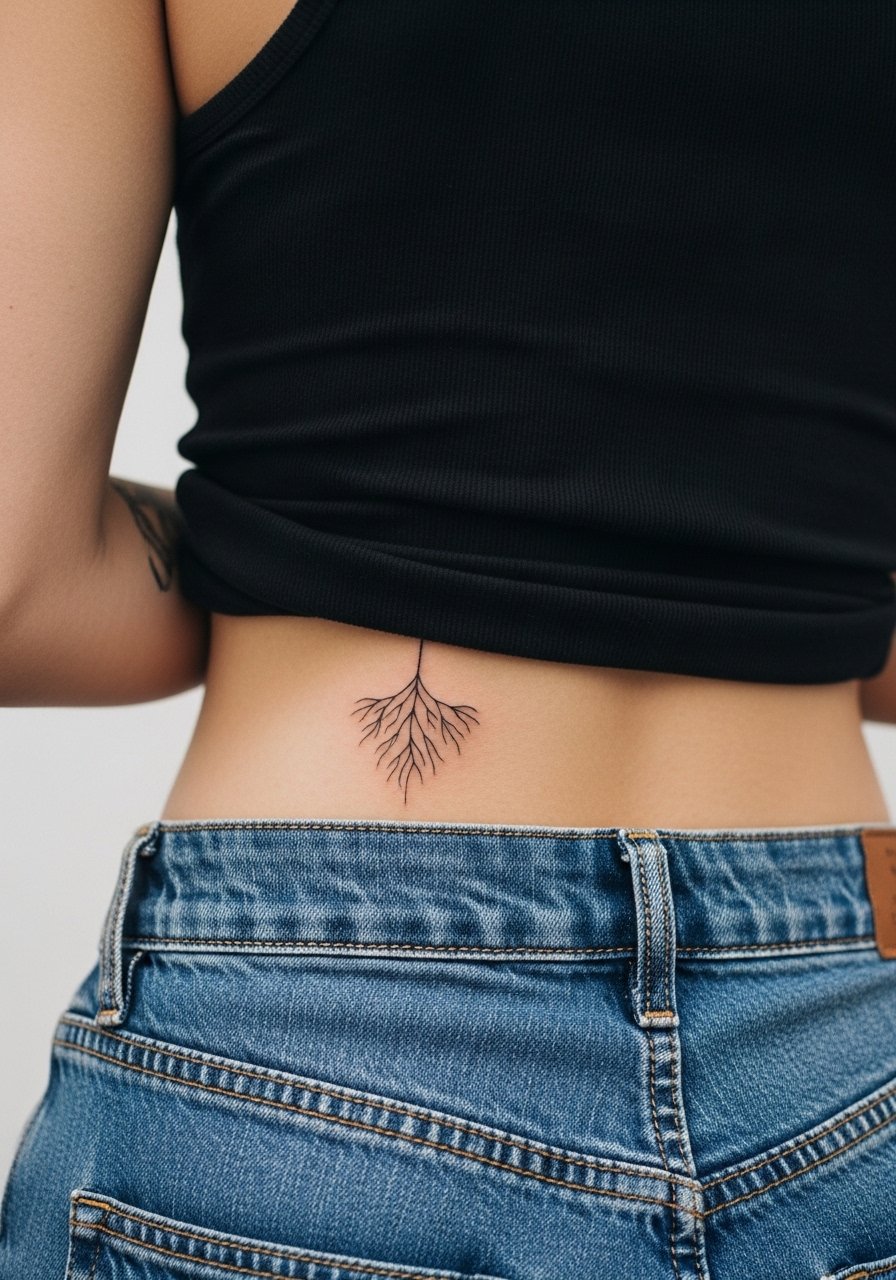
Lower back pieces can be tucked under clothing most of the time, which helps protect saturation. Inform your artist about waistbands or belt habits so they can avoid placing the rootlet where friction is constant. Sessions are often comfortable and healing is straightforward. A common mistake is placing texture right under a waistband which rubs scabs. For summer wear consider high-waisted jeans that sit below the rootlet during healing.
Frequently Asked Questions
Q: How well does bold blackwork hold up on ribs compared with forearm placements?
A: Ribs and forearms behave differently. Forearms tolerate motion and sun differently than the ribs, which stretch with breathing. For ribs ask for spaced linework and slightly heavier primary lines. For forearms you can keep more interior detail. Either placement may need touch-ups, but the ribs commonly need one earlier if the artist compresses branches too tightly.
Q: Will a poison tree sleeve require more touch-ups than a single branch on the collarbone?
A: Sleeves expose more surface area to friction and sun, so they often need more touch-ups. Collarbones get fabric contact but usually less daily abrasion. Plan for periodic touch-ups on both if you spend a lot of time outdoors.
Q: Are hand and finger poison tree details worth it if I want long-term clarity?
A: Hands and fingers fade faster because of frequent washing and friction. If longevity matters, make the details bolder and slightly larger than you imagine. Expect maintenance in one to two years and discuss realistic touch-up timelines during the consult.
Q: How should I prepare clothing-wise for a sternum or ribcage appointment?
A: Wear a fitted sports bra or a cropped top you can lift slightly so the artist has clear access without full exposure. A zip-up hoodie or a loose button-down also works. For comfort bring layers for temperature changes during long sessions.
Q: Do collarbone and chest poison branches need different sunscreen after healing?
A: All exposed blackwork benefits from daily mineral SPF once healed. Collarbones and chest are at higher UV risk because they often see long sun exposure. Use a broad-spectrum mineral sunscreen on healed ink and reapply when outdoors.
