
Sitting in the chair with the stencil aligned over the scar is when most people realize cover-up work needs more than a pretty reference photo. The scar texture, scar color, and remaining skin laxity all steer the final choice. These 27 blackwork ideas focus on bold saturation and clever compositions that hide scar tissue while still reading crisp years from now.
1. Central Mandala Over Midline Scar
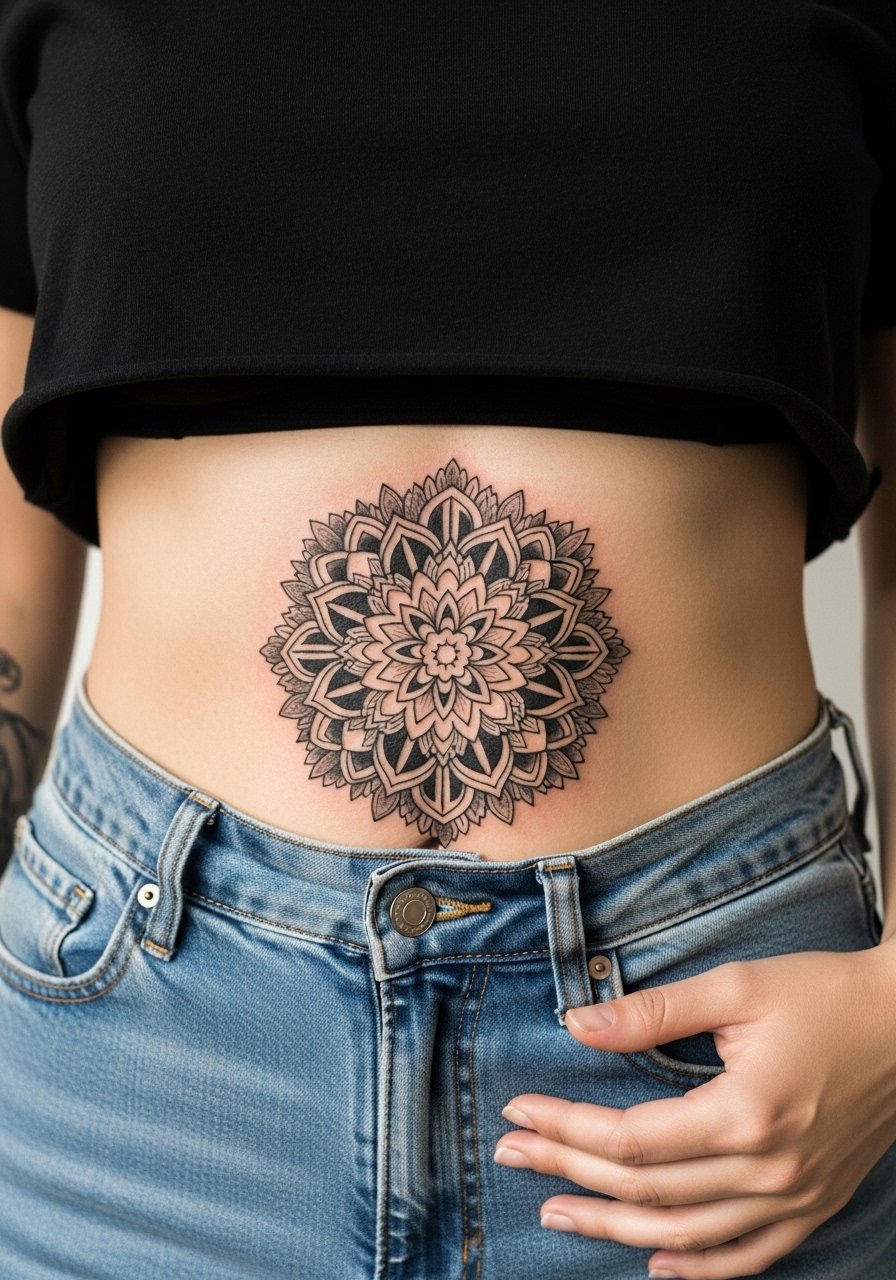
A centered mandala is forgiving for horizontal tummy tuck scars because the radial geometry distracts the eye from linear seams. Tell your artist to plan heavy saturation in the center and progressively lighter stipple shading toward the edges to avoid a flat patch over old scar tissue. Expect the session to feel like a steady filling process, moderate pain across the abdomen, and one long session or two shorter ones depending on size. Common mistake is trying to fit too many tiny details into dense blackwork. For the session, wear a cropped tee you can lift slightly so the artist has unobstructed access.
2. Horizontal Bandpiece That Follows the Tuck Line

A bold horizontal band that tracks the scar can transform a linear wound into a deliberate graphic element. I recommend a single-session approach with steady linework and saturation to mask uneven texture. Tell the artist you want the band slightly wider than the scar so healed scar edges sit inside saturated ink. Pain is steady but tolerable for people who have had abdominal surgery. Watch for blowout where the skin is thin; ask for slightly larger, thicker lines near the scar. After sessions, expect a touch-up at year two if you notice any softening.
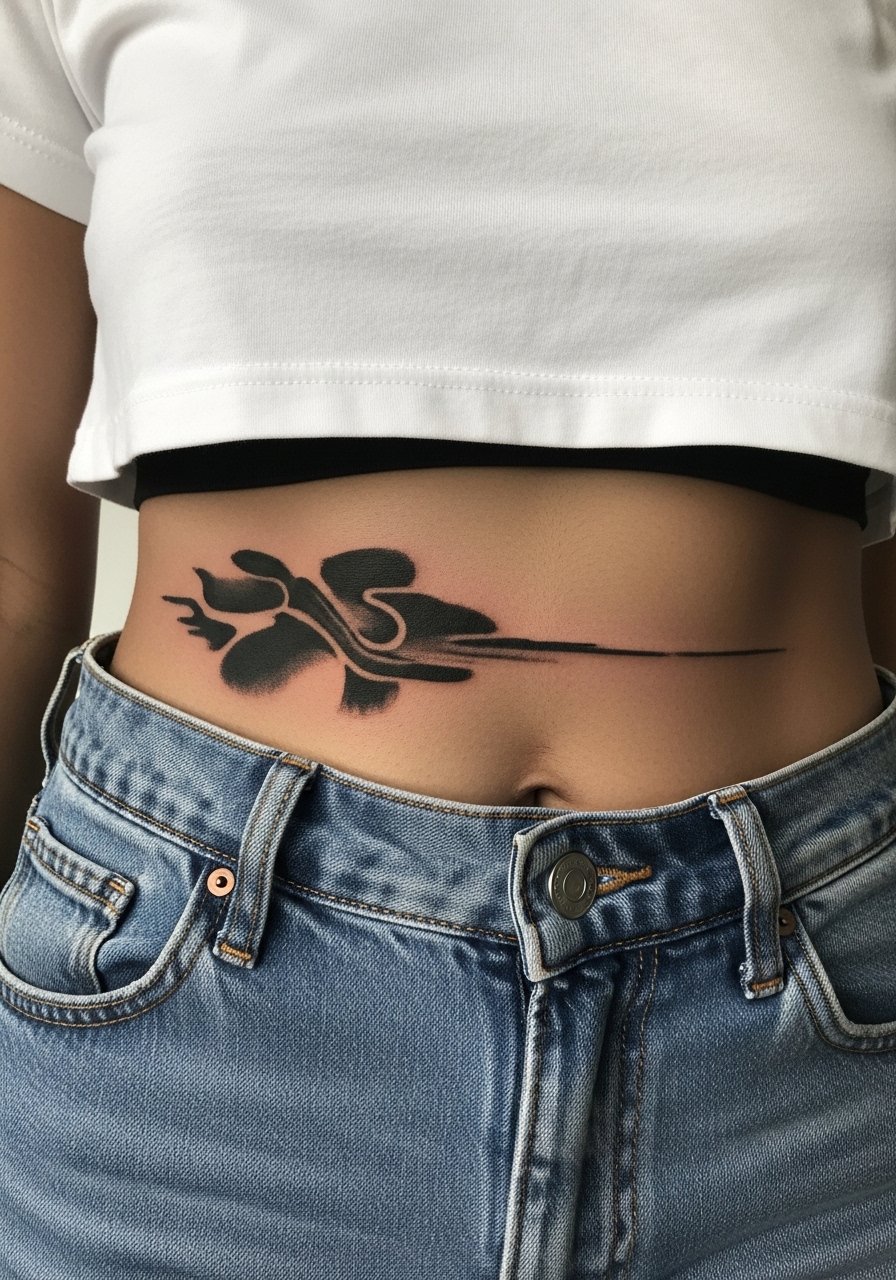
3. Blackwork Floral Field Anchored to Scar

Choosing dense black petals and solid leaves helps cover scar discoloration while keeping an organic silhouette. During consultation, bring reference photos that show how much negative space you want, and ask for bold petal edges rather than delicate filigree. This placement is moderate on the pain scale and often done in two sessions for saturation. A common mistake is asking for tiny fine-line florals directly over scar tissue. Those fade into patchiness faster than solid blackwork. For nights out, pair the piece with an open-back midi dress that frames the abdomen area when you want to show it off.
4. Geometric Shield With Heavy Fill

A geometric shield design reads as intentional armor over a surgical scar. Ask your artist for thick outer borders and layered black panels that break up scar lines. This style ages well because the large fields hold saturation longer than tiny lines. Expect dull soreness during the session and localized sensitivity when the artist packs in black. The biggest mistake is relying on thin connecting lines that disappear into scar tissue. If you plan to show it off, a high-waisted skirt with a slightly cropped top highlights the shield without tugging at the area during movement.
5. Bold Script Panel Over Scar

Large, saturated script can be surprisingly effective for covering linear scars when letters are filled and slightly overlapped. Tell your artist to map the phrase so letters bridge the scar and sit on healthy skin as anchor points. This placement can be more sensitive near the rib margin, so short breaks during the session help. A common error is choosing narrow, intricate fonts that rely on negative space. Those age into illegibility where scars disrupt the ink. For subtle daytime wear, a thin chain pendant necklace draws attention upward and balances the composition.
6. Radiant Sunburst With Dense Core
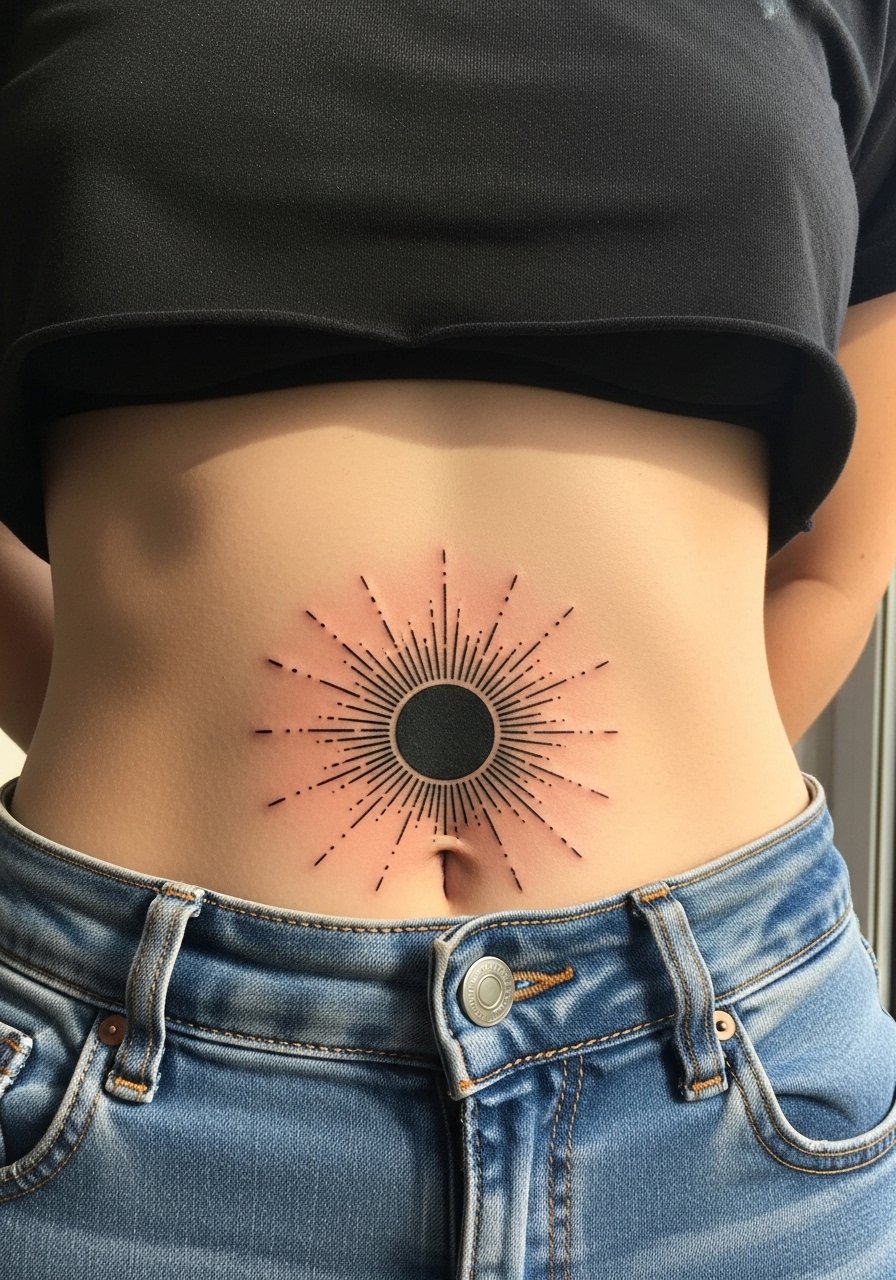
A dense core packed with black will mask thick scar tissue while the radiating rays soften the transition to untouched skin. In consultation ask for a heavier core and progressively dashed or stippled rays so nothing competes directly with scar folds. Sessions can be long if the core is large, so budget a pause between fill and detailing. The misstep here is overloading the rays with tiny dots that blur together over time. For the session, wear comfortable high-waisted bottoms you can lower slightly, like high-waisted leggings, so access stays easy and you stay warm.
Studio Day Picks
The abdominal and lower chest ideas above benefit from a few practical items that ease the session and the first week of healing.
-
Stencil transfer paper kit. Lets you preview how a mandala or band will sit across the scar so you can approve placement before any needles touch skin.
-
Topical numbing cream. Applied per instructions 45 minutes before can reduce discomfort during longer fill sessions on the abdomen.
-
Thin protective film roll. Useful for covering the area after big blackwork fills where friction from clothing could rub while you sleep.
-
Fragrance-free gentle body wash. A gentle cleanser protects fresh blackwork from irritation during showers without stripping moisture.
-
Aquaphor healing ointment. A thin layer in the first 48 hours helps keep packed black ink moist while the initial scabbing phase starts.
7. Asymmetrical Wing That Masks Scar Edges
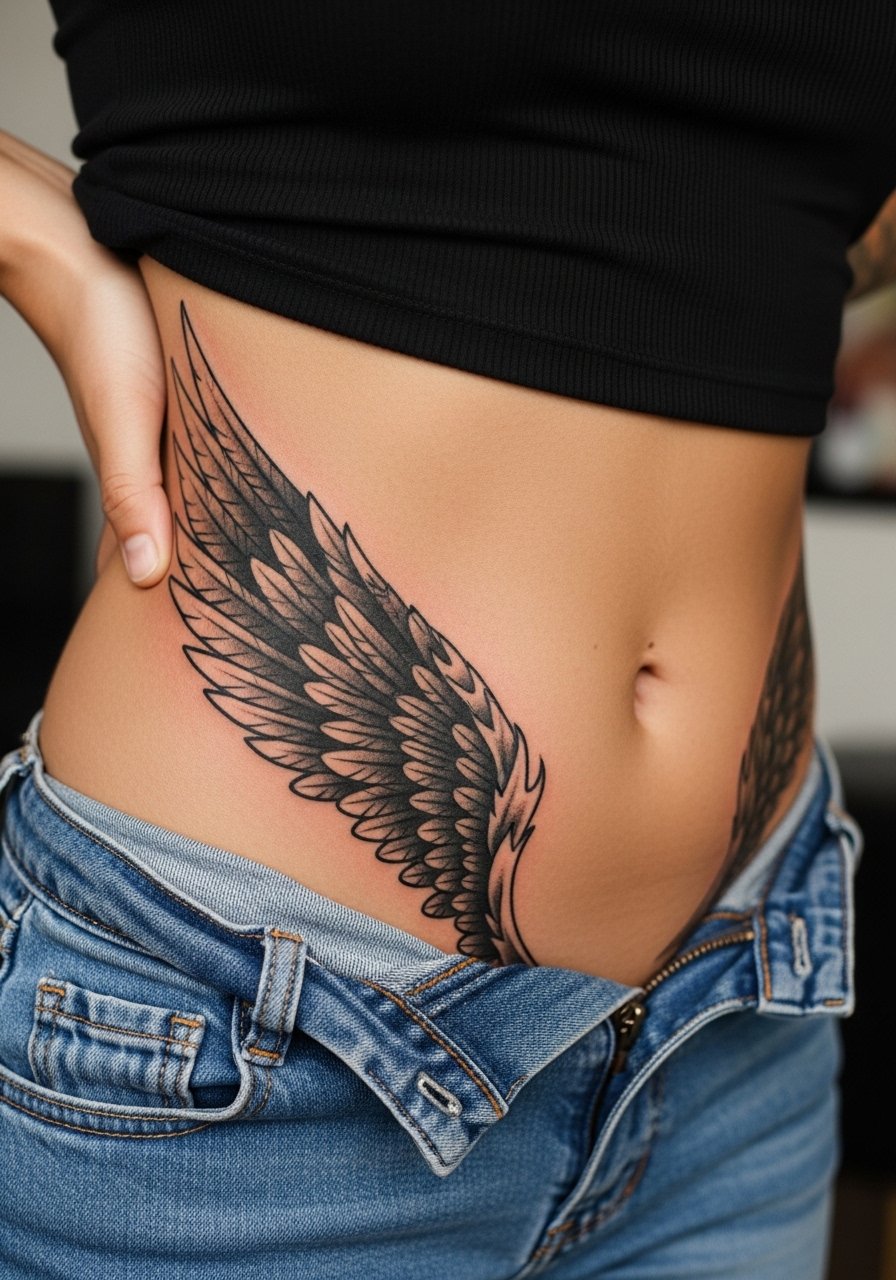
An asymmetrical wing that drifts across the hip and tummy tuck line redirects attention away from a central scar. Ask for heavier fill near the scar and feathered tapering outward so the piece reads dynamic. This placement has mixed pain because the hip edge can be sensitive. A common mistake is making the wing too narrow where the tattoo crosses the scar. Wider forms hide texture inconsistencies better. For showing the piece off, a high-waisted denim skirt that sits below the wing creates a flattering frame.
8. Gridwork Panel That Breaks Up Scar Texture
Gridwork uses repeated weight to distract from uneven scar edges. During consultation ask the artist to vary square sizes slightly so the pattern avoids a mechanical look. Expect the session to be repetitive filling with a steady discomfort level and possible short breaks. The common error is making the squares too small. Small repeated elements over scar tissue blur faster than larger filled fields. If you want to layer jewelry, a slim belly chain sits above the grid without touching the tattoo during daily wear.
9. Abstract Blackwash That Blends Scar Tonality
Blackwash fills that read like ink washes can neutralize scar color by layering diluted black shading around a heavy core. Tell your artist you want depth rather than crisp edges so transitions hide color differences. This method ages differently than solid black, often losing contrast first in the softer edges. The risk is asking for too subtle a wash over raised scar tissue where the ink may not sit uniformly. For the studio, wear breathable loose drawstring linen pants so you can adjust them without rubbing the fresh work.
10. Bold Traditional Anchor Reworked for Scar Coverage
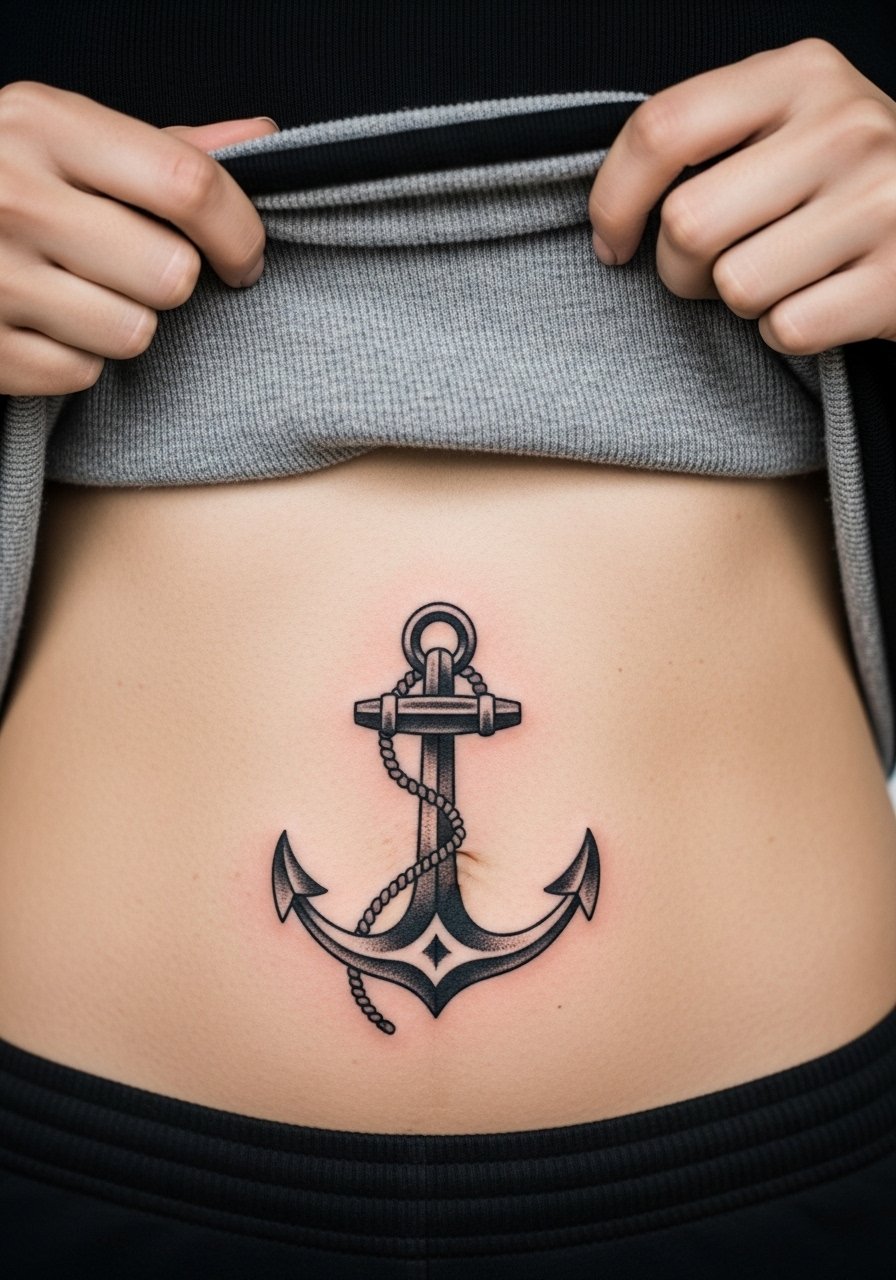
Classic anchor shapes translate well into cover-up work when reinterpreted in dense black. Ask the artist to increase silhouette weight and simplify interior elements for better longevity across scarred areas. Sessions are usually single but can split if the design grows. A mistake is trying to keep every tiny traditional detail inside tight areas over scar tissue. Simplify and let the silhouette do the work. Pair the look with casual tops like a loose button-down shirt you can pull aside during touch-ups.
11. Tiled Chevron Blocks That Distract from Linear Scars
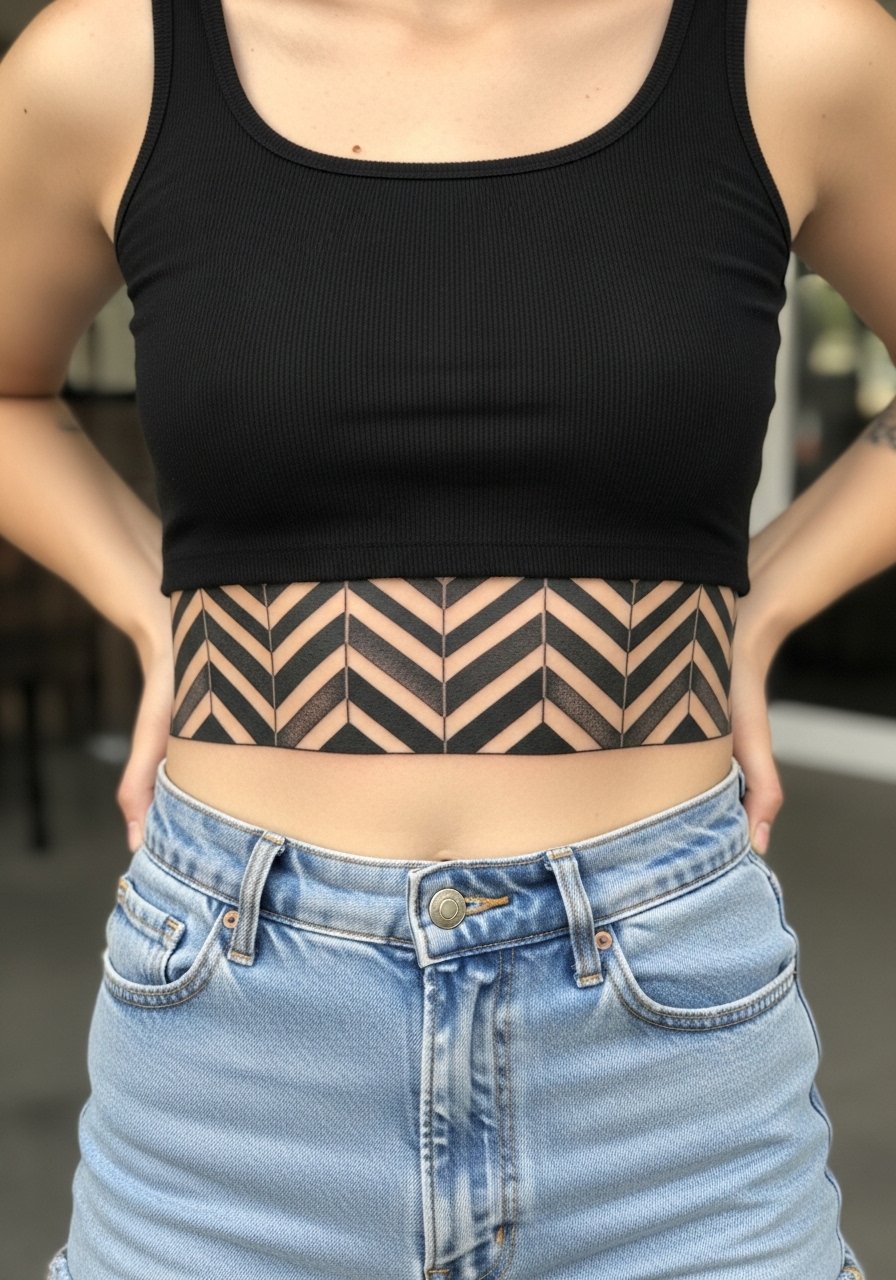
Chevron tiling is great when the scar runs horizontally because the zigzag breaks the eye's path. Ask for larger chevrons and heavy fill nearest the scar so the texture is read as pattern. This placement can be a long session if the tiled area is wide. Avoid asking for too many small chevrons which can become muddy after healing. For the session wear a racerback tank that gives the artist clear access and keeps you comfortable.
12. Wide Baroque Swell That Hides Folds

Baroque swells in blackwork create flowing shapes that camouflage scar ridges and folds. Recommend the artist emphasize negative space curves and thick internal shadows so the scar merges into the design. Sessions feel like repeated shading and can be sore along the curve of the lower abdomen. A common misstep is over-detailing the shaded areas; keep shadow blocks bold for longevity. For a night out, an open-back blouse pairs well when the scroll sits higher on the torso.
13. Interlocking Knot That Reorients the Eye
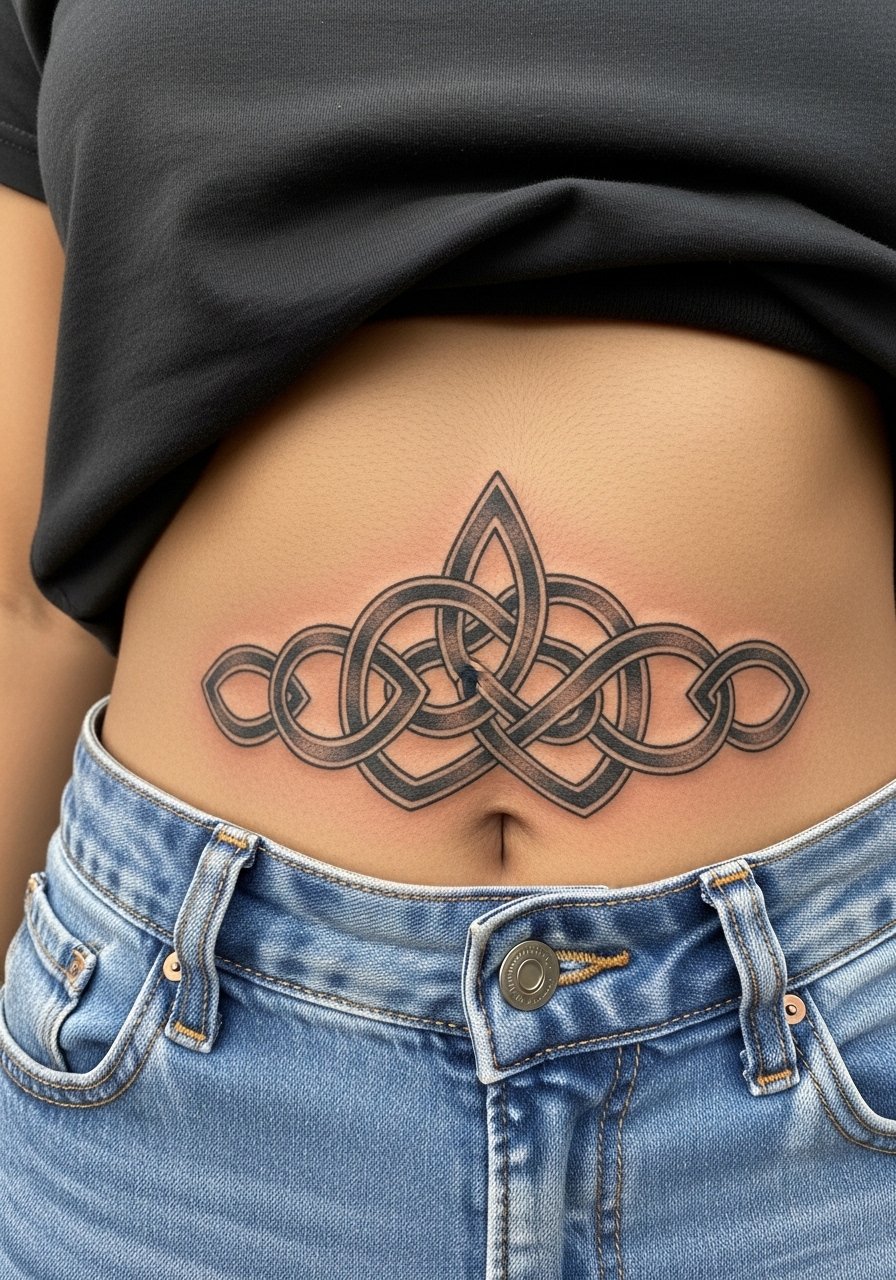
Knots work well for cover-ups because the loops and overlaps hide seams and abrupt texture changes. Tell your artist you want continuous bold lines without tiny filigree that the scar could break up. Expect moderate pain and a focused session on line weight and filling. The major mistake is choosing a knot with excessively thin crossing lines. If you plan to show the piece, a simple cropped sweater frames the midline without rubbing the area during cooler months.
14. Solid Black Triangle Anchor
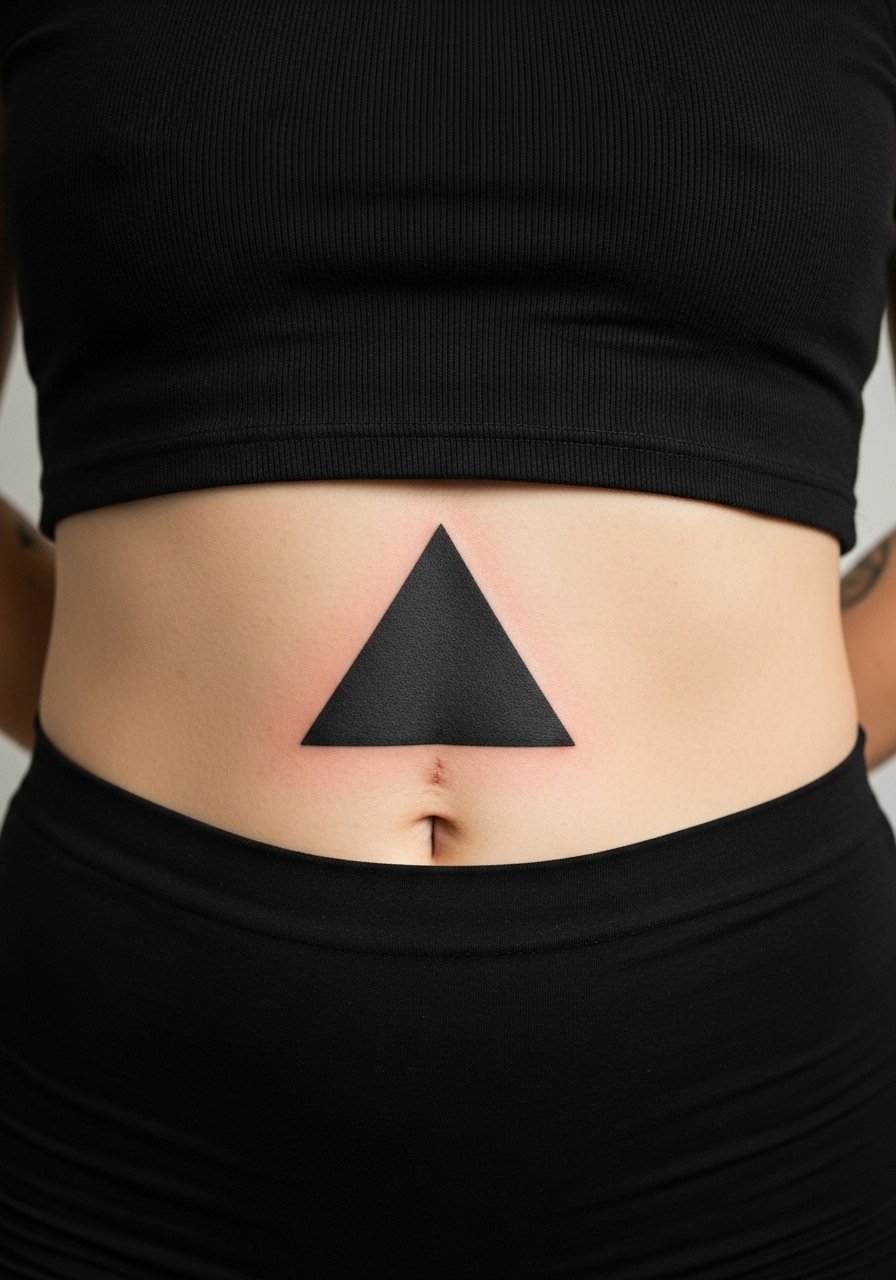
Sometimes the simplest shapes work best. A filled triangle across a scar draws fewer questions and hides a lot of texture. Tell your artist you prefer saturation over micro detail so the ink sits evenly across uneven skin. Expect a relatively quick session for the fill but plan for aftercare that prevents friction from pants. The mistake is adding thin borderwork that peels away faster than solid fields. When you want to keep the area low key, pair it with high-waisted bottoms that avoid rubbing.
15. Halftone Gradient Panel for Soft Transitions

A halftone gradient transitions heavy fill into delicate negative space which can blur scar lines instead of masking them outright. Request larger dots near the scar and progressively smaller dots outward to maintain contrast. The session is technically precise and can take longer for consistent stipple. A common mistake is starting dots too small; over time they merge. For comfort, wear a loose drawstring linen pant so you can roll fabric away without pressure on fresh ink.
16. Bold Celtic Band That Wraps the Lower Torso

Celtic bands can incorporate thick knots and solid panels to obscure scar lines. Ask the artist to scale knot forms up so the pattern reads clearly after healing. The session can be long because of the wrap, and the hip seam is often more sensitive. Avoid tiny interlacing that will collapse on scarred skin. If you wear belts, choose ones that sit above or below the band while healing so nothing rubs the fresh work.
17. Blackwork Phoenix Tail Flowing Across Scar

A flowing tail motif turns the scar into part of an implied motion line. Tell the artist you want heavier packing of black where the tail crosses the scar and lighter feathering beyond. Expect long rhythmic shading and a moderate pain level. The mistake is adding tiny texture that competes with scar texture. To show it off without stressing the area, try a flowing wrap skirt that complements the sweep.
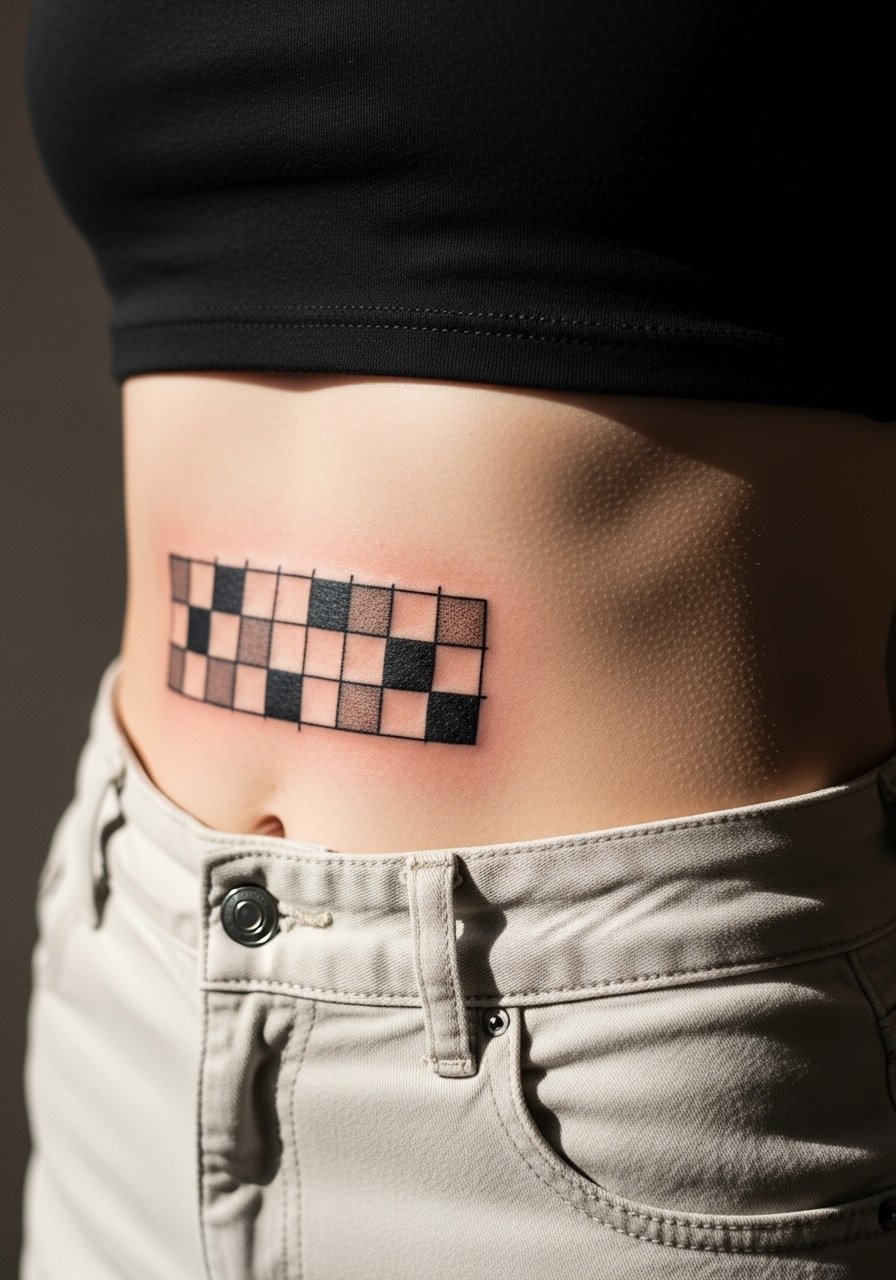
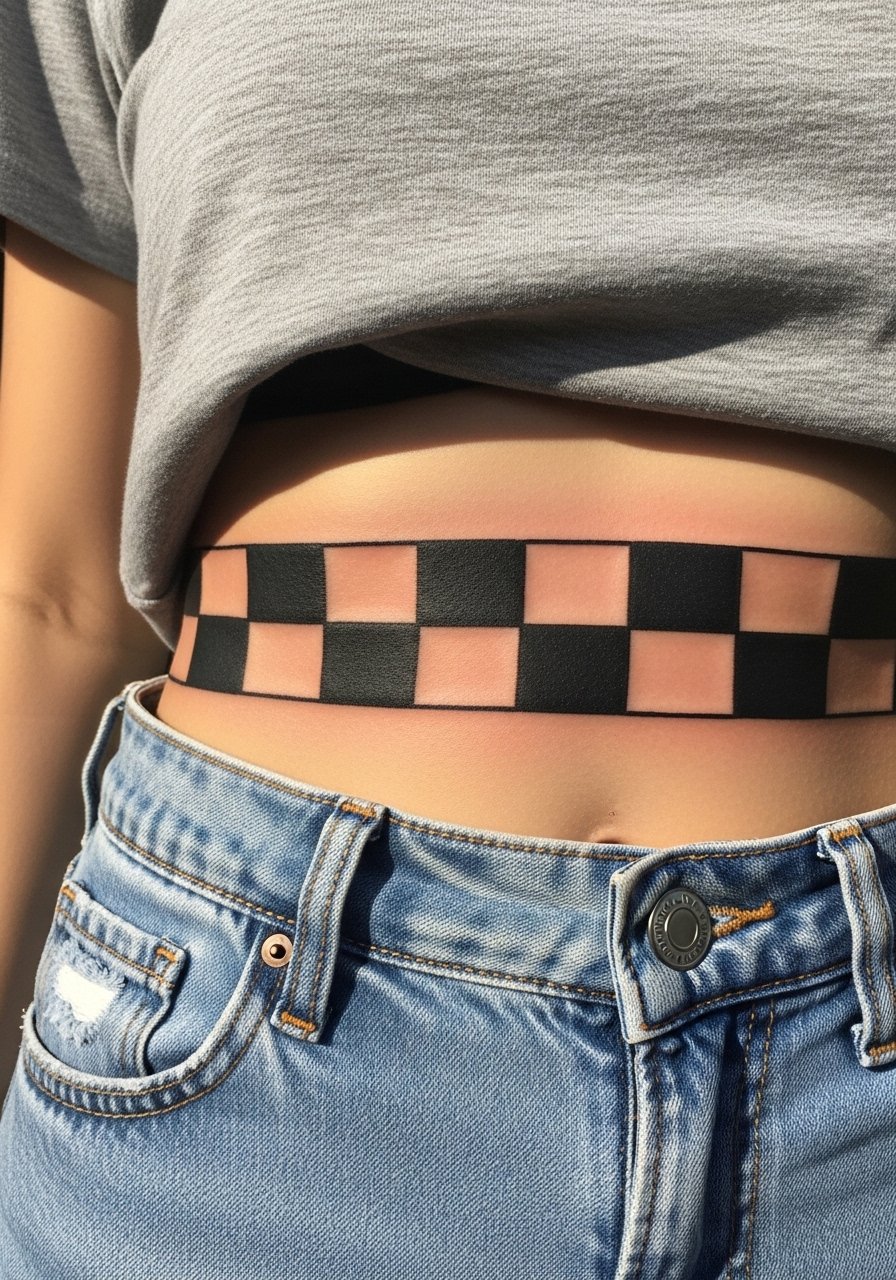
18. Dense Checkerboard Patch
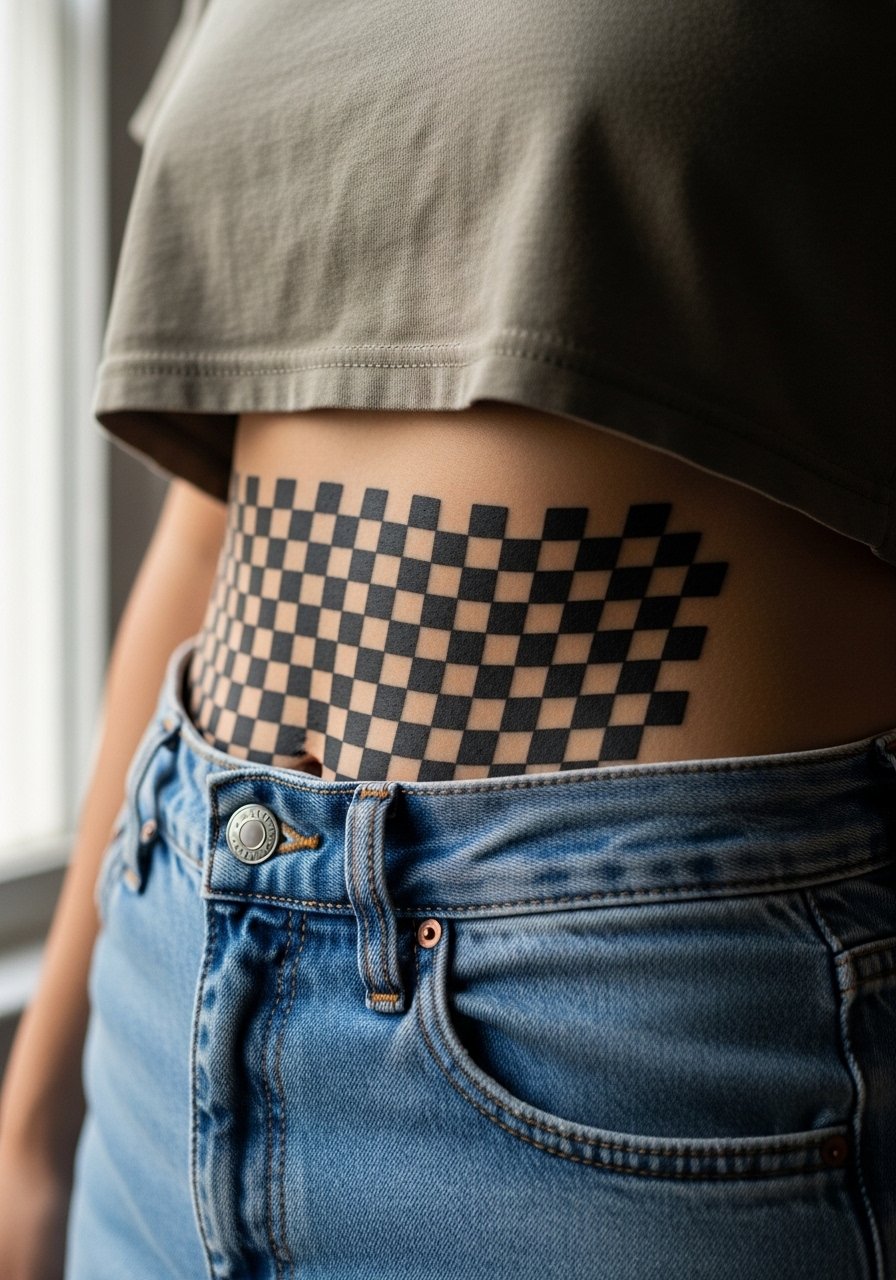
A dense checkerboard uses high-contrast blocks to mask the irregular color of scar tissue. Ask for slightly irregular square sizes so the pattern looks hand-drawn rather than mechanical. The session is repetitive fill work that can tire both client and artist. Common error is using very small squares which can blur together when skin shifts. For a casual look, a cropped hoodie worn with high-waisted pants keeps the area protected while the tattoo settles.
19. Radial Wave That Softens Scar Edges

Radial waves blur the eye's focus and can diffuse a linear scar into broader motion. Tell the artist you prefer larger wave arcs near the scar and tighter spacing outward, so the scar becomes part of the flow. Sessions are meditative shading and can be split into two for comfort. Mistakes include adding too many thin inner lines that lose definition over scar tissue. When you want to highlight the piece, a halter top shows the radial center without interfering.
20. Thick Outline Animal Silhouette Centered on Scar
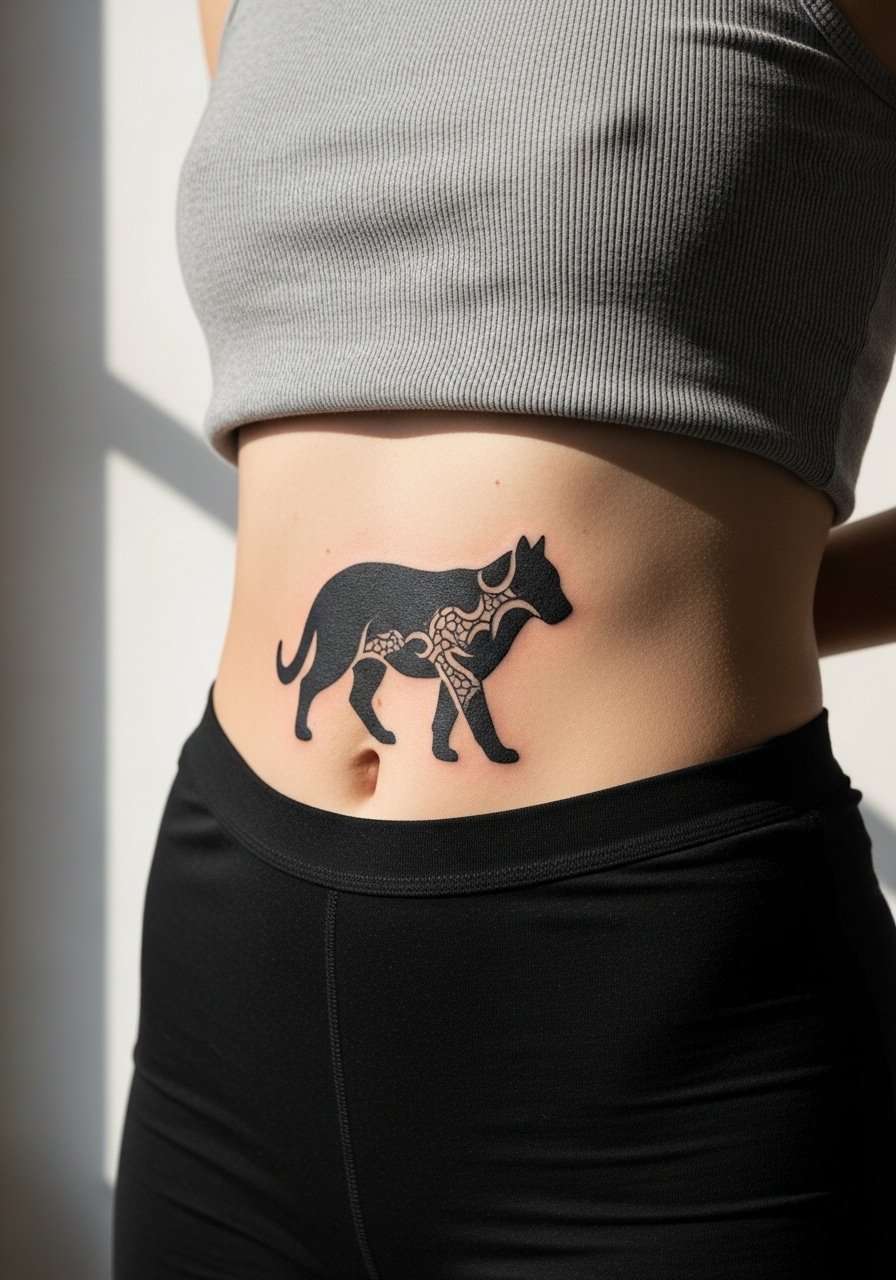
A bold silhouette like a wolf or stag reduced to a heavy outline works well for concealment because the internal negative space avoids relying on perfect saturation over scars. During consult ask for the silhouette to overlap the scar slightly so the edges disguise the line. Expect a single focused session with packing in core black. The mistake is asking for internal fine details. For casual outings, a loose button-down shirt left open frames the silhouette without abrasion.
21. Layered Chevron and Wave Hybrid

Combining chevrons with soft waves lets you have structured masking near the scar and softer transitions outward. Tell your artist to keep chevrons large and waves loose so the design ages predictably. Sessions may alternate between packed black and stipple shading. A typical mistake is overcomplicating the junctions where patterns meet. For styling, a high-waisted skirt works well with the layered geometry.
22. Heavy Halos Around Anchor Points
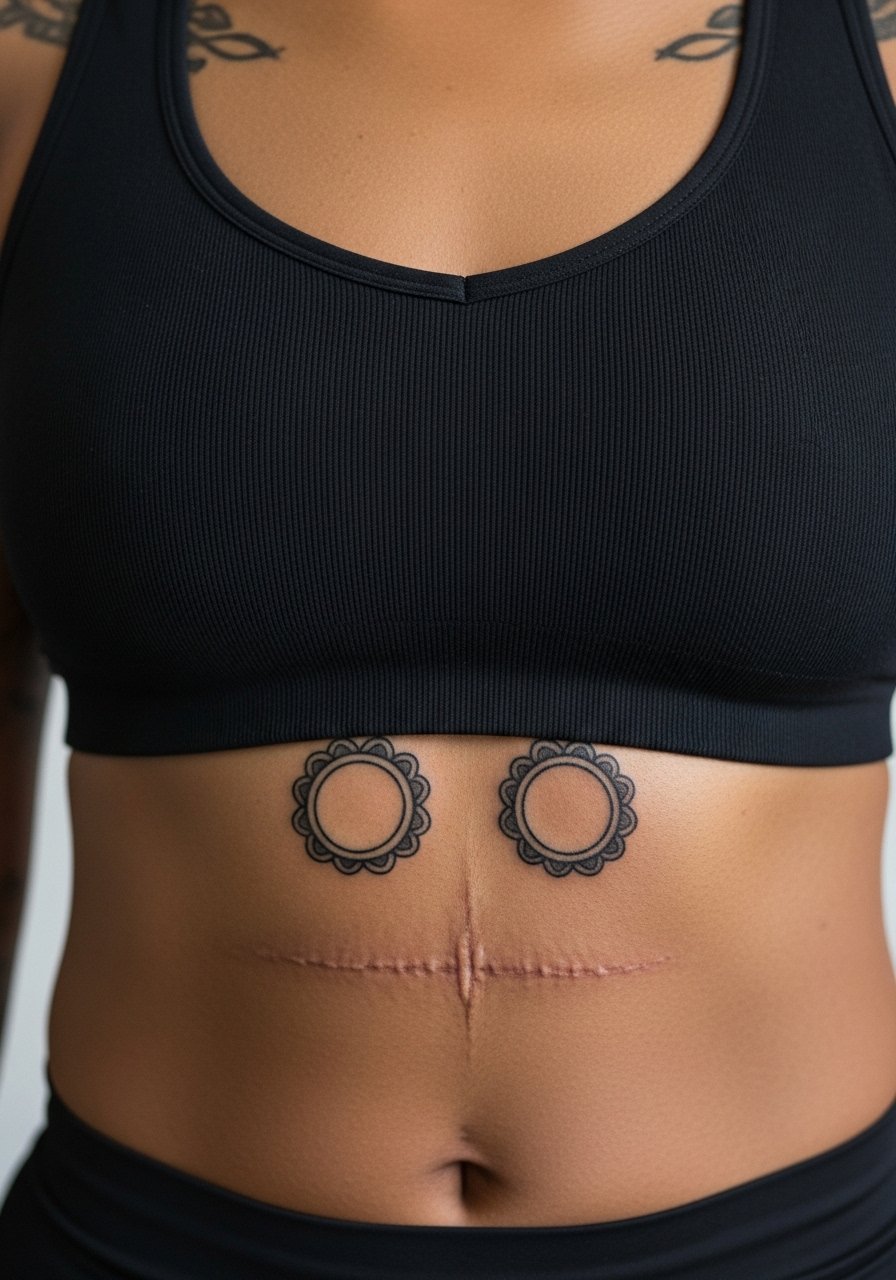
A series of heavy halo rings placed strategically along the scar can fragment the visual line and make the surgical seam less noticeable. During consult map ring centers so they sit partly on unscarred skin as anchors. Expect a few compact sessions for crisp circles and packed centers. The mistake is placing halos entirely on scar tissue where edges may blur. When wearing tops, a fitted crop top complements the repeated round motif.
23. Negative-Space Skeleton Key Over Scar

Using negative space as the key shaft lets dense blackfields around it do the heavy lifting for coverage. Ask your artist to plan solid black fill surrounding the negative key so the scar sits inside the silhouette. Sessions focus on crisp edges and consistent saturation. Avoid overly delicate internal details in the key head which may soften with time. For a subtle accent, a thin chain pendant necklace keeps the look balanced when low necklines are worn.
24. Modular Tile Motif That Interlocks With Scar
Modular tiles let the design wrap the scar like a puzzle piece. Ask the artist to plan tile edges so seams fall across healthy skin when possible, and to use larger modules over the scar. The session is detail-oriented and can require extra touch-ups to maintain crisp corners. A common error is packing corner detail too tightly. For day-to-day wear, a cropped hoodie keeps the area warm and reduces movement while healing.
25. Bold Arrow Bandpoint Drawing Focus Away from Midline
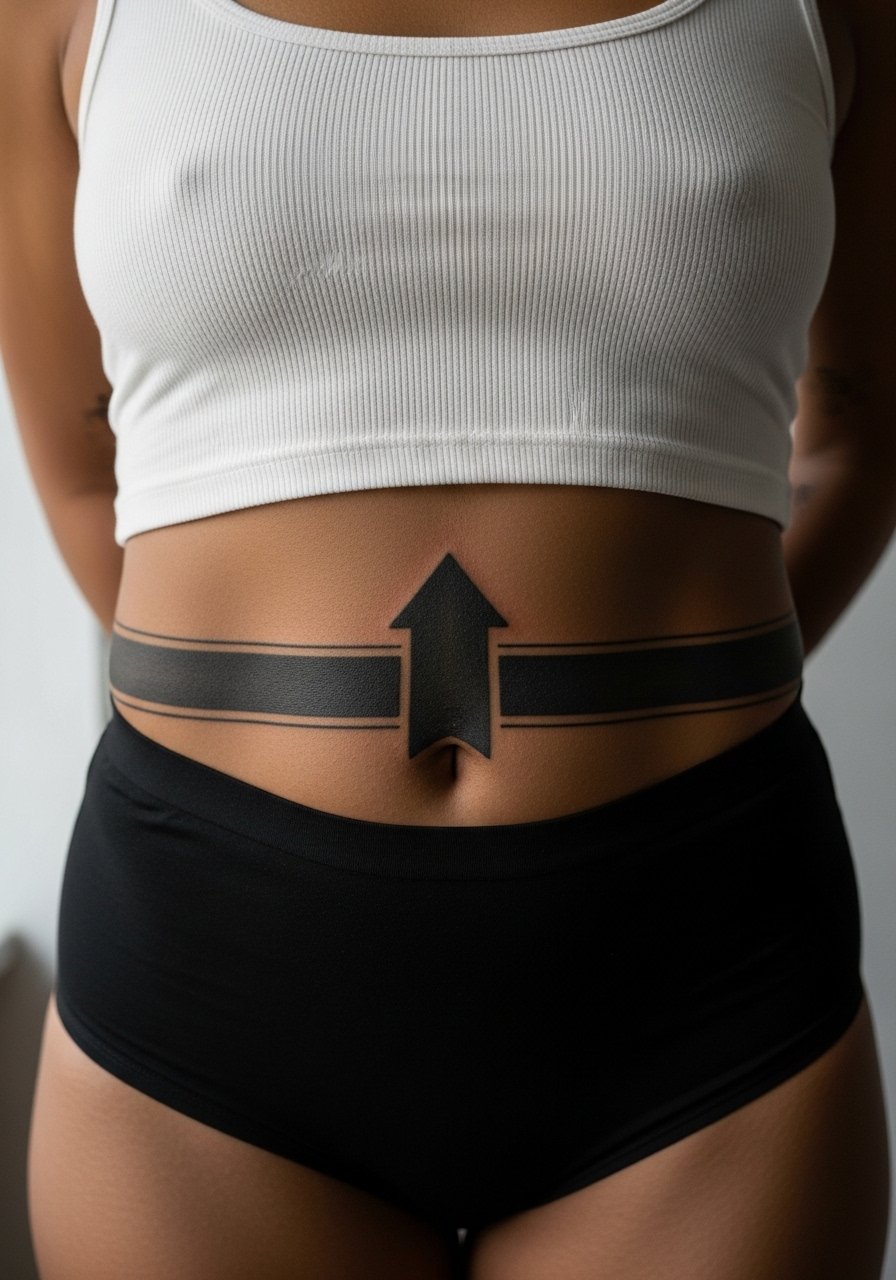
An arrow band redirects sight upward and acts as a visual bridge across a tummy tuck scar. Request thick arrowheads and a packed shaft over the scar so the line reads intentional. Expect a short but intense session for packing in black. Avoid tiny decorative lines within the shaft that will fade into scar irregularities. For showing it off, a wrap skirt pairs with the directional motif.
26. Blackwork Lace Panel Reimagined

Lace can read feminine while being edited for cover-up by amplifying solid areas and simplifying delicate filigree. Tell the artist to enlarge lace motifs and turn tiny threads into thicker shapes that hide scar texture. Sessions alternate between outline and bulk fill and can be long. The mistake is preserving too much lace filigree over problematic scar tissue. For outfits, a bandeau top shows the lace without pressure from straps.
27. Bold Scripted Border That Frames Scar as Statement
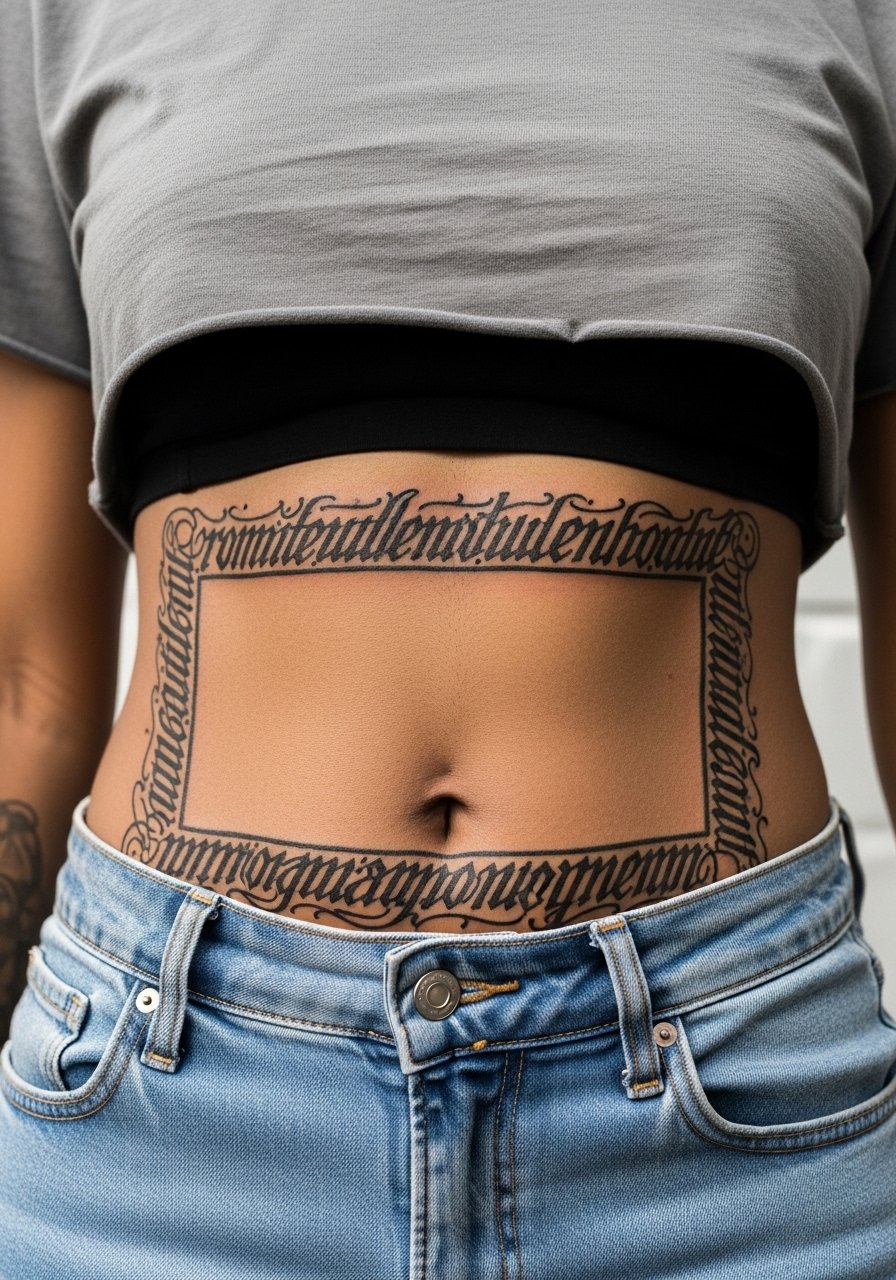
A black scripted border that frames the scar turns medical history into a deliberate composition. During consult discuss letter height and spacing so lines cross the scar at angles that disguise seam irregularities. Expect moderate discomfort along the border edges and a session split if the framing is extensive. A mistake is choosing thin script that will blur where the scar interrupts the strokes. For a final polish to outfits, a simple cropped blazer balances the framed piece for dressed occasions.
Frequently Asked Questions
Q: How does blackwork compare to fine line for covering a tummy tuck scar?
A: Blackwork wins for scar cover-ups because its heavy saturation masks discoloration and texture inconsistencies. Fine line can look delicate immediately but tends to fade or blur where scar tissue is raised or irregular. If you prefer finer elements, ask your artist to combine bold anchors with small, guarded line work away from the scar.
Q: Will a cover-up completely hide my scar or just disguise it?
A: It depends on scar color, depth, and how much skin laxity remains. Most cover-ups conceal the visual line well, but the texture may still be palpable under skin. Expect to discuss realistic goals during the consult and plan for touch-ups if you want sustained opacity.
Q: How soon after surgery can I get a cover-up tattoo?
A: You need fully healed, mature scar tissue before tattooing, which often means waiting many months. The exact timeline depends on your surgeon's guidance and how the scar looks. Ask both your surgeon and prospective artist for clearance and an assessment of scar maturity.
Q: Are there placements that artists refuse when doing a tummy tuck cover-up?
A: Some artists will decline work on fresh or hypertrophic scars or scars that are still changing. Others avoid extremely thin or tethered skin where blowout risk is high. Use discovery pathways like local conventions, shop directories, and community forums to find artists who list cover-up experience explicitly.
Q: How long should I expect touch-ups for these blackwork cover-ups?
A: Dense black fields hold longer than tiny detail. Many clients plan for a touch-up between year one and year three for saturation refresh, depending on sun exposure and skin type. Darker skin tones can show excellent saturation but still benefit from occasional touch-ups where scarred tissue responded unevenly.
Q: What should I wear to my appointment to make access easy and protect the area afterwards?
A: Wear loose, high-waisted bottoms or a cropped top that exposes only the narrow strip the artist needs. For post-session comfort, breathable high-waisted leggings or a loose drawstring skirt reduce rubbing. A high-waisted legging is a practical choice to keep fabric away from fresh ink while you heal.
