
Fine line dog tattoos are everywhere online, and the trend versus reality gap matters more than most people realize. That fresh crisp outline will photograph beautifully for a week, then start to soften if it lives on a high-friction spot. Pick placement with aging in mind and you get a tiny, readable design for years rather than a ghost by year three. Below are 21 small dog ideas that balance current looks with how they hold up.
1. Fine Line Sitting French Bulldog on the Inner Wrist

I have seen the tiny Frenchie outline become a wrist classic because it reads like a personal emblem without taking over. Fair warning, wrist placement is a higher maintenance spot for fine line. Ask your artist for slightly heavier primary outlines and single-needle detail only for the ears so the silhouette holds up. Common mistake is asking for ultra-thin strokes that disappear under friction from sleeves and bracelets. For the session wear the artist will want your wrist fully exposed, so wear a sleeveless tank you can roll up easily. Expect a touch-up at year two or three depending on sun exposure and how often you wear bracelets.
2. Micro-Realism Paw Print with Tiny Heart on the Inner Finger
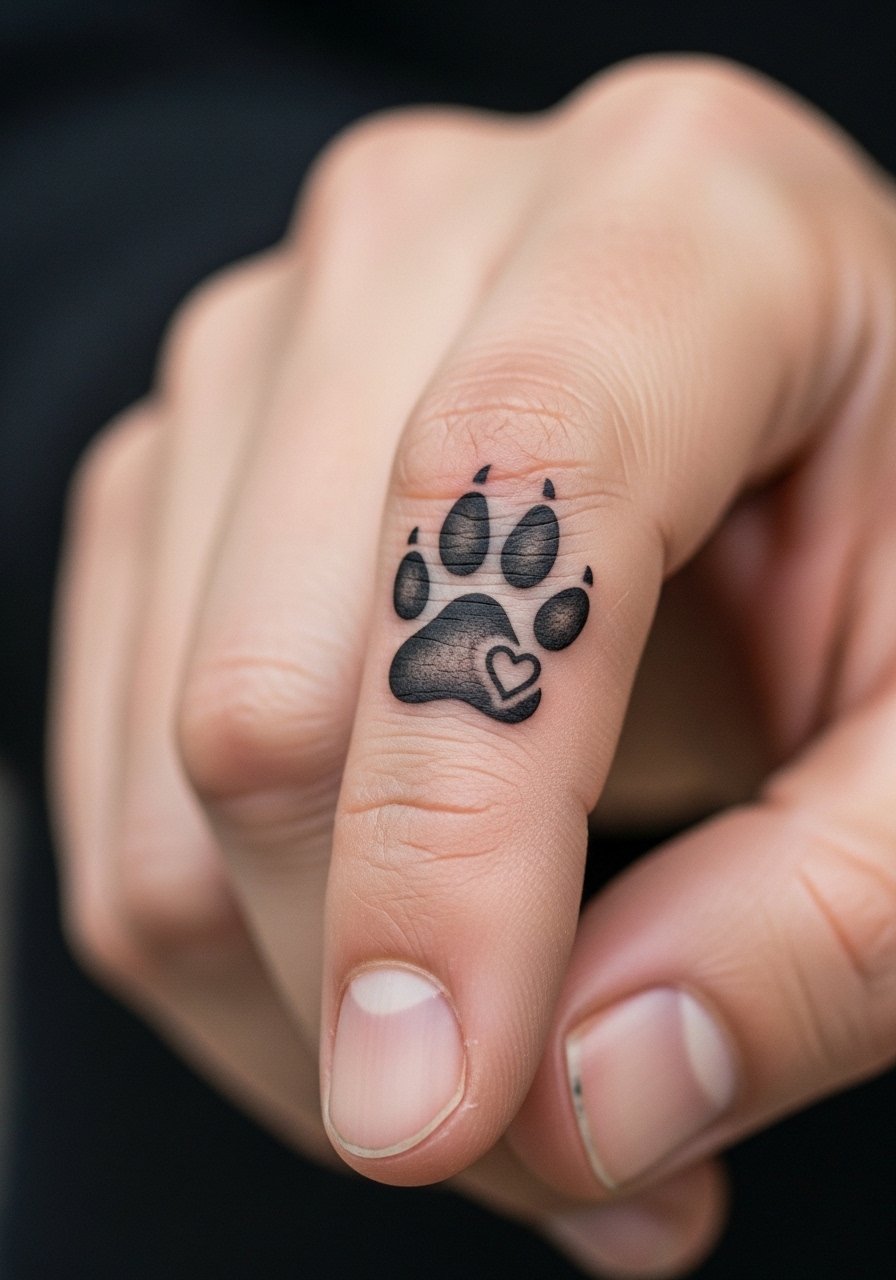
Inner finger work is discreet and feels like a wearable token, but friction from washing and hand use makes healing tricky. For this micro-realism paw, ask the artist to keep the size just big enough for dot work to breathe and to avoid super dense shading that blurs on fingers. A common misstep is shrinking the design too far, which means the detail collapses as it heals. Plan for a short session, likely under an hour, and expect the need for a touch-up within 6 to 12 months if you use your hands a lot. Put a ring on or near the design after healing to frame it without crowding the print.
3. Watercolor Golden Retriever Silhouette at the Ankle
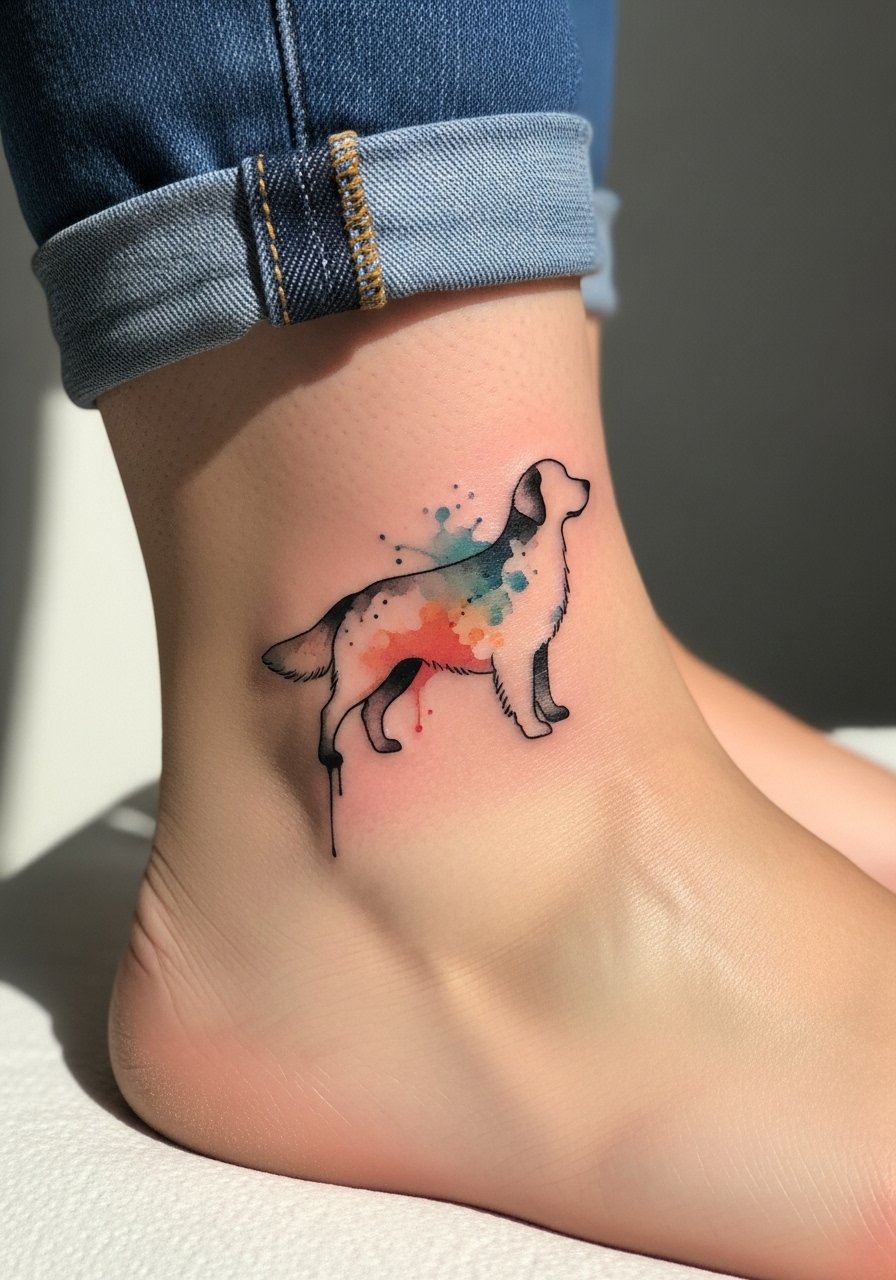
Ankle watercolor glows in summer with sandals and cropped pants, and the soft fades carry a nostalgic warmth. The trick is to keep the silhouette bold enough so the color wash does not wash out over time. Tell your artist you want saturated edges with painterly interior fades rather than feathered edges that disappear quickly. For showing it off pair this with strappy heeled sandals and cropped linen pants in warm weather. The session is two short sittings if color layering is involved, and heat combined with ankle movement can speed fading, so protect it from sun in the first month.
4. Minimalist Dog Ear Outline Near the Collarbone
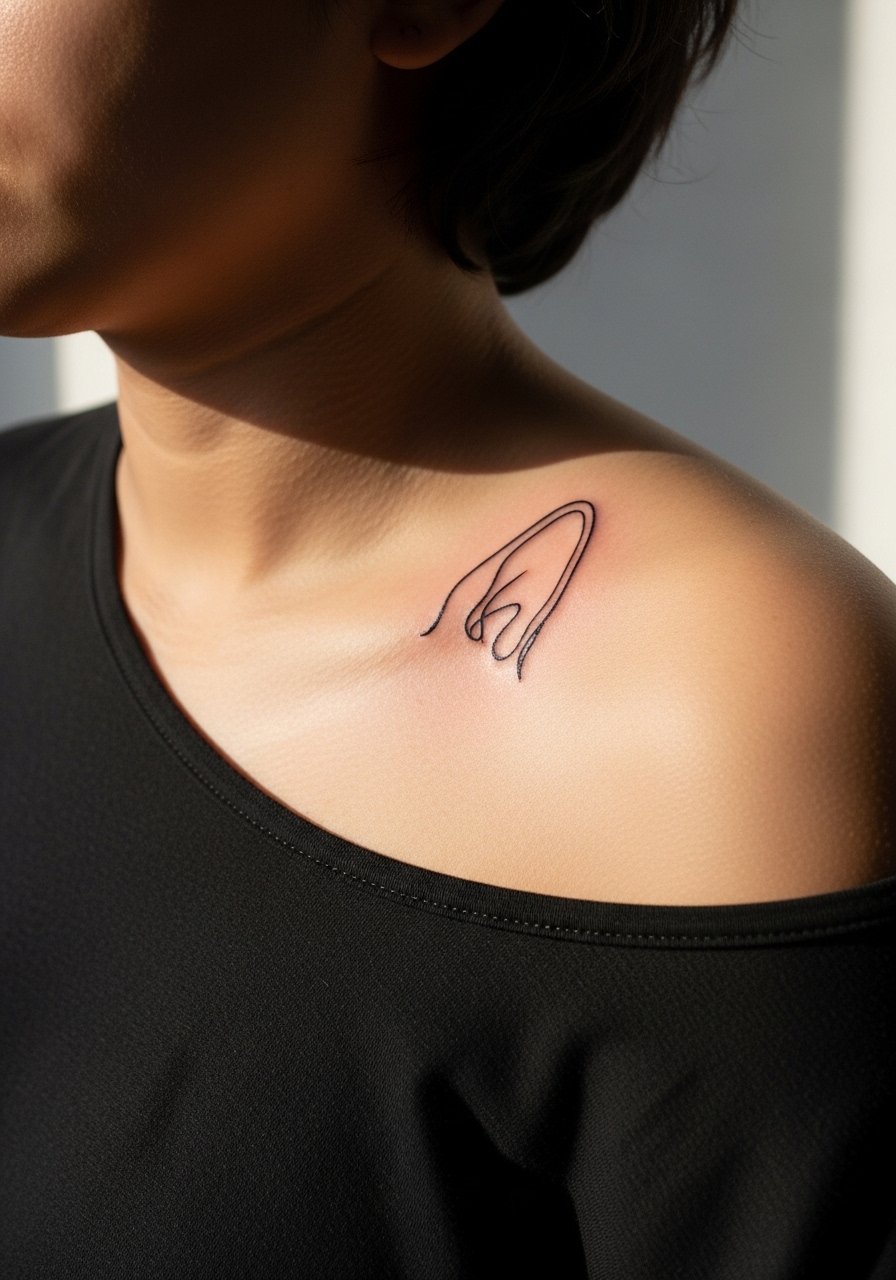
The collarbone is a great place for a small ear outline because it stretches less than the wrist and shows up nicely with open-neck tops. Ask for a single confident stroke and a slightly bolder starting point where the line anchors, so the negative space reads clean as it heals. The common mistake is requesting an ultra-thin stroke that loses presence on medium and dark skin tones. For sessions wear a strapless bra or a wide-neck top so the artist has clear access. This placement is lower on the pain scale than ribs and usually finishes in a single session with minimal touch-up needs.
5. Neo-Traditional Cartoon Corgi on the Outer Forearm
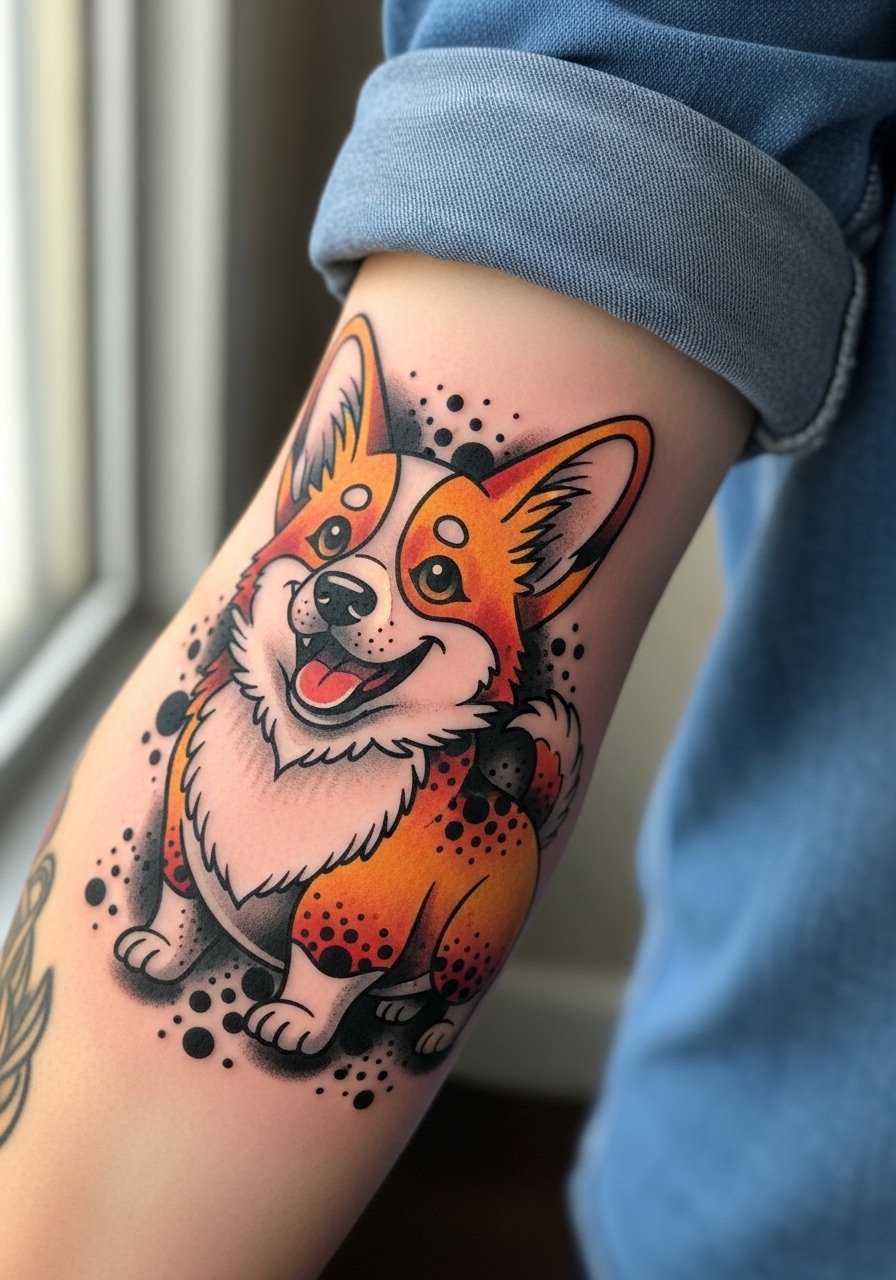
Outer forearm pieces read well from across a room and make great playful statements for dog lovers. For a neo-trad Corgi, request crisp black outlines with saturated color spots and dotted texture rather than tiny stipple across large areas. The error I see is asking for too many tiny details that merge when the limb moves. During the consult bring three portfolio examples so the artist knows the scale and dot density you want. To show it off try a rolled sleeve denim shirt or a simple short sleeve tee. Expect two shorter sessions if you want richer color saturation.
6. Blackwork Geometric Labrador Head on the Shoulder
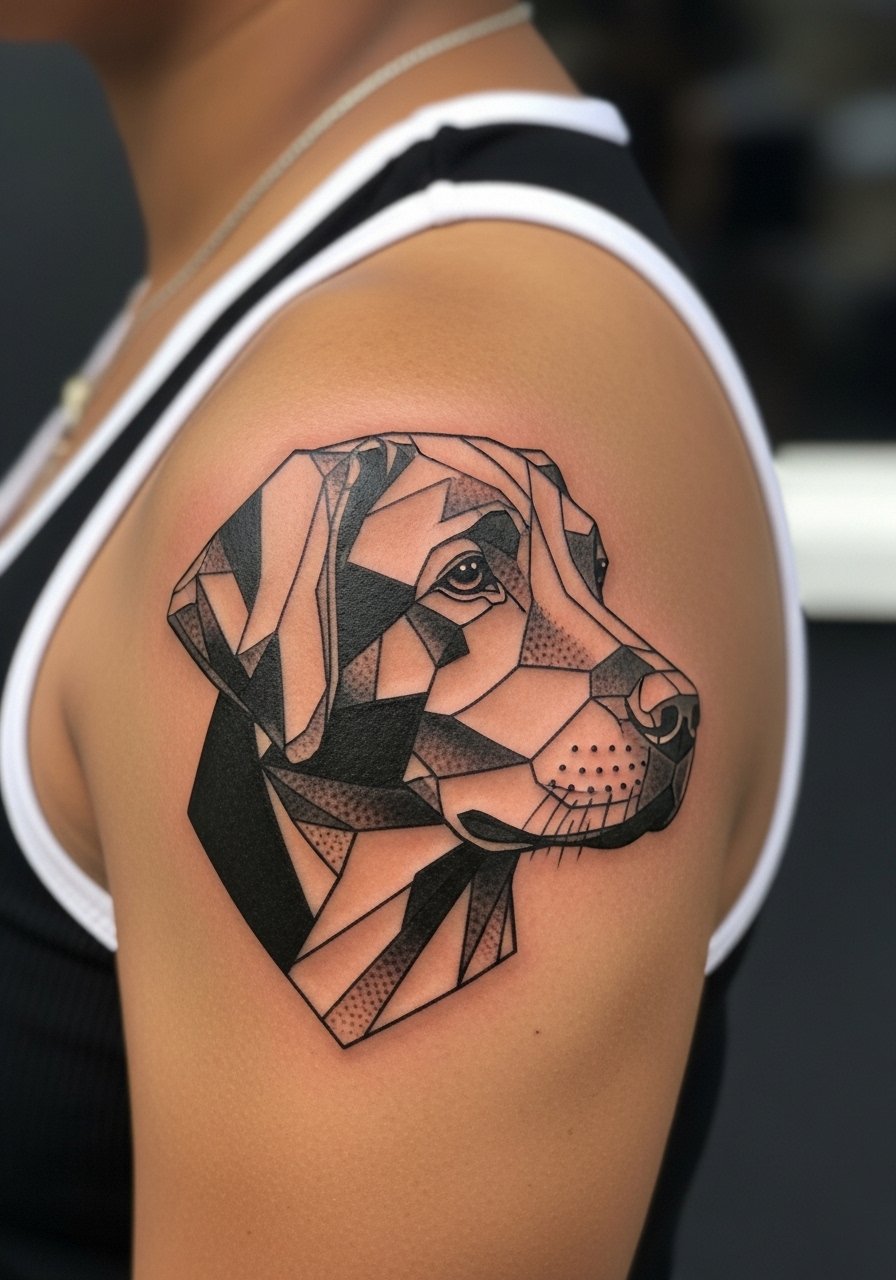
Blackwork holds up extremely well across skin tones, and the shoulder is forgiving for saturation and larger shapes. For geometric Labrador heads ask for balanced negative space so the pattern does not compress into a black blob over time. A common mistake is building too many tight angles that meet at one point, which increases blowout risk in high-movement areas. Tell your artist you want bold shapes with crisp edge definition and plan for two sessions if you want deep saturation. For session wear a loose tank top so the artist can access the shoulder without fabric pinching.
Pre-Session Essentials
The wrist, finger, ankle, collarbone, forearm, and shoulder pieces above have different healing demands, so a few targeted items smooth the session and first week.
-
Tea tree salve from indie UK brand. Gentle, non-greasy salves people favor for itchy ankles and areas with friction from socks or boots.
-
Australian tattoo gel. A dry-feel gel many artists recommend for winter sessions when Aquaphor can feel too heavy.
-
Hada Labo hydrating lotion. Lightweight hydration that sits well under makeup and helps on collarbone or forearm skin without residue.
-
Indie soy-based tattoo balm. Fragrance-free options from smaller shops are good for scent sensitivity and thin line work.
-
Hustle Butter Deluxe. A mainstream, lower-residue option for the first week that many people use with fine line pieces.
7. Ignorant-Style Puppy Nose Tucked Behind the Ear
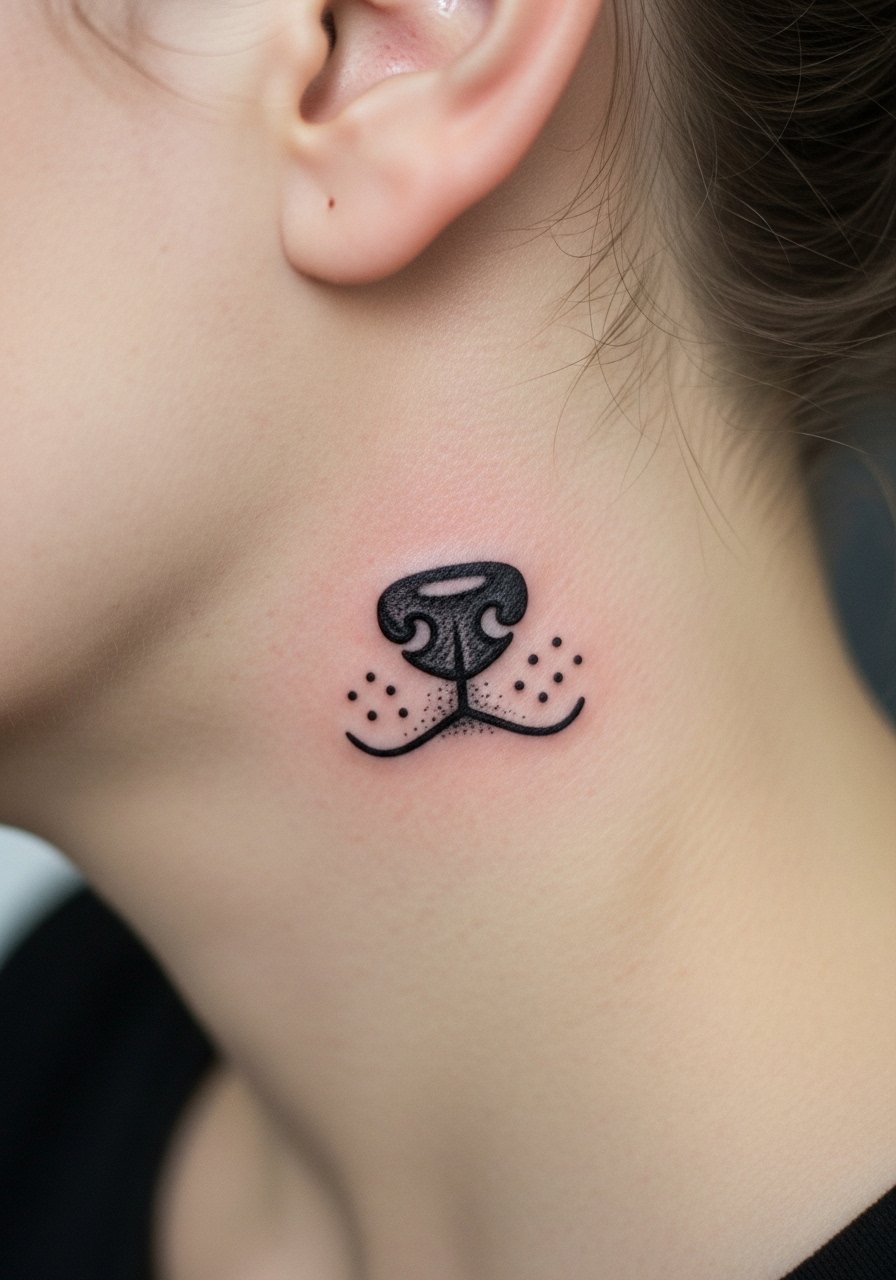
Behind-the-ear tattoos are peekaboo by design and work great for quick, quirky doodles. Because the area is small and moves with hair, ask for bold, confident strokes rather than sketchy micro-detail. The usual mistake is cramming shading into that tiny space which blurs on healing. For the session tie your hair back and bring hair clips so the area stays exposed, and consider small hoop earrings to frame the look after it heals. These are low-session, low-duration pieces that are high on personality.
8. Ornamental Mandala Paw Along the Spine
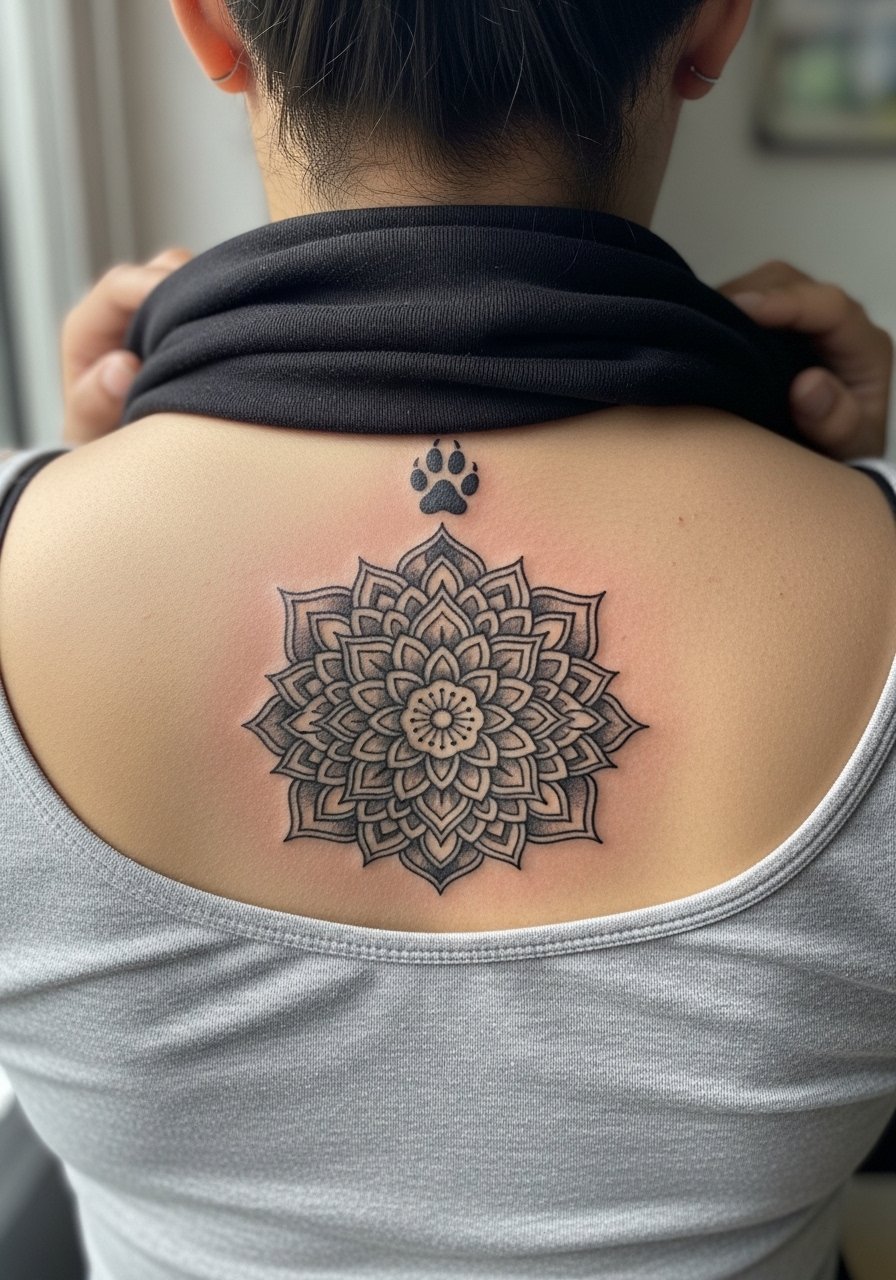
Spine placement gives a mandala the vertical canvas it needs, and integrating a paw turns the motif into a personal emblem. For longevity avoid ultra-fine inner mandala lines that are too close together. The common issue is over-dense filigree, which merges as the area heals and the skin shifts. If you are drawn to cultural motifs consider slight stylistic variation rather than a direct replica, out of respect for origin styles. Sessions can be one to two depending on size. Pain is higher on the spine, but people who want centerline work often accept that trade-off.
9. Fine Line Running Dachshund Along the Ribcage

Fair warning, ribs are a higher pain zone, but they reward you with a stretch-tested canvas where an elongated Dachshund suits the anatomy perfectly. Artists often split on fine line on ribs. One camp says the thin lines blur within a couple of years due to skin movement. The other camp says with correct depth and spacing fine line can settle well. Ask your artist which approach they use and bring references showing line spacing. The biggest mistake is asking for an ultra-fine single pass without allowance for breathing room. Wear a sports bra to the session so the artist can expose one side easily. Expect a single session if the design remains narrow.
10. Traditional Anchor with a Tiny Dog Head on the Calf

Calf pieces let you use bolder lines and solid color because the leg tolerates saturation and holds up under sun and movement. For a small dog head within a sailor anchor ask for thick primary outlines and clean color blocks so the motif ages into a clear silhouette. A common mistake is over-detailing inside the head, which looks busy when the leg fabric rubs it. The session feels moderate in pain and typically finishes in one two-hour slot. Pair this with long socks or boots in cooler months, and let color breathe in the first month before heavy sun exposure.
11. Micro-Realism Pet Eye on the Inner Wrist
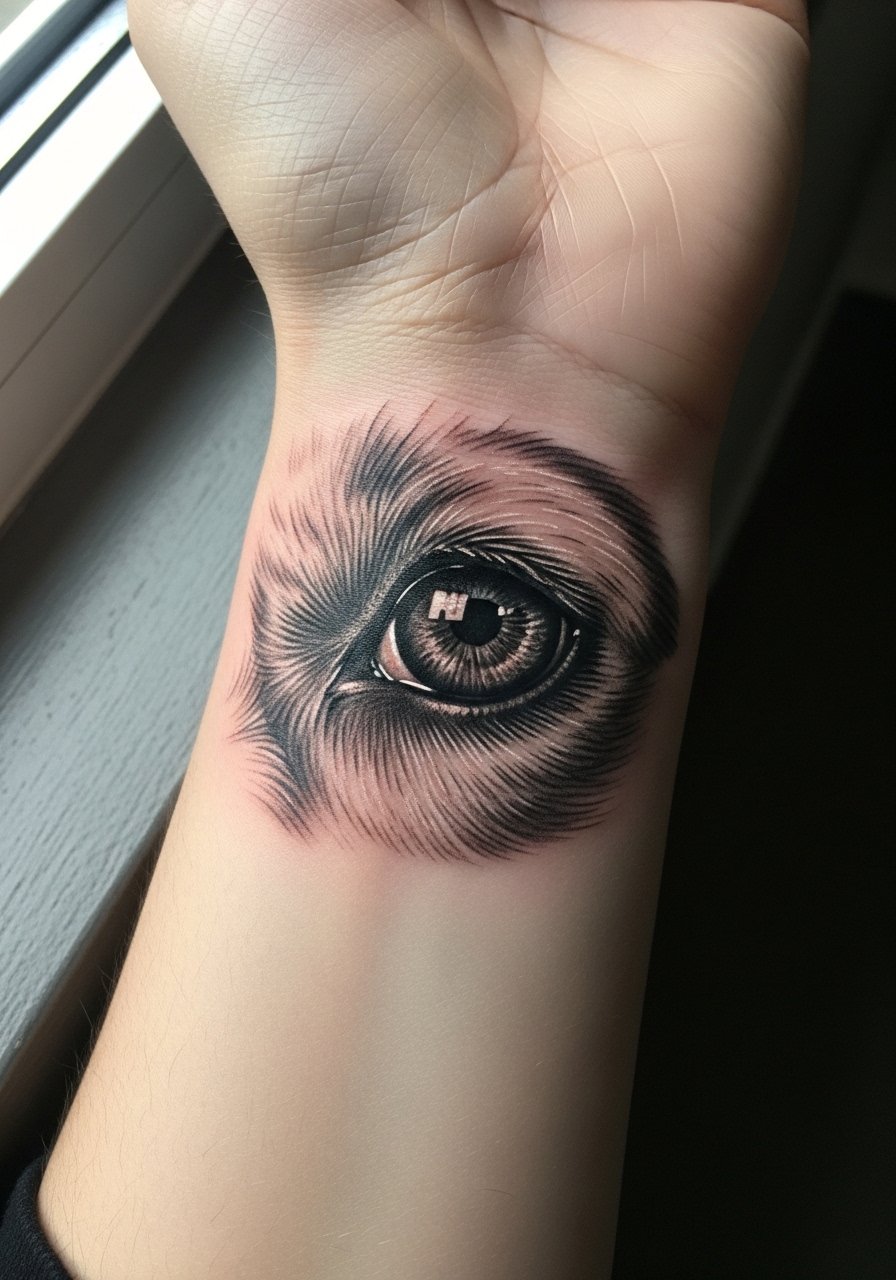
An inner wrist eye carries emotional weight because it meets your sightline often, and micro-realism can hold up if scaled carefully. Ask your artist to focus on a single focal area of contrast and avoid tiny hair strokes all the way around, which are the first to fade. A common mistake is demanding hyper-detail at a micro scale that the skin cannot keep. For session access wear a loose button-up shirt so the area lies flat without creasing. Plan on a two-session approach if you want hyper-contrast now and softer shading later.
12. Minimalist Paw with Constellation Dots on the Thigh
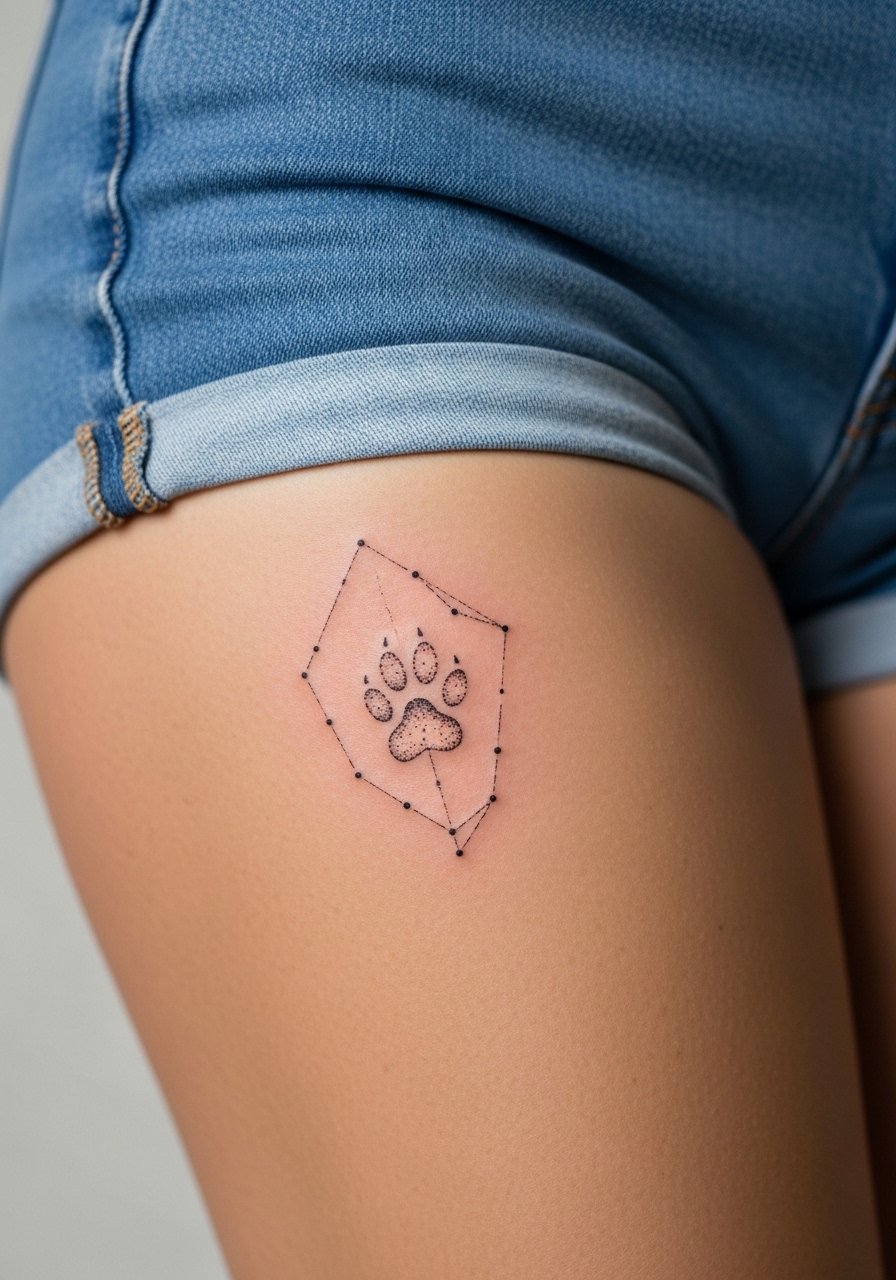
Thigh tattoos are forgiving for small dot work because the skin stays stable and clothes rarely rub during the day. For a constellation paw ask that the dots be spaced generously with slightly larger anchor dots so the pattern does not compress. People sometimes ask for clusters too tight and later see the dots merge. For showing it off wear high waist shorts or a slit skirt once healed. Sessions are usually short and comfortable because the thigh is fleshier than wrists or ribs.
13. Watercolor Splash of Dog Whiskers on the Neck
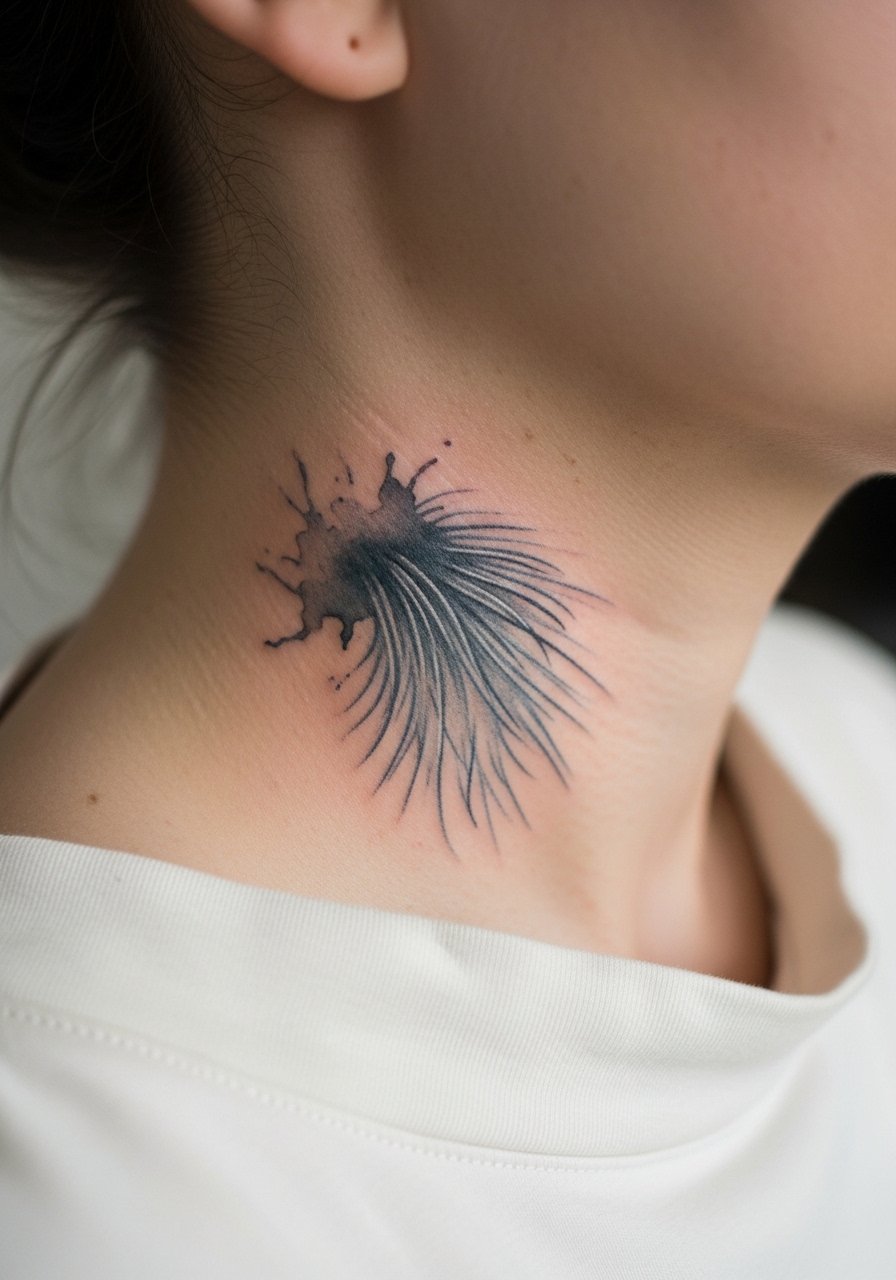
Neck placements read bold even when the design is small, so watercolor whiskers feel expressive while staying delicate. Because the neck moves and sees sun, ask for a defined anchor line with watercolor floated behind it rather than fully diffused edges. A frequent error is asking for pale washes without an anchor, which dissolve into uneven patches. Neck work can be sensitive professionally for some industries, so weigh visibility against career. Sessions are often under two hours, but expect more frequent touch-ups if you sunbathe or tan the area.
14. UV-Reactive Tiny Dog for Blacklight Parties on the Ankle
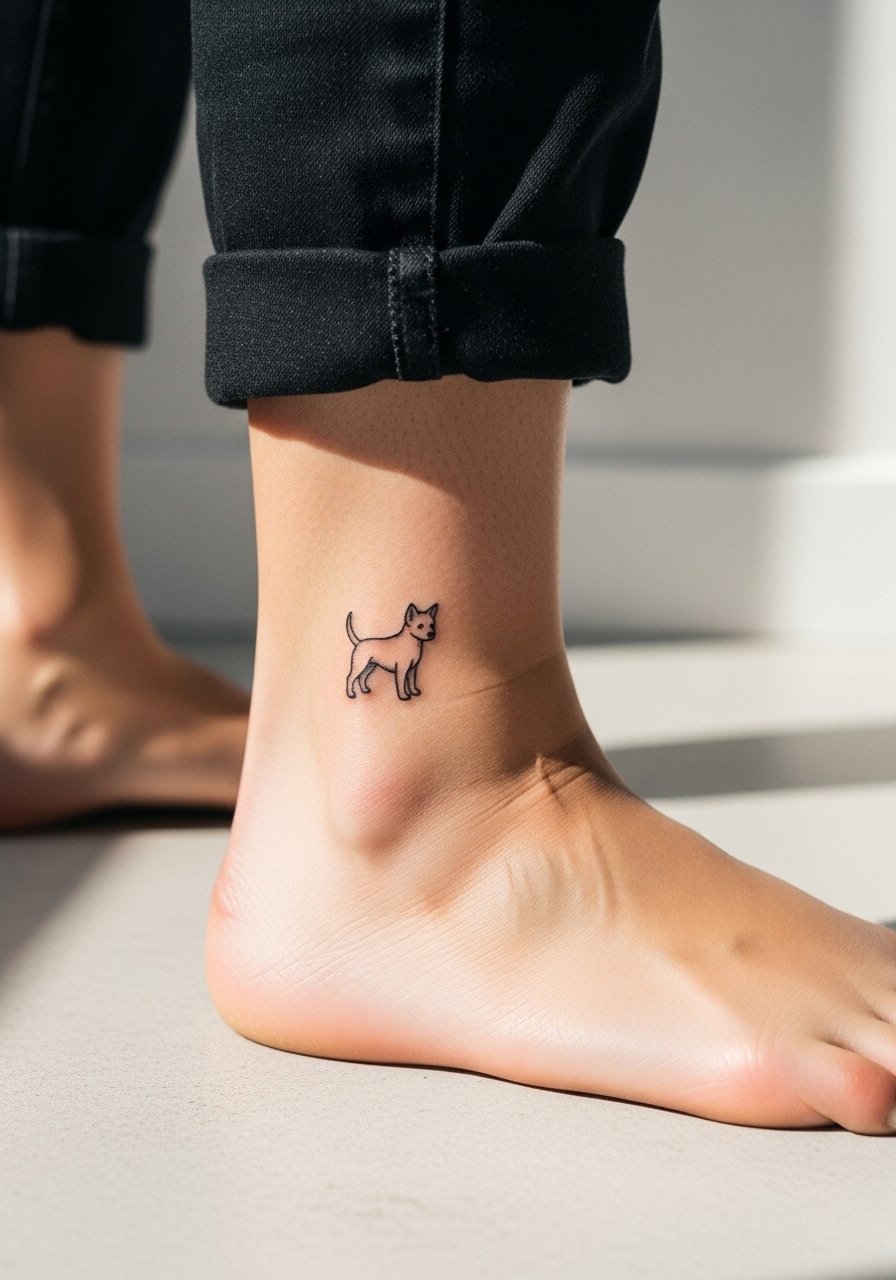
UV ink is a niche way to make a hidden party detail, and anklet placements are perfect because they peek out with sandals. Most artists will mix UV accents with a black outline to keep the design readable in daylight. The common mistake is relying on UV ink alone for visibility, because it can be faint in normal lighting. For session logistics wear wide leg joggers you can roll up easily. Expect a single short session, but ask about pigment longevity since UV inks vary by brand.
15. Ring-Like Finger Knuckle Dog That "Wears" Daily
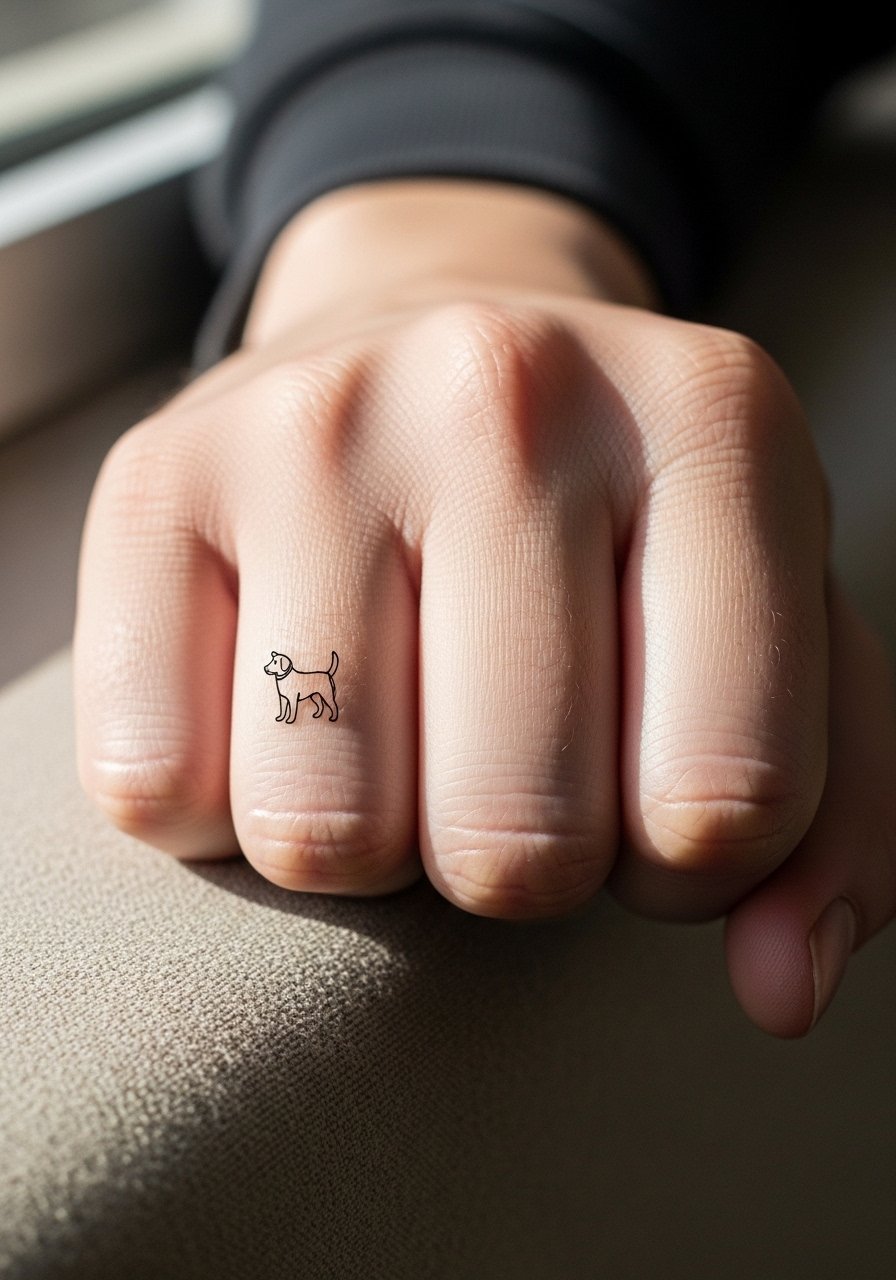
Knuckle and finger wrap pieces read like jewelry, but skin there takes a beating. For a ring-like dog motif keep the design to bold, simplified strokes rather than micro shading. The usual mistake is cramming detail into knuckles, which leads to rapid fading and patchy healing. Expect higher touch-up rates and consider the knuckle as a statement you will refresh over time. The session is quick but follow-up is likely. If you want the daily-wear look without steady upkeep consider a nearby wrist band alternative.
16. Hybrid Fine Line Dog Portrait with Embedded QR on the Outer Forearm
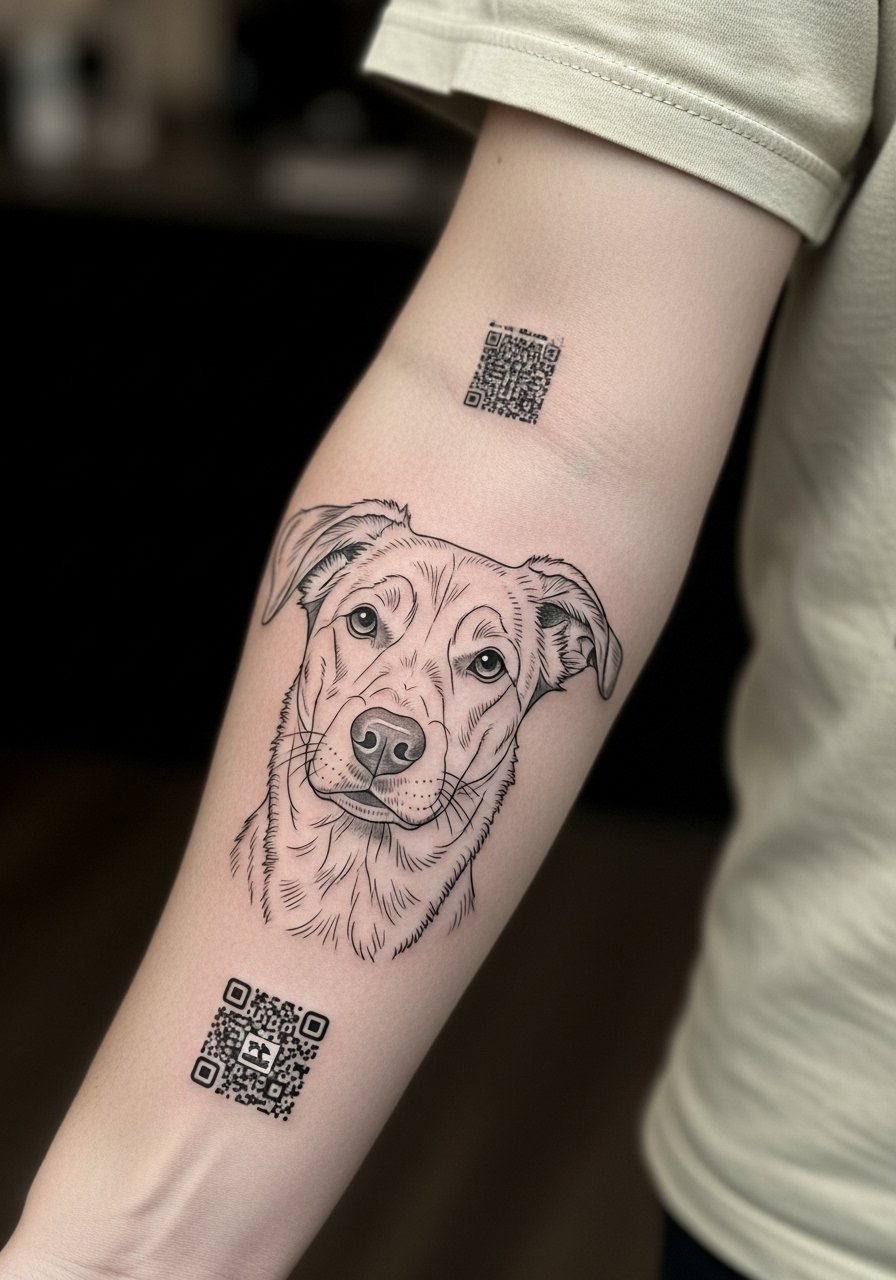
This hybrid idea merges a personal sketch with modern tech so a scan leads to a photo album. Technical note, QR codes need tight, clean contrast and must be sized by the artist to remain scannable after healing. A common mistake is squeezing the QR too small or surrounding it with delicate shading that interferes with contrast. During the consult bring the exact final QR to test on skin and ask about placement longevity. For showing it off roll a sleeve or use a short sleeve tee. Sessions can be two parts, one for portrait linework and one for test-printing the QR.
17. Anti-Fade Primer Idea for Fine Line on High-Movement Hands
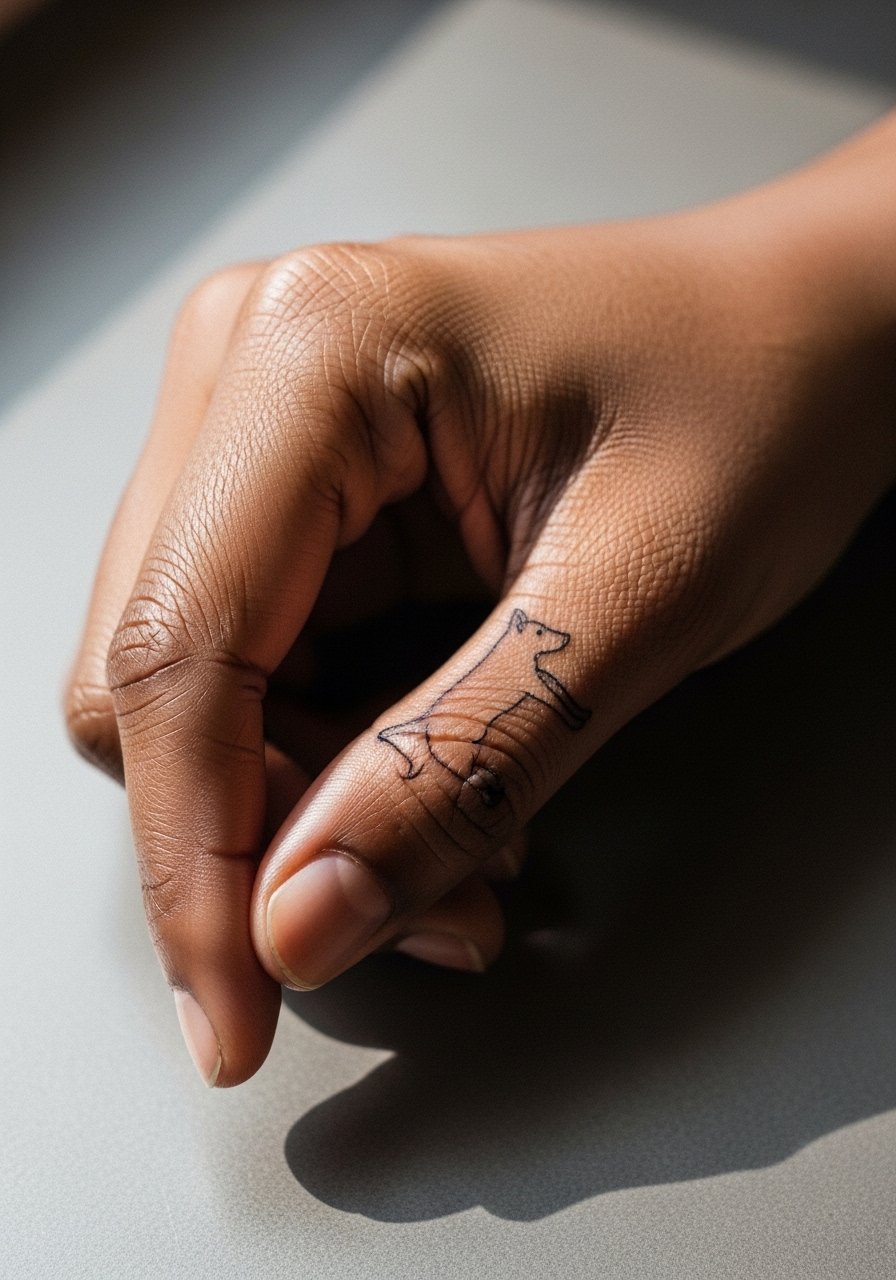
There is growing experimentation with anti-fade primers applied under fine line work for high-movement areas like hands. This is experimental and not all artists use it. Tell your artist you are open to a tested primer approach and ask for examples of healed work where they used it. The mistake is assuming a primer replaces good placement choices. Hands are fast-fading by nature, so most people plan touch-ups. For session wear a top you can roll the sleeve up easily. Expect honest answers from artists about trade-offs before booking.
18. Micro-Realism Puppy Nose on the Inner Bicep

The inner bicep is a comfortable spot for micro-realism because it heals in a low-friction zone. Ask for crisp contrast and limited surrounding shading so the nose retains depth without overworking the flesh. A common mistake is requesting dense texture across the entire piece which can look muddy after a year. Sessions are typically brief and tolerable because the area is fleshier. Bring a tank top so the artist can raise and lower the arm for access. This area also photographs well when you flex subtly.
19. Playful Shiba Inu Smile on the Outer Forearm
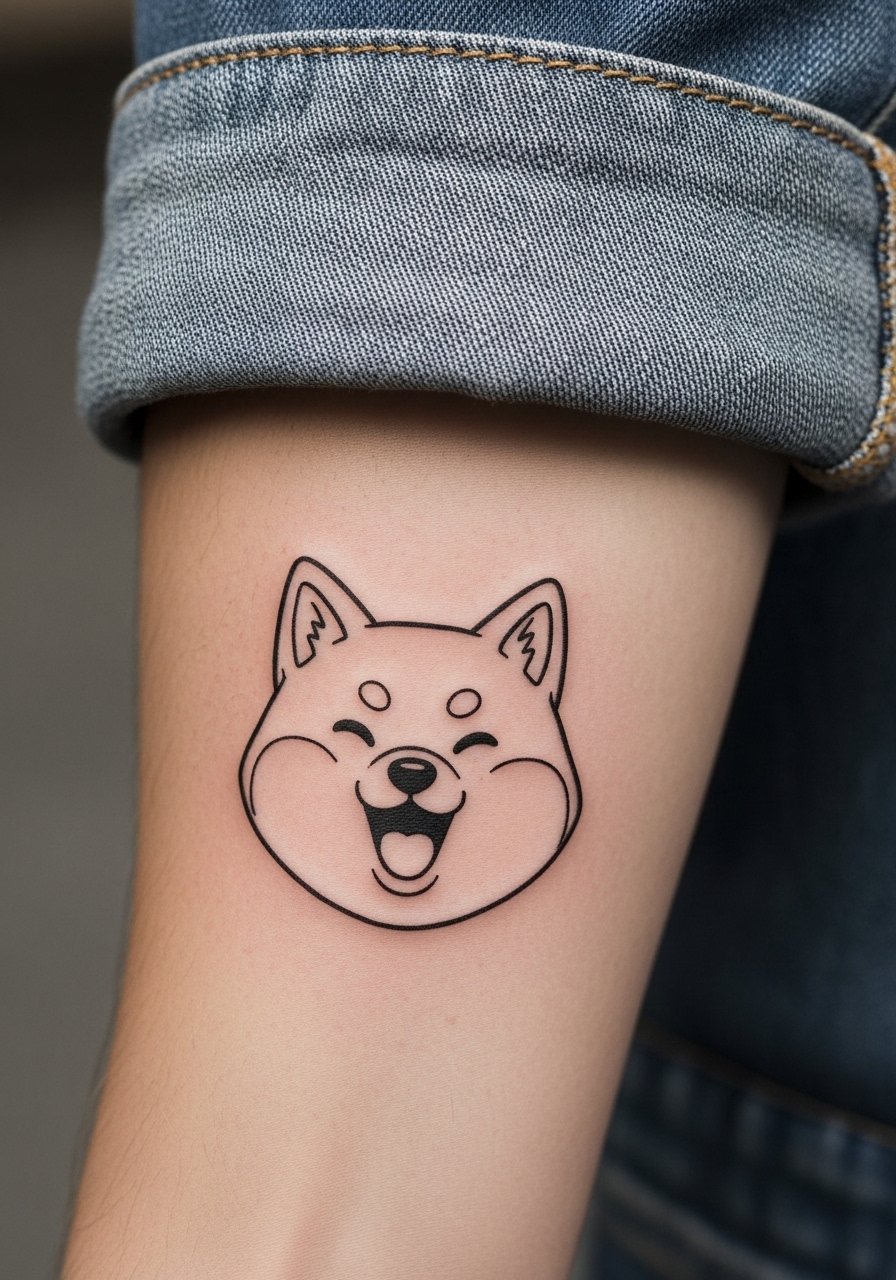
A Shiba grin with bold contours and minimal shading reads with personality. For longevity keep the main contour heavier and the facial marks sparse so they do not merge. The error is over-scripting expressions with tiny strokes that blur when the arm moves. For display use a rolled sleeve denim shirt or cuffed tee. Sessions are quick and pleasant for most people, and a one-time touch-up often keeps the expression crisp.
20. Continuous Single-Line Dog Wrap That Circles the Wrist
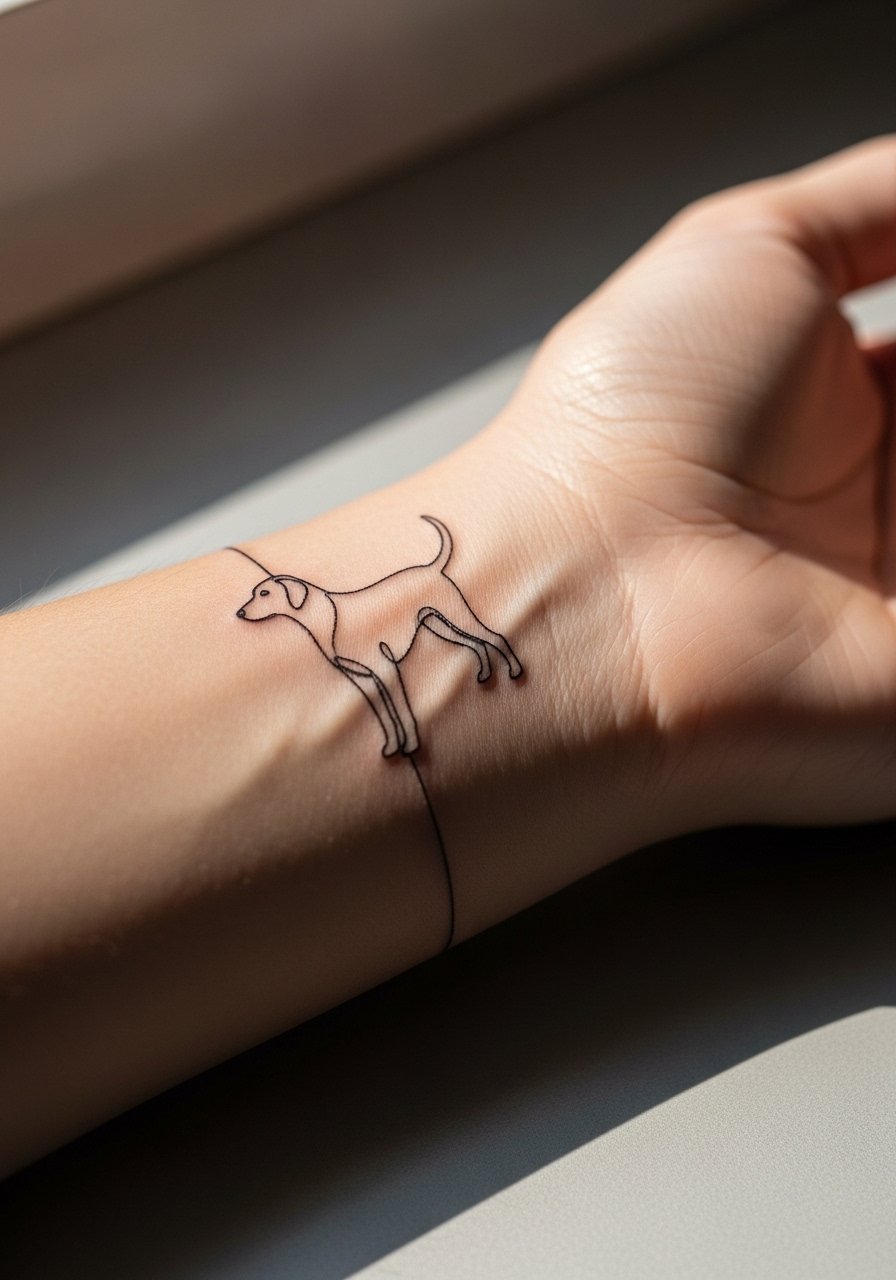
Continuous single-line wraps are elegant and wear like jewelry, but wrists are a high-friction zone so the line must have breathing room. Ask the artist to create a slightly bolder primary line and to avoid tiny interior loops that sit close together. People sometimes request micro-width lines for the "invisible" look and later regret the fade. Plan to wear the piece paired with a thin chain pendant necklace on days you want a coordinated jewelry vibe. Expect short sessions and a likely touch-up window at year two.
21. Geometric Paw Negative-Space Design on the Lower Back
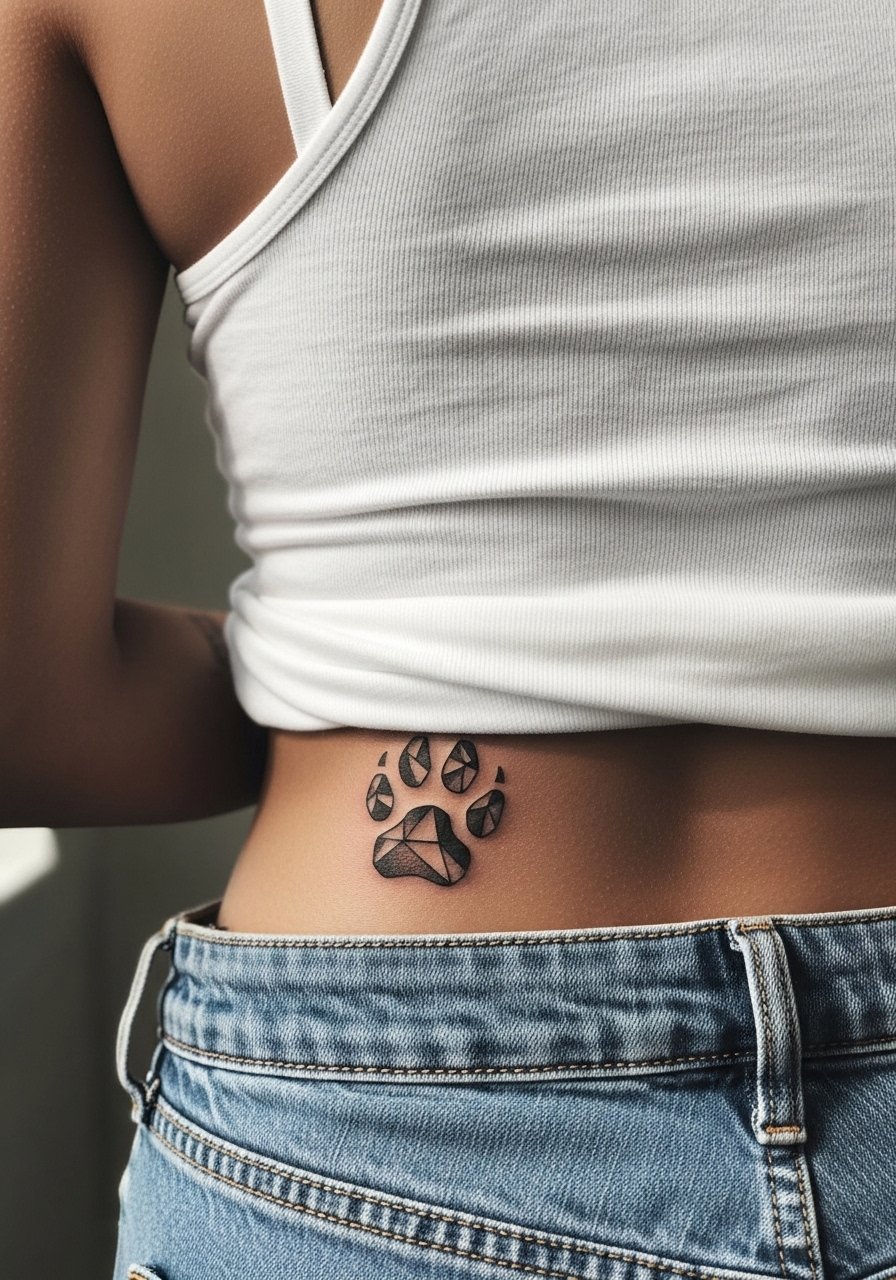
Lower back pieces give geometry room to breathe and negative space looks striking there. The common problem is packing too many thin bars into the design which collapse over time. Request wide negative blocks and bold black panels so the paw silhouette stays readable. Lower back heals well under clothing but avoid tight waistlines in the first two weeks. Sessions vary by scale but are usually moderate in pain and finish in a single sitting for compact geometries.
Frequently Asked Questions
Q: Will fine line wrist tattoos blur faster than those on the collarbone or thigh?
A: In my experience wrists blur sooner because of constant movement and friction from clothing and jewelry. Collarbone and thigh are lower friction and often keep linework readable longer. If you want a fine line on the wrist ask for slightly heavier primary outlines and plan for a touch-up at year two or three.
Q: Do watercolor ankle tattoos need different aftercare than blackwork forearm pieces?
A: The basics are the same, but watercolor relies on softer saturation so avoid heavy scrubbing and sun for a longer initial period. Blackwork tolerates deeper saturation and can withstand a bit more UV exposure but still benefits from sun protection. For ankle work wear breathable shoes during the first week and keep sand and dirt off while it forms a scab.
Q: I have darker skin. Which dainty dog styles show up best in photos?
A: Bold blackwork and geometric fills tend to read well on darker tones because they give contrast. Micro-realism can work too if the artist sizes the focal contrast for your skin. Bring healed mockups on images of skin tones similar to yours and ask the artist for portfolio examples on medium and dark skin.
Q: Can a QR code stay scannable after healing if embedded in a fine line forearm portrait?
A: It depends on size and contrast. Small QR elements often lose scannability if they are too tiny or surrounded by delicate shading. Test-print the exact final QR in stencil form on your skin during the consult and ask the artist to size it up enough so that it remains readable after healing.
Q: Should I expect a different touch-up timeline for finger, hand, and knuckle designs compared with thigh or shoulder pieces?
A: Yes. Hands and fingers take a lot of wear and will likely need touch-ups within a year, while thigh and shoulder pieces often keep their clarity longer. Plan your budget and bookability around that reality so you are not surprised when a small touch-up is recommended.
