
Fine line old school motifs look irresistible online, but the reality is messier. Thin wrists can make traditional outlines read bulky, dark skin sometimes needs different saturation to avoid odd fading, and small pieces that once cost a hundred now often run much higher. If you want dainty old school tattoos that still read like sailor flash after a few years, start with placement and line weight, then match styling to how you plan to show it off.
1. Dainty Swallow with Banner on the Wrist
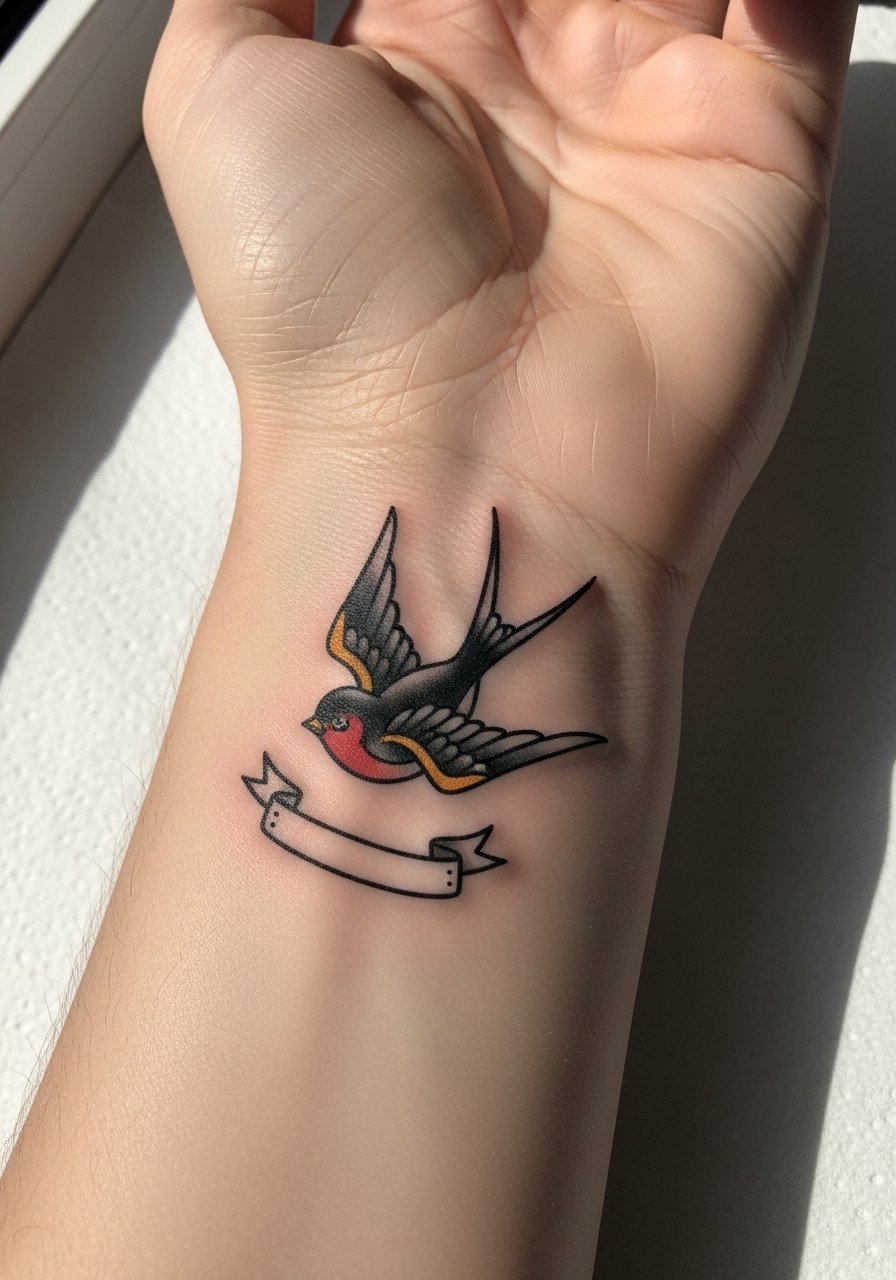
I've seen swallows on wrists hold up best when the banner is reduced to one short word or a tiny curve rather than a full ribbon. Ask your artist for slightly thicker outer linework but keep internal details minimal so the bird reads clean at six months and at two years. Fair warning, the wrist is bony and can be a 5 to 7 on most pain charts. For the session wear a sleeveless tank top so the artist can position the arm easily, and show it off later with a thin silver chain bracelet that echoes the banner without crowding the motif.
2. Mini Anchor Outline on the Inner Forearm
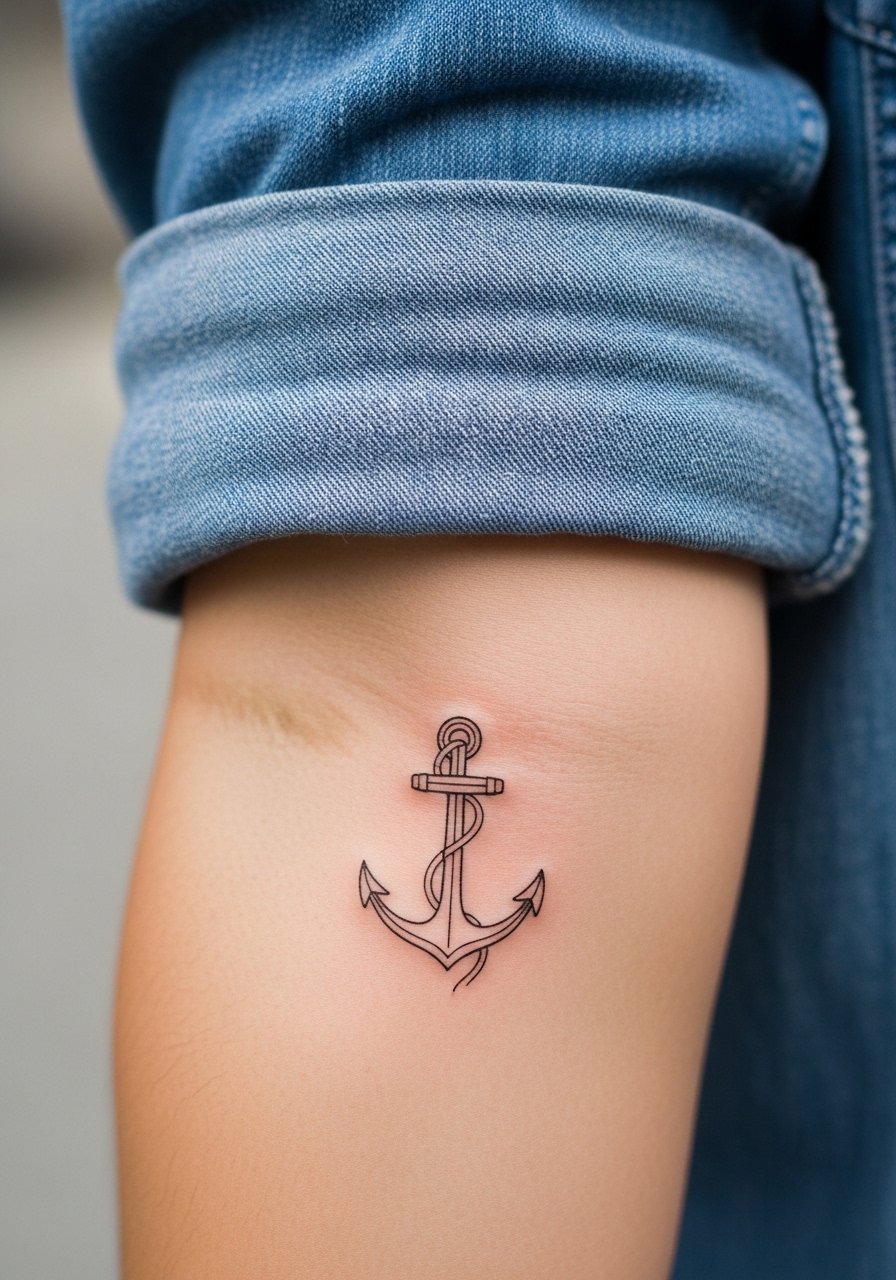
When an anchor gets shrunk too far, the flukes merge after a few years. I recommend a clean one-inch outline with a touch more depth in the outer line so the shape survives normal wear. Tell your artist you want the inner details pared back and ask to preview the stencil in natural light. The inner forearm is forgiving for touch-ups and sits at around a 3 on the pain scale. For a vintage look pair the tattoo with a rolled sleeve chambray shirt and a leather cuff on the opposite arm for contrast. Wear a loose short-sleeve button-up to your appointment so the artist can fully access the area.
3. Small Rose with Thorn on the Shoulder
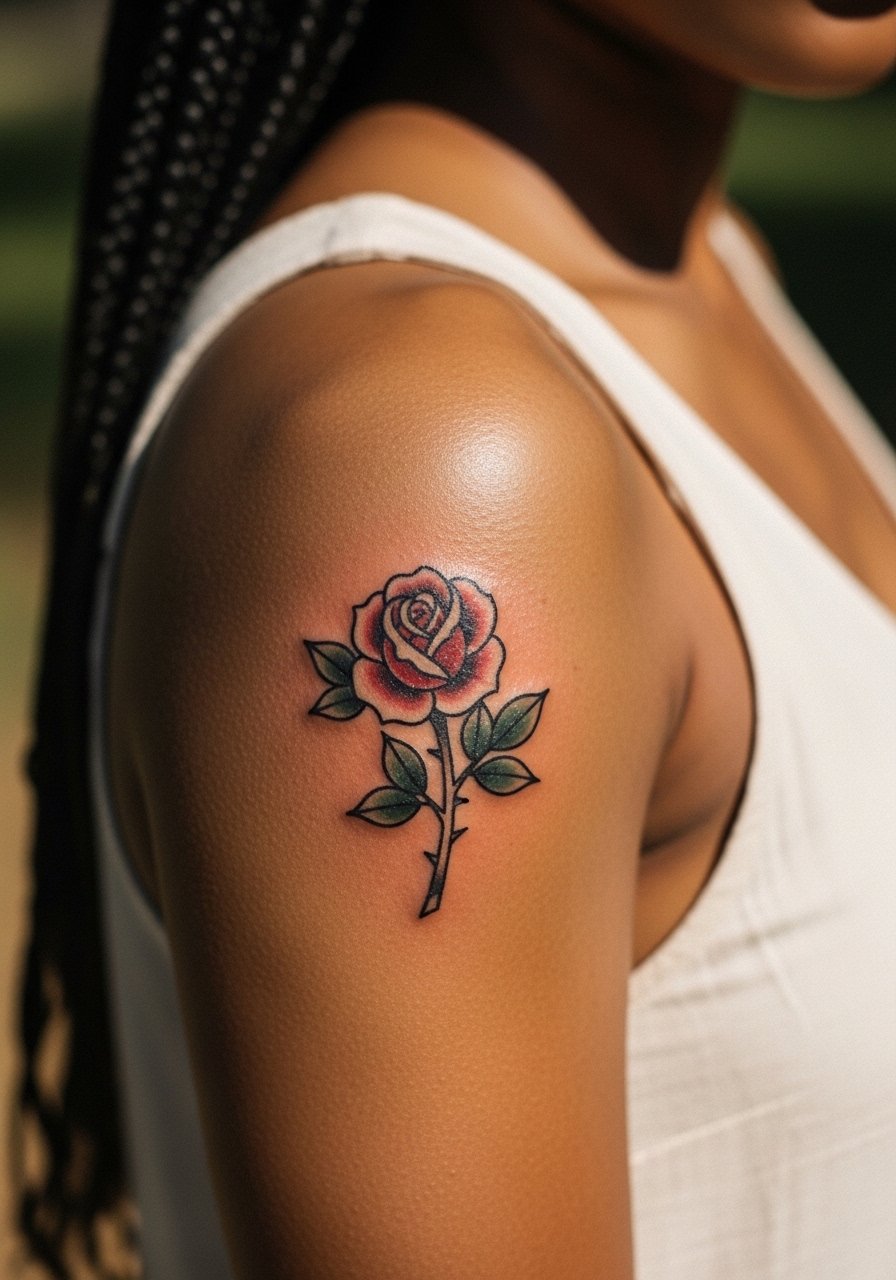
Shoulder roses age well because the area gets less constant abrasion than hands or ankles. The common mistake is packing too many leaves and tiny thorns into a 1.5-inch piece. Ask for one strong outline with simplified petals and selective color saturation so the red keeps depth without bleeding into the green. The session usually fits into one shorter visit and pain is mild. For showing it off, try a sleeveless sundress and medium hoop earrings that frame the shoulder without competing. Wear a button-front shirt you can pull aside during the session.
4. Pin-Up Girl Portrait Mini on the Upper Arm
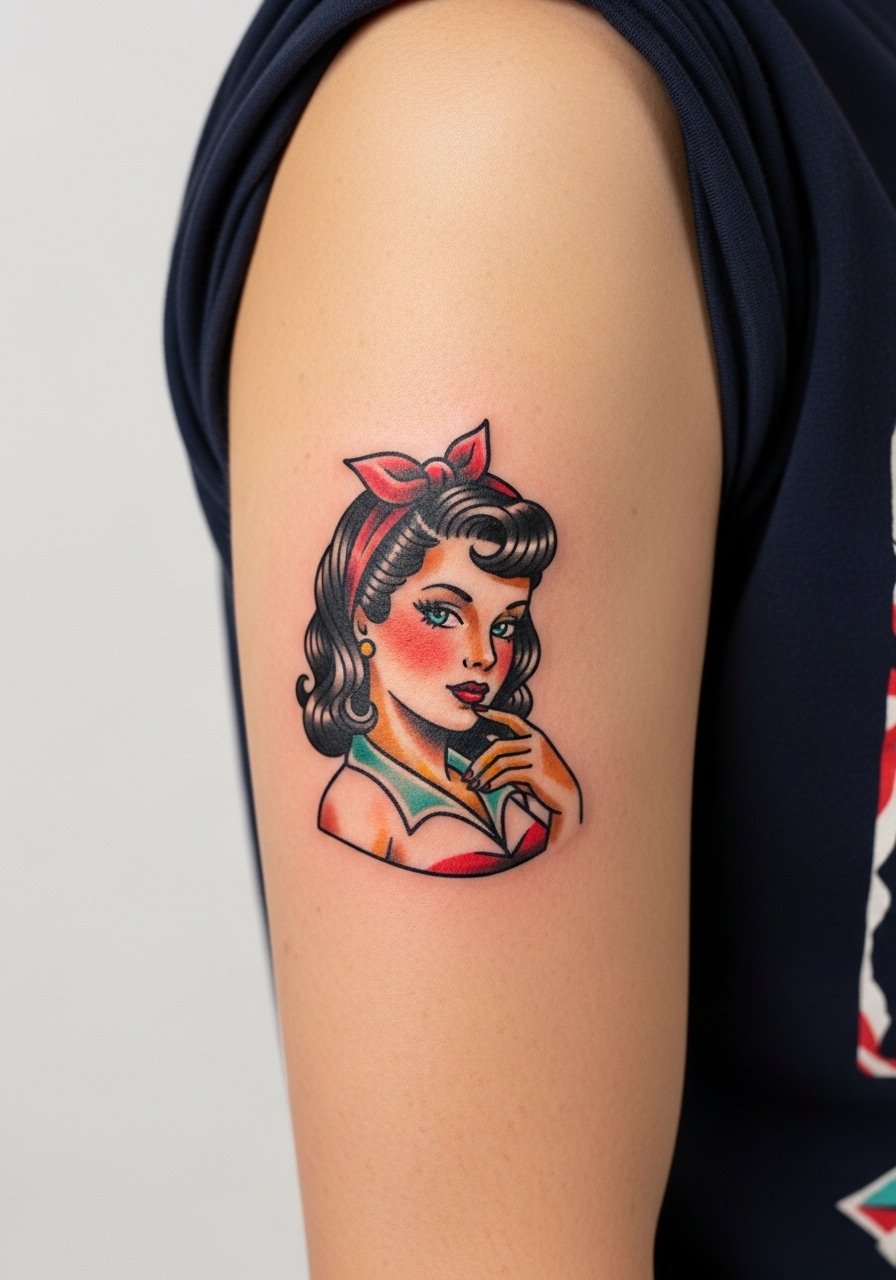
The pin-up portrait shrinks into a charming nod when reduced to about two inches, but the mistake is compressing facial detail. When the face gets too detailed at a tiny scale the features soften into a blur by year two. Ask your artist for stylized features, clear shadow planes, and slightly stronger outlines around the face. Expect a longer single session and moderate discomfort at the upper arm. Pair thigh or upper arm pin-ups with high waist denim shorts for a vintage summer vibe, and wear loose shorts or a skirt to the appointment so the artist can position limbs comfortably.
5. Nautical Star Outline at the Neck or Wrist

Small nautical stars read as guidance symbols, but the neck and wrist demand different approaches. For the neck, keep the star at about an inch with sturdy outer lines and minimal color. For the wrist, spacing and simplified rays prevent early softening. Neck tattoos involve more sensitivity and social considerations, so think through visibility before booking. Wear a wide-neck shirt you can pull slightly aside for the session so only the tattoo area is exposed.
6. Lady Head Silhouette on the Collarbone
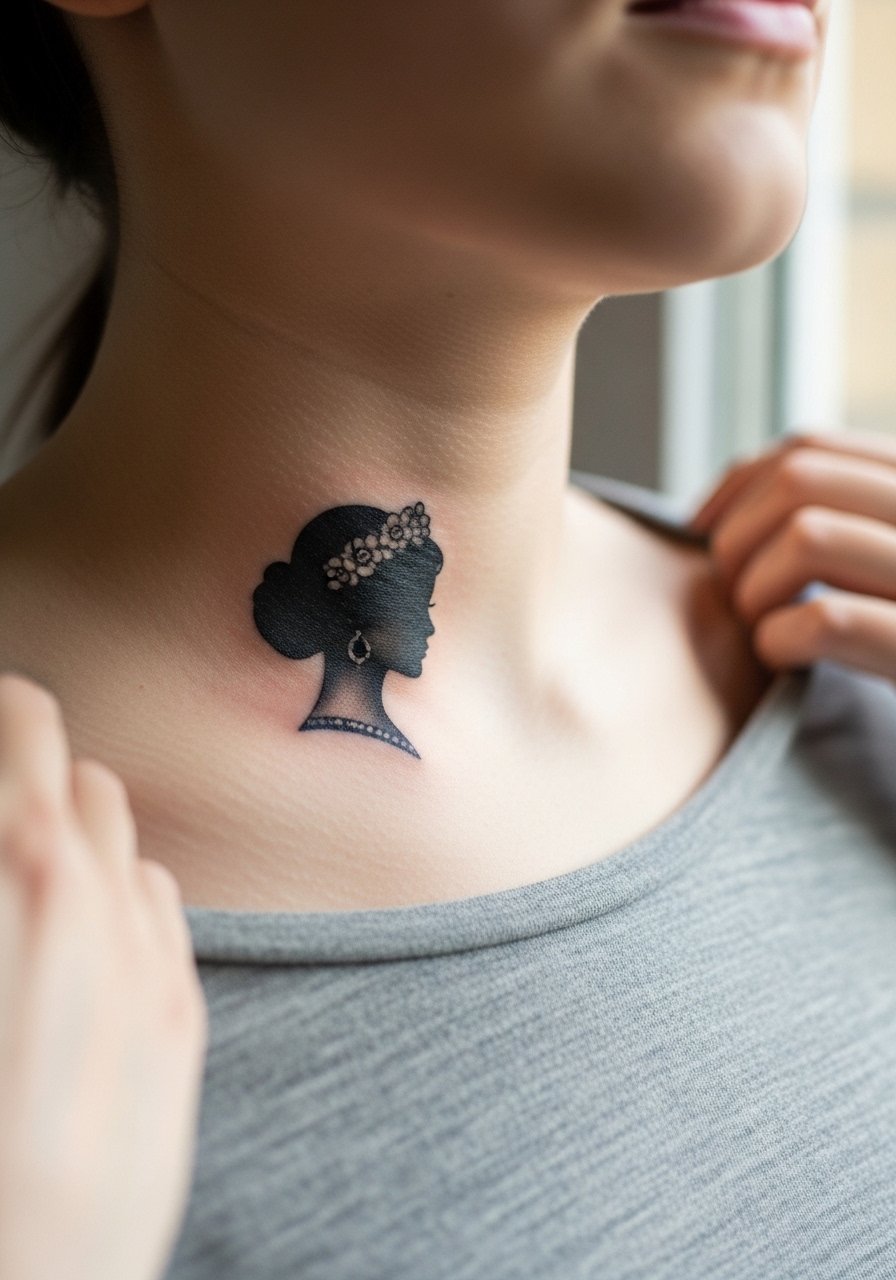
Collarbone silhouettes look elegant when kept to 1.5 inches and limited to shape and hairline rather than facial detail. The collarbone area can be a 6 on many pain scales because of the proximity to bone, but it also settles into a crisp silhouette if the artist avoids tiny interior strokes. For the session wear a strapless top or a wide-neck shirt you can shift, and for nights out pair the piece with a long pendant necklace that echoes the vertical of the design.
Studio Day Picks
The collarbone, wrist, and forearm pieces above need different prep than larger back work, so these items smooth session day and the first week of healing.
-
Stencil transfer paper kit. Lets you preview the exact placement and line weight on skin before the needle hits, ideal for small banners and silhouette work.
-
Topical numbing cream. Applied according to instructions it eases wrist and collarbone sensitivity without altering the artist's ability to work.
-
Thin protective film roll. Covers tiny pieces on hands and wrists while you wash or commute, lowering friction during the critical first days.
-
Fragrance-free gentle body wash. Cleanses healing tattoos without irritation, which helps keep fine line pieces from scabbing heavy.
-
Aquaphor healing ointment. A thin layer for the opening days locks in moisture for delicate linework and supports even color settling.
7. Fine Line Geometric Heart on the Inner Wrist
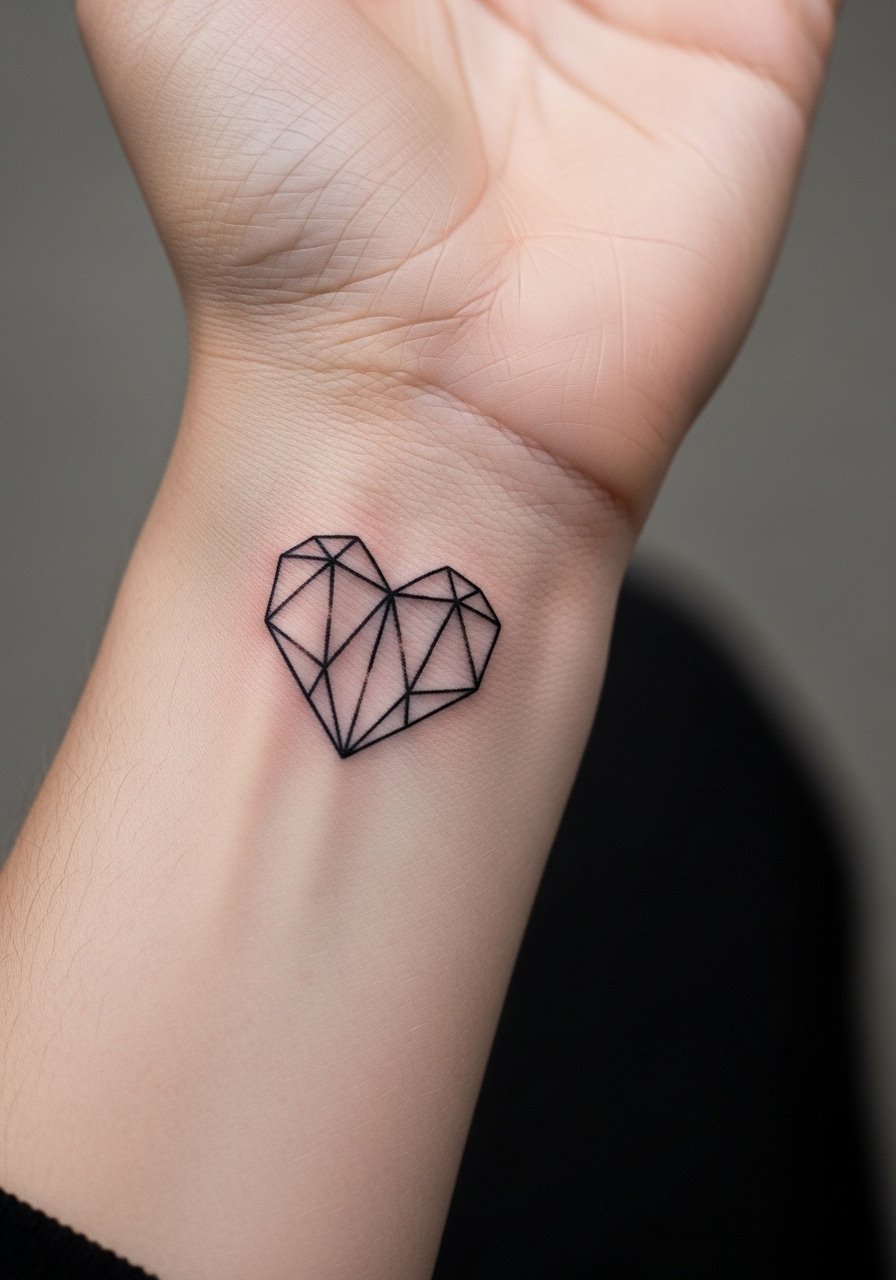
Fair warning, the inner wrist is unforgiving for dense geometry. The biggest mistake is compressing too many intersecting lines into under an inch. I recommend a clean outline with a couple of internal negative-space features so the heart reads at a glance and still allows for a touch-up at year two if needed. Expect a short session and low to moderate pain. For the appointment wear a loose tank top you can move so the arm is free. Pair the finished piece with a minimalist watch or a few thin bracelets to keep attention on the wrist without overcrowding.
8. Mini Skull with Bow at the Ankle
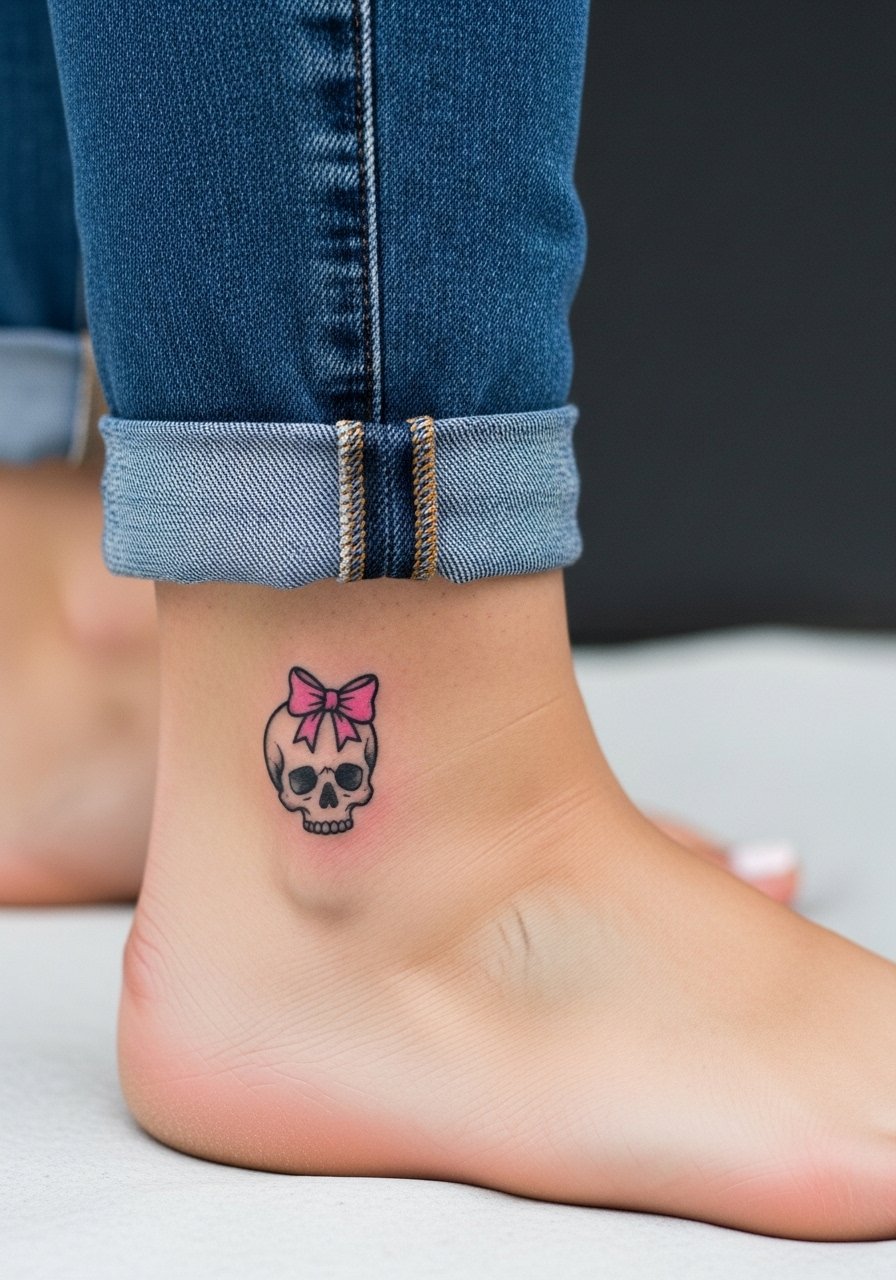
Ankle tattoos endure a lot of friction from shoes and socks, which is a common reason small color accents fade faster there. The trick is to simplify the skull's negative spaces and keep the bow as a single flat accent color so it reads after a few months. The ankle can be a 4 for pain. For session comfort wear cropped ankle pants or a skirt so the artist can work without fabric constraints. After a summer of sandals the bow will show best with a delicate metallic anklet on the opposite foot.
9. Dainty Koru Spiral on the Shoulder Blade
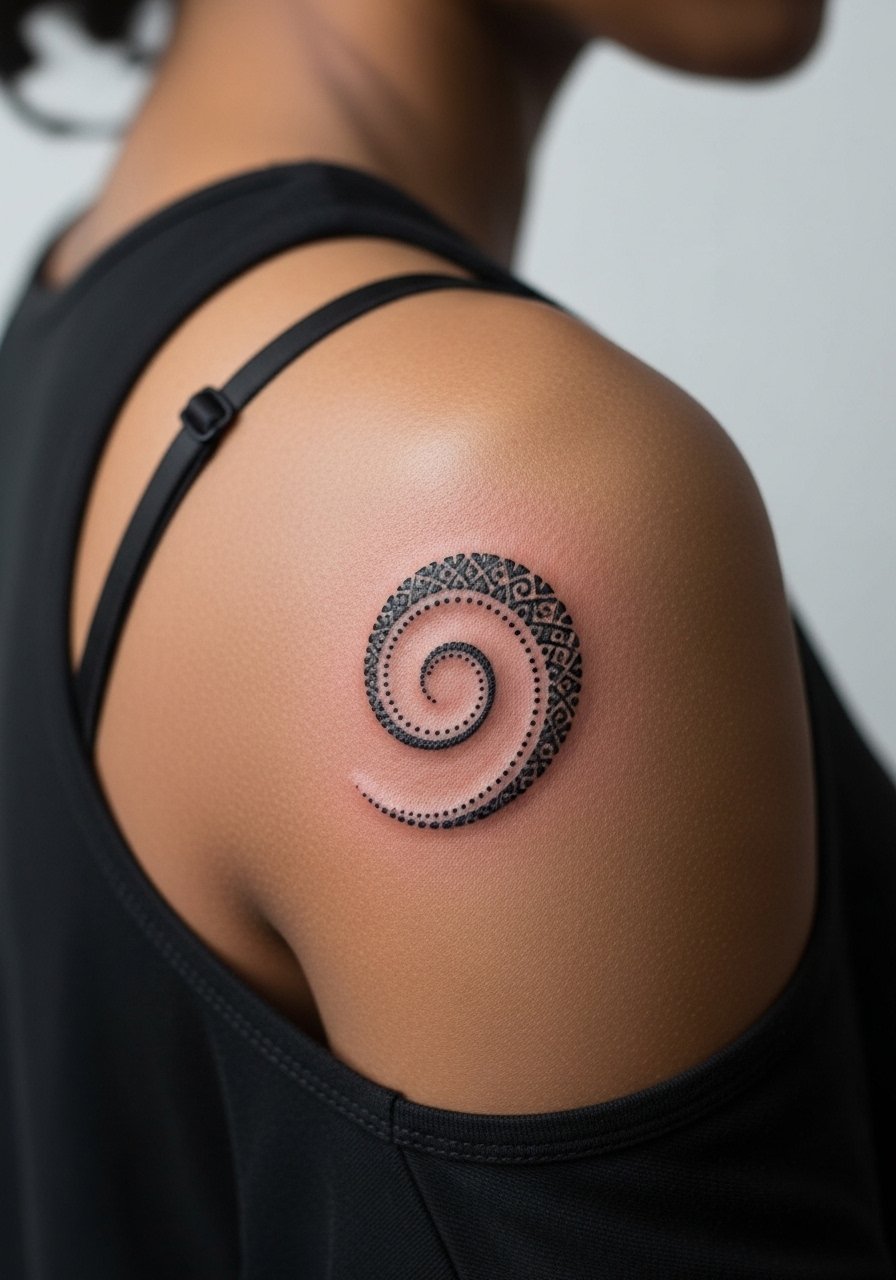
The koru lends itself to dotwork and single-needle approaches, but be mindful of origin. This motif draws from Maori forms, so many people prefer subtle variations rather than direct copies. On the shoulder blade it settles well and rarely needs touch-ups, provided the dotwork has breathing room. The session is low pain and quick. Wear a tank top with strap shifted so the artist can access the blade easily, and pair the finished piece with bootcut jeans rolled for casual visibility.
10. Traditional Dagger Mini on the Ribcage
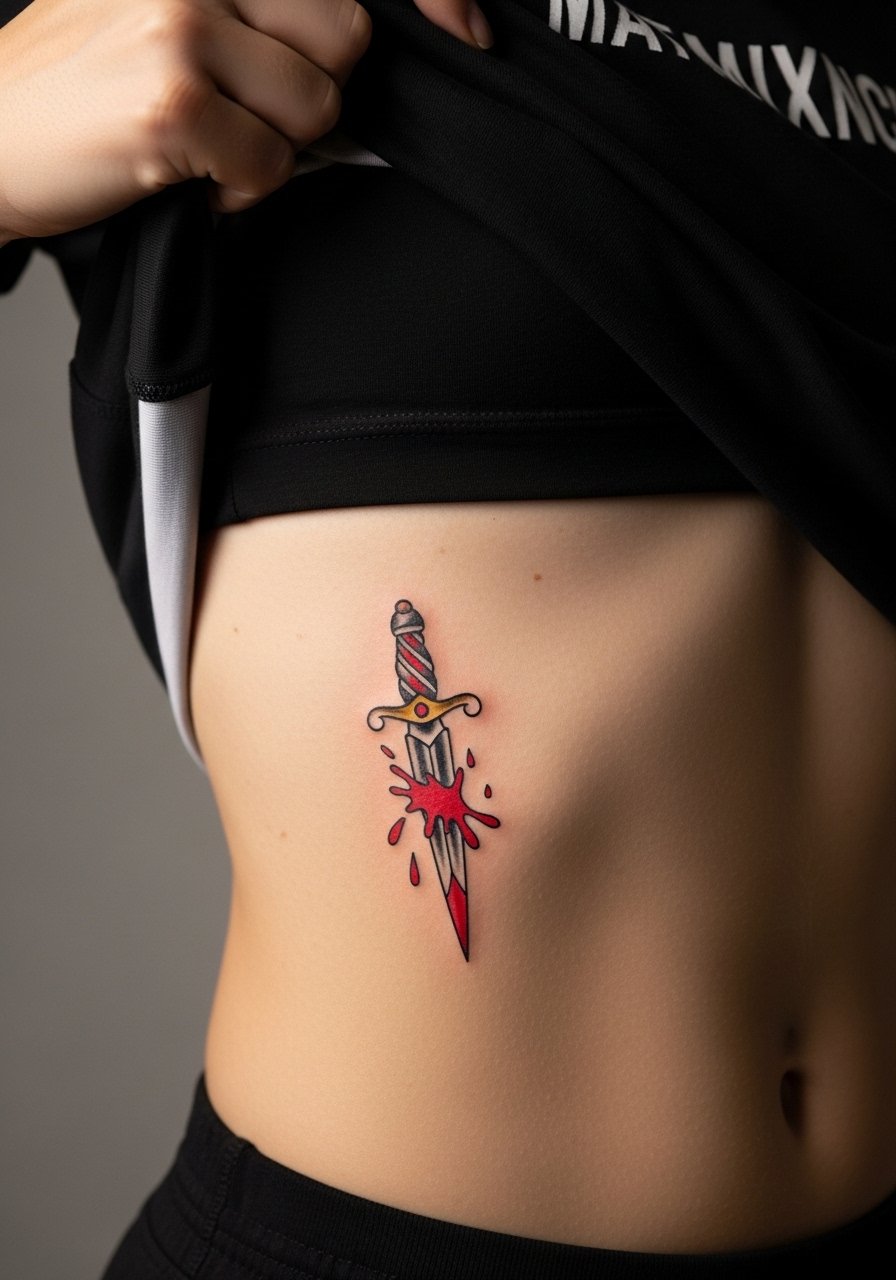
Fair warning, ribs are high on pain charts, often an 8. Artists split on fine line there, and both camps are vocal. One group says the skin stretch on ribs blurs single-needle work within two years. The other group says with correct needle depth and spacing a fine approach settles fine. The safe move is to scale the dagger to 1.5 inches with a sturdy outer line and minimal interior shading. Wear a cropped top you can lift or a zip hoodie you can open for the session. Expect the session to feel intense but short, and plan for at least one touch-up if you want crisp color down the line.
11. Clean Line Arrow Banner on the Inner Bicep
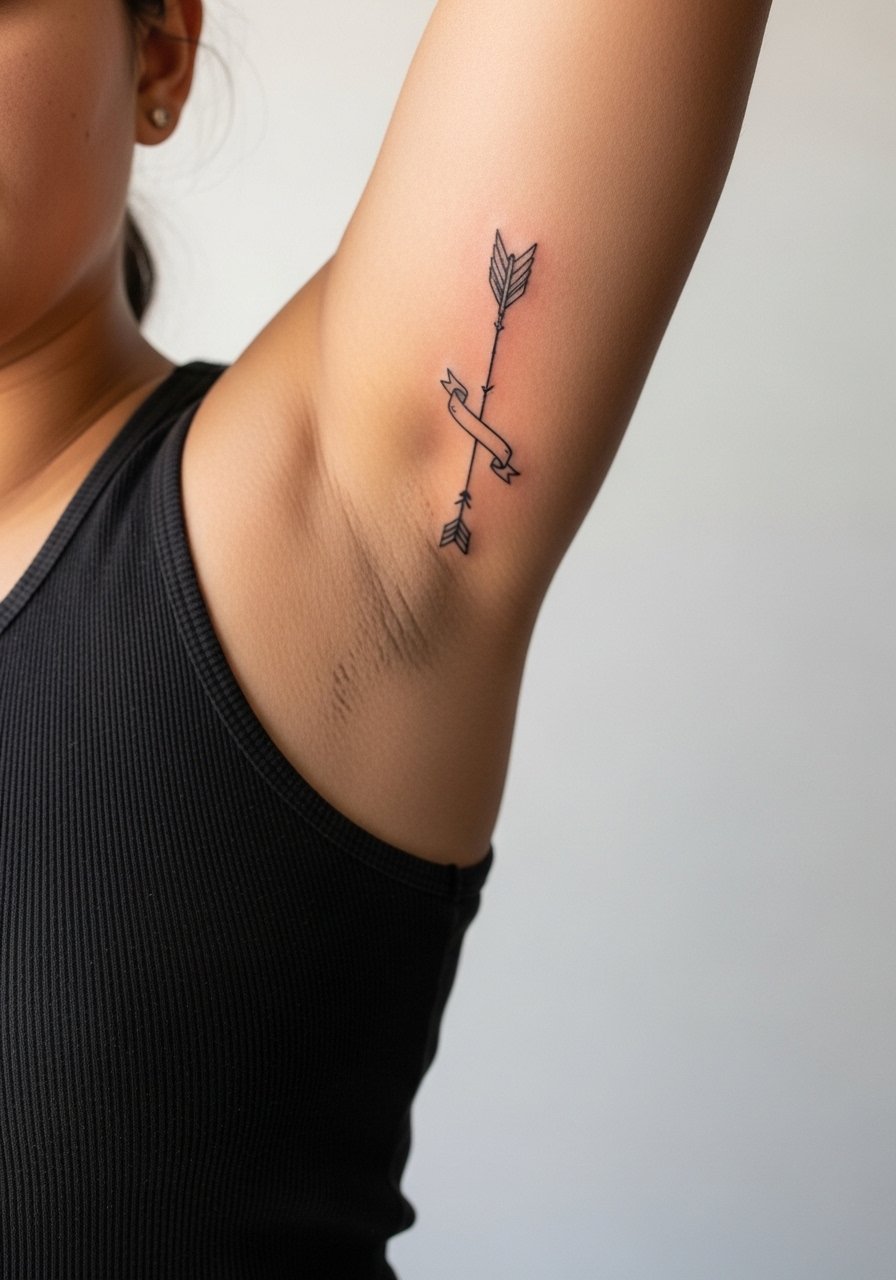
The inner bicep is a forgiving zone for small script and directional motifs, though the space can oscillate with muscle changes. The common mistake is asking for dense script in a narrow banner. I suggest a short word or single initial and a clear arrow spine rather than ornate tails. The inner bicep rate of pain is moderate when the arm is raised. For the session wear a tank top with arm raised slightly so the artist can reach the area cleanly. This placement pairs well with rolled sleeve button-ups when you want it visible.
12. Small Heart with Arrow on the Ankle or Wrist

Healed color on tiny red hearts can look patchy if the artist packs pigment too deep. The safest route is a crisp black outline with a thin red fill, then check saturation at the end of the session so you can avoid heavy scabbing. Ankle pieces face friction from shoes, so the ankle often needs gentle aftercare and possibly a touch-up in year one. For showing it off wear strappy flat sandals and cropped pants. For the appointment choose loose joggers or a skirt to let the leg rest elevated while the artist works.
13. Pin-Up Lip Outline on the Collarbone

Collarbones are visible and flattering for small, bold motifs. The classic error is insisting on dense red fill at a tiny scale, which can scab unevenly. Request a thin red wash rather than a saturated block so the lips read over time. Pain is middling due to bone proximity. For session comfort wear a wide-neck shirt you can shift, and style the finished piece with an off-shoulder blouse to frame the collarbone without masking the outline.
14. Tiny Ship's Wheel on the Inner Forearm
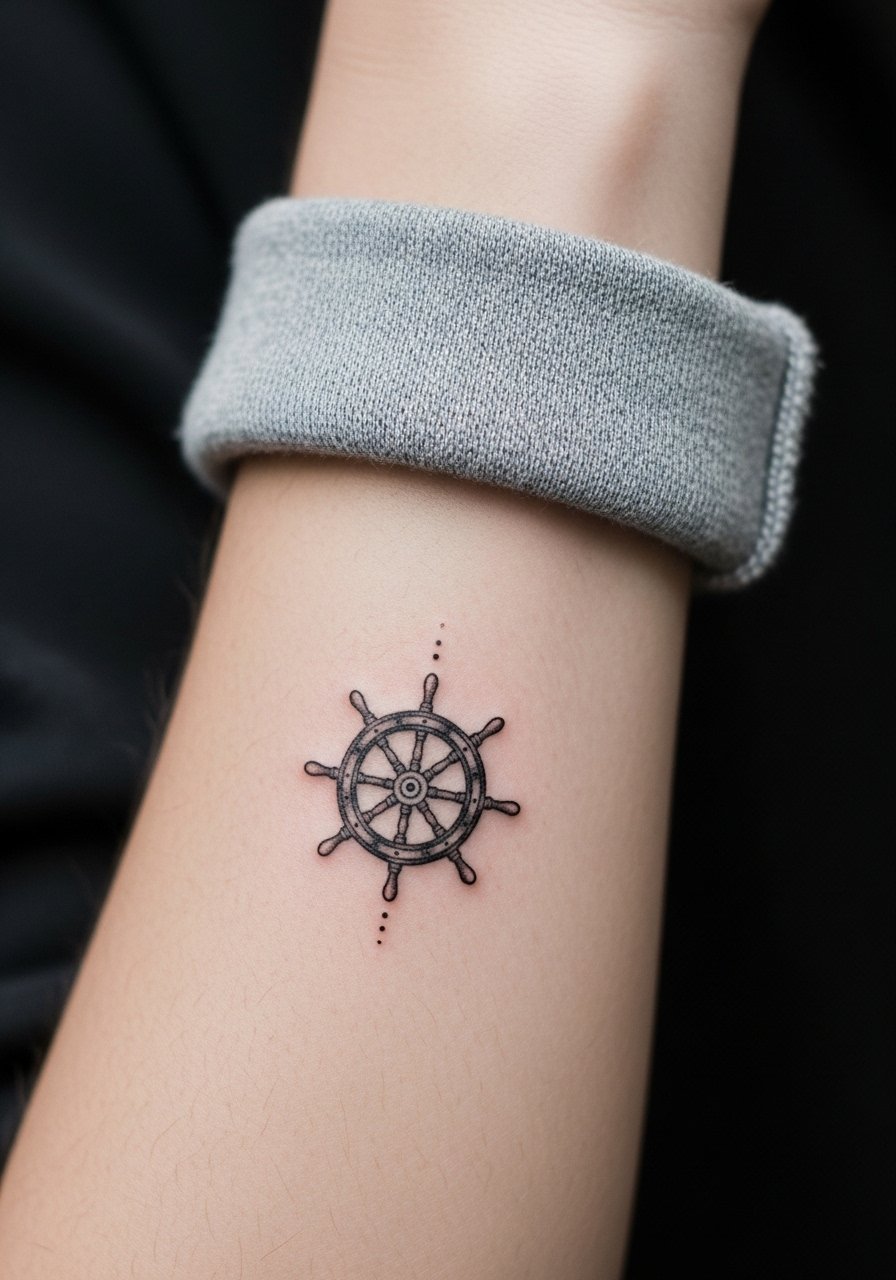
A compact ship's wheel works as a one-inch motif if the spokes are reduced to negative space and the hub is bold. Too many tiny spokes will blur together; the fix is to ask for fewer, broader spokes and a solid hub. The inner forearm is low pain and great for single-session minis. For the session wear a loose button-down shirt you can roll up so the artist has free access. For showing it off, rolled sleeves in chambray lean into the maritime heritage.
15. Micro Sparrow Pair by the Ankle
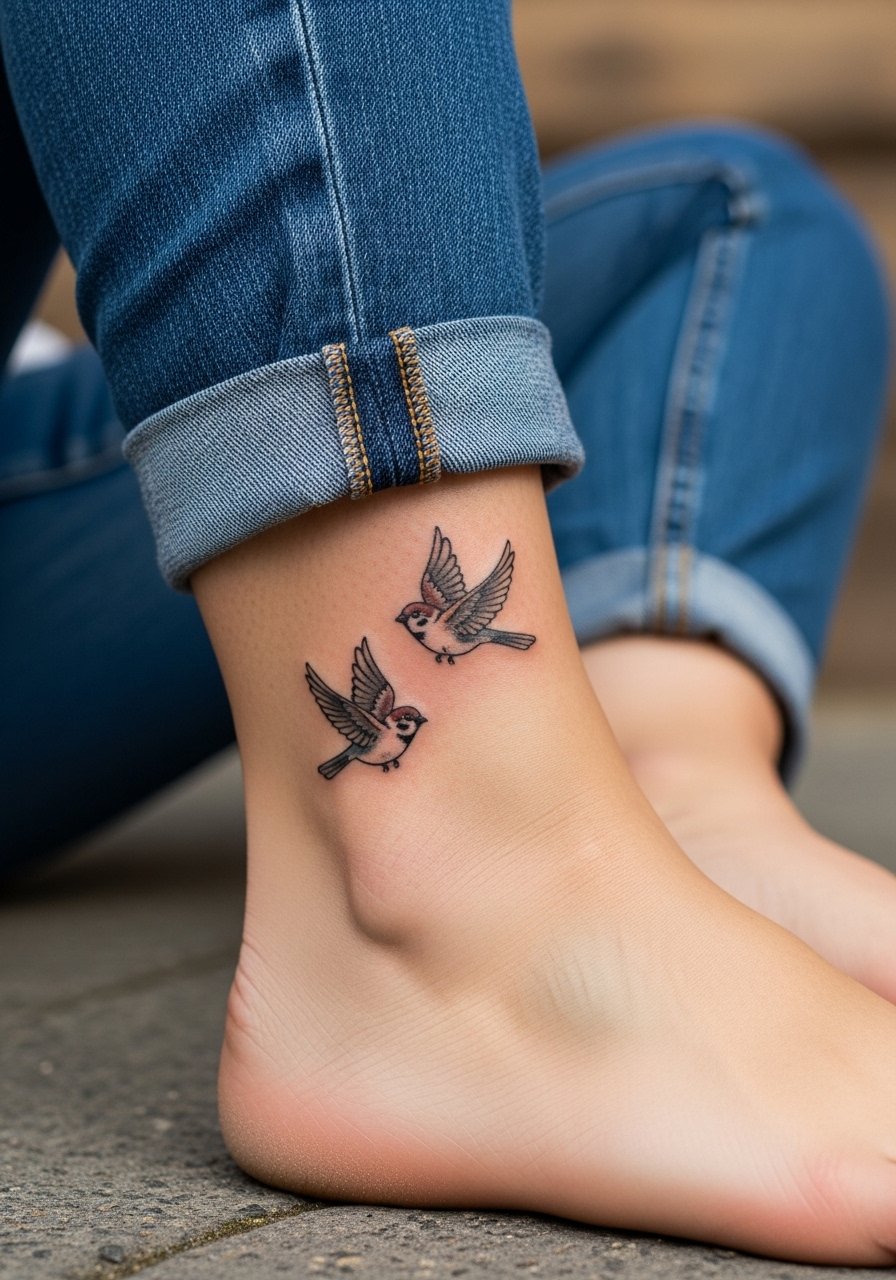
Sparrows scaled small look charming in pairs, but placing them too close can create a single blurred mass over time. Space each bird at least half an inch apart so each silhouette keeps its identity. The ankle is moderate for pain and the birds need less internal detail. Show them off with cropped ankle pants and a dainty anklet. For the session pick footwear that's easy to remove and a pant you can roll without stretching the tattooed skin.
16. Mini Horseshoe with Stars on the Ankle
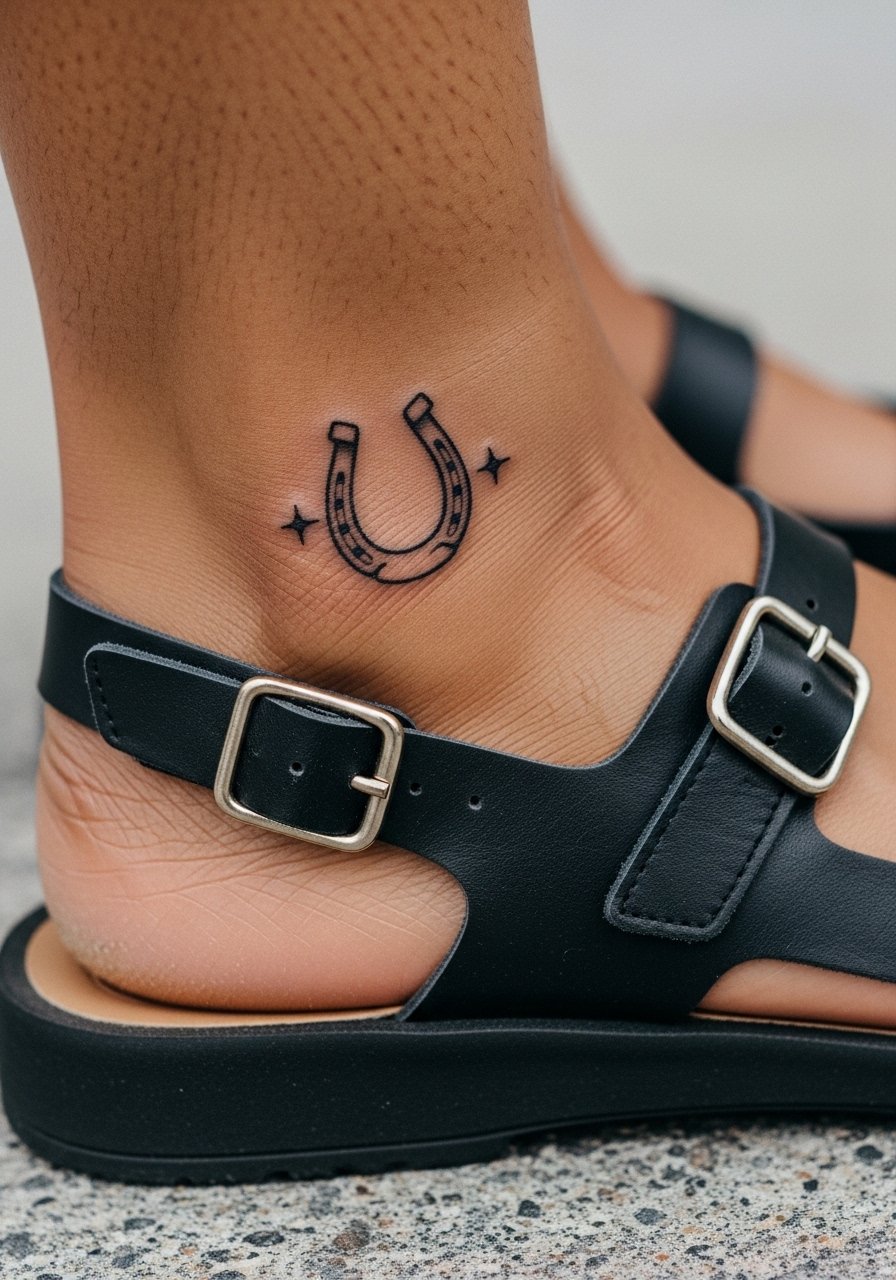
Lucky motifs like horseshoes read clearly when kept graphic and free of tiny inner patterning. The ankle's friction means thin fills fade first, so focus on a crisp outline and negative-space stars. Pain is on the lower side but expect sensitivity near bone. Wear strappy sandals to show the piece, and during the session pick pants you can roll up easily so the artist can work without fabric pressure.
17. Compact Compass Rose on the Back of the Wrist
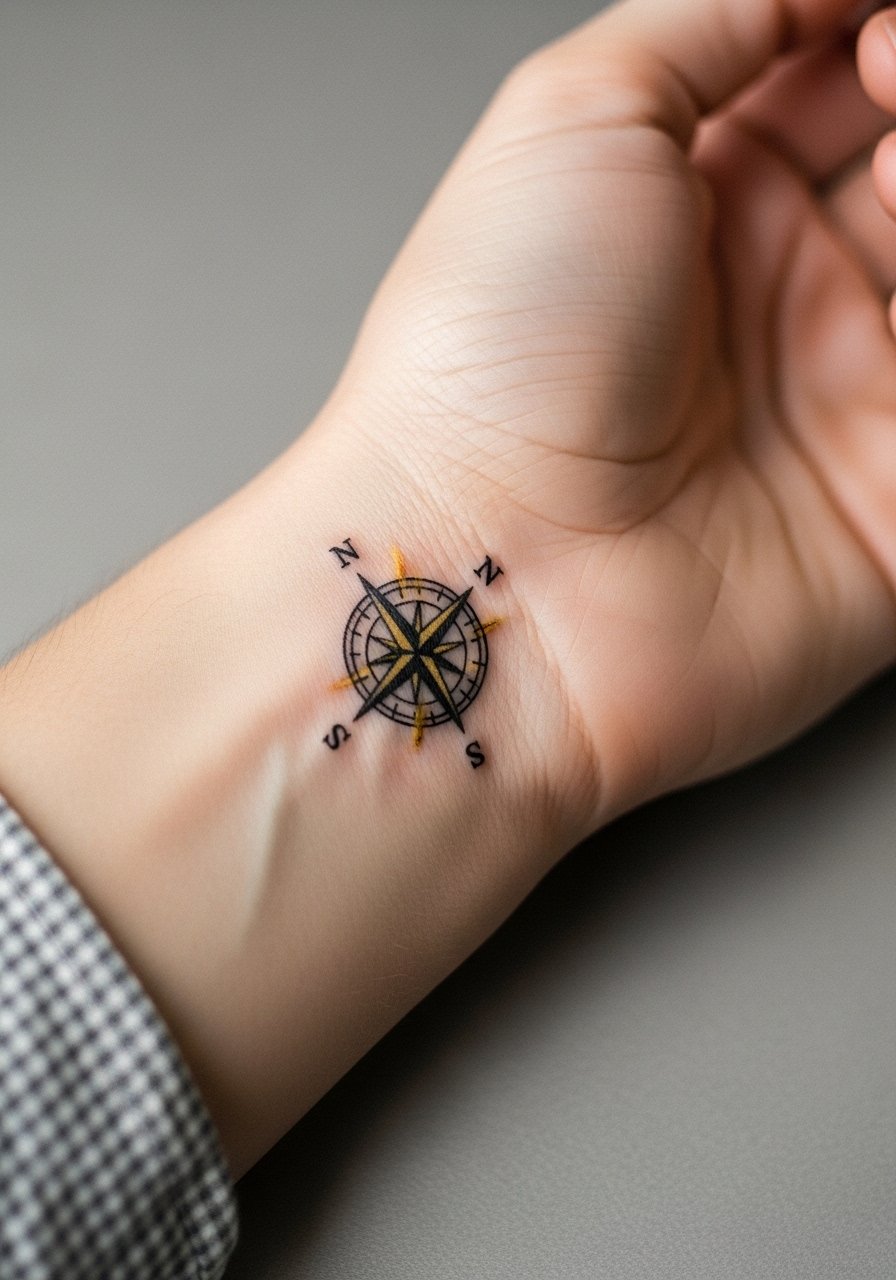
Back-of-wrist compasses serve as subtle direction markers, but the location sees heavy washing and sun exposure. The common error is adding tiny cardinal letters that blur. I advise a simplified rose with bold cardinal points and a hint of muted yellow at the center for longevity. Expect moderate sensitivity. For the session wear a sleeveless tank top and style the finished piece with a minimalist bracelet when you want it partially concealed.
Frequently Asked Questions
Q: Will fine line old school tattoos fade faster on darker skin tones?
A: From what I've seen, saturation has to be handled differently on darker skin to keep color readable. That means slightly more pigment and stronger outer linework for contrast. Ask an artist experienced with darker skin to show healed examples from at least a year out before you book.
Q: How do I avoid a "chunky" look on thin wrists when I want a traditional symbol?
A: The trick is to reduce internal detail and ask for a slightly stronger outer line while keeping inner elements sparse. Preview the stencil in natural light and move your wrist into positions you normally hold it in so you can see how the piece sits during everyday motion.
Q: Should I use Saniderm or dry healing for these tiny traditional pieces?
A: Artists split into two camps on this. One group uses protective film like Saniderm to keep lines clean and reduce scabbing. The other prefers dry healing to avoid trapping moisture that can soften color. Where you land depends on your skin type and the artist's recommended method. Discuss both approaches before the needle starts.
Q: How long is a realistic touch-up timeline for dainty old school tattoos?
A: Expect a possible touch-up window around year one to two for small color fills or to re-define thin lines. Larger touch-ups later are common if the piece sees heavy sun or friction. Budget time rather than money to check in with your artist after the first year.
Q: What should I wear to a collarbone or ribcage session so the artist has access?
A: For collarbone pick a wide-neck or strapless top you can shift, and for ribcage a cropped top or a shirt you can lift slightly. Comfort is key because you may be sitting or turning for short bursts. Pack a loose hoodie or button-up you can slip back on after the session.
Q: Are tiny nautical motifs still a trend, and will that affect how they age?
A: Tiny nautical motifs are trending online, but trends don't change the mechanics of healing. Simpler shapes with strong outlines tend to age better than tiny detailed flash. If you want a motif that keeps its character for years, prioritize spacing and outer line strength during the consultation.
