
Fine line dog faces on ribs are having a moment, but trends and reality do not always match. Fine lines read fragile at first and then ask for touch-ups sooner than bold work, especially on a curved rib canvas. These pages gather designs that take the rib's breathing, stretch, and wardrobe into account so you get a dog tattoo that still reads like the dog you love, months and years later.
1. Fine line dog's face on the side ribs
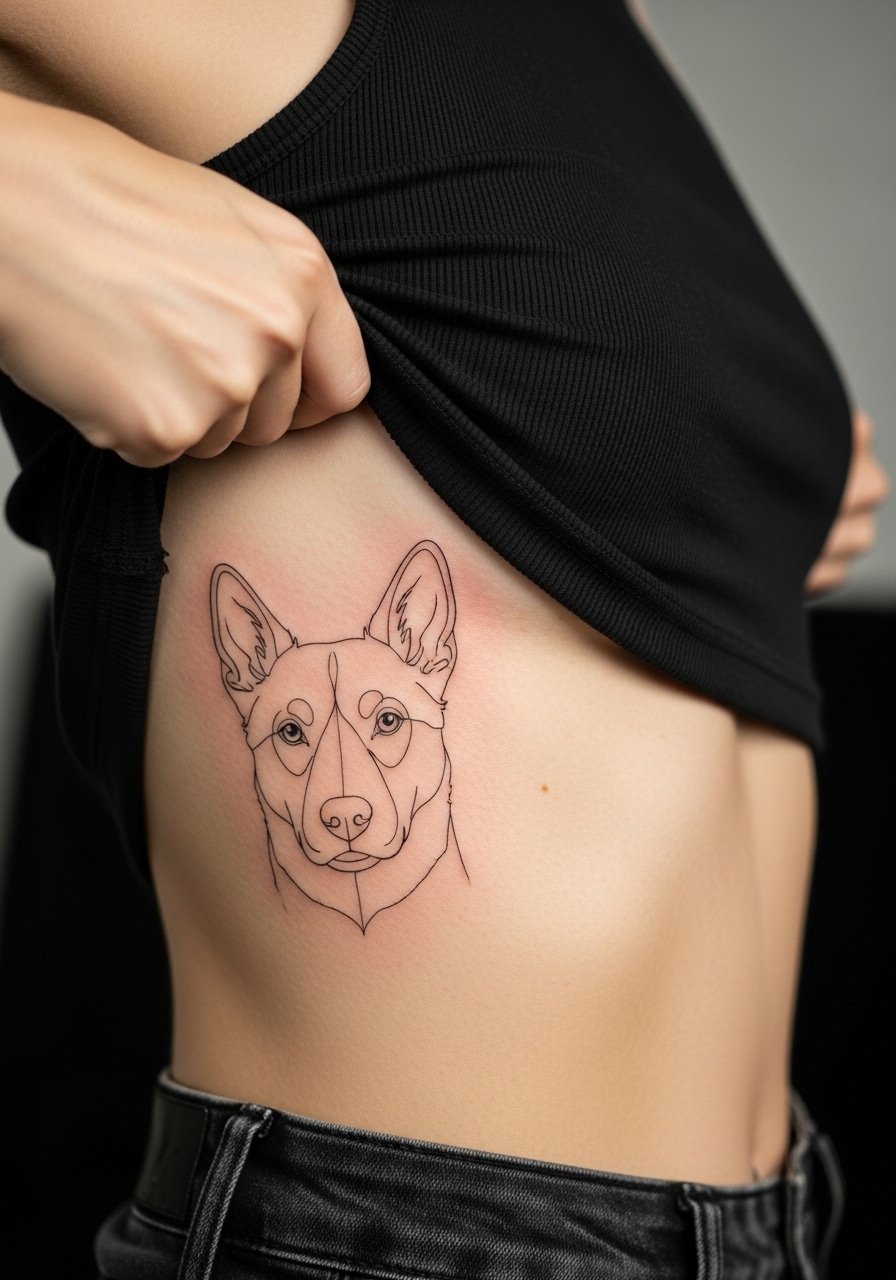
Artists split on whether fine line belongs on ribs. One camp says the skin stretch and breathing blur thin lines within two years. The other camp argues that with slightly stronger line weight and deliberate spacing, fine line settles well. When you consult, ask the artist to show healed photos of thin-work on ribs and request a test stencil to see how it curves with your breath. Expect a moderately painful session that asks you to breathe out on key passes. Common mistakes are asking for hairline lines that the rib skin cannot hold. For session wear bring a loose tank top you can lift or remove for side access.
2. Tiny paw silhouette low on the ribs
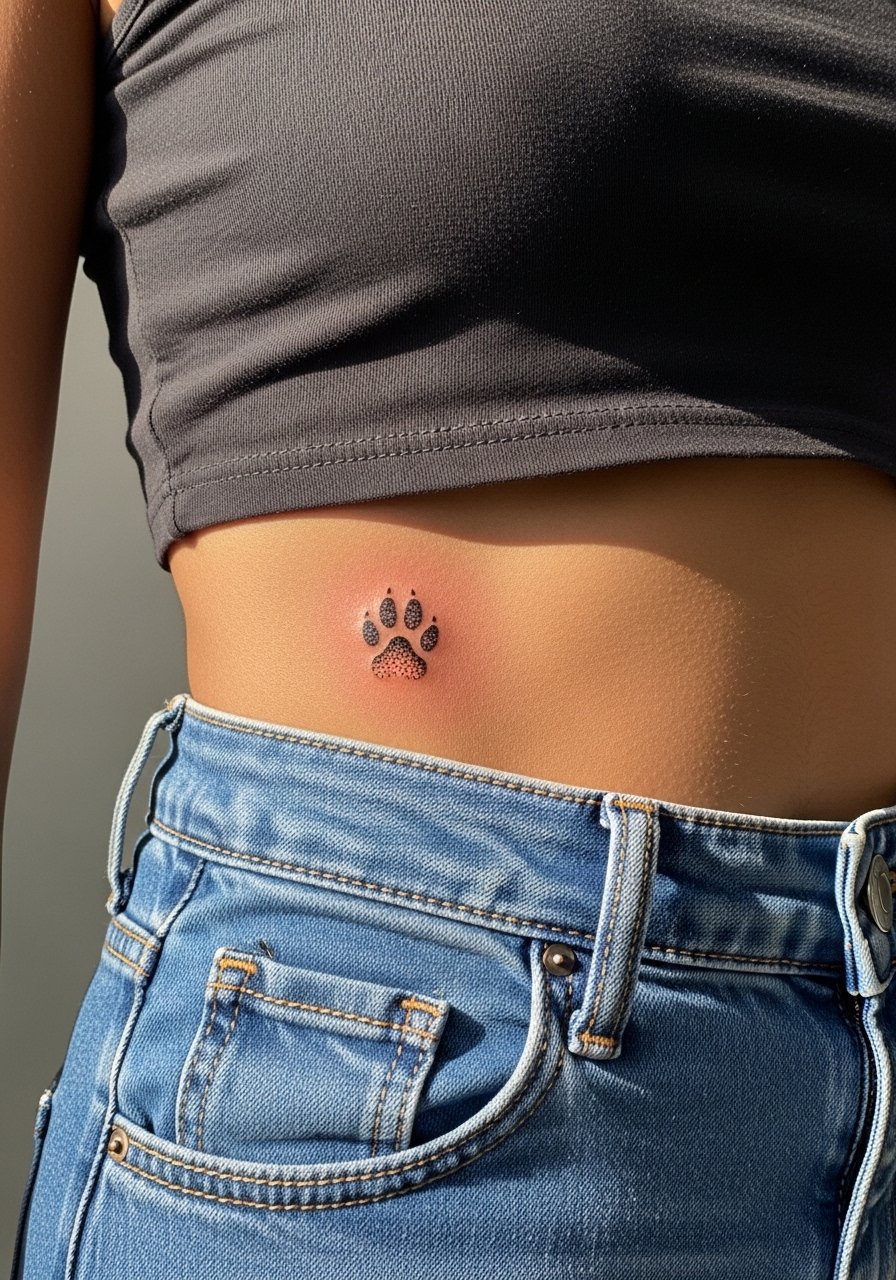
If you want a discrete tribute that hides under work clothes, a tiny paw mark on the lower ribs is a durable option because it can sit where friction is low. The rib area is painful, so plan for a short single-session sit under two hours. A frequent error is asking for too much micro shading inside a tiny shape, which crowds the negative space and speeds fading. Tell your artist you want bold negative space and clean edges rather than micro gradient inside a two-inch area. For showing it off, try pairing it with high-waisted mom jeans and a tucked olive crop top to tease the placement.
3. Micro-realism portrait wrapped along the ribs
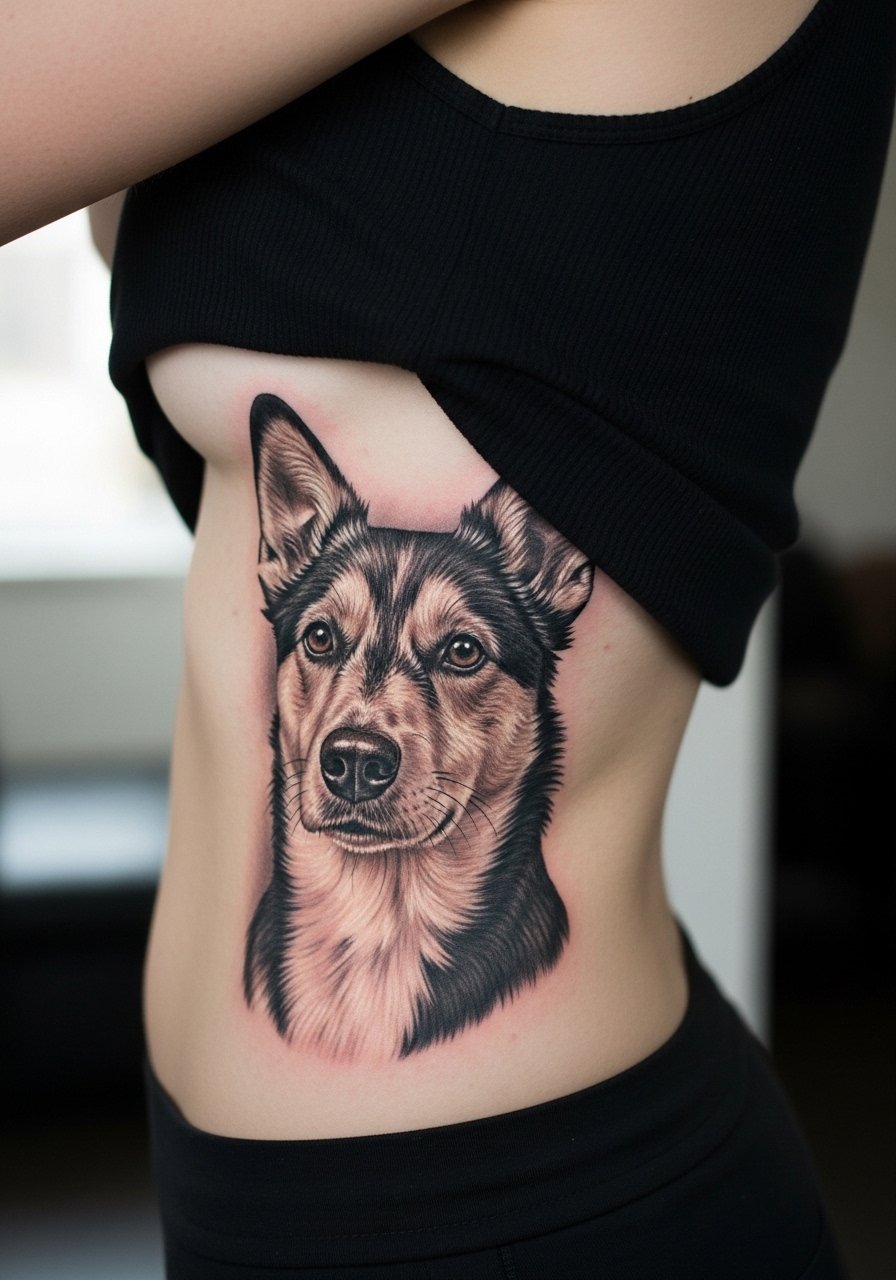
Micro-realism on ribs looks incredible when done by someone who photographs healed work regularly. This approach carries more session time and more pain because the artist needs long, precise passes across a breathing surface. Tell the artist you want the portrait to follow the rib curve and that you expect 4 or more sessions so shading can be layered instead of packed. A common aging issue is too-small portrait size. Photorealism on ribs needs room to keep facial detail readable after two to five years. For session comfort wear a sleeveless tank loose so the artist can lift the arm without underwire pressure.
4. Neo-traditional cartoon dog mid-rib panel
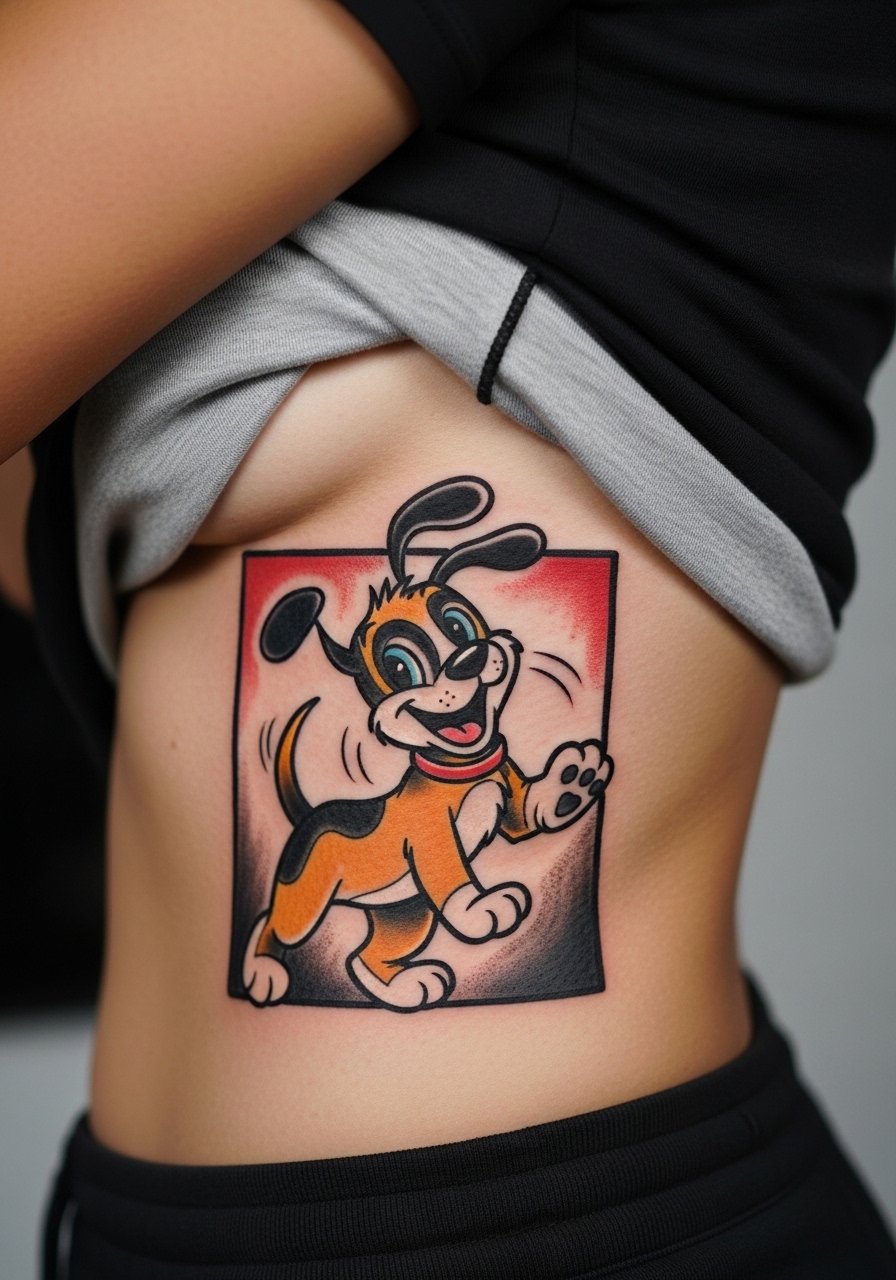
Neo-traditional brings bold outlines that keep their shape on curved ribs better than tiny detail does. The session feels punchy when color packing hits, but the strong linework ages predictably. Ask for slightly thicker contour lines in the consultation so saturation holds after healing. The mistake people make is copying a sleeve-sized reference into a small rib panel, which flattens the cartoon feel. For showing off, roll a fitted graphic tee at the waist so the mid-rib panel peeks out without exposing the torso.
5. Blackwork geometric dog head under the arm ribs
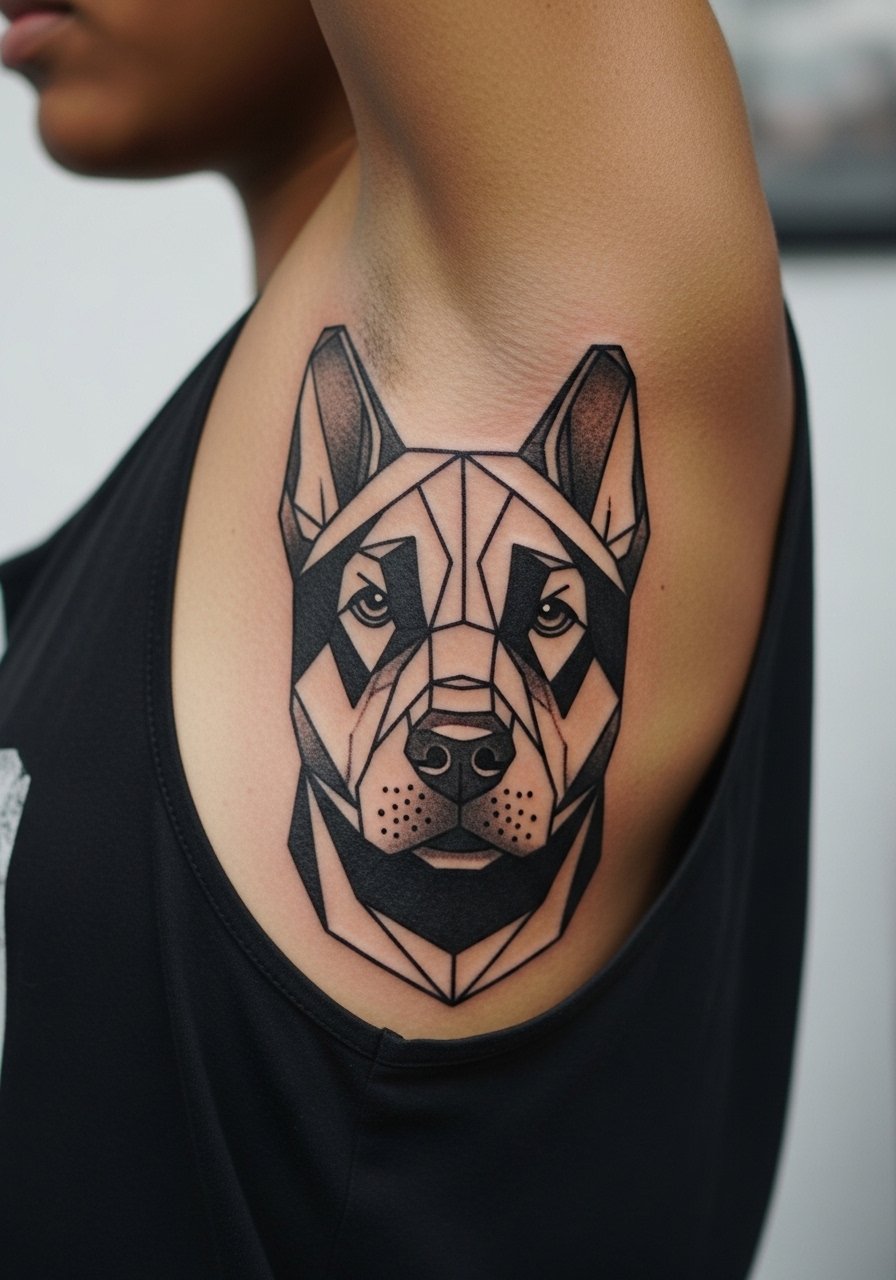
Bold blackwork survives rib stretch and sweat better than pale washes. Expect longer sessions and some soreness because the filled blocks require repeated passes. A typical error is making shapes too fine for the curve, which invites blowout. During consult ask for geometric modules with breathing space between solids so they do not merge later. This style pairs well with a black tube top or a solid bodysuit when you want the dark silhouette to read like a graphic statement. If you lift weights or expect big body changes, consider slightly larger modules to allow room for movement.
6. Watercolor splash dog silhouette along the lower rib sweep
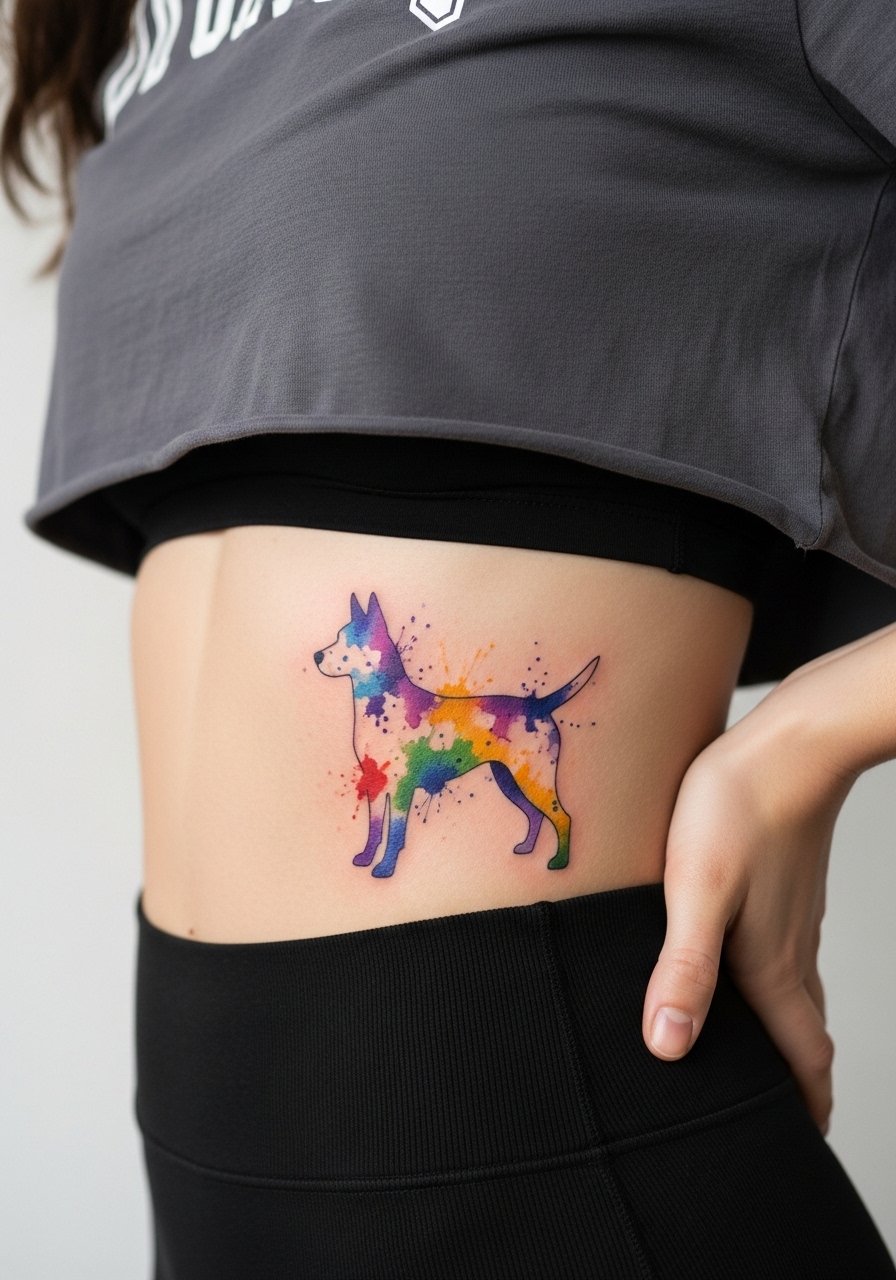
Watercolor styles read vibrant on day one but have a higher risk of early softening on ribs because pigment sits in thin washes across moving skin. Artists and clients argue over protective films versus dry healing when it comes to color longevity. One camp prefers a protective film to lock color in on sweaty ribs. The other camp says air exposure reduces trapped moisture and lowers infection risk. For this style, ask the artist about layering saturation rather than single-pass washes and plan a touch-up after healing. For nights out, a beige crop top with an open cardigan keeps the color visible without full exposure.
Studio Day Picks
Those first six ribs designs all ask different things from the body, so a few specific items smooth the session and the first week.
-
CeraVe Healing Ointment. A less greasy option some people prefer for active spots like ribs, it soothes without heavy residue while you sleep.
-
Australian Gold Aftercare Spray. A no-touch mist that helps with tender areas where hands and clothing cause repeated friction.
-
Soy Tattoo Butter. A thin vegan balm recommended for sensitive skin on rib zones when heavier ointments feel too occlusive.
-
Hada Labo Lotion. Lightweight hydration after the initial film or ointment phase helps reduce itch without over-saturating the surface.
-
Hustle Butter Deluxe. Thin and easy to spread, it is a common pre-session and healing balm choice for summer rib sessions where sweat is a concern.
7. Traditional anchor-style dog portrait on the side ribs
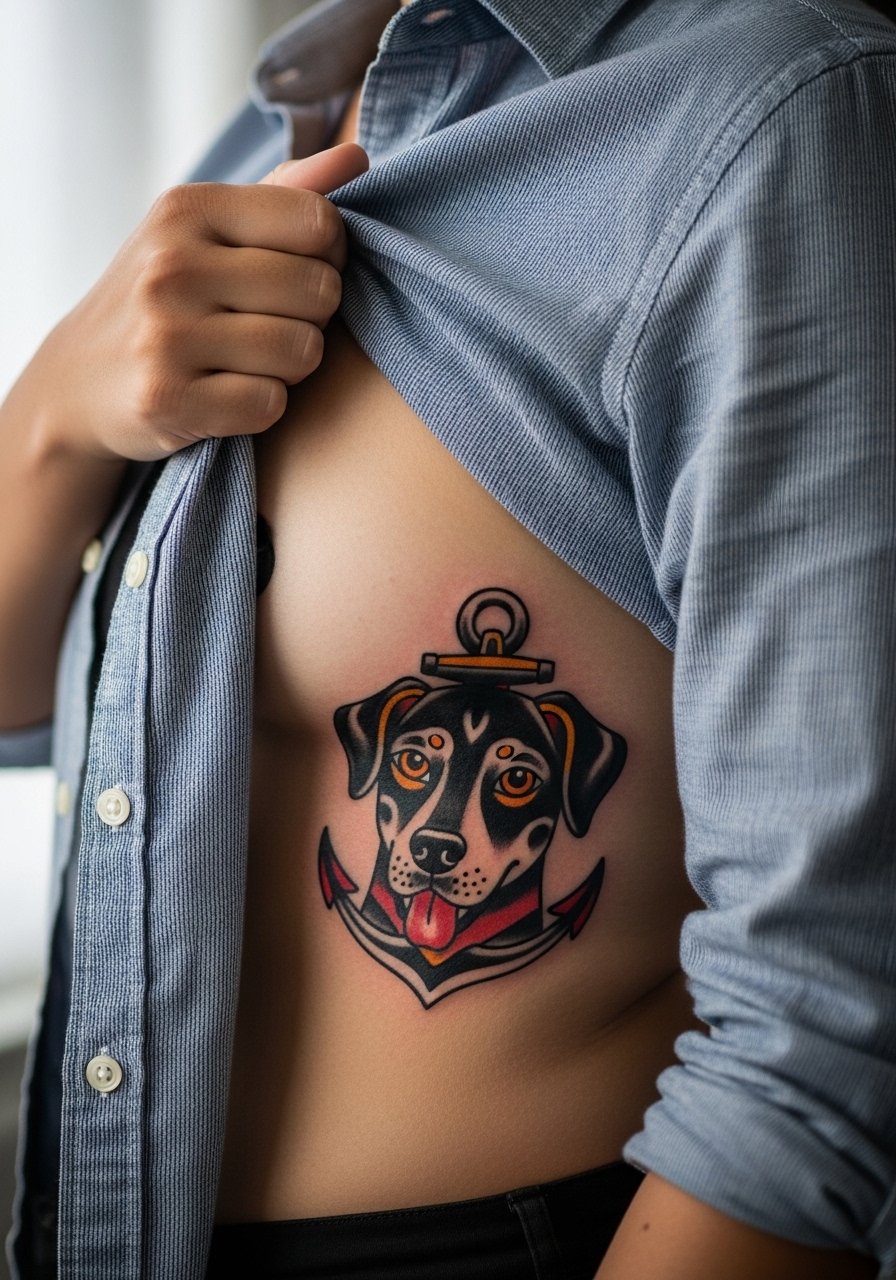
Traditional work reads clean over time because bold outlines and saturated fills age into a strong silhouette. On ribs, that means the portrait keeps its character even with some softening in years two to five. A common mistake is crowding too many nautical elements into a five-inch panel, which makes the piece feel busy as it settles. Tell your artist you want heavy contour and simplified anchors so the dog face stays readable. For outfit pairing, a front button shirt loose that you can pull aside keeps the placement discreet or showable depending on the day.
8. Ignorant style chunky dog outline along the rib curve
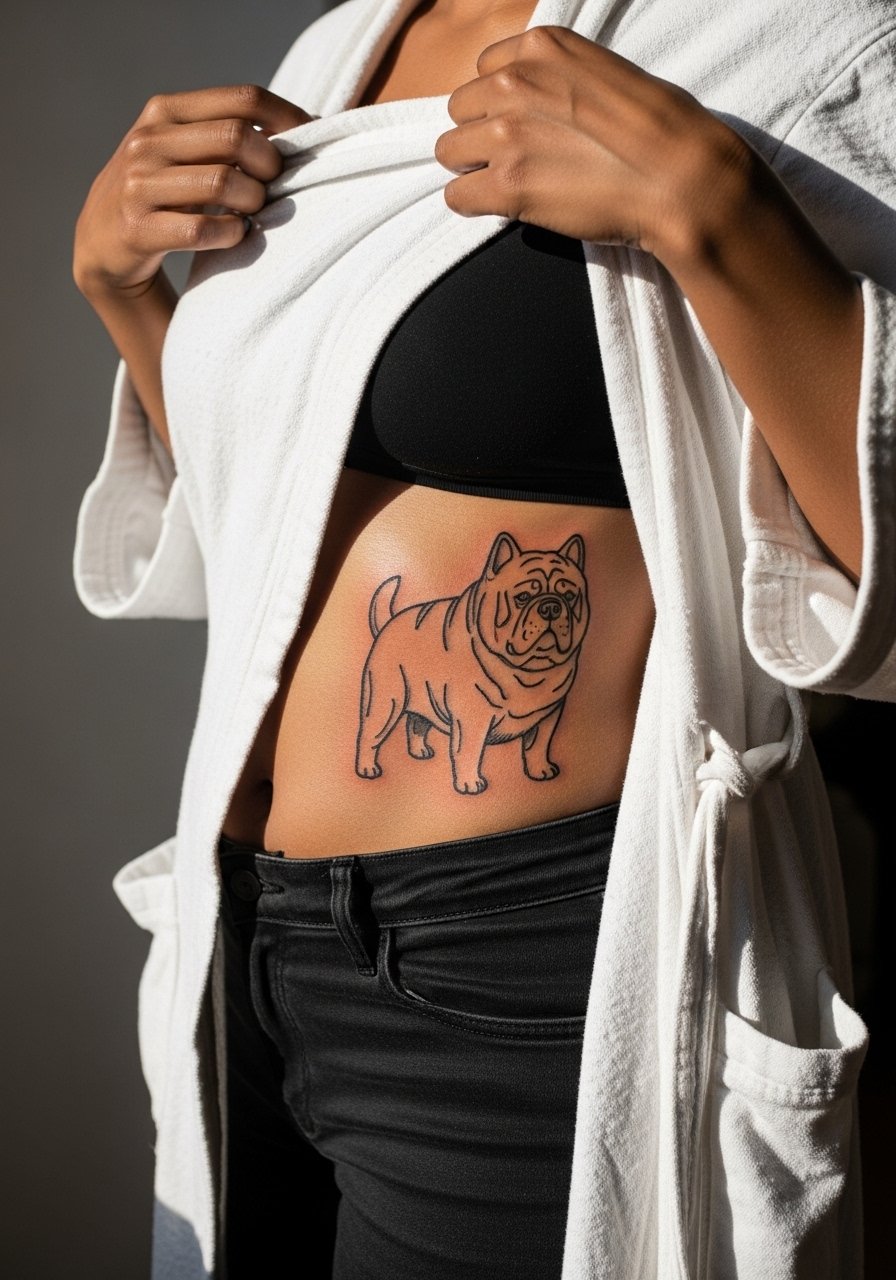
Ignorant style is forgiving on the ribs because chunky lines travel across curves without needing tiny detail. The session feels fast and bold, with less time under the needle for shading. People often ask for thin reinterpretations of ignorant pieces and then wonder why the edge blurs. Ask for chunky line weight and a confident silhouette so the shape reads from different angles. For session comfort wear a loose robe cotton or any garment that unbuttons for clear access without rubbing the fresh ink.
9. Ornamental mandala with a paw motif centered on the ribs
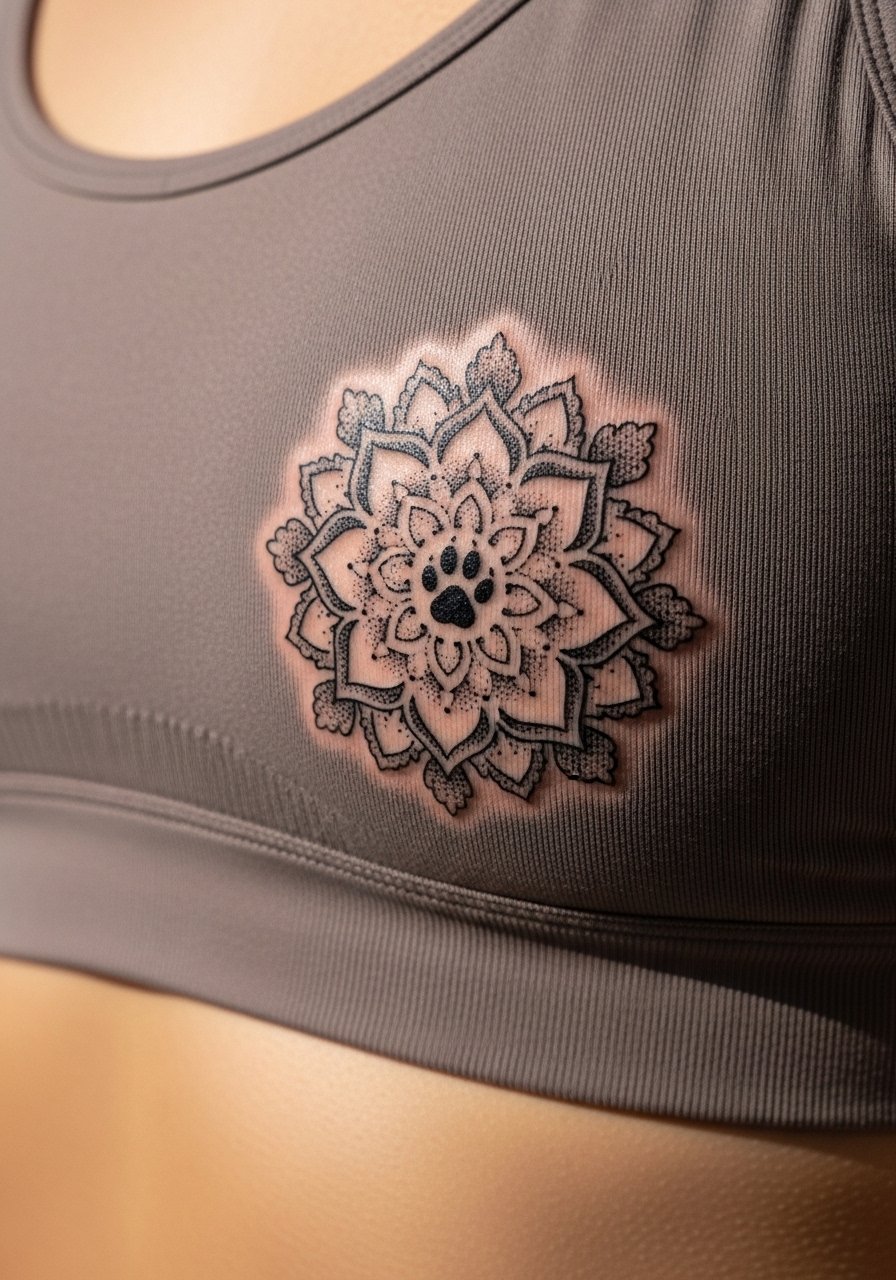
Ornamental dot work plays with symmetry and looks deliberate when scaled correctly for ribs. The biggest mistake is packing mandala lines too tightly against the rib curve which causes merging of stipple points after healing. If you want a paw motif included, ask the artist to make it a simple silhouette inside negative space rather than extra shading. Because this spot is near the sternum it may demand specialized stencil placement, so expect careful mockups. For showing the pattern, a deep v tank women with a low neckline frames the mandala without full exposure.
10. Fine line name script tucked on the lower ribs
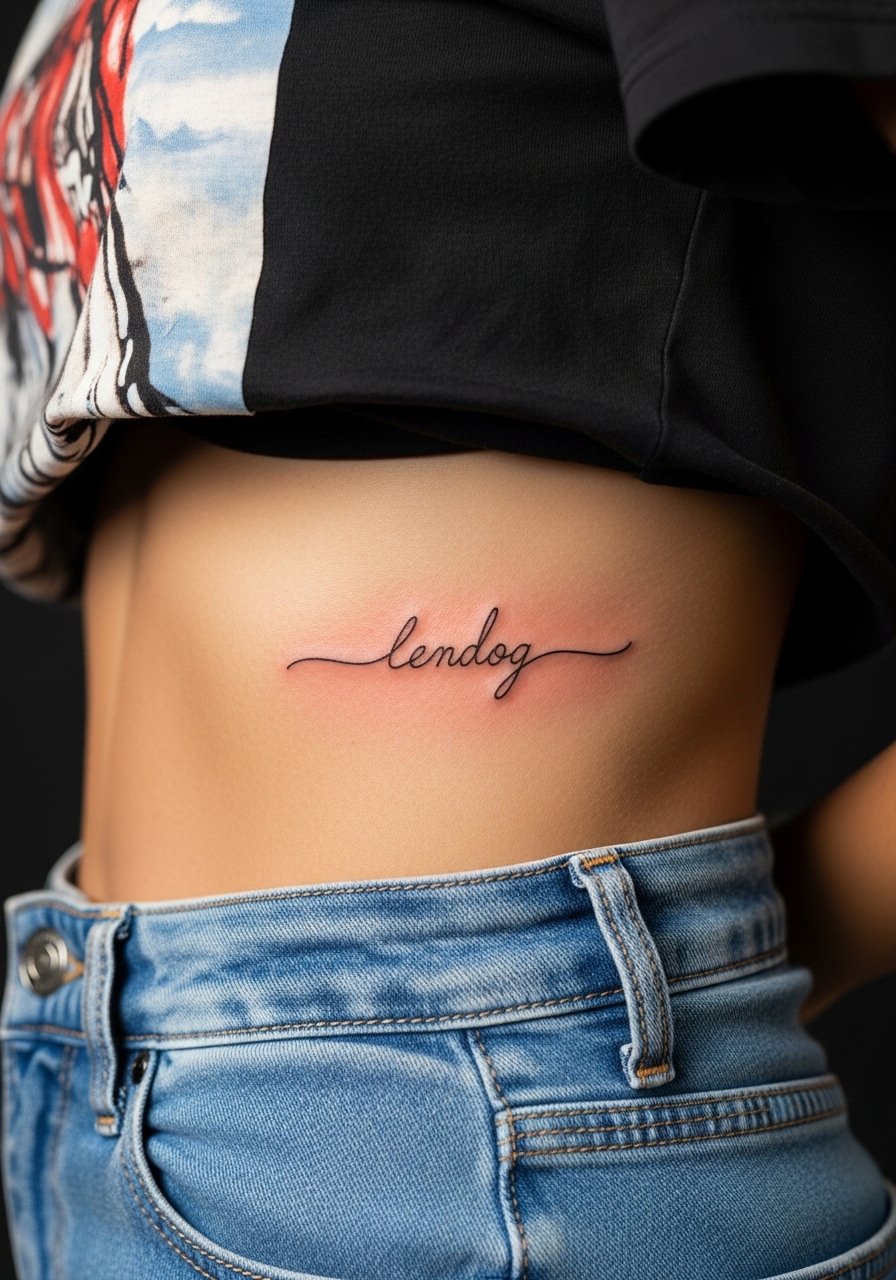
A short name in script is discreet and fast, but script on ribs needs attention to letter spacing because breathing and curve can skew letters. I advise choosing a slightly thicker hairline than you might pick for the wrist so the letters hold after healing. A common error is copying a delicate desktop font without asking the artist how it reads on curved skin. Session times are brief, but expect higher sting on the lower ribs near the hip bone. For the appointment wear high waisted mom jeans and a cropped top so the lower rib is easy to reach.
11. Black and gray hound profile sweeping the side ribs
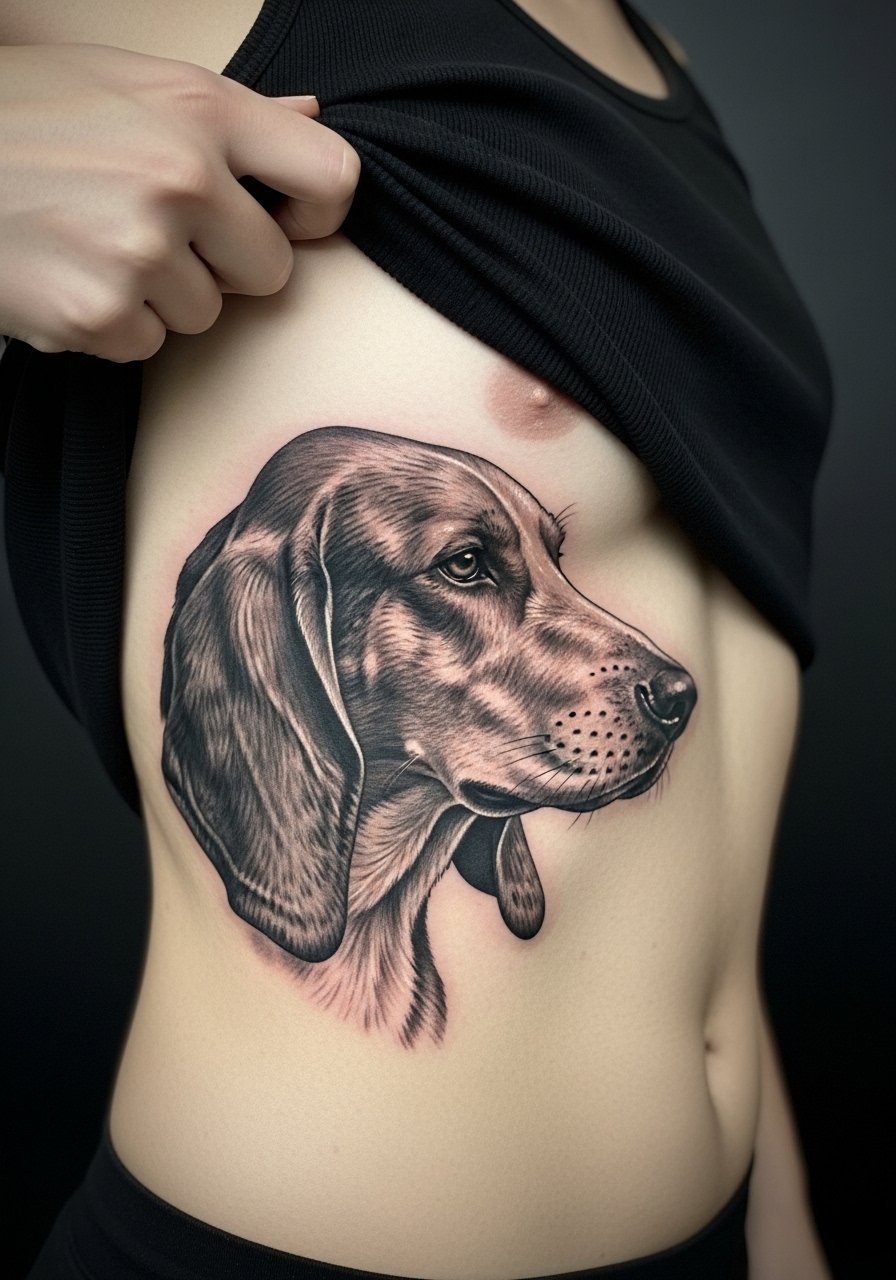
Black and gray realism gains depth on ribs because the curve helps silhouette the muzzle and ear. Expect multiple sessions to layer gradients and keep contrast without overworking the skin. Ask for starved contrast points so features remain readable at two and five years. A common mistake is pushing too much contrast in the first session, which overtraumatizes the area and causes excessive scabbing. For recovery choose loose clothing and plan short stretches of low activity during the initial week so the shading settles evenly.
12. Patchwork cluster of small dog icons across the rib area
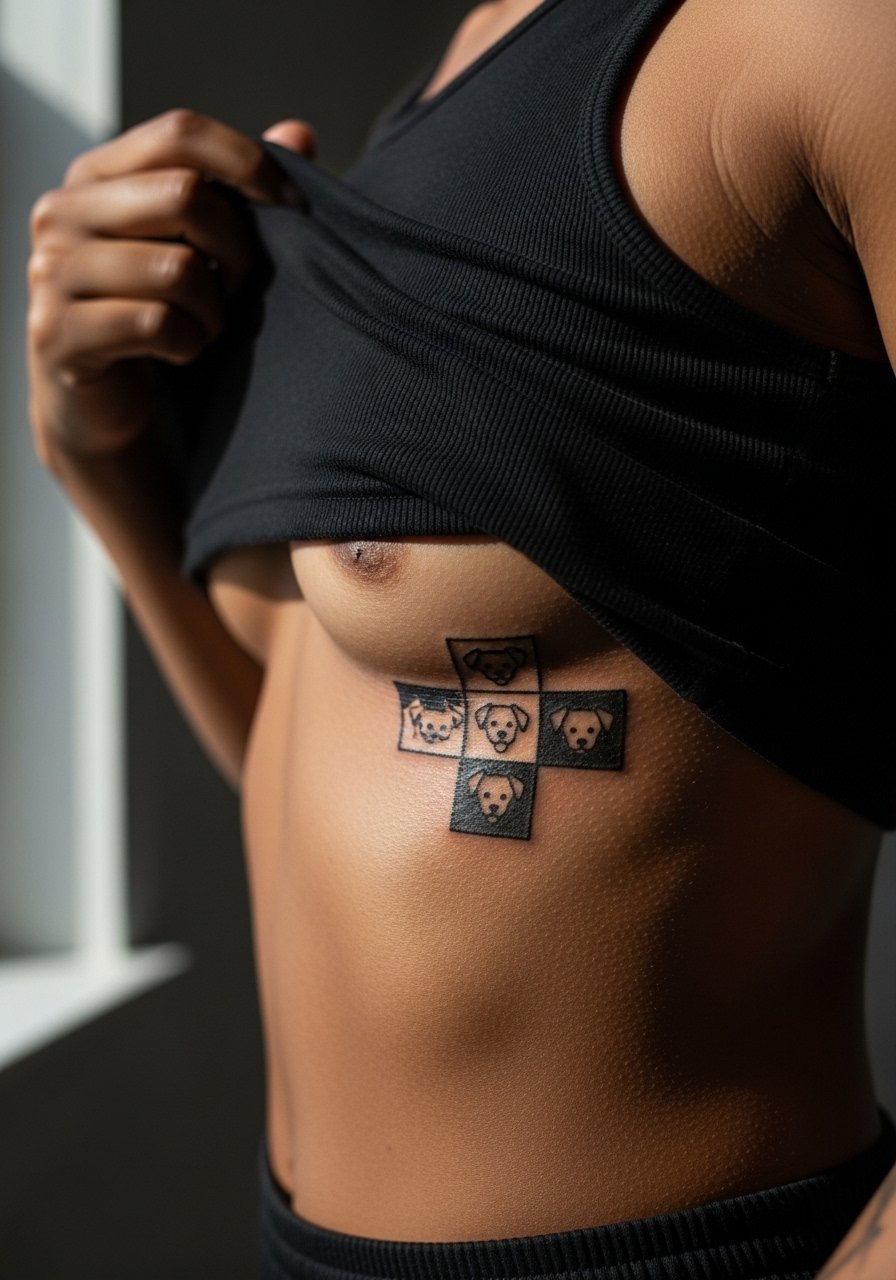
Patchwork builds over time and ribs give a natural curved gallery for small icons. The advantage is flexibility. You can add pieces slowly and avoid heavy sessions, which suits people who want to spread cost and pain over months. The common error is overcrowding early on. Plan negative space and predictable spacing to avoid future merging. If you want to build a suite, map ownership sizes with the artist and set a touch-up plan for year two. For session ease wear a loose tank top you can lift without underwire pressure.
13. Inverted orientation for mirror selfies on the ribs
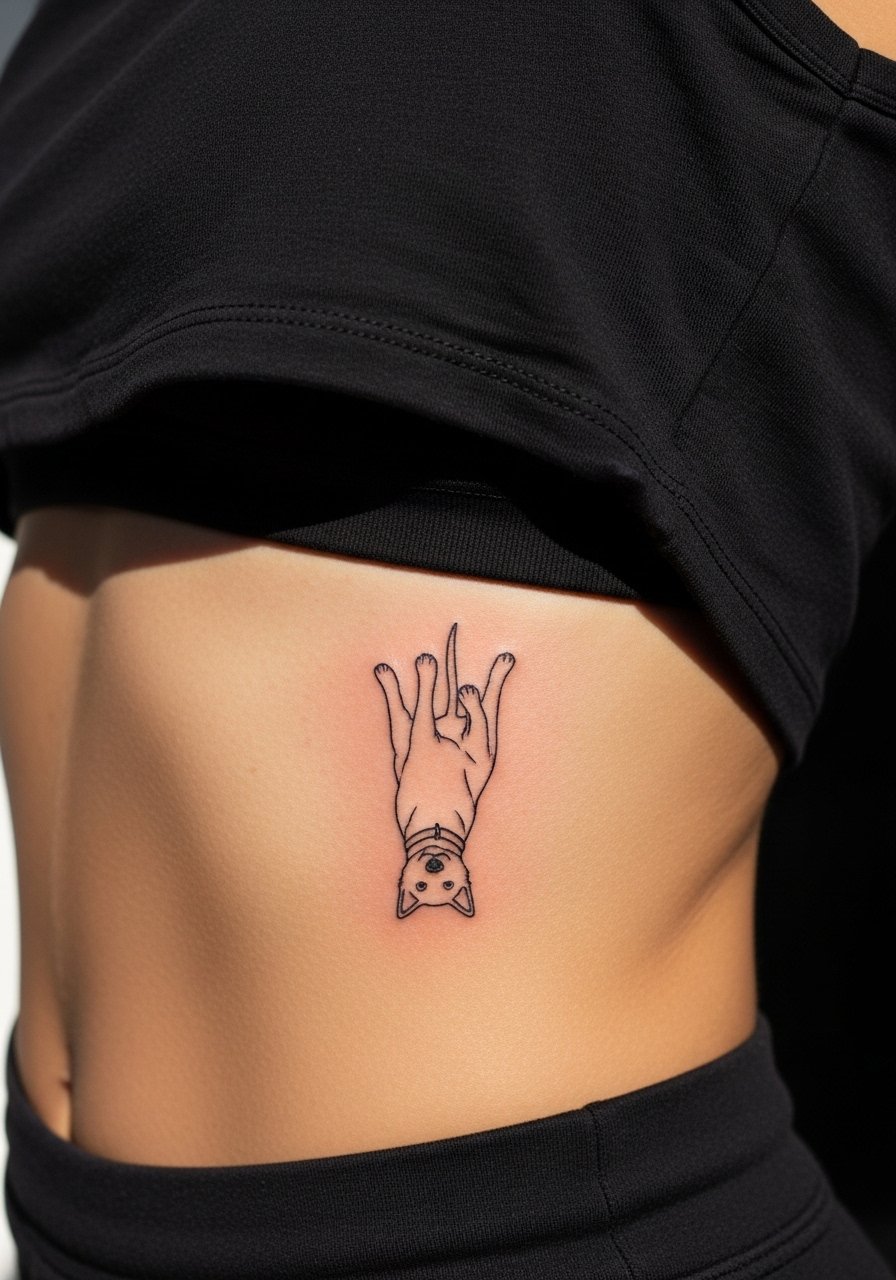
This is one of those small creative tweaks competitors rarely mention. Flipping a ribpiece so it reads in a mirror keeps portraits and words photo-friendly without changing the actual placement mechanics. Tell your artist you want the stencil rotated for mirror viewing during the consult and bring a phone to preview the angle. The mistake is thinking mirroring changes pain or healing. It does not, it only changes how the design faces. For show-off moments try pairing with a cropped tank top women that frames the side and makes the mirrored composition obvious.
14. Subtle scar-outline texture paired with a dog silhouette
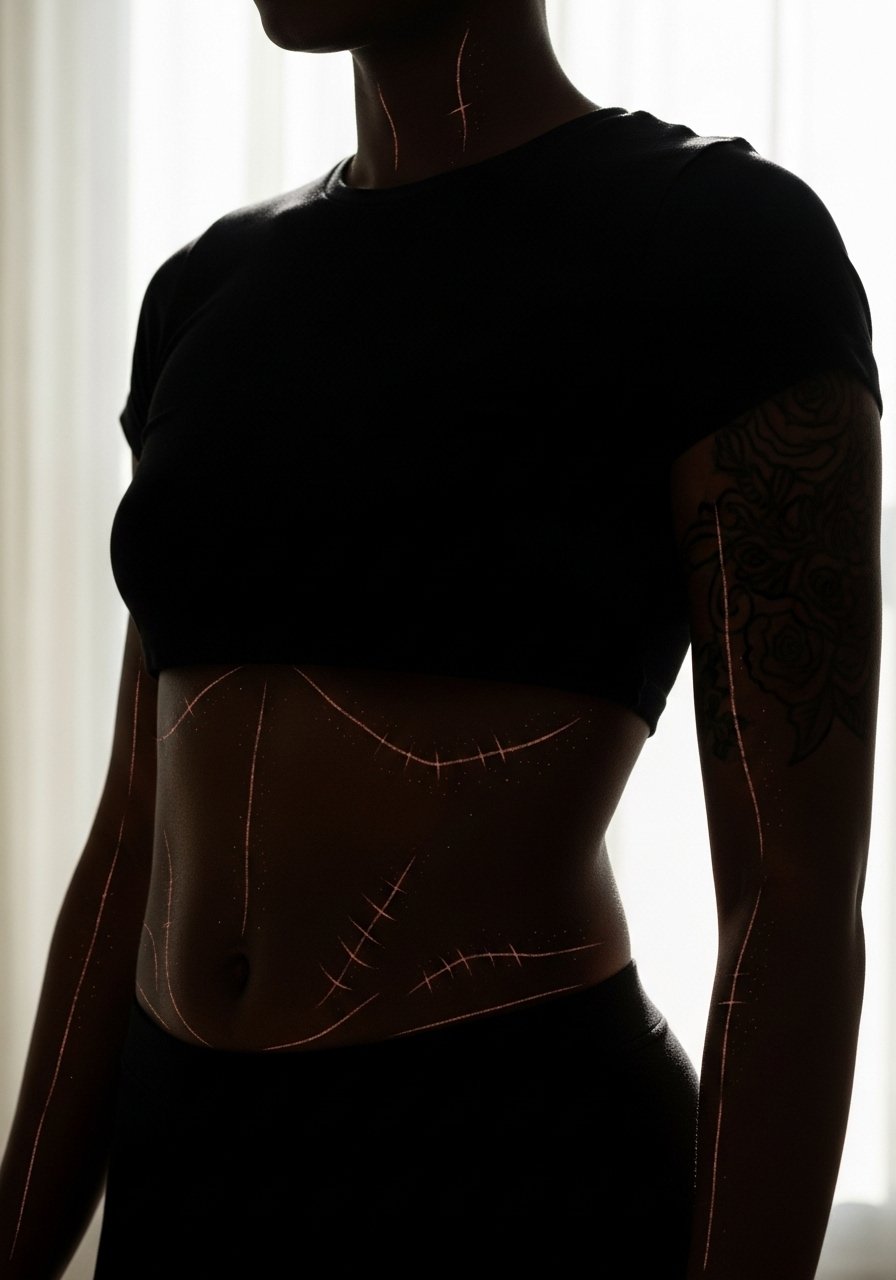
A few artists experiment with scar-style outlines to add texture without actual scarification. The technique is purely visual so it behaves like regular ink when healed. This is useful for hiding previous stretch or working with existing surgical lines. The typical mistake is trying to force real scarring techniques into decorative pieces, which raises safety and ethical questions. Ask if the effect is purely tattooed stippling and request healed photos on similar skin tones. For session wear choose an easily adjustable top so the artist can access the exact area where old texture exists.
15. Mockup-first curved design for plus-size rib canvases
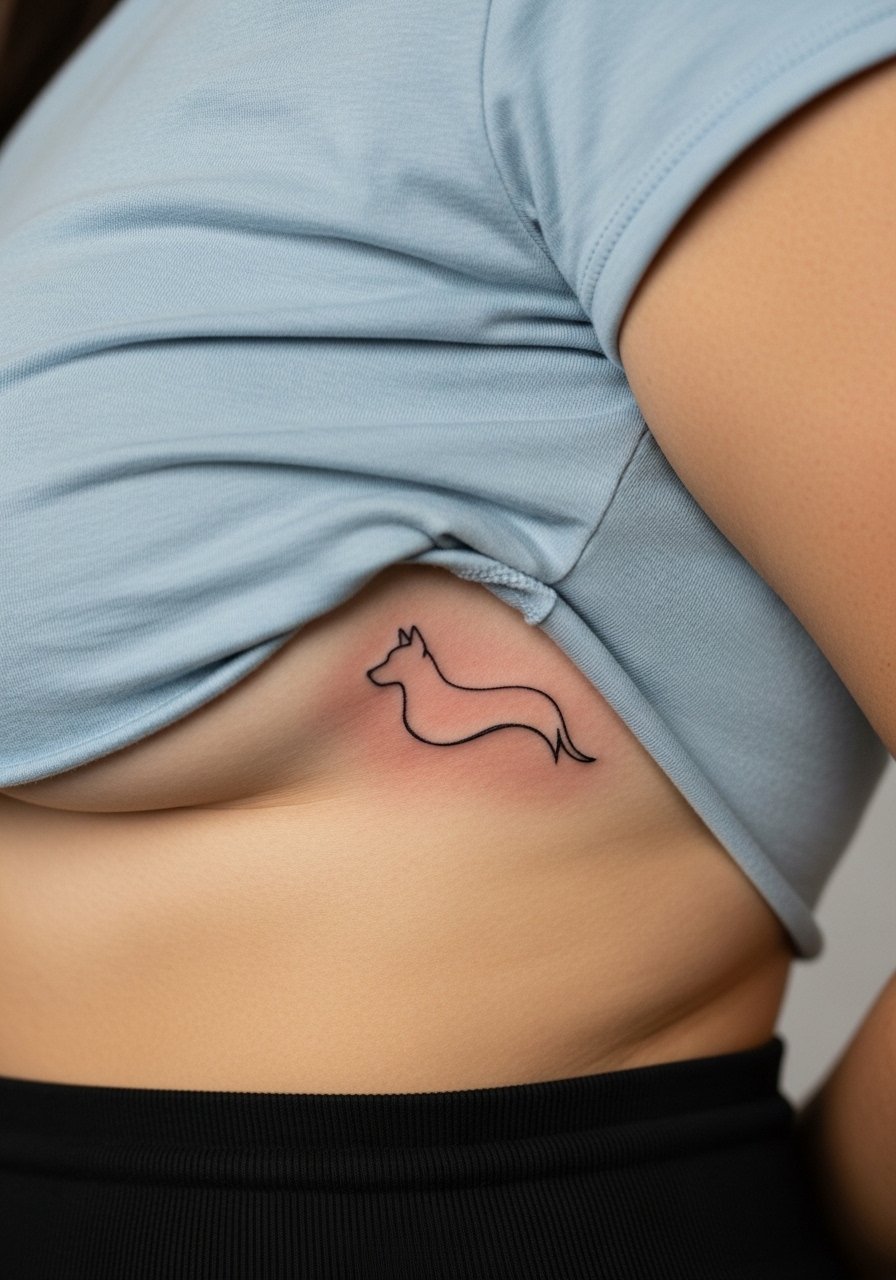
A real gap I see in portfolios is mockups on varied bodies. If your measurements or shape deviate from the typical reference photos, ask for a curved, life-scale mockup placed while you breathe normally. That prevents surprises once the stencil hits skin. People often accept a flat mockup and then find the design sits too low or too tight when standing. Bring photos of your torso at rest and duplicated while taking a breath and an exhale to check how the lines move. For comfort in the chair bring a loose button-down shirt you can open to expose only the side.
16. Whip-shaded companion line near the sternum-adjacent ribs
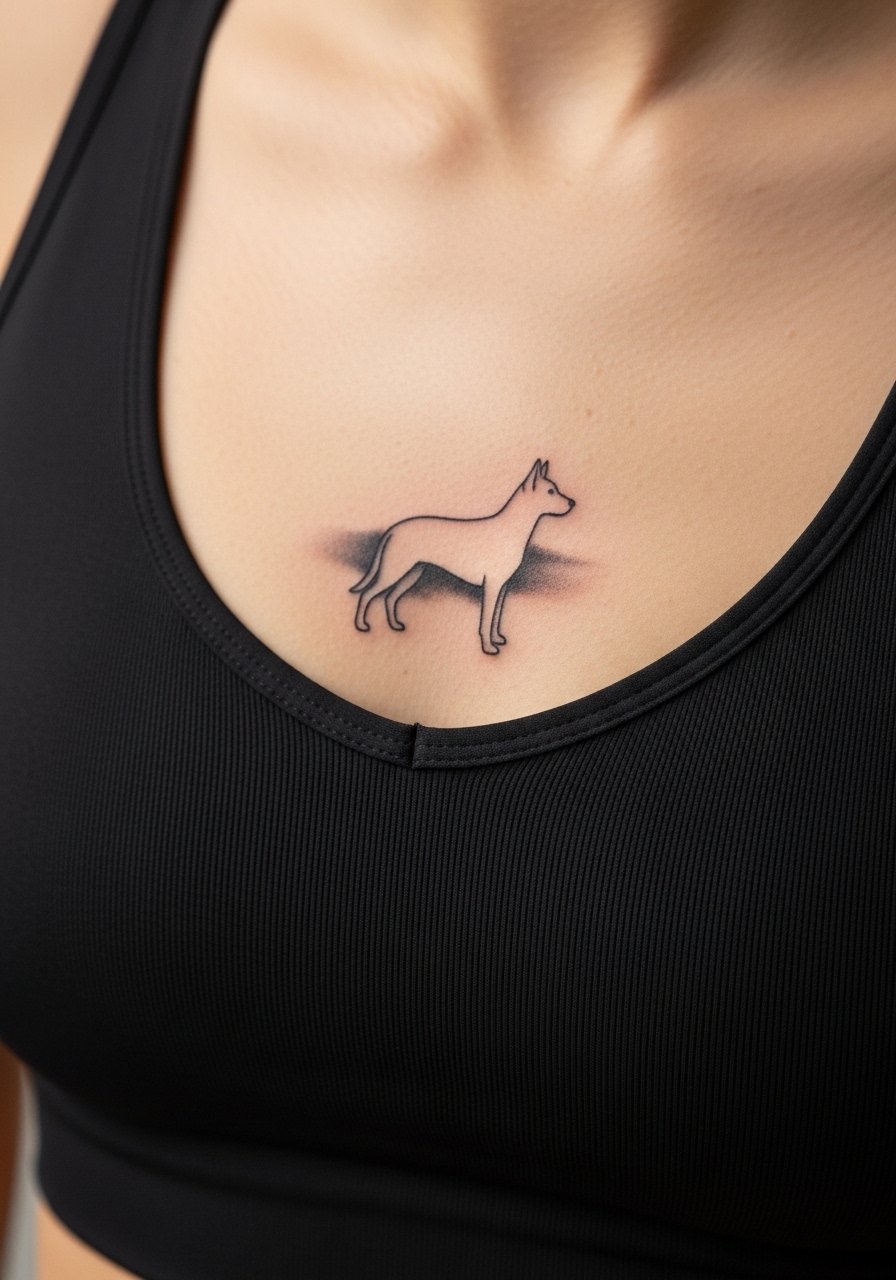
Whip shading gives a soft halo around a dog silhouette that reads like a shadow instead of a hard edge. Near the sternum the skin is tender, so short shading passes help keep trauma low while allowing dimensionality. A common error is overpacking whip passes into one session which increases scabbing and uneven fade. Ask for staged shading with a planned second pass if needed. This spot asks you to skip underwire bras for a few days, and for a session wear a strapless bra seamless or a fitted sports bra.
17. Breed-specific silhouette tucked near the rib curve
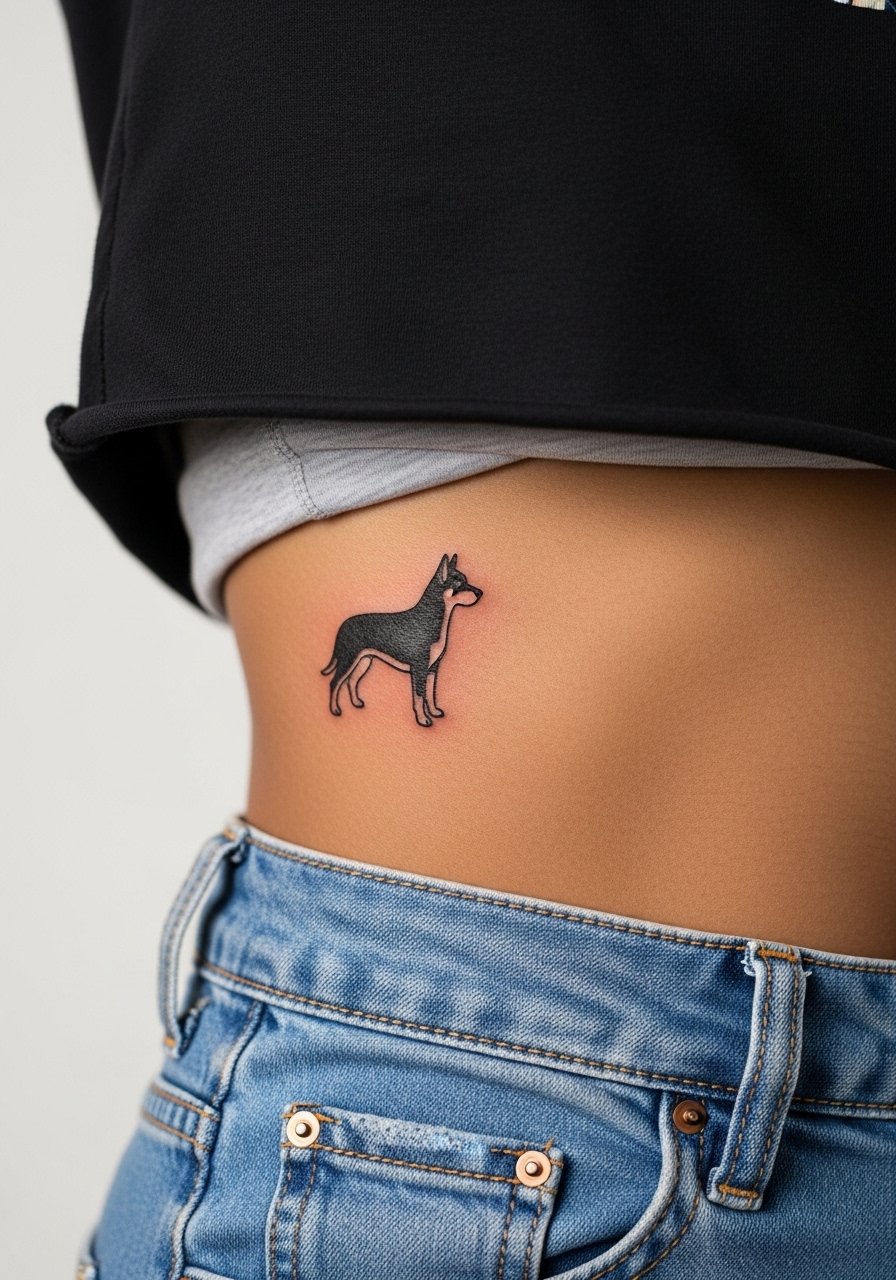
Opting for a breed silhouette keeps the concept clear while avoiding overly detailed portrait work. For breeds with distinctive ears or tails, ask the artist to emphasize one identifying feature rather than crowding the panel with unnecessary texture. A common mistake is trying to shrink a large breed portrait into a tiny silhouette. If you want recognition at a glance, let the artist exaggerate a single trait. For outfits that show the tucked placement without full exposure, pair it with high waisted mom jeans and a cropped tee.
Frequently Asked Questions
Q: Will fine line work on ribs need more touch-ups than blackwork?
A: It depends on line weight and placement. Fine line can blur faster on ribs because of repeated skin movement and thin needle channels, so expect touch-ups sooner than with heavy blackwork. If you prefer thin lines, ask for slightly stronger initial weight and a touch-up plan at year two.
Q: Is Saniderm or dry healing better for rib tattoos that get sweaty?
A: Both approaches have vocal supporters. One camp uses protective film to limit friction and lock in moisture on sweaty ribs. The other camp favors short film windows and air exposure to prevent trapped bacteria. Choose a method after talking with your artist about your sweat patterns and local climate.
Q: How should I plan my session day wardrobe for a rib tattoo?
A: Wear something you can lift or remove without tugging underwire. Loose tanks, front-opening button shirts, or strapless tops let the artist access the side without irritating the area. A spare soft tee in your bag helps on the way home.
Q: Do darker skin tones need different styles for rib portraits to last?
A: From what I have seen, bolder outlines and stronger saturation often perform better on melanin-rich skin than ultra-fine hairlines. Ask to see healed examples on similar skin tones and discuss contrast priorities during consults.
Q: How painful are rib dog tattoos and what helps during breathing-triggered spikes?
A: Ribs rank high on pain scales because the needle rides over bone and the area moves with breath. Shorter sessions under two hours, numbing for long sits, and exhaling on line passes reduce sharp spikes. Bring a comfortable loose top you can adjust easily mid-session.
