
Fine line and heavy dotwork both look great in fantasy pieces, but the designs that still read clean after a few years are the ones planned with spacing, placement, and skin movement in mind. For Dark Souls fans that means thinking about where the curve of the body will flatten the dots, how armor or sleeves will rub the area, and what to ask your artist before the stencil hits skin. The first idea below shows how to make the iconic bonfire motif work as dotwork without losing detail as it heals.
1. Bonfire Crest on Inner Forearm
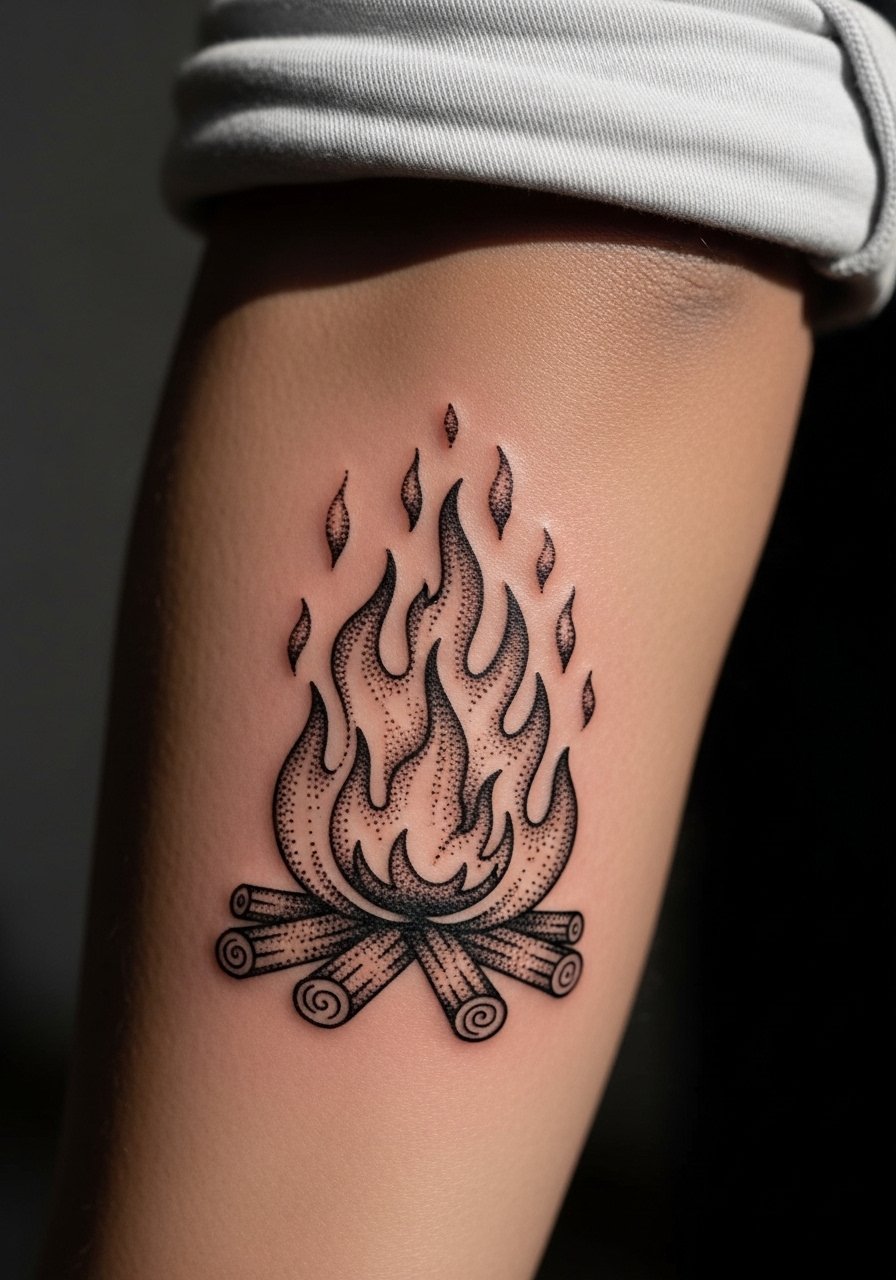
This placement lets the bonfire read like a little emblem when your sleeve is rolled up. I recommend a slightly larger scale than people assume so the dotwork has breathing room and the halo of stippling does not merge within a year. Tell your artist you want spaced stipple clusters instead of a packed gradient, and ask them to show a scaled stencil on your forearm before ink. Expect a tingle more than sharp pain and a one to two hour session for a medium-sized piece. Pairing tip: show it off with a rolled linen shirt and a thin chain bracelet to keep attention on the linework without crowding the wrist.
2. Estus Flask Micro Dotwork on Inside Wrist
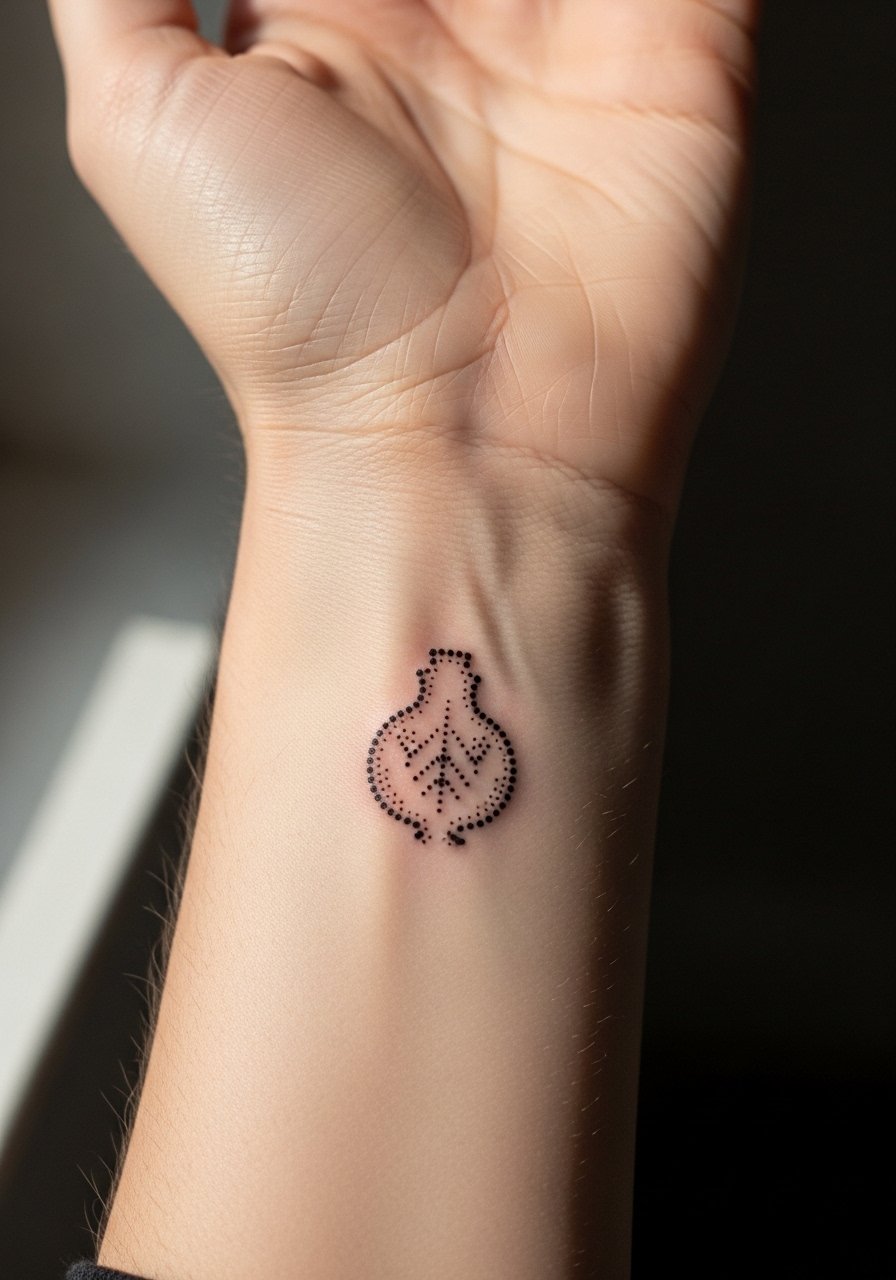
Wrist tattoos need room for the dots and must avoid tiny details that will blur from constant motion and washing. Ask for a simplified silhouette of the flask with a stippled glow around it rather than tiny lettering. Pain is low to moderate but expect extra sensitivity toward the bone. The session is quick, often under an hour, but plan for a touch-up in year two for crisp stippling. Common mistake is cramming in decorative filigree that looks busy once healed. For showing it off, layer a thin chain bracelet or a minimalist watch so the tattoo reads as part of your everyday look.
3. Bonfire Scene Wrapped on Shoulder Cap
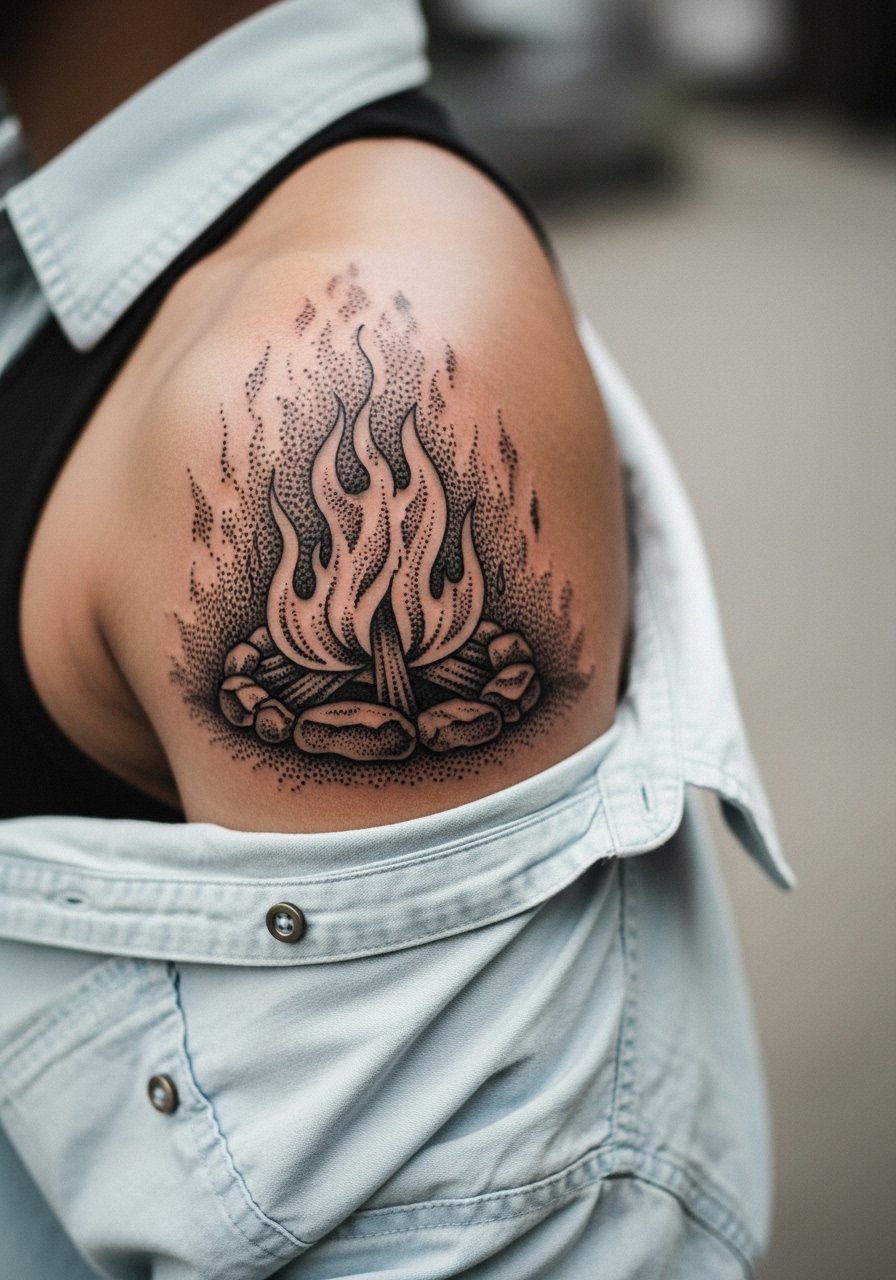
Shoulder caps handle more saturation and longer sessions, so you can include silhouettes of a knight and the burning ember with graduated dots for smoke. Tell the artist you want strong outer linework where the design meets skin to avoid early blur at the edge. Sessions run two to three hours depending on size and shading. The shoulder sees less daily friction than wrists or hands, so dotwork tends to hold well here. A slip-on loose button-down shirt makes getting the area prepped easy and shows off the curve when you wear sleeveless styles.
4. Hollow Knight Silhouette on Calf
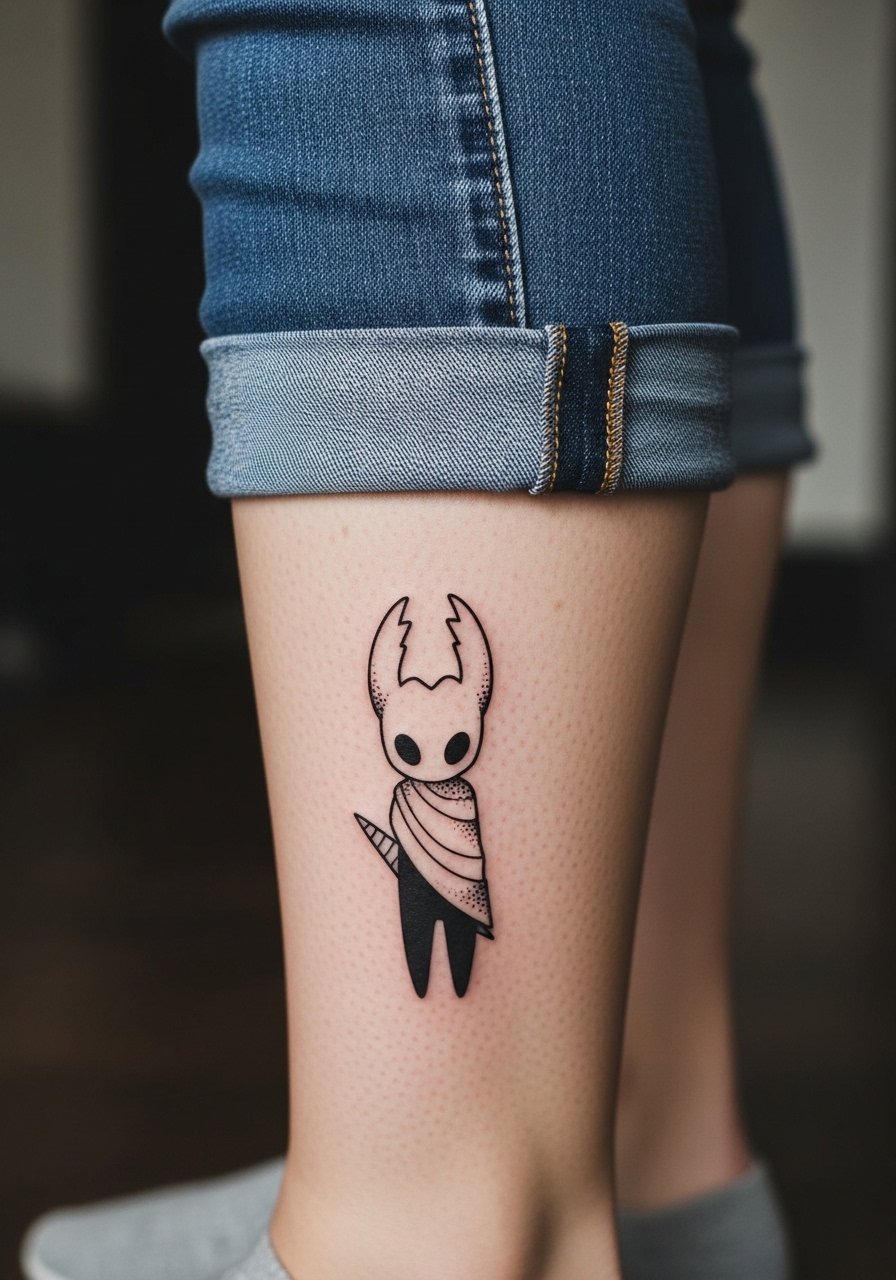
Calf pieces let dotwork breathe and they age predictably if you avoid tight socks rubbing the area. The large surface area allows for dense stippling without crowding. Ask for gradual stipple density from dark base to airy top so the silhouette reads in motion. Expect moderate pain and sessions around two hours. Mistakes happen when people insist on tiny facial details in the silhouette that disappear after healing. For footwear and outfits, rolled jeans or cropped trousers pair well and I like suggesting sandals with ankle straps that keep the calf visible on warmer days.
5. Crest of Dark Sigil on Sternum

Sternum work is high on the sensitivity scale and needs an artist experienced with chest contour. One camp says delicate dotwork here blurs because the skin flexes with breathing and movement. The other camp argues that with slightly bolder stippling and careful spacing it settles well. Name both camps to your consult and ask which approach your chosen artist prefers. Session discomfort is real but manageable with breaks and pacing. Avoid overly intricate micro-details near the center where the skin stretches most. Wear a fitted sports bra on the day so the artist can access the area without exposing more than necessary.
6. Ornamental Estus Chain Along Collarbone
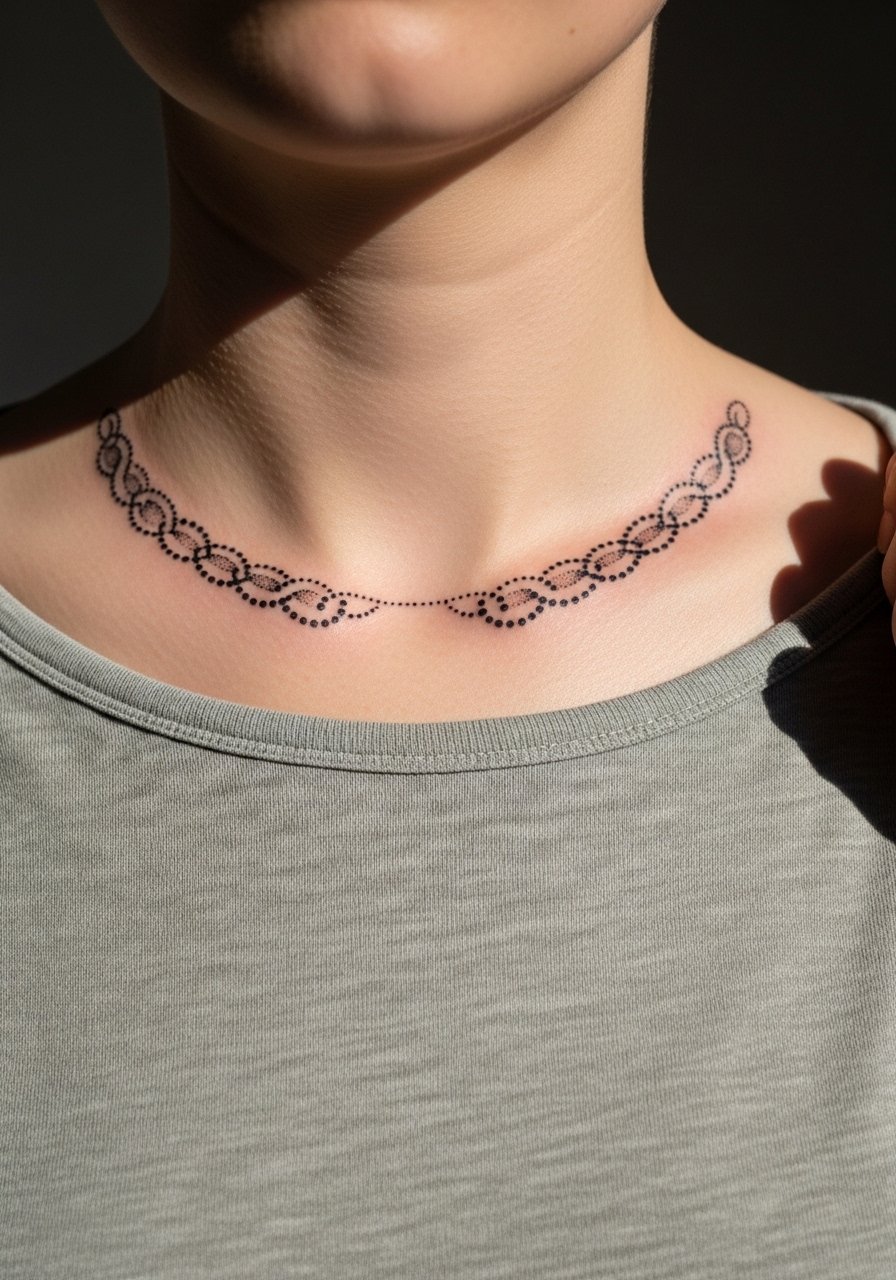
Collarbones are delicate and very visible, which makes them perfect for a dotwork chain or rosary idea that echoes the game's iconography. Ask for slightly thicker anchor dots along the bone and lighter stipple away from it. Pain ranges from moderate to high depending on proximity to bone. Mistakes include trying to cram script or tiny symbols into the chain links. The session is usually under two hours. For showing it off, pair with open-back midi dresses or wide-neck tees to frame the piece without pulling focus.
Before You Book
The shoulder, wrist, sternum, and collarbone ideas above all respond differently to motion and friction, so a few targeted products smooth out the session and the first week.
-
Stencil transfer paper kit. Lets you preview how the dot spacing and scale sit on curved areas like the forearm and calf before the artist starts.
-
Topical numbing cream. Applied per instructions before sternum or collarbone sessions eases sensitivity and helps you stay relaxed during longer stippling passes.
-
Thin protective film roll. Useful for wrist and hand pieces that face constant washing and surface friction in the first 48 hours.
-
Fragrance-free gentle body wash. Cleans healing dotwork without irritating delicate stipple channels on collarbone and forearm tattoos.
-
Aquaphor healing ointment. A thin layer in the first 48 hours helps maintain moisture for fine dotwork without suffocating the skin.
7. Gravelord Nito Shadow on Upper Back
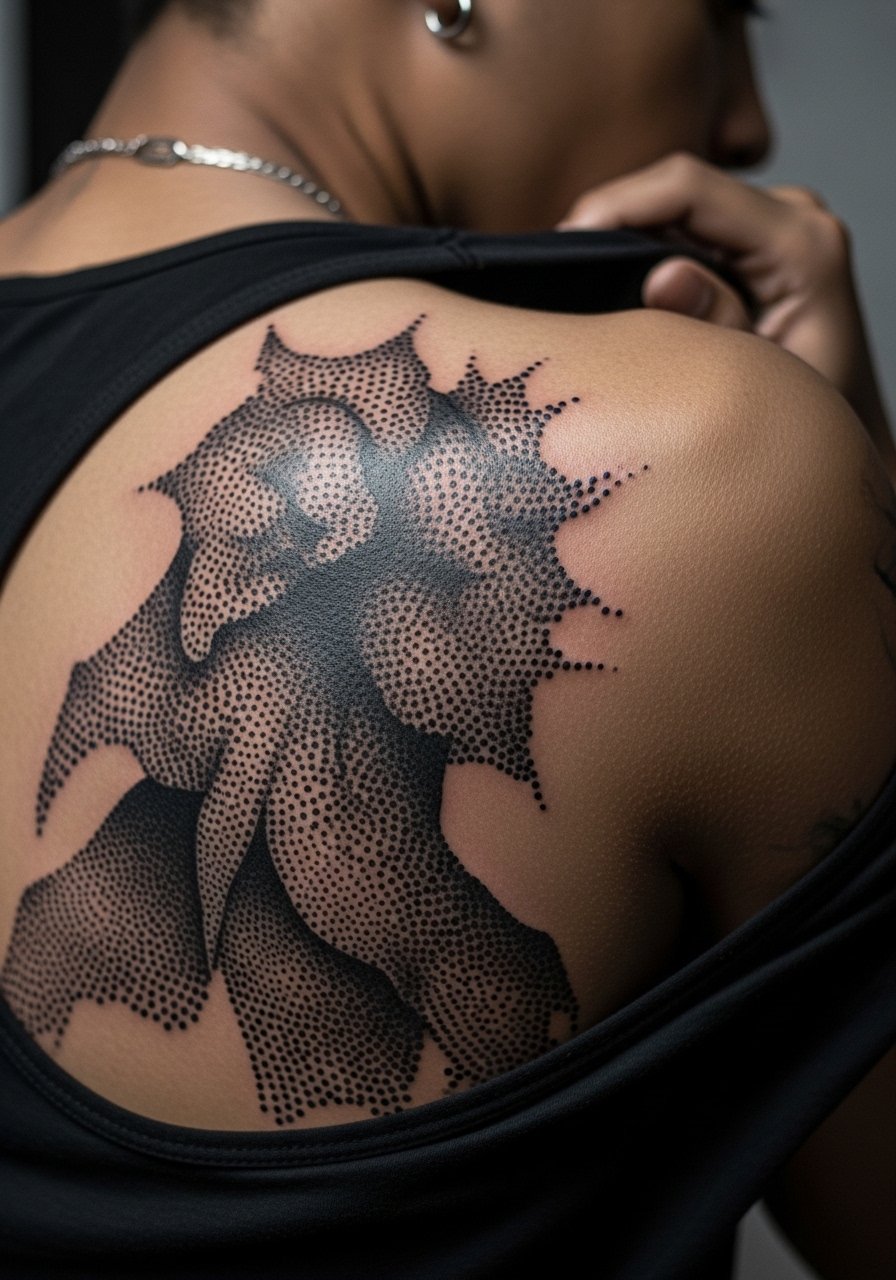
Upper back pieces can be as large as you want, which benefits dotwork that needs negative space. I usually recommend a bold outer silhouette with fine stipple interior for these designs so the dark mass still reads from a distance. Tell your artist you want the darkest areas placed where clothing is least likely to rub. Sessions can be multiple hours and may need to be split. A common mistake is packing too many tiny limbs or details in the center that read as noise once healed. For session wear, pick a tank top you can remove or put back on without stretching the area.
8. Bonfire Emblem Behind the Ear, Below Hairline
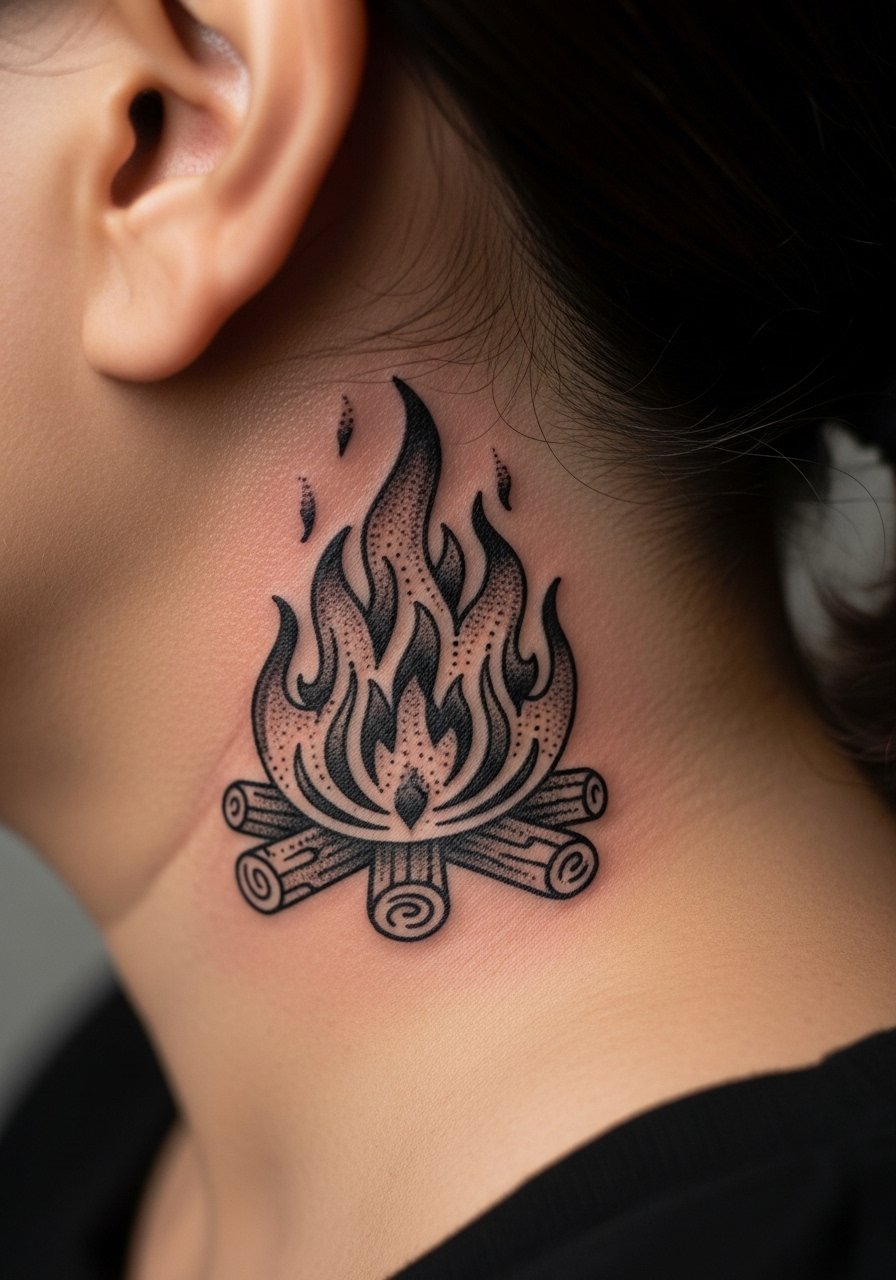
Behind-the-ear pieces read intimate and delicate. They require precise stippling and a clear agreement on scale because the area is small and the skin moves with neck motion. One camp avoids small delicate dotwork here because it can blur; the other says small, dense dots in short sessions hold if the artist paces carefully. Tell your artist to show the exact stencil placement below the hairline and to limit session time. Wear hair up for the appointment and plan for touch-up around year two if you want the dots to stay crisp.
9. Ornamental Sword Spine Line
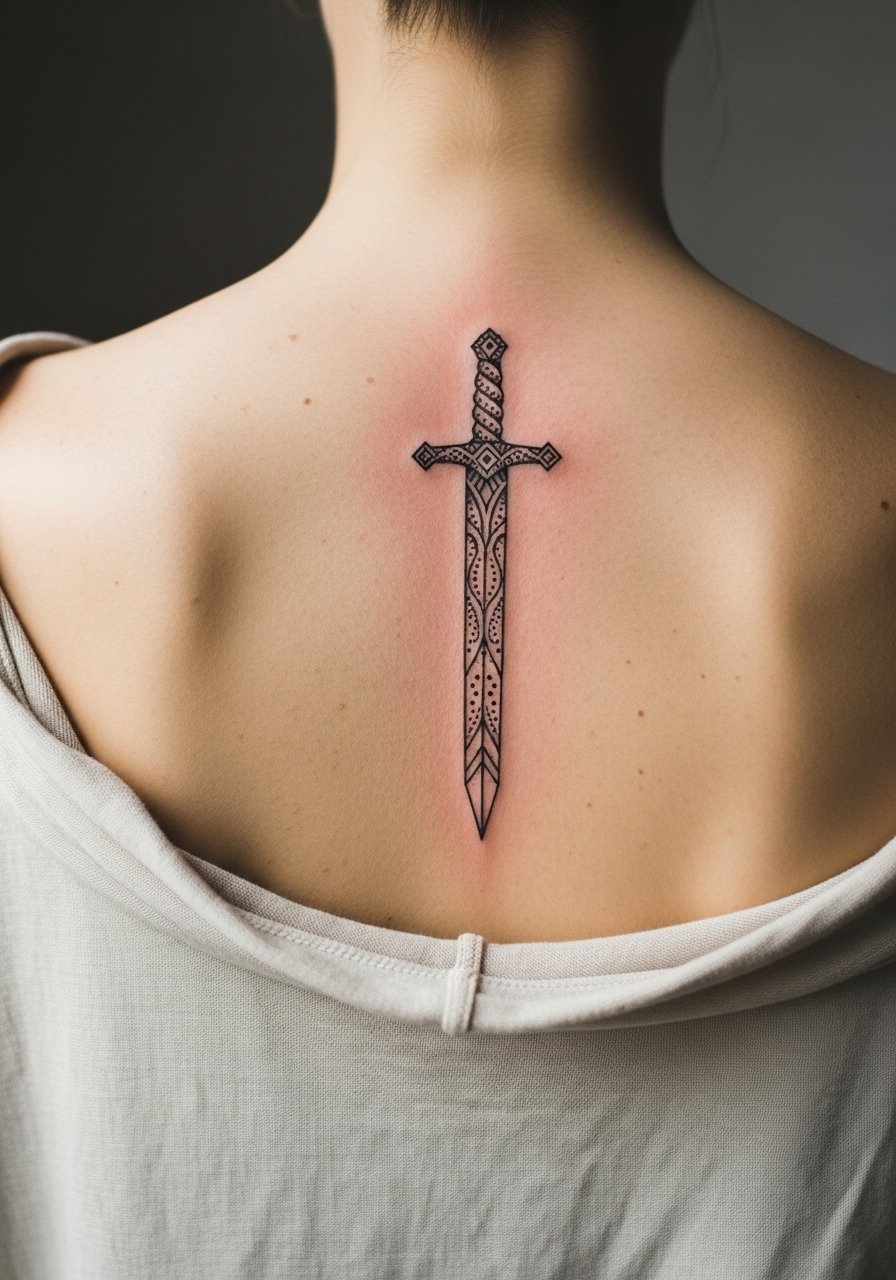
A vertical spine piece is dramatic and suits dotwork very well because you can vary stippling density along the length. Expect higher sensitivity along the spine bone and plan for multiple shorter sessions if the piece is long. Ask for bolder anchors at intervals so the design keeps structure as it ages. A typical mistake is making the dots too small for the stretched skin over the vertebrae. For outfits, open-back dresses and halter tops frame the work without rubbing the crown of the pattern.
10. Black Knight Helmet Micro Dotwork on Thigh

Inner thigh and upper thigh placements are forgiving for dotwork. The skin there holds detail and avoids daily abrasive contact. For this helmet motif, I suggest a bolder outline with interior stippling and minimal tiny lines. The session can be two hours with manageable pain. Common error is cramming tiny textures into the visor and losing them as healing softens contrast. For session clothing, wear high-waisted shorts you can slide down slightly without exposing more than necessary. When showing it off, cropped shorts or skirts work well.
11. Sunlight Medalion on Ankle
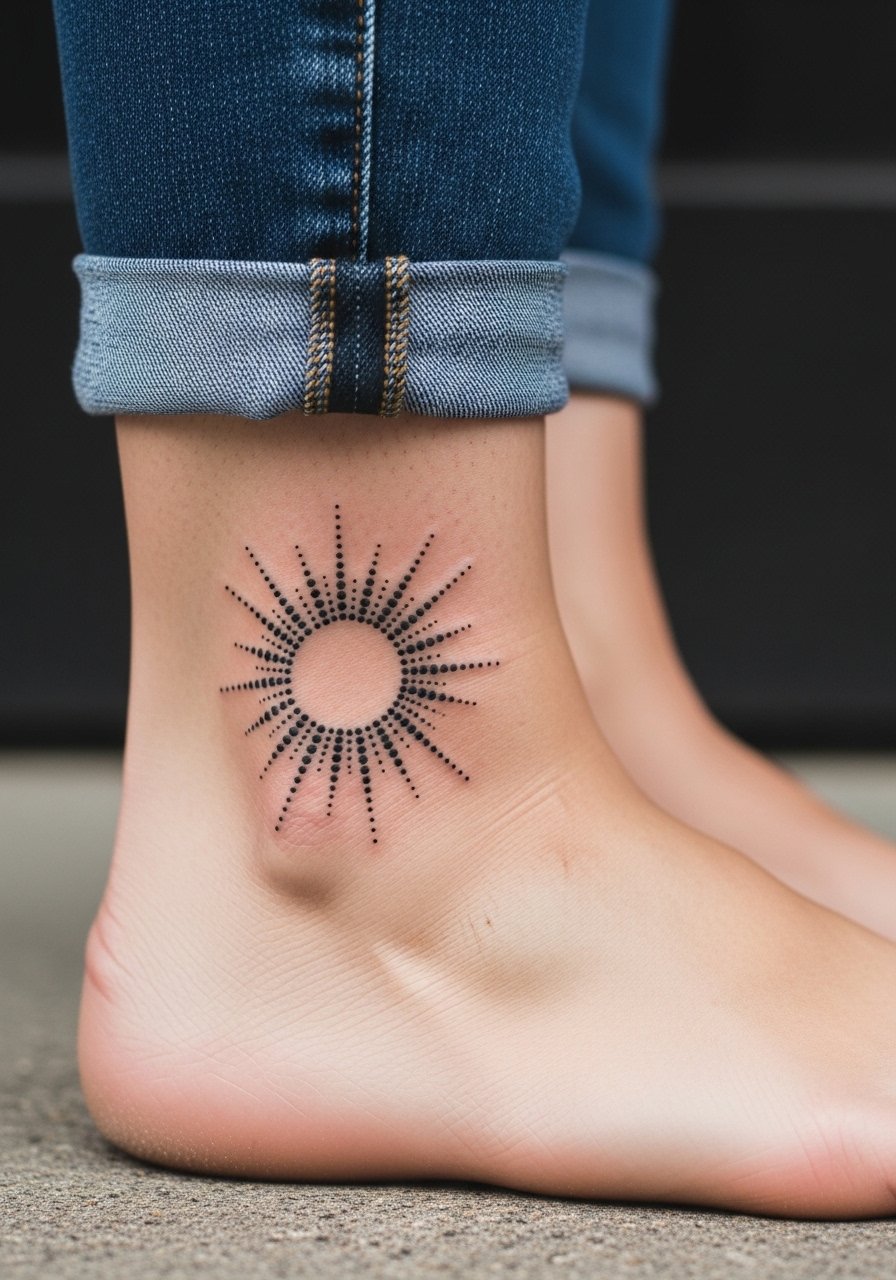
Ankle tattoos face friction from socks and shoes during the first week, so dotwork needs room to avoid early scuffing. Ask for slightly bolder outer dots and a light interior fade. Pain is moderate and sessions are short. The biggest mistake is placing tiny filament lines close to where shoes rub. Wear low-cut socks and loose shoes during the first two weeks. For daily style, a pair of sandals or low-profile sneakers keeps the area visible and avoids unnecessary abrasion.
12. Greatsword Silhouette on Outer Thigh
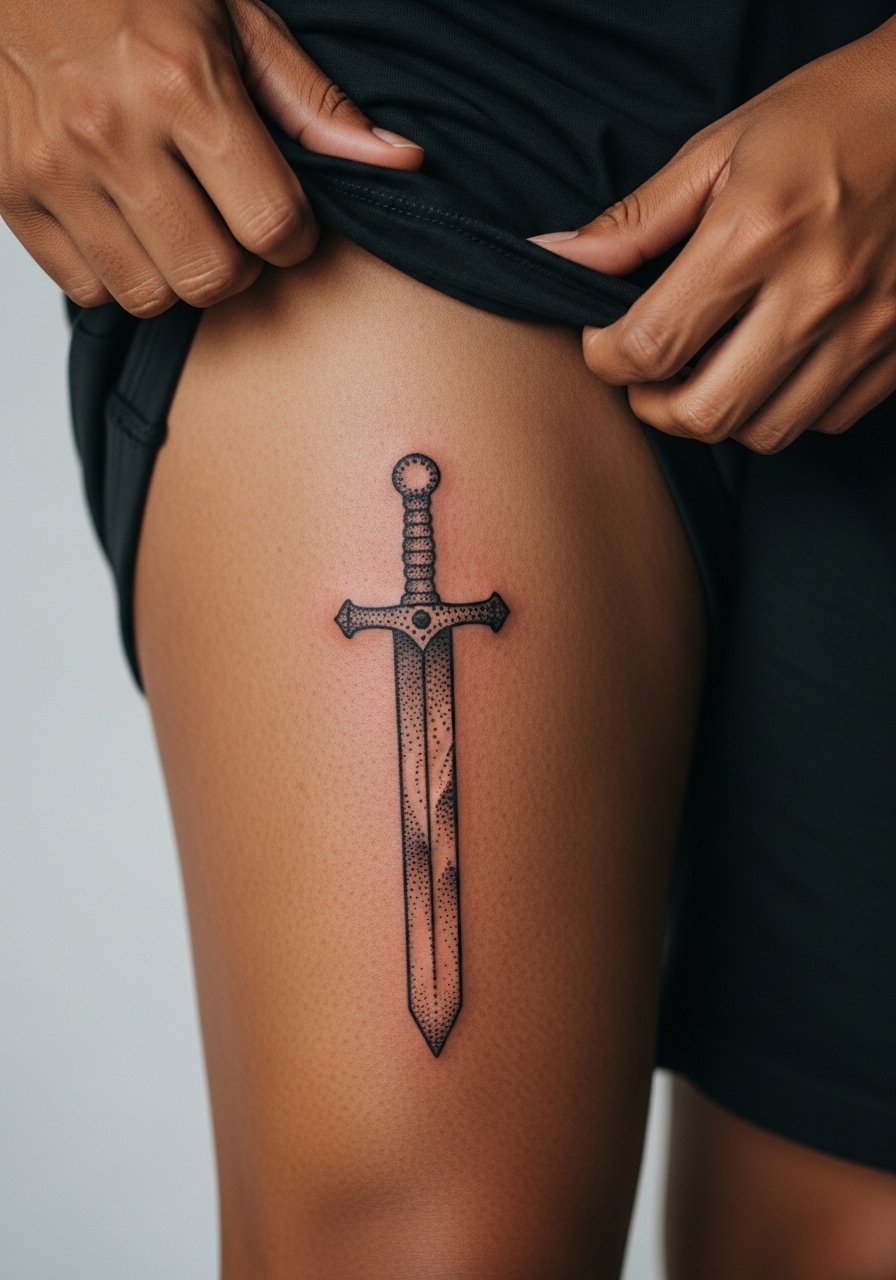
Outer thigh is comfortable for longer sessions and loves larger dotwork gradients. For a greatsword, I recommend negative space accents and stippled shadow to suggest weight without heavy fill. Sessions can run two to four hours depending on detail. A real mistake is asking for dense stippling too close to seams of clothing that will press during healing. For the appointment, a pair of loose drawstring shorts makes access easy and reduces pressure on the area after the session.
13. Black Orb Cluster on Back of Hand
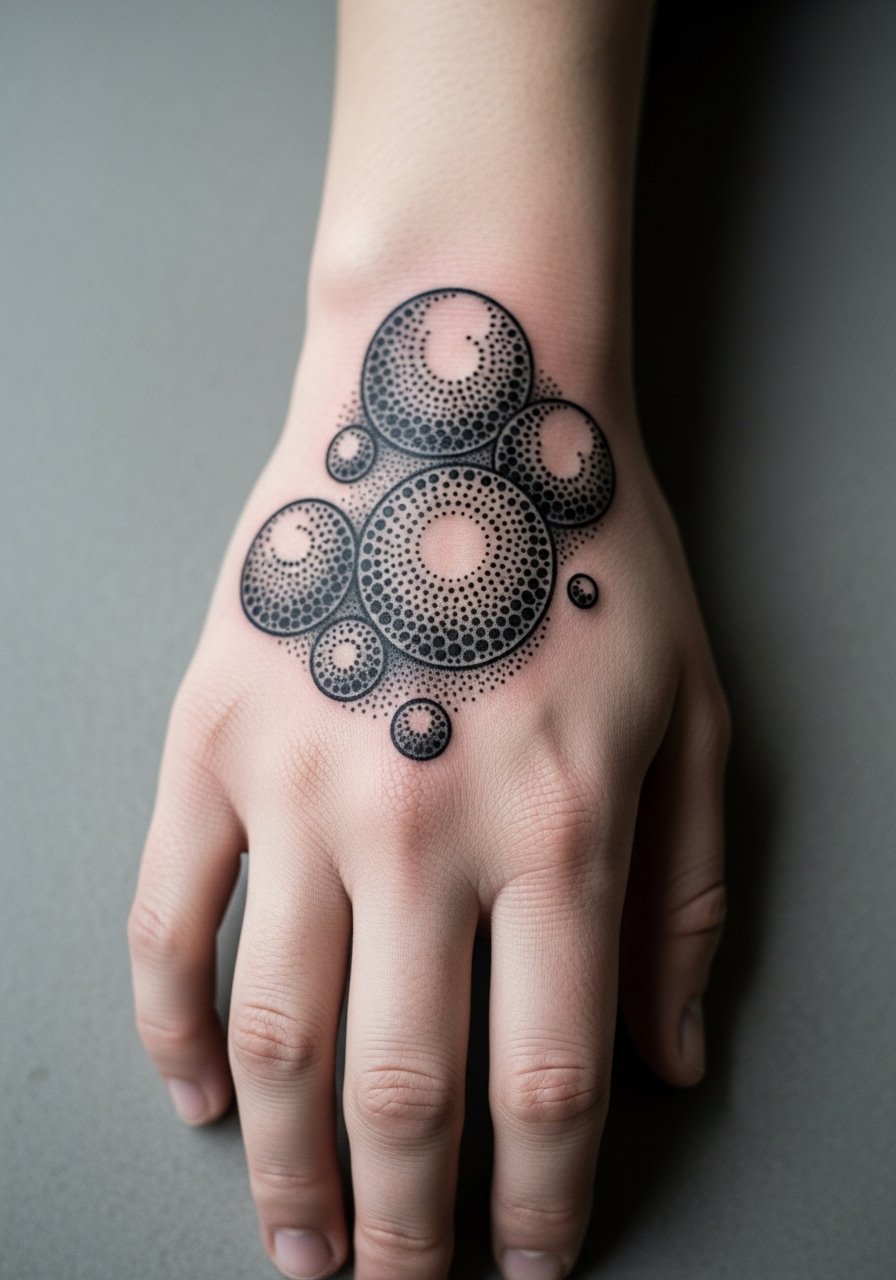
Hand work has a higher risk of color loss and early blur because of frequent washing and thin skin. One camp says dotwork on hands rarely holds past a couple of years without repeated touch-ups. The other camp does it anyway, saying bold anchors and sparse stippling extend longevity. If you choose this, ask the artist to avoid tiny interior dots and to place the darkest areas where the skin is thickest. Expect touch-ups around year one or two. Think about career impact since some workplaces remain conservative about visible hand tattoos.
14. Crossed Blades on Ribcage

Ribcage dotwork looks incredible when spaced well, but it is one of the more controversial placements. Some artists argue that ribs stretch and compress too often for fine stippling to stay crisp. Others believe properly spaced dots and slightly bolder anchors can combat the movement. Name both perspectives to the artist during consult and ask to see healed ribcage examples in their portfolio. Pain is high and sessions may need breaks. A common mistake is going too small with dots in the complex center area.
15. Crest Around the Elbow Fold

Elbow-adjacent work should avoid the crease itself to reduce blowout risk. I recommend placing the densest stipple slightly above or below the fold and asking for a design that reads as two mirrored halves. Expect a bumpy session because the skin is tricky, and plan for a touch-up at year one. The mistake is centering dots on the crease where the skin flexes every time you bend your arm. For outfits, short sleeves or rolled cuffs frame the piece without pulling at the healing area.
16. Undead Asylum Gate on Upper Chest
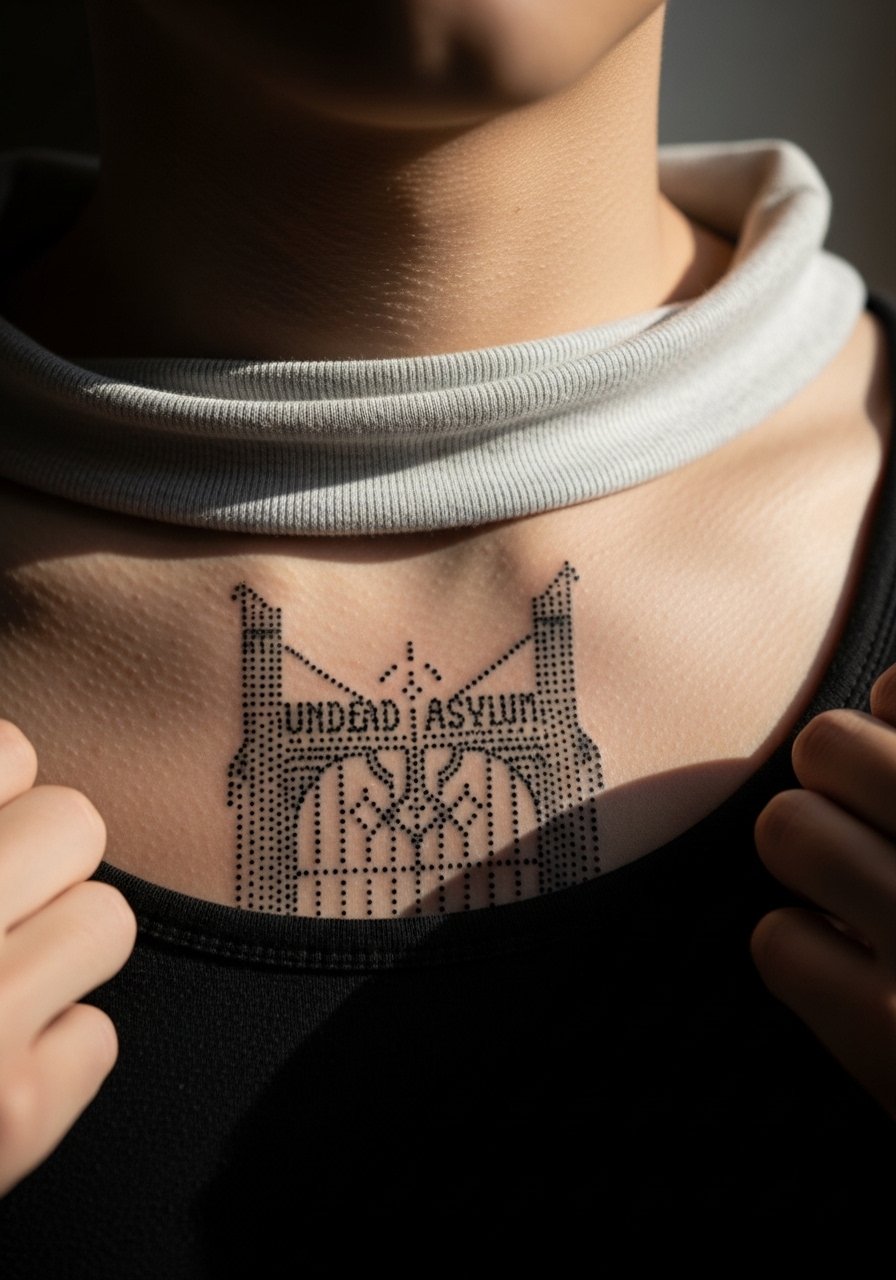
Upper chest dotwork benefits from breathing space and bolder anchor points along the collarbone. Because the chest moves with breath, ask for spacing that anticipates stretching. Sessions could be two hours or more. A good question to raise at consult is how the artist spaces dots over the sternum line when you inhale. The common mistake is packing dots too densely near the center where movement is greatest. Pair the piece with wide-neck shirts to keep the work visible without constant chafing.
17. Mimic Chest Symbol on Outer Rib
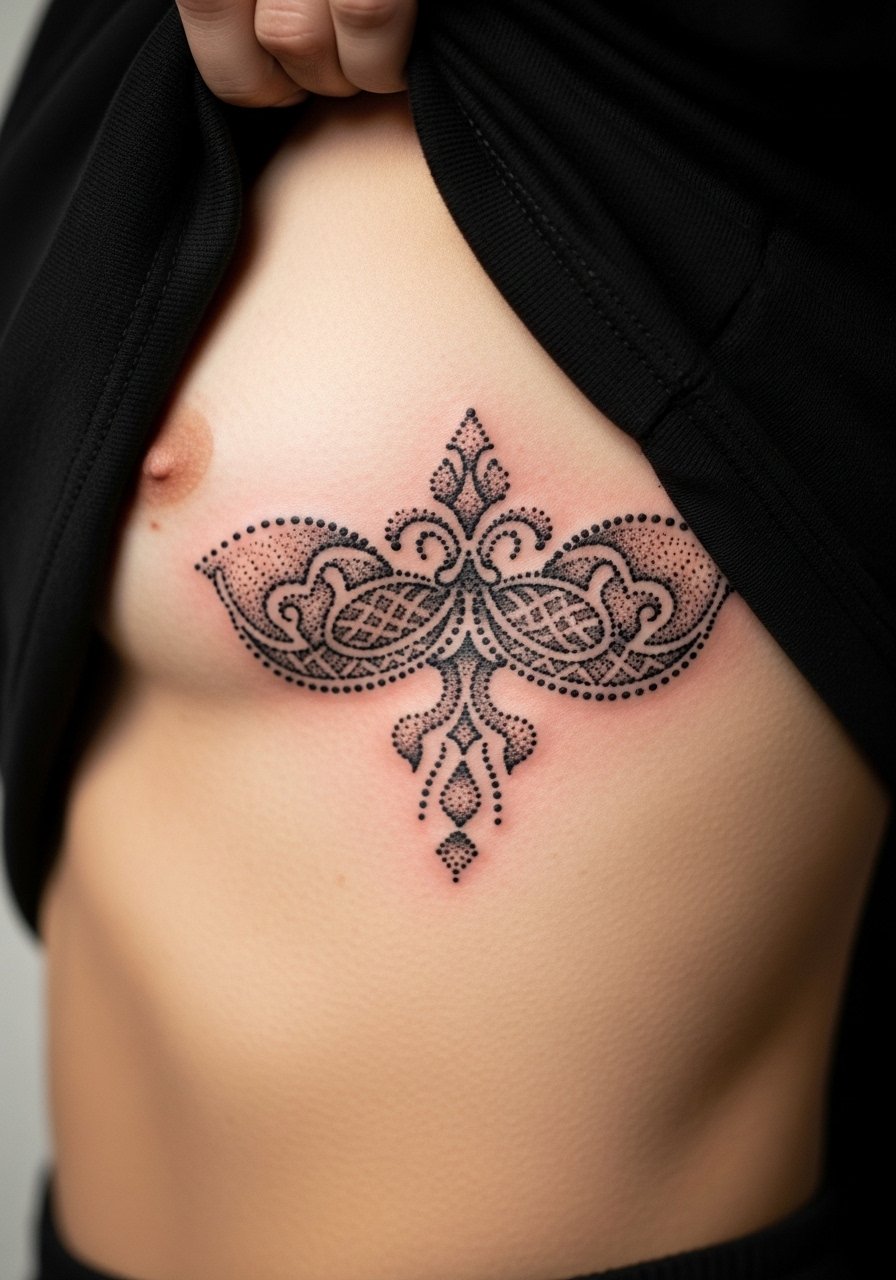
Side torso and ribs allow dramatic dot gradients but they require honest conversation about pain and aging. The controversy around fine line on ribs appears again here. One school says small dots will lose definition fast. The other school says slightly larger stipple and careful spacing preserve the image. When in doubt, choose a design with staggered dot spacing and ask for a staged session so the artist can evaluate how your skin responds. Wear a cropped top or zip hoodie for the session so access is clean and modest.
18. Bonfire Tattoo as Ring Around Finger
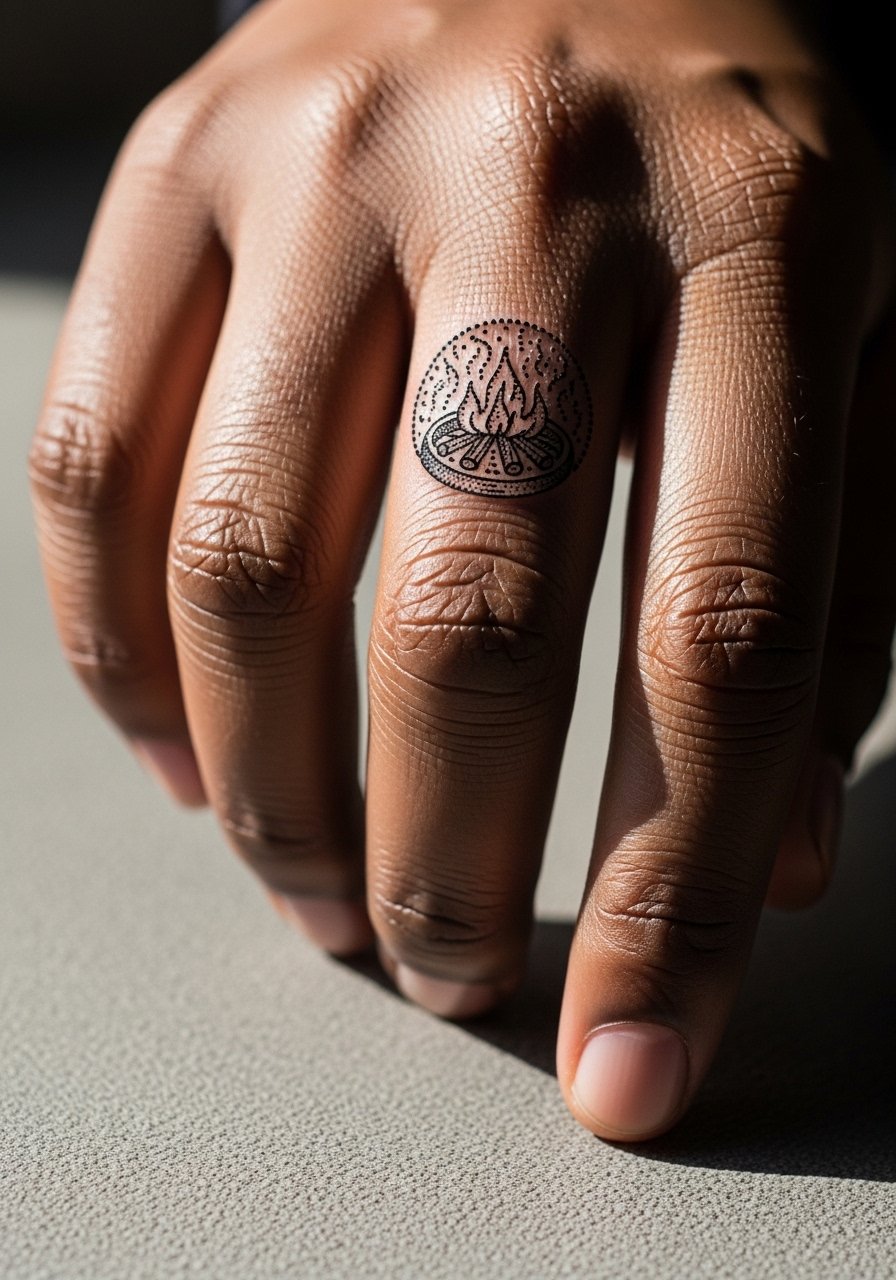
Finger tattoos are exposed to constant washing and rubbing which makes dotwork fragile. Expect faster fading and the likelihood of touch-ups within a couple of years. Ask your artist to keep negative space and avoid packed stippling across joints. The session is short but the aftercare window matters because everyday tasks stress this area. If you want it visible with accessories, pair with thin stackable rings that do not sit directly over the ink.
19. Covenant Emblem Across Shoulder Blade

Shoulder blade pieces handle larger dotwork spreads and age well because the area sees low daily abrasion. Ask for a composition that follows the muscle plane so the emblem curves with movement. Sessions can be longer and may be split into two. A mistake is trying to force a perfectly symmetrical emblem onto a naturally asymmetrical surface. For clothing, open-back tops and racerbacks emphasize the work without rubbing the area.
20. Darkmoon Blade Crescent on Neck Side
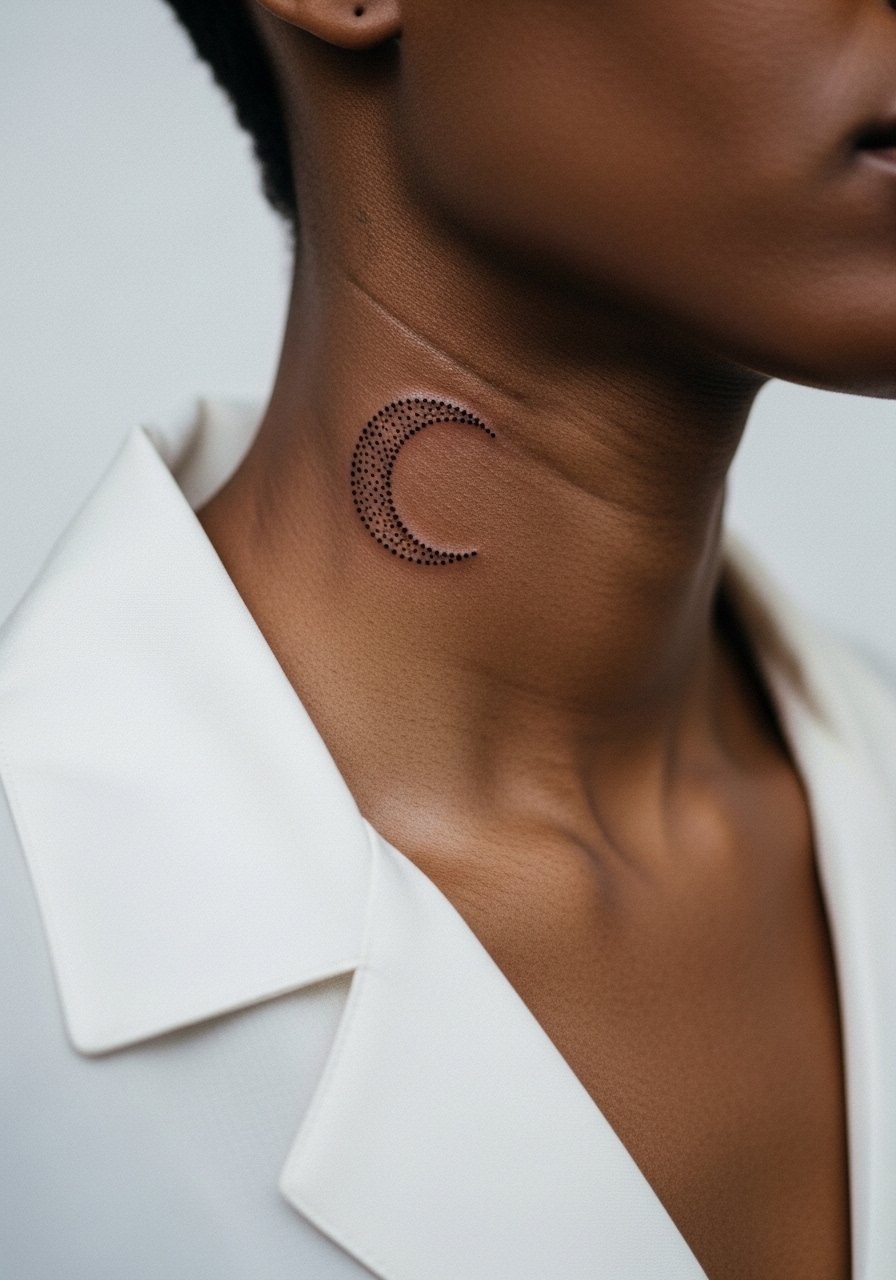
Neck placements are visible and sensitive, so dotwork should be slightly bolder than you'd use on the forearm to account for thinning skin. One group cautions that neck ink ages fast under sun exposure. Another group says protection and placement behind the ear or side neck helps longevity. Ask about touch-up timelines and insist on a stencil preview for scale. Wear a wide-neck top to the appointment so the artist can work without exposing more than the targeted area.
21. Firekeeper's Ash Pattern Across Lower Back

Lower back dotwork gives you room for flowing patterns and complex stipple gradients. The skin here tolerates denser dotwork and the piece can look cohesive even at larger sizes. Tell your artist where your jeans waistband normally sits so the design avoids constant rubbing. Sessions may be longer and you might want to split them into two sittings. A common mistake is placing crucial detail right where waistbands or belts will abrade during healing. Pair the look with high-waisted pieces that leave the lower back visible on occasion.
Frequently Asked Questions
Q: Will dotwork fade faster on ribs and sternum than on forearms?
A: It depends on the density and spacing. Ribs and sternum experience more stretch and motion so tiny, packed dots are more likely to blur. Larger stipple clusters with clear negative space tend to hold better on torso areas, and a staged session allows the artist to test how your skin handles the technique.
Q: How do I describe the dotwork effect I want during consultation?
A: Bring scale references not just style images. Ask for "spaced stipple," "anchor dots," or "gradient stippling" and request a scaled stencil placed on your body so you can see how the dots distribute across curves. Mention any clothing or belts that will sit over the area so the artist can avoid friction zones.
Q: Can I get dotwork on my hands or fingers if I want low maintenance?
A: Be honest that hands and fingers need more frequent touch-ups. If low maintenance is a priority, pick a placement with less daily abrasion. If you go for hand work, ask for bolder anchors and simplified shapes rather than delicate interior stippling.
Q: What should I wear to a sternum or ribcage appointment for comfort and access?
A: Wear a fitted sports bra or a cropped top you can lift slightly without exposing more than the targeted zone. That makes access easier and keeps the session modest. A loose zip hoodie is also helpful for getting to chest areas while staying covered.
Q: Do dotwork designs require different aftercare than linework pieces?
A: Aftercare routines are similar but dotwork benefits from keeping the area clean and hydrated without over-rubbing. Protect the area from friction in the first two weeks. If you need to cover up during the day for work, choose loose fabrics rather than tight seams.
Q: Where do I find artists who specialize in dotwork Dark Souls inspired pieces without naming anyone directly?
A: Use discovery paths like convention guest lists, regional shop directories, and hashtag deep dives on social platforms. Specialty forums and subgroups dedicated to fantasy tattooing are also great for seeing healed examples. Always ask to see healed photos in portfolios so you know how the artist's dotwork holds up over time.
