
Fine line tattoos are everywhere on saved boards and feeds right now, and the tradeoff is a familiar one. The delicate script and single-needle motifs that look weightless fresh can need touch-ups sooner than bold blackwork, especially on wrists and fingers. Read on for 21 elegant Taylor Swift inspired ideas that balance era nods with longevity, plus what to ask your artist and what to wear to the session.
1. Fine Line "Mirrorball" Lyric on the Wrist
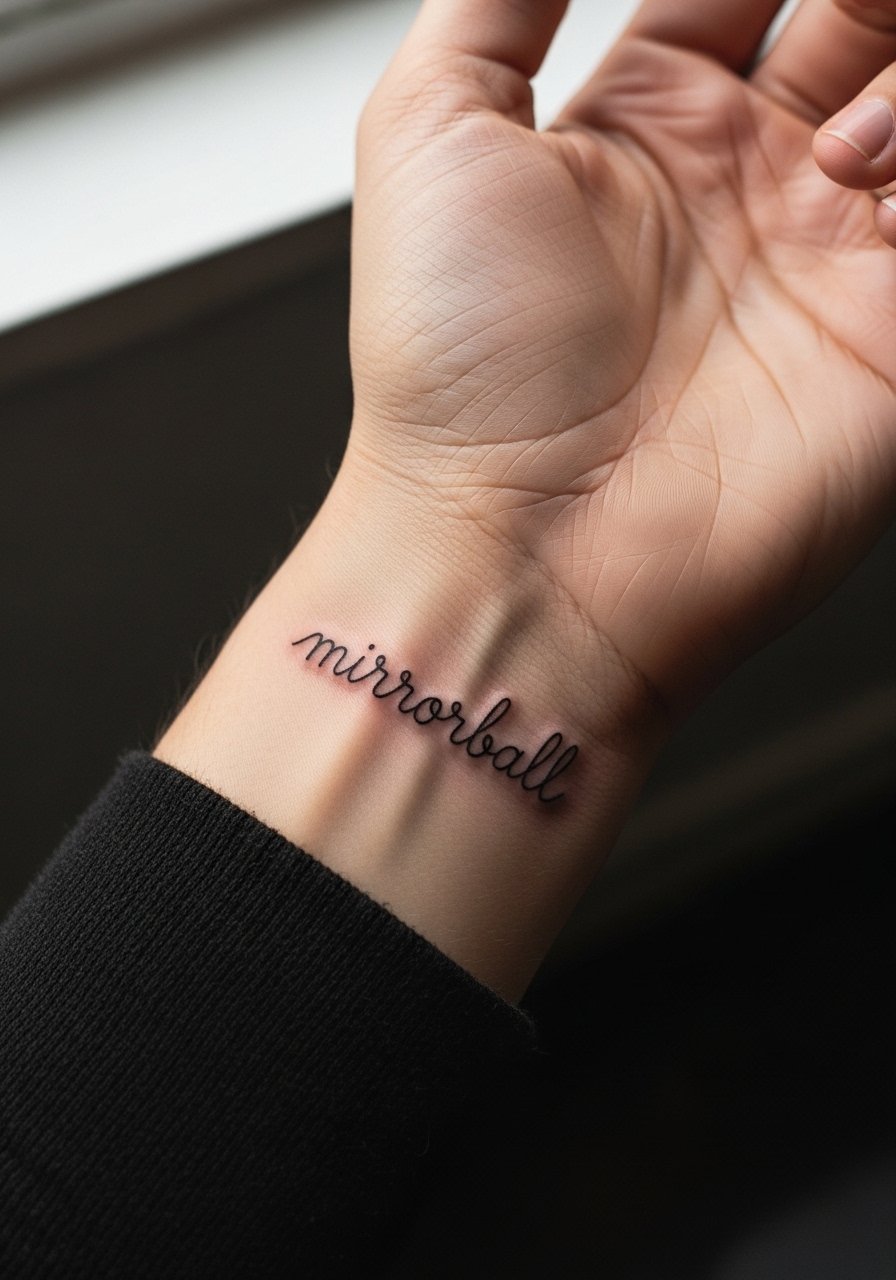
I've seen this wrist script show up at pop-up guest spots and on TikTok feeds, and the main question is longevity. Fine line here reads whisper-thin at first, then many people need a touch-up between year one and year three. When you consult, ask the artist to thicken the downstrokes slightly and plan a touch-up at six to twelve months. Fair warning, the wrist faces constant sun and washing, so expect some fading. For the session wear a sleeveless tank top so the artist has clear access. Pain on the inner wrist is mild to moderate, and the session is usually under an hour.
2. Micro-Realism Guitar Outline on the Collarbone
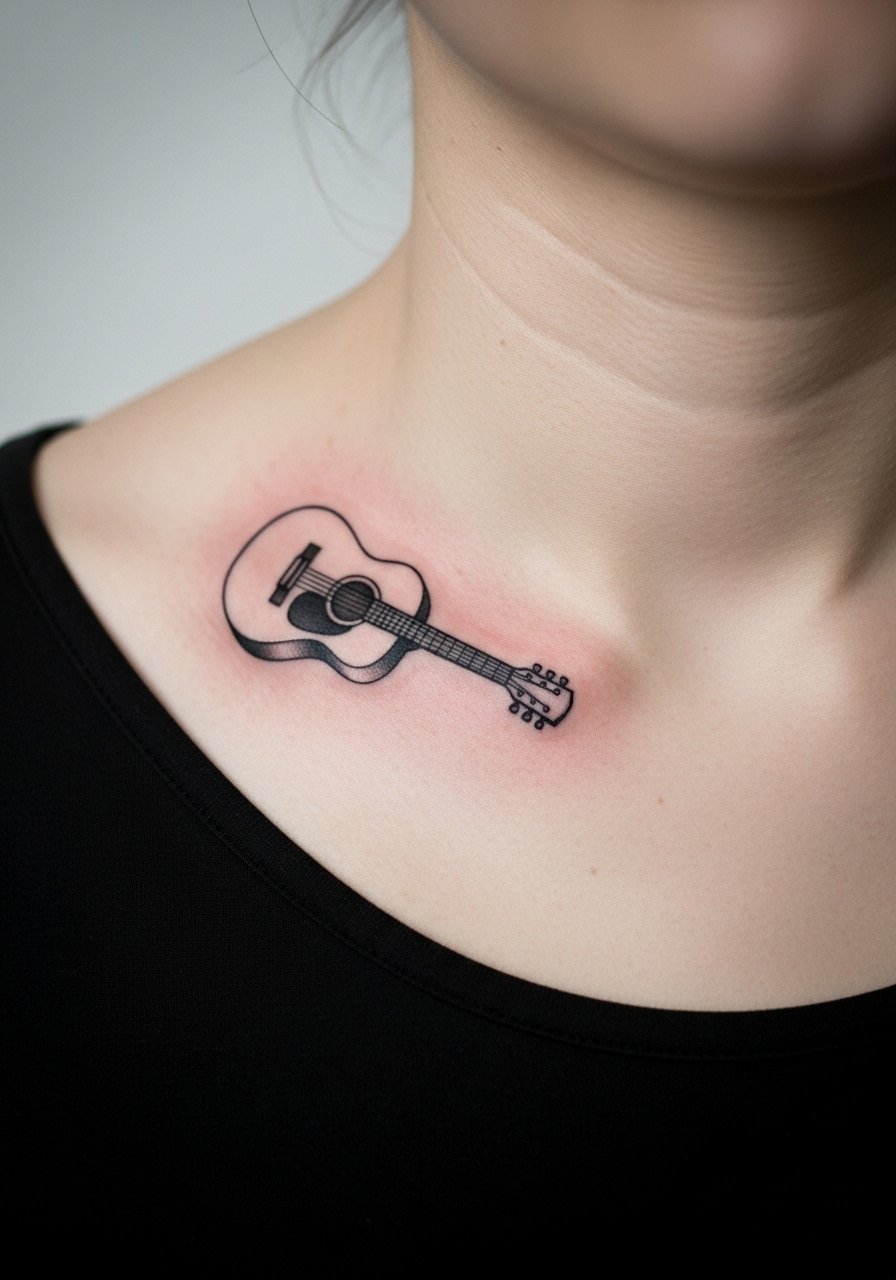
When you want a musician's nod that stays subtle, micro-realism on the collarbone is a smart pick. The collarbone lets the tiny shading sit flat and visible with low distortion from body changes. In consultation bring photos showing the exact silhouette and request crisp negative space around the strings to avoid blending over time. The session feels like a careful, focused hour with delicate shading. For showing it off, pair the piece with an off-shoulder blouse and a thin chain pendant. Touch-ups are rare if the artist maintains consistent saturation and spacing.
3. Watercolor "22" Party Hat on the Ankle
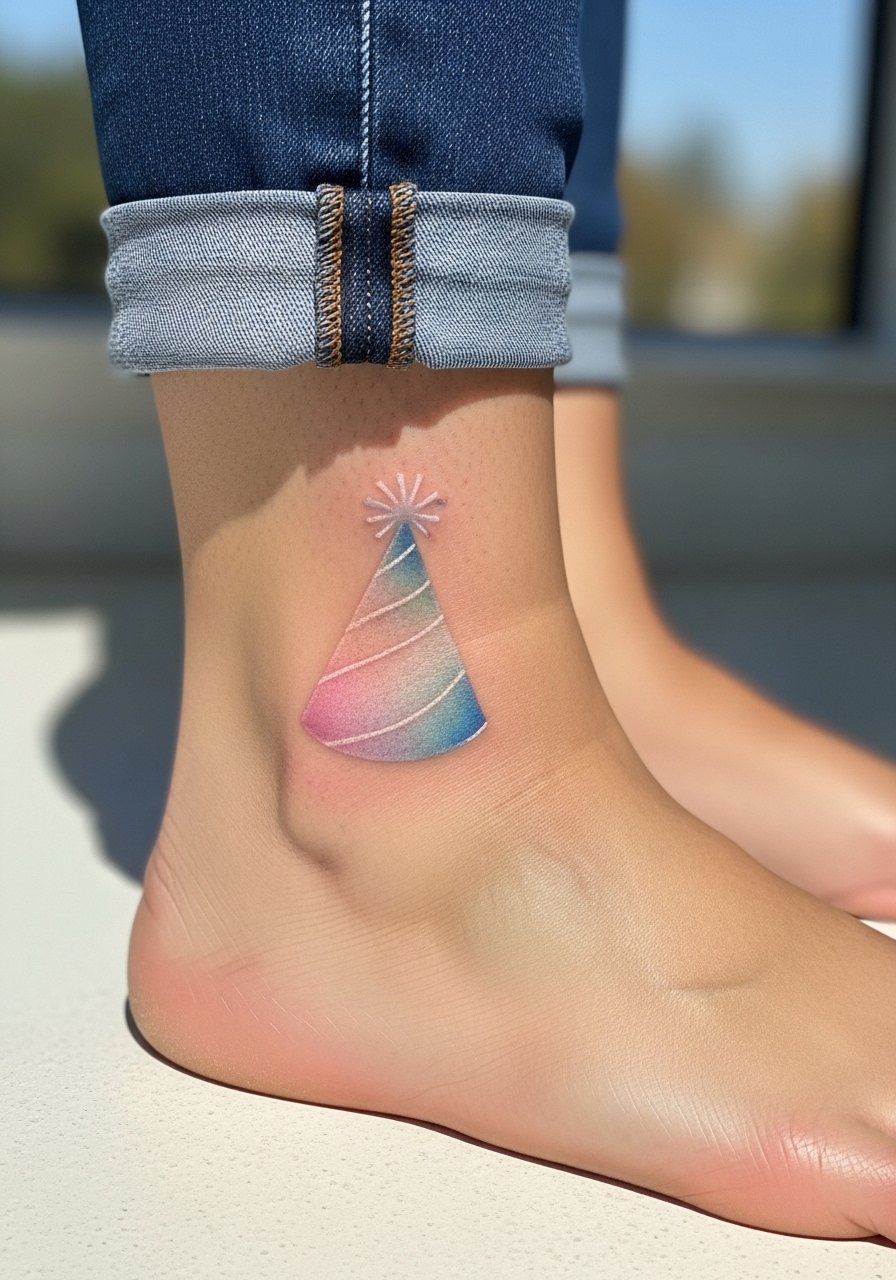
Watercolor and summer do not always mix, but an ankle piece can be charming if you plan placement and aftercare. The main mistake is placing large watercolor fills where rubbing from socks or sandals will drag pigment during healing. Ask for softer outlines around the color and for the artist to keep the work compact and high on the ankle to reduce friction. There is active debate about wrapping versus dry healing for ankle pieces. One camp favors protective film for the first 48 hours, the other prefers dry methods to avoid trapped moisture. For session day, wear strappy heeled sandals or wide-leg cropped pants so the artist can access the area without pressure. Expect a single session under ninety minutes for a small watercolor hat.
4. Minimalist Heart Outline on a Finger
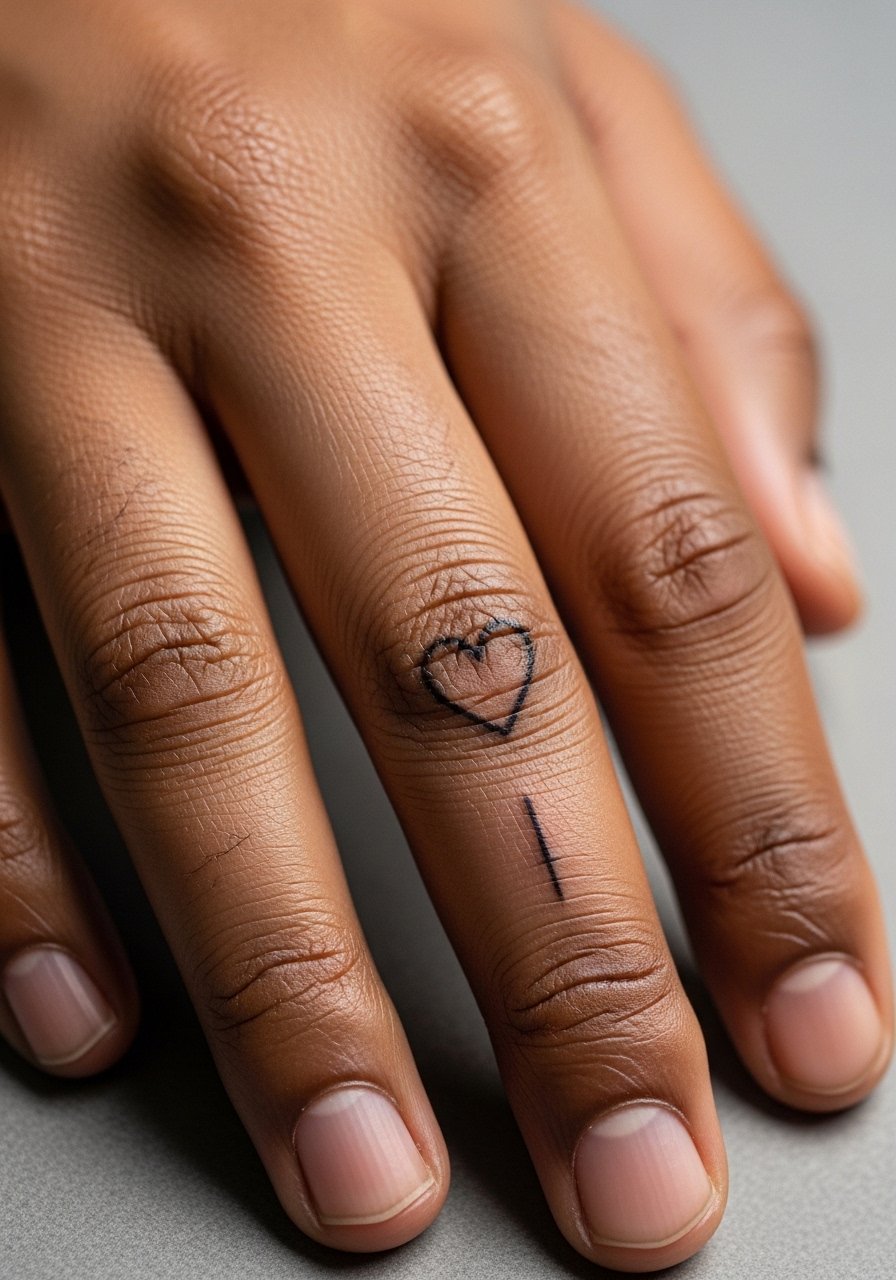
Finger tattoos are a fast way to signal a fandom nod that stays subtle, but they face unique wear. The finger is a high-friction zone and small single-needle hearts can lose clarity within a year. Tell your artist you want a slightly bolder outline than a single hairline, and plan for a touch-up at six months. Expect sharper sensation during the session because of the thin tissue. A common mistake is asking for an extremely tiny mark that reads well in a photo but vanishes in daily life. Keep expectations realistic and treat this as a small, bold statement that may need maintenance.
5. Neo-Traditional Eras Tour Stage Silhouette on the Outer Forearm
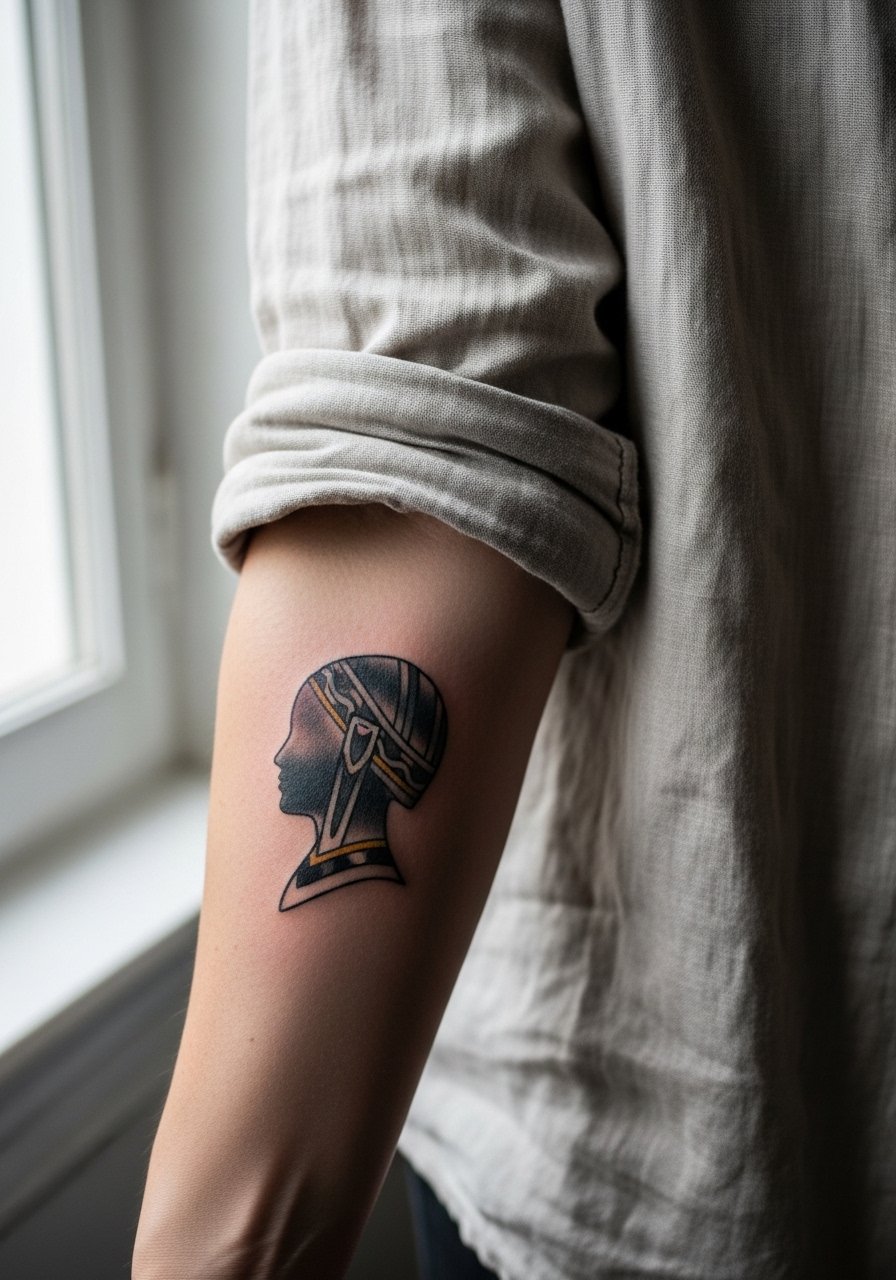
Bold silhouettes age well and read from a distance, which is why neo-traditional stage icons are trending as a practical concert memory. The outer forearm offers a stable canvas that resists stretching and shows off detail. When you sit down with an artist bring references that show implied lighting and ask for stronger outlines to protect against softening. Expect a two-session approach for size and color accents, and a touch-up window at year two if you want the accents refreshed. Pair this with a linen button down shirt rolled to the elbow for casual show-off moments. Artists vary on line weight preferences, so ask where they stand before booking.
6. Fine Line Folklore Cabin Scene on the Ribcage

Fair warning, the ribcage is one of the more painful spots, typically a seven out of ten on common pain scales. The payoff is a private, cinematic piece that reads beautifully under clothing. The common error is asking for extreme micro detail at too small a scale. Instead request slightly increased spacing between branches and the cabin outline so the lines do not merge as the skin moves. Plan for a single session if small, but expect longer session times for clean hatch shading. For a ribcage placement, a cropped top on session day makes access simple. Because fine line on ribs splits artists into two camps, name both views in your consultation and ask which they prefer for long-term clarity.
Studio Day Picks
The wrist, ankle, and ribcage pieces above all ask for different prep, so a few targeted items smooth the session and the first week.
-
Australian tea tree cream. Lightweight and often used by people with darker skin for reduced pore clogging during the first week of healing on small scripts and chain motifs.
-
Cetraben balm. A less greasy option for ankle and thigh work when winter dryness keeps color from looking dull during healing.
-
Hada Labo lotion. Subtle hydration without shine for fine line pieces on collarbones and wrists that need gentle moisture after scabbing.
-
Small-batch pine tar salve. Breathable and favored by some for blackwork saturation on upper arms that require deep pigment retention.
-
Second Skin protective film. Useful for the first 24 to 48 hours on high-friction areas like fingers and ankles when you want a waterproof barrier.
7. Blackwork "Cardigan" Sweater Motif on the Upper Arm
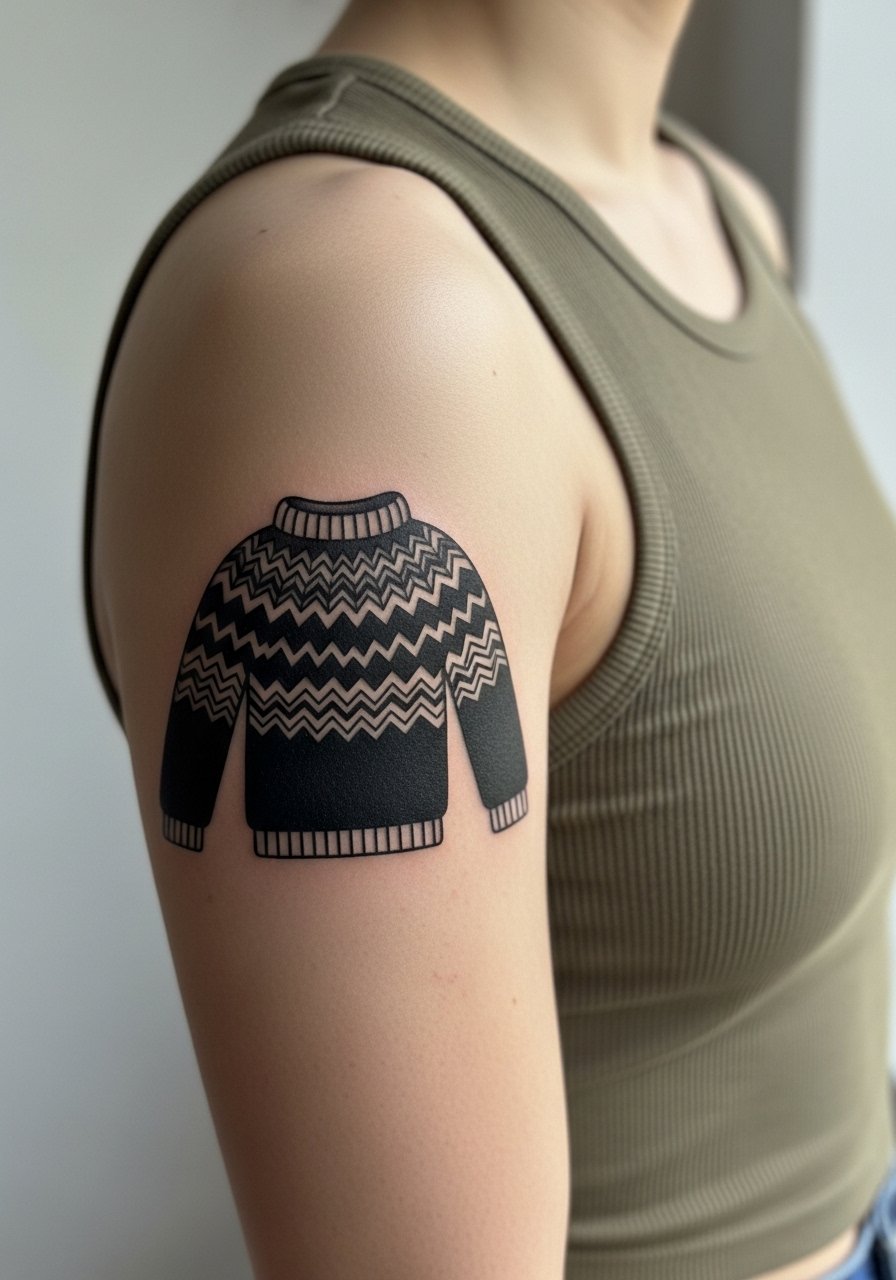
This graphic blackwork version of a sweater motif leans into heavy saturation so the lines age into a clean silhouette. Upper arm tissue is forgiving, so the piece resists distortion even with body changes. Ask for solid fills and crisp negative space between pattern repeats to avoid future muddying. The session is usually one to two hours depending on fill area. For showing it off, pair with a sleeveless tank and a thin shoulder chain. Blackwork reduces the need for frequent touch-ups compared with fine line alternatives.
8. Ornamental "Lavender Haze" Floral Border on the Thigh
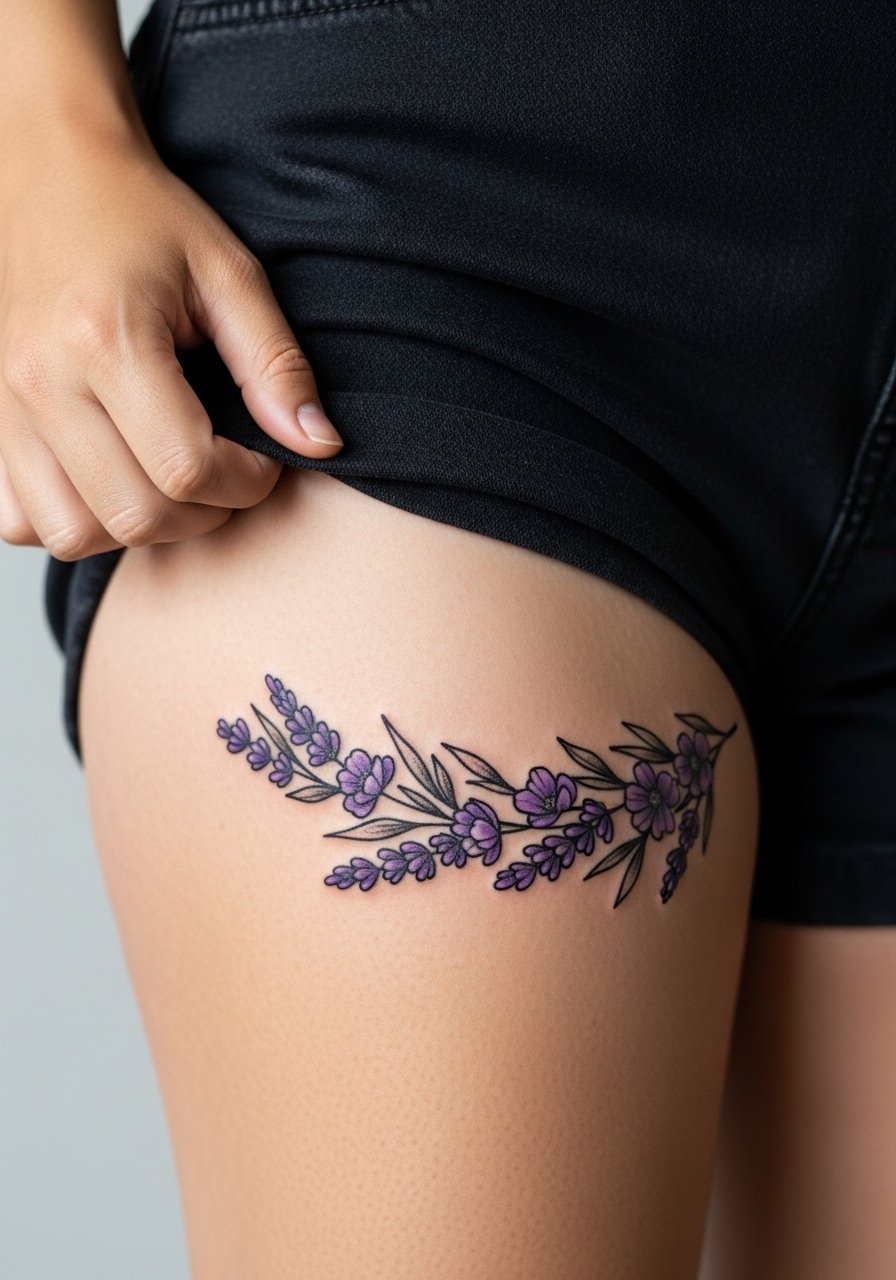
Thigh placements heal with less daily abrasion than ankles, making them ideal for ornamental borders that complement existing work. The trick is to space petals and leaves so the purple washes do not pool during healing. For the session wear loose shorts or a skirt so the artist can easily access the area. When showing the piece off, high-waisted shorts or a slit maxi skirt give flattering glimpses of purple accents. Expect a two-session plan for color layering and a touch-up six to twelve months out for vibrancy.
9. Ignorant Style "Anti-Hero" Mirror Face on the Calf
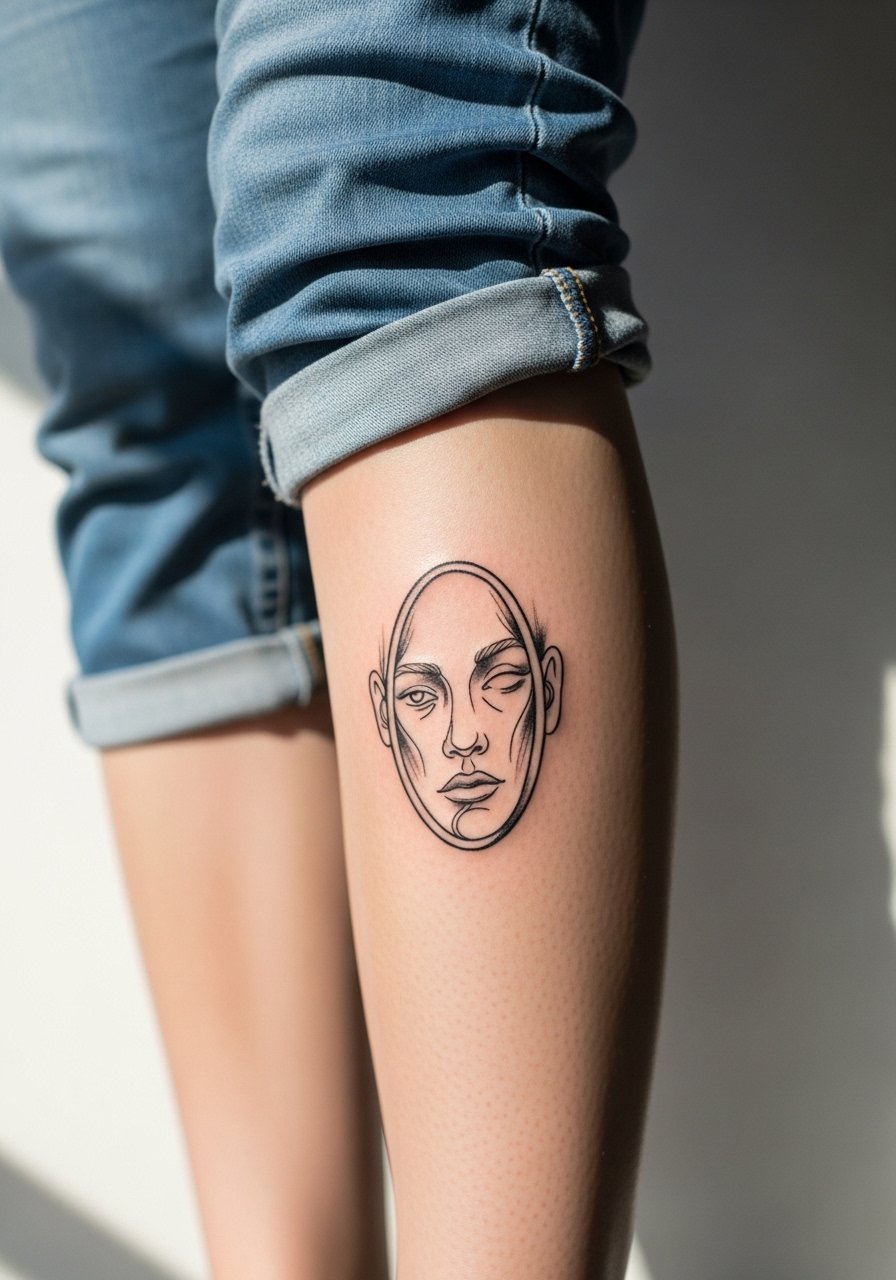
The calf is one of the friendlier lower body spots for expressive styles, and ignorant style thrives there because bold single-line expressions keep integrity over time. The main mistake is over-detailing small facial features at tiny scale. Tell your artist you want confident, fluid strokes and embrace the imperfect aesthetic. Session discomfort is low to moderate and healing is straightforward. For everyday wear roll jeans or choose a midi skirt so the motif can peek out. Many people report this style holds well at four months and beyond when the linework is intentionally bold.
10. Fine Line "August" Wave Pattern on the Inner Bicep

Inner bicep placements hide easily and are gentle on longevity because they avoid constant sun. That same privacy makes them perfect for August-inspired wave patterns that read personal. The inner bicep can be sensitive during the session but usually tolerable for short bursts. A common mistake is compressing the waves too tightly. Ask for slightly wider spacing and steady line weight so the curves do not blur into one another over time. For the session wear a loose tank so the arm can move without fabric rubbing. Touch-ups are uncommon if the lines are spaced well.
11. Minimalist Reputation Snake Coil on the Side of the Neck
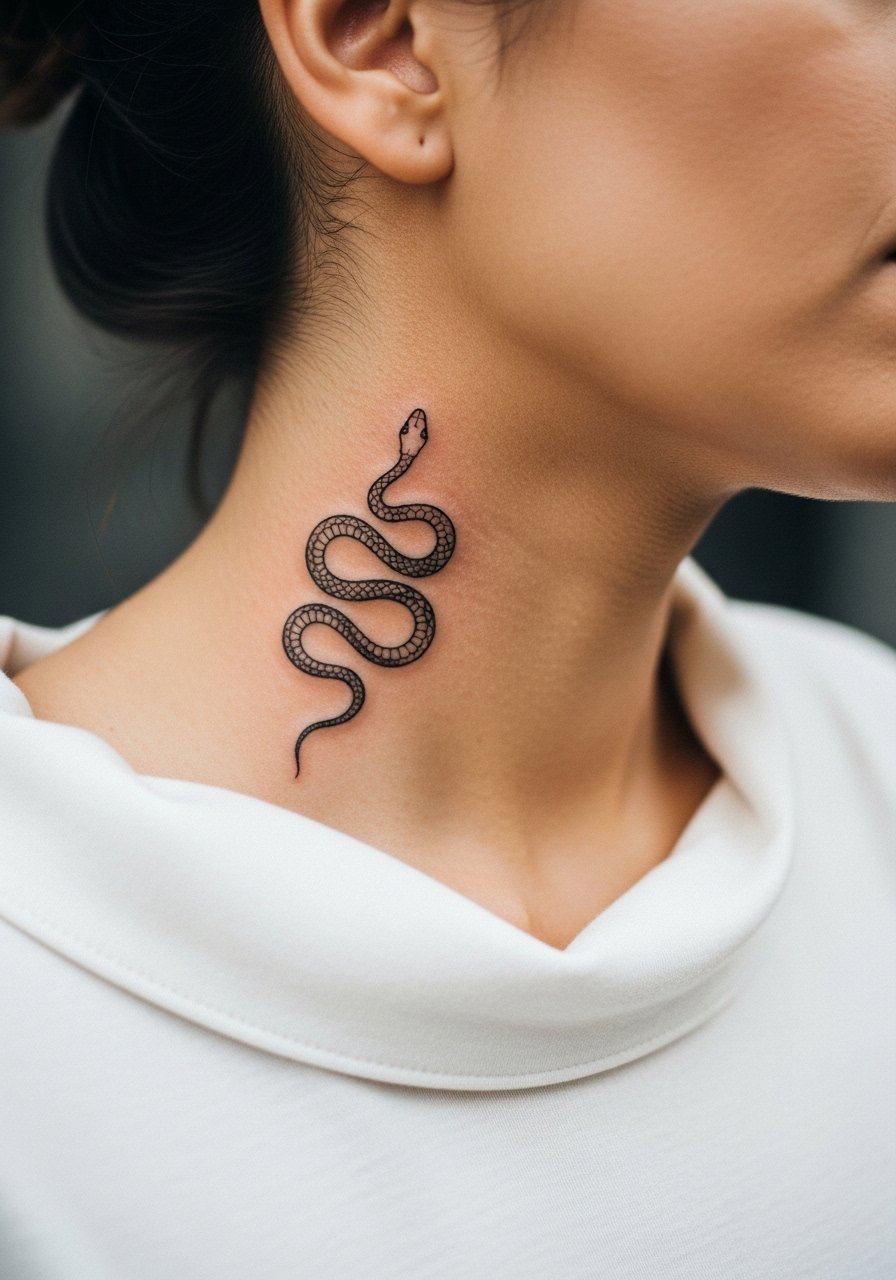
Neck tattoos are visible and require a different level of commitment because of visibility at work and in photos. A one-inch snake coil can be elegant if you insist on clean, bold contour and a strong outline rather than whisper-thin single-needle loops. Expect pronounced sensation during the session and ask about touch-up plans since neck skin can soften lines with time. For showing the piece off, a high neck crop or an open choker alternative will frame the coil without competing patterns. Discuss workplace considerations honestly before booking.
12. Watercolor Speak Now Purple Bow on the Shoulder Blade
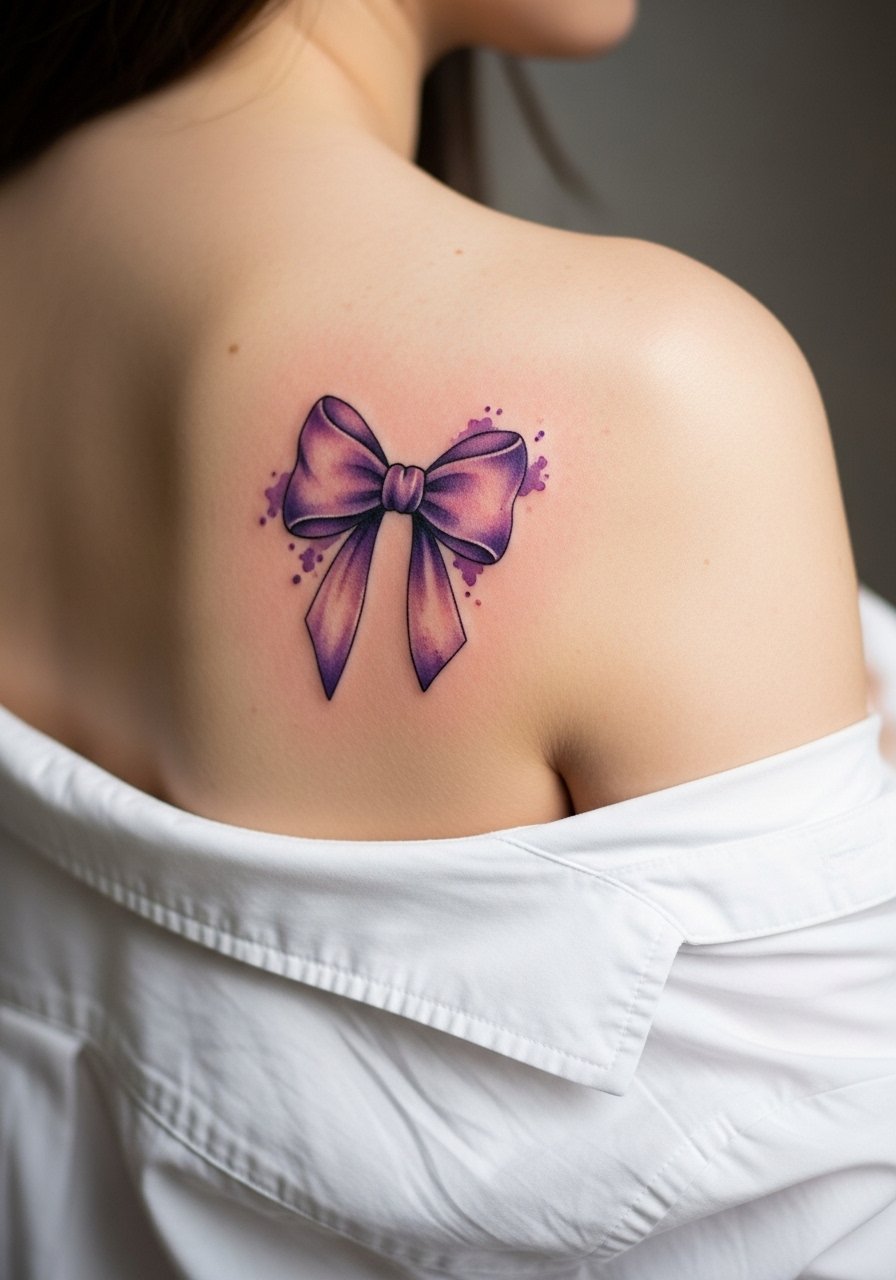
Shoulder blade watercolor looks dreamy, and shoulder tissue is forgiving for color. The most common regret is placing watercolor where sun exposure will wash it away. Ask your artist to include a subtle black outline or minimal high-contrast edge to protect color definition without losing the watercolor feel. For session wear a loose button-down shirt you can slide off one shoulder for access. Healing is typically quick for small shoulder pieces, but protect the area from direct sun for months to preserve the pastel tones.
13. Constellation Map Paired with a Mirrorball Script on the Forearm
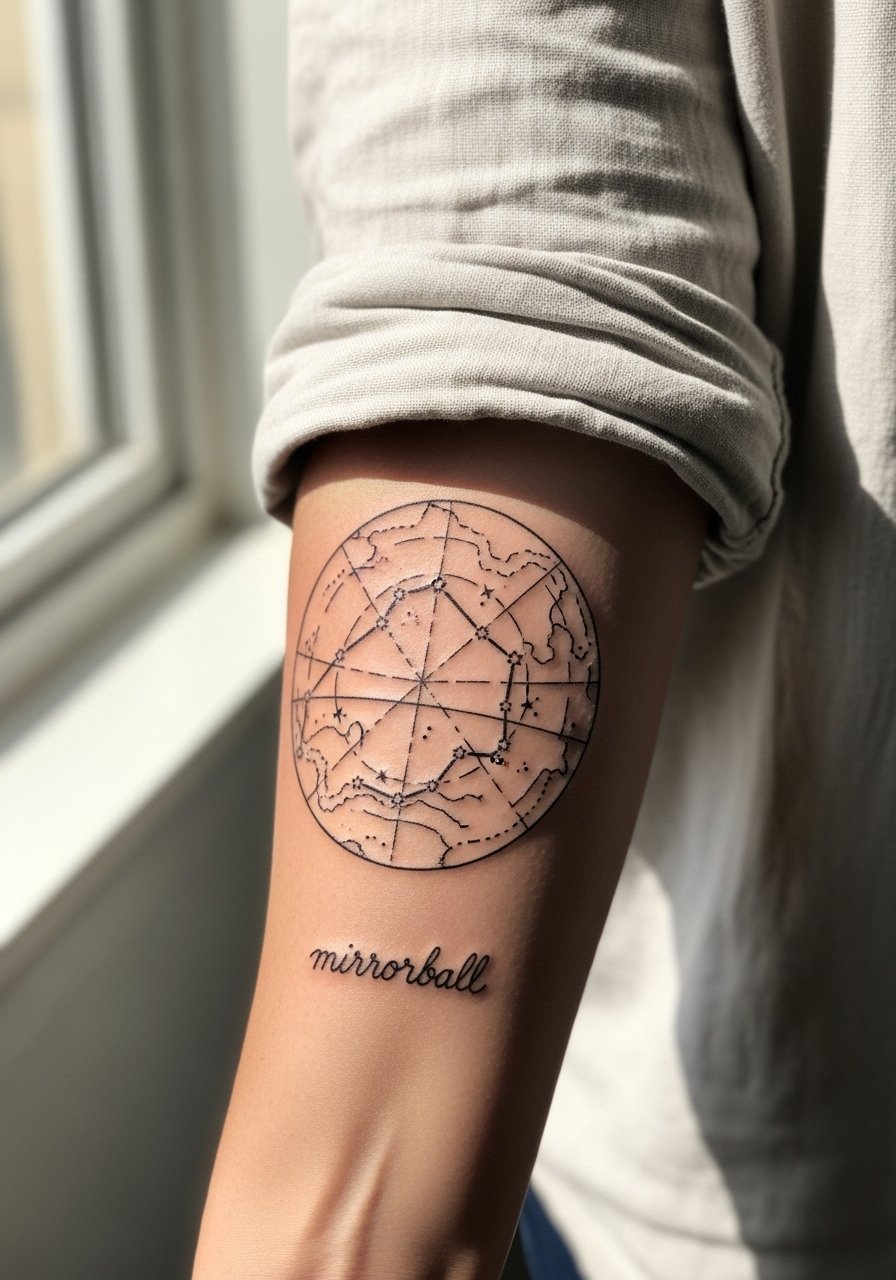
Pairing a lyric with a constellation nod creates a subtle, era-aware composition that reads both personal and elegant. The forearm is forgiving, so the map lines can remain crisp when spaced properly. In consultation show star placement references and specify font weight for the script so the two elements read at the same scale. One common mistake is making the script too tiny beside a detailed map; ask for balanced proportions. For showing this pairing off roll a linen button-down to the elbow and layer a minimalist cuff. Expect a single session under two hours with a possible touch-up if the dots need redefinition.
14. Single-Needle Micro Script from The Tortured Poets Department on the Inner Wrist

The Tortured Poets Department aesthetic is trending in feeds, and tiny inner wrist scripts are a popular way to capture that vibe. Many fans report initial satisfaction and then a need for touch-up at year one. Artists split on whether a single-needle micro script should be placed on wrists because of fading. One group accepts the maintenance for the look. The other recommends slightly heavier downstrokes to lengthen life. On session day wear a thin chain pendant above the script so necklaces do not rub the fresh ink. The session is brief and usually under an hour.
15. Minimalist Fortnight Clock Motif on the Inner Forearm
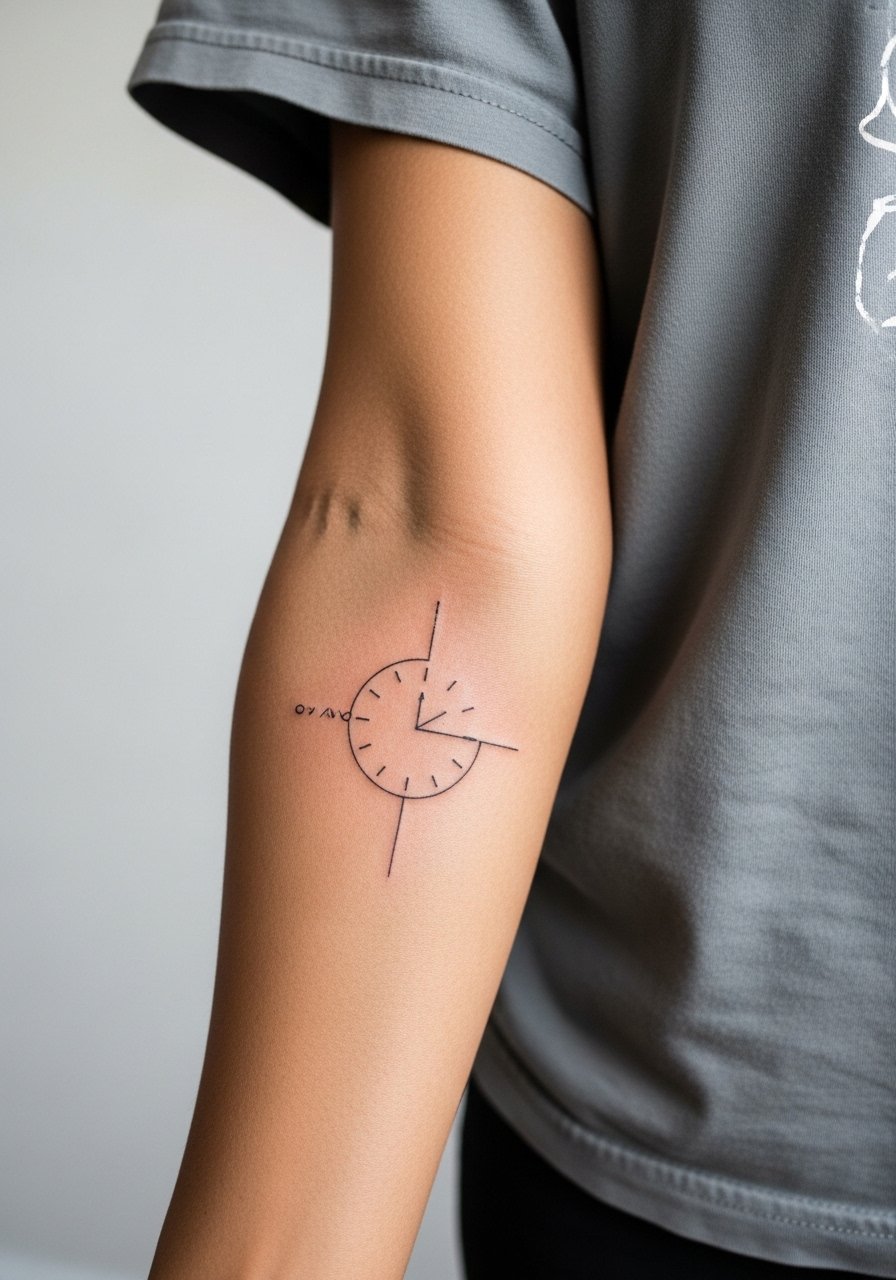
Clock motifs nodding to album themes are compact and meaningful without being literal. The inner forearm allows the clock face to sit flat and readable, which helps the thin elements keep separation as time passes. The usual mistake is building too many tiny tick marks that blur. When you consult ask the artist to simplify the face to main hour marks and a clean hand. Wear a loose short sleeve tee for the appointment so the arm lies flat. Expect one session and possible touch-up if linework softens.
16. High-Contrast Folklore Motif Adapted for Darker Skin Tones on the Upper Arm
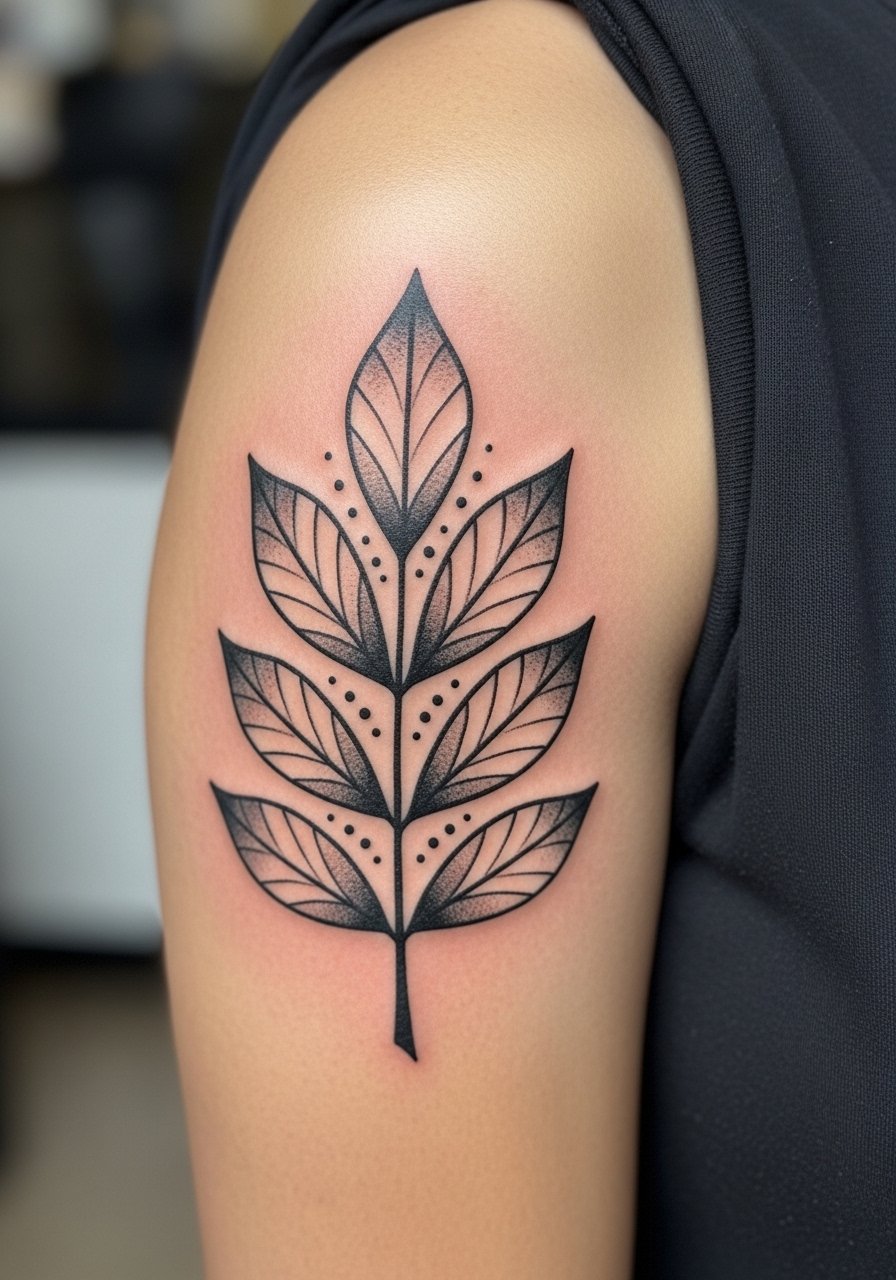
Dark and medium skin tones often benefit from higher contrast in fine designs. The fix is not to pick a different motif but to ask for bolder outlines or selective blackwork fills so the design reads in photos. A common regret is choosing whisper-thin single-needle scripts that disappear outdoors. During consultation show photos of similar tones and ask for test patches or a mock stencil. For showing this piece off wear a sleeveless fitted tank in a solid shade. Upper arm tissue protects against distortion and makes touch-ups less frequent.
17. Hidden Inner Thigh "Delicate" Phase Motif
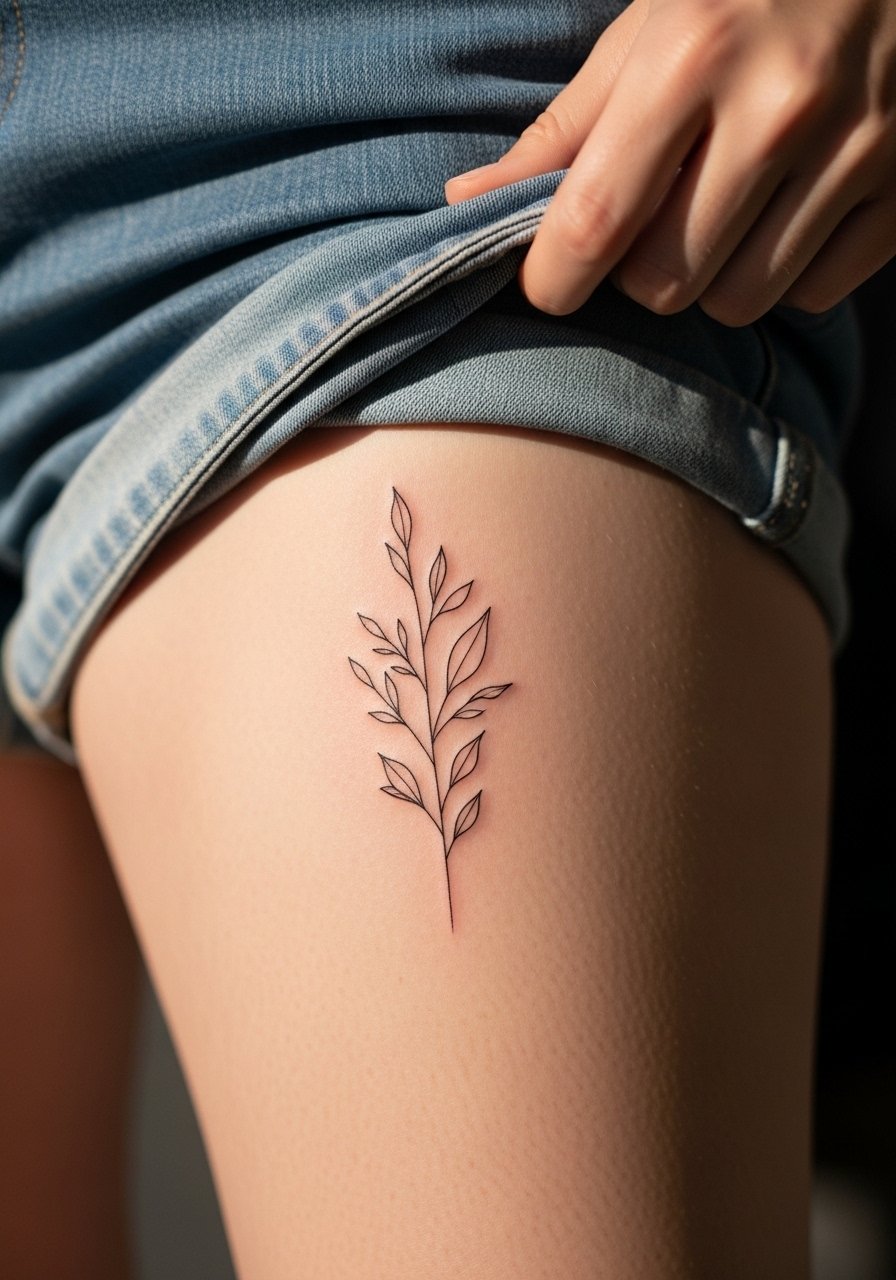
Inner thigh placements are underrated for private motifs because they heal with low friction and stay shielded from sun. This location is excellent for a "Delicate" era piece that you want to keep personal. The biggest mistake is picking too fine a scale without considering movement during sitting. Ask for slightly thicker anchor lines and more open negative space to keep the pattern readable. For the session wear loose shorts you can shift for access. Expect one session and a relaxed healing period since rubbing is minimal.
18. Neo-Traditional Stage Badge on the Shoulder
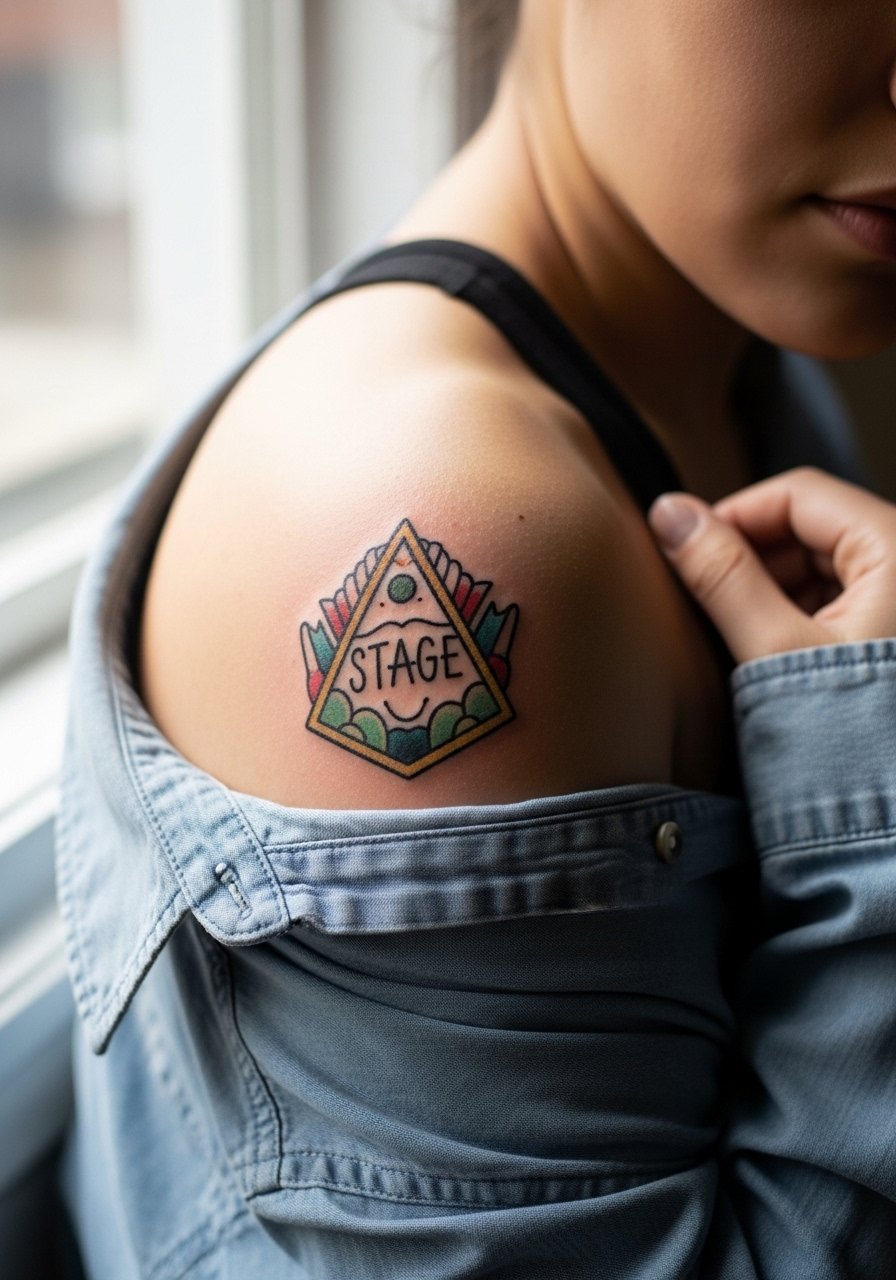
A small neo-traditional badge packs the Eras Tour energy into an easy-to-show spot that resists stretch. The shoulder gives good visibility when wearing sleeveless pieces and hides well under jackets. The common mistake is squeezing too many elements into a palm-sized badge. Ask the artist to prioritize one clear icon and a supporting flourish so negative space protects the composition. For the session use a loose button-down shirt you can pull aside for access. Expect one session with a possible color refresh later.
19. "August" Wave Ankle Band in Fine Line

A continuous wave band around the ankle reads like a discreet seasonal nod while keeping a clean silhouette. Placement close to footwear increases the risk of rubbing during healing. Ask for a slightly higher placement on the ankle bone to reduce irritation from straps and for enough line spacing so the band does not blur. For show-off outfits choose wide leg cropped pants or sandals. Sessions are brief and usually done in a single short sitting.
20. Thin Lyric Line from The Tortured Poets Department along the Collarbone
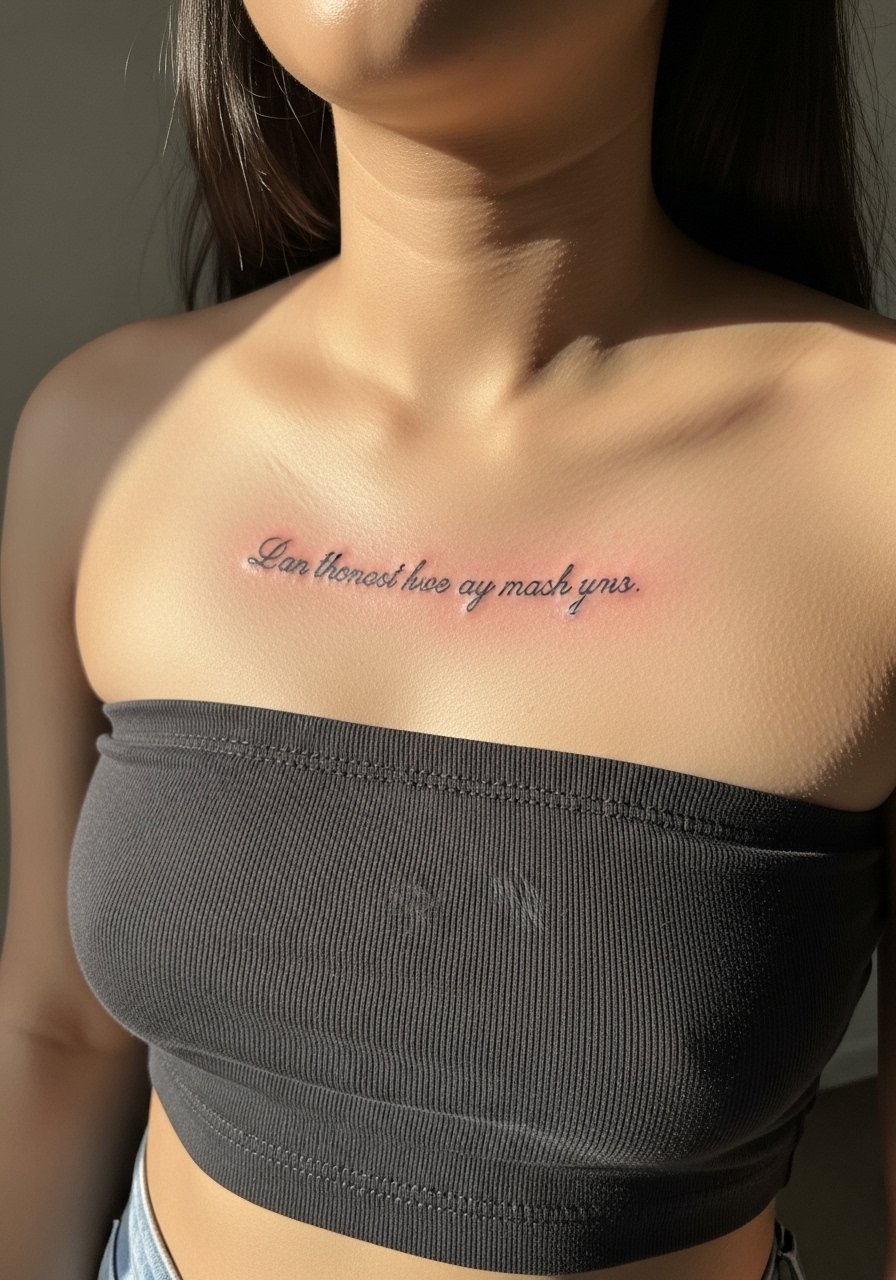
Collarbone scripts sit elegantly at neckline level and photograph well when the font weight is balanced. The main error is choosing hairline scripts that read broken once photographed. Ask for slightly reinforced downstrokes and for the artist to stencil the exact curvature along your clavicle before inking. For the appointment wear a strapless top or a button-front shirt you can open. Sessions are typically short and the piece usually needs one minor touch-up to settle the script perfectly.
21. Temporary Tattoo Sequence to Test Multi-Era Placement and Scale

Trying temporary transfers is one of the smartest moves before committing to an era-heavy collection. Lay out several eras in different sizes and positions and live with them for a week. This reveals how jewelry, clothing, and everyday movement affect visibility and comfort. A common oversight is testing only in photos instead of during full days of commuting, showering, and working. Use temporary tests to decide whether a wrist script should be a forearm piece instead, or whether watercolor needs to go on the thigh. The process takes only a few minutes to apply and gives clarity that saves money and regret later.
Frequently Asked Questions
Q: Will a fine line "Mirrorball" wrist script need touch-ups more often than a bold blackwork piece?
A: Yes, fine line on the wrist tends to fade faster because of sun exposure and washing. Expect a potential touch-up window around six to twelve months for single-needle scripts. If you want less maintenance ask for slightly heavier downstrokes or plan the piece for an inner forearm where it sees less abrasion.
Q: How should I pick between watercolor and blackwork for a Speak Now bow on my shoulder blade?
A: Think about visibility and sun exposure. Watercolor reads soft and playful but needs careful placement away from direct sun to keep saturation. Blackwork or a mixed approach with a thin outline protects definition over time. If you love pastels ask the artist about minimal outlines to protect edges during healing.
Q: Is there a recommended way to test placements for multiple era designs before committing?
A: Try a sequence of temporary tattoos applied in the positions you are considering and wear them for at least a week. Live with the pieces during normal activities to see how clothing and movement affect visibility. That trial often reveals placement swaps people wish they had made sooner.
Q: For darker skin tones, what adjustments should I ask for so a Folklore motif does not disappear in photos?
A: Ask for stronger outlines or selective black fills to increase contrast while keeping delicate interior work. Show the artist reference photos on similar skin tones and ask for a mock stencil. Many artists will adapt line weight and spacing to preserve the design in natural light.
Q: Should I worry about Saniderm or dry healing for an ankle watercolor hat, given summer sweat and sandals?
A: Both camps make valid points. Some people use protective film early to reduce friction, while others prefer dry healing to avoid trapped moisture. If you sweat a lot in summer discuss options with your artist and plan protective measures for the first few days.
