
Fine line cover-ups look delicate fresh, but they test patience over time. I see clients who want minimal art yet worry about fading, blowout, and the need for early touch-ups. Those concerns matter more than the reference photo. Start by matching placement to skin type and the size the artist can actually keep crisp, and the first idea below shows a simple, reliable route.
1. Fine Line Arrow on the Inner Forearm
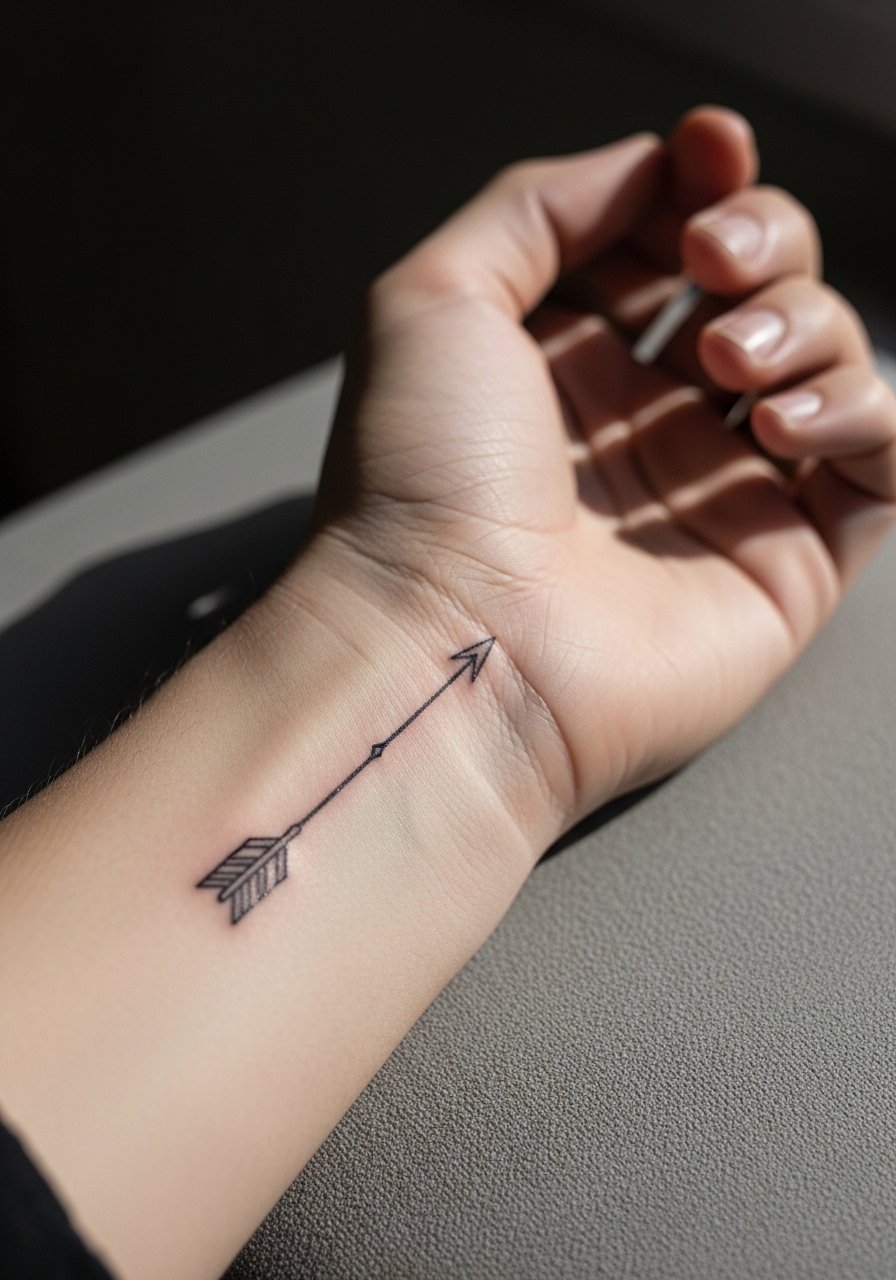
I recommend a slightly thicker single-needle shaft when covering a faint old fine line on the inner forearm. Tell your artist you want the arrowhead and tail to have micro spacing so the new linework does not sit exactly over the old track. The forearm bruises less than ribs, so pain is low and sessions usually run 30 to 60 minutes. A common mistake is asking for the arrow to be too tiny. Too-small fine detail here tends to blur by year three, which forces a touch-up. For showing it off, roll up sleeves and wear a linen short-sleeve button shirt that frames the forearm without crowding the art.
2. Micro-Realism Bee Near the Ankle
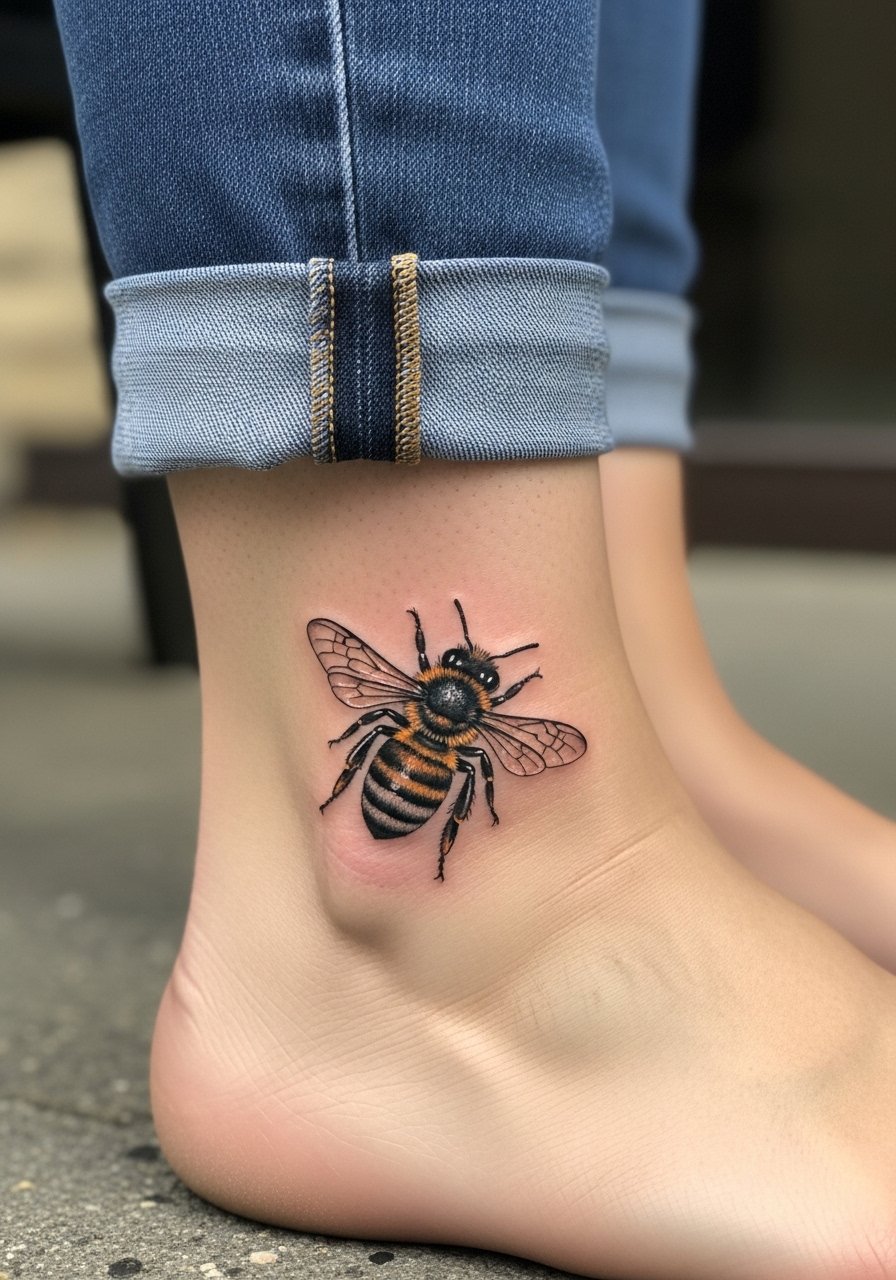
Ankle skin moves a lot and sees friction from shoes, so scale matters. I suggest a bee no smaller than two centimeters across and slightly bolder linework than the original fine-line reference. Expect moderate pain when the needle hits the bone near the ankle and plan for a 45 to 75 minute session. The main aging issue is rubbing from socks and shoes that fades the legs of the bee first. Ask for a touch-up at year two rather than waiting until lines soften. Pair this placement with rolled jeans or strappy sandals to show the design without constant wear from closed shoes.
3. Minimalist Script on the Side of the Neck
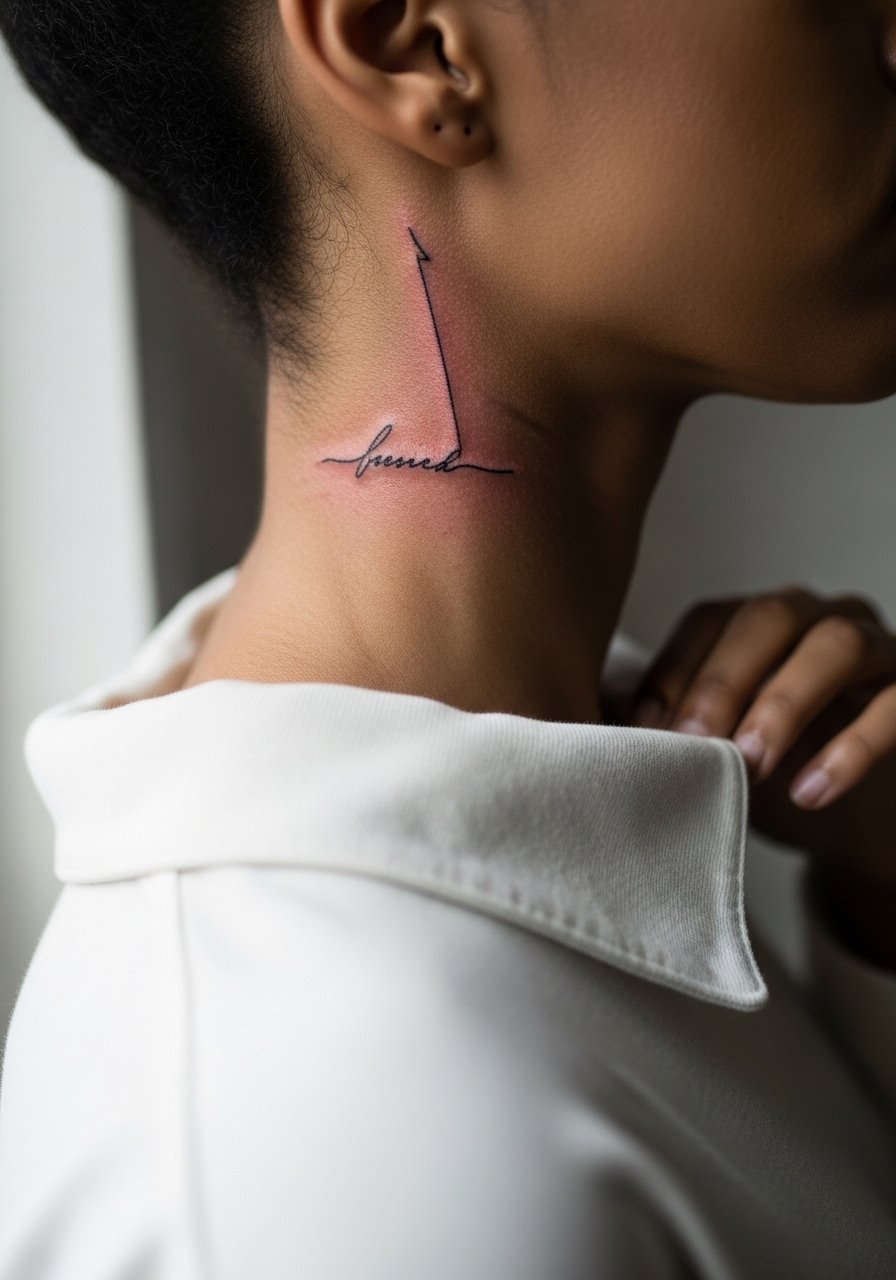
Neck skin is thin and prone to movement, so ask for slightly increased line weight and modest spacing between letters when covering old script. Pain is higher here than on the forearm, so short sessions or multiple sittings help. A mistake I see often is demanding the same tiny handwriting from a low-resolution photo. Bring crisp references that show exact letter spacing and weight. Also consider career implications since neck tattoos remain visible. For the session, wear a wide-neck tee you can pull aside easily.
4. Single-Needle Botanical on the Collarbone
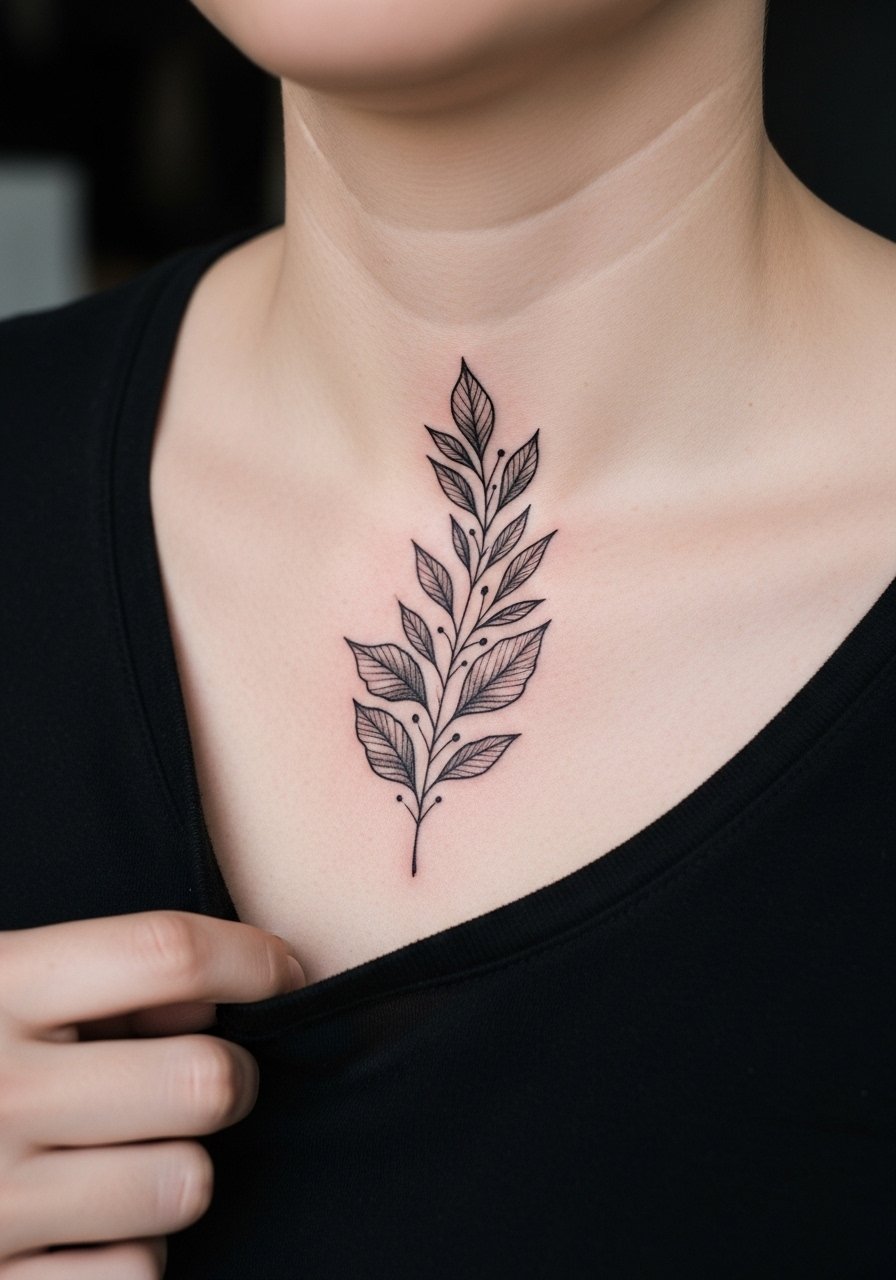
Collarbone skin lies over bone so the sensation during the session is sharper than on fleshy areas. For cover-ups, a botanical sprig with tapered leaves lets the artist camouflage old thin lines while keeping the art airy. Tell the artist you want stipple shading inside leaves rather than solid fill so the piece ages with delicate texture rather than blocky fade. Most collarbone pieces need a touch-up at year three if exposed often to sun. A common mistake is asking for dense shading to hide the old work. Dense fills can look heavy and speed fading near clothing edges. Pair this with open-neck tops and a thin chain pendant necklace that sits above the sprig.
5. Tiny Constellation Behind the Ear
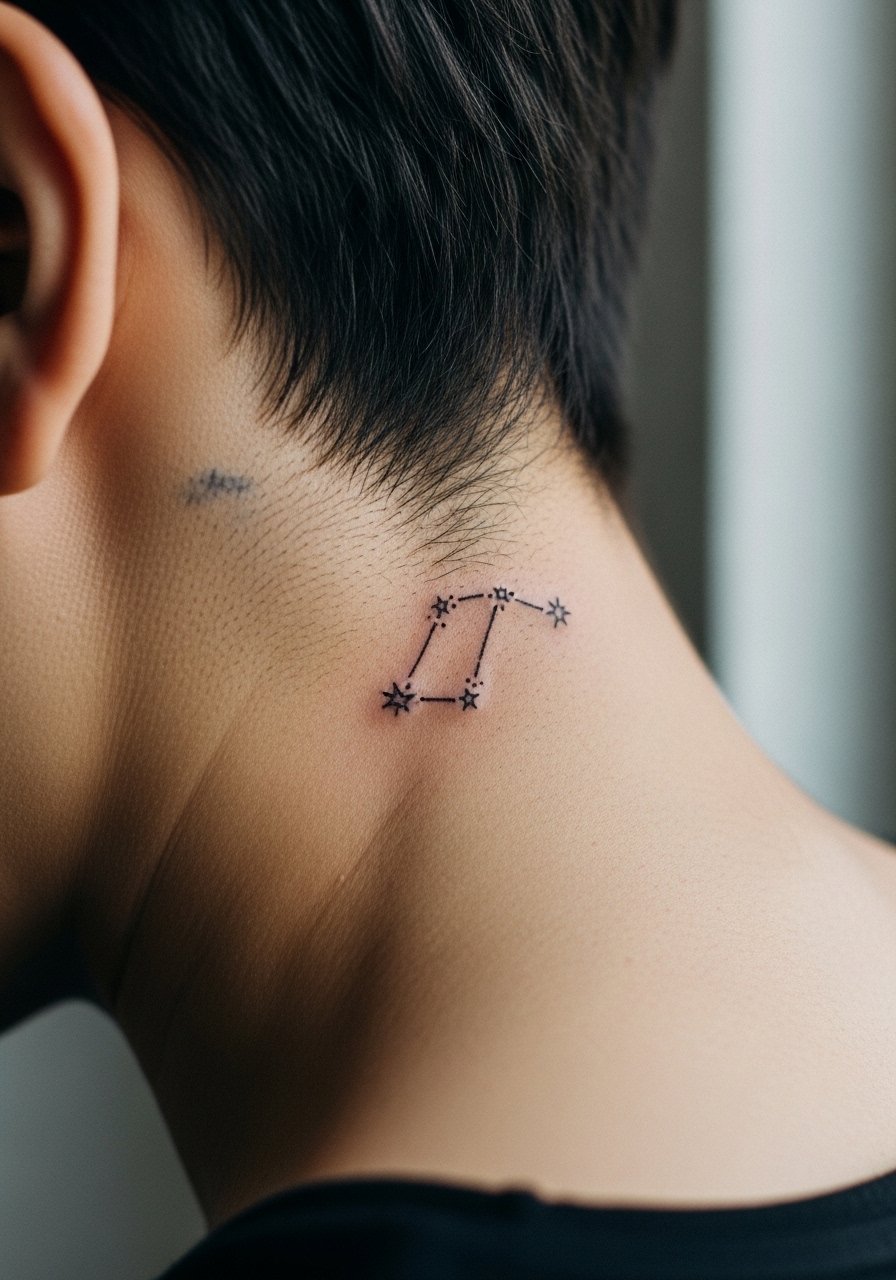
Behind-the-ear pieces are small and subtle, but the skin there is thin and the lines can blur if the artist packs too many dots into a tiny area. For a cover-up, use a constellation that repositions new stars off the old marks. Sessions are short, often under 30 minutes, and pain is low though the proximity to bone can sting. The controversy here is minimal, but a frequent error is insisting on micro-dots that merge under healed skin. Mention you want spacing that allows breathing room. If you style your hair up, the small constellation becomes a nice peek from behind a low bun.
6. Geometric Mandala on the Upper Arm
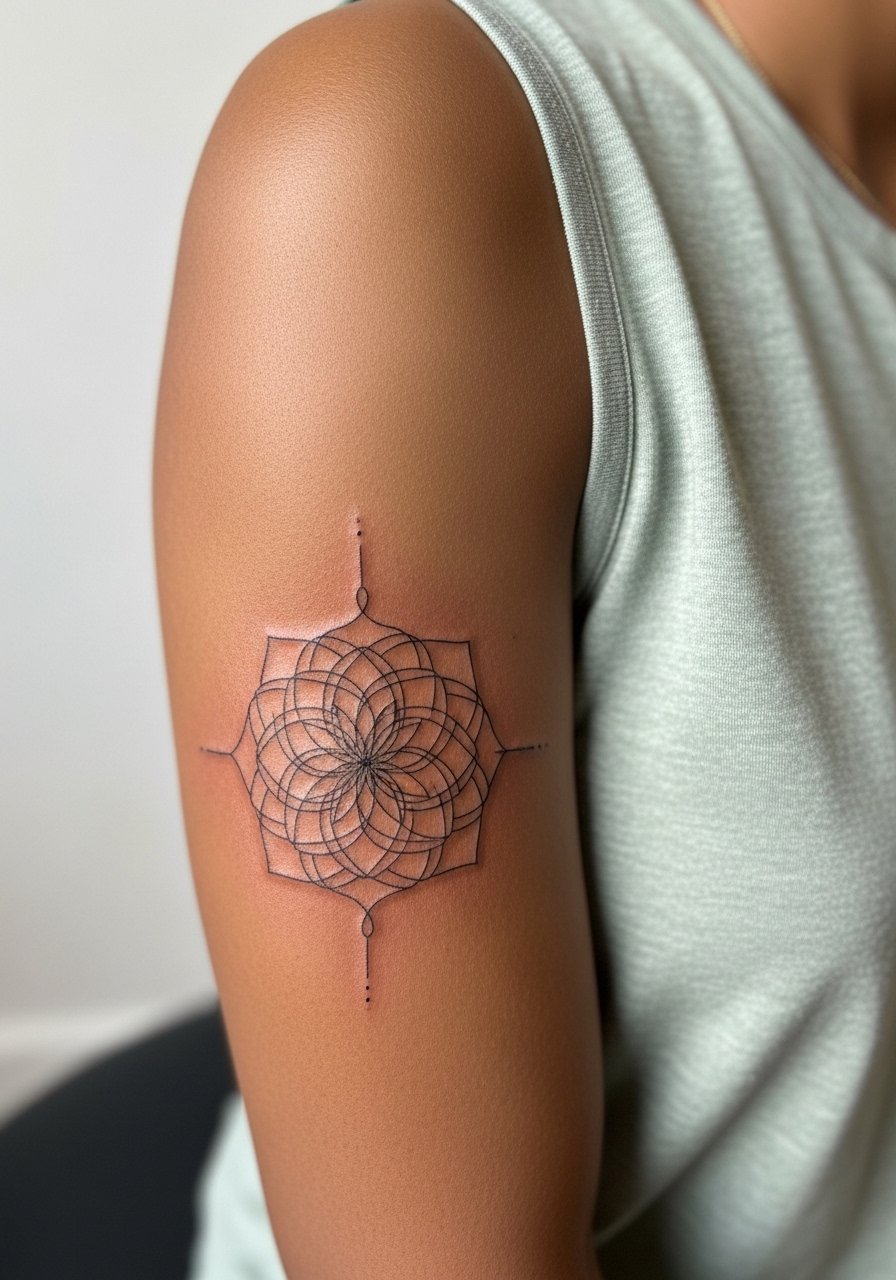
Upper arm skin tolerates detail well, so a mandala works for covering scattered fine-line spots. Ask the artist to scale the central geometry slightly larger than the old marks and to use negative space as a secondary cover method. Sessions run 90 to 150 minutes depending on size. The visual mistake is compressing too many concentric rings into a small area. Too-dense mandalas tend to lose definition by year five. Upper arm pieces generally hold their linework longer than wrist or ribs because of less daily friction. For evenings out, sleeveless tops show off the symmetry nicely and for daywear try a sleeveless linen top.
Pre-Session Essentials
The wrist, neck, and ankle work above ask for different prep. These picks smooth the session and protect the fine lines in the first week.
- Stencil transfer paper kit. Lets you preview the exact placement and line weight on skin, which is crucial for tiny collarbone and neck cover-ups.
- Topical numbing cream. Applied 30 to 45 minutes before can reduce sharp nerve jolts at the collarbone and side neck without interfering with linework.
- Thin protective film roll. Useful for ankle and wrist pieces that meet sock or shoe friction in the first days.
- Fragrance-free gentle body wash. Cleans healing fine-line areas without irritating delicate ink channels.
- Aquaphor healing ointment. A thin layer for the initial healing window locks moisture without clogging the fine linework that these designs depend on.
7. Ribcage Floral Band for Partial Cover-Up
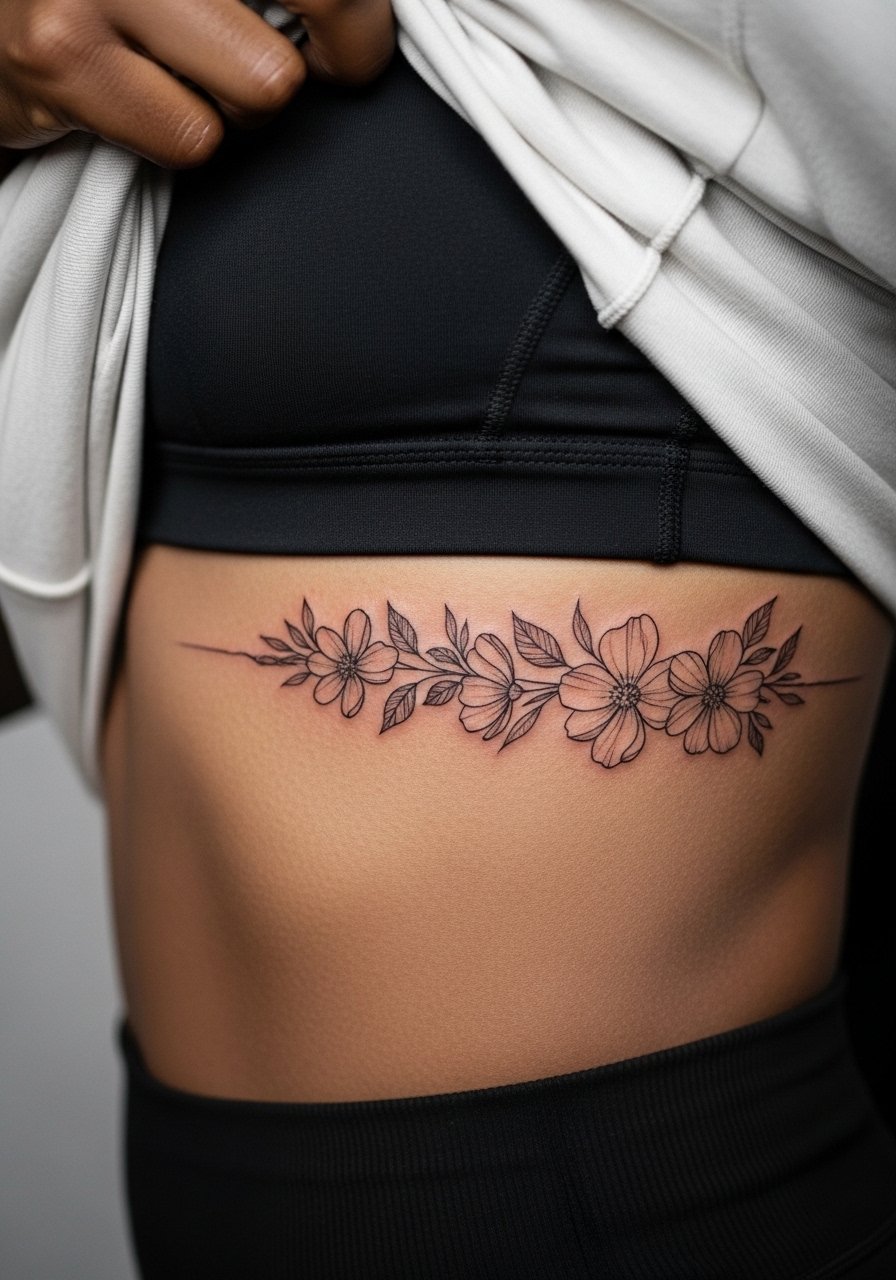
Fine line on ribs is divisive. One camp says the skin stretch and breathing blur delicate lines within two years. The other camp argues that with correct needle depth and spacing, fine line can settle nicely on ribs. My take is the truth depends on the artist and your skin elasticity. For a floral band that covers an old faint piece, ask for slightly larger petal outlines and airy stipple shading rather than dense fill. Expect high pain and possibly two shorter sessions rather than one long sit. A common mistake is asking for a dense cluster of tiny leaves. They often merge after healing and force a heavier touch-up.
8. Sternum Delicate Mandala Patch
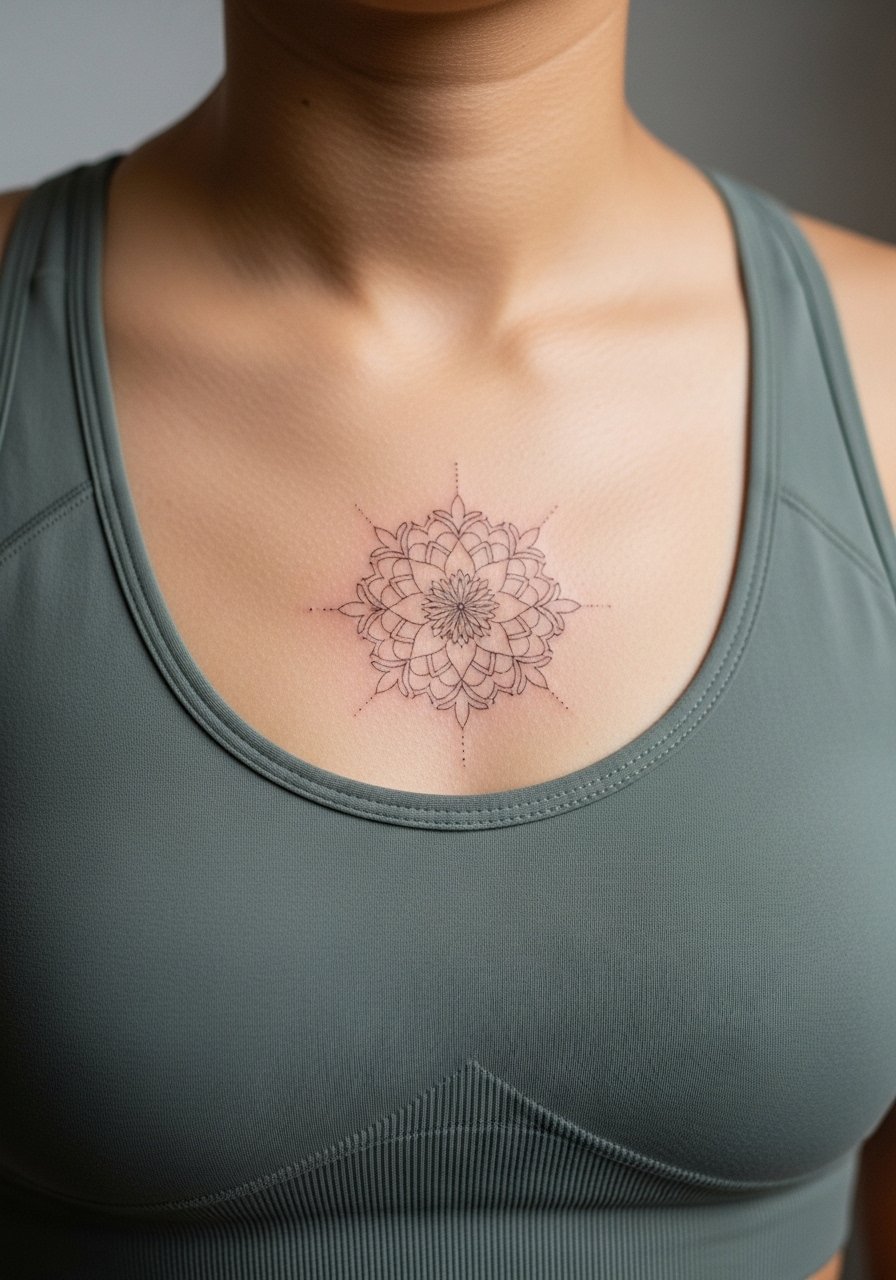
Sternum skin moves with breathing and cleavage lines, so keep the central geometry slightly wider than the original fine-line reference to avoid early merging. Sessions are sharp and can be broken into shorter blocks. For cover-ups, a mandala with radial negative space masks old faint script well. A mistake is asking for extremely tight rings close to the sternum center. Those tend to fill in and lose their halo effect by year three. Because the area is intimate, some artists require specialized experience for precise density control. Wear a strap-support top you can lower slightly to give clear access while staying comfortable.
9. Inner Thigh Lace Motif
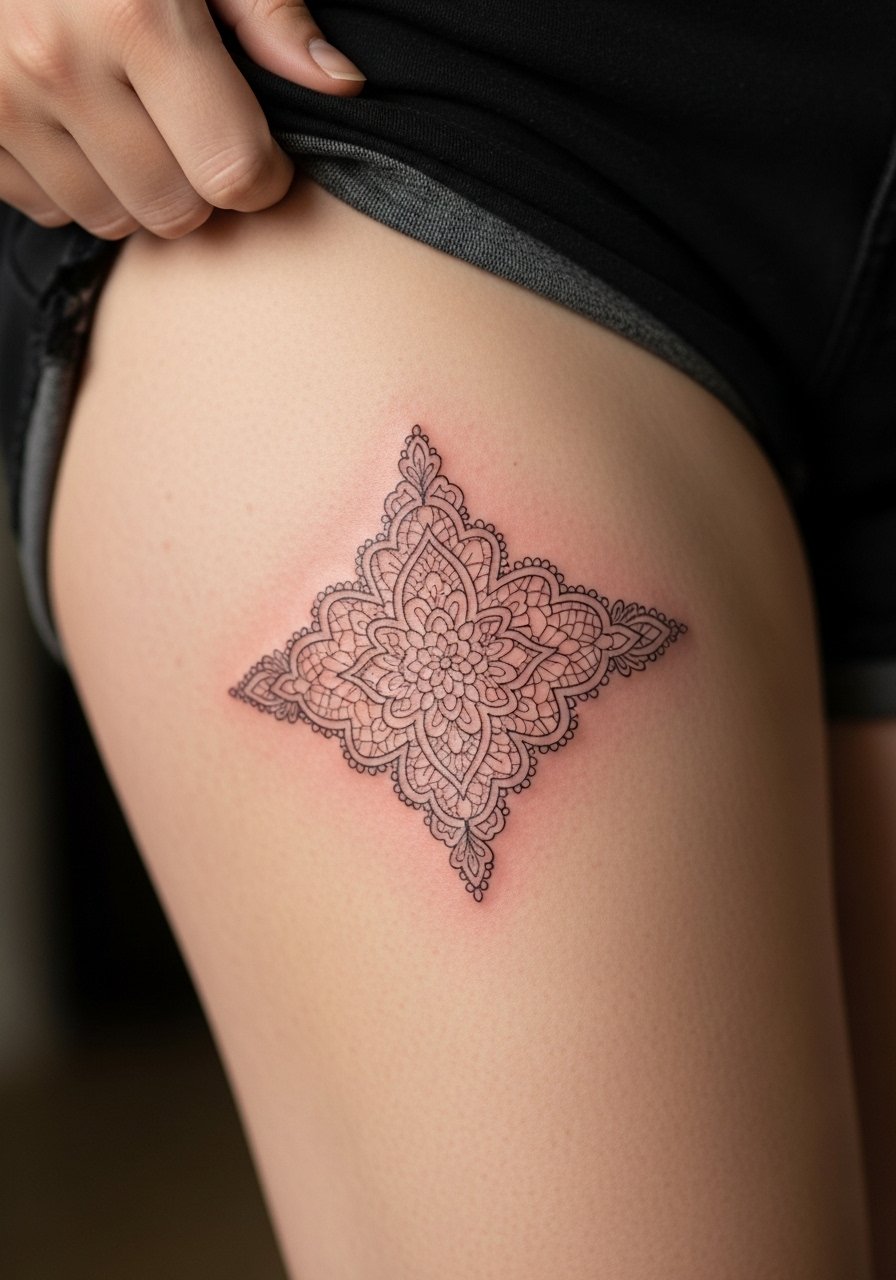
Inner thigh skin is soft and moves a lot, which makes tiny fine lines prone to blur over time. For a cover-up, lace patterns that use alternating negative space and thin stipple shading hide older marks while keeping an airy look. Expect medium pain and sessions split into two parts for comfort. A real mistake is insisting the artist replicate an ultra-fine lace photo at a microscopic scale. Increase scale where possible so the motifs hold for five years. For the appointment, choose shorts you can shift easily rather than tight denim.
10. Finger Micro Script for Name or Date
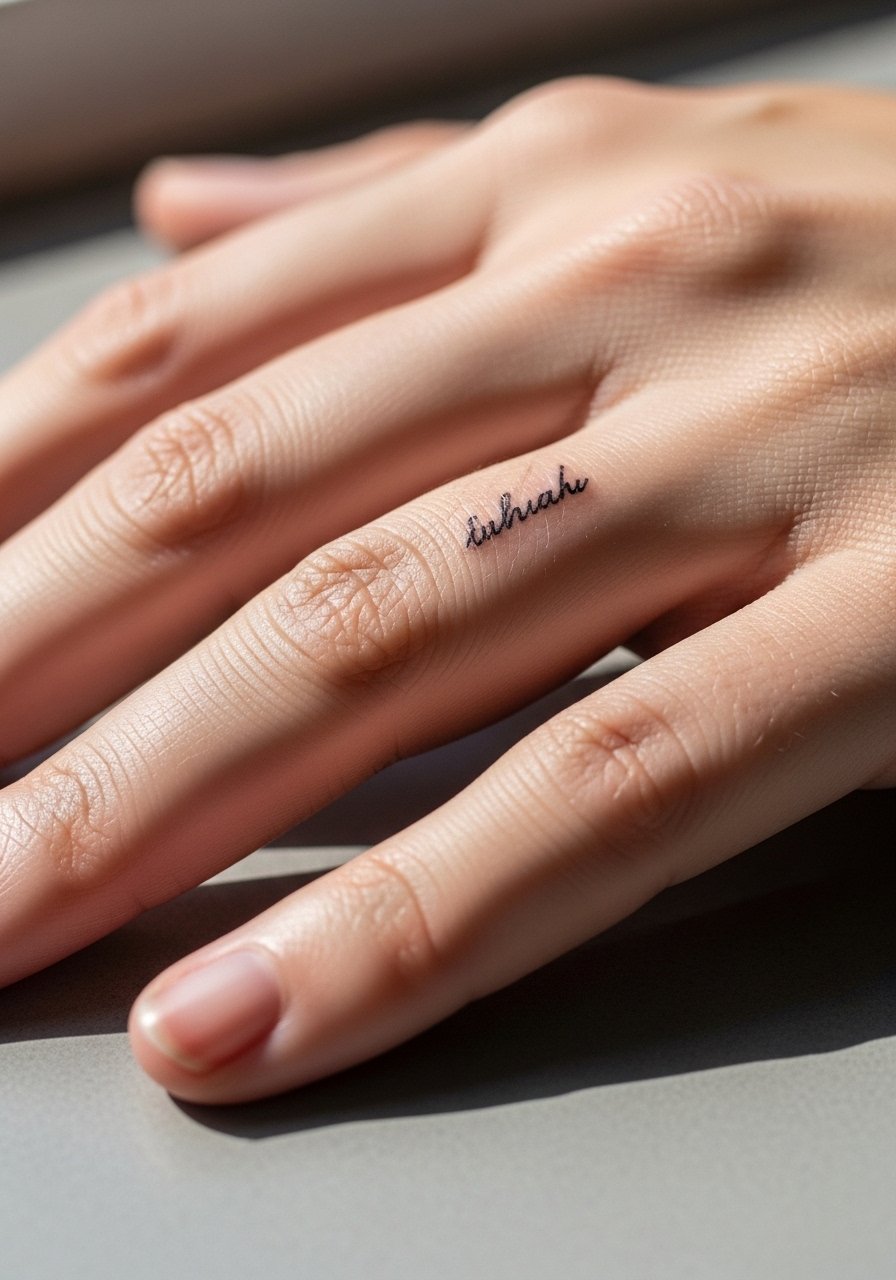
Finger ink faces rapid wear from hand washing and constant friction. There are two camps about tiny finger scripts. One group accepts frequent touch-ups as part of the plan and uses slightly heavier linework at the start. The other group avoids finescale scripts on fingers entirely, saying the skin there will always migrate the ink. If you want a name or date as cover-up, ask for boldened letterforms and expect touch-ups every one to three years. A common error is insisting on ultra-fine cursive that disappears quickly. For showing it off, stack delicate rings and a minimalist band ring that complements the script without obscuring it.
11. Hand Micro Icon Over a Previous Spot
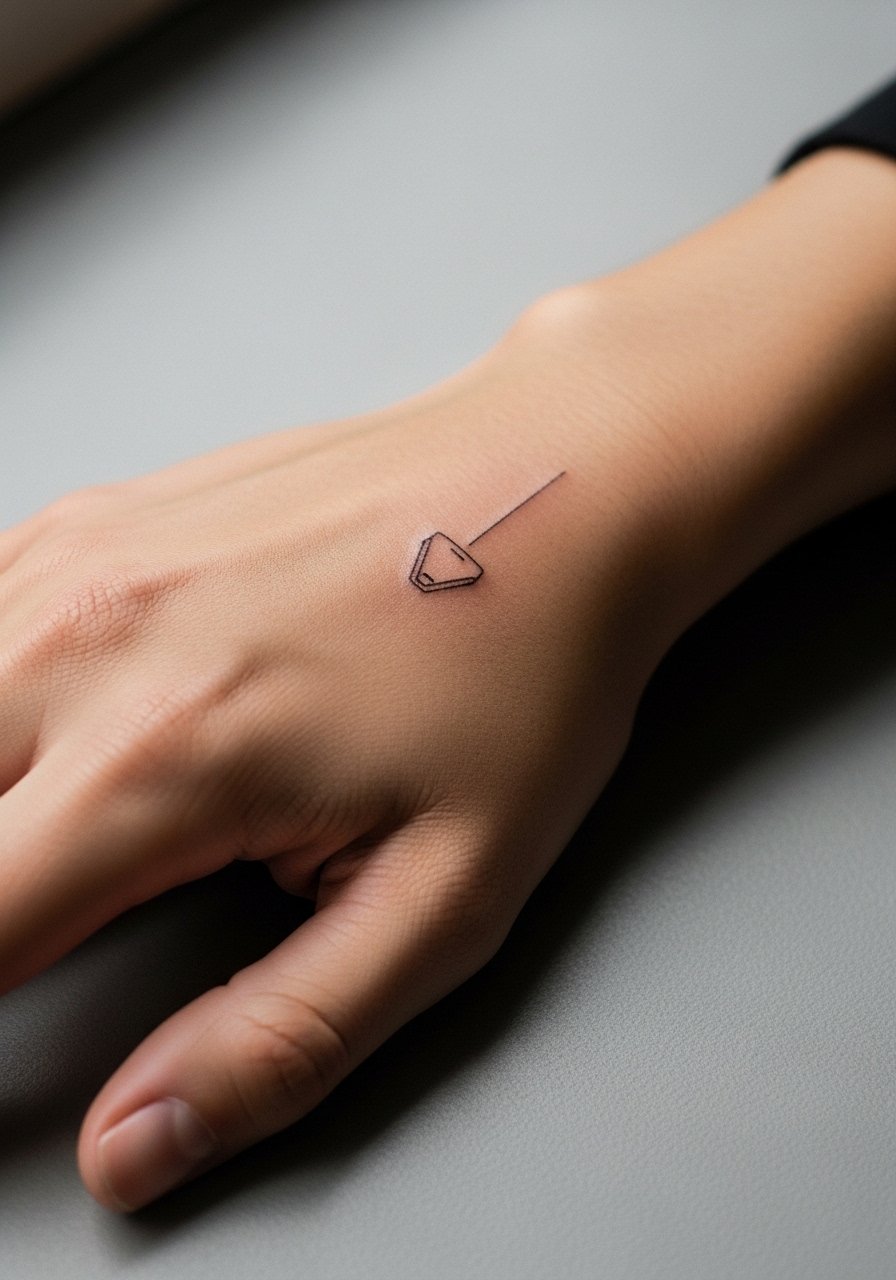
Hand tattoos still prompt debate because of visibility and job concerns. One camp accepts hand ink and plans touch-ups. The other cautions that some workplaces still react negatively, and the ink weathers fast. For a small icon cover-up, pick a slightly larger motif and ask for reinforced outline work to resist early fade. Pain is moderate and sessions are brief. Common mistakes include placing extremely thin detail on knuckles. Those lines rarely hold. Style the finished piece with stacked bracelets, but keep the wrist area free during healing to avoid rubbing. Try a slim leather bracelet that frames the hand without covering the glyph.
12. Back of Neck Single Stem
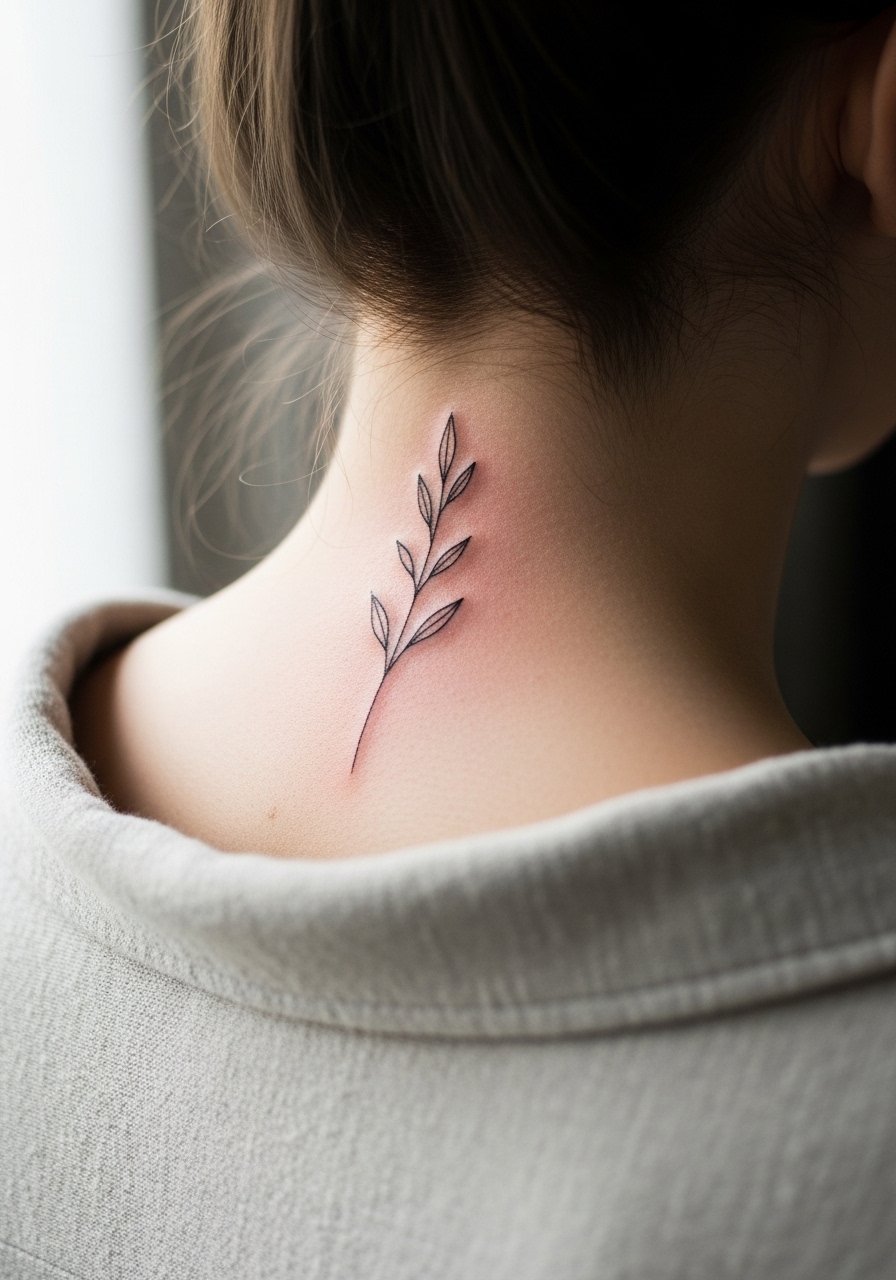
The back of the neck sees sun and hair friction. For cover-ups, a single stem with dot work and negative space can hide old tiny marks while staying elegant. Pain is similar to the side neck but often lower because the area is fleshier. A mistake people make is asking for extremely thin stems right at the hairline. Hair growth and shampoos speed fading there. Ask for slightly bolder stems near the base and lighter tips. For the session, wear a shirt you can pull aside like a wide-neck pullover so you stay warm but the artist has clear access.
13. Minimalist Constellation on the Ankle Bone
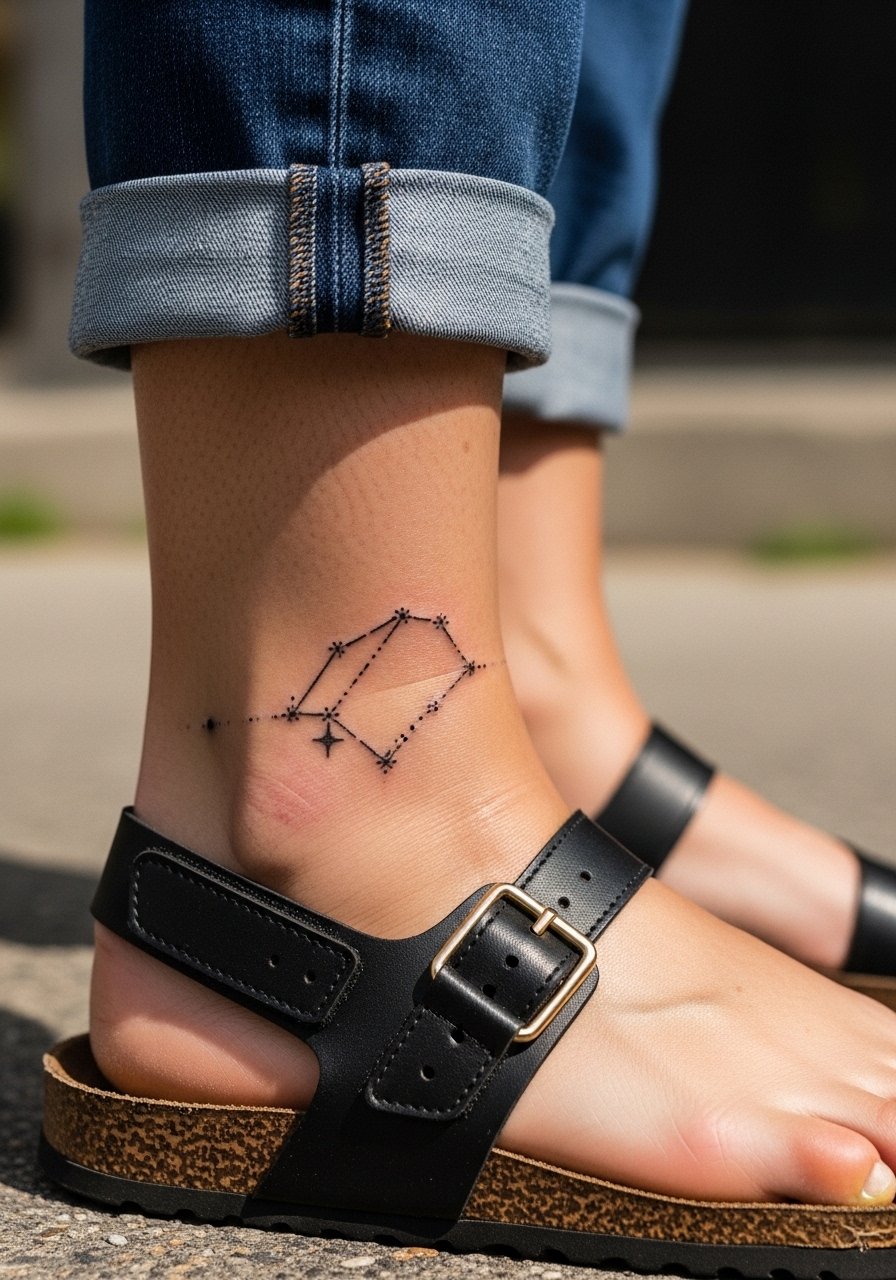
Ankle constellations are great for masking small faded marks if the new dots are spaced to avoid the previous track. The ankle bone can sting during a session, so plan for short breaks. Wear shoes that are easy to slip on after the appointment. A common error is clustering too many micro-dots near the bone, which can merge under decay. For nighttime and casual wear, pair the piece with simple leather sandals that show the art without rubbing it repeatedly.
14. Calf Minimalist Mountain Range
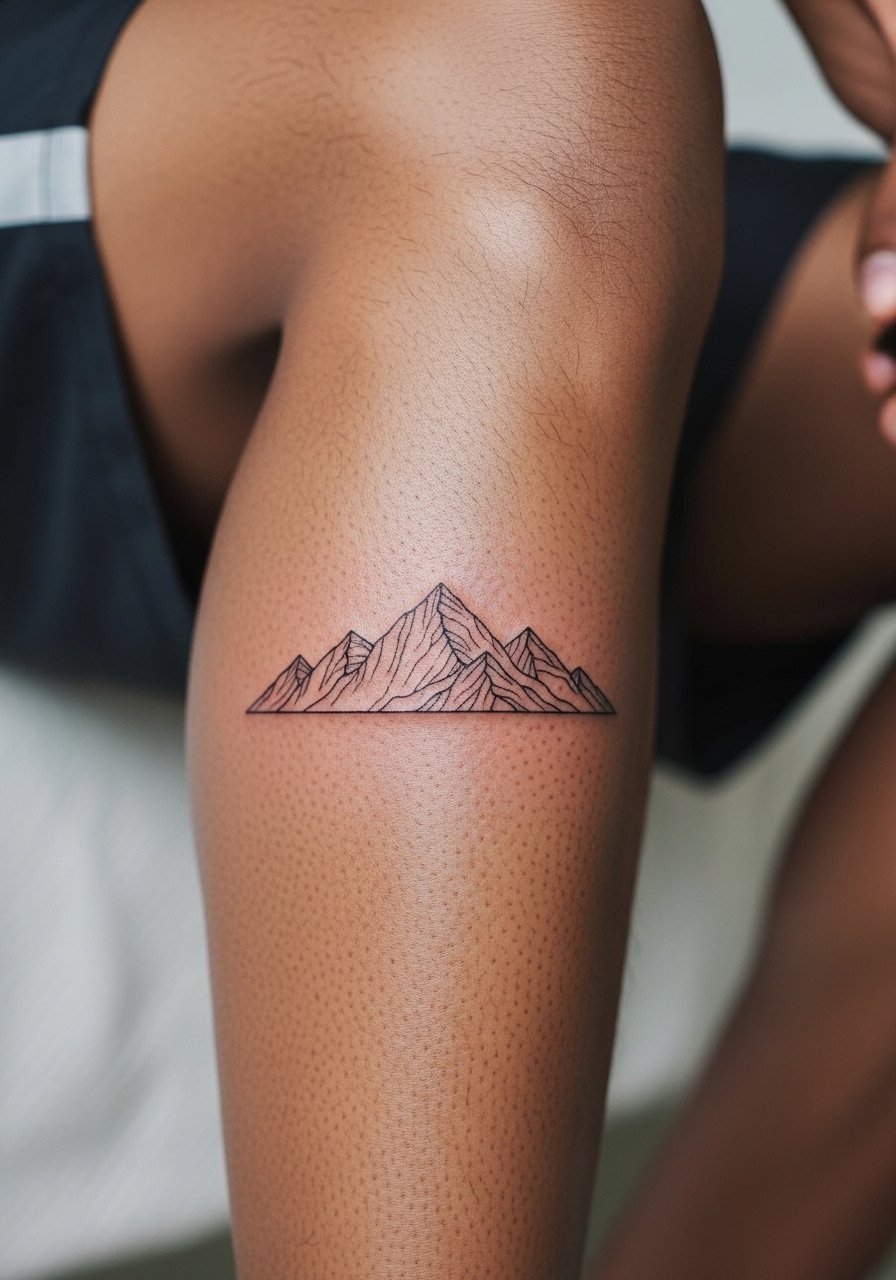
Calf skin is forgiving, so it is a good canvas for slightly larger fine-line cover-ups. A mountain range that shifts the new ridgeline off old markings works well. Session time is variable but often 60 to 120 minutes. The frequent mistake is compressing too many peaks into a narrow band. Allow space between peaks so the design does not blur into a single block over time. Calf pieces age better than fingers and hands and often need fewer touch-ups. For casual wear, shorts or a mid-length active short let the piece breathe without constant rubbing from pant hems.
15. Lower Back Crescent Moon
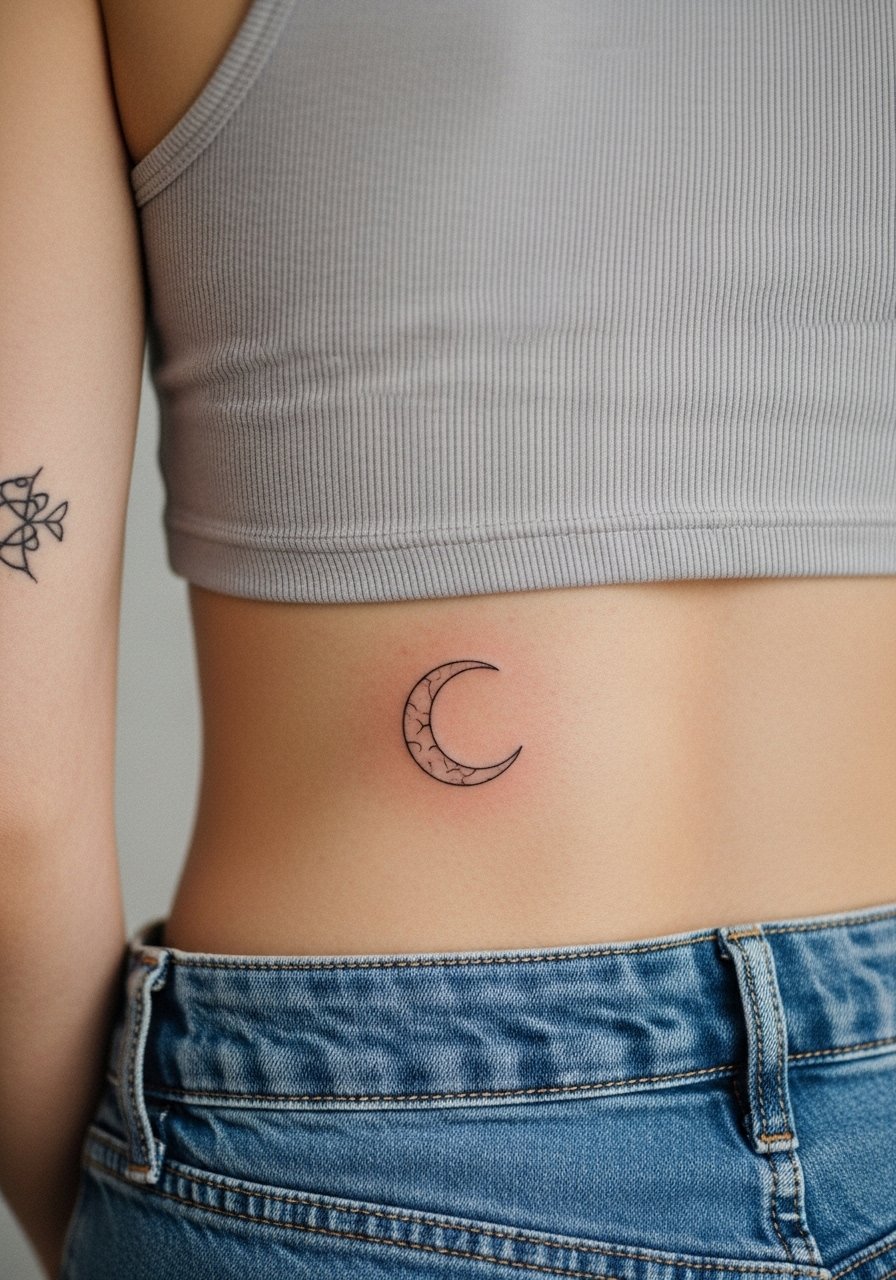
Lower back skin can take fine detail well, but cover-ups should use arcs and negative space to reroute old lines. Sessions can be comfortable because the area is typically fleshy, but bending during healing creates movement. A mistake I see is asking for tiny crescent details too close together. Those can blur into one shape after a few years. If you plan on open-back dresses, the crescent looks best centered above the waistband. For the session, wear high-waisted jeans you can lower slightly so the artist has clear access.
16. Shoulder Blade Small Animal Silhouette
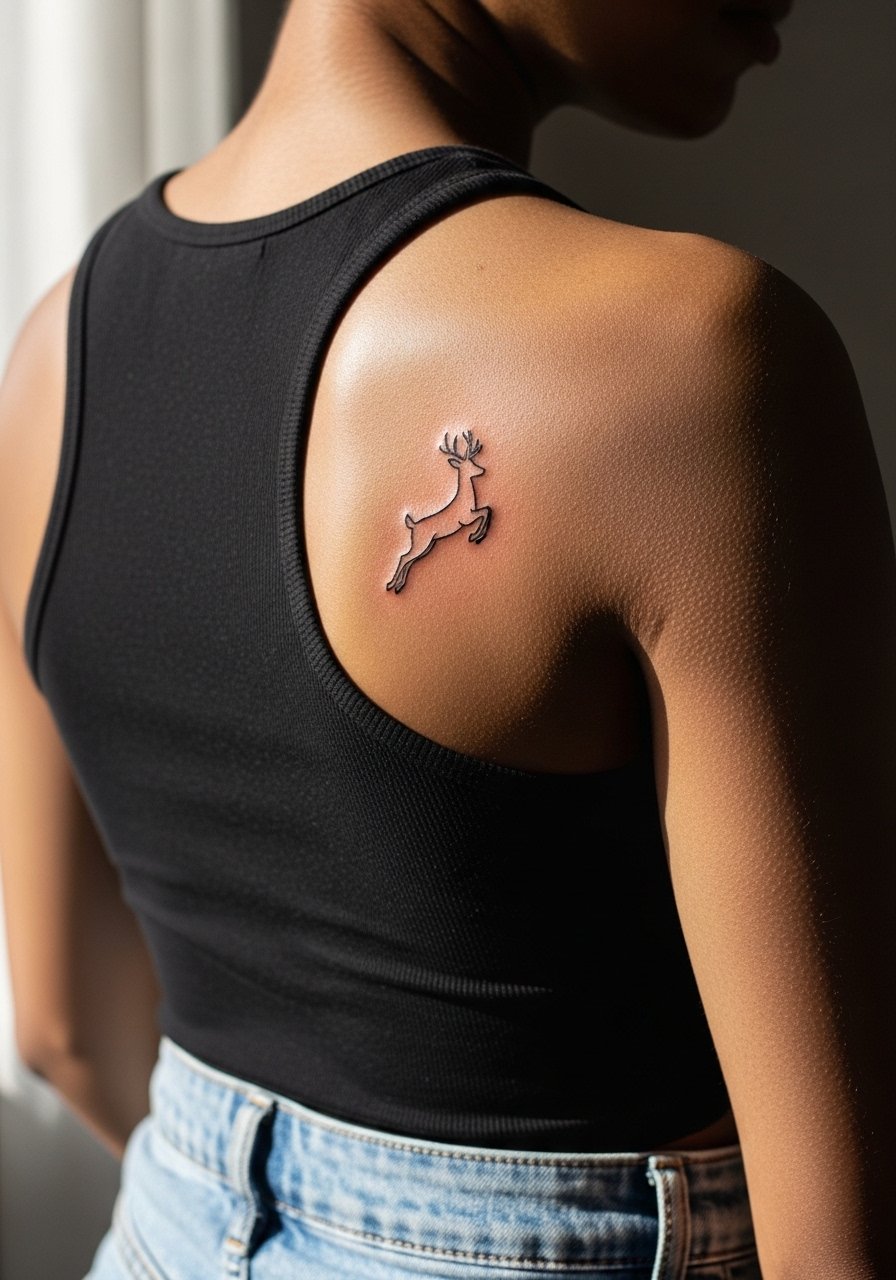
Shoulder blade pieces are low-friction and durable. For cover-ups, a silhouette with internal negative space hides older thin marks while keeping crisp outer contour. Sessions run 60 to 90 minutes. The main mistake is requesting micro texture inside a tiny silhouette. Add a bit of scale so stipple shading holds. Shoulder blades tolerate sun exposure, so plan sunscreen if the area will be exposed often. For showing the piece off, open-back tops work well but during the first two weeks keep straps loose to avoid rubbing.
17. Spine Vertical Script or Coordinates
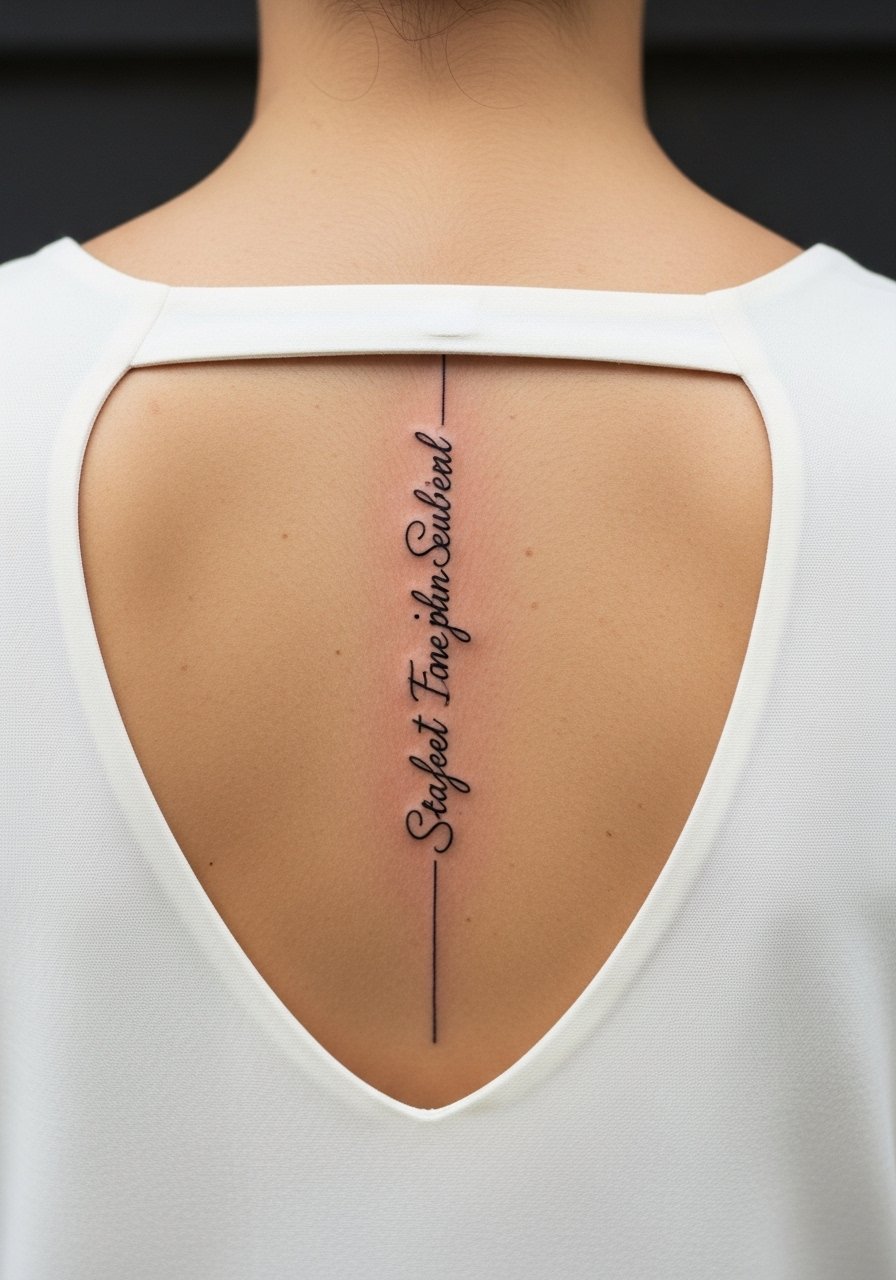
Spine pieces sit on skin that moves and flexes, so for a cover-up choose vertically aligned script with slightly wider letter spacing than the original fine-line reference. Pain is higher near the vertebrae and sessions are often split. There is a controversy about vertical script and longevity. One side believes tight script can merge with back movement and require frequent touch-ups. The other says if the artist spaces letters and uses subtle negative space, the script can hold well. Ask the artist where they land and plan for a touch-up around year two. For revealing outfits, an open-back top frames vertical ink without distracting from the linework.
Frequently Asked Questions
Q: Will fine line cover-ups blur faster than bolder cover-ups on the forearm or calf?
A: From what I've seen, fine line on the forearm and calf can blur faster than bolder fills, mostly because tiny lines rely on precise spacing. Calves age better due to less friction. Ask your artist to scale the design slightly and plan a touch-up at year two to three if you want the lines to stay crisp.
Q: How should I prepare clothing-wise for a ribcage or sternum session?
A: Wear a cropped top or fitted sports bra you can lower slightly so the artist has access while you stay covered. A fitted sports bra keeps everything stable and helps you breathe comfortably between passes.
Q: Are finger and hand cover-ups worth it given the frequent fading?
A: They can be worth it if you accept periodic touch-ups. Hands and fingers endure washing and friction so expect more maintenance. If you want less upkeep, choose slightly bolder linework and consider placements just above the knuckle where skin is slightly more stable.
Q: How do I talk to an artist about covering a previous fine line without losing the delicate look?
A: Be specific in the consultation. Show clear photos of the old work and a reference of the scale you want. Ask the artist how they plan to reposition new lines relative to the old marks and what their touch-up timeline looks like. Trust the artist if they explain spacing and depth clearly.
Q: Can I get a fine line cover-up on darker skin tones without it looking patchy?
A: Yes, but the approach changes. Artists often use adjusted line weights and negative space to keep contrast consistent. Ask to see healed examples on similar skin tones. Good portfolios will show how the ink settles on a range of complexions.
Q: What is a realistic touch-up timeline for fine line cover-ups on the ribs, neck, and fingers?
A: Expect different timelines. Fingers often need a touch-up within one to three years. Necks and ribs vary by skin type and sun exposure, but plan for a possible touch-up around year two to three. Keep expectations flexible because skin behavior and daily wear are the real variables.
