
Fine line goth motifs look delicate in photos and then surprise you in the chair. Tiny designs behind the ear blur faster than people expect, finding a precise artist who can keep scale tight is harder than saved-board scrolling suggests, and the thin skin there means a sharper sting than on fleshy spots. Read these ideas that balance longevity, pain, and how to hide or show the ink with simple wardrobe moves.
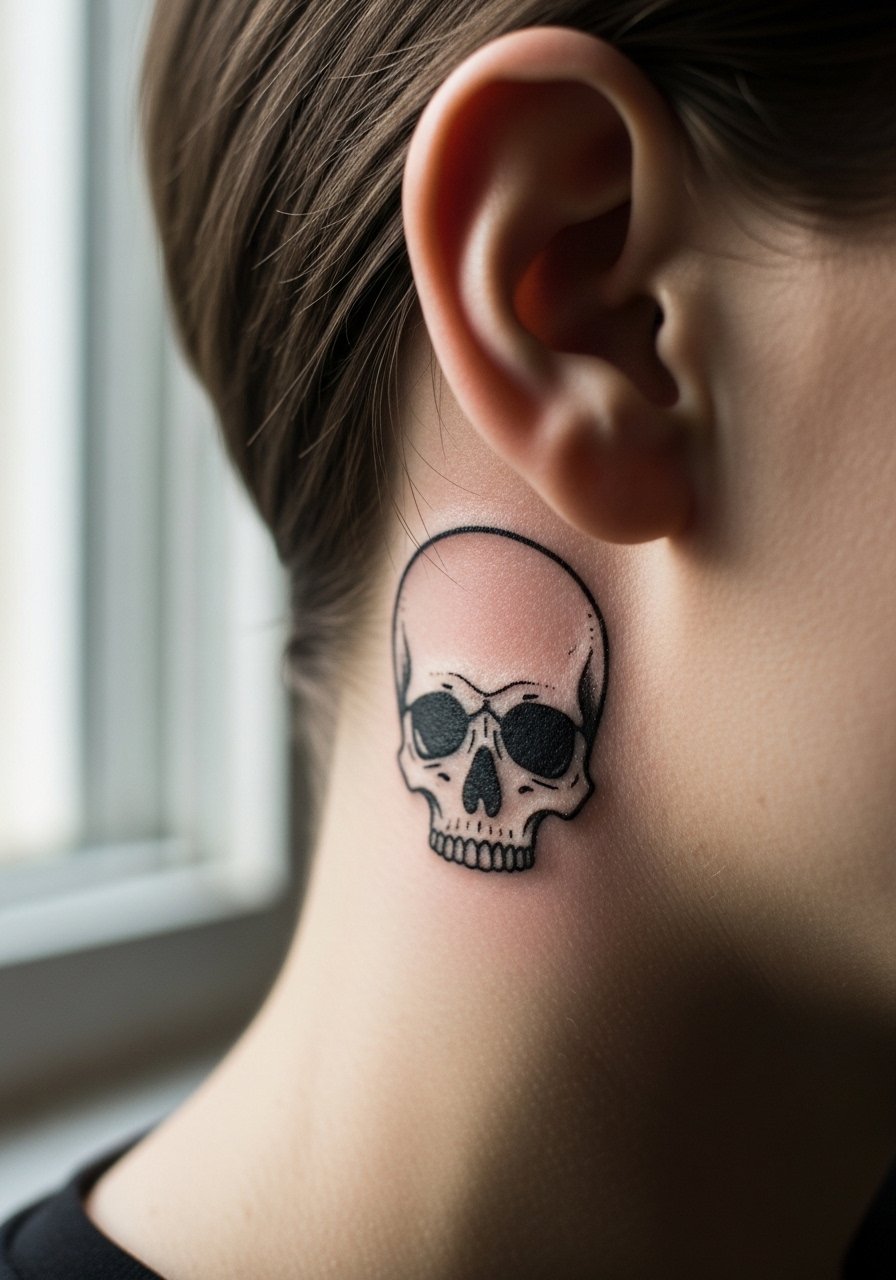
1. Skull silhouette tucked on the post-earlobe curve
I often recommend a bold silhouette for people who want skull imagery without tiny fragile details that blur. Ask your artist for a 1-inch solid silhouette with clean linework and a little negative-space highlight so the shape reads after a year. Fair warning on pain, the immediate area is thin and the session is quick, usually under 30 minutes. A common mistake is requesting tiny teeth or filigree inside the skull. That detail merges over time. Pair this peekaboo placement with a side-part and black lace choker necklace for nights you want it to show. Touch-up at year one is common for fine edges.
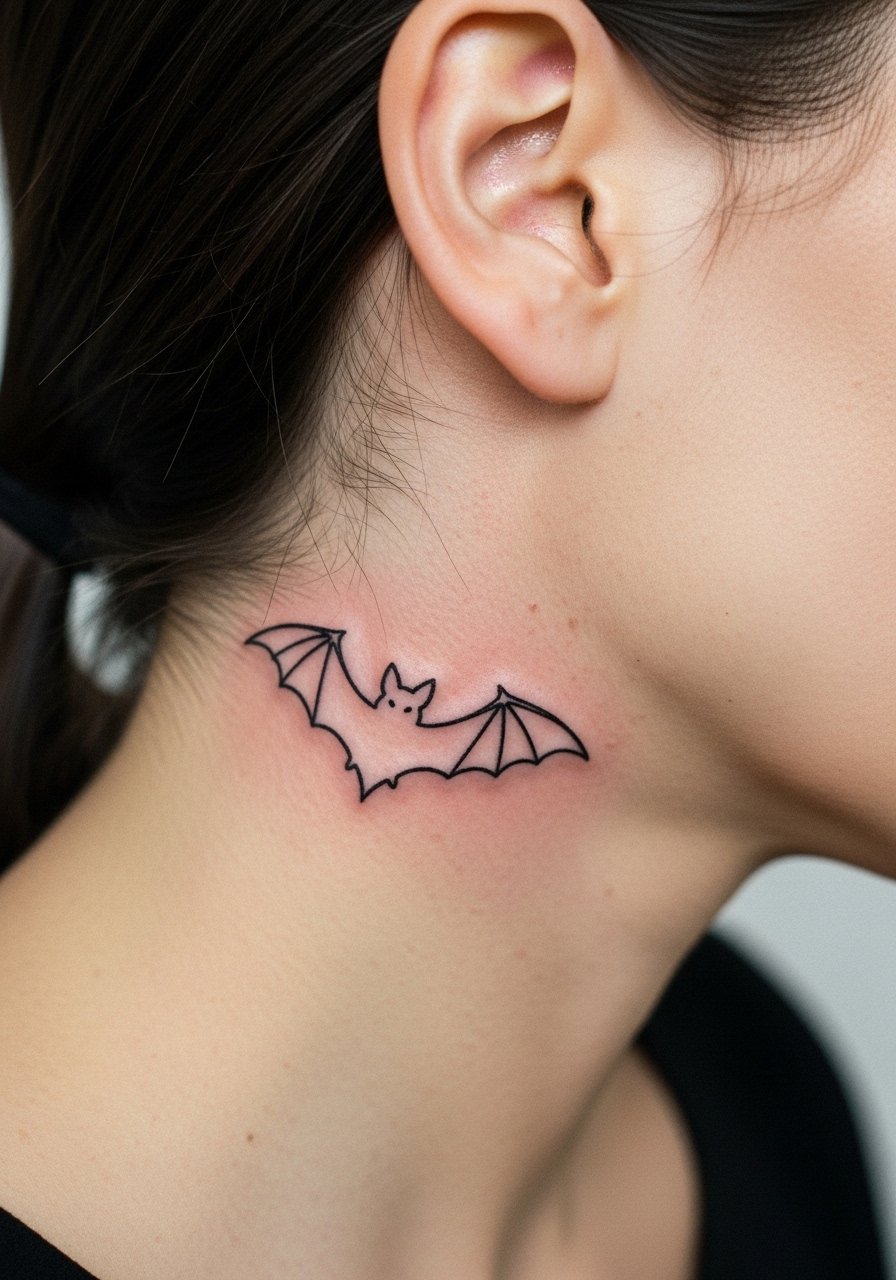
2. Bat outline hugging the ear contour
Most people pick a bat for the jagged silhouette and nocturnal vibe. For this area I recommend a 0.75-inch fine line outline that follows the ear curve so it moves with hair and neck turns. Artists split on fine line versus thicker blackwork here. One camp favors ultra-fine wings for the look. The other wants slightly heavier outlines for longevity. Ask your artist where they fall before booking. Expect a short, stingy session and plan for touch-up at year two if you prefer thin lines. Show it off with an asymmetrical earring and a swipe of dark goth lipstick when you want people to notice.
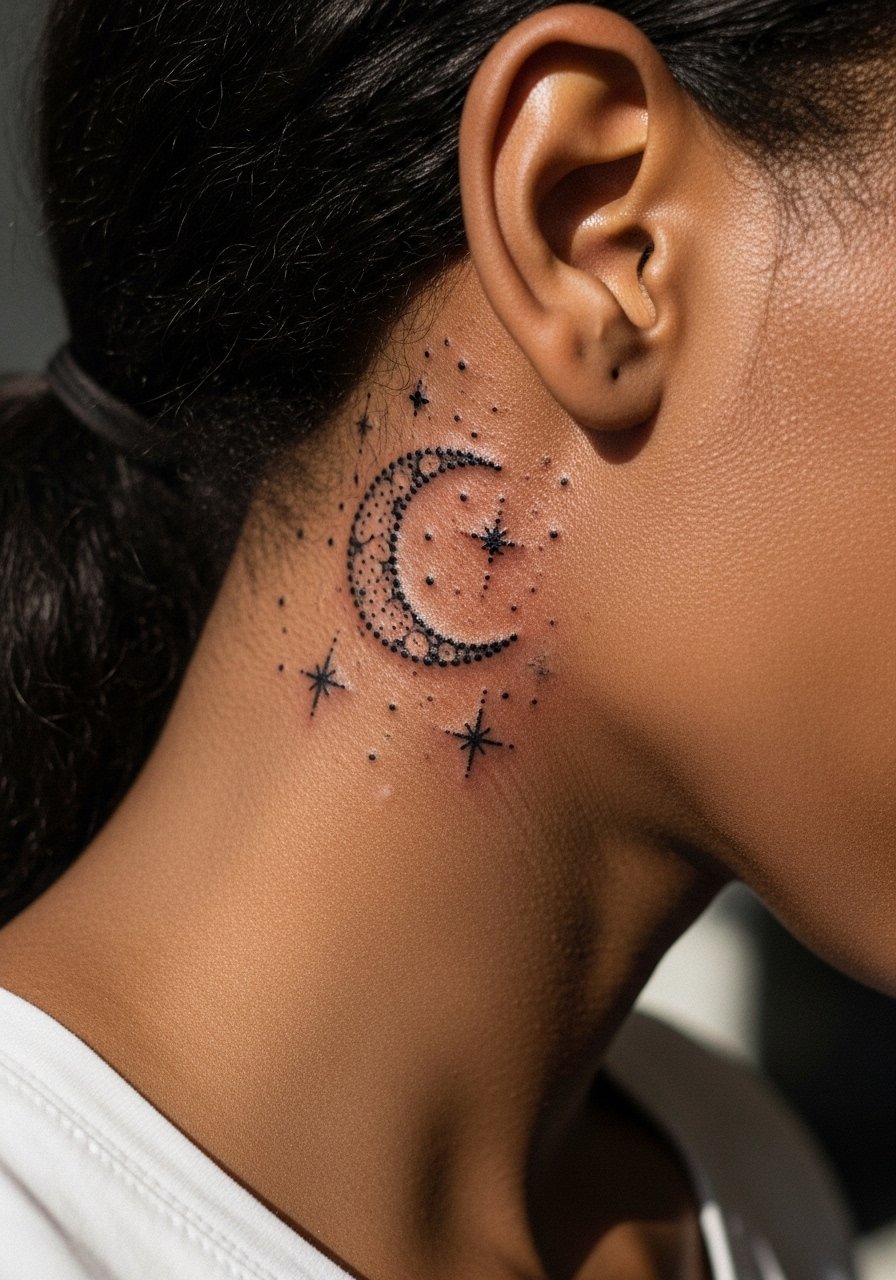
3. Crescent moon with scattered stars, post-earlobe
I've seen crescent moons hold their shape well when done with slight dotwork spacing rather than packed shading. Tell your artist to use dotwork stars and avoid dense gray fills that can bleed on thin skin. This style sits about 1.2 inches and looks great lifted by a tucked hair flip. Pain is mild and sessions run 30 to 45 minutes. A mistake I see is insisting on ultra-fine single-needle stars. Those vanish faster than dotted clusters. Pair with silver moon earrings to echo the motif when you wear your hair up.
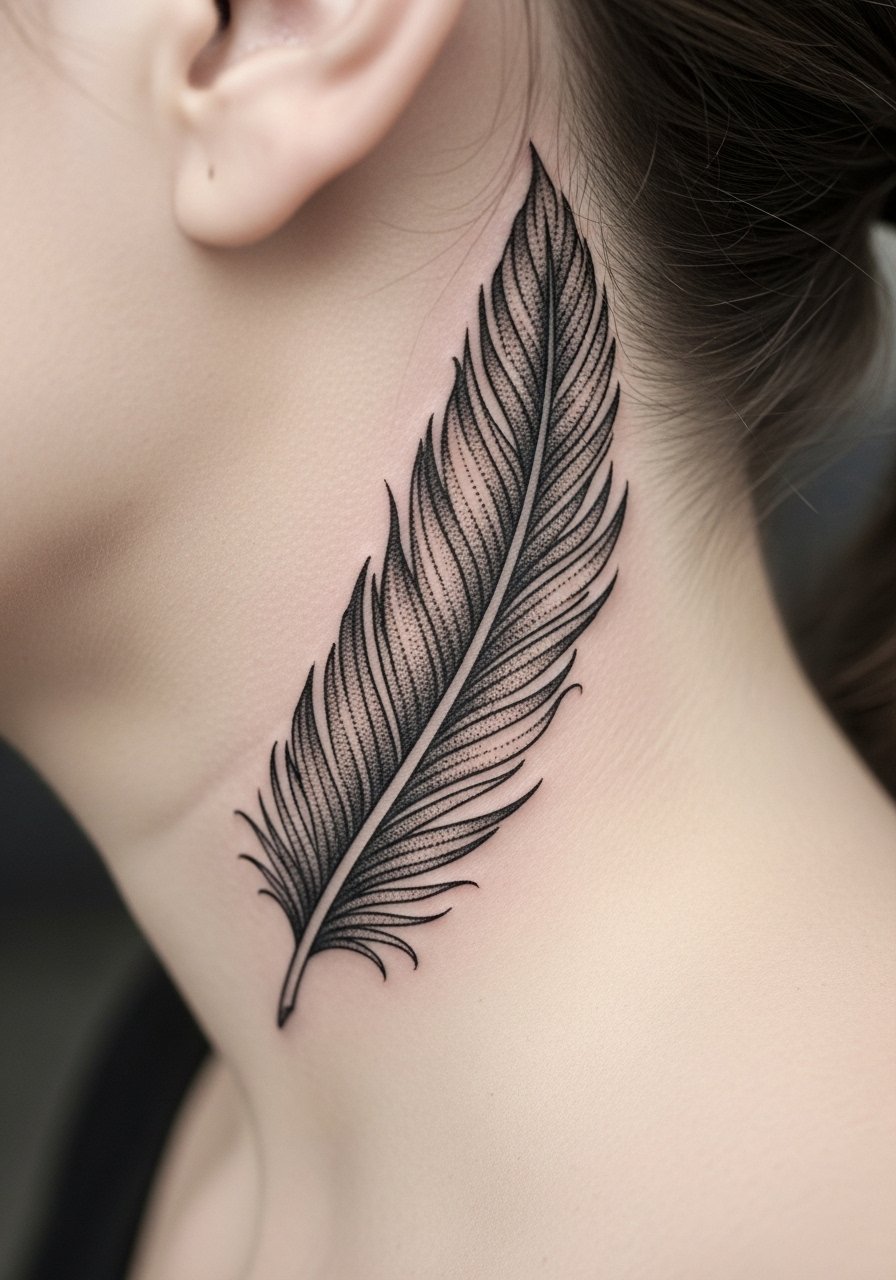
4. Raven feather vertical along the post-earlobe
There is an elegant flow to a vertical feather that complements the neck line. When you consult, ask for a one-inch fine line shaft with stipple shading to avoid heavy fill. The session feels like a quick series of tiny taps and can be more tender closer to bone. Common errors include over-detailing the barbs in a micro space. That detail muddies after two years. For showing it off, sweep hair into a loose updo and wear a velvet goth blouse or a high-neck lace top to frame the feather. Expect a touch-up recommendation at 12 to 18 months for feather edges.
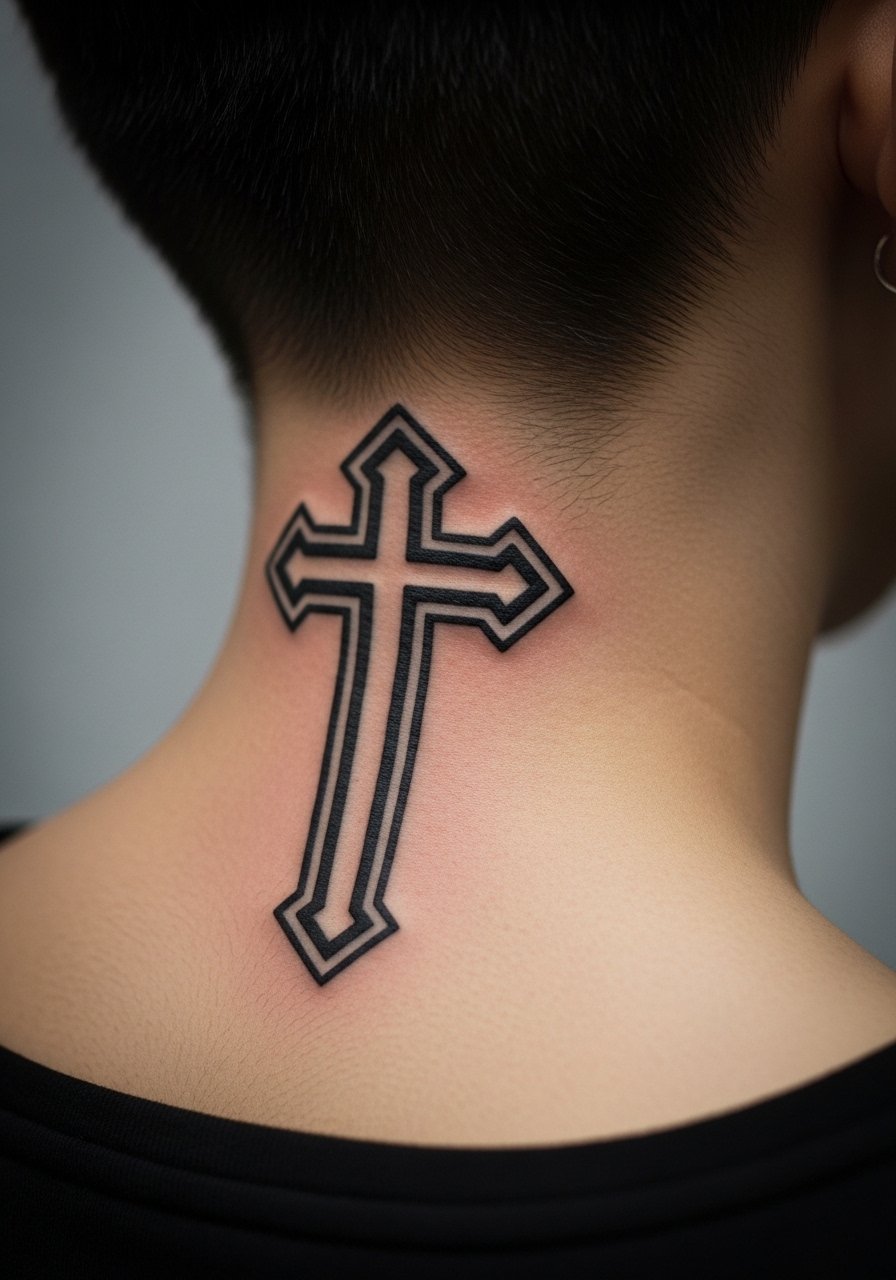
5. Gothic cross outline centered near the post-earlobe
When symmetry matters, center the cross so it reads when hair is pulled back. I advise a slightly bolder outline than you might choose elsewhere because thin crosses on thin skin tend to soften. This is a 0.8-inch design, usually a single session under 30 minutes. A mistake is cramming ornamental filigree into the interior. Keep the interior open or very light gray wash. For outfits, a low collar or an open button shirt gives the cross room to peek without hiding it. Expect low blowout risk if the artist spaces lines sensibly for the small scale.
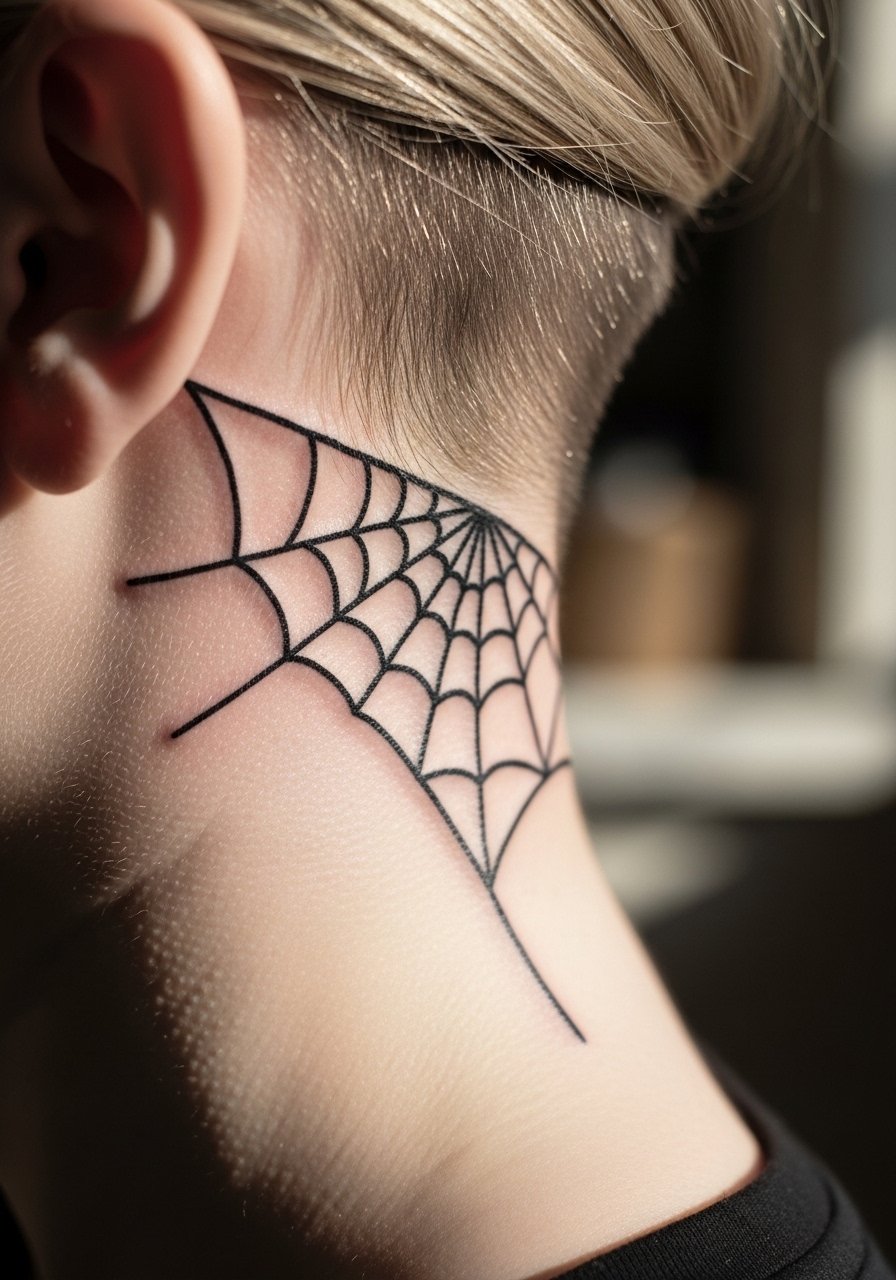
6. Spiderweb fragment hugging the ear curve
Visual impact is high with a web that follows the ear shape. Ask for geometric spacing and avoid filled-in black patches in the tiny areas. This piece sits across 1.1 inches and looks best with solid black linework balanced by negative space. The session is short but can be sore around sensitive bits. A common mistake is asking for too large a web that spills onto the cheek. Keep the arc tight. Pair the peek with a tilted black beret hat or a fishnet headband for editorial looks. Plan a touch-up after a year if fine intersections soften.
Before You Book
Those first six placements live in the same friction and visibility zone, so a few practical items make sessions faster and the first week easier.
-
Indie goth ear healing balm. A lighter balm formula that many with behind-ear work prefer because it soaks in without leaving a heavy film.
-
Thin protective adhesive film roll. Useful for keeping tiny behind-ear tattoos from catching on collars in the first days.
-
Fragrance free gentle body wash. Cleans the area during showers without irritating fresh linework near the hairline.
-
Stencil transfer paper sheets. Lets artists preview placement precisely on curved post-ear skin before starting.
-
Aquaphor healing ointment. Thin application helps lock in moisture for small blackwork pieces without clogging.
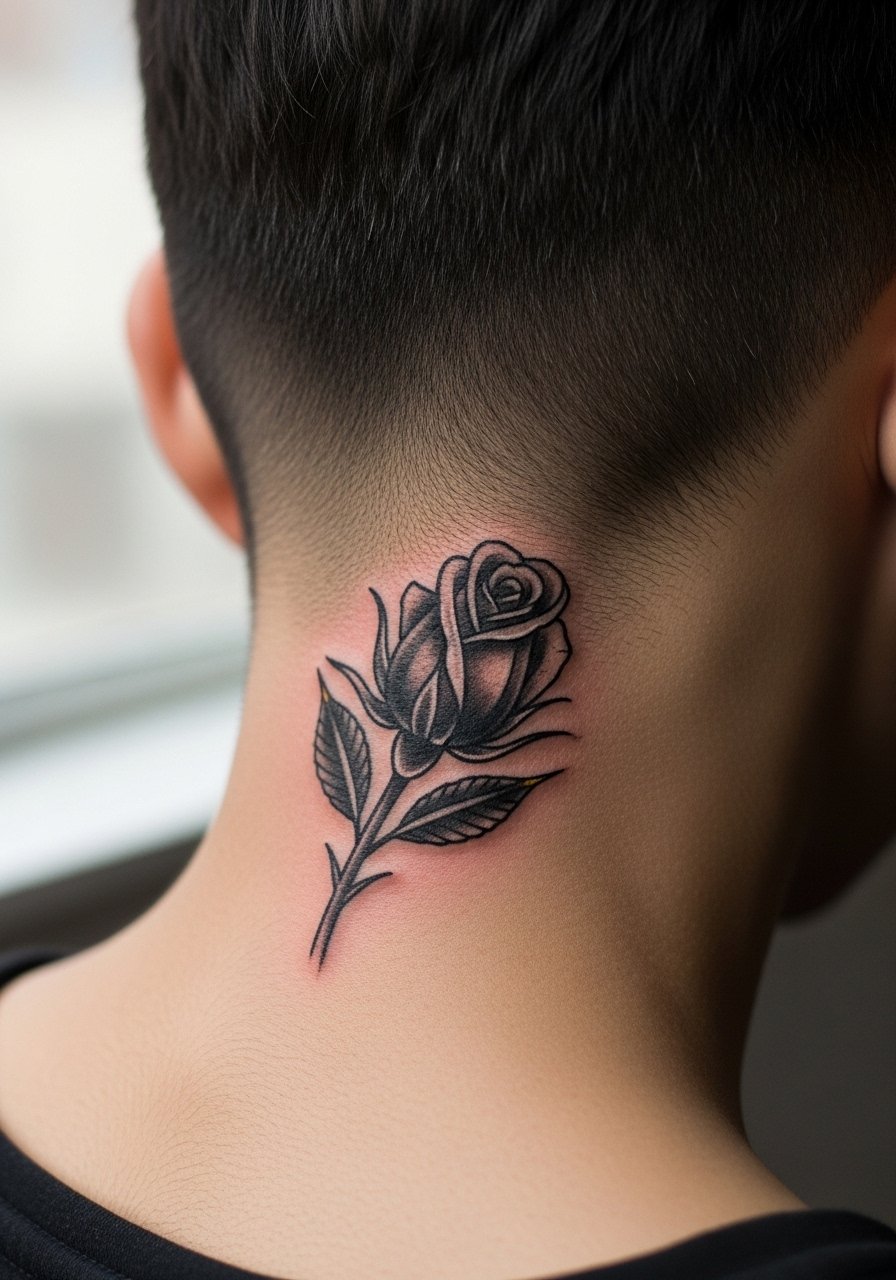
7. Black rose bud low behind the ear
A bud reads better than a fully open rose in this micro spot because petals that overlap become mushy with time. Consultation note, ask for black and gray wash with crisp petal edges and a small negative-space highlight to preserve form. The session is about 30 to 45 minutes and can feel tender where the skin is thin. Designers sometimes over-shade the petals which leads to flattening. Avoid heavy internal shading. For showing it off, wear a black lace choker necklace or side-swept hair to frame the bud. Expect touch-up timelines similar to other micro neo-traditional pieces.
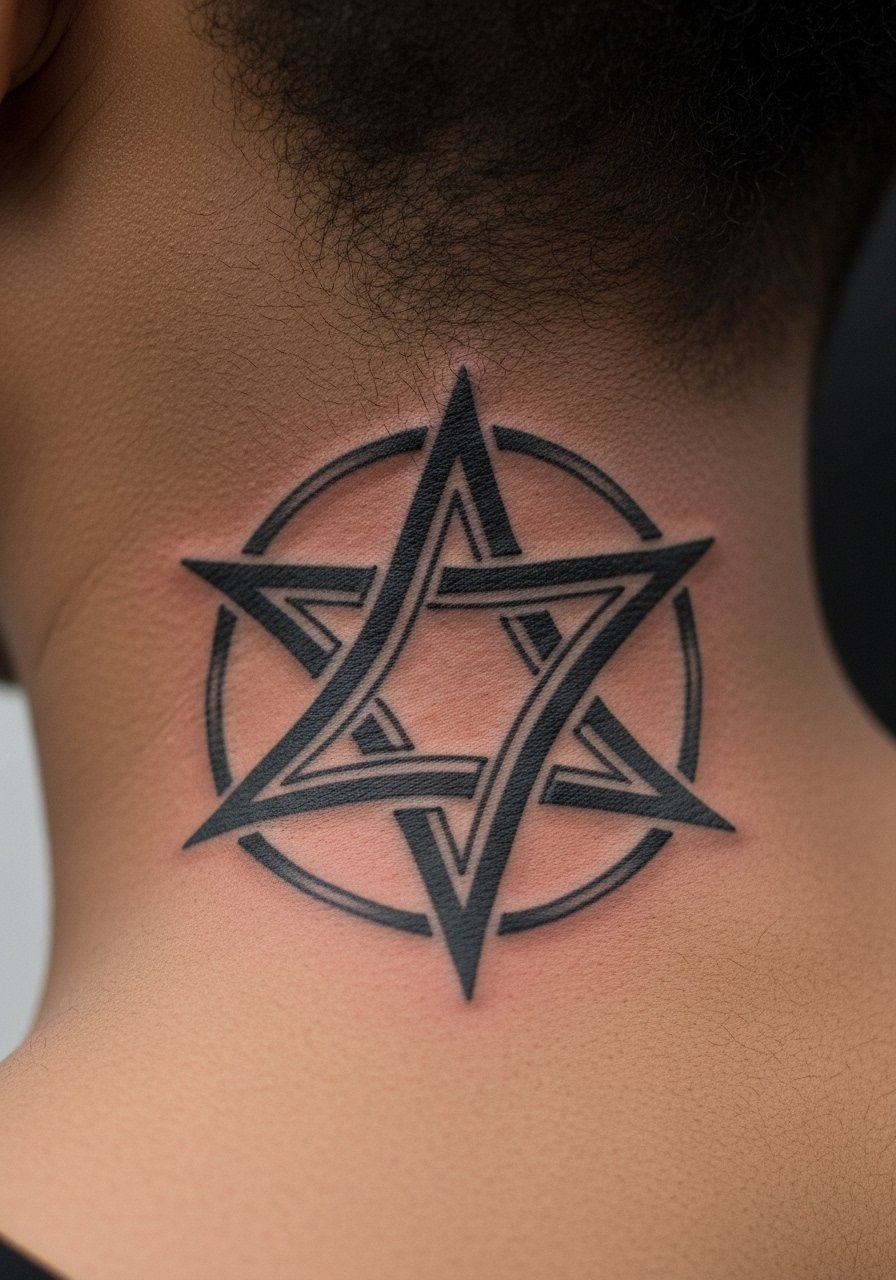
8. Pointed pentagram, ear-adjacent
When someone wants occult iconography, the pentagram is compact and readable if done at 0.7 inches with thick, confident lines. The old mistake is trying to render ornamentation inside the star. Keep it bold and simple so the shape holds as the skin settles. This area feels sharp while being tattooed for a minute or two at a time. If you work in a conservative setting, consider that a small occult symbol can still be hidden by hair or scarves. Ask the artist about spacing and line weight that favors longevity.
9. Snake coil curving the ear shape
The visual impact comes from using the ear curve as a natural wrap to suggest motion. Tell the artist to keep the coil slender with subtle shading and minimal scales. The placement plays with movement when you turn your head, which is part of the charm. Pain is short and sharp where the needle passes close to cartilage. A common mistake is trying to cram photorealistic scales into a tiny length. Keep it suggestive. Wear an asymmetrical earring on the opposite side and pair sessions with a hair ties ponytail so the artist has clear access.
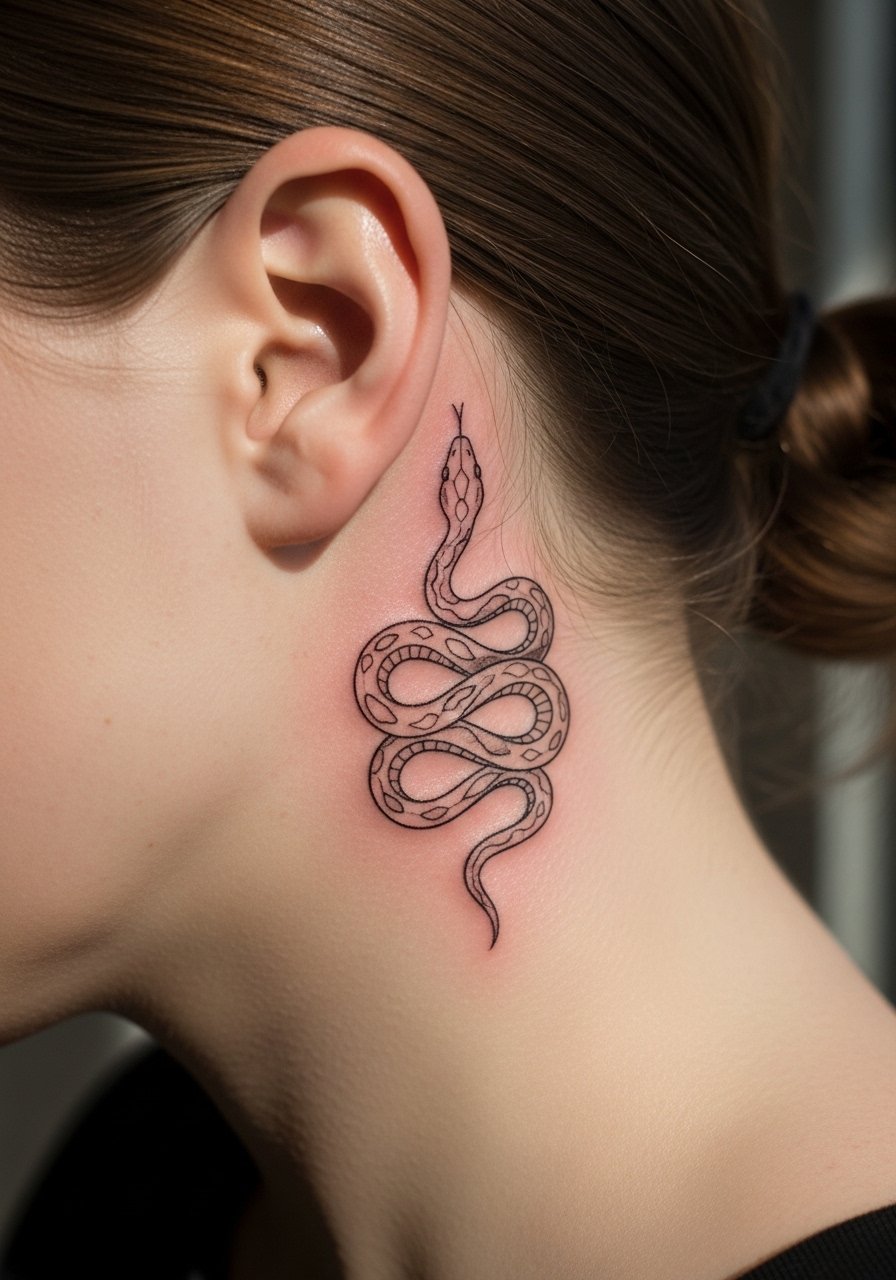
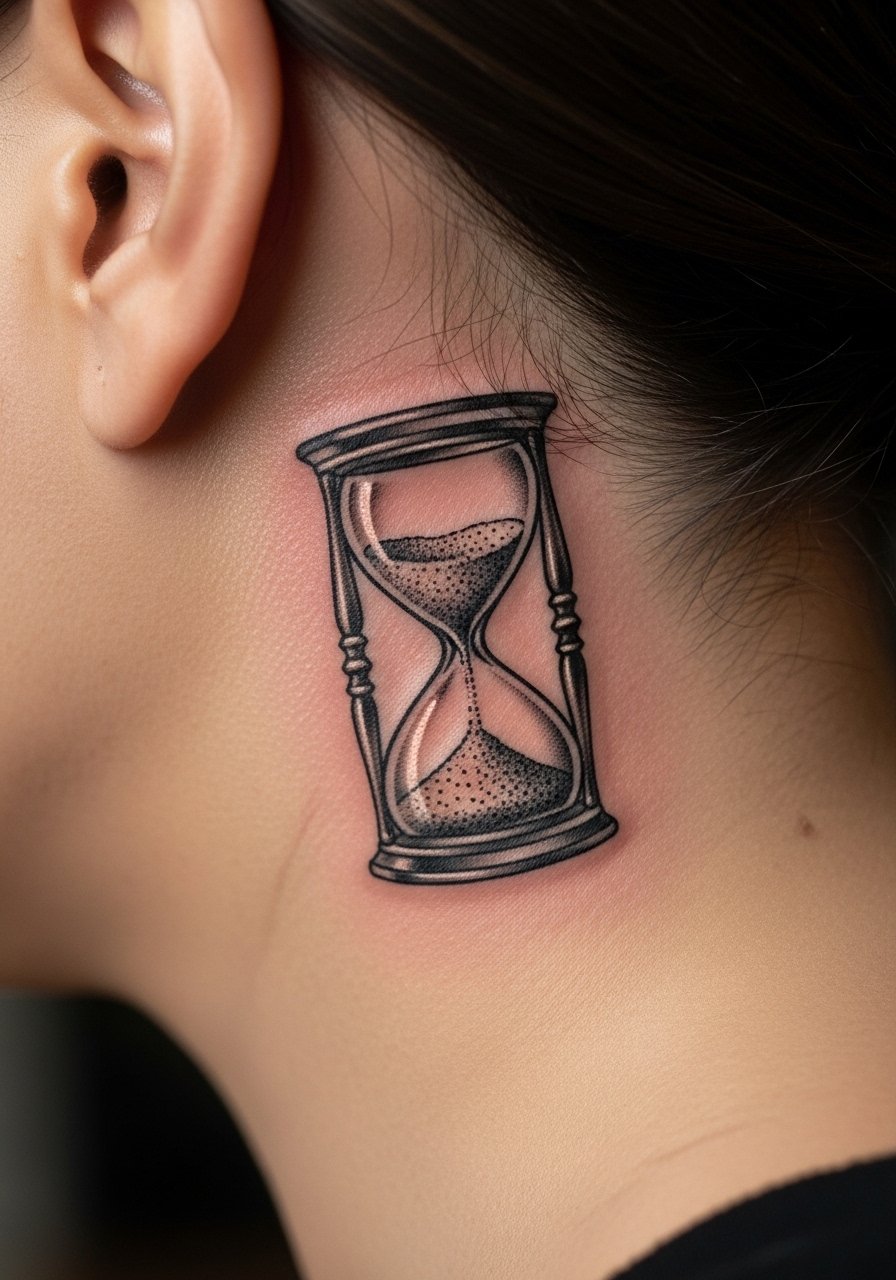
10. Hourglass with tiny sand grains, horizontal
An hourglass reads as memento mori without heavy imagery when scaled to the post-earlobe. I suggest micro-realism dots for the sand and a slightly bolder frame so the silhouette stays legible. Sessions are short but can feel jumpy because of proximity to cartilage. The mistake is tiny script or symbols inside the glass. Those blur into the sand effect after a couple of years. This design suits someone after a private reminder rather than a showpiece. Ask for a touch-up timeline up front.
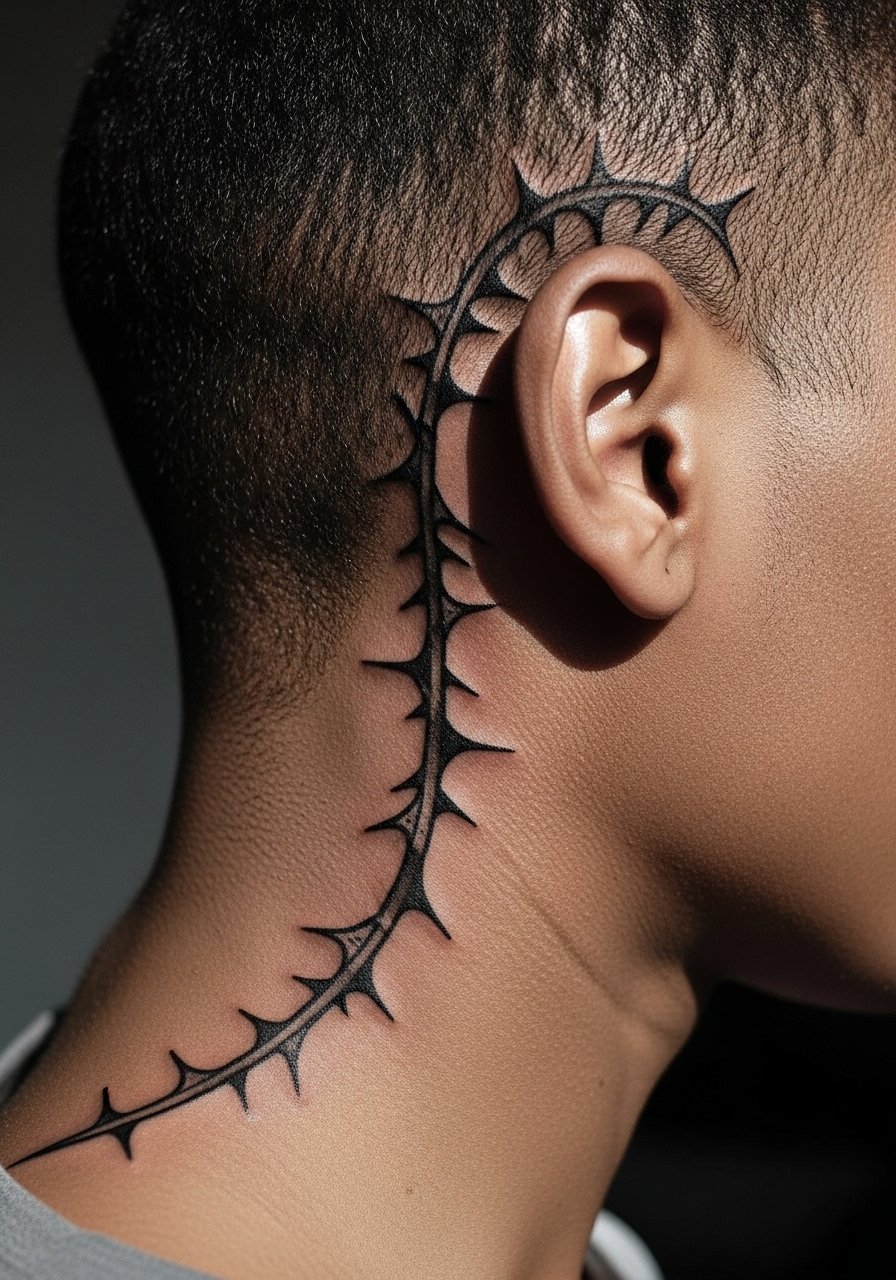
11. Thorn vine edging the ear contour
I like thorn vines for their graphic border effect. For behind-ear work, a 1.4-inch vine with spaced thorns avoids overcrowding. Tell the artist to keep thorns pointed but not densely packed. Pain is manageable but the thin skin can sting near each barb. People sometimes ask for continuous dense vines that look heavy when healed. Instead choose rhythm and spacing. For winter looks try an off-shoulder knit or v neck sweater to let small glimpses show without exposing the piece constantly.
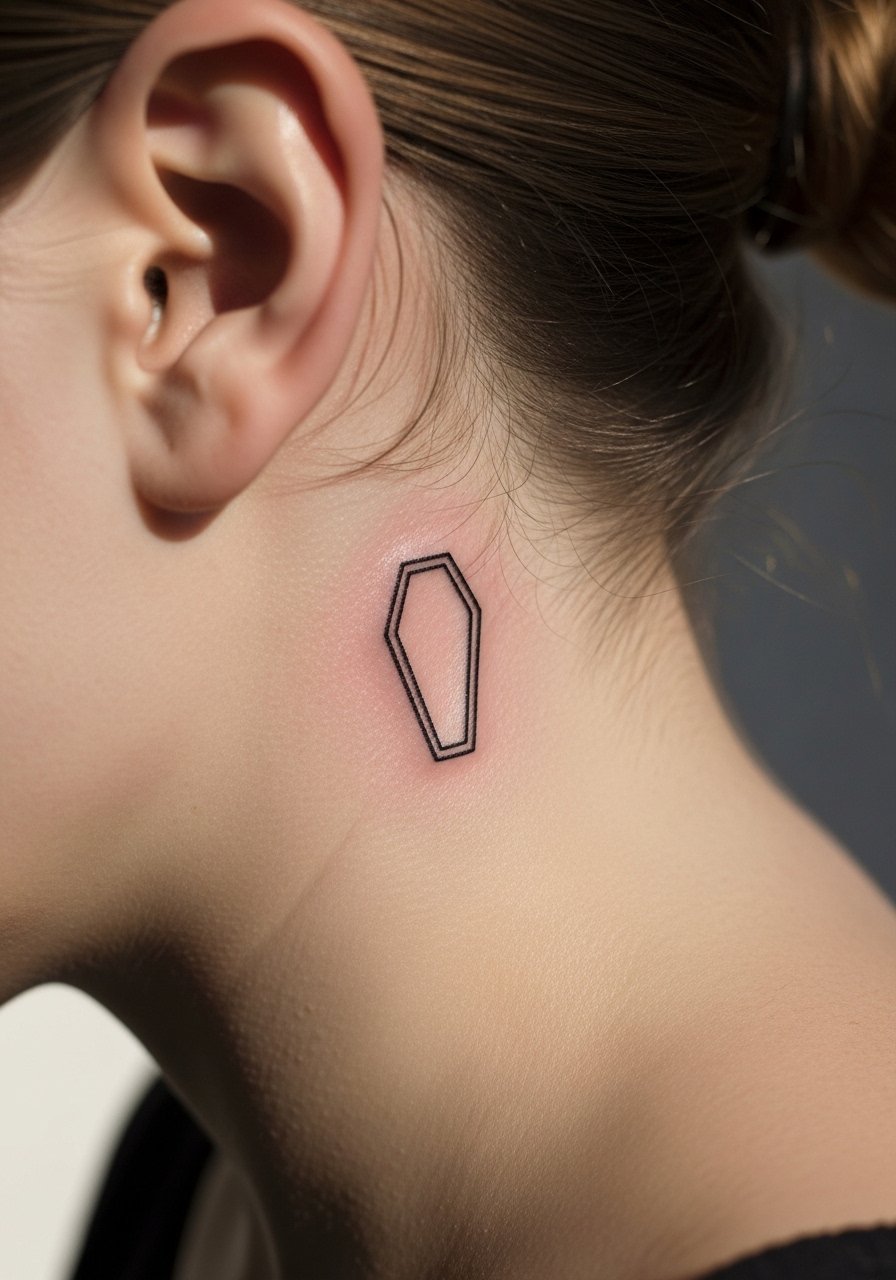
12. Tiny coffin silhouette tucked behind the lobe
This micro outline has a bit of humor and memento mori at a glance. Go for a 0.6-inch minimalist outline and avoid interior shading. The session is very quick and the sting is mild. Common mistakes include adding text or ornate hinges that do not survive long on thin skin. This is the kind of private symbol that hides under hair and shows when you want it to. Keep expectations modest and plan to revisit for a touch-up if edges soften.
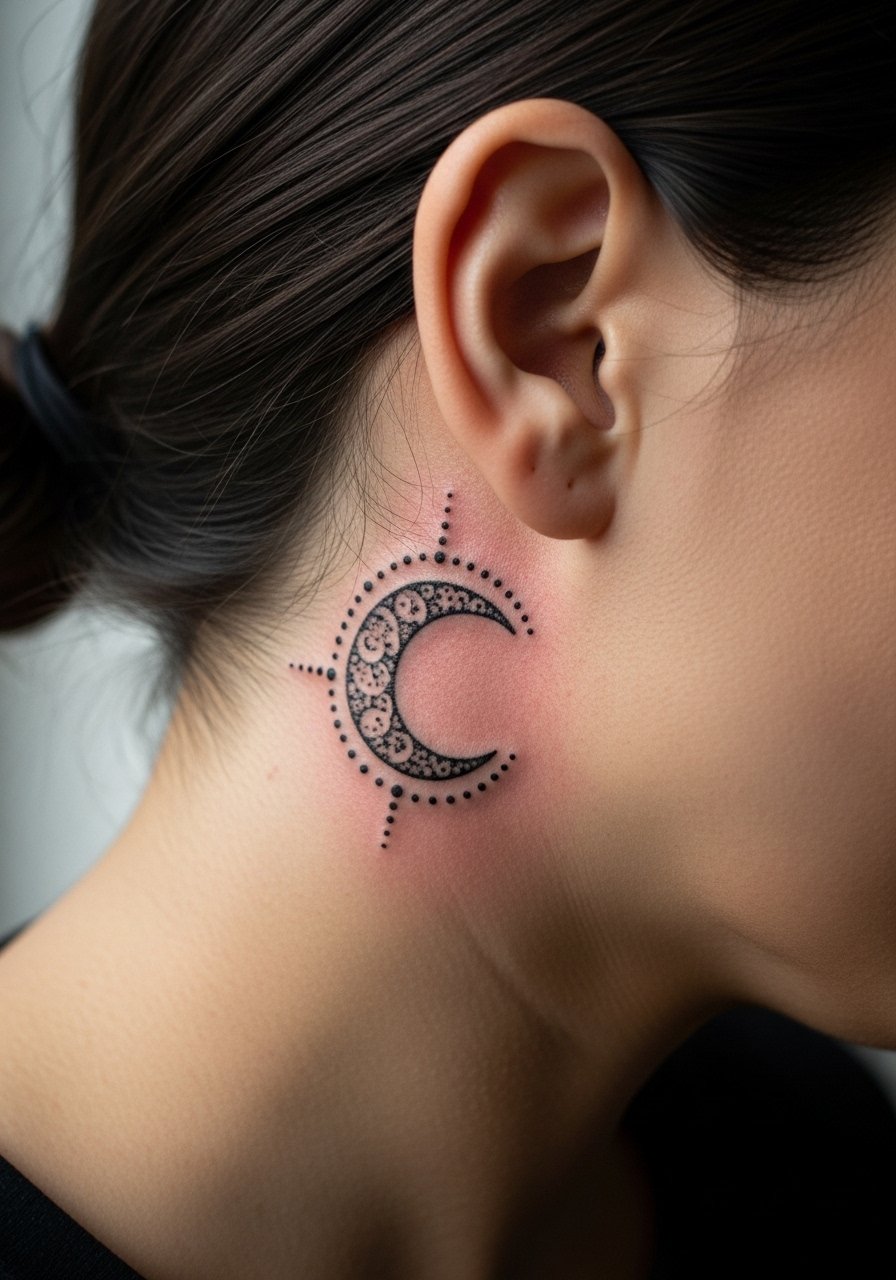
13. Crescent moon with dot halo, peek-a-boo post-earlobe
Most people pick a halo of dots to add texture without heavy shading. Ask your artist for spaced dotwork rings rather than packed stippling. The look ages by losing contrast in the halo first, so maintain higher contrast for outer dots. Pain is low and sessions are breezy. Mistakes include requests for blackfill around the moon which takes away the delicate feel. Pair it with a slinky black turtleneck slim for a seasonally moody reveal.
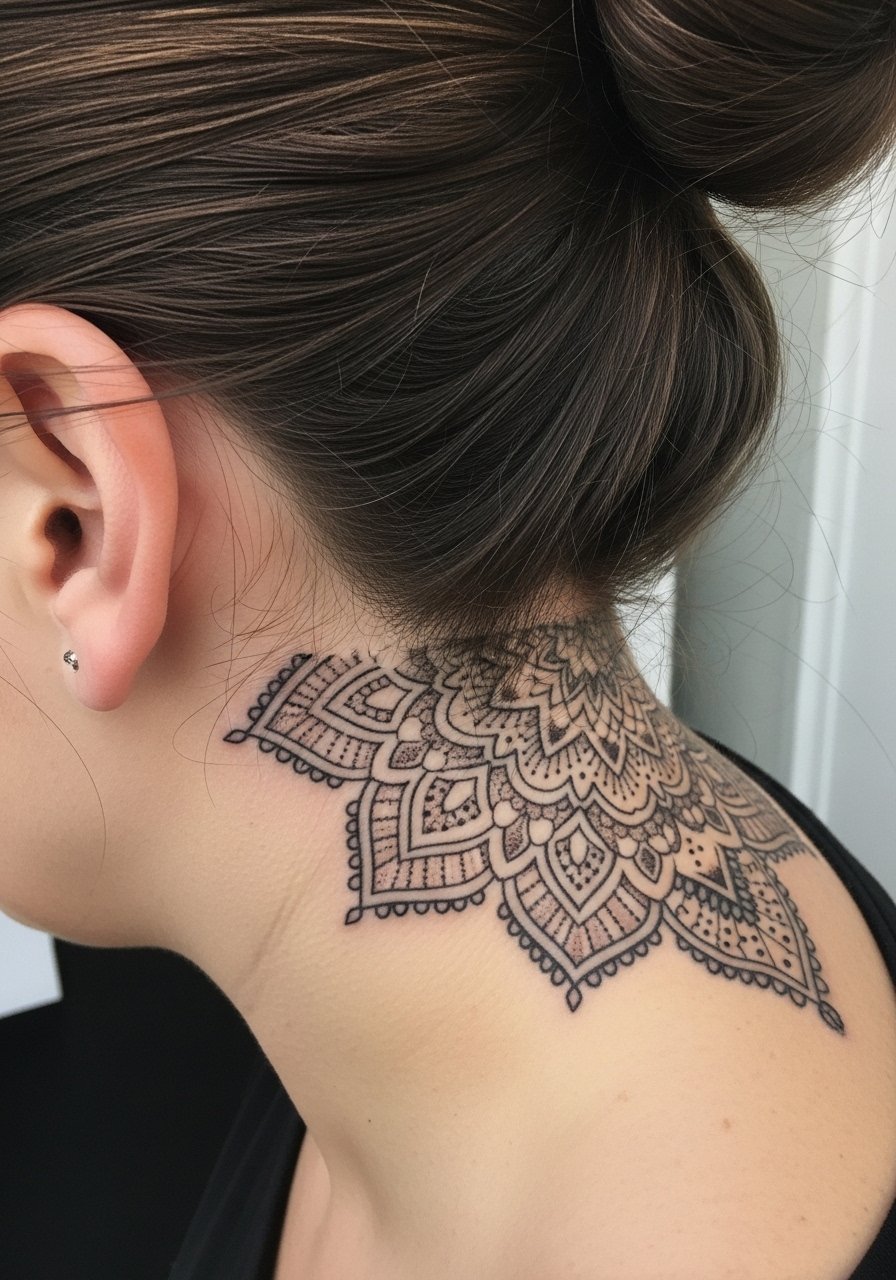
14. Miniature lace mandala fragment at the ear base
Artists disagree on ultra-fine mandala fragments in this spot. One group argues intricate mandalas at tiny scale lose detail quickly. The other says with proper spacing and slightly heavier linework the pattern holds. I suggest compromise, slightly increase spacing between spokes and use stipple shading for depth. This piece takes longer than a silhouette but fits a compact square inch. If you want to keep crisp spokes, budget a touch-up at year two. For session wear, have a loose button-down you can pull aside.
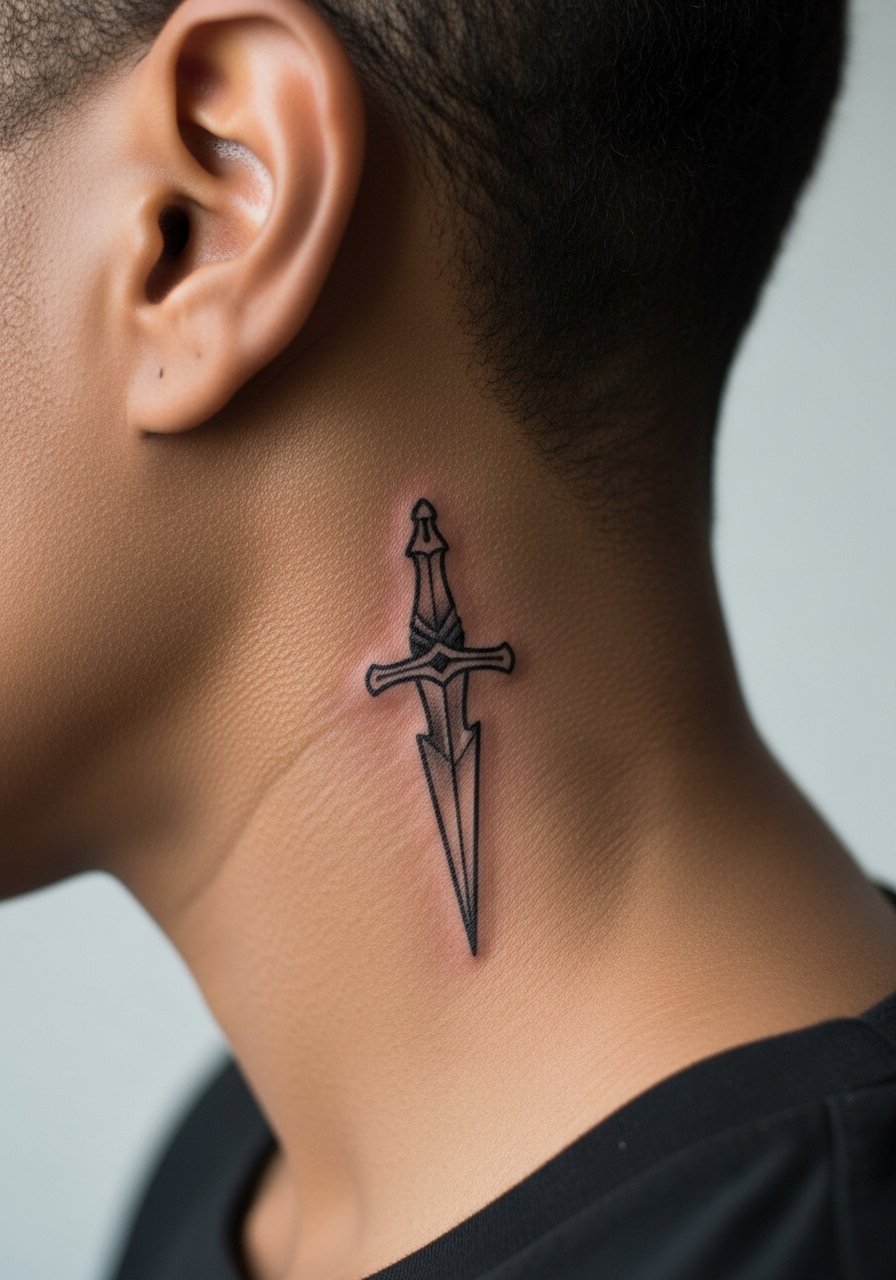
15. Small dagger tip angling down the neck
The dagger reads bold because of its geometry. For a tiny dagger, request clean black outline and a thin gray wash to suggest metal without heavy fill. The needle will hit small zones near bone so expect sharp pinches. People sometimes insist on ornate handles that do not survive the small scale. Keep the handle simple. Pair this with a loose button-down shirt you can shift for the session and to show the dagger casually.
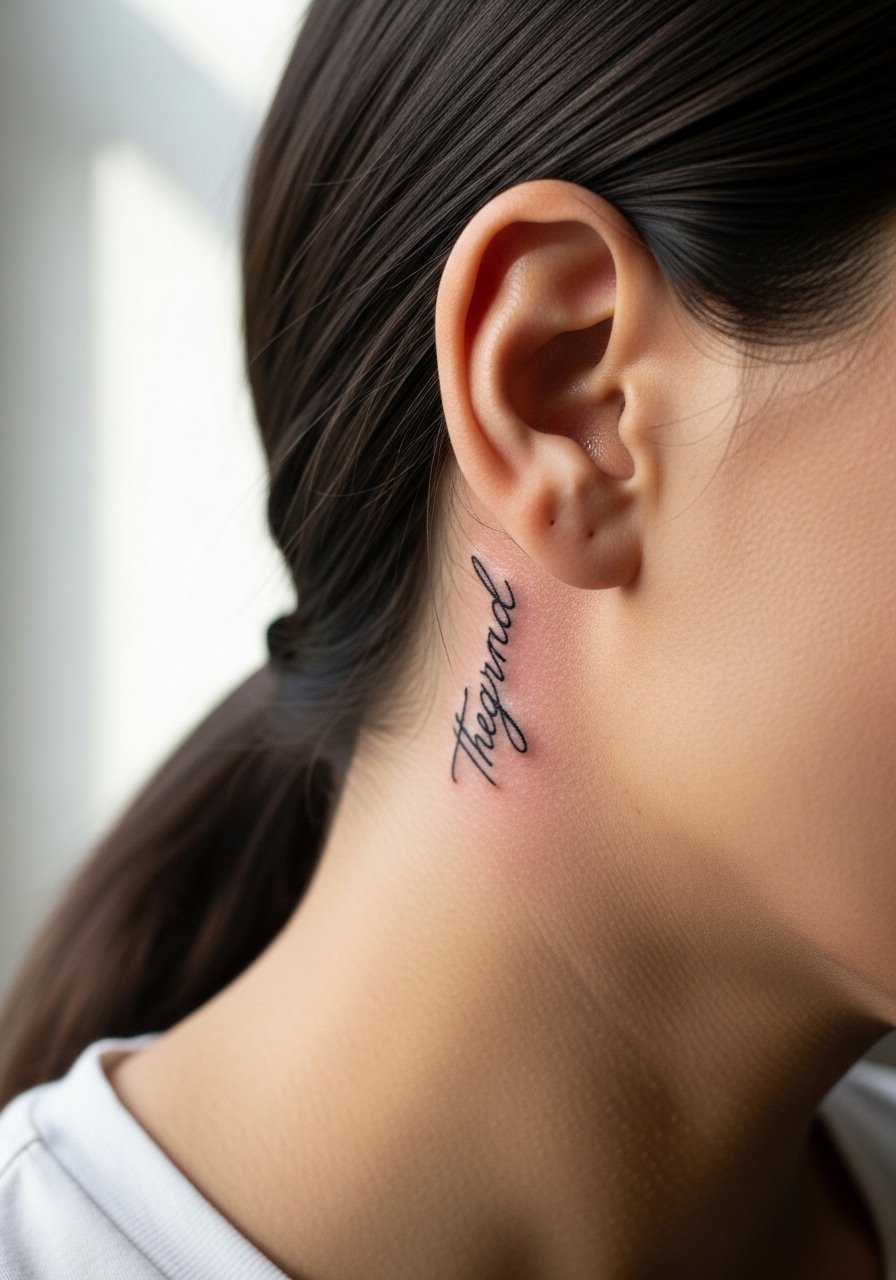
16. Minimalist script word, tiny blackletter strip
Text needs extra care in tiny placements. If you want a word, choose a short one and request blackletter or condensed script with the artist drawing exact letters onto the stencil. Avoid thin single-needle scripts that vanish. The session is quick but exact placement matters because even a small rotation changes legibility. If the text has cultural origins, consider a respectful variation rather than a direct historic replication. Plan for touch-up if letters soften.
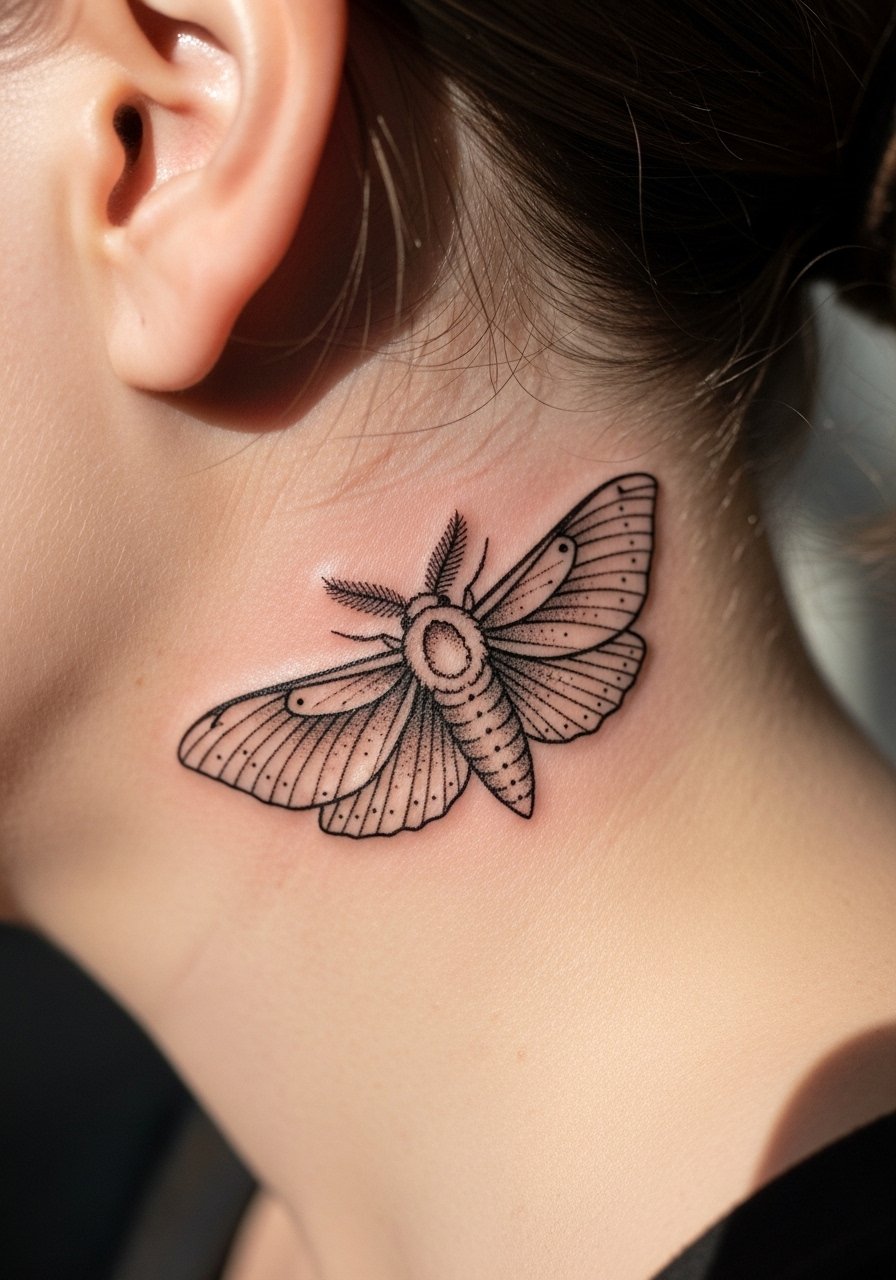
17. Tiny moth with open wings, symbology of night
A moth is a softer nocturnal option than a bat and scales well into small areas with a bit of dot shading. Tell the artist to emphasize wing outline and keep internal markings sparse. This piece balances detail and durability nicely. Expect a 30-minute session with some sensitivity near the ear lobe. Pair with a bobby pins black updo to let the moth peek when you want it to.
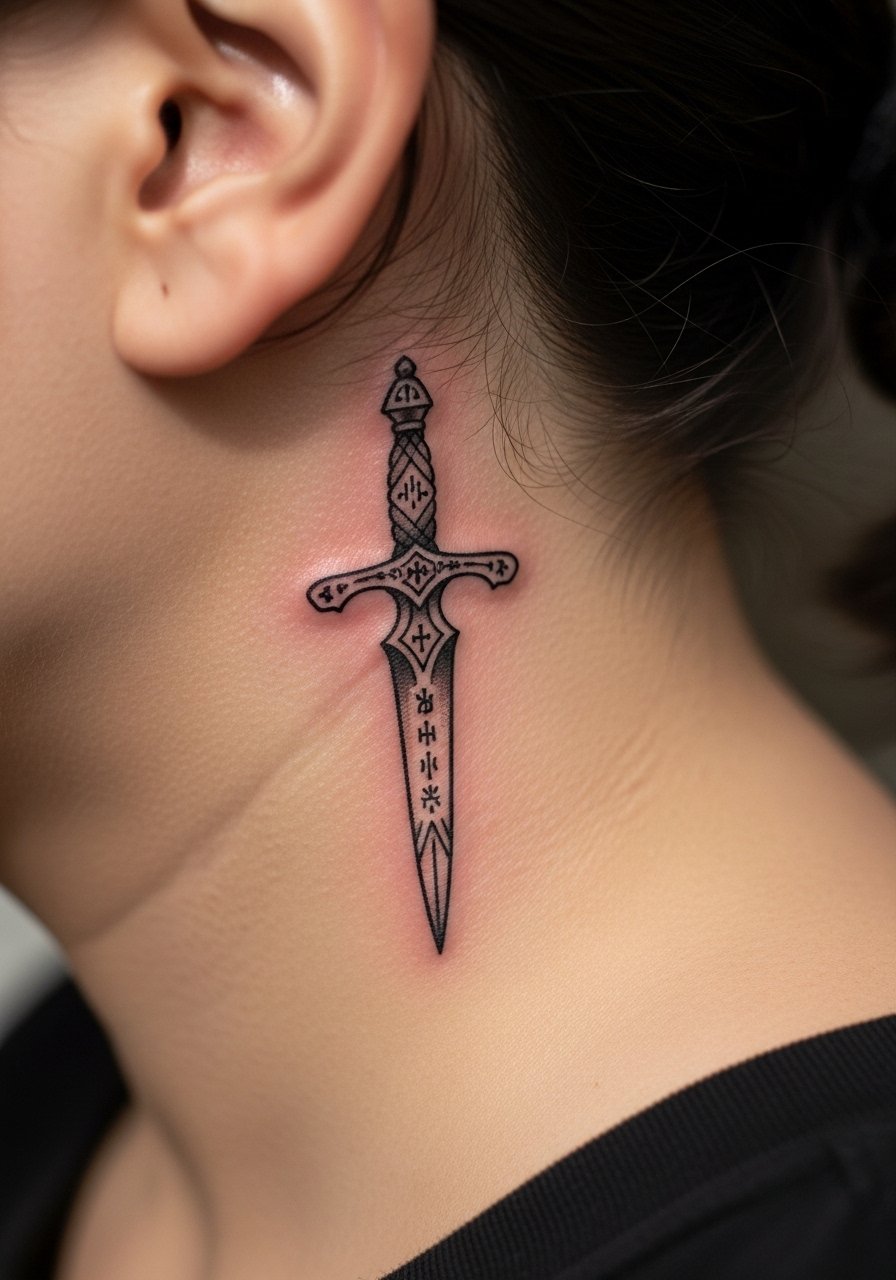
18. Micro-ornamental dagger with occult accents
If you want occult accents without a full symbol, put thin sigils around a small dagger. Keep any occult elements minimalist so they do not fill into one block of shading. Short sessions and focused stances from the artist keep needle time reasonable. Mistakes include trying to cram too many sigils into a tiny band. Simplicity reads better long term. Consider a subtle stud earring opposite the tattoo to balance.
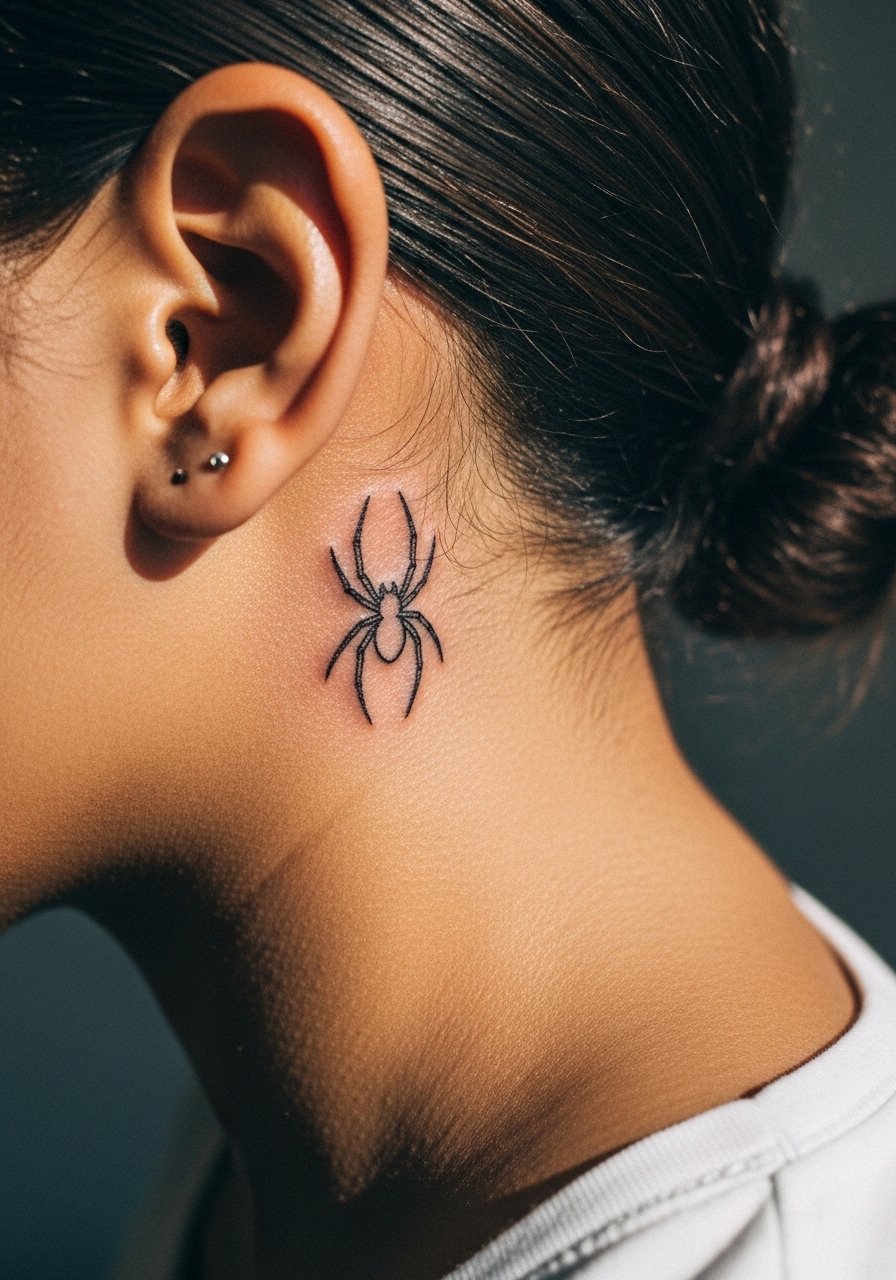
19. Delicate spider in single-line form
A single-line spider makes for a graphic micro piece that avoids dense fills. Ask for legs with tiny negative gaps so they do not merge when the skin changes. The session is short and the area sensitive near cartilage. The common error is dense shaded bodies which flatten against the ear. This outline style pairs well with a tilted fishnet headband goth for a witchy editorial look.
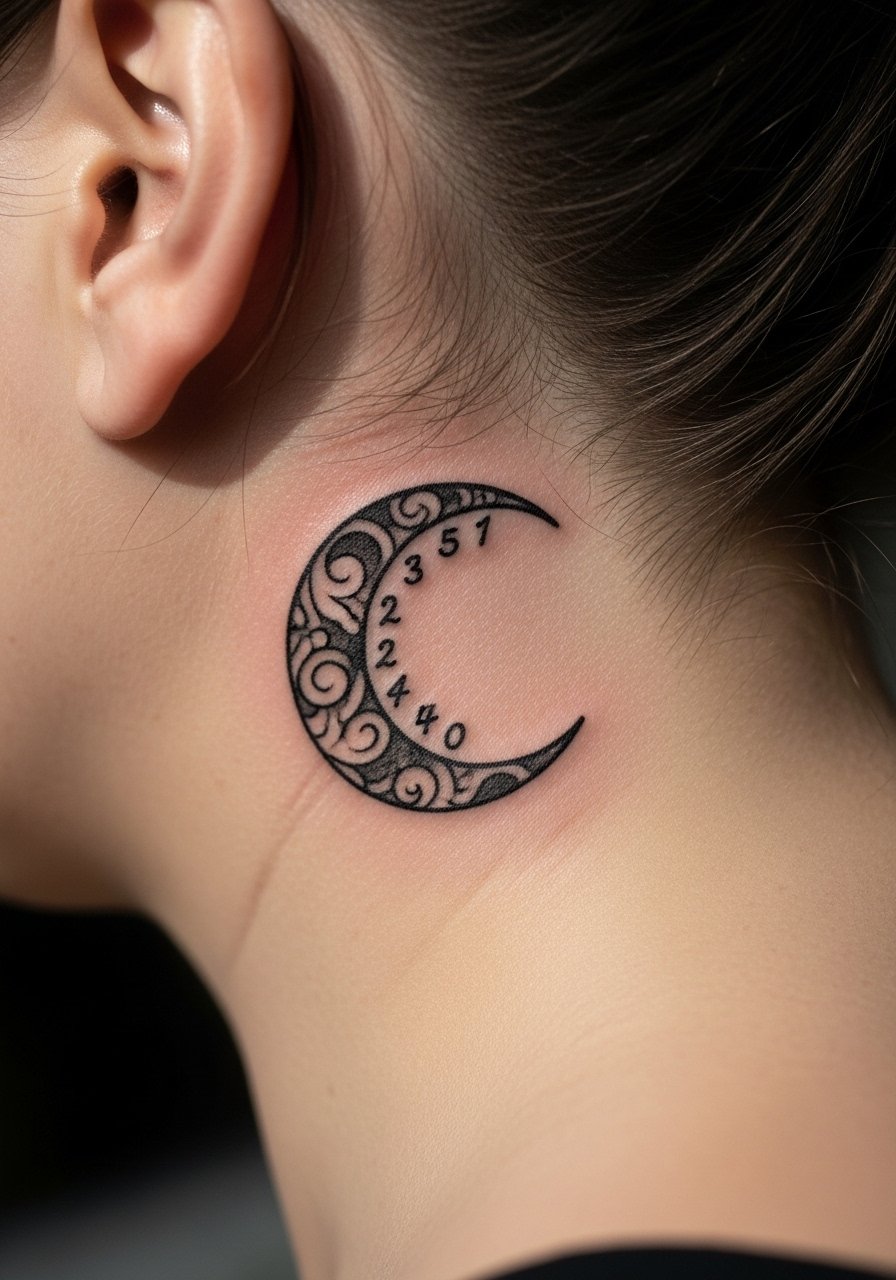
20. Crescent moon with a small script date inside
When combining text and symbol, use short numerals in a simple font and ask the artist to place the date so it will remain legible. The trick is minimal interior marks and a confident outer curve. Sessions are short but exact stencil placement is essential. Avoid long phrases in that area. If you want to show it, a thin chain pendant sits below without competing.
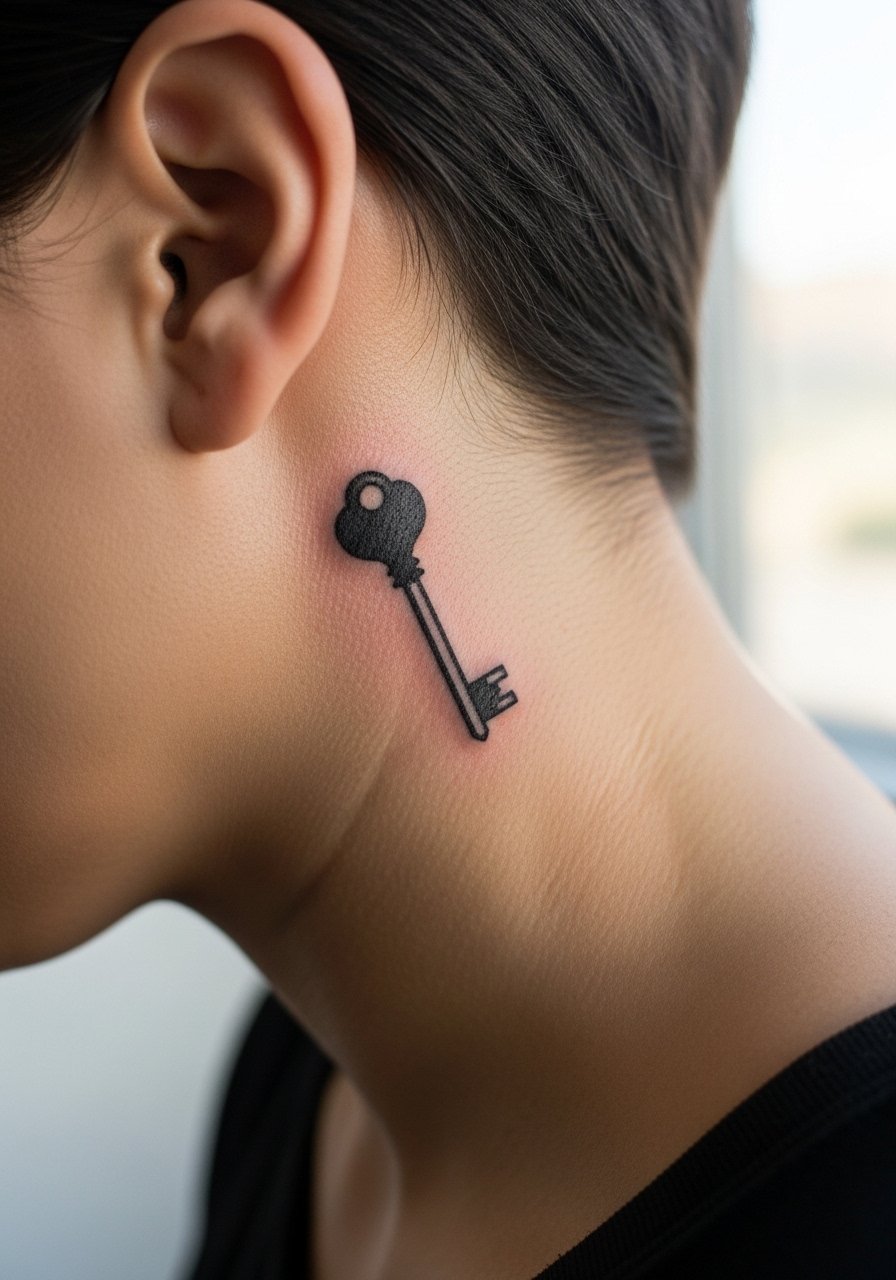
21. Tiny key silhouette with tiny ornate bow
A key reads symbolic and small when done with a clear silhouette and avoided inner filigree. For a one-inch key, keep the bow open and the shaft clean. The area can sting in quick pulses while tattooed. People often ask for micro-mechanisms that do not hold, so simplify. For outfits, a dainty stud earrings pair complements the key without overcrowding the ear zone.
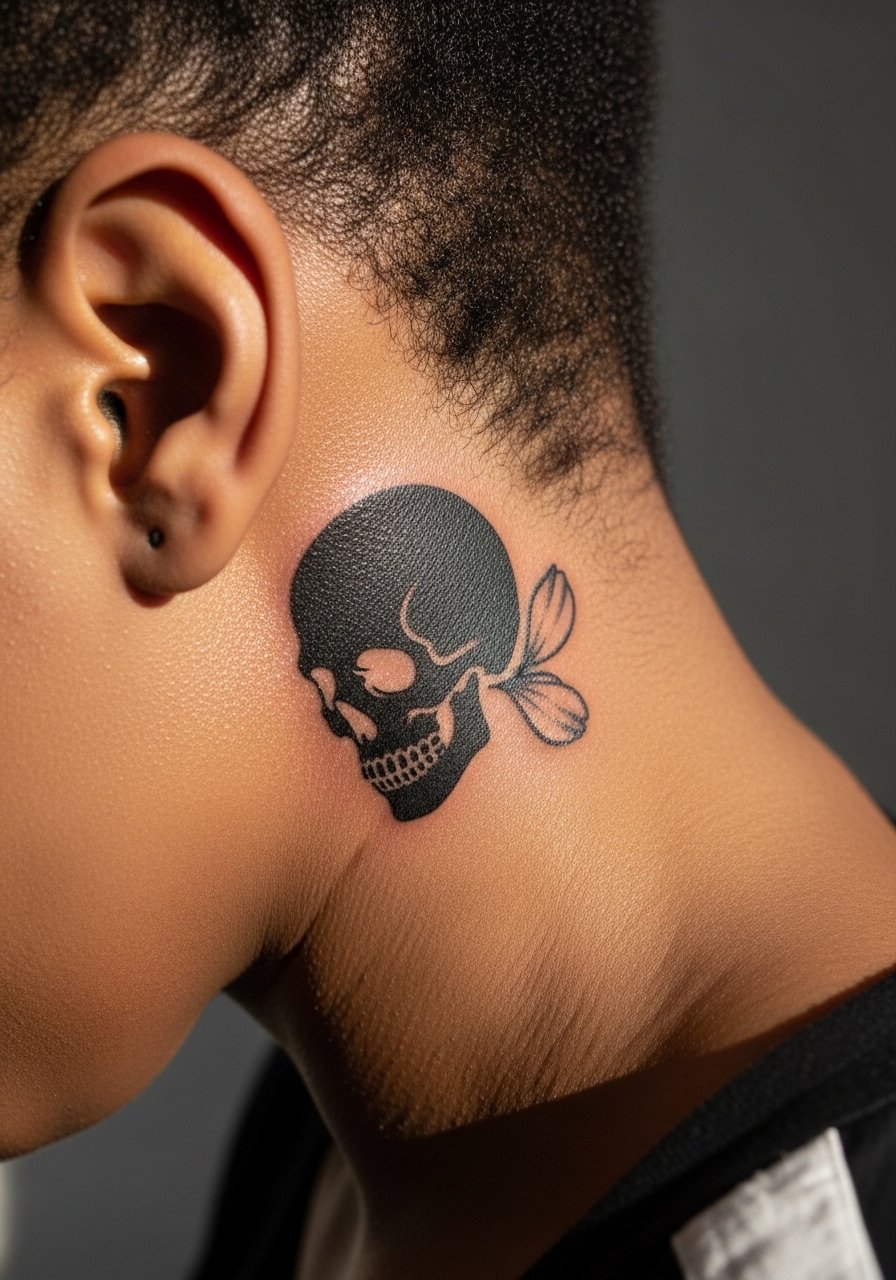
22. Tiny skull-with-floral-accent, scaled to avoid detail loss
When combining skull and flower motifs, scale the skull as a silhouette and add a single petal or thorn for context. That keeps the motif readable over time. Expect a slightly longer micro session but still under an hour. Avoid tiny teeth and internal cranial detail which merge on thin skin. This hybrid reads as a nod to mortality and pairs nicely with side-parted hair. If you have darker skin, discuss contrast techniques with the artist to avoid muddying.
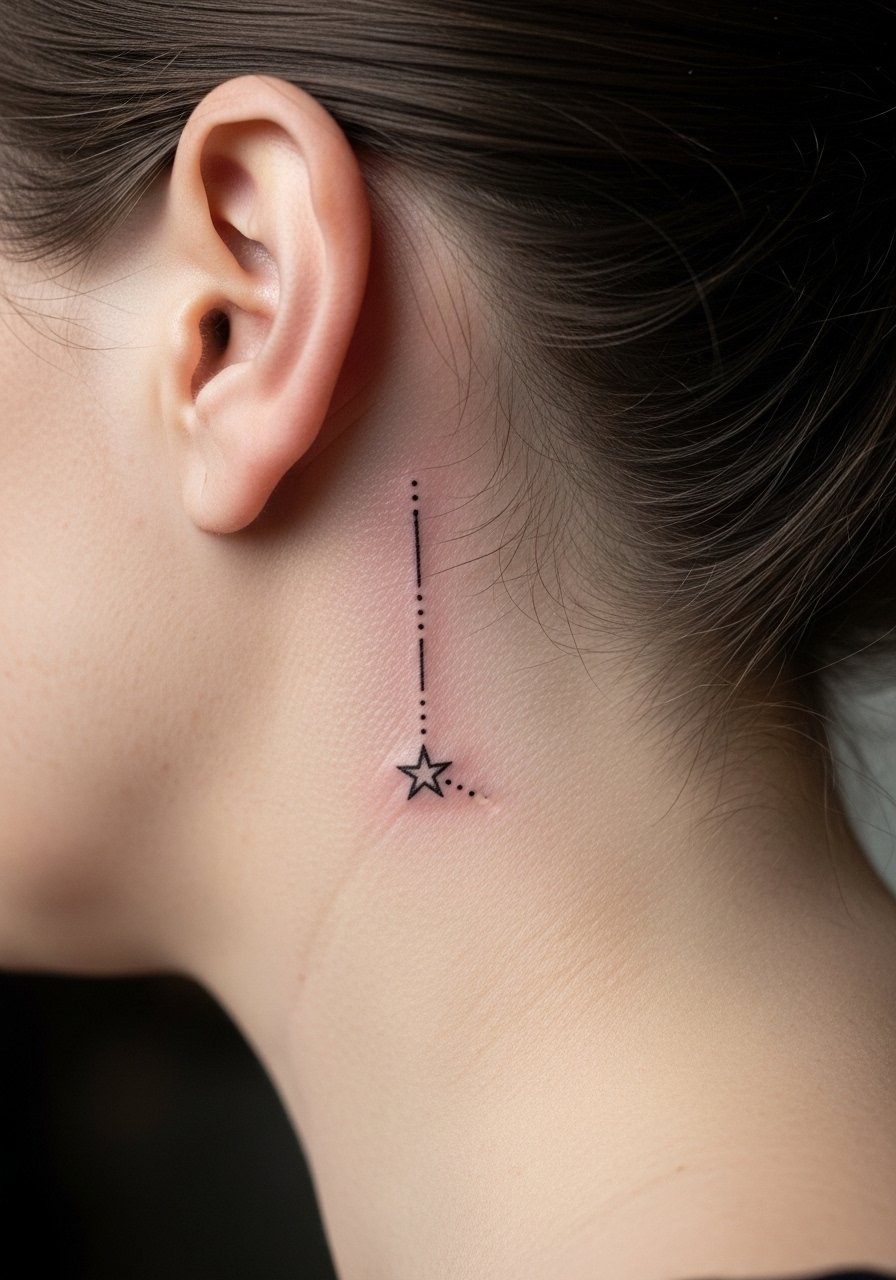
23. Micro constellation line with one filled star
A constellation arc that hugs the post-ear curve gives motion without dense ink. Ask for one filled star and spaced tiny dots to hold pattern after healing. People sometimes overpopulate with dots which can become a gray smudge. The session is brief and the area is sensitive only on small spots. For visibility choose a hairstyle that exposes the area and consider a simple silver moon earrings pairing for nights out.
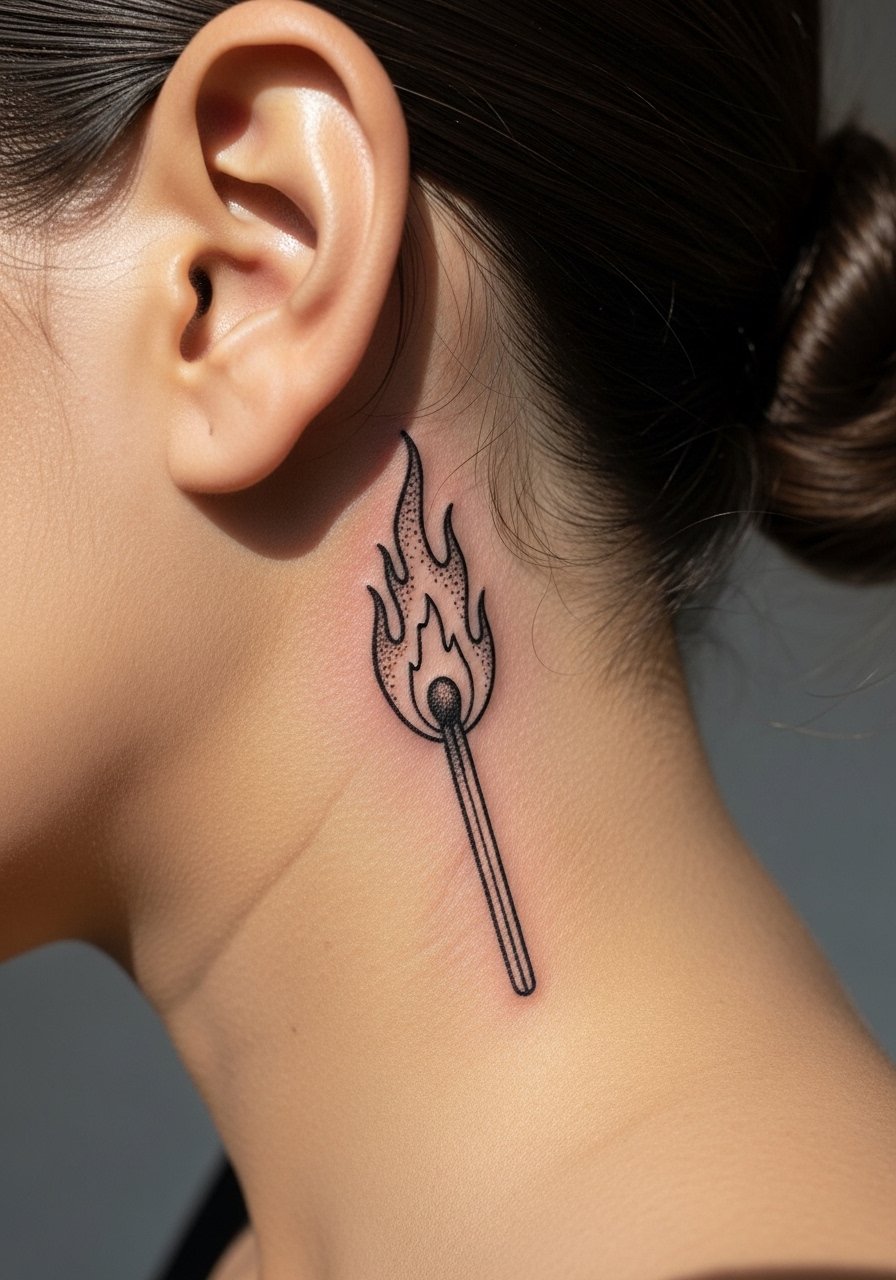
24. Tiny flame or matchstick tip near the lobe
A matchstick or tiny flame reads bold when the outline is confident and the inner shading minimal. This design is a quick session and more tender closer to cartilage. People ask for heavy flame fills that age into a blob. Keep the interior open or stippled for texture. For session day wear a loose top and bring a high bun hair tie so the artist has unimpeded access.
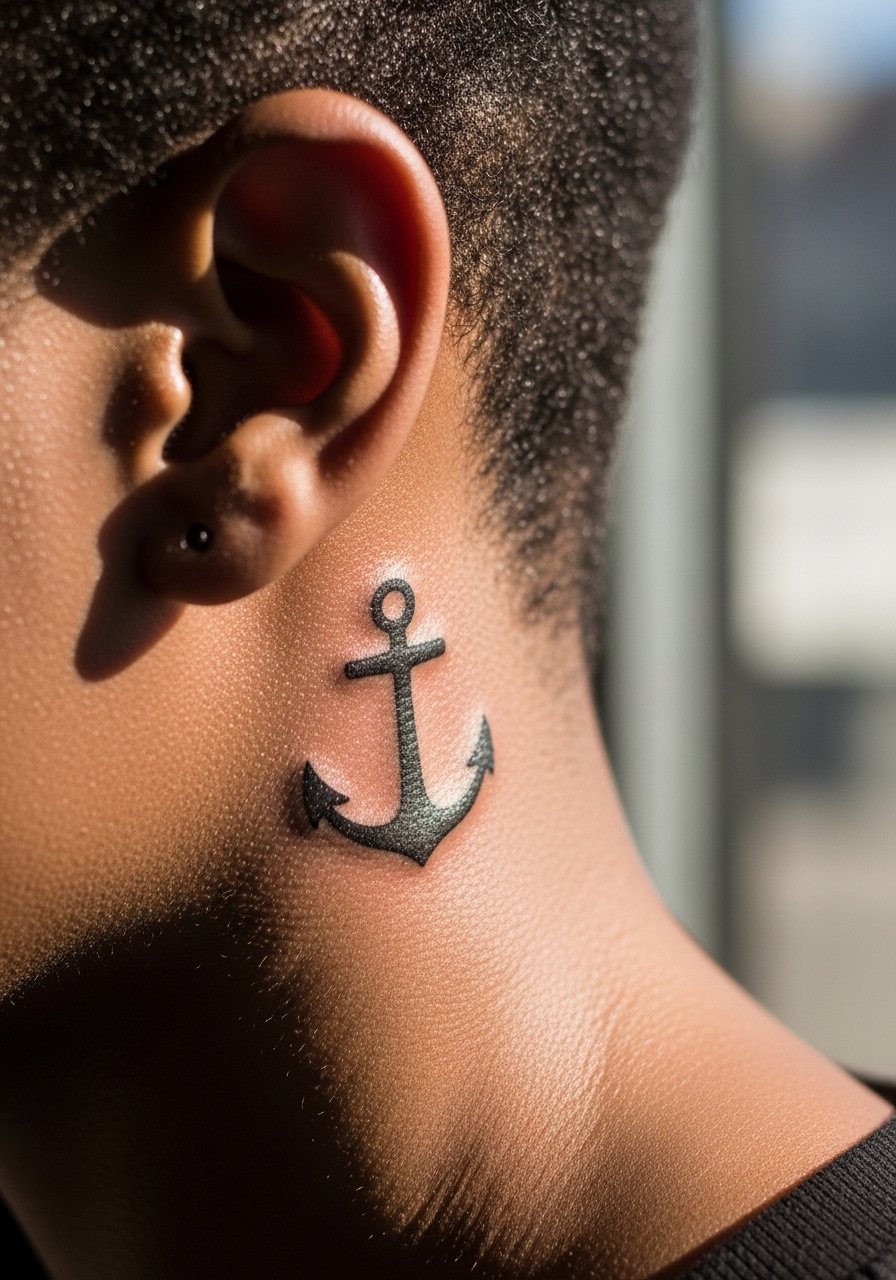
25. Tiny anchor with a single dot accent
Anchors scale well as silhouettes and carry the straightforward graphic legibility this placement needs. Request a simple shaft and rounded base with a single dot accent to avoid internal clutter. Expect a very short session and minimal aftercare beyond normal cleaning. A mistake is adding rope details that fill the tiny area. Pair the reveal with a cropped collar or a thin chain necklace below.
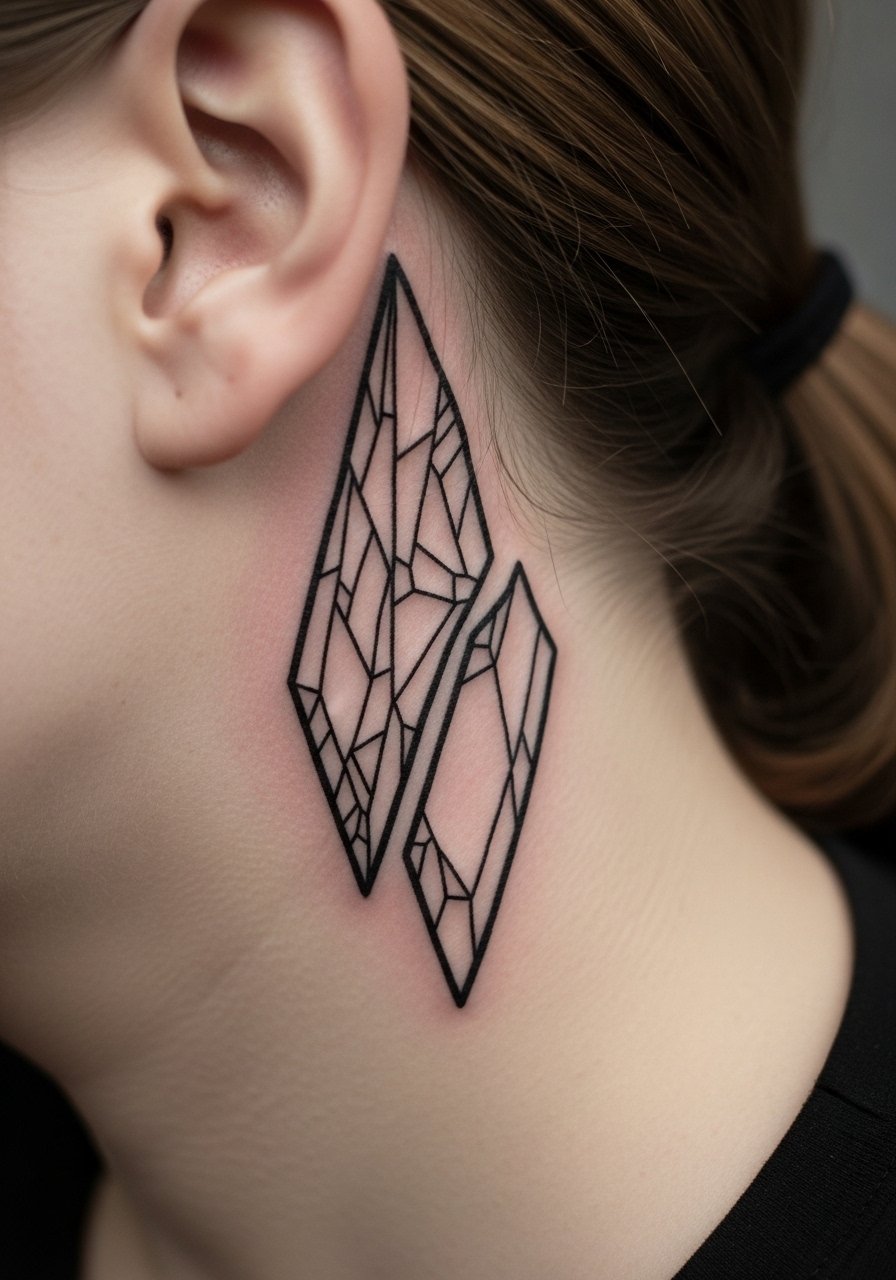
26. Micro geometric shard, angled with the ear
Geometric shards read modern and scale well with negative space. Ask for slightly thicker outer lines so the shard keeps form as the skin settles. The session is quick but exact stencil placement matters for the angle to flatter the ear. Designers sometimes overdo internal linework that vanishes. Keep internal geometry sparse. For a night out try a high-neck or collared piece that lets the shard peek.
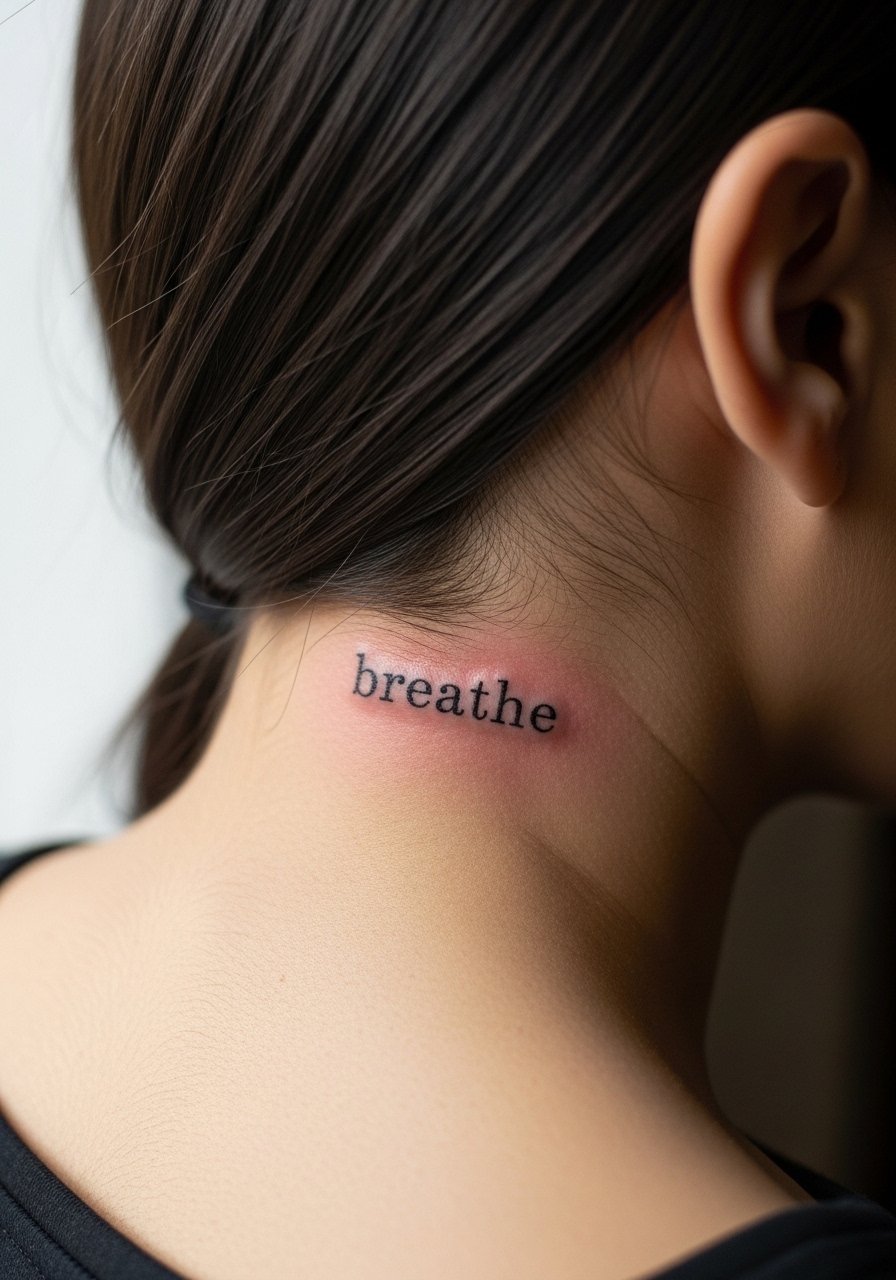
27. Tiny script that doubles as a discreet name or word
Short scripts like a single name or a tiny word can be meaningful when executed with clear lettering and slight weight. Tell your artist the exact font and have the stencil placed and checked while you move your head. The area is sensitive at points but sessions are short. A common error is choosing a flowy script that becomes illegible. If you need help finding artists who specialize in tiny placement, search #gothmicrotattoo or #behindeargoth on social platforms and use apps that filter by blackwork. For session prep wear a loose top and bring a small hair clip.
Frequently Asked Questions
Q: Do fine line designs behind the ear really fade faster than bold blackwork?
A: Yes, they often do. Fine line fans argue the look is worth touch-ups. Bold blackwork advocates say thicker lines last longer on thin skin. In practice the right approach depends on your priorities. If longevity matters more than ultra-subtle detail, ask an artist to slightly increase line weight and plan for a touch-up at year two.
Q: How painful is a behind-ear tattoo and how long will sessions run?
A: Expect sharper spots because the skin is thin and close to cartilage. Most micro pieces finish under 45 minutes. Ice beforehand and short breaks during the session make it manageable. For anyone nervous, topical numbing options are available but ask the shop about their policy.
Q: What should I wear to the appointment for a behind-ear piece?
A: Wear a loose top or a button-down you can move aside and have hair secured with a hair clips updo or ties so the artist has unobstructed access. Comfort and ease of access reduce session time and let the artist focus on crisp linework.
Q: How do I find tattooers who can do precise tiny gothic work without blowing up the size?
A: Search style-specific tags like #gothmicrotattoo and #behindeargoth, use platforms that filter by blackwork, and ask to see healed photos of similar small placements. Bring clear references and ask the artist about healed results rather than only fresh photos.
Q: Will a small blackwork behind-ear tattoo look muddy on darker skin tones?
A: Darker skin can show less contrast with very fine gray shading. Ask for stronger linework and high-contrast negative-space elements. Many artists recommend a slightly bolder outline or stipple shading to keep the design legible as it heals.
