
Fine line behind-ear trends look great online, but what holds up after a year is a different story. I've seen bold blackwork last longer in that skin, and I have also heard complaints about shampoo irritation and tiny pieces fading faster than expected. Below are 21 ideas that factor in contour, longevity, and how to hide or show the ink depending on your haircut and wardrobe.
1. Single Neo-Traditional Angel Wing Behind Ear
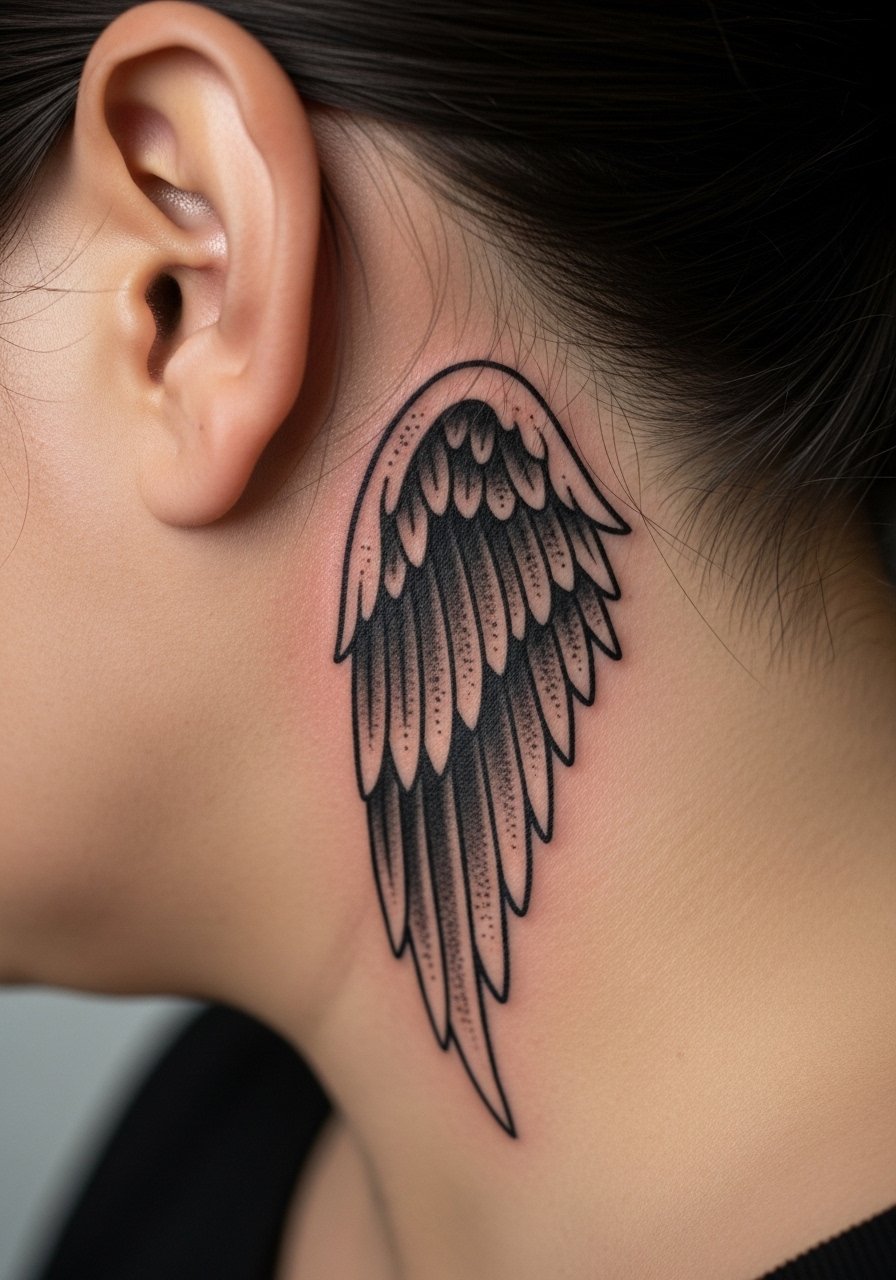
An angled single wing reads masculine without shouting, and I recommend it when you want symbolism without full-on chest pieces. Tell your artist to keep the primary flight feathers bold and the micro feathers stippled for texture. The common mistake is asking for extreme fine detail in a 1-inch piece, which tends to blur over time. Pain is low for most people and a single session usually does the job. Pair this with a side-parted short haircut and a fitted men's crewneck tee black to let the wing peek out on casual days.
2. Lightning Bolt That Follows the Ear Curve
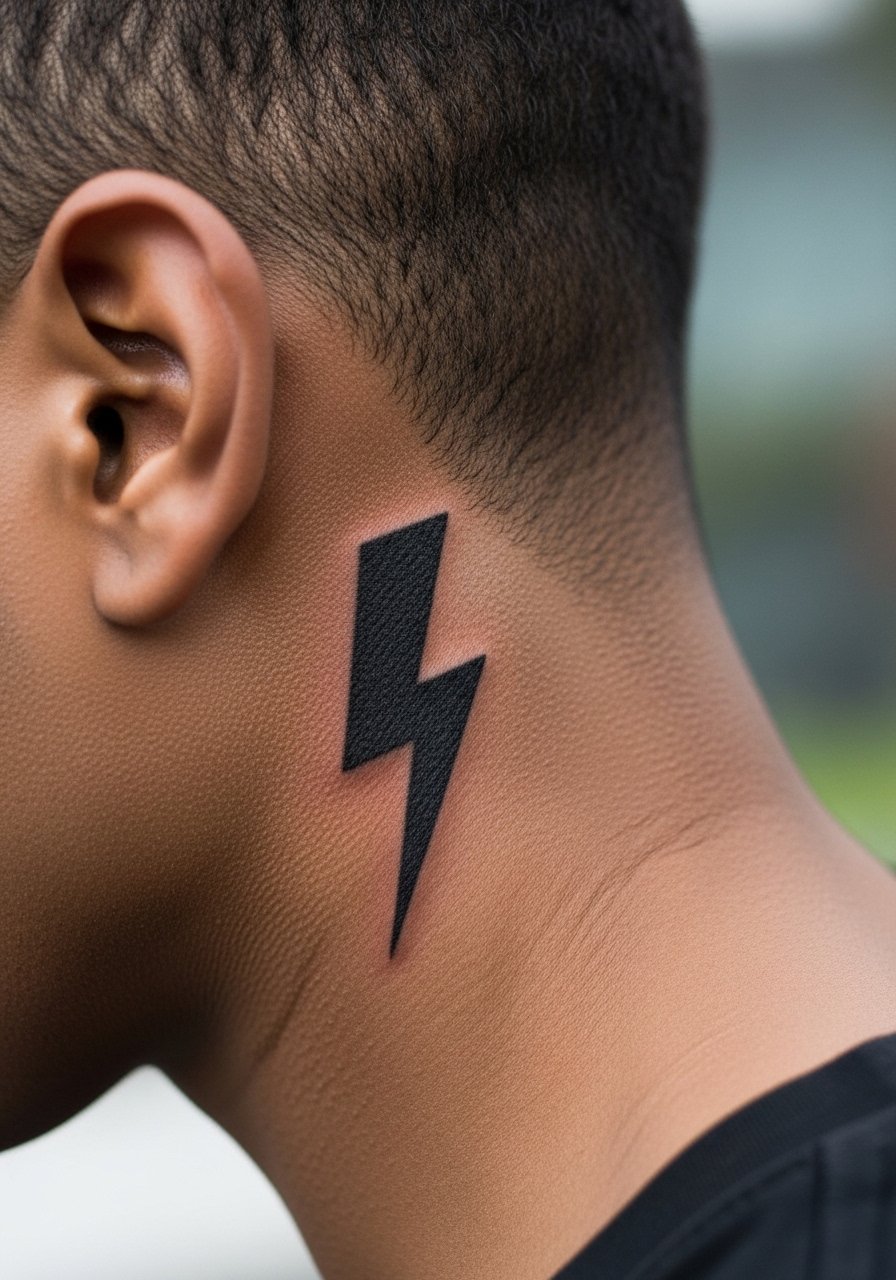
A tiny curved lightning bolt works if you want energy and movement tucked discreetly. I suggest a bold single stroke rather than multiple micro strokes so the shape holds up. The main mistake is placing it perpendicular to the ear curve. Ask the artist to lay the stencil so the bolt hugs the ear contour. Expect a quick 20 to 40 minute session and minimal pain. For casual showing off, a men's hoodie zip black with the hood down frames the line without covering it.
3. Micro Japanese Koi, Ear-Hugging
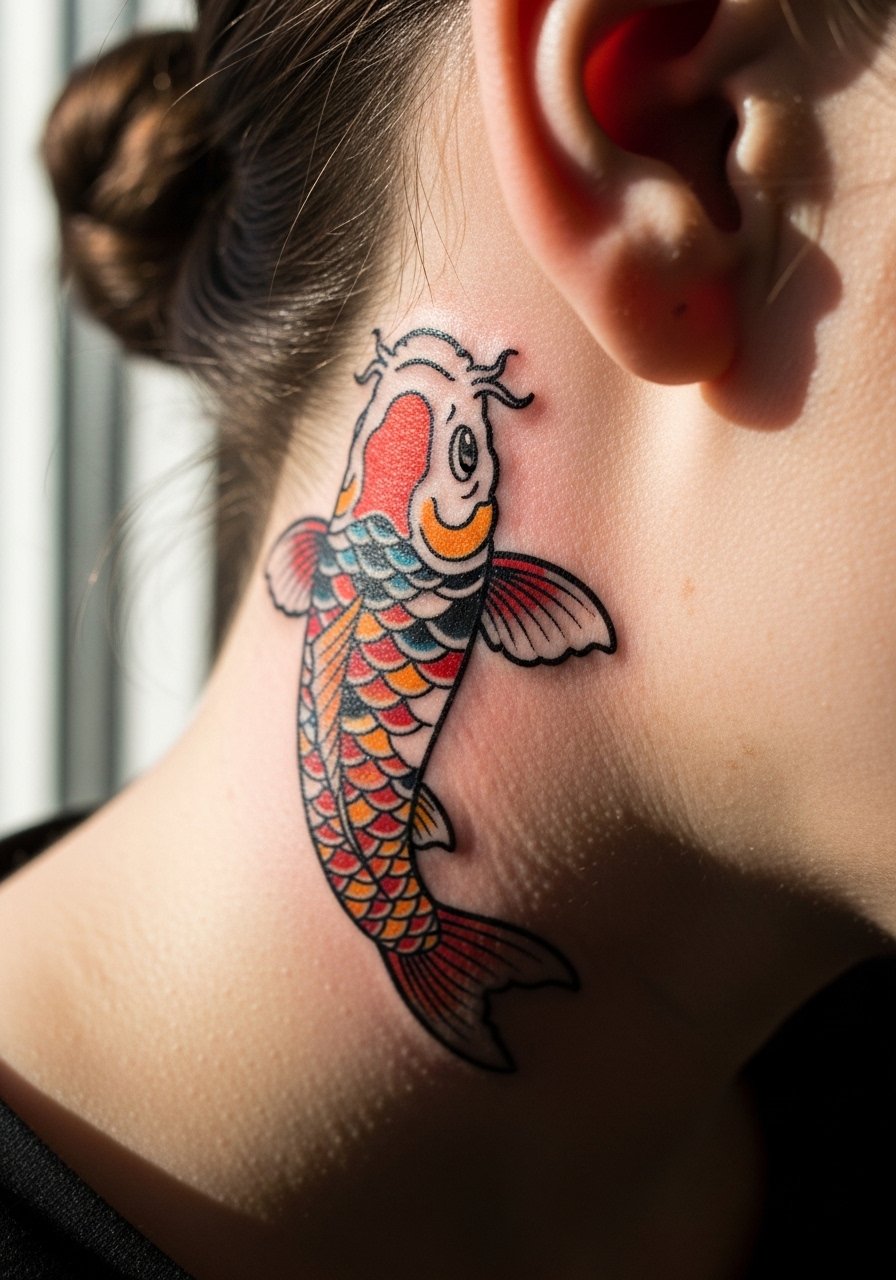
A mini koi uses irezumi motifs in a size that respects professional environments. Ask for bolder outlines and selective color pops so saturation lasts in the thin ear skin. This is one of the harder micro pieces because scale and color can need a second session. A common aging issue is color bleed when too many tiny scales are inked. For front-facing photos, the koi should peek past the hairline. Pair it with an open-collar button shirt like a men's button down shirt slim to show it off without overexposing the neck.
4. Dragon Outline That Suggests Scale
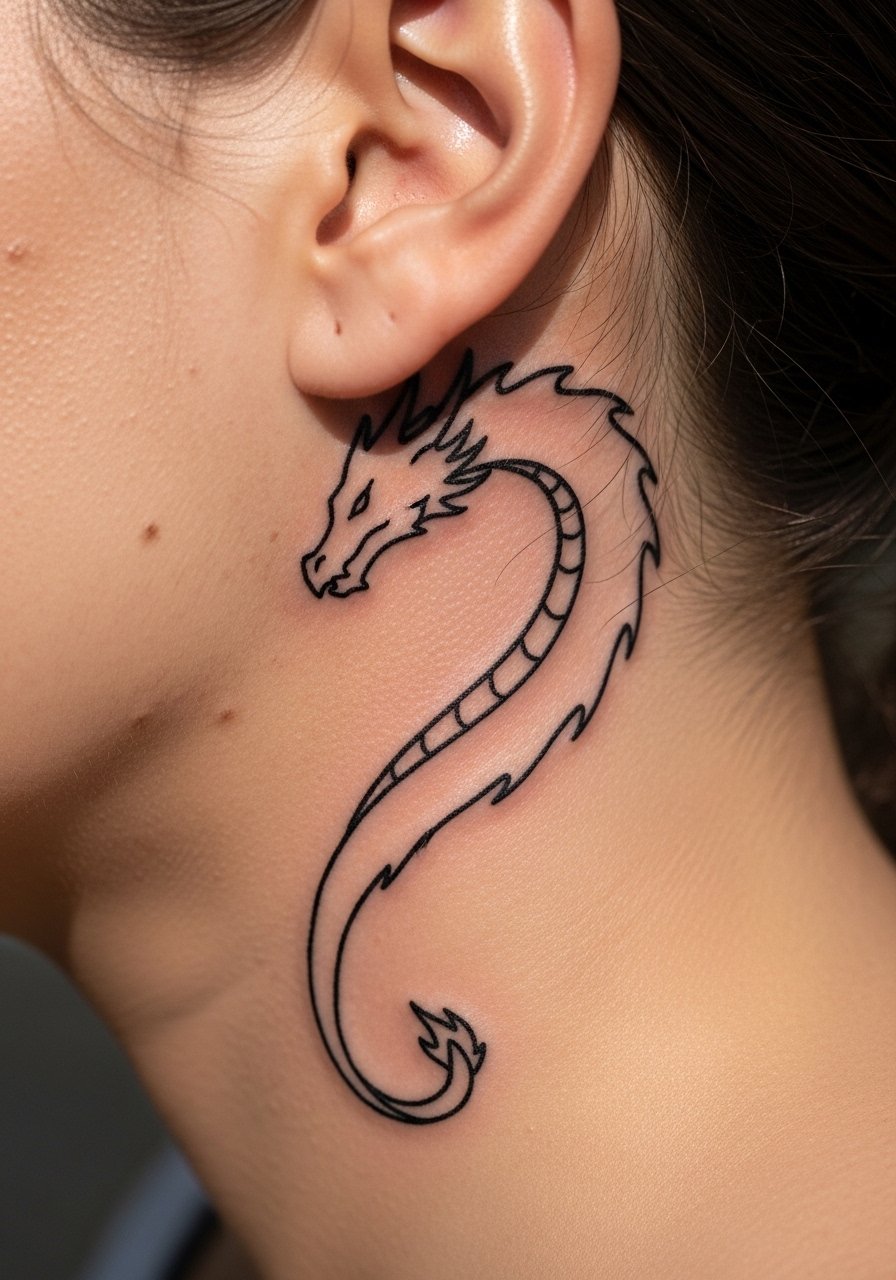
A small dragon outline reads strong while staying private. Request the artist contour the tail around the ear curve so the silhouette does not distort as skin moves. The error I see is over-detailing scales at this size. Keep one or two defined elements, like an eye or a claw, and let the rest be suggestion. Session time is usually under an hour. For a clean reveal, a men's v neck polo and a buzz-cut puts the outline into view.
5. Fine Line Cherry Blossom Sprig
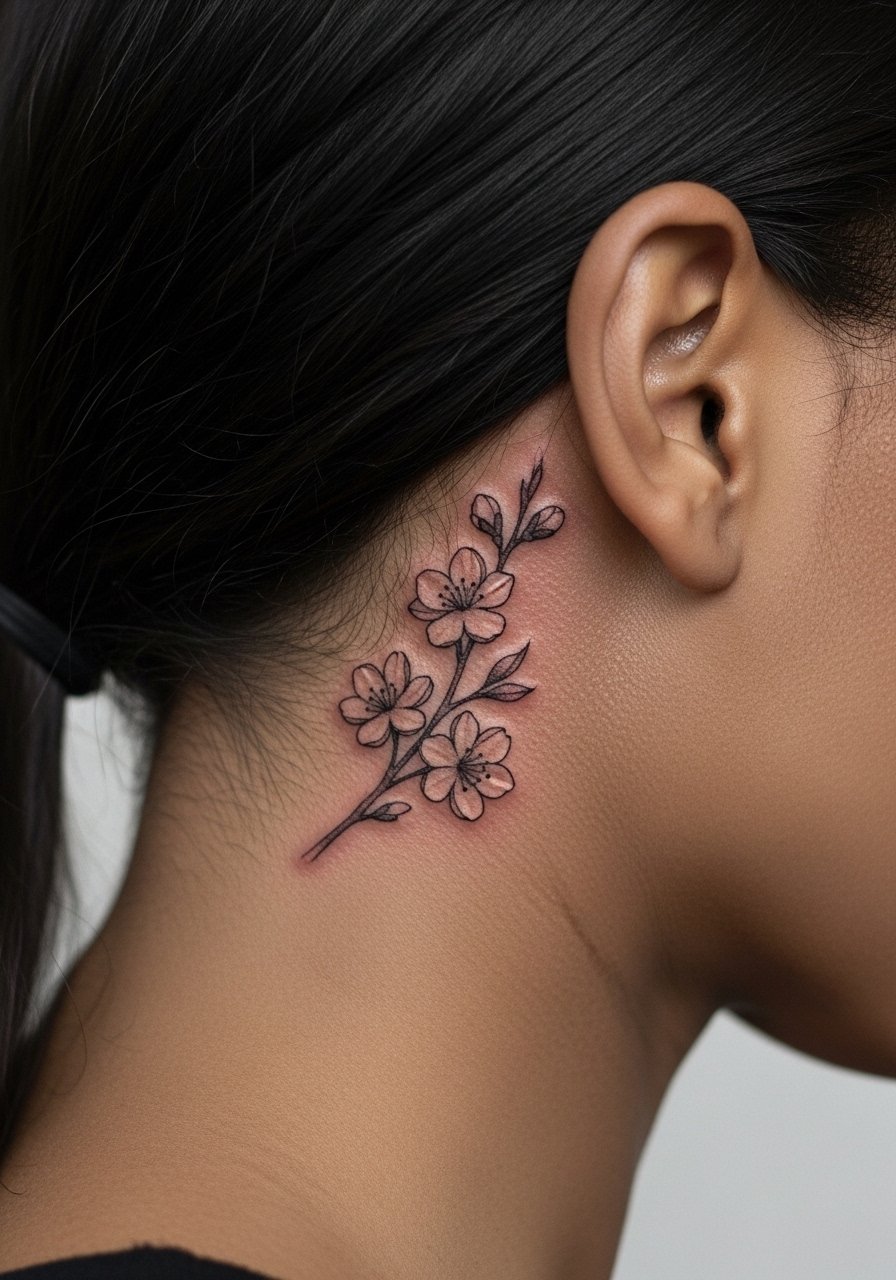
Delicate cherry blossoms look poetic behind the ear, but fine line is the controversial part. One camp warns that ultra-fine detail fades fast behind the ear, the other camp says spacing and correct needle depth fix that. My recommendation is slightly bolder petal outlines with pale stipple inside. Tell your artist you want negative space between petals so the image breathes at two years healed. Wear a neutral henley or a men's henley neutral when you plan to show it off.
6. Single Wing Silhouette, Solid Black
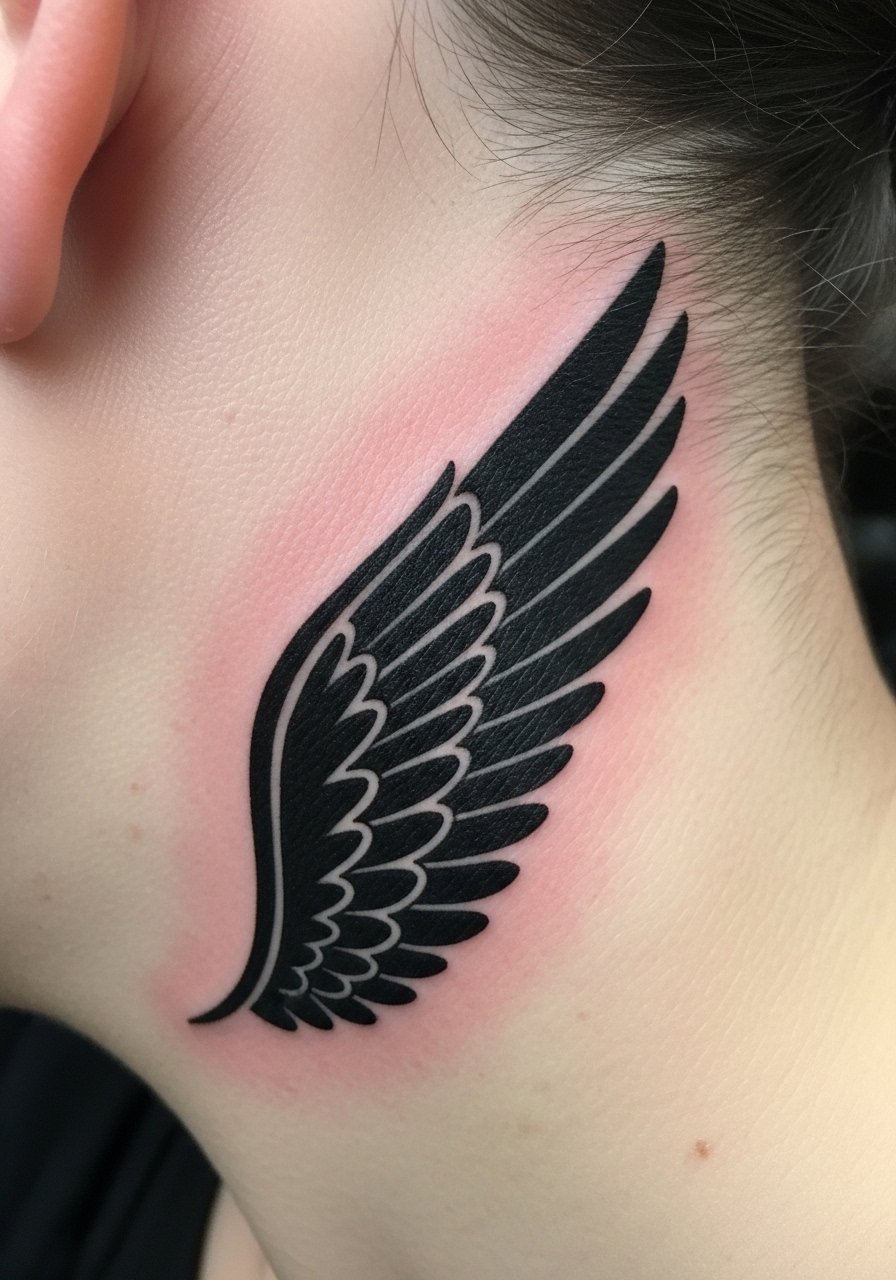
A filled wing silhouette is a longevity-friendly choice for a hidden spiritual mark. I recommend solid black saturation over micro feather lines because the fill resists fade in high-movement skin. The usual mistake is trying to cram feather detail into a one-inch area. Pain is low and session time usually under 30 minutes. This placement looks sharp with a shaved undercut or side-part and a simple men's crewneck tee black to keep attention on the neck.
Studio Day Picks
Those first six designs demand different prep than larger chest pieces, so a few targeted items smooth the day and the first week.
- Stencil transfer paper kit. Lets you preview exact placement on the curved skin behind the ear so the stencil can be adjusted before needle hits the skin.
- Topical numbing cream. Good for anyone nervous about the ear area, applied as directed before your session to take the edge off.
- Thin protective film roll. Keeps the zone clean and protected during the first day when hair and collars can rub.
- Fragrance-free body wash. Gentle cleansing for the neck without irritating the freshly inked edges of micro designs.
- Aquaphor healing ointment. Thin layers help lock moisture during the first 48 hours, which supports healing for fine line and blackwork behind-ear pieces.
7. Curved Geometric Arrow That Follows the Lobe
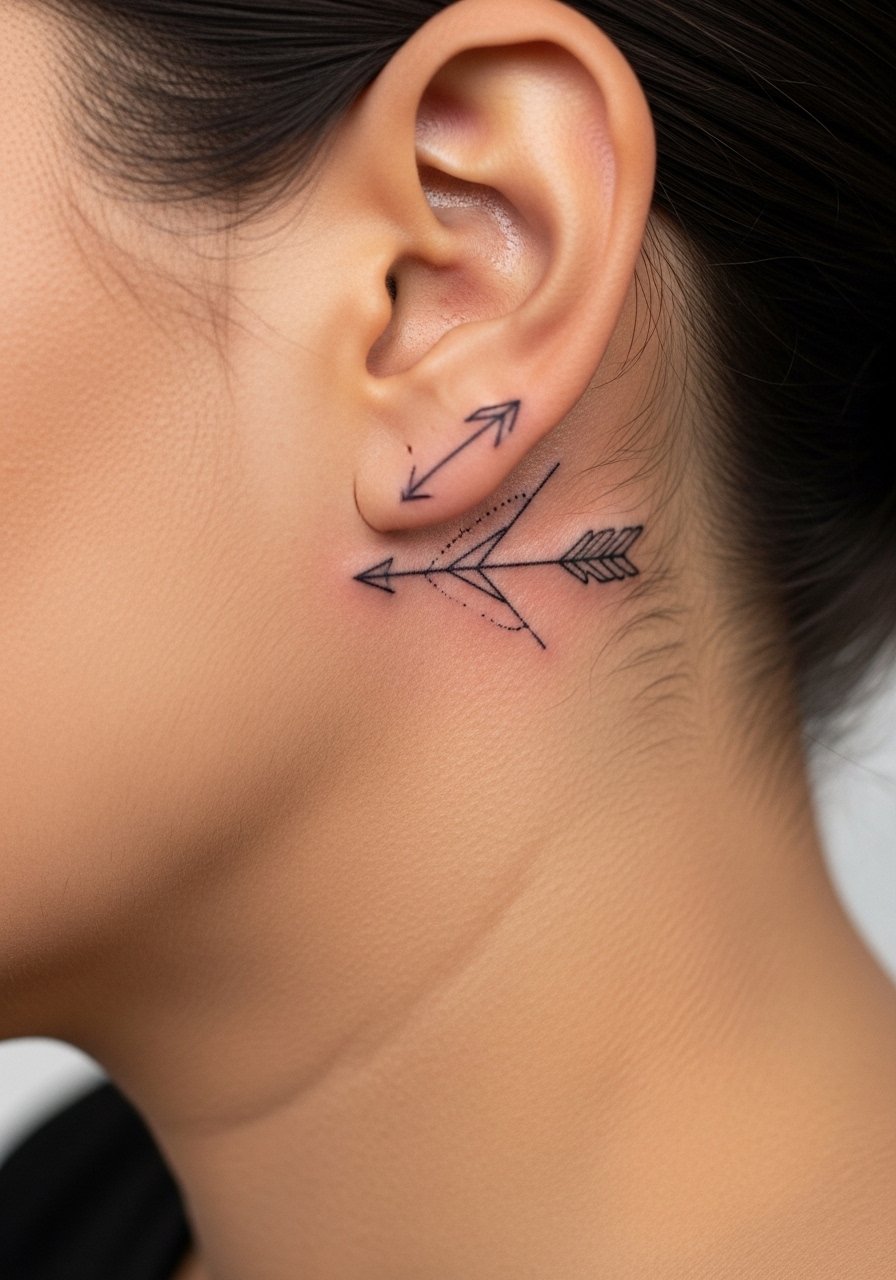
A tiny arrow that mirrors the ear contour reads modern and intentional. The consultation trick is to mark the ear curve and have the artist hold a transparent stencil to confirm the visual flow. The mistake people make is sizing it too small for precise angles, which causes the arrowhead to appear blunt at six months. This is a 20 to 40 minute piece with low pain. For a refined look, an open shearling or a shearling jacket men left unzipped frames the neck without hiding the line.
8. Micro-Realism Skull with Smoke
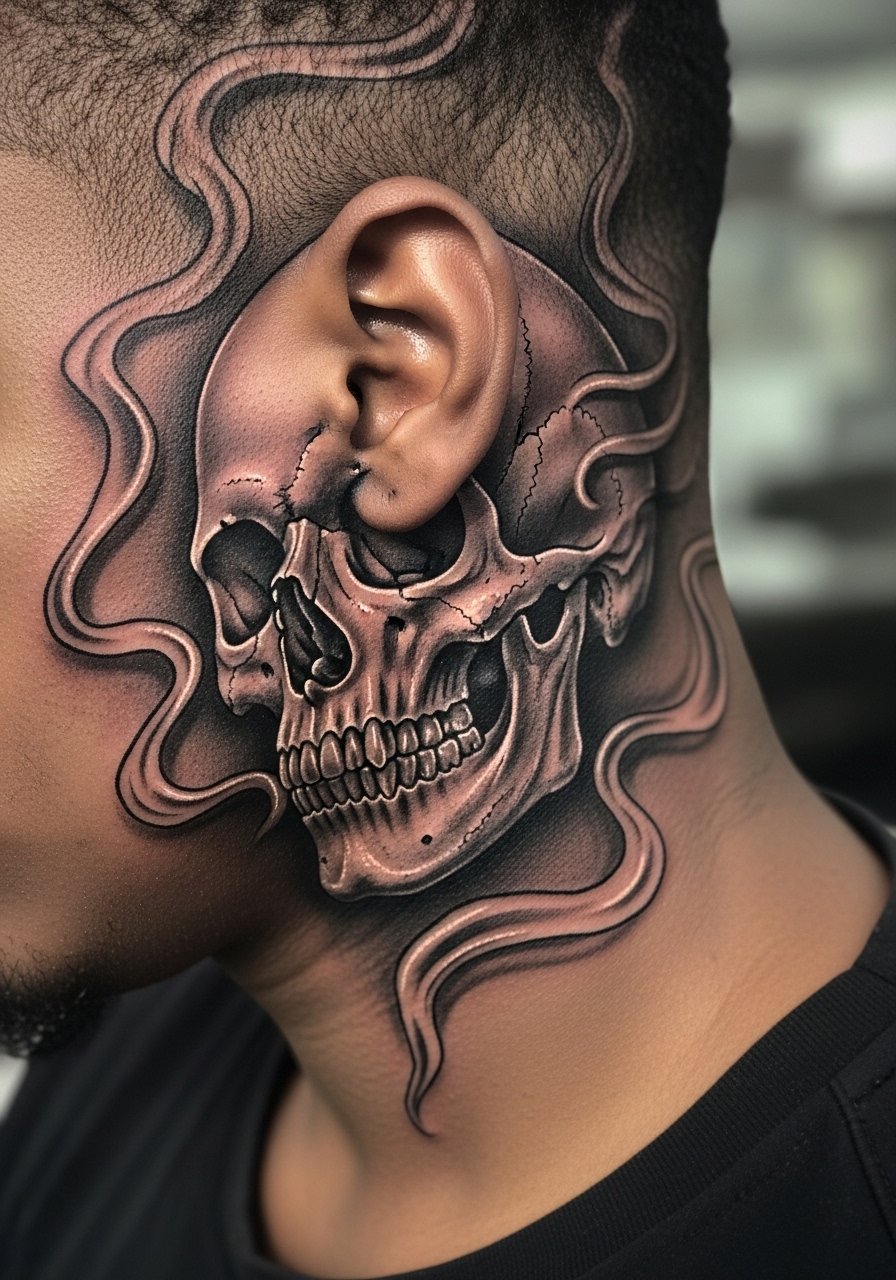
A shaded skull with trailing smoke gives an edgy motif without a lot of scale. Ask your artist for gentle stipple shading rather than dense gray wash to avoid early patchiness. The common error is requesting too much tonal range in a tiny space, which looks muddy after healing. The session can take up to 90 minutes depending on detail and is moderate on the pain scale. Because of the visual heft, go for a haircut that exposes the area for photos, or keep it mostly hidden.
9. Minimal Cross Outline for Faith
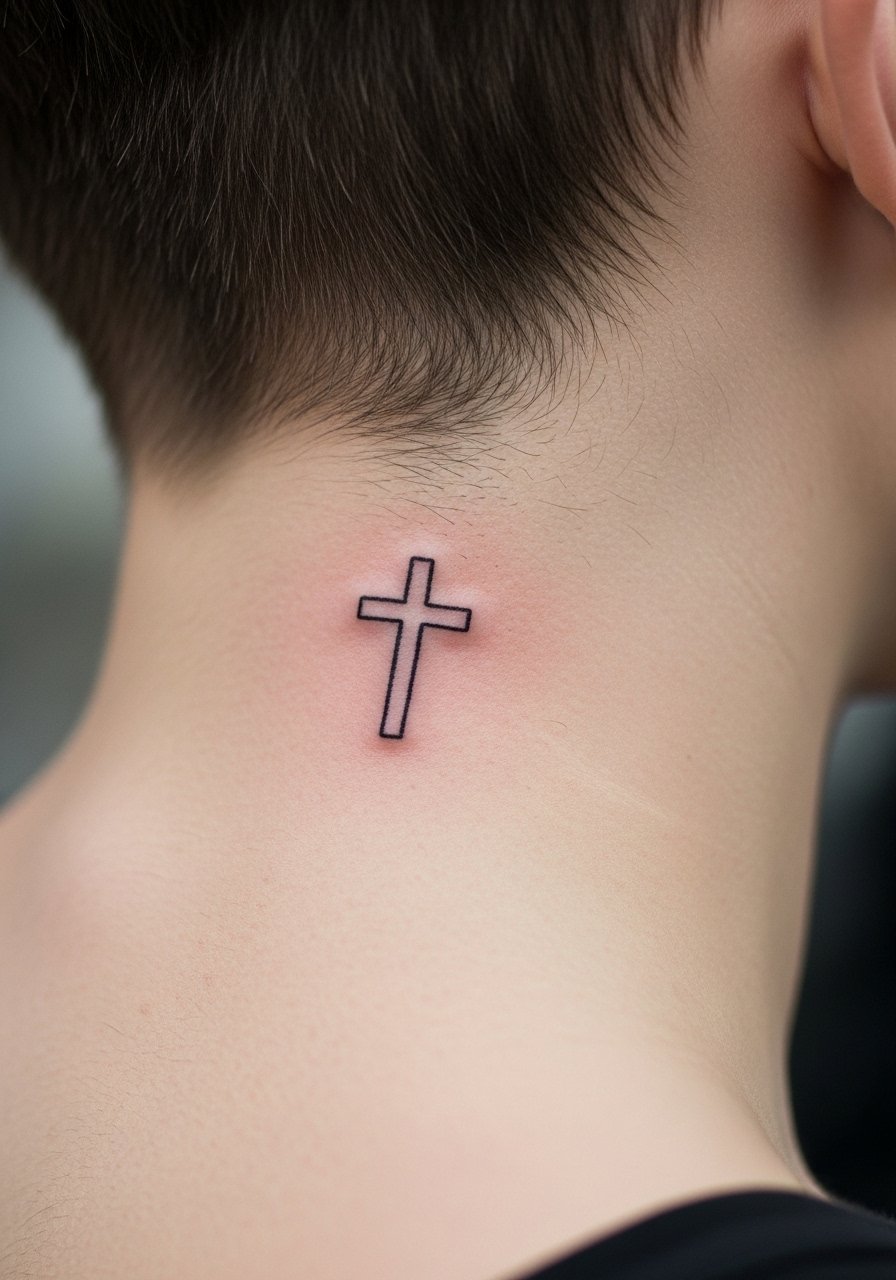
A tiny cross is straightforward and discreet. The key consultation note is to ask for slightly thicker linework than you might pick elsewhere so the cross stays crisp behind the ear. The usual mistake is picking ultra-fine single-needle lines, which can fade or blur in this placement. Expect a 20 to 45 minute session and low pain. If you plan to uncover the design, a simple men's crewneck tee black keeps the focus on the neck.
10. Snake Coiling with Ear-Contoured Tail
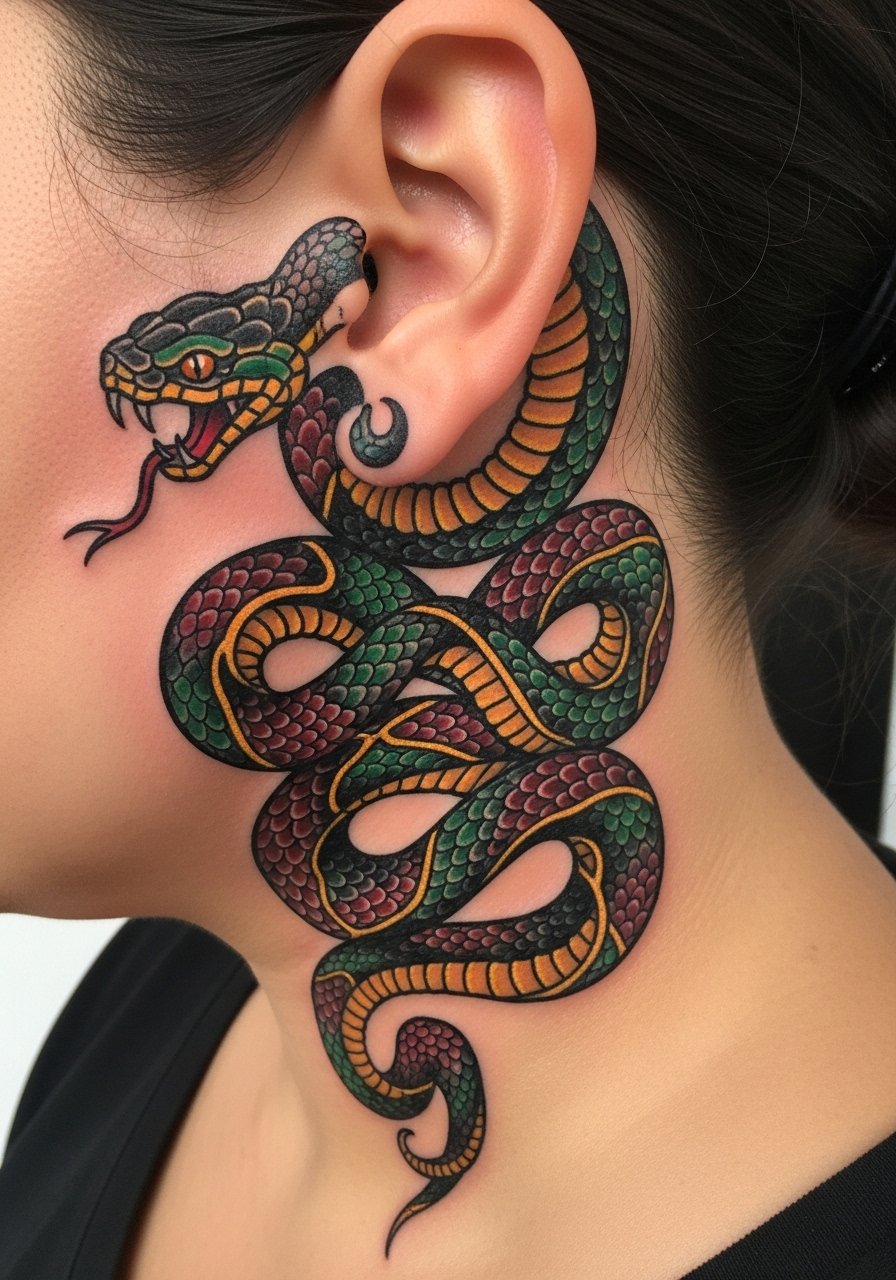
A snake that wraps subtly around the ear curve reads dynamic. Tell the artist you want the head or tail to peek from the front view so photos show intent. The mistake is making the coils too tight; small loops blur as the skin moves. This piece often sits in the 45 to 90 minute range and can benefit from a quick touch-up at six to twelve months. For session comfort, wear a collarless shirt or one you can pull aside.
11. Tiny Star Cluster in Dot Work
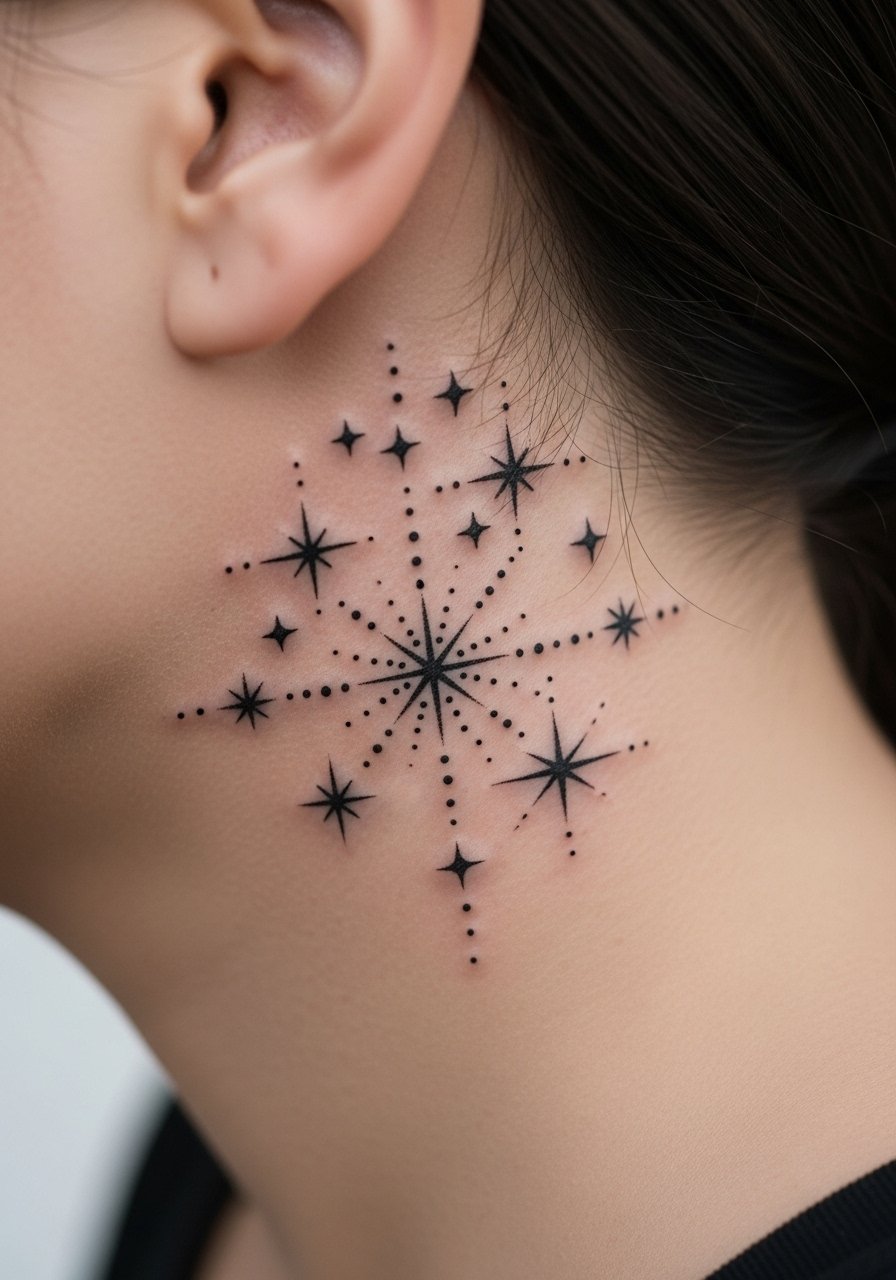
Star clusters are flexible and low-profile. I recommend spacing the main points with negative space, and telling your artist which dot sizes you want emphasized. The common error is clustering too many tiny dots into a tight blob, which looks like a smudge when healed. These take 15 to 30 minutes and are gentle on the skin. For a casual reveal, throw on a men's hoodie zip black with the hood down.
12. Ornamental Hourglass, Micro Scale
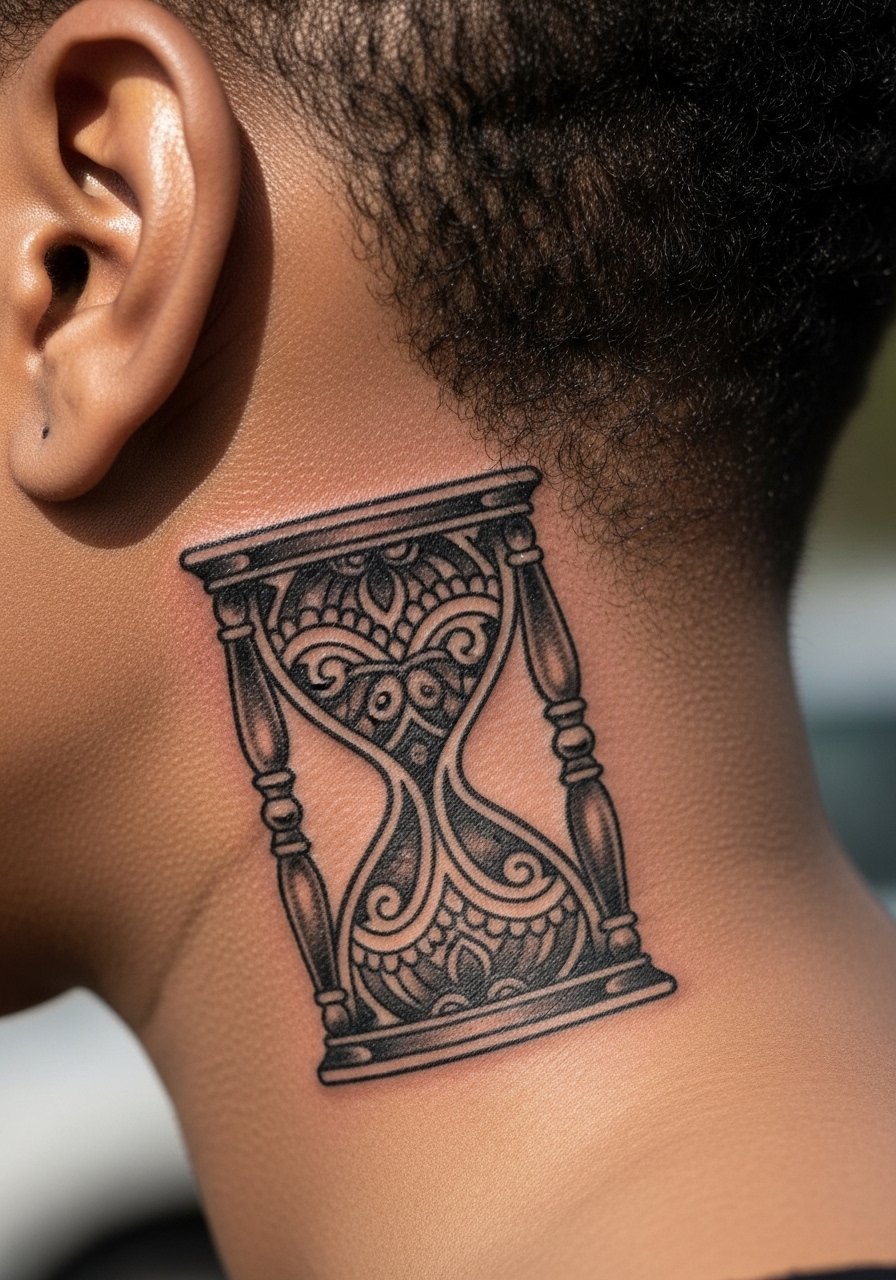
An hourglass can be ornamental and compact. Ask for clear negative space between the glass panes and the frame so the shape ages cleanly. A common long-term issue is over-shading in the glass area, which fills in after a year. This piece is usually 30 to 60 minutes and suits someone who wants a contemplative symbol hidden from daily view. Consider clothing that exposes the neck in portraits if you want the motif photographed.
13. Lion Head Silhouette, Bold Fill
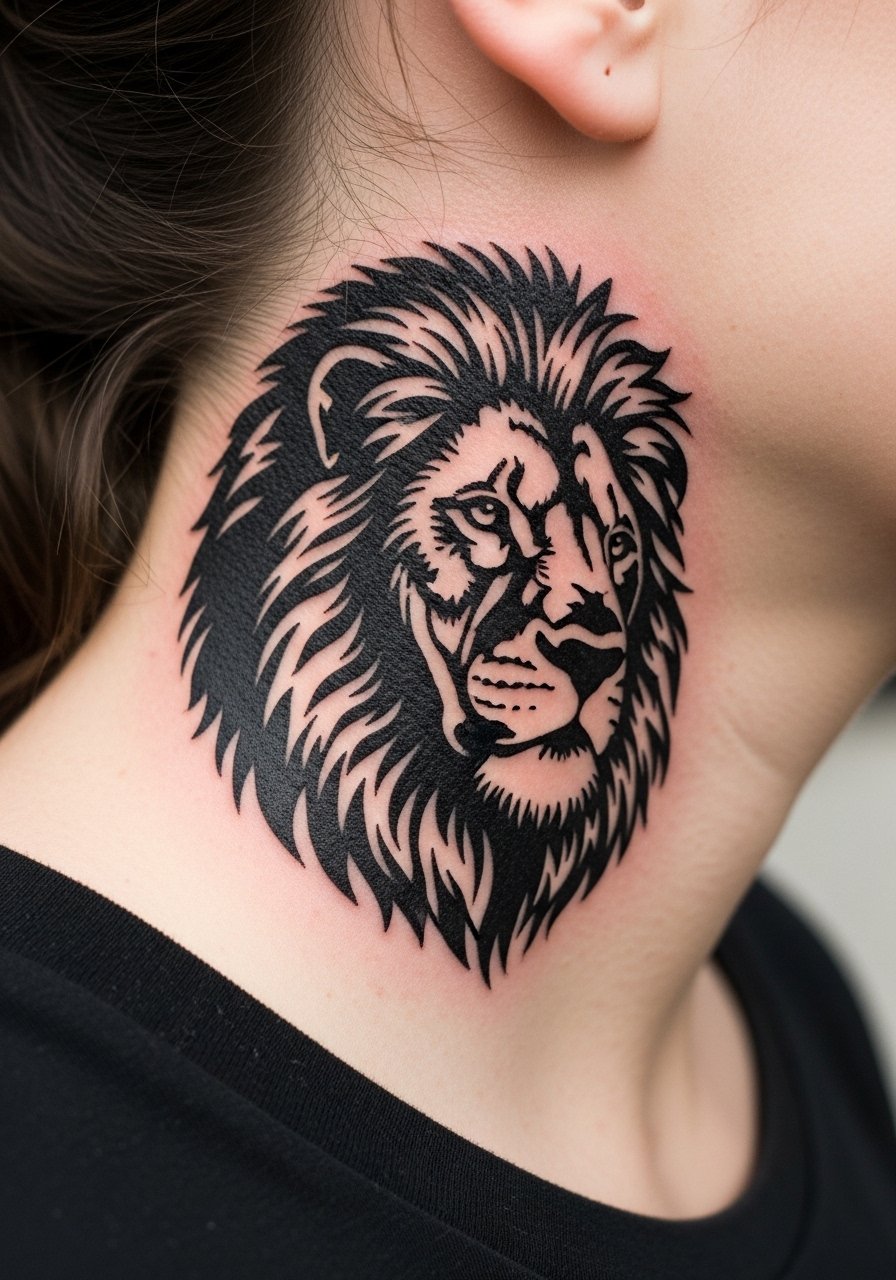
A lion head silhouette reads like confidence in a small space. I recommend solid black fill for the mane suggestion with one or two cut-out negative spaces to keep the shape readable. The mistake is over-detailing the face at a small scale. Sessions are fast and pain is low for most. The look pairs well with a faded sides haircut and a men's bomber jacket unzipped for evenings out.
14. Minimal Script Word Behind Ear
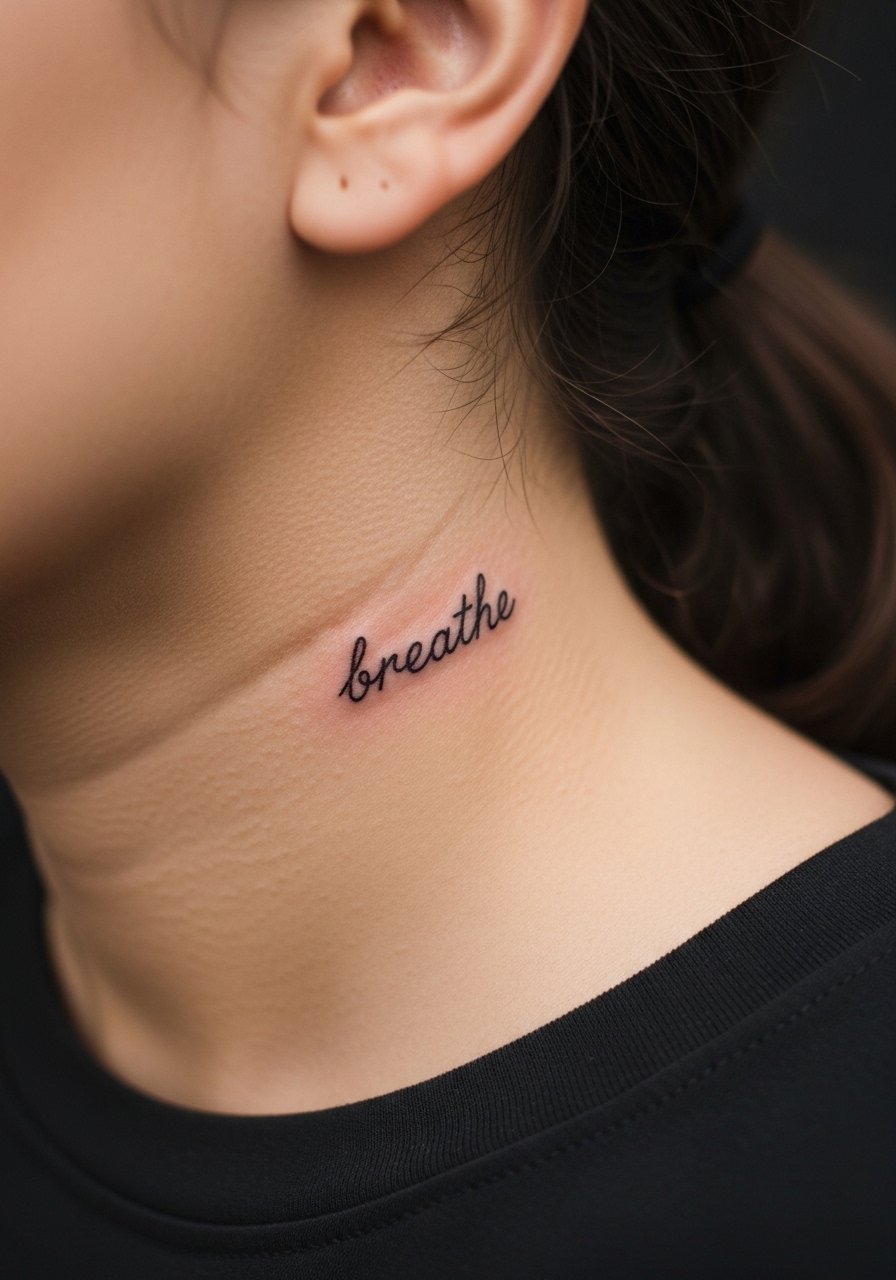
Single-word script is intimate and simple. When you bring references, show exact letter height so the artist can advise on readability long term. The usual mistake is super-tiny cursive which loses counters and turns into a line. Scripts benefit from slightly heavier line weight here and a touch-up plan at one year. For subtle wears, a thin chain pendant sits just above the neck and complements the script. Try a thin chain necklace men when styling.
15. Micro Compass Pointing Forward
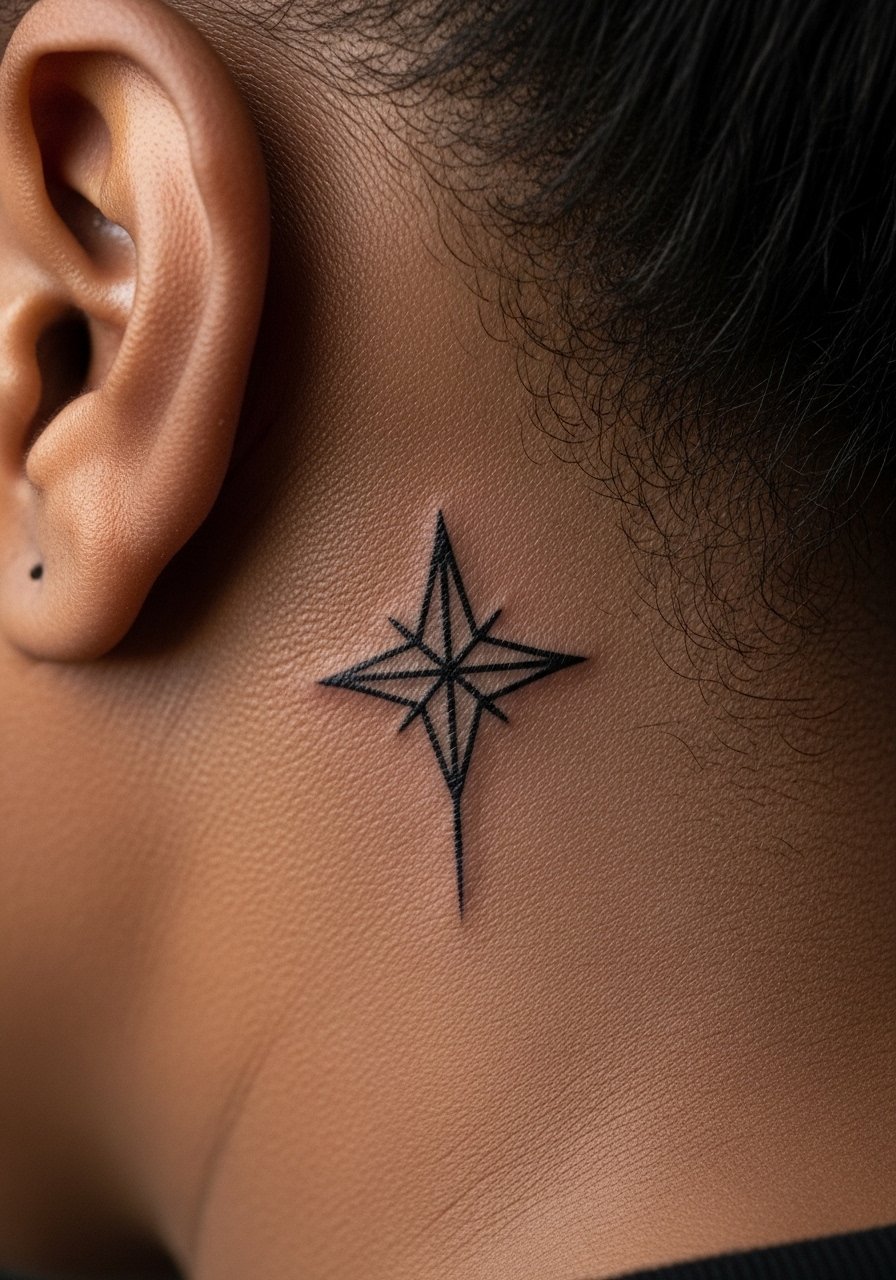
A tiny compass needle is a directional symbol that works well tucked near the ear. Ask the artist to scale the cardinal points down and keep the central needle bolder so orientation remains clear at five years. The frequent mistake is too many spokes in a small compass, which ages into a blur. Session time is short and discomfort is minimal. For a casual reveal, a basic crew tee with the collar slightly open complements the motif and movement.
16. Tiny Anchor, Nautical Nod
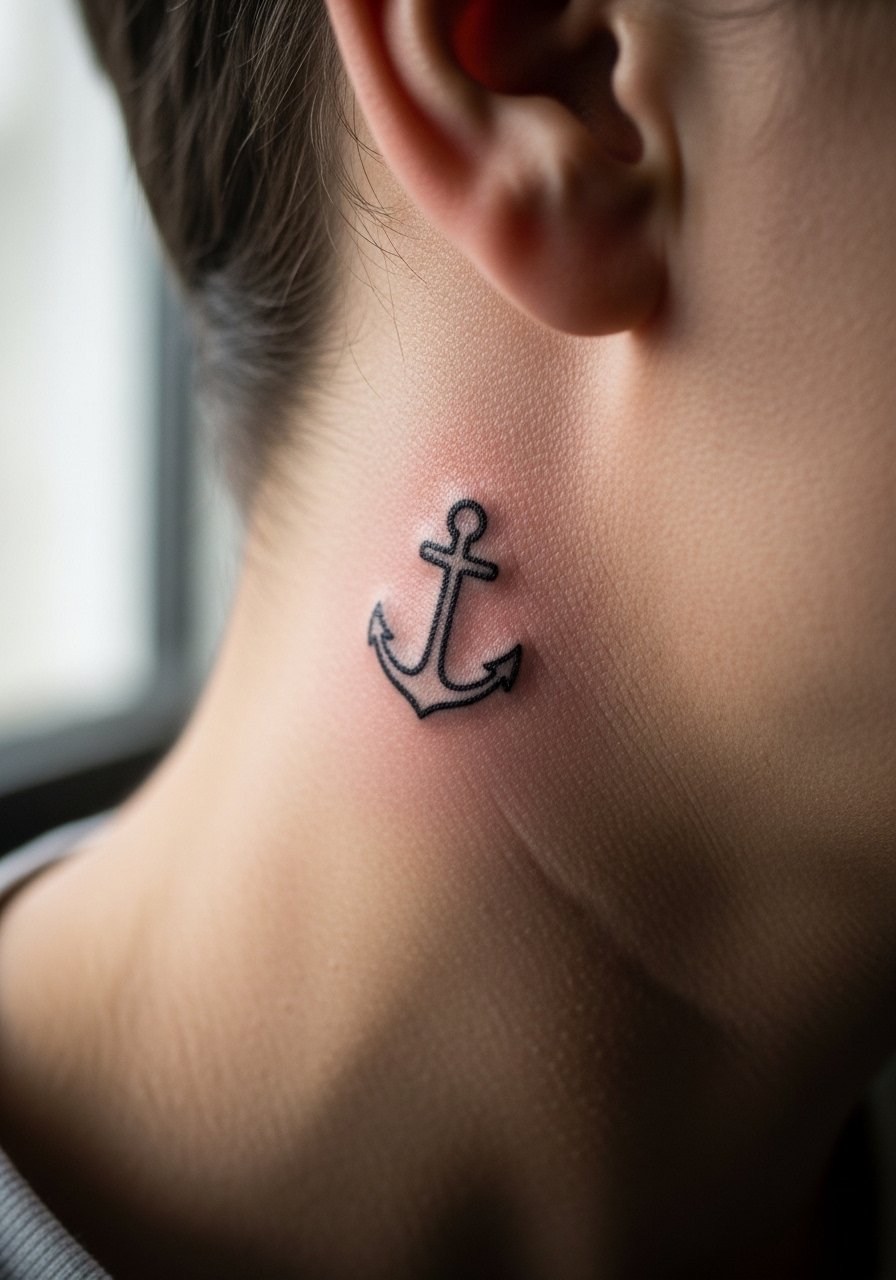
A tiny anchor behind the ear reads like a private maritime nod. Keep the shank and flukes bold and ask for a simple rope suggestion rather than a full rope wrap. The common mistake is over-detailing the rope or adding unnecessary shading in a micro piece. Expect a short session and quick recovery. Wear a loose button-down the day of the session to allow easy access and avoid collar friction.
17. EKG Heartbeat Line, Micro
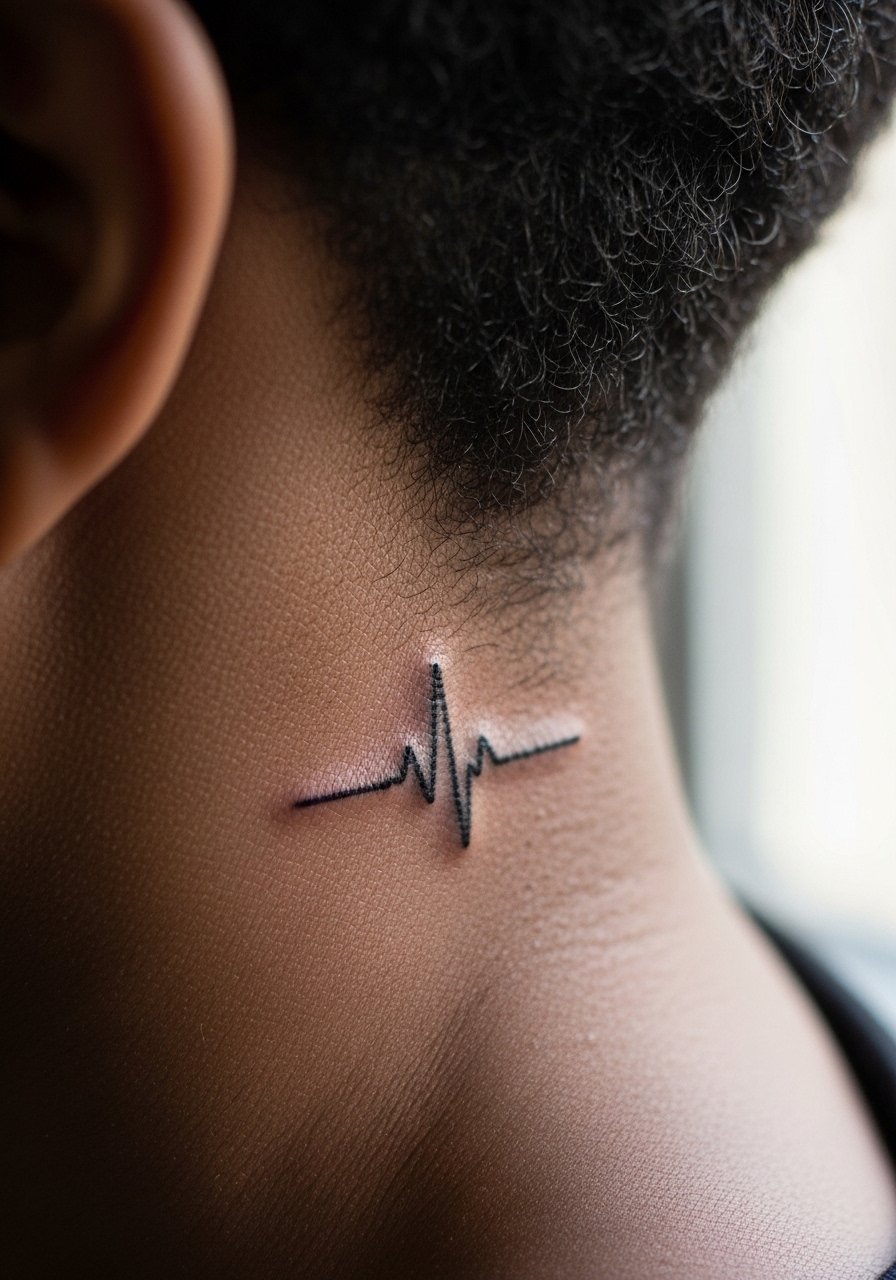
A heartbeat line is straightforward and personal. The key is to keep the peaks spaced so the waveform is distinct rather than a jagged smudge. People often ask for extremely thin single-needle lines that soften quickly in this skin. This is a brief session and low pain. For a subtle look, pair it with a short haircut and a simple men's crewneck tee black.
18. Rune or Personal Sigil
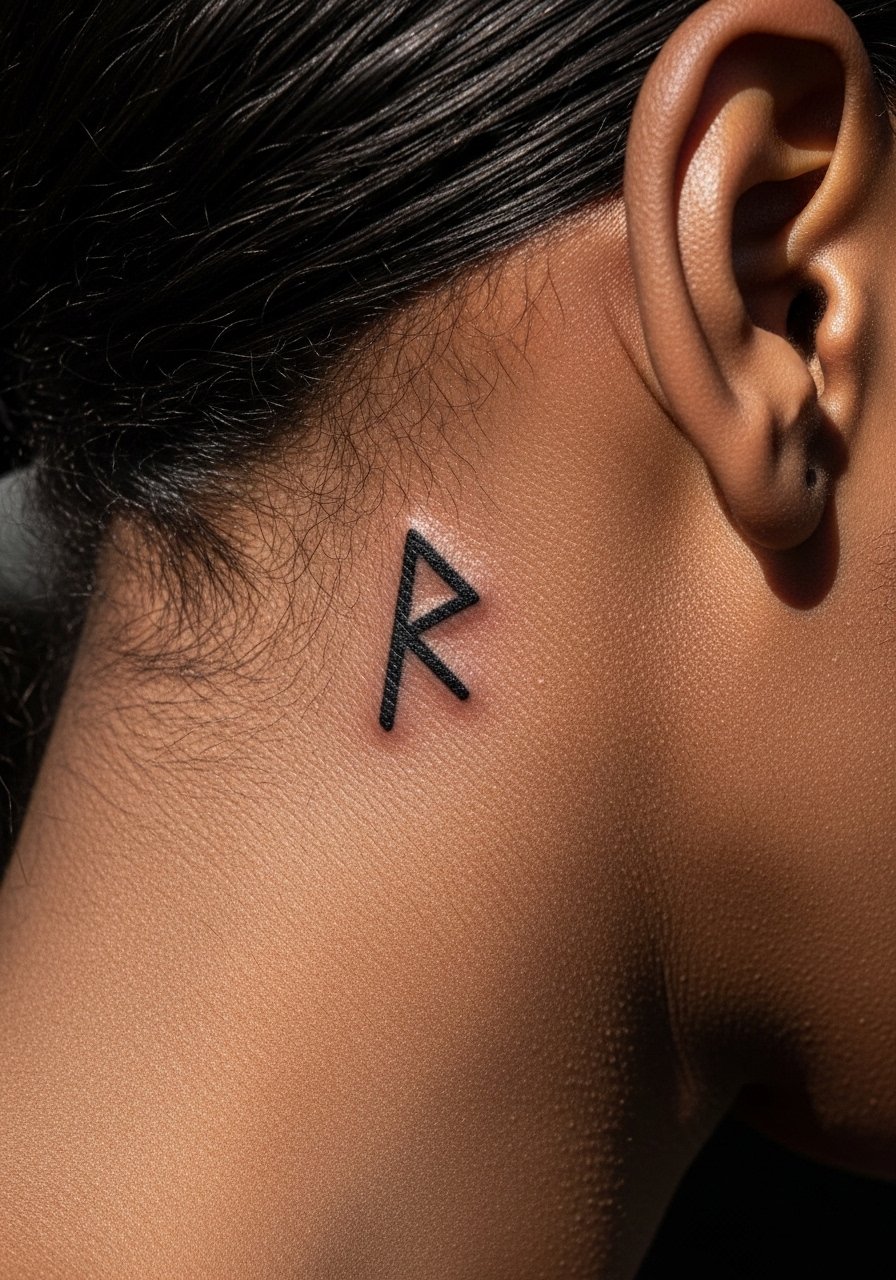
Sigils and runes make compact, meaningful marks. When using cultural symbols, be thoughtful and consider slight modifications instead of direct replicas. The mistake is borrowing sacred glyphs without understanding context, which can feel disrespectful. Tell your artist the exact meaning you want and ask for a clean, simplified glyph that reads at one inch. Sessions are short and pain is low.
19. Minimal Mountain Range Silhouette
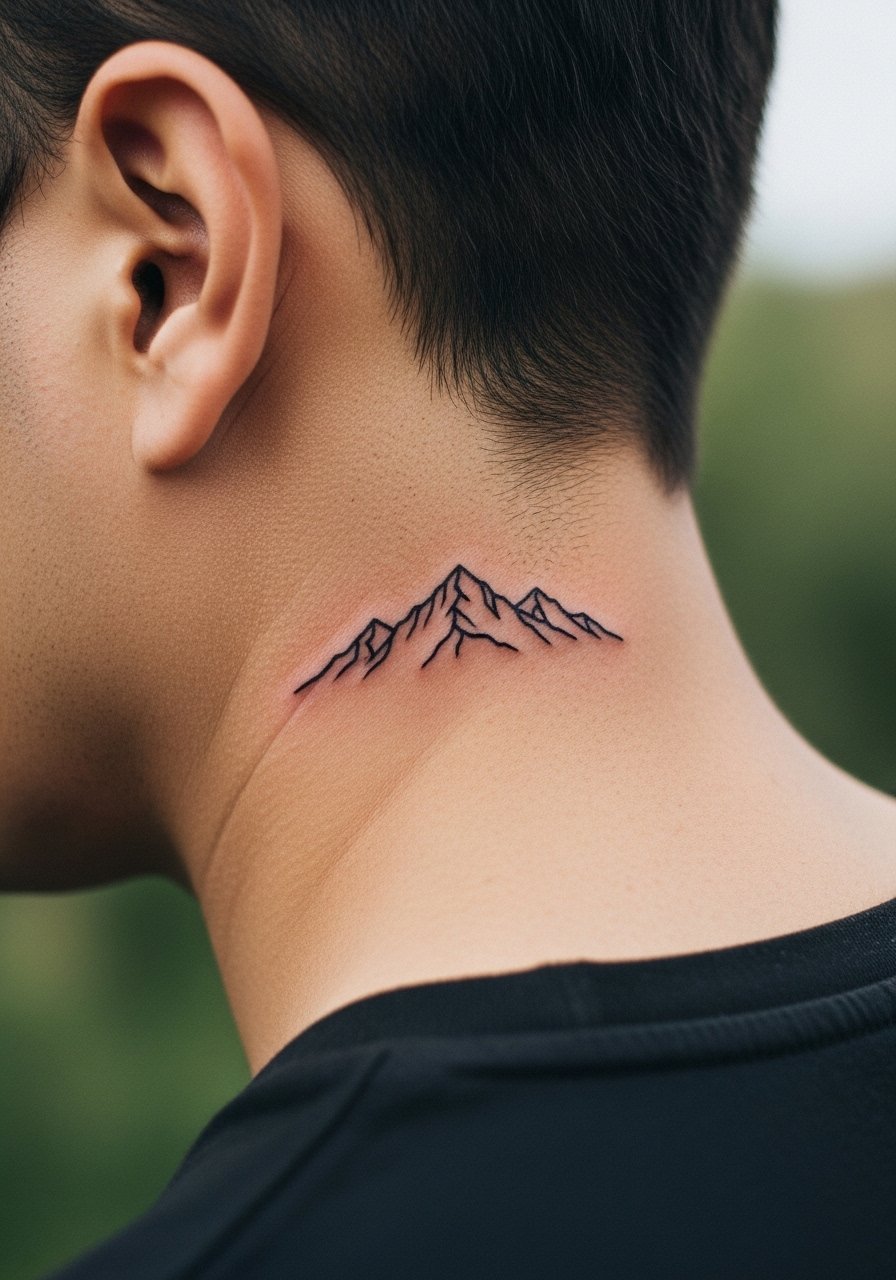
A tiny mountain horizon uses negative space to suggest depth. Request the artist increase spacing between peaks so the composition avoids merging after healing. A common error is compressing too many peaks into a small band. This takes 20 to 40 minutes and is gentle on the ear area. Pair with rolled-up sleeves and a neutral basic crew tee when you want to show the silhouette.
20. Tiny Key and Lock, Two-Spot Pairing
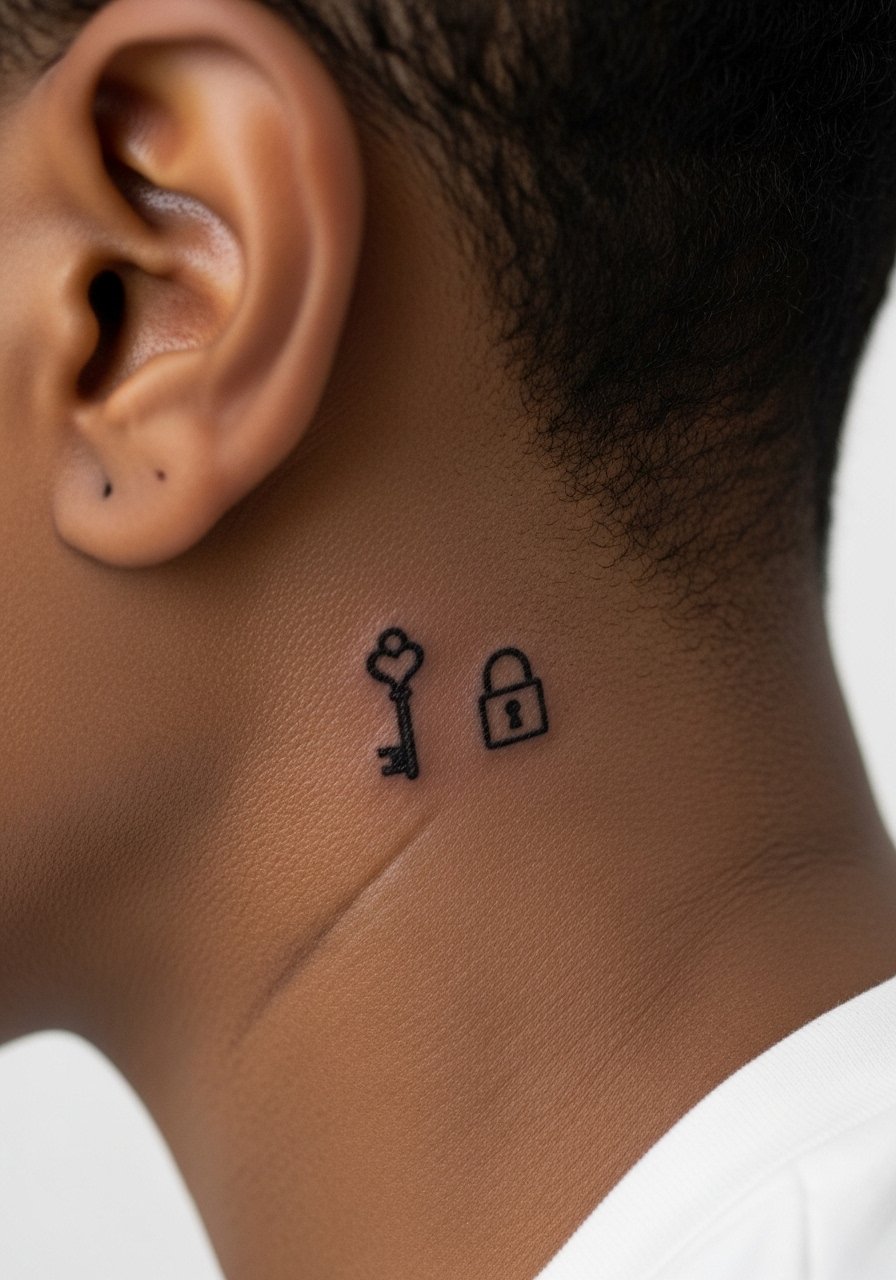
A matched key and lock behind each ear or both behind one ear offer symmetry or a subtle pair. Discuss scale carefully so both elements remain readable on their own. The mistake is making the key overly ornate; keep the bow simple and the lock a clean silhouette. Sessions are short and fine for people who want paired micro work.
21. Micro Musical Note to Mark a Song
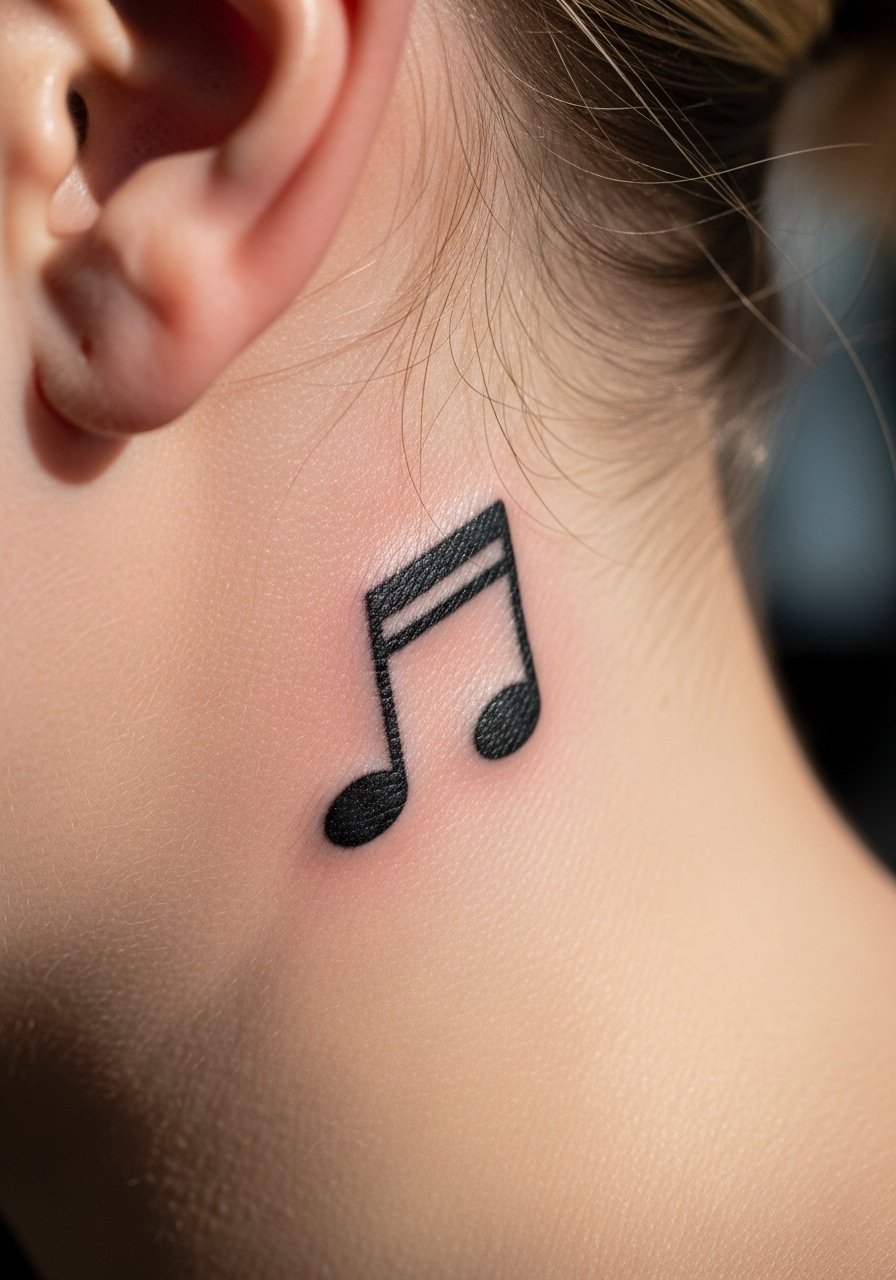
A tiny musical note is a clear, recognizable motif. Specify exact size and whether you want a filled notehead or an open one to keep the image stable over time. The common issue is choosing a script-style note that loses its stem clarity. This piece is low pain and fast. It pairs with casual shirts and short hair for photos.
Frequently Asked Questions
Q: How much does a behind-ear tattoo usually cost and why can "simple" pieces end up more expensive?
A: Prices vary by studio and region, but small pieces are often quoted as minimums because the placement has high attention to detail. Simple designs can creep in price when artists need to adjust stencils to the ear contour or plan for color saturation and a touch-up. Expect to discuss exact session time during booking and ask whether touch-ups are included.
Q: Will fine line designs behind the ear fade faster than bold blackwork?
A: From what I have seen, fine line does tend to soften faster in high-movement, thin skin behind the ear. Bold blackwork usually holds contrast longer. If you want a fine aesthetic with durability, ask for slightly heavier line weight and spacing, and plan for a possible touch-up at year two or three.
Q: How should I handle hair and shampoo during the first week of healing?
A: Tie your hair back and consider dry shampoo or careful sponge-cleaning near the area for the first few days to avoid agitation. Many people find short bursts of gentle rinsing with a fragrance-free body wash help after day three. Protect the site from constant shampoo runoff and pat the area dry rather than rubbing.
Q: Are certain designs riskier for blowout or distortion behind the ear?
A: Dense micro detail and tight dot work are higher risk because the skin there is thin and mobile. Designs that follow the ear contour with bold strokes or selective negative space reduce blowout risk. During consultation, ask the artist about their experience with ear-contoured placements and look at healed photos in similar scale.
Q: Can I use topical numbing for a behind-ear tattoo or will it affect the artist's work?
A: Artists are split on numbing. One camp uses it routinely to ease clients into sensitive areas, the other prefers no numbing to preserve natural skin feedback. If you plan to use numbing, tell your artist ahead of time so they can advise on application timing and whether it affects ink saturation.
Q: What should I wear to the appointment for a behind-ear piece?
A: Wear something the artist can shift off the shoulder or a button-down you can pull slightly aside to give clean access without fabric rub. A loose tank or a sleeveless performance tee works well when the artist needs unobstructed neck and ear access.
Q: How do I find artists who do good behind-ear work without naming anyone?
A: Search the hashtags #behindtheeartattoomen and #behindearink on Instagram, filter TikTok for location, and use local searches like "[city] behind ear tattoo studio." Book consults to see healed photos, not just fresh work, and ask about their contouring approach for ear-adjacent placements.
