
Fine line forearm tattoos flood feeds, but the pieces that still read clean after five years are rarely the most intricate photos. What holds up is spacing, needle depth, and placement that avoids constant friction. If you want a small forearm piece that still looks intentional a few years from now, these micro ideas favor spacing and line weight that actually survive daily wear. Start with the inner forearm options below.
1. Fine Line Arrow on Inner Forearm
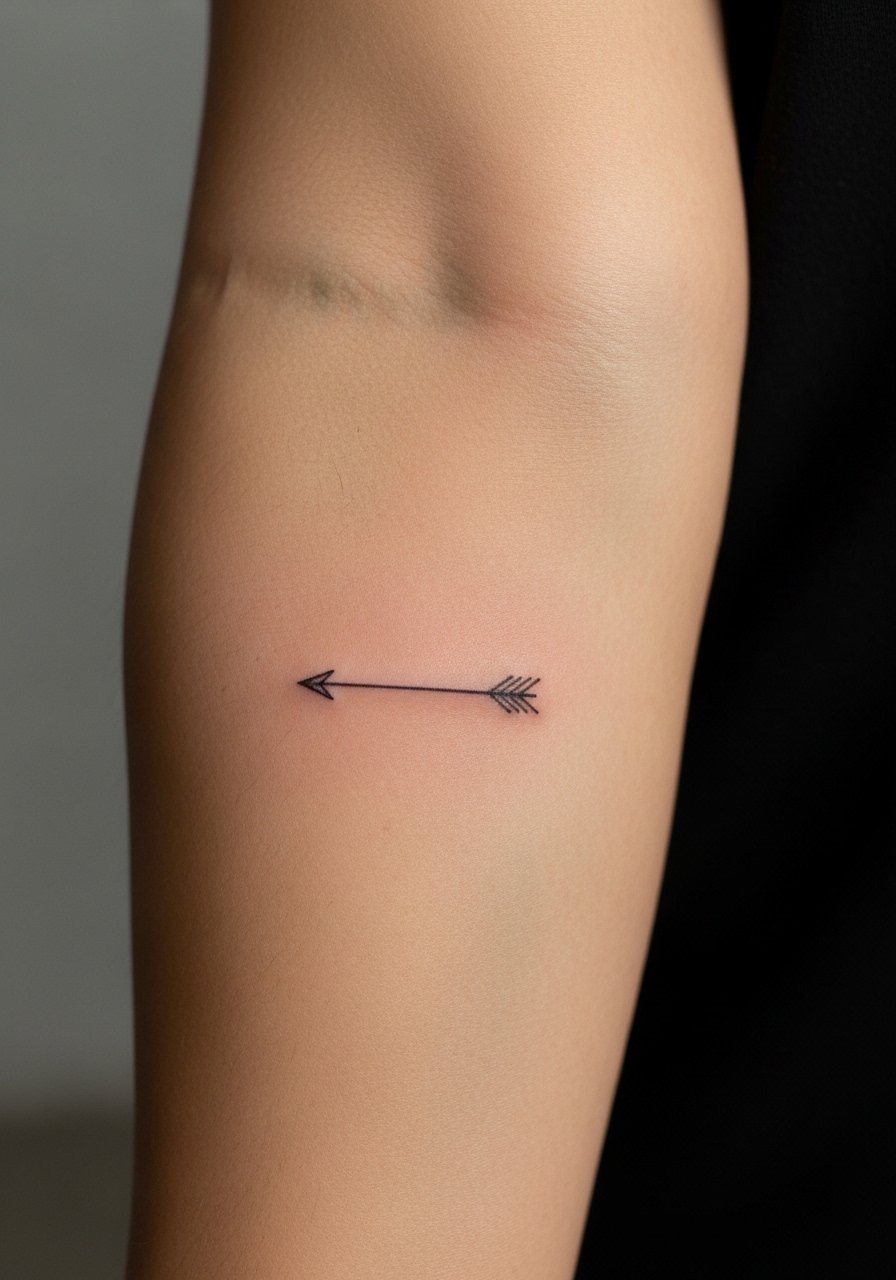
I recommend a single fine line arrow when you want a directional motif that stays readable. Tell your artist to keep the shaft slightly thicker than the decorative tip so the linework has room to age. A common mistake is shrinking the arrow until the tailwork blurs after a couple of years. Expect a 30 to 45 minute session and low to moderate pain on the inner forearm. For the appointment wear a loose button-down shirt you can pull aside without tugging the area, that keeps the artist from working around fabric.
2. Micro Botanical Sprig Along the Wrist
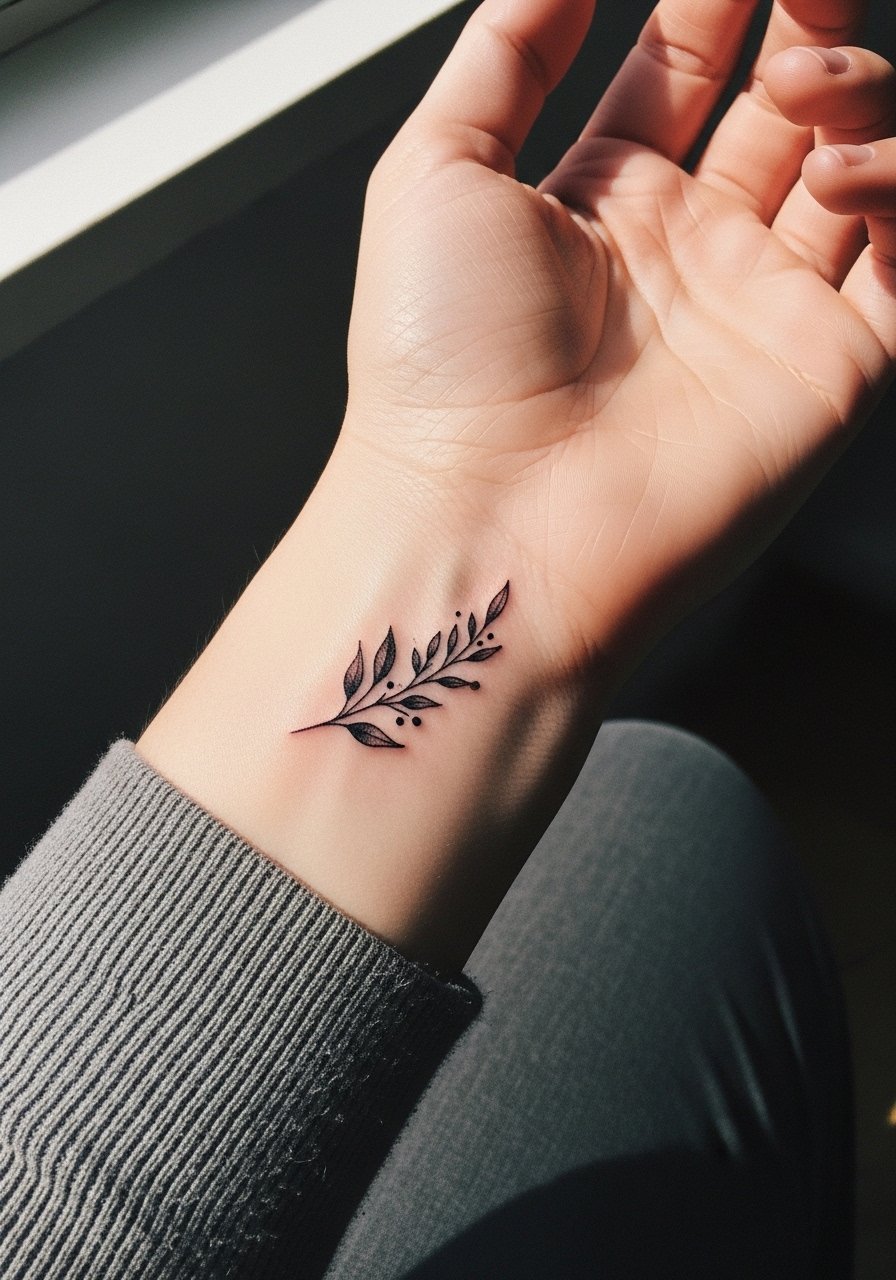
A narrow sprig reads clean when placed so the leaves follow the arm’s line. Ask for slightly spaced leaves and stipple shading for texture rather than solid fill. The wrist sees constant washing and friction, so thin clusters too close together end up merging. Session time is about 30 minutes and pain is higher near the bone. This look pairs well with a thin chain bracelet that sits just under the sprig to frame it when you roll sleeves up.
3. Micro Geometric Band on Outer Forearm
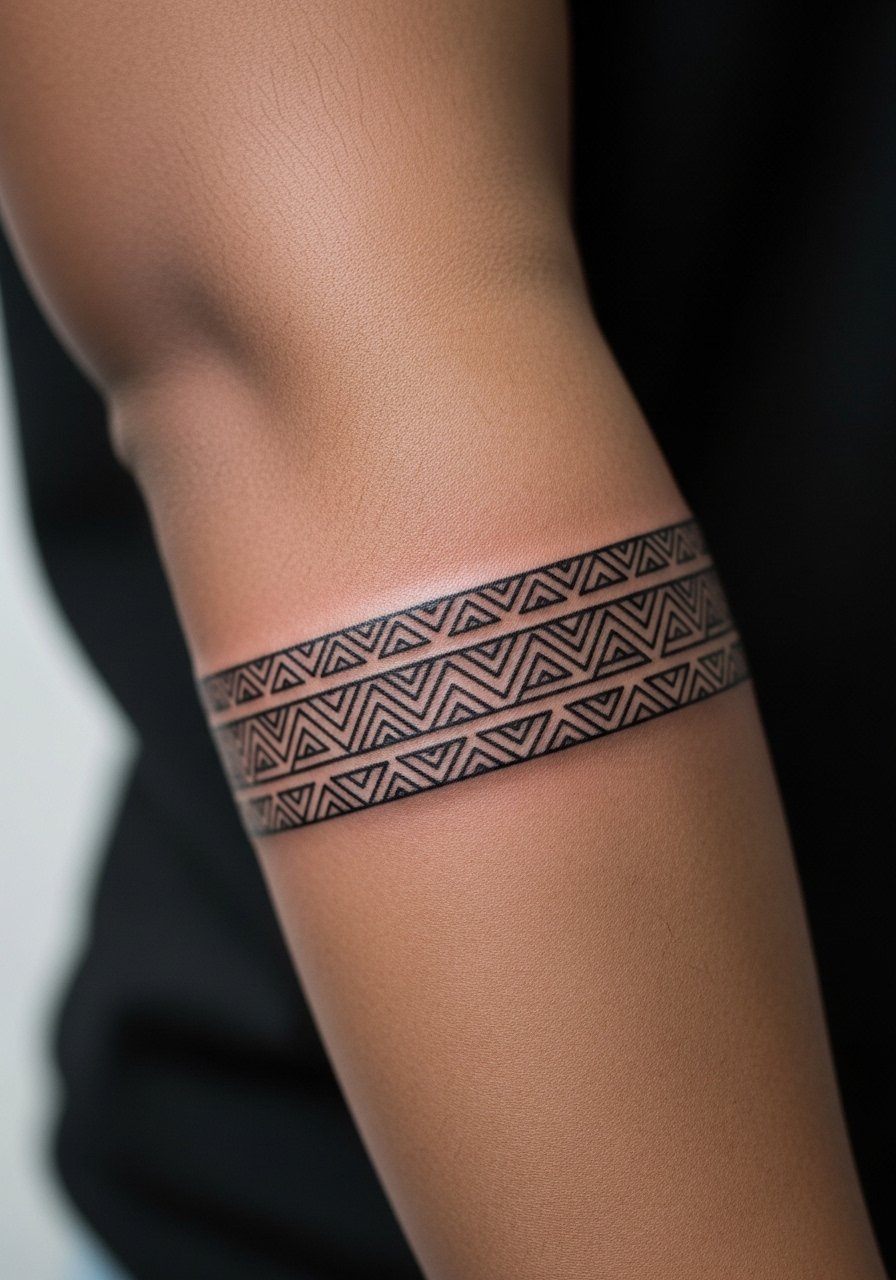
A narrow geometric band works when you want a repeatable motif without committing to a full sleeve. In consultation, say you want negative space between repeating elements so the band keeps definition over time. The trap is packing too many tiny angles together, which creates smudging as lines soften. Expect a 45 minute session and moderate pain on outer forearm. For showing this off, a rolled sleeve chambray shirt keeps the edge visible without covering the band.
4. Micro Realism Eye Near the Wrist
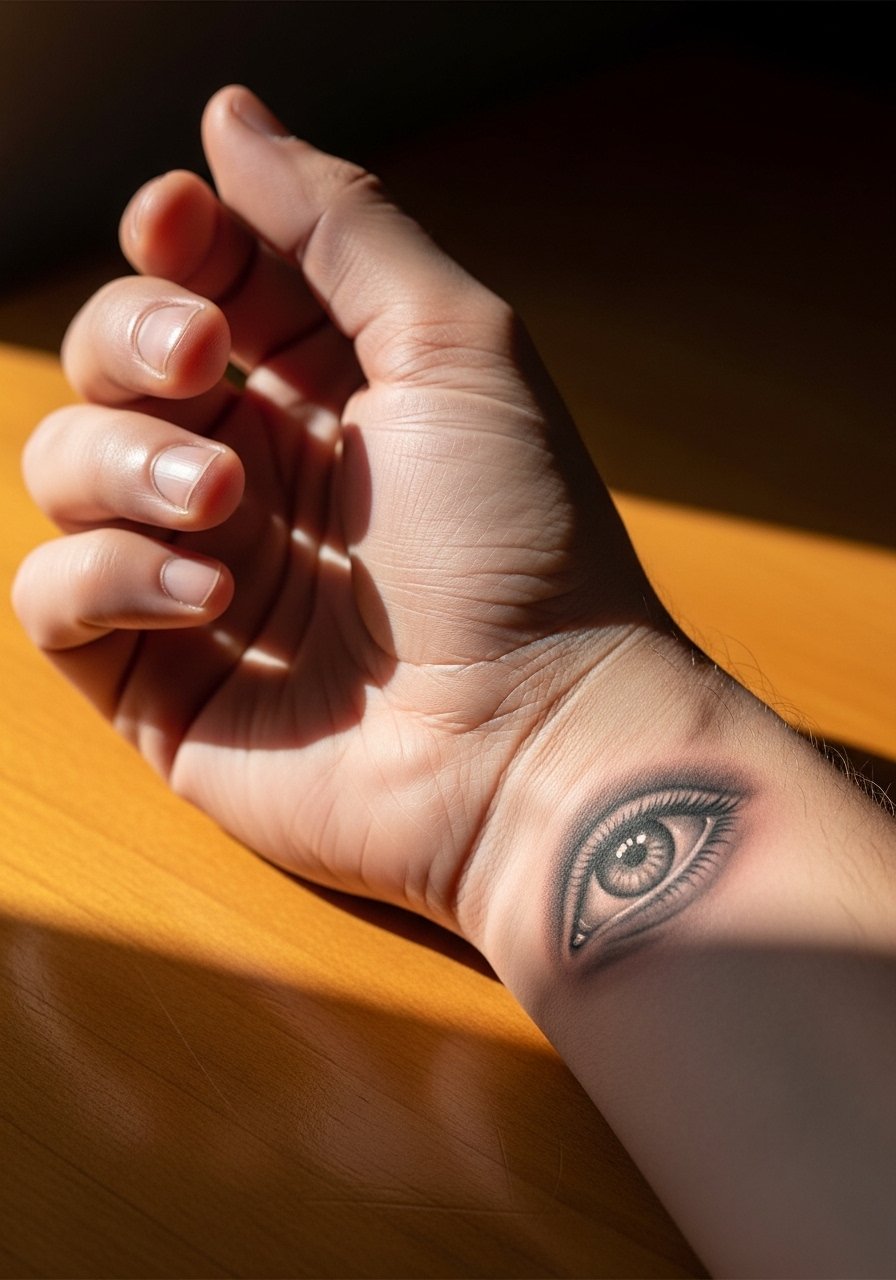
Micro realism demands crisp contrast in tiny areas. Ask for a modest pupil size and subtle white highlights so the detail does not become a grey blur when healed. People often ask for maximum detail at tiny scale and then need touch-ups sooner. Expect 60 to 90 minutes and a sensitive session around the wrist. For the appointment wear a short sleeve crewneck shirt so the artist has full access and you stay comfortable during longer single-needle work.
5. Tiny Script Running Along the Forearm
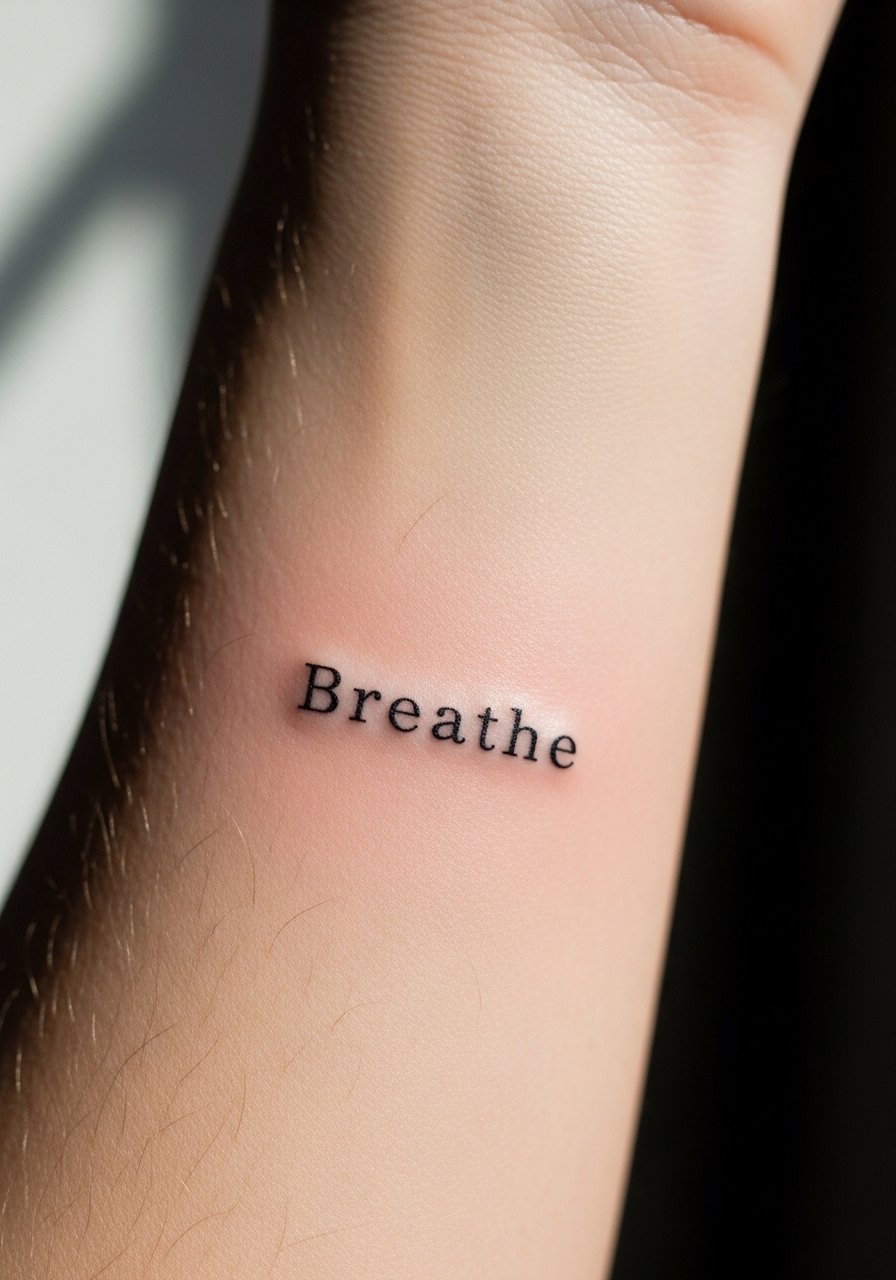
When you want a micro script, pick a font with open counters and moderate letter spacing. Tell the artist the exact phrase and show a clear reference with the exact case you want. The mistake is requesting ultra-tight lettering that later plugs. For a heeled look at year two, expect touch-ups sooner than with bolder script. The session is short, around 20 to 40 minutes, and inner forearm placement is manageable for most. Pair the piece with a thin chain pendant necklace that sits above the line so the script reads when shirts are unbuttoned.
6. Single Dot Constellation
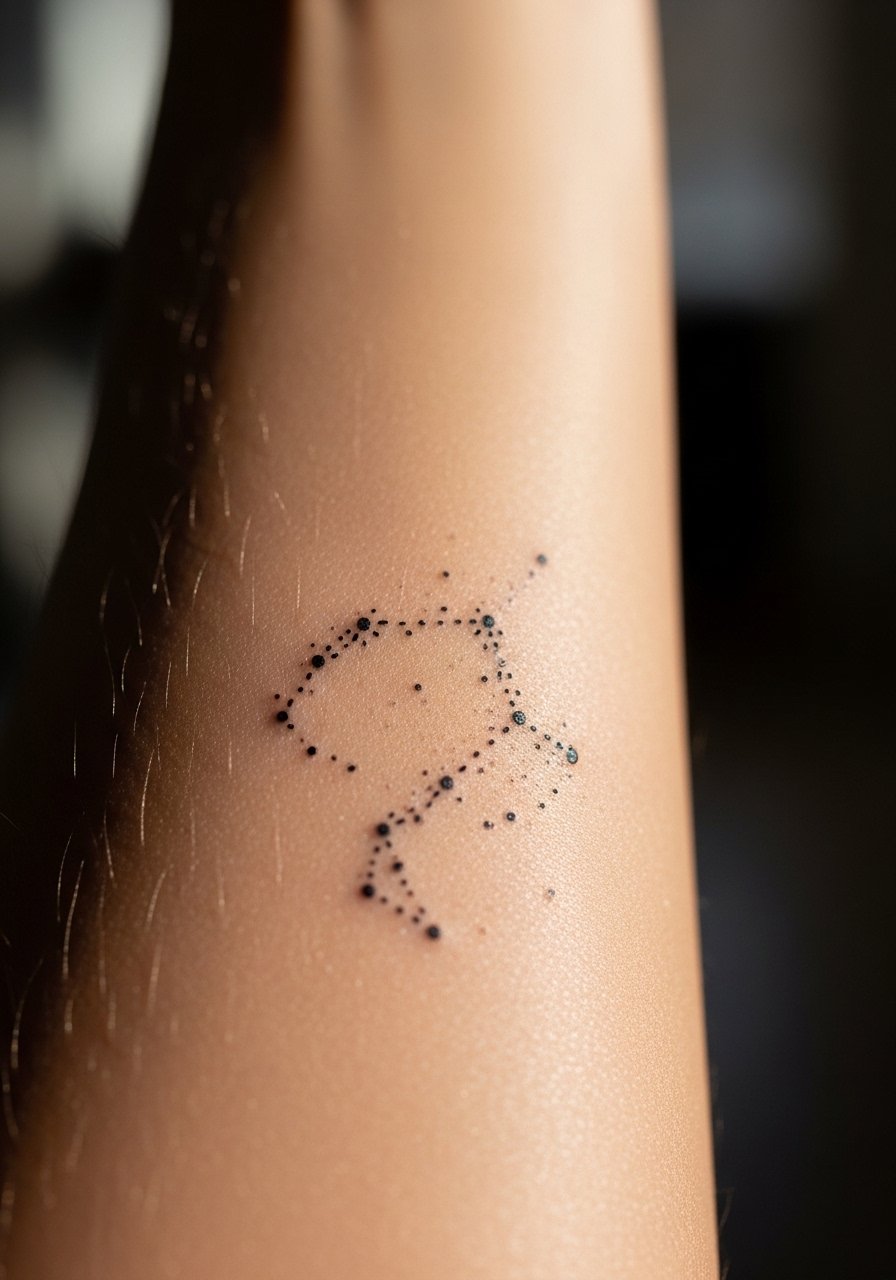
Constellation clusters are low commitment and very forgiving if you ask for spaced dots with faint connector lines. The common error is overdrawing connectors so the pattern becomes a smear. This piece heals predictably and often needs touch-up only after several years. Session time is brief, typically under 30 minutes, and pain is low. Wear a loose linen shirt to the session so you can roll sleeves and keep the forearm accessible.
Studio Day Picks
These small forearm and wrist placements above react differently to friction and washing, so a few prep and healing tools make the session and first week easier.
-
Stencil transfer paper kit. Lets you check composition on the curved forearm before needle touches skin, which matters for thin scripts and bands above.
-
Topical numbing cream. Applied as directed before shorter wrist sessions it can reduce shoulders-tensing, especially for micro-realism work.
-
Thin protective film roll. Useful for wrist and finger pieces that face constant contact in the first 48 hours.
-
Fragrance-free gentle body wash. Cleans healing forearm tattoos without stripping moisture from delicate single-needle lines.
-
Aquaphor healing ointment. Thin application for the first few days helps keep fine line pieces from scabbing too heavily while allowing breathability.
7. Micro Traditional Rose on Lower Forearm

A micro traditional rose uses slightly bolder linework than fine line, which helps long-term legibility. Ask for scaled petals that keep negative space between shaded sections. The aging difference is clear; bold outlines hold shape while ultra-fine petals can lose definition. Session time is 45 minutes and pain is moderate. For styling, roll sleeves up or wear a short sleeve linen shirt to show the piece without crowding it with other wrist accessories.
8. Minimalist Anchor Near the Wrist

Anchors read best when simplified. Tell your artist you want a single-weight line with a small gap in the shank so the symbol keeps shape as the skin shifts. The main mistake is over-detailing a symbol that faces constant hand movement. Expect a 20 minute session and a sensitive spot if close to the radial bone. For the session try a short sleeve button shirt so the artist has unobstructed access to the wrist.
9. Tiny Nautical Wave on the Outer Forearm
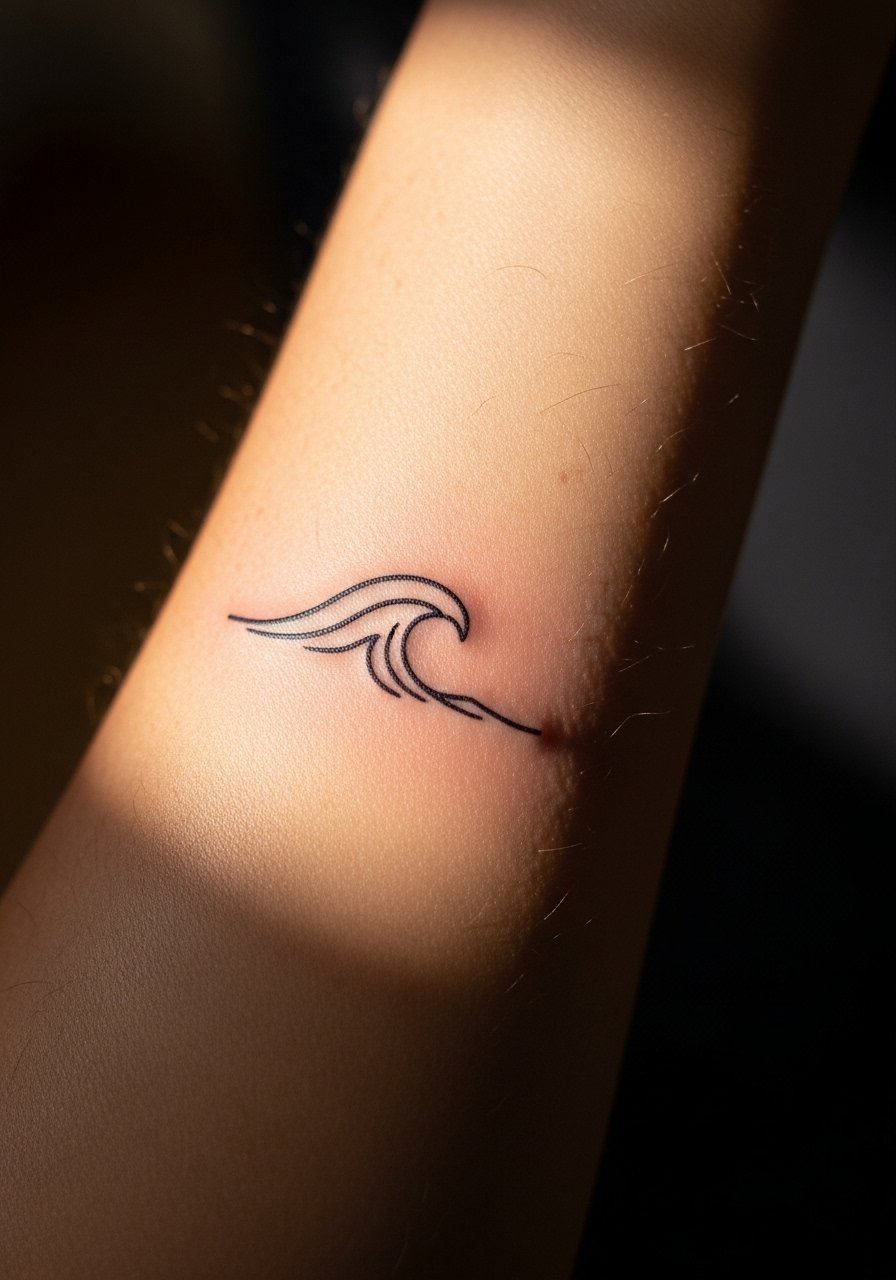
Single-line wave tattoos live or die by spacing and contrast. Ask for a slightly heavier start and end point so the curve reads from a distance. People often request microscopic curls that merge into a grey mark over time. The session is brief and pain low to moderate. Pair the design with a simple leather cuff bracelet for evenings when you want the wave framed without covering it.
10. Micro Compass on the Inner Forearm
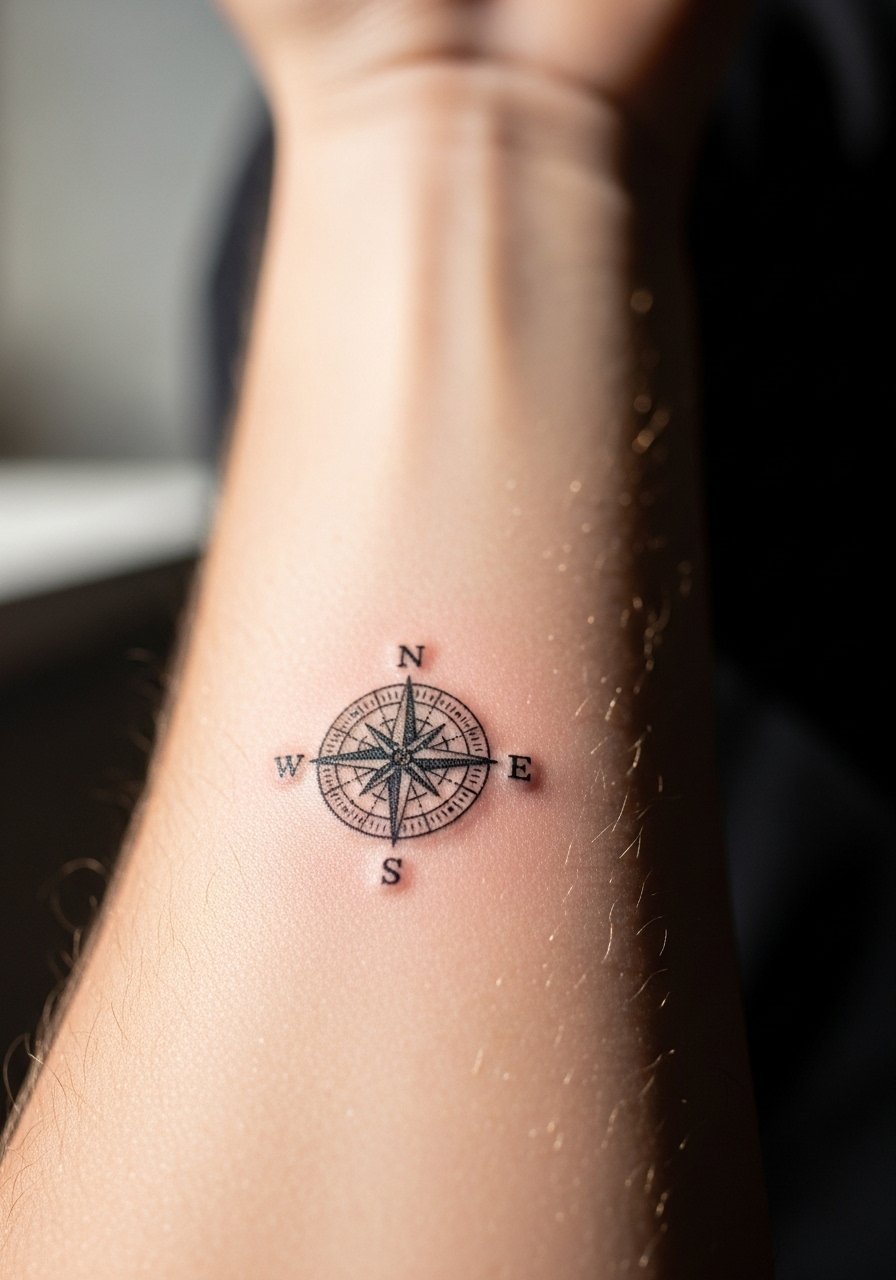
Compasses need clear points and open interior space. During consultation, specify the compass size and insist on visible north and south points rather than tiny ticks. The common mistake is cramming decorative markings that blur as lines feather. Expect 45 minutes and variable discomfort on the inner forearm. A rolled sleeve cotton shirt helps when you want to reveal and conceal the piece.
11. Micro Animal Silhouette on Outer Forearm

Solid silhouettes tend to age well compared to ultra-fine detail at tiny scale. Ask for clean outer silhouettes without interior micro-features that will blur. The mistake is trying to fit eyes and fur strokes into a thumbnail-sized shape. Sessions vary from 20 to 40 minutes depending on fill. Styling-wise, a casual blazer with rolled sleeves frames the silhouette in a way that suits dressier occasions while keeping the forearm visible.
12. Micro Barcode or Coordinate Lines
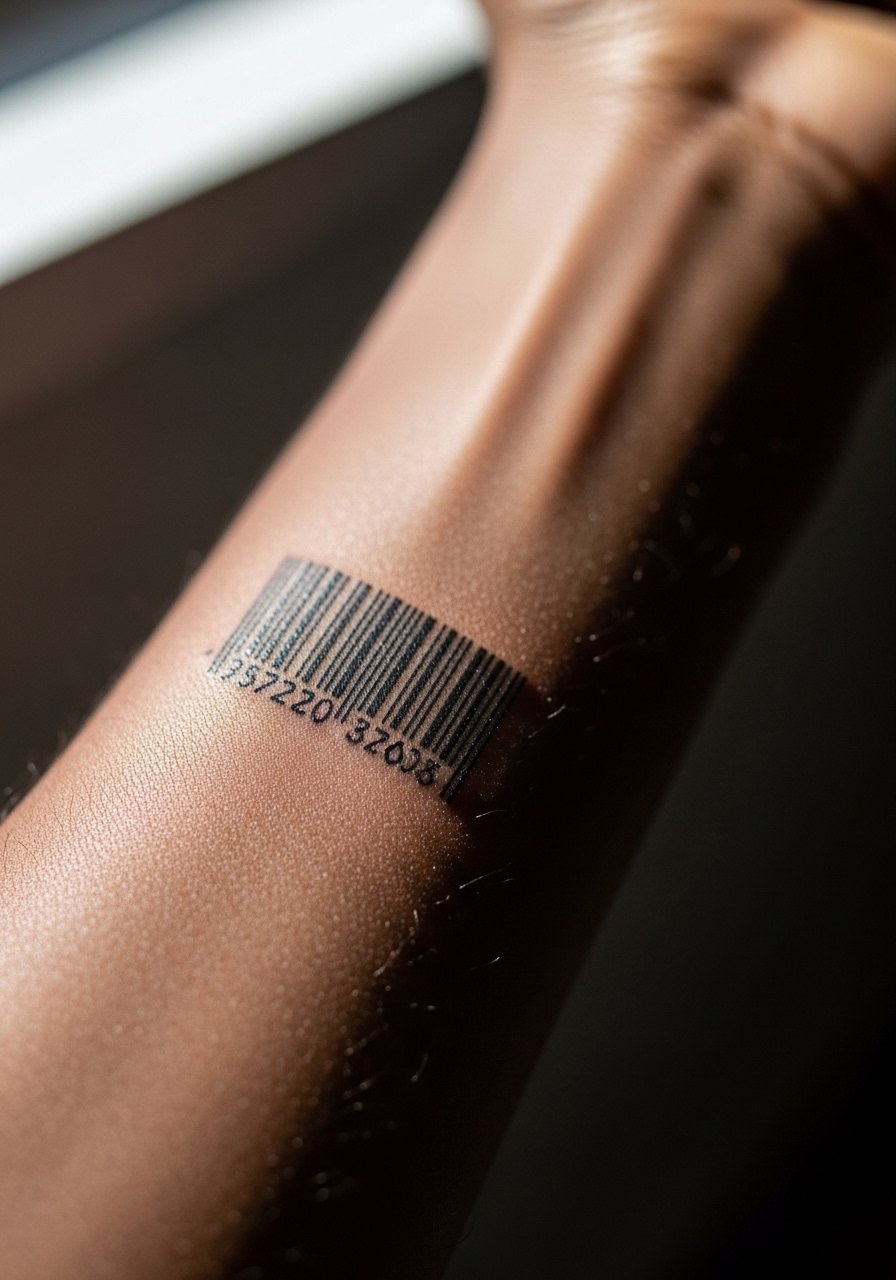
Barcode and coordinate pieces read as graphic elements when lines have consistent thickness and spacing. Tell the artist you want a slightly thicker stroke than you think you need to avoid blur. The controversy here is practical rather than aesthetic. One camp warns that ultra-fine barcodes lose meaning quickly. The other camp argues careful depth and spacing preserve them. Ask your artist where they stand and expect a possible touch-up at year two. Session time is 30 minutes and pain is low.
13. Micro Arrow Cluster Pointing Up
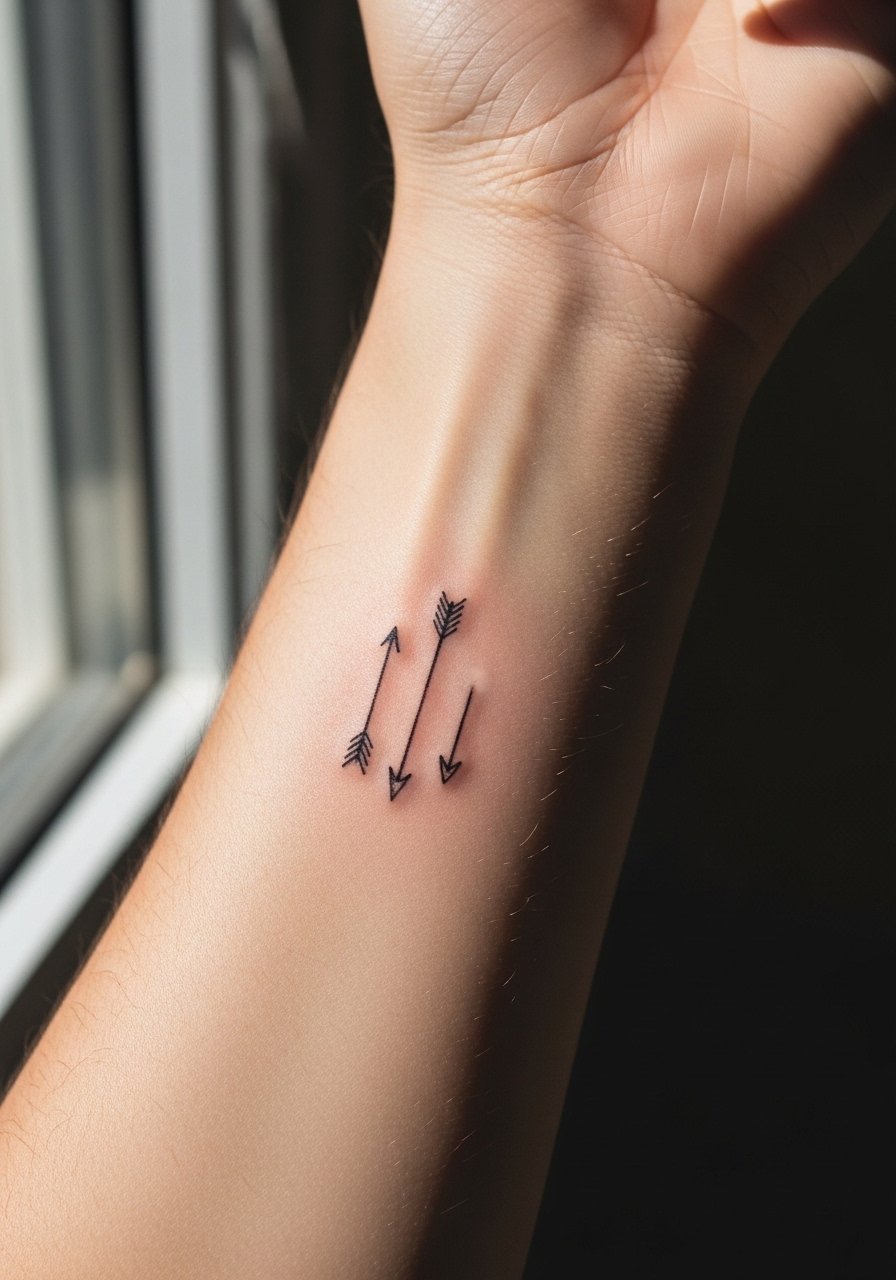
A vertical cluster reads like a motif when each arrow has slight variation in tail design. Ask for deliberate spacing and a consistent baseline so the group keeps identity as it heals. A common mistake is identical micro arrows packed without intentional negative space. The session is about 30 to 40 minutes and feels sharper near the inner arm. For showing this group, try a thin canvas watch strap that sits above the cluster and balances wrist attention.
14. Micro Celtic Knot on the Forearm
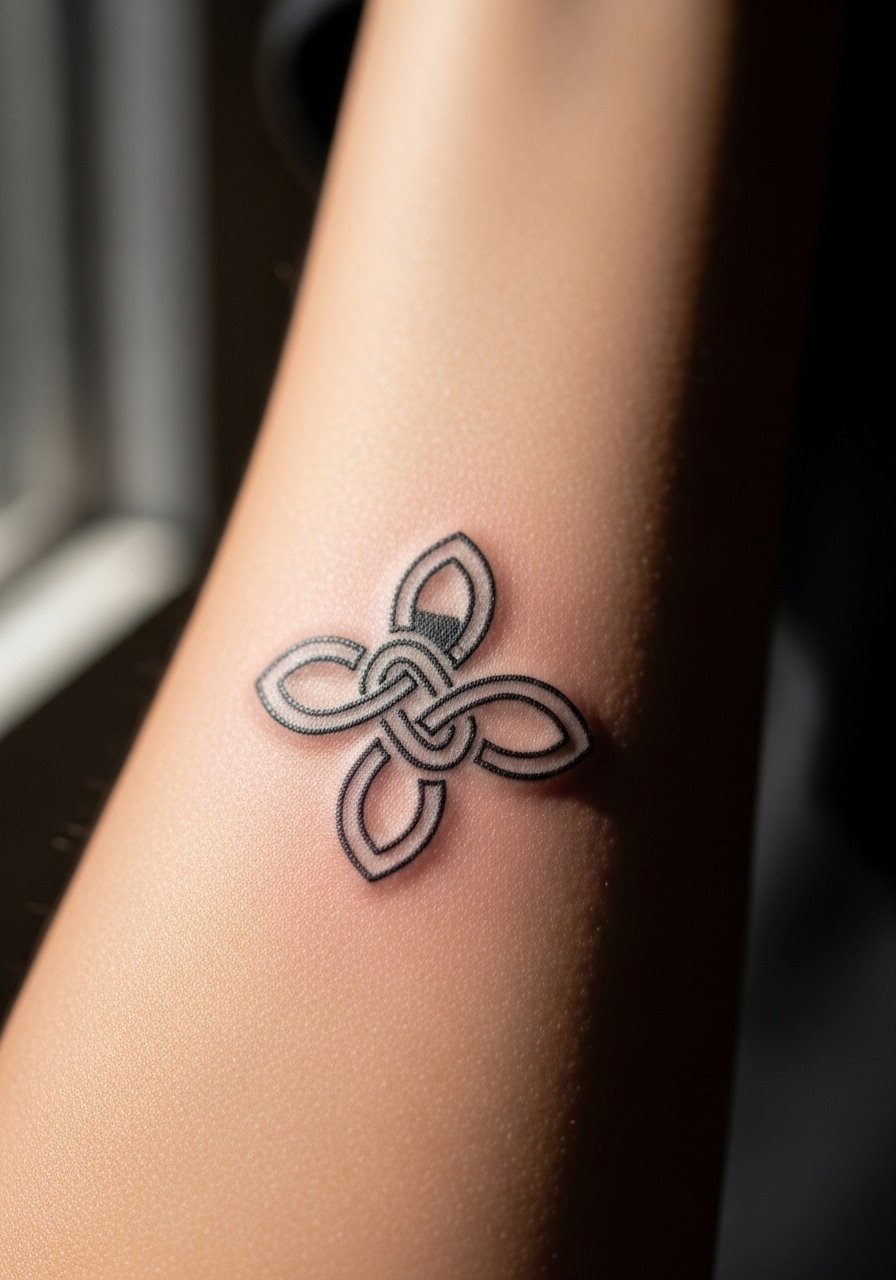
Celtic knots require simplified loops at tiny scale so they do not become a muddled patch. Ask for fewer interlocks than you might like and for clear crossings with visible negative space. The cultural context matters. One camp treats these motifs as heritage symbols. The other camp focuses on aesthetic adoption with respectful alterations. Consider slight personalization and ask your artist about respectful variation. Expect 45 minutes and moderate pain. Wear a rolled sleeve oxford shirt to reveal the knot without it competing with other patterns.
15. Micro Sunrise Linework Near Elbow

Placing a semicircular sunrise near the elbow requires planning for skin movement. Ask for slightly thicker rays and spaced intervals so the arcs do not merge with flexion. The mistake is packing too many rays in a narrow arc which blurs as the skin stretches. Sessions run 30 to 50 minutes and the elbow area can feel sharp. For comfort wear a sleeveless tank top so the artist can position your arm without fabric riding up.
16. Micro Needlepoint Heart on Inner Forearm
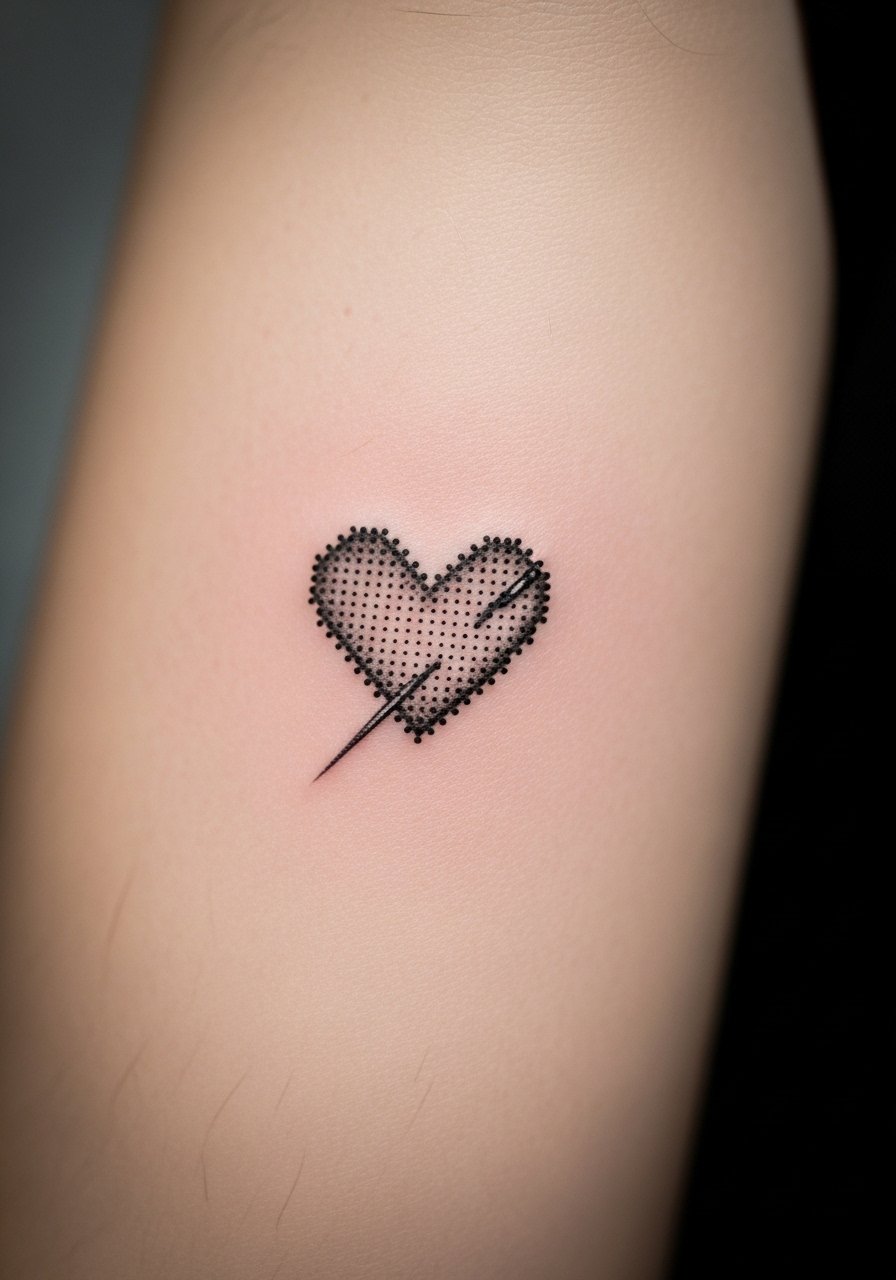
A needlepoint-style heart uses dot work and tiny negative space to simulate texture. Tell the artist you want stipple shading rather than dense fill so it ages with soft grain instead of solid smudge. The common error is pushing too much density into dots and ending with a grey patch. Expect 60 minutes for careful dot work and moderate discomfort. For showing this off, pair with a thin leather bracelet that sits a touch below the heart.
17. Micro Wave and Mountain Combo
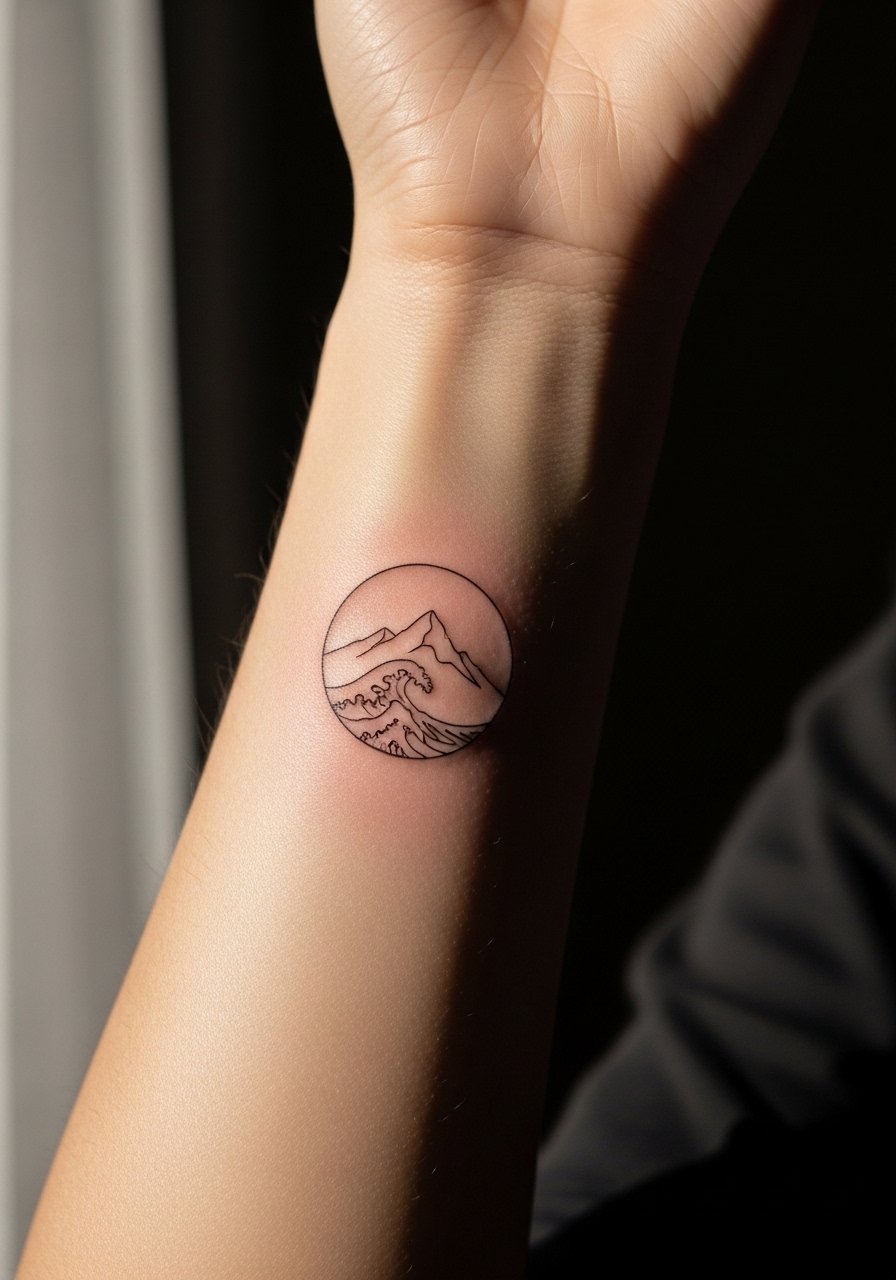
Combining two micro symbols works when each element has its own breathing room. During consultation specify which element is dominant so the layout reads at small scale. A common mistake is equalizing both so neither reads after healing. Session time is 45 minutes and pain is low to moderate. Wear a casual short sleeve tee for the appointment so the artist can roll or adjust sleeves with ease.
18. Micro Roman Numerals Running Along the Forearm
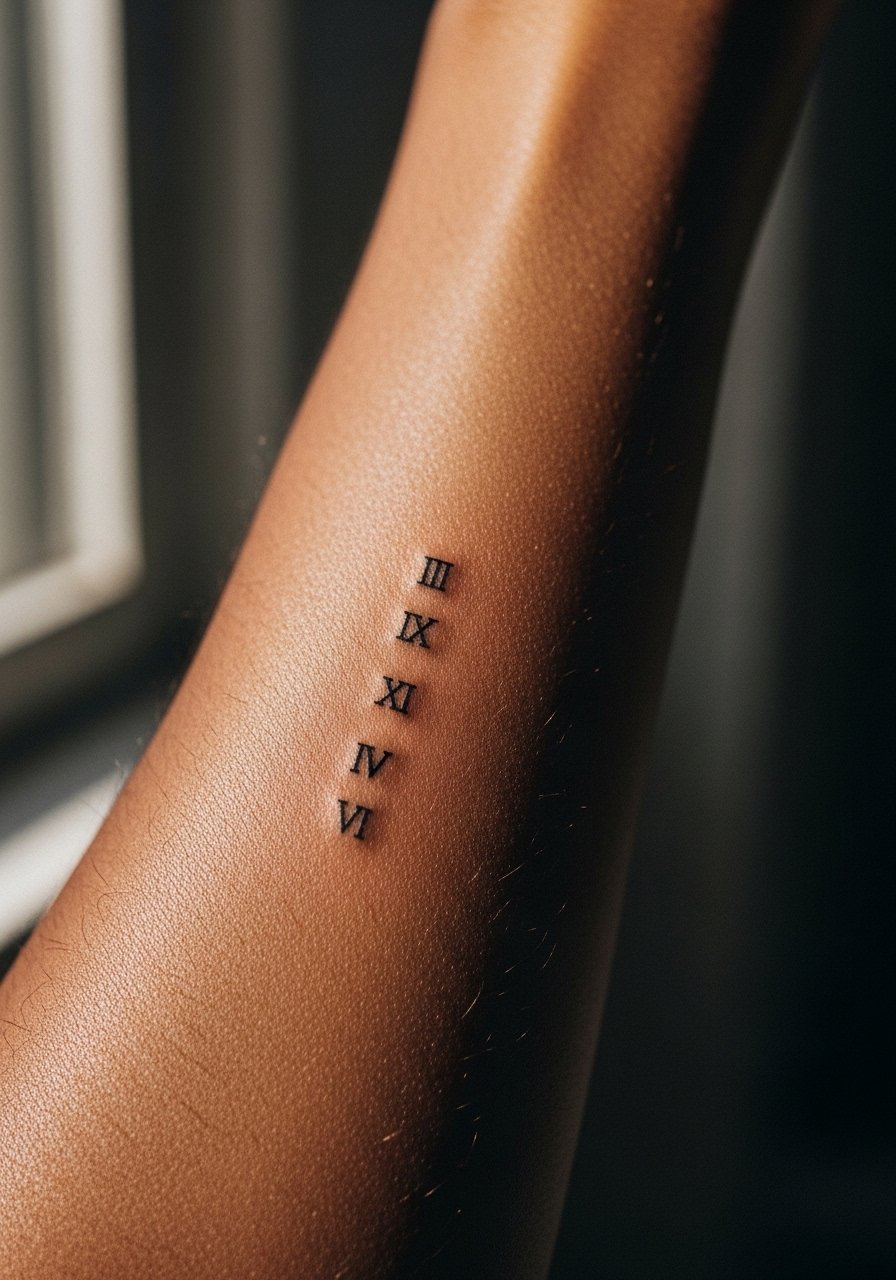
Roman numerals at micro scale require clear spacing and a slightly heavier serif weight than digital fonts. Tell the artist the exact spacing and character alignment you want. People often request compressed numerals that blur together. Expect a 20 to 30 minute session and lower pain. For wardrobe, a rolled sleeve flannel frames the numerals when you want them visible without ostentation.
19. Micro Paper Plane Trace Along the Forearm
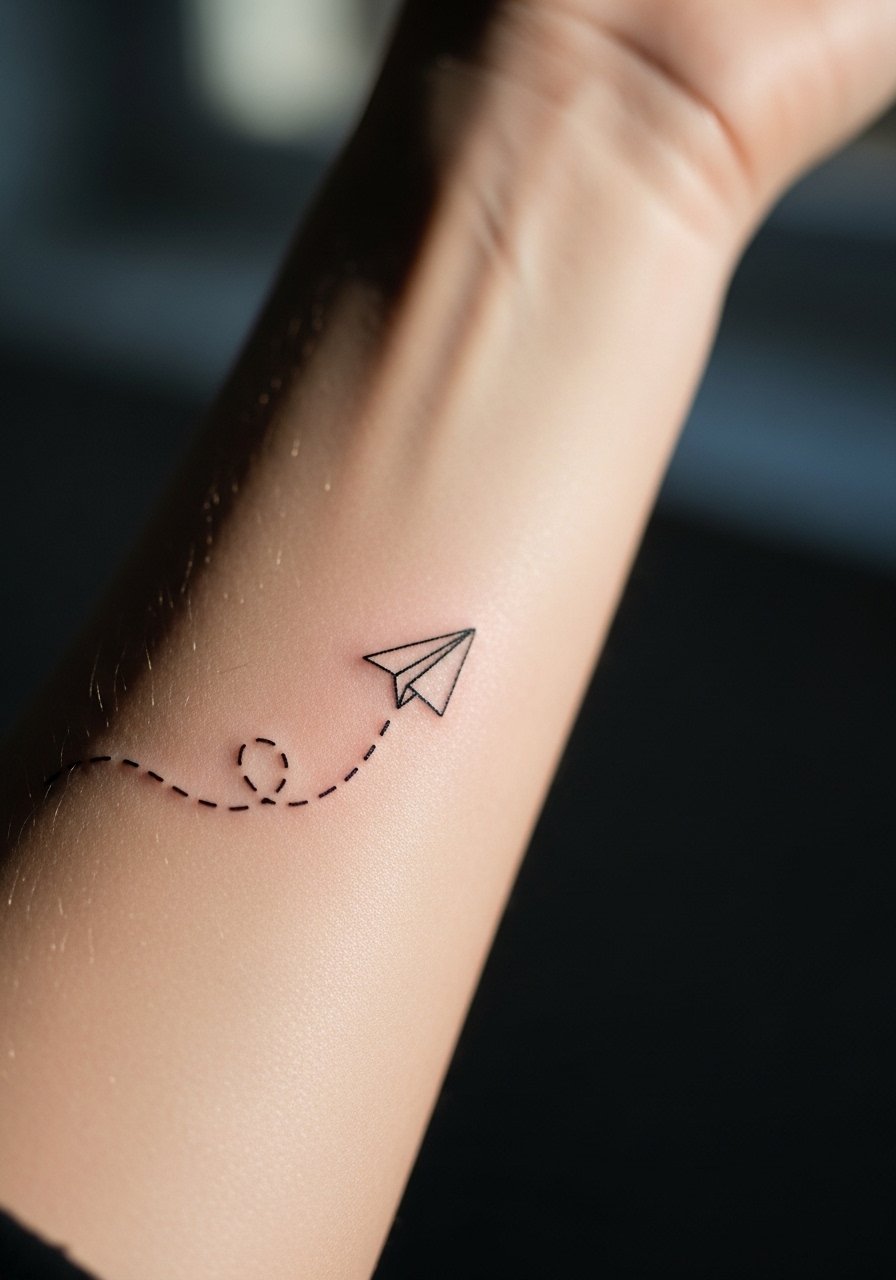
A paper plane with a dashed flight path reads playful when the dashes are spaced and slightly heavier than the micro-plane outline. The common mistake is tiny, equally spaced dashes that plug into a grey line. Session runs 30 minutes and forearm pain is manageable. Pair it with a simple canvas belt watch that keeps the attention on the arm without crowding the plane motif.
20. Micro Mandala Segment Near Wrist

A mandala segment works better than a full tiny mandala at wrist scale because it gives lines room to breathe. Ask for open petals and deliberate spacing. There is a divisive argument in tattoo circles about mandala detail at micro scale. One camp says dense mandalas shrink into unreadable blobs after a few years. The other camp says with correct spacing and depth they hold. Ask your artist how they approach micro mandala spacing and expect touch-ups at year three depending on skin type. For wearing it show with a thin beaded bracelet that complements without covering the wrist.
21. Micro Compass Rose Near Wrist Bone
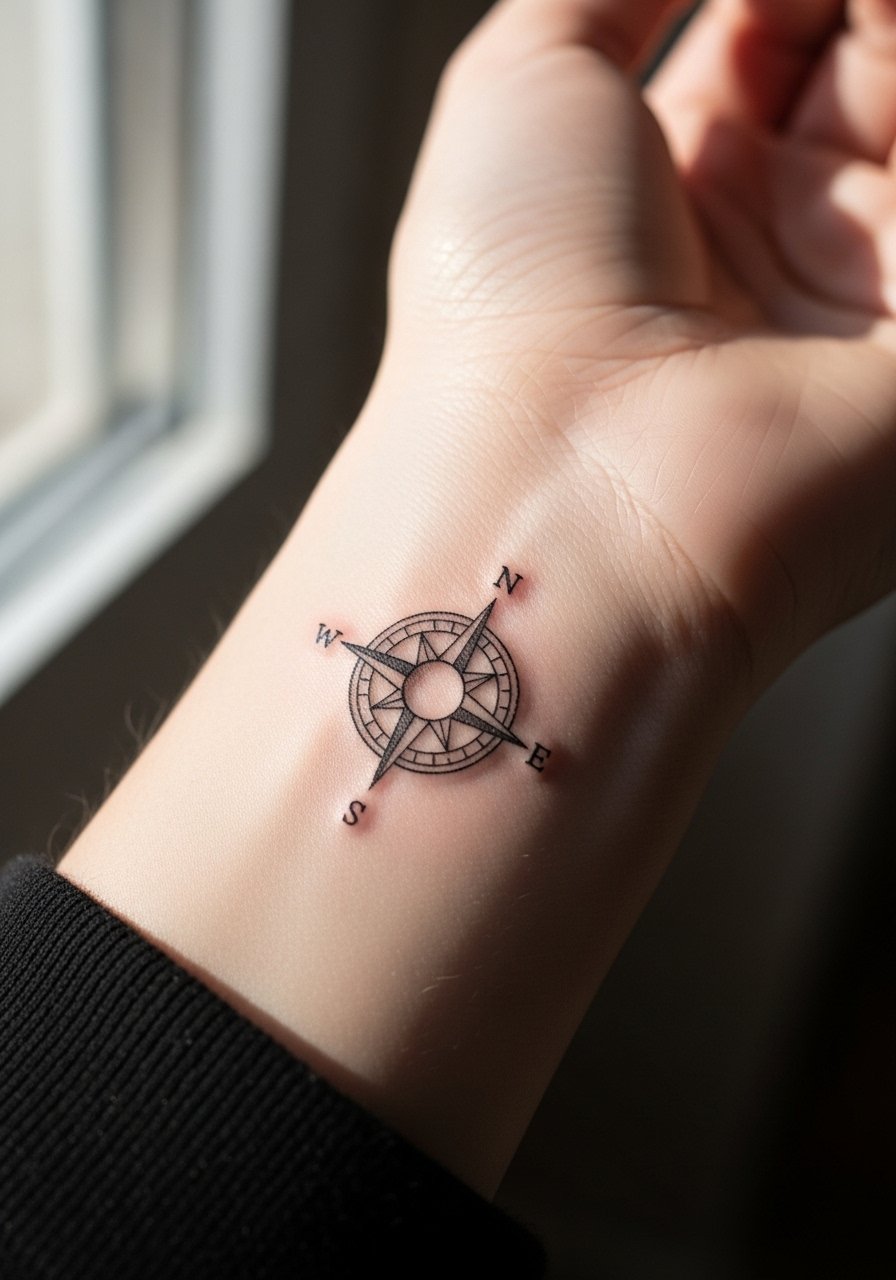
A compass rose near the wrist bone looks crisp when the points are open and the center has negative space. Tell the artist to avoid tiny internal decoration and to emphasize cardinal points. The wrist bone area is more sensitive and sees more contact, which can speed softening. Expect 40 to 60 minutes and higher sensitivity than mid-forearm. For session comfort use a soft cotton tee you can roll without pinching the skin.
Frequently Asked Questions
Q: Will a micro fine line on the inner forearm need touch-ups sooner than bolder work?
A: It depends on spacing and your skin. From what I have seen, single-needle fine line often requires touch-ups earlier because the lines sit on the skin surface and can fade or blur. Ask your artist about planned touch-up windows and whether they recommend slightly heavier line weight for longevity.
Q: Are wrist and near-bone micro pieces harder to heal because of movement?
A: Yes, areas over bone and joints face more friction and movement which can slow healing and affect line clarity. Keep the first week’s movement gentle and protect the area from knocks. Using light layers and avoiding tight wristbands for the first two weeks helps the piece settle.
Q: How should I describe spacing to my artist for a tiny geometric band?
A: Bring reference photos and say you want clear negative space between repeating elements, and ask to see a stencil on the arm first. A visible stencil check lets you confirm how the band sits on your forearm curve before needle work begins. That preview is especially useful for tight bands.
Q: Do micro cultural or mandala designs require special consideration?
A: Yes, be explicit about origin and intent and ask your artist for respectful variations if you are not from the tradition. One perspective values cultural fidelity and heritage. Another sees adapted designs as stylistic adoption. Discuss this in consultation and consider subtle personalization to avoid direct replication.
Q: What should I wear to a forearm micro session to stay comfortable and keep the area accessible?
A: Wear something with sleeves you can roll or pull aside like a loose button-down or a short sleeve tee. For inner bicep or near-elbow placements a tank top is useful. If you need a link, a loose button-down shirt is a reliable choice.
Q: How visible will a micro piece stay after five years if I spend a lot of time outdoors?
A: UV exposure is the biggest enemy of fine detail. From what I have observed, even well-executed micro work on the forearm can fade faster with heavy sun exposure. Use broad UV protection for exposed arms and plan for touch-ups if you want the piece to maintain crispness.
