
Fine line stencils flood feeds, but trend appeal and long-term wear do not always match. What holds up for five years is rarely the flashiest fresh shot. These micro stencils focus on line spacing, placement, and transfer tricks that make tiny pieces readable over time, so you can pick a stencil that looks good at the consult and still looks good after the first touch-up.
1. Micro Fine Line Heart Outline on the Wrist
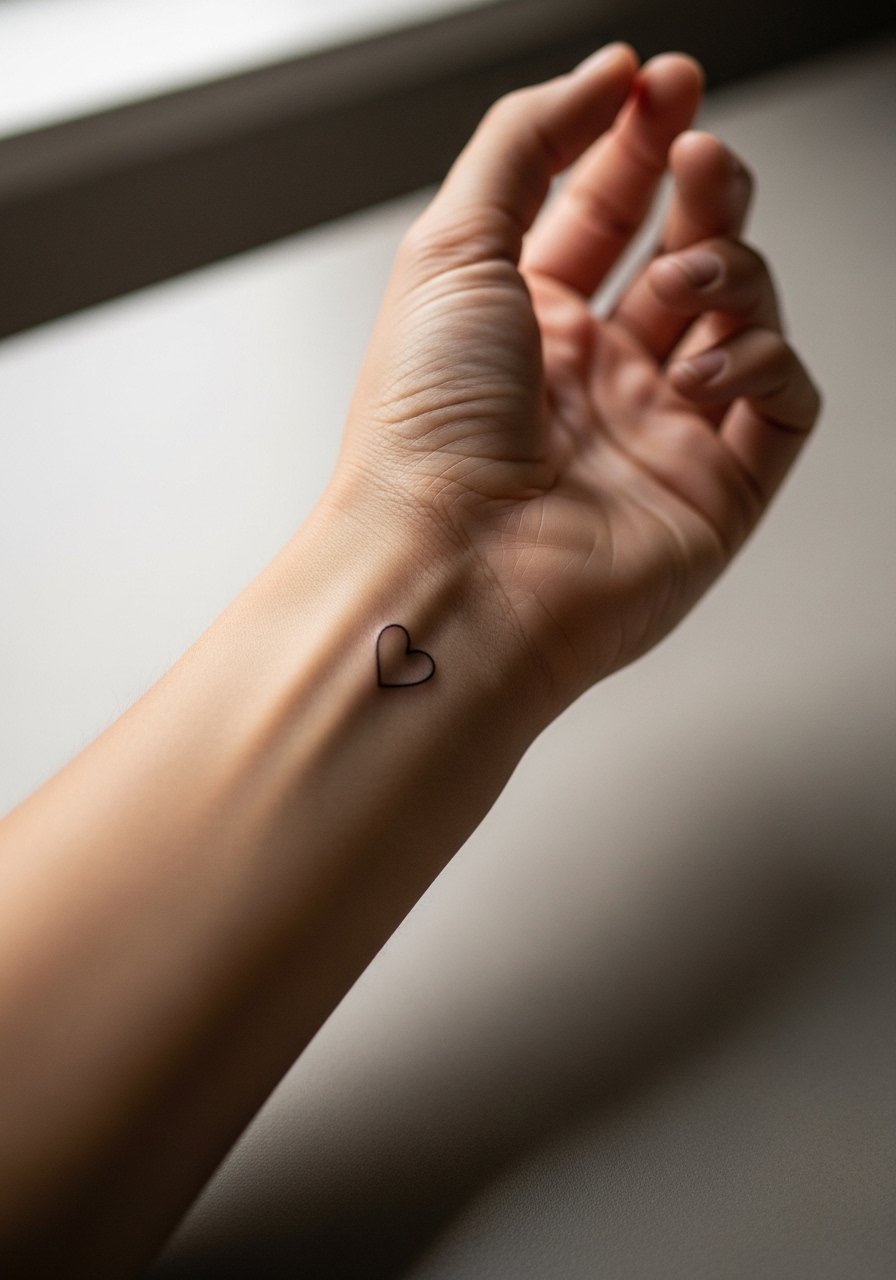
This heart outline is a classic first-stencil choice because it reads clean in small sizes when the lines are spaced slightly wider than most clip art. Tell your artist you want single-needle linework with a whisper of space between corner joins so the heart does not merge as it settles. Expect a 30 to 45 minute session and mild wrist sensitivity that feels like repeated pinches. A common mistake is asking for the absolute thinnest possible line. That looks fragile at day one and often needs a touch-up sooner. For showing it off, layer a thin chain bracelet stack on the opposite wrist, and wear a short-sleeve or sleeveless top to keep the area visible during warm months.
2. Tiny Dainty Floral Sprig on the Ankle
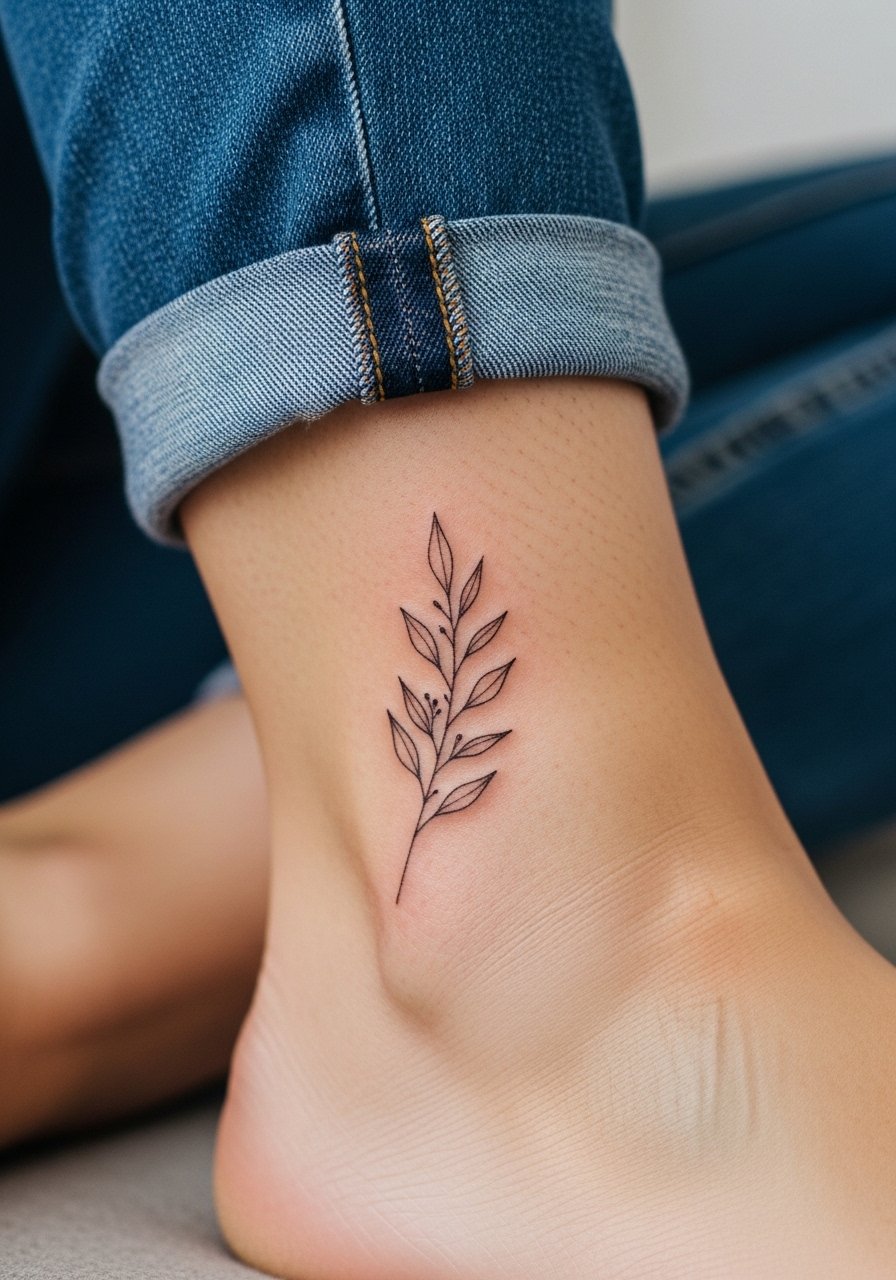
I suggest this sprig when someone wants organic flow that follows the ankle curve. Ask for light stipple shading instead of solid fills so the motif breathes as the skin moves. The ankle session is quick and feels sharp where bone is close to skin, so expect brief sting during the outline. A common aging issue is dense shading that blurs under friction from shoes. Keep the sprig sparse and use a touch-up at year two if lines soften. For showing it off, try strappy ankle sandals or cropped pants, and wear loose joggers to the appointment so the artist can roll the leg up without tight fabric.
3. Minimalist Arrow Symbol on the Inner Forearm
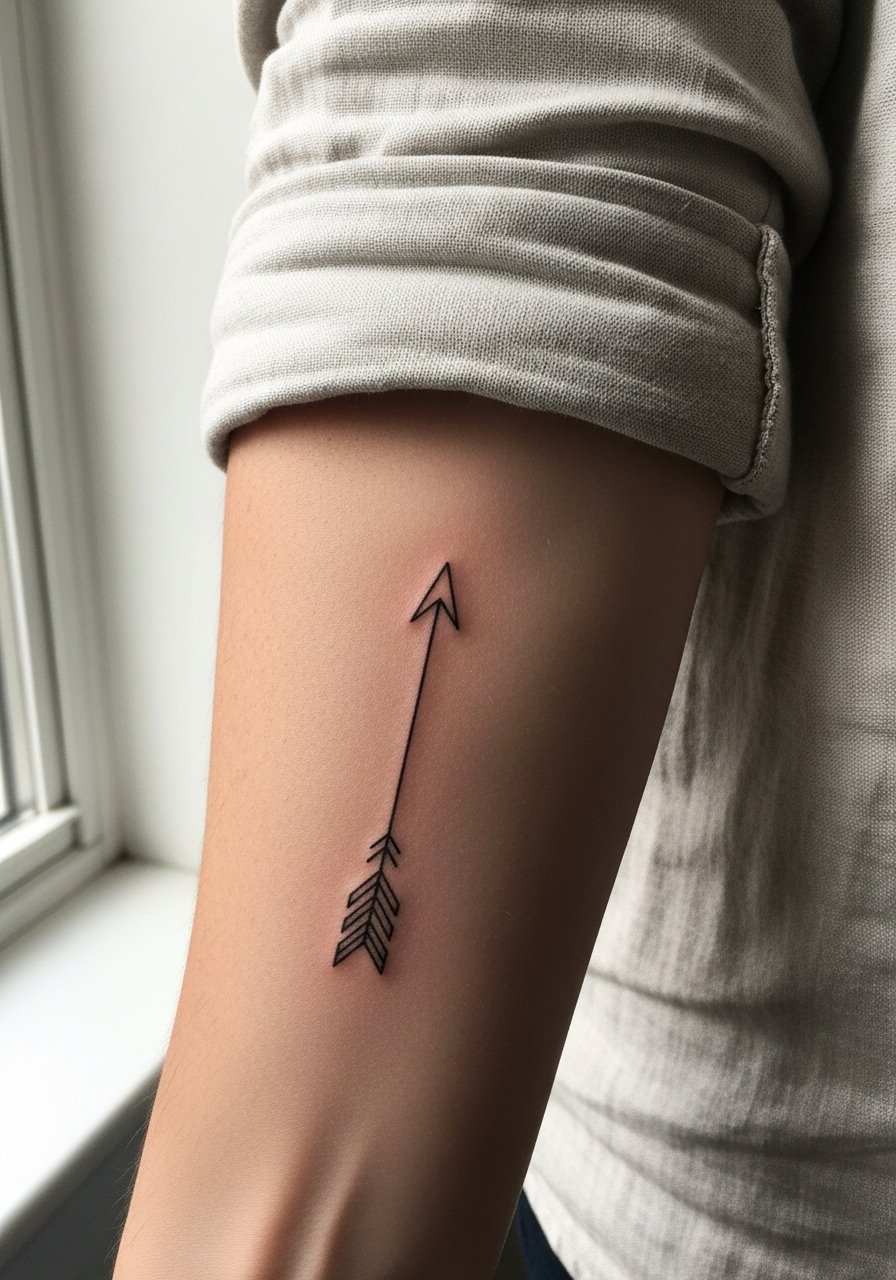
This arrow is great for placement that reads direction and movement without heavy saturation. During consultation, specify line weight and whether you want a split tail or solid shaft, and ask for a slightly heavier head so it ages more predictably. Forearm skin is forgiving, so the linework tends to last longer than fingers. A 30 minute single session is typical with low to moderate pain. The biggest mistake I see is shrinking the design too small, which makes the arrow look like a smudge later. Pair it with a linen button down shirt rolled at the cuff to frame the forearm when you want people to notice.
4. Small Wave Line Art on the Shoulder Blade
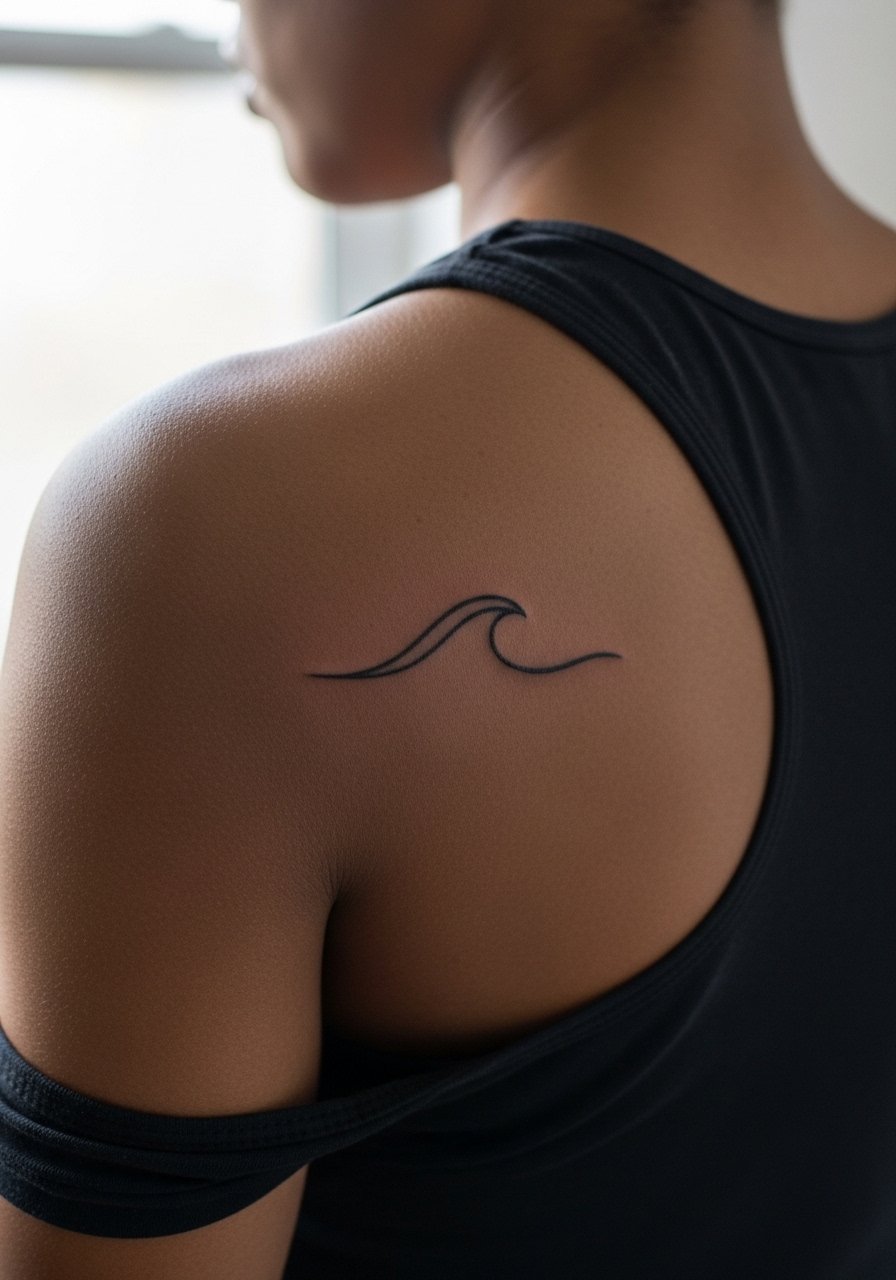
Waves on the shoulder blade use curved composition to follow skin movement and avoid distortion. Ask the artist to test the stencil on the area while you move your shoulder so the curve sits naturally with your posture. The shoulder blade session is pleasant and usually under an hour. Avoid packing the wave with tiny crosshatching because that can blur into nearby lines after a few years. For show-off styling, a racerback tank top keeps the area visible and gives a clean backdrop for the wave. Wear a loose tank to your appointment for easy access without shifting fabric.
5. Micro Star Cluster Behind the Ear

Star clusters are forgiving because spacing between dots creates a deliberate scatter effect. For the behind-the-ear spot, always test the stencil placement while your hair is up. The area is low on pain but high on visibility when hair is pulled back. A common mistake is making the dots too close together, which loses definition as the dots spread slightly. Expect a 20 to 30 minute session and a possible touch-up after a year if you get lots of sun exposure. Style this with a soft ponytail holder when you want to reveal the cluster, and tie your hair up for the session to keep the area sterile.
6. Fine Line Butterfly Silhouette on the Inner Thigh
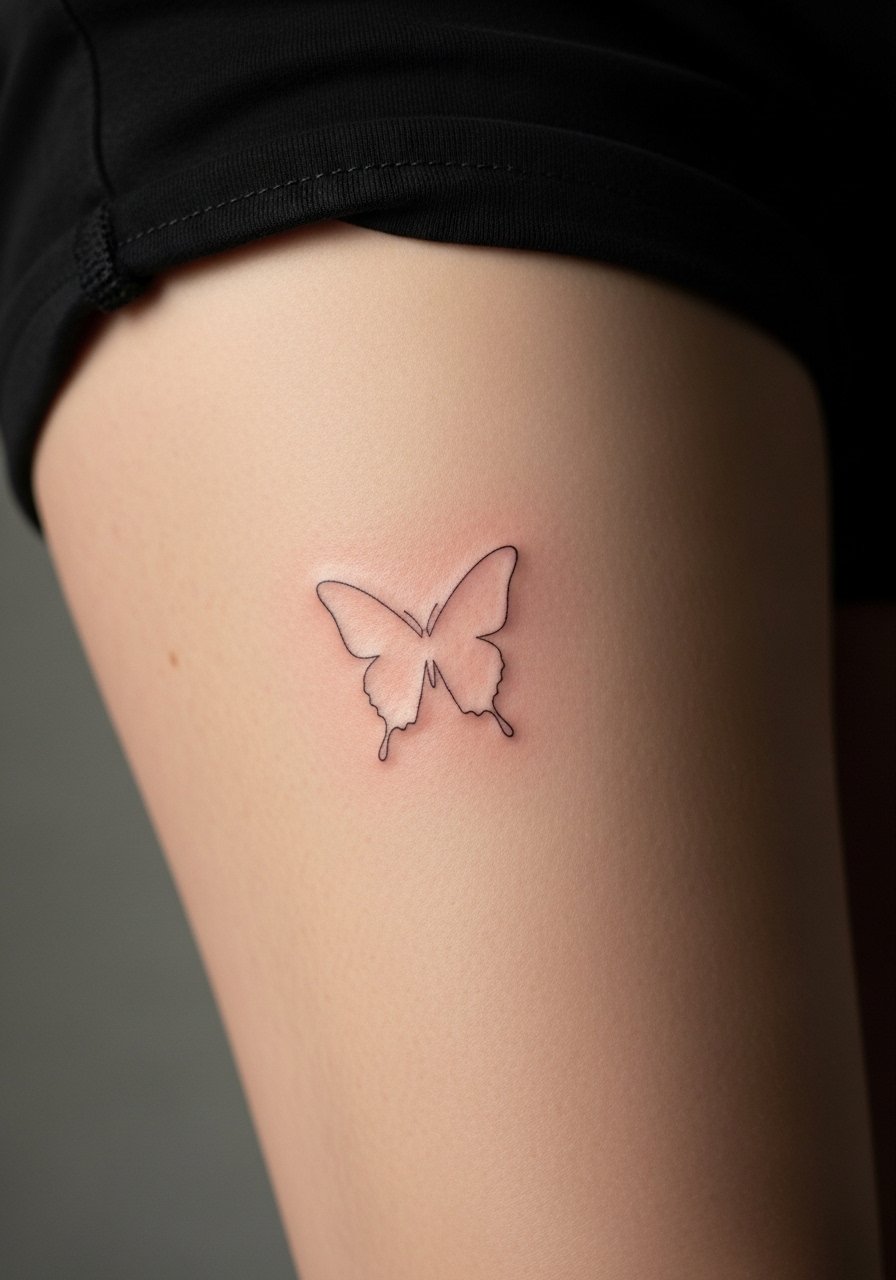
Inner thigh pieces age well if the design avoids tight shading that can smear with skin friction. Tell the artist you want outline-focused wings with a tiny amount of gray wash for depth. The inner thigh can be tender, so plan for a longer session with breaks. Mistakes include demanding heavy contrast that sits awkwardly against natural skin folds. If you plan to show it off, high-waisted shorts or a skirt with thigh slits make selective reveals simple. For the appointment, wear loose shorts so you can shift fabric without pressure on the area.
Studio Day Picks
The wrist and finger pieces above heal differently from larger work, so a few small things smooth out the session and the first week.
-
Spirit freehand stencil paper. Lets you trace and tweak vector designs before transfer, which is especially helpful for the micro heart and arrow stencils listed above.
-
Stencil applicator tool. Applies even pressure for clean transfers on curved zones like the ankle and shoulder blade, reducing smudging during prep.
-
Antibacterial hand soap and single blade razor set. Preps skin so stencils stick on areas prone to lift, such as wrists and fingers.
-
Pre-made stencil transfer gel packs. These skip complicated printer setups and work well for small clusters and star motifs behind the ear.
-
Aquaphor healing ointment. A thin layer in the early days helps protect fine line work from drying cracks without clogging the line channels.
7. Tiny Geometric Triangle on the Side Finger

Finger side pieces are high maintenance because skin there sees constant washing and contact. Ask for bold, simple geometry with a tiny margin added to line edges to allow for slight ink spread. Pain on the finger is sharp for the outline, and session time is short. The usual mistake is forcing intricate negative-space geometry onto a fingertip, which has no room to breathe. For a polished look, pair it with thin stackable rings and keep nails neutral. Wear bare hands to the session, no rings, so the artist has unobstructed access.
8. Micro Leaf Outline on the Side Finger or Toe
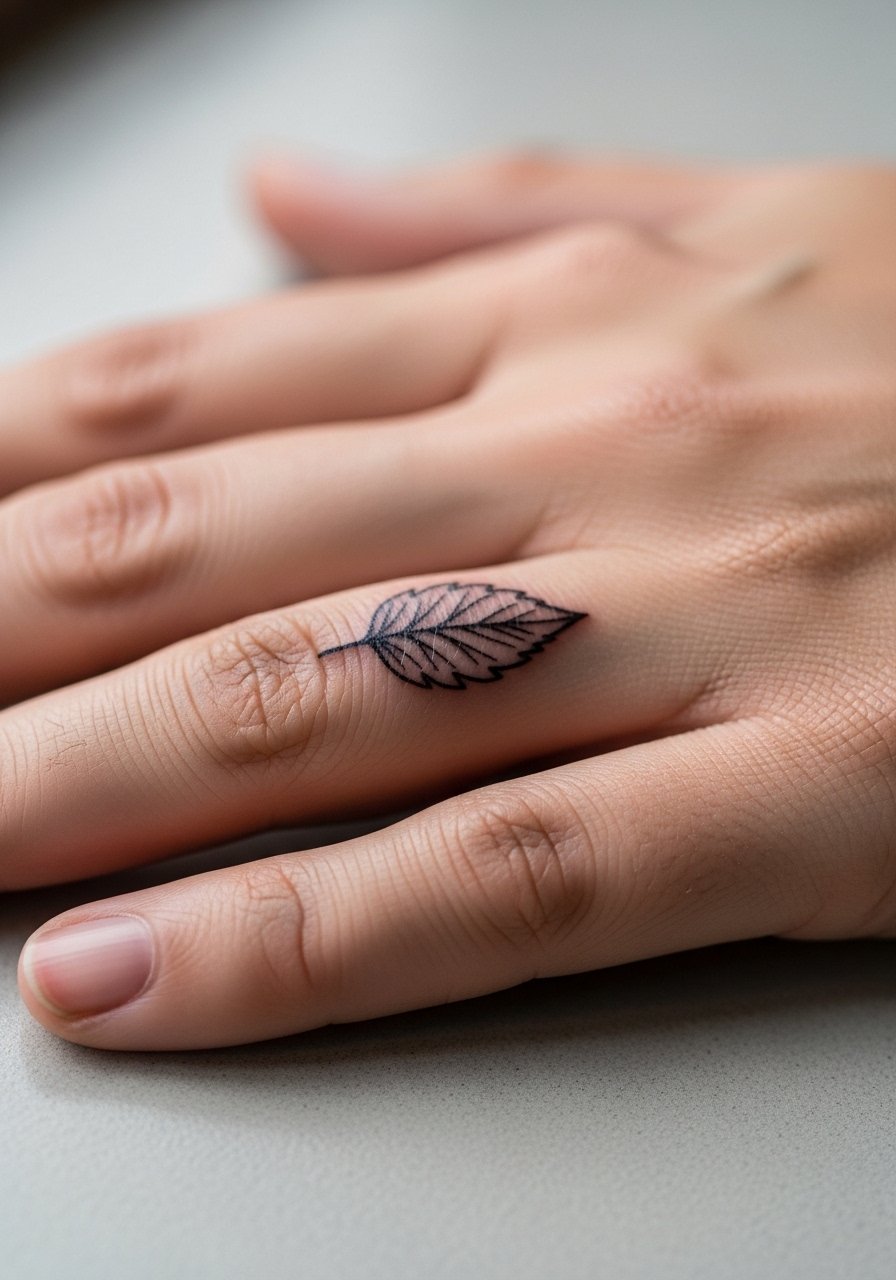
Leaf outlines work on fingers and toes when you scale for contour. Tell the artist you want a slight curve to follow the bone so the leaf sits flush with movement. Fingertip placements carry higher blowout risk, and toes see pressure from footwear. Many people try to shrink a detailed botanical and the result loses definition quickly. A touch-up at year one is common for these placements. Style with nude polish and dainty finger rings to keep attention on the linework, and go to the appointment with no jewelry on.
9. Simple Moon Crescent on the Collarbone

A collarbone crescent reads elegant when placed on the bone ridge that naturally frames the curve. Ask for a slightly thicker midline so the crescent wears evenly as skin ages. The collarbone can sting more than the arm because of bones under the skin, but sessions are brief. Avoid filling the crescent with heavy shading in micro scale, which tends to age into a blob. For showing it off, an off shoulder sweater or V-neck top highlights the curve, and wear a strapless or button-front top for the session so the artist has clear access.
10. Dainty Infinity Loop on the Back of the Neck
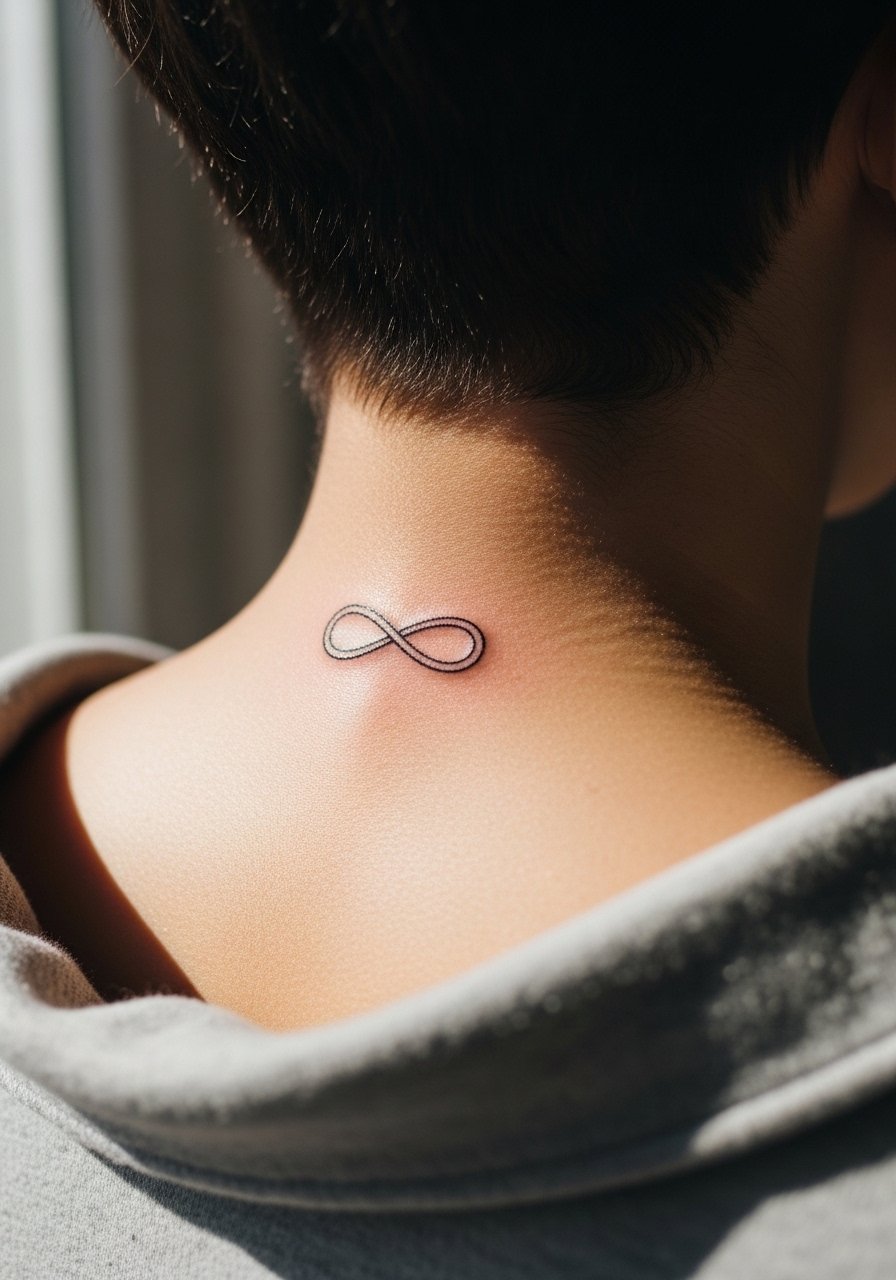
Back of neck micro work depends on exact placement relative to hairline. Mention whether your hair will usually be up or down so the artist positions the loop where it will be seen. The area is sensitive for some, and touch-ups are common for thin lines there at year two. A misstep I see is asking for extremely hairline-fine lines in an area that sees friction from collars. For casual styling, a thin chain pendant necklace sits above the loop without competing, and wear a wide-neck shirt to the session.
11. Micro Sunburst Rays on the Shoulder
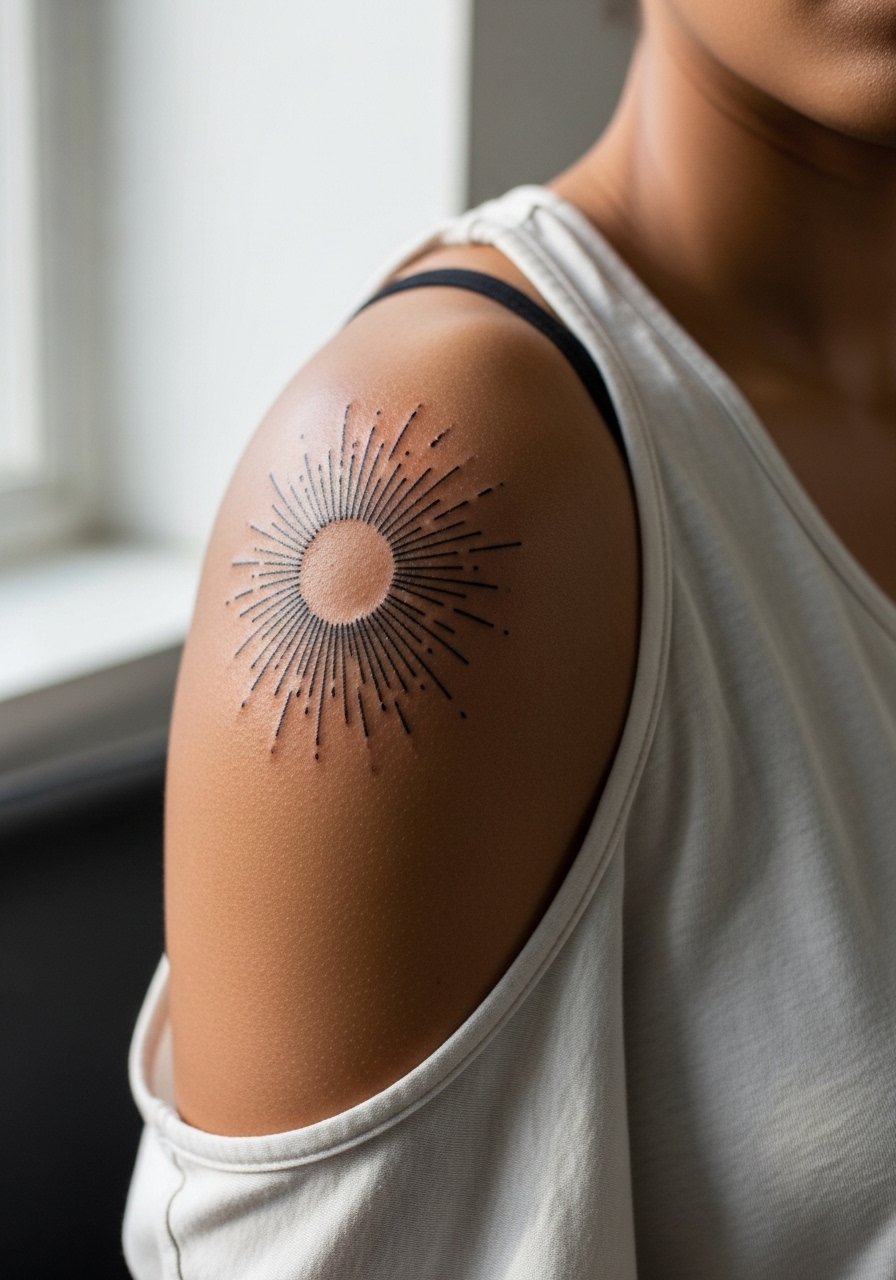
Sunburst rays look great on shoulders because the radial design plays with muscle shape. Ask for slightly uneven ray lengths so the composition reads hand-drawn and avoids mechanical repetition. Sessions are comfortable on the outer shoulder and usually under an hour. A common aging error is packing too many thin rays close together which then blur into a shaded area. For show, pair with a sleeveless tank or racerback to keep lines visible. Wear a loose tank to your appointment to give the artist full access.
12. Fine Line Feather Quill on the Inner Bicep
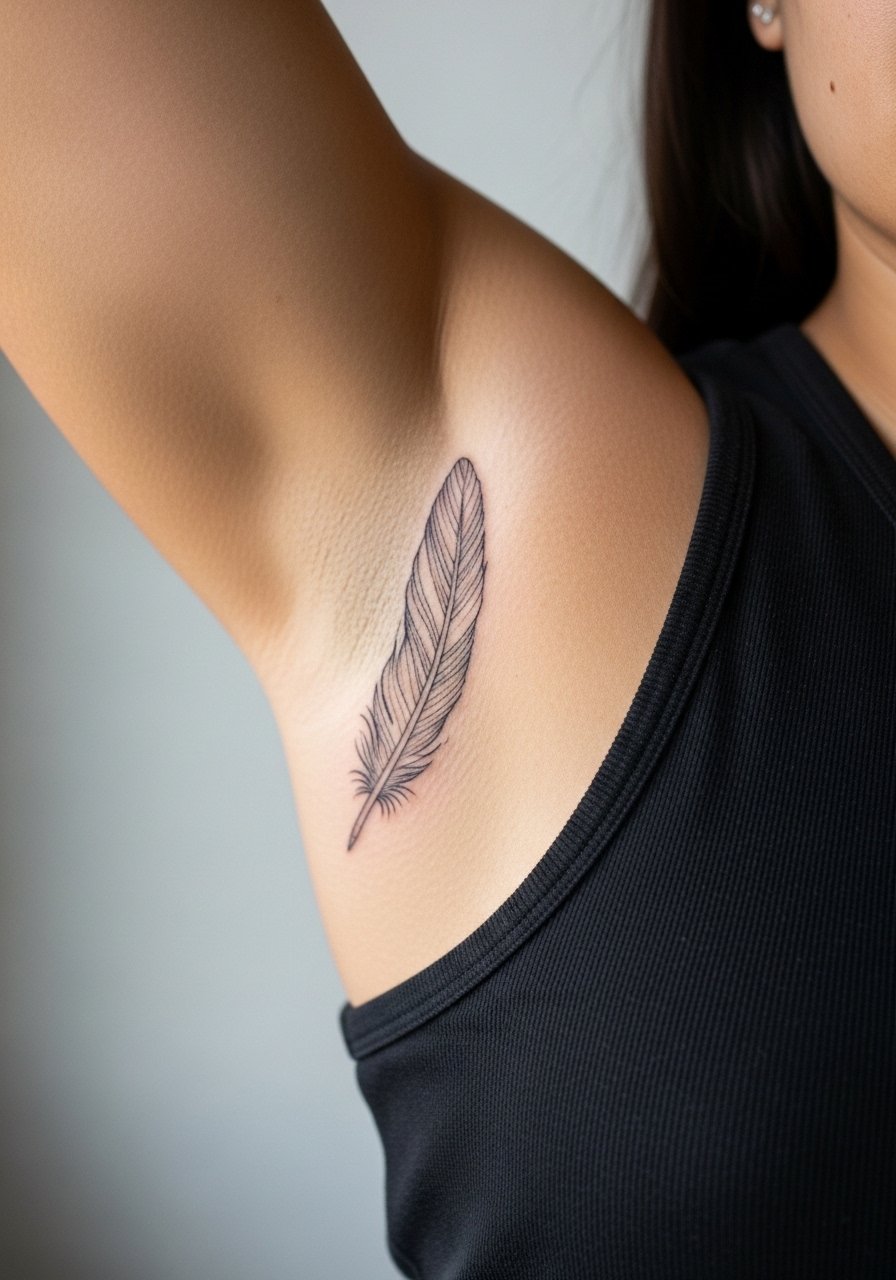
Inner bicep pieces benefit from elongated designs that follow the arm length. Request stipple shading and a slight taper at the quill so the feather retains texture without dense fills. This placement is one of the more sensitive spots and sessions may be interrupted with breaks. A mistake I see is packing long feather barbs too close together. That tends to age into a soft gray patch. This design pairs with rolled sleeves or a loose button-down shirt when you want to show it, and for the session wear a tank so the artist can roll the arm easily.
13. Tiny Anchor Icon on the Ankle
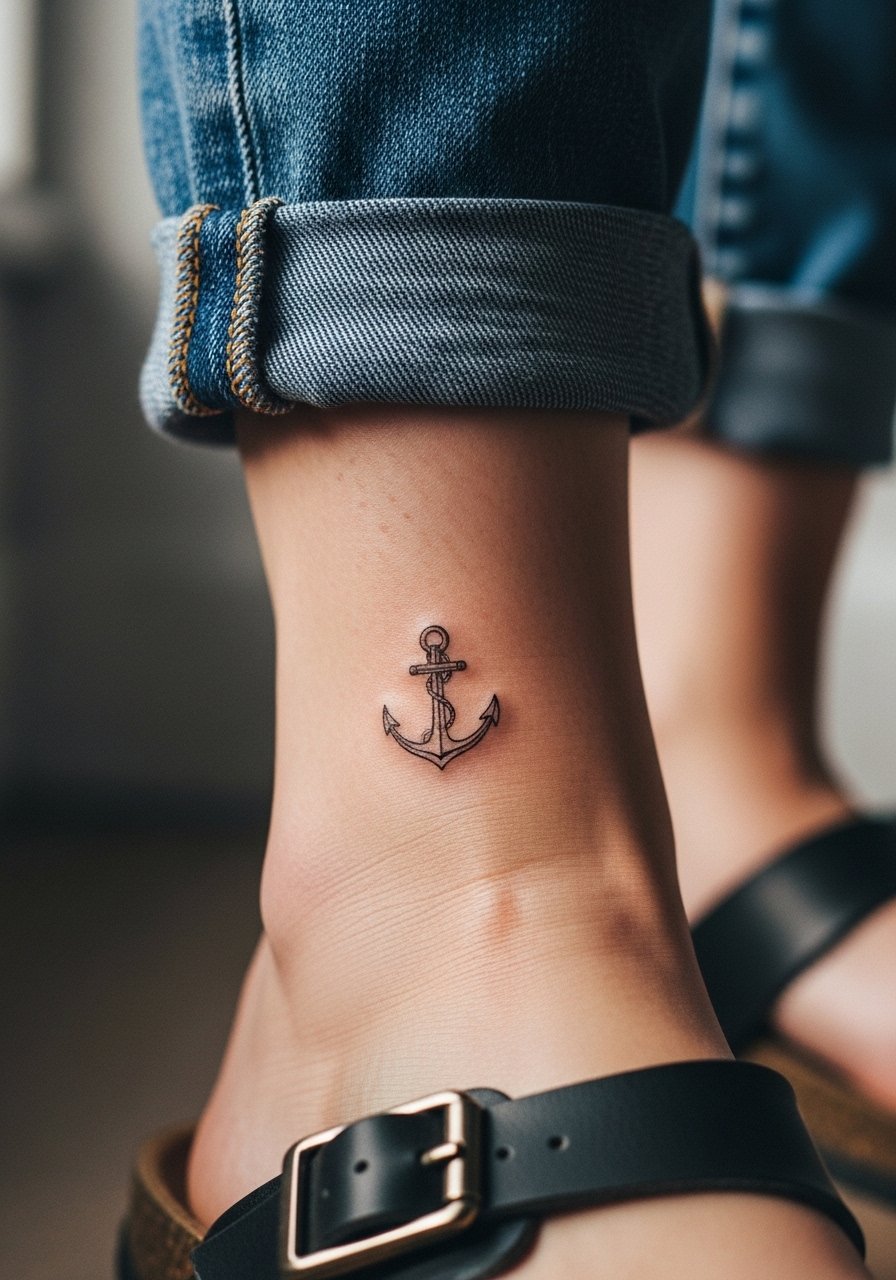
Anchors are classic for ankle placement because they have recognizable silhouette even when small. Tell your artist you want bold outline edges to avoid the anchor melting into shoe friction. Ankle sessions are quick but hit bone in places, so expect brief sharp moments. A common mistake is requesting intricate rope detail in the micro version. Keep it graphic and simple. For summer styling, a pair of low heel sandals or cropped pants highlight the placement. Wear loose shorts or a skirt to the appointment for easy access.
14. Micro Constellation on the Back of the Wrist
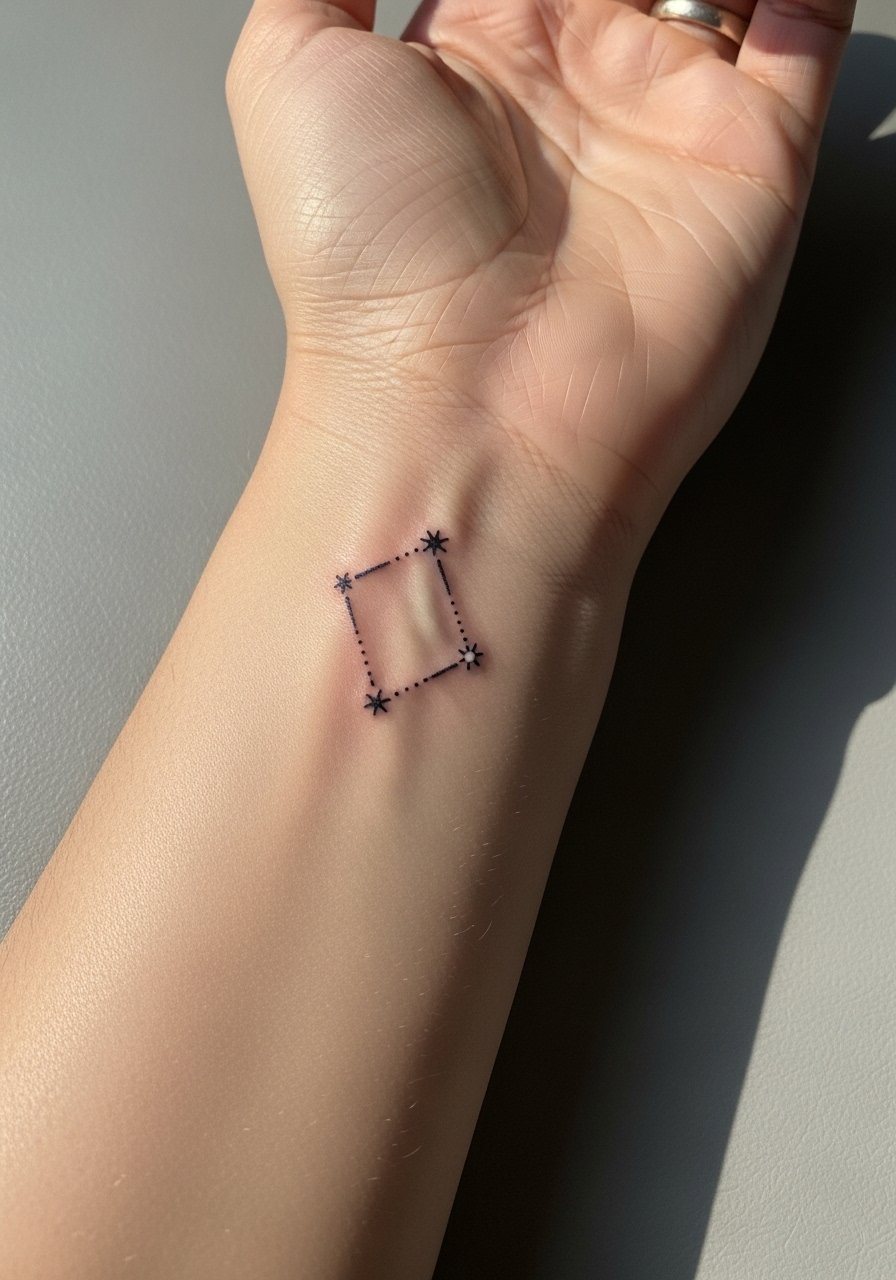
Constellations favor the wrist because the small cluster moves with the hand and looks delicate without heavy pigment. Ask for slightly separated dot sizes and minimal connecting lines to prevent crowding. The wrist sees lots of movement, so expect small touch-ups by year two for the faintest links. People often want to pack a whole sky into 2 centimeters, which loses the celestial spacing. For styling, a dainty bracelet set on the opposite hand keeps balance and lets the constellation breathe.
15. Micro Script Word on the Collarbone
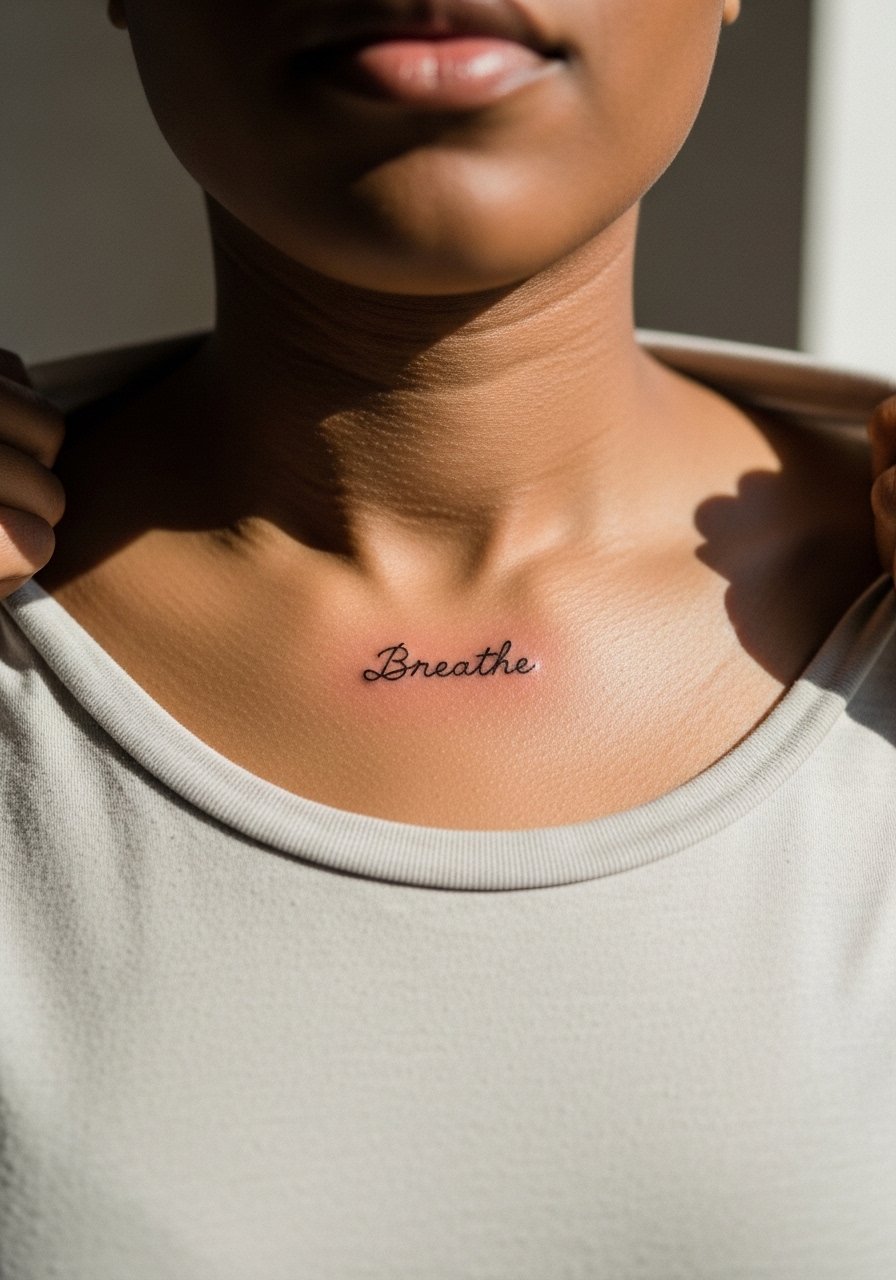
Micro script relies on exact letter spacing and consistent kerning to stay legible. Ask your artist to stencil the full word at the exact size and have you check it in different lighting and while you move. Collarbone ink can fade faster if placed over the ridge where clothing rubs. The mistake is requesting ultra-thin script without a contingency for touch-ups. For nights out, a V-neck or off-shoulder top frames script accents. Wear a strapless or button-front top for the session to let the artist reach the area without obstruction.
16. Micro Mountain Range on the Inner Forearm

Mountains work well on the forearm when the peaks are given breathing room. Ask for slight spacing and avoid heavy micro shading that clogs ridges. The forearm is forgiving and exhibits low blowout risk. Common mistakes include cramming too many peaks into a small band, which reduces recognizability once healed. For a casual look, rolled cuffs on a linen button down frame the scene. Keep the shirt loose for the session to allow the artist to rotate the arm freely.
17. Micro Semicolon on the Side Finger
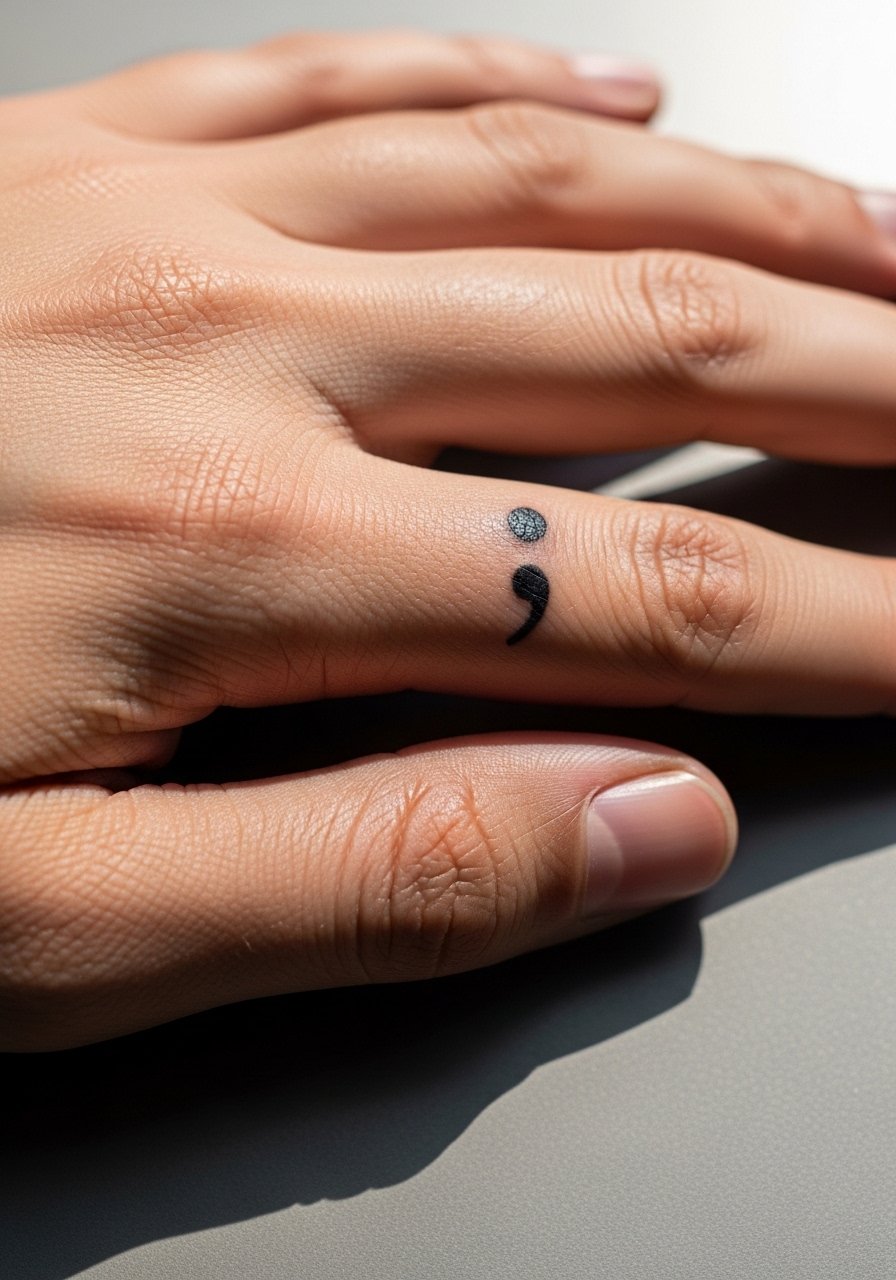
Semicolons hold a lot of meaning and they need bold pixel space at micro size. Request a slightly thicker dot to help the mark read for years. Finger work is high touch and often needs a quick touch-up after the first year. A frequent error is asking for a hairline dot which disappears under repeated washing. Keep the mark modestly bold and pair with nude polish and thin rings when you show it off. Arrive with no jewelry on for the session to avoid contamination.
18. Micro Camera Icon on the Collarbone or Wrist
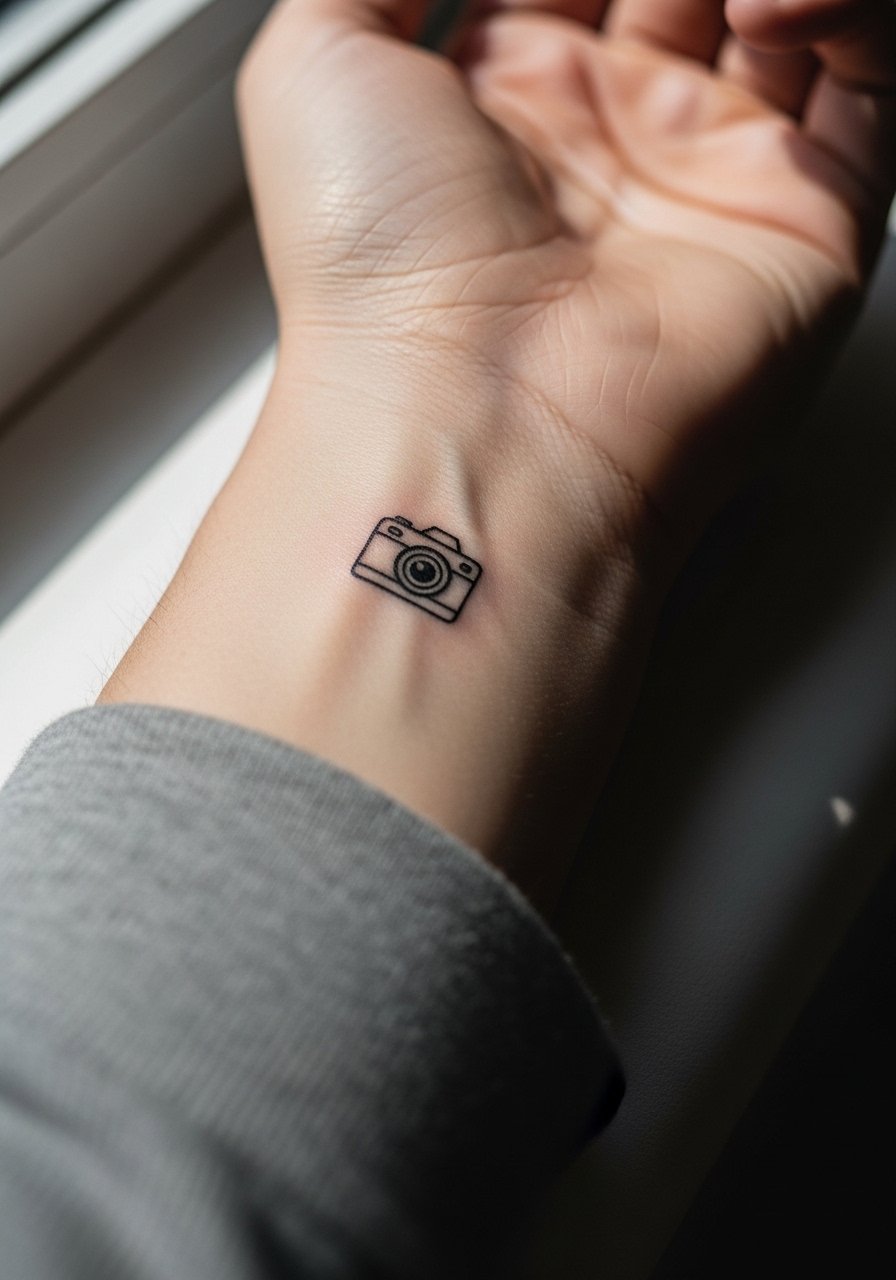
A camera silhouette reads well if you prioritize negative space for the lens and keep details to a minimum. Wrist placement keeps it visible and low risk for blowout if the lines are not overly fine. The session is quick and the sensation is mild. People often ask for engraved lens details that vanish with time. Keep it graphic and spare. Pair with a minimalist wrist jewelry to frame the icon without competing, and wear a short-sleeve shirt to the appointment.
19. Micro Paper Airplane on the Inner Forearm
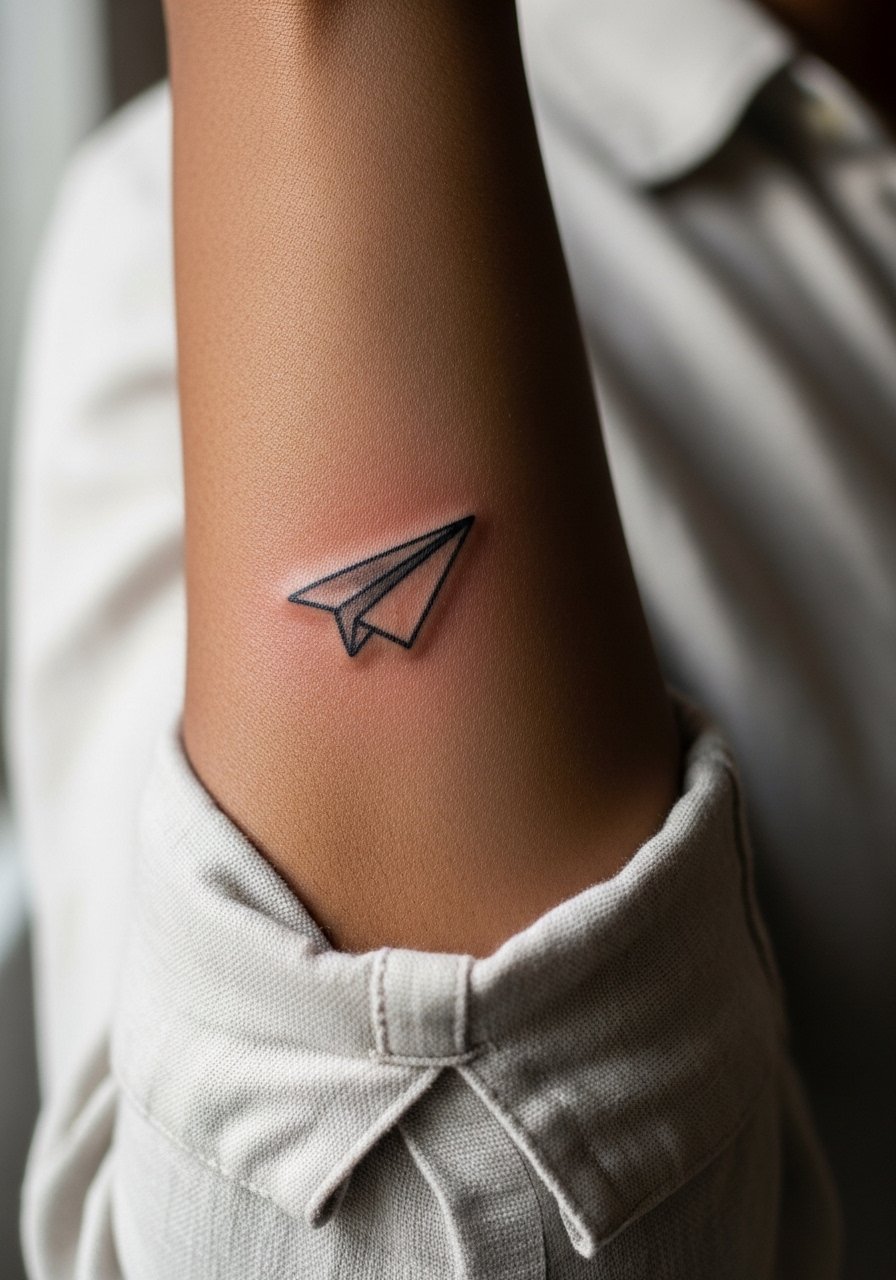
Paper airplanes look playful on the forearm when the tail is given a tiny airflow trail to suggest motion. Ask for slightly thicker outline for the folds so the shape holds up. Forearm sessions are comfortable and quick. Over-detailing in a micro plane tends to blur, especially along fold lines. For a casual showcase, a linen button down shirt rolled at the cuff frames the motif well. Wear a loose top for the session so the artist can rotate your arm.
20. Micro Snowflake on the Back of the Hand
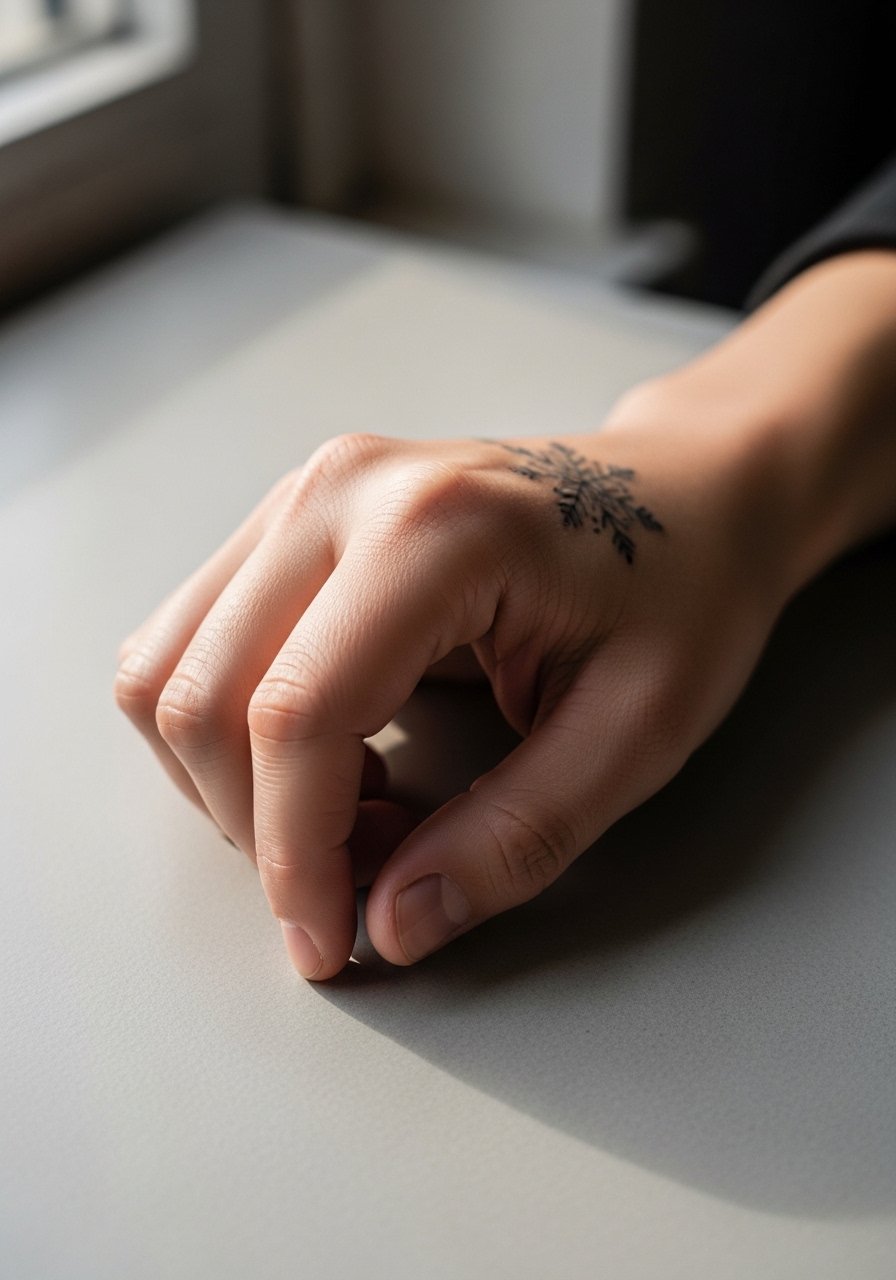
Hand pieces are high visibility and high wear. Snowflakes need intentional negative space, so insist on a slightly bolder outer ring so the geometry survives frequent washing. Expect more touch-ups than wrist or forearm pieces because hands see more friction and UV exposure. A common mistake is over-detailing the inner lattice, which becomes indistinct after a year. Hands can affect career considerations, so think about where you work before committing. Keep your hands free of rings to the session so the artist can work cleanly.
21. Micro Compass on the Ankle
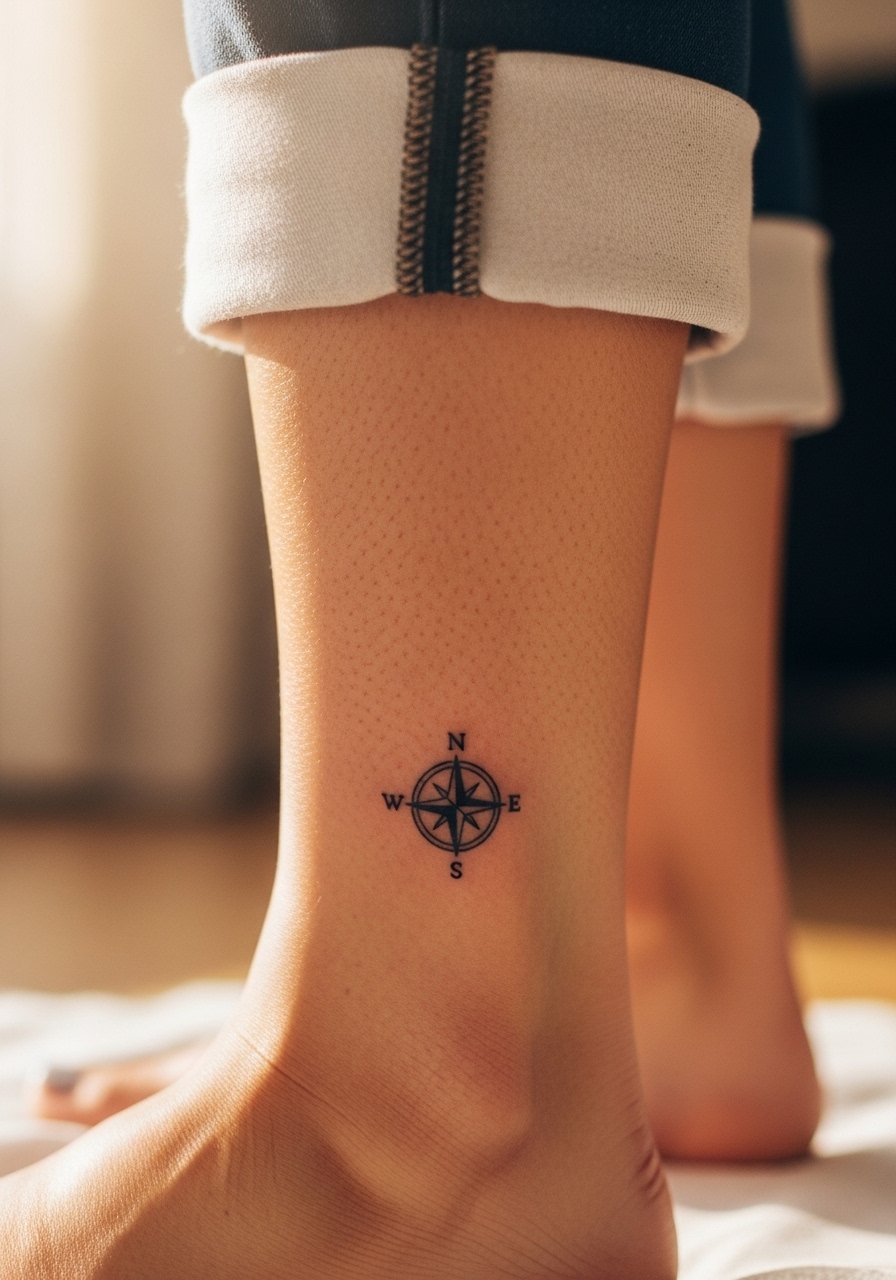
Compasses need obvious cardinal points even at small sizes, so ask for slight exaggeration on the north marker. The ankle gives a stable canvas but sees friction from footwear. Sessions are short and sometimes sharp where bone sits close. The main error is shrinking a detailed compass until minute points vanish. For evenings out, cropped ankle pants or strappy sandals show it off, and wear a skirt or loose pants to the appointment for access.
22. Micro Paw Print on the Inner Forearm
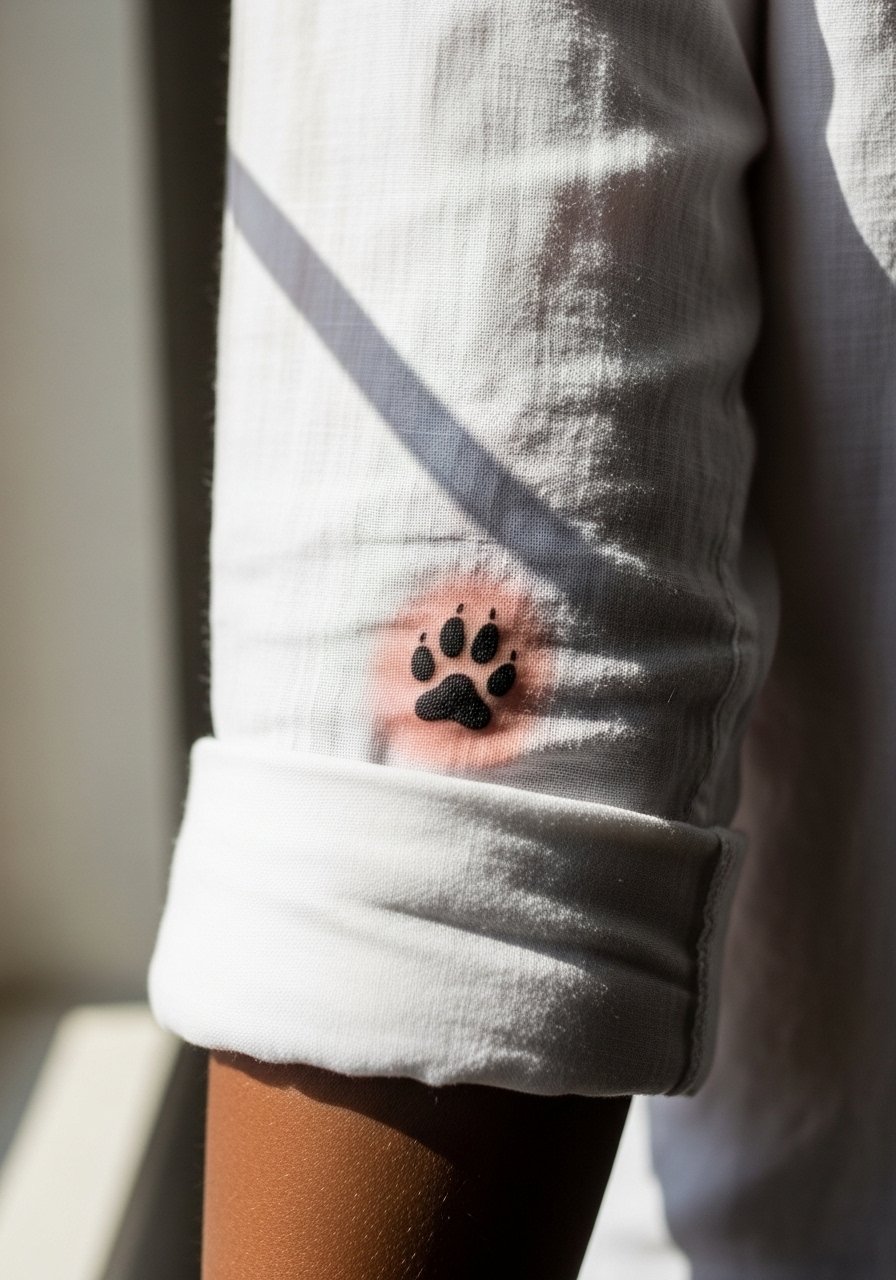
Paw prints are approachable and low commitment. Ask for a slightly larger pad shape than the tiny dots so the silhouette reads at arm's length. Forearm placement gives the print visibility and durability. Mistakes include crowding multiple tiny prints too close together which looks like a smudge later. For casual wear, stack with a thin chain bracelet on the opposite wrist so attention is balanced.
23. Micro Heartbeat Line on the Ribcage

Ribcage pieces can look crisp for months and then soften if lines are too dense. Artists split on whether fine line holds on ribs. One camp says the skin stretch there blurs lines within two years. The other camp argues that with proper depth and spacing, fine line settles fine on ribs. Ask your artist which camp they follow and request slightly more spacing if they favor conservative placement. Sessions are more painful on ribs, and pain tolerance varies. Avoid requesting extremely tight zigzags in a micro heartbeat, which often loses energy and merges.
24. Micro Lotus on the Inner Wrist
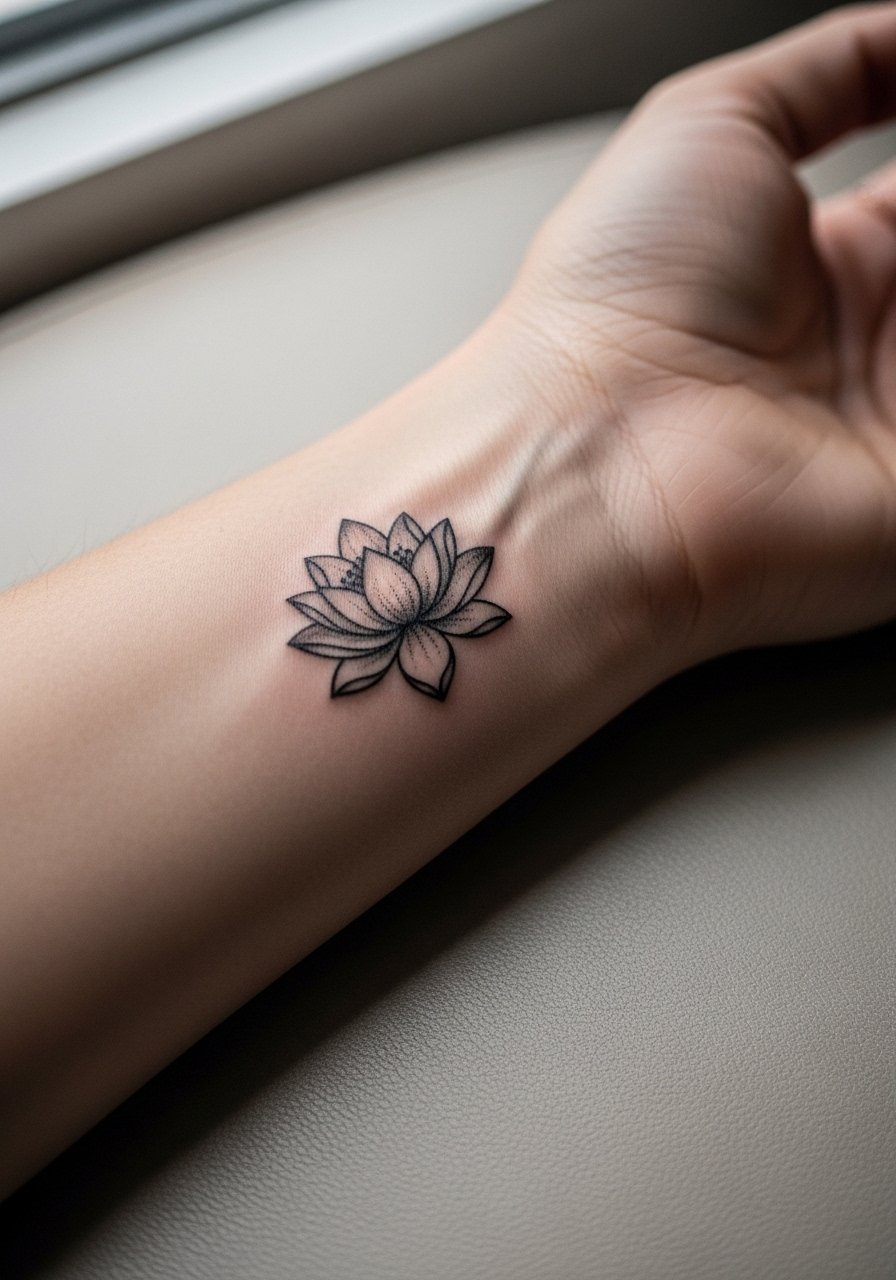
Lotus motifs need open petals in micro scale, so tell the artist you want negative space between petals rather than dense dot shading. The wrist wears well but sees frequent movement, so a modest touch-up at year two is common. A mistake is cramming petal filigree into one centimeter. For styling, pair with a thin chain bracelet stack and plan sessions in light clothing to keep access easy.
25. Micro Compass Rose Behind the Ear
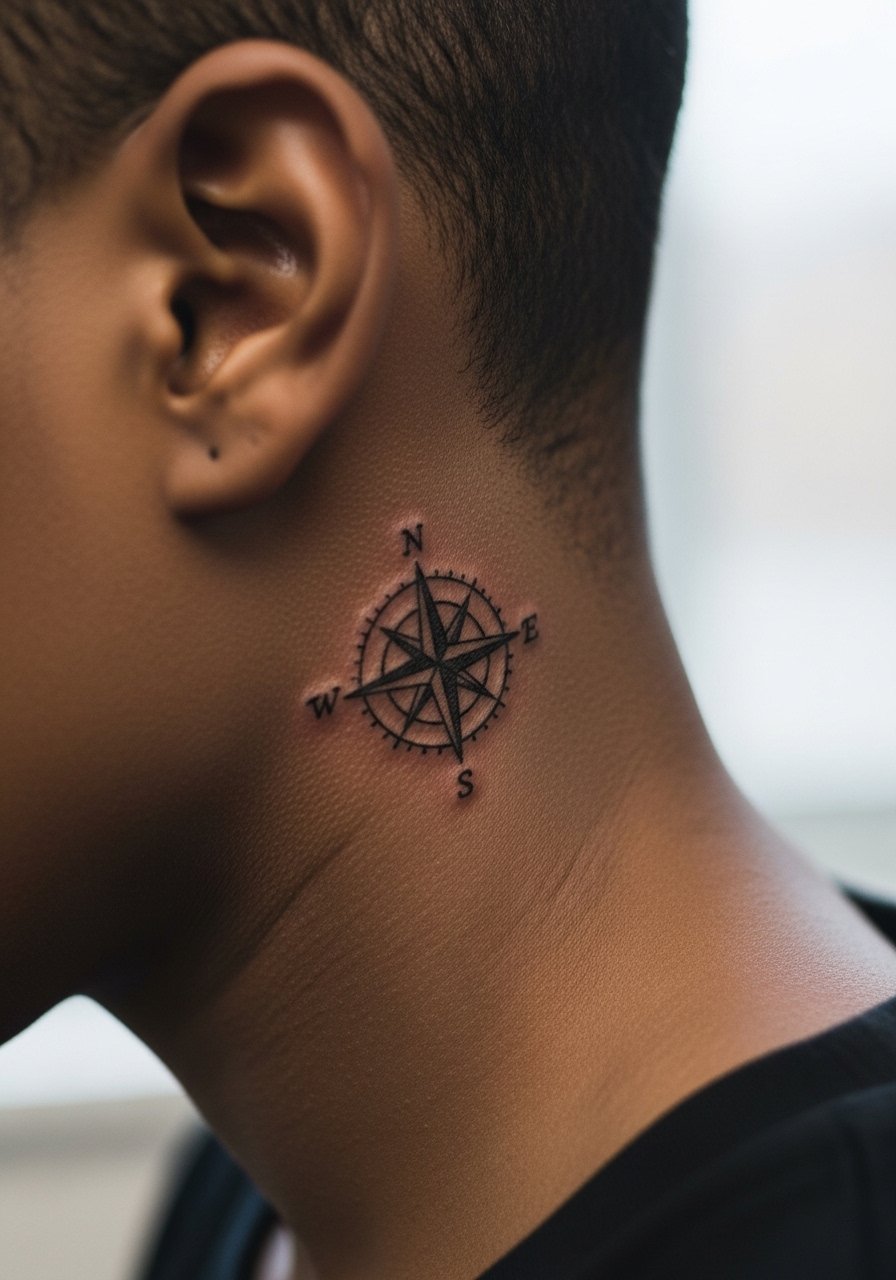
Behind-the-ear designs need compact silhouettes that still read when hair is down. Ask for a simplified compass rose with bold cardinal points to avoid loss of detail. The area is low on pain but needs hair pinned back and sterile prep. An error is requesting overly ornate filigree that halts legibility. Style this with a soft low ponytail holder to reveal the spot, and tie your hair up for the appointment.
26. Micro Barcode on the Side of the Finger

Barcodes rely on precise parallel lines and require slightly wider spacing at micro scale to remain machine-like over time. Fingers push the limits of resolution, so have the artist print a test transfer and check it at size. Expect faster fading and possible touch-ups. The common mistake is pushing the bar lines too thin. Keep them bold enough to read after washing. Pair with simple rings for visuals and remove jewelry before the appointment.
27. Micro Paper Crane on the Shoulder Blade
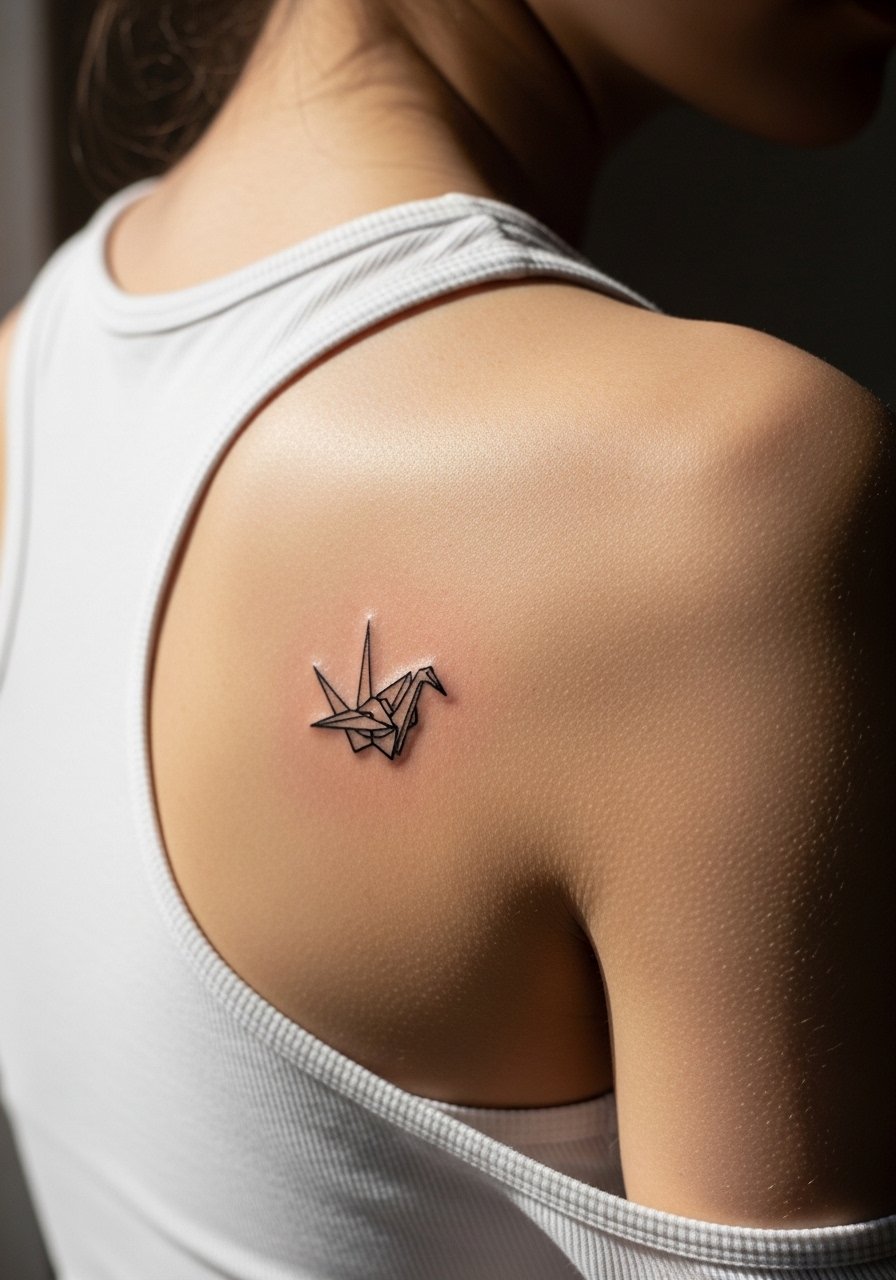
Paper cranes translate well to shoulder blades because the linework can follow muscle planes. Ask for outline-focused wings with open negative spaces in the body so the fold lines do not blur. The shoulder blade is low pain and very forgiving for micro linework. Over-detailing is the main mistake, which can make the crane read as a gray patch after years. For showing the piece, use a racerback top and bring a loose tank for the session so the artist can access the area.
Frequently Asked Questions
Q: How do I choose which micro stencil will age best for my skin and placement?
A: Start by matching stencil spacing to the placement. Areas with thin mobile skin, like fingers or ribs, need slightly bolder line weight and more space between elements. Ask the artist to place a test transfer on your skin and move the area while you look. From what I have seen, forearms and shoulders tend to hold the finest detail longest, while fingers and hands need more conservative spacing.
Q: Will fine line heart or script stencils always need touch-ups sooner than bolder pieces?
A: It depends on placement and lifestyle. Fine line on exposed zones like wrists and hands sees more abrasion and sunlight, so touch-ups are more likely at year one to three. If you want longer wear without visits, request slightly thicker lines and discuss realistic touch-up timelines with your artist during the consult.
Q: Are stencil transfer gel packs better than freehand tracing for micro work?
A: Artists and DIYers are split. One camp prefers freehand tracing for consistent control over line weight and placement. The other camp favors transfer gels that create instant, uniform transfers without printer steps. Both methods work when done carefully. If you plan to bring your own stencil, test both approaches on your skin ahead of the appointment so you know which transfer reads truer for your design.
Q: How should I dress for a session that includes ankle, thigh, or collarbone micro pieces?
A: Wear loose clothing that exposes only the tattoo zone. For ankles, rolled pants or sandals are ideal. For thighs, loose shorts or a skirt with an easy waist line works. For collarbones, a wide-neck shirt or strapless top that the artist can shift without full undressing is best. These small choices keep the area sterile and comfortable during the session.
Q: Do micro stencils show up differently on darker skin tones?
A: Yes, subtle differences appear. On darker tones, slightly stronger line weight can help with long-term contrast. Request that the artist check healed examples on a range of skin tones and adjust spacing and weight accordingly. In my experience, modest increases in saturation and spacing make the biggest difference for micro readability without changing the design feel.
Q: How often do people need touch-ups for finger and hand micro stencils?
A: Finger and hand pieces commonly need touch-ups within the first year, and sometimes yearly after that, depending on how often you wash and the sun exposure your hands get. Plan conservatively and budget for touch-ups if you choose these visible micro placements.
Q: Are there quick stencil hacks for printing and scaling micro designs at home?
A: Yes. Vector files scaled precisely in a graphics editor and printed at 300 dpi keep proportions accurate. Freehand tracing on Spirit freehand stencil paper is another reliable trick for field transfers. Test a transfer on your skin first so you can confirm size and placement before the appointment.
