
Fine line horseshoe trends are everywhere on saved boards, but the reality is that small horseshoes behave differently depending on where they live on the body and how tightly the lines are packed. The pieces that still look crisp after three years are usually simple, given room to breathe, and placed away from friction zones. Below are focused mini horseshoe ideas with placement-specific aging notes, what to ask your artist, and outfit tips for showing them off.
1. Tiny Horseshoe on Outer Wrist
This tiny outer wrist horseshoe is a classic place to get a mini symbol that is easy to show or hide. I recommend bold, slightly thicker linework so the shape holds up against daily washing and bracelet friction. Tell your artist you want a simple outline with two small nail holes and light stipple shading inside for contrast. Expect mild sensitivity for a minute or two, and a touch-up at year two is common if the piece sits near constant movement. For the appointment wear a loose button-down shirt you can pull aside without tugging your wrist. Common mistake is asking for ultra-fine lines that merge within months.

2. Micro Horseshoe on the Side of a Finger
Finger placements look intimate and deliberate but they require honest expectations. The skin there is thin and repeatedly washed, so one camp says finger horseshoes will need touch-ups every year. The opposing camp argues that with deeper placement and solid linework they can last longer. When you consult, ask about planned needle depth and whether the artist recommends a slightly bolder outline. The session is fast but sharp on pain. For showing off pair this with a thin chain pendant necklace and simple rings that do not press on the tattoo. A common error is requesting micro script inside the horseshoe which blurs quickly.

3. Mini Horseshoe Behind the Ear, Below Hairline
This tucked horseshoe reads private and playful, and the placement needs careful framing during the session. The piece works best as a small black outline with slight stippling to avoid heavy saturation that can feel raised on such thin skin. For the appointment, mention a lifted hair clip so the artist has clear access to the skin behind the ear below the hairline. Expect a quick session and a mild sore spot afterward. If you want to show it, short hair or a thin hoop earring draws attention without crowding the area. Some artists debate whether this area accepts fine line consistently, so ask where they stand before booking.

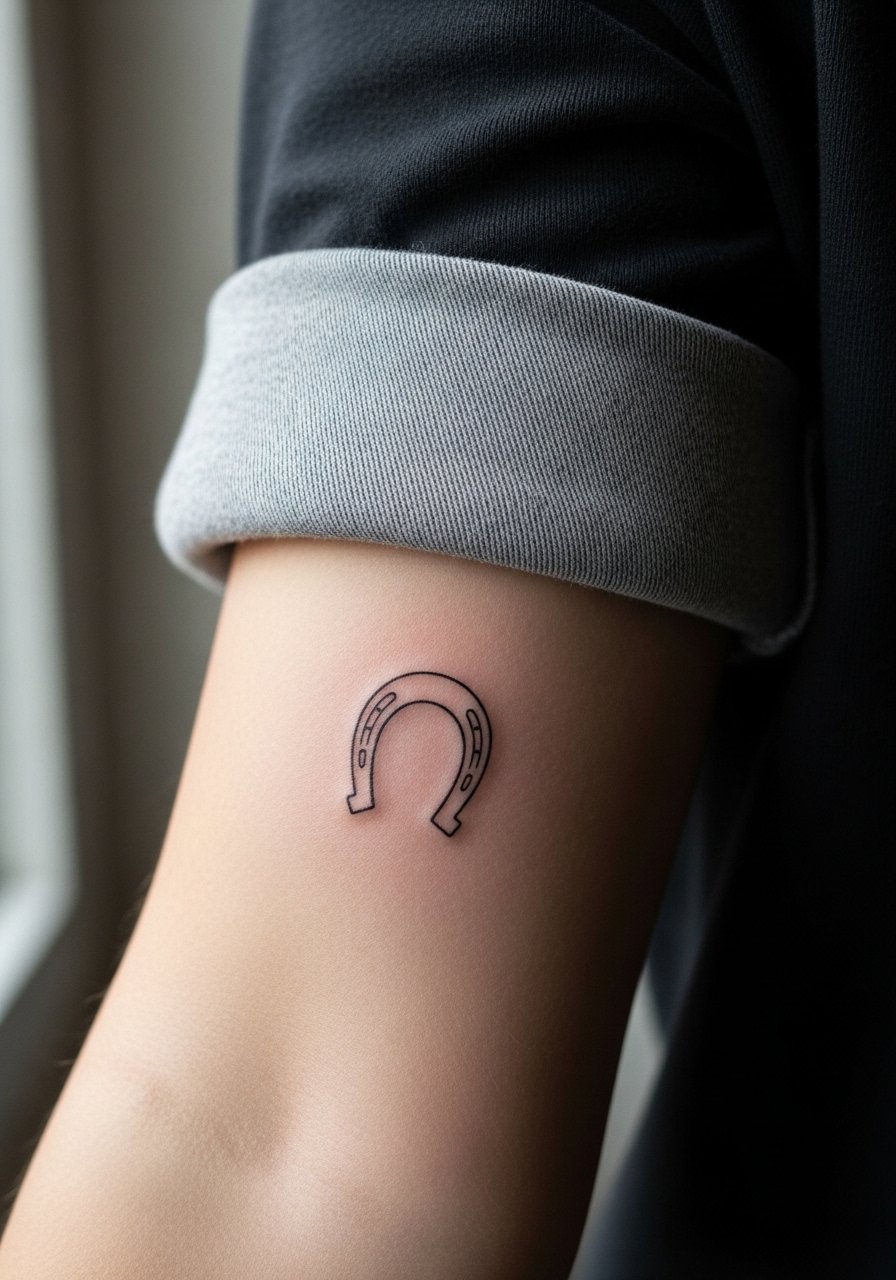
4. Petite Horseshoe on the Inner Forearm
Inner forearm is forgiving for mini horseshoes because it is low-friction and photographs well. I prefer a slightly open horseshoe shape with negative space for longevity, and tell your artist to avoid jam-packing decorative flourishes inside the curve. Pain is low, session time short, and touch-ups usually happen later than in high-movement spots. Visually this piece pairs well with rolled sleeves and a minimalist watch that frames the forearm without covering the work. A common mistake is asking for tiny script underneath which can age into a blur.
5. Micro Horseshoe at the Base of the Thumb
This base-of-thumb placement looks like an accidental treasure and reads larger than its size because of its high-visibility location. The skin curves and flexes a lot here which increases blowout risk. Ask for slightly thicker linework and a clean scallop at the nail holes so the shape reads from different angles. The session is quick and painful for a moment when the needle crosses knuckles. For showing it off try a stacked ring look or a stacked dainty bracelet that sits just below the wrist. Common mistake is insisting on ultra-thin lines which often soften into fuzz within a year.

6. Little Horseshoe on the Ankle Bone
Ankle horseshoes are classic travelers tattoos because they peek out from shoes and socks. I recommend a compact black outline with a touch of dot work inside to give it texture without heavy saturation. The ankle sees friction from socks and shoes so expect some early fading and a likely touch-up at year two. Wear roll-up jeans or a pair of sandals to show it off once healed. For the session wear loose bottoms that pull up easily and avoid pant seams rubbing the fresh ink in the first week.
Studio Day Picks
The ankle, wrist, and finger pieces above each face different friction and access needs, so a few studio-day items make the session and the first 72 hours easier.
- Stencil transfer paper kit. Lets you check line placement on the skin before the needle arrives, useful for wrists and thumbs where scale matters.
- Topical numbing cream. Apply as directed before a sensitive finger or ankle session to reduce sharp pain without affecting linework.
- Thin protective film roll. Helpful for ankle and thumb pieces where friction from shoes and typing can irritate the area in the first days.
- Fragrance-free body wash. Gentle cleansing matters for tiny linework on the wrist and forearm while the skin heals.
- Aquaphor healing ointment. Thin layers help lock in moisture on small pieces without suffocating delicate needle channels.
7. Mini Horseshoe on the Side Rib Edge
Rib placements carry the controversy over fine line durability openly. One camp says the stretching and breathing motion blurs thin work within a year. The other camp says if spacing and depth are right the lines can settle clean. Be explicit in consultation about how much movement you want the piece to endure, and consider slightly bolder linework with controlled spacing. Expect a painful session because ribs register higher on pain scales, and plan for slower healing due to clothing contact. For the appointment wear a cropped athletic top you can lift, not a strapless garment. A common mistake is asking for tiny, dense decoration inside the small horseshoe which ages poorly.

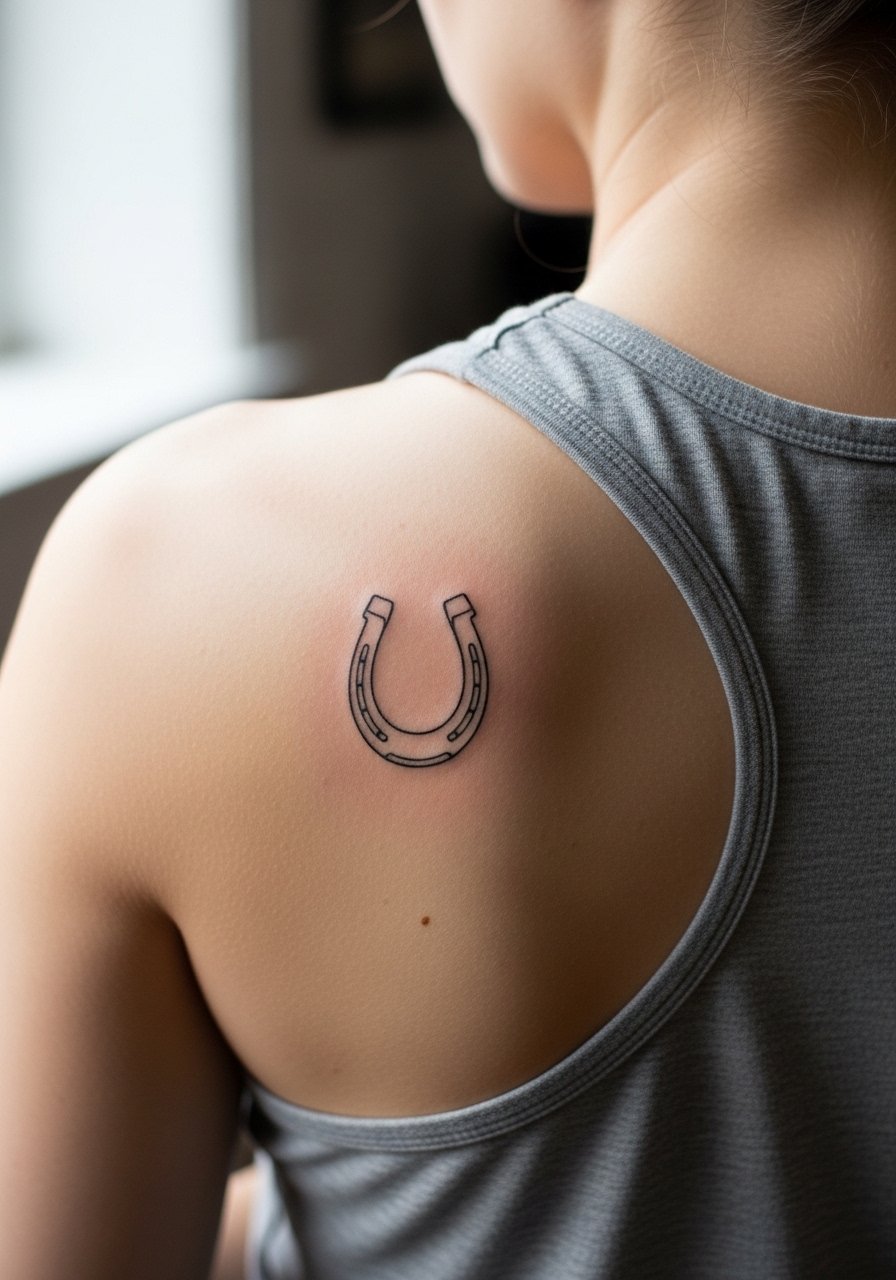
8. Tiny Horseshoe on the Upper Back Near the Shoulder Blade
This placement gives the design room and keeps it protected from daily abrasion. I recommend a clean outline with subtle whip shading inside for a soft three-dimensional feel that ages predictably. The session feels moderate because you are lying prone and the artist works across flat skin. For showing off pick open-back tops or a racerback tank so the horse shoe sits in the open without competing with straps. People often make the mistake of asking for tiny filigree that disappears as the piece heals and moves.
9. Micro Horseshoe on the Collarbone Edge
A tiny collarbone horseshoe sits at an intersection of bone and thin skin which needs careful line decisions. I suggest a modest outline with negative space around the curve to avoid pigment spread along the clavicle. The session is short and the pain is a quick sharpness when the needle crosses the bone. For easy access wear a wide-neck shirt you can pull aside to expose only the immediate area. Consider how necklaces will sit because heavy pendants can rub during healing. A common mistake is asking for dense color right up to the bone.

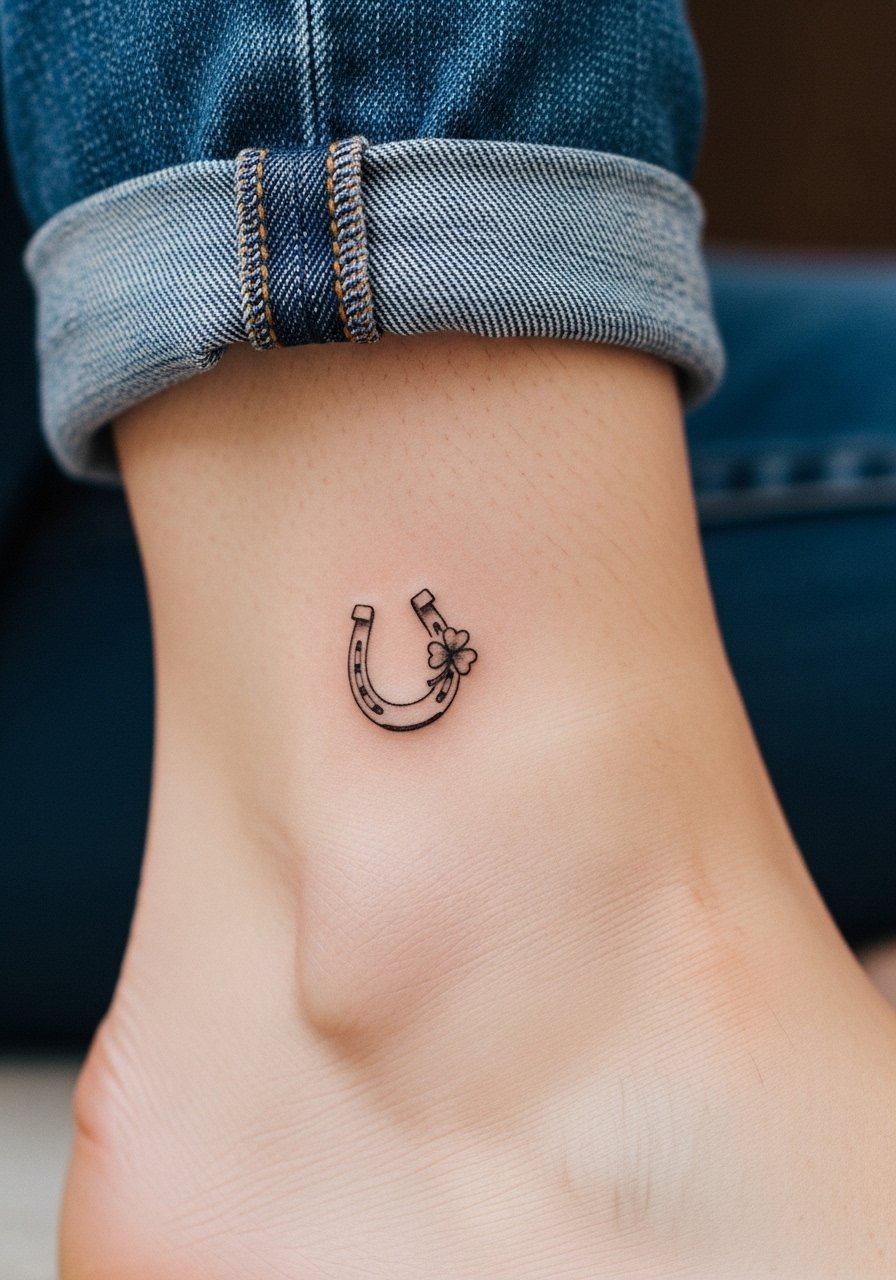
10. Micro Horseshoe with a Tiny Clover Accent on the Ankle Inside
Pairing a horseshoe with a four-leaf clover is a classic luck combo that still reads fresh when kept minimal. I recommend an off-center clover tucked into one curve with light dot work for texture so that the composition breathes. The ankle inside is a protected spot but still sees sock friction, so expect some fading near shoe edges. Wear rolled jeans or sandals to showcase it after healing. In consultation ask the artist about spacing between the clover and horseshoe to avoid muddiness later.
11. Tiny Horseshoe on the Side of the Foot Near the Arch
The side of the foot is an underused spot for a mini horseshoe because it sits out of direct sight but still peeks when you walk. The skin there is thin and subject to shoe pressure, so the debate about foot longevity comes up often. One group says keep lines bolder and minimal, the other suggests avoiding foot spots entirely for longevity. I recommend a confident outline with no interior detail to reduce early fading. For the session wear shoes you can slip on easily and plan to avoid long walks during the first week. Common mistake is asking for color or heavy shading that wears unevenly.
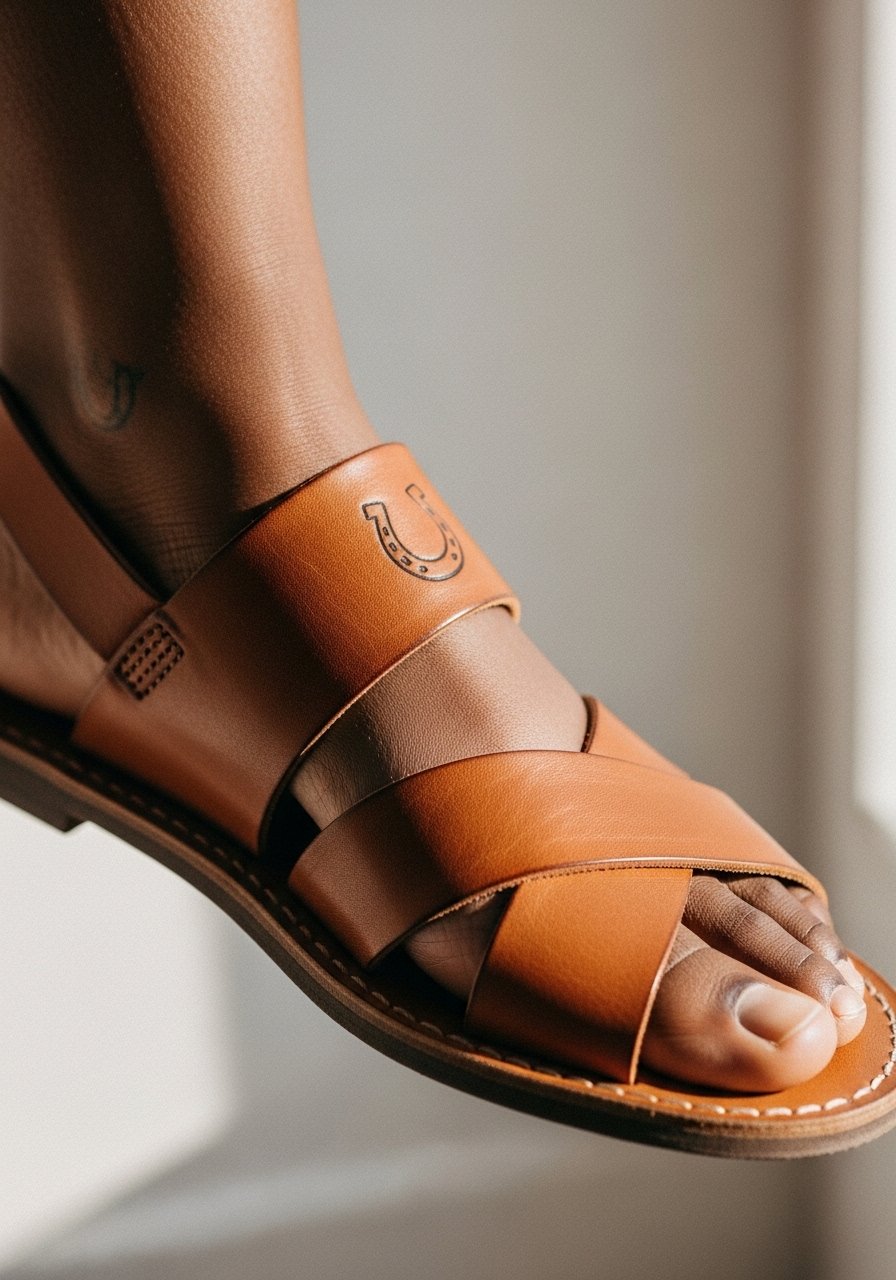
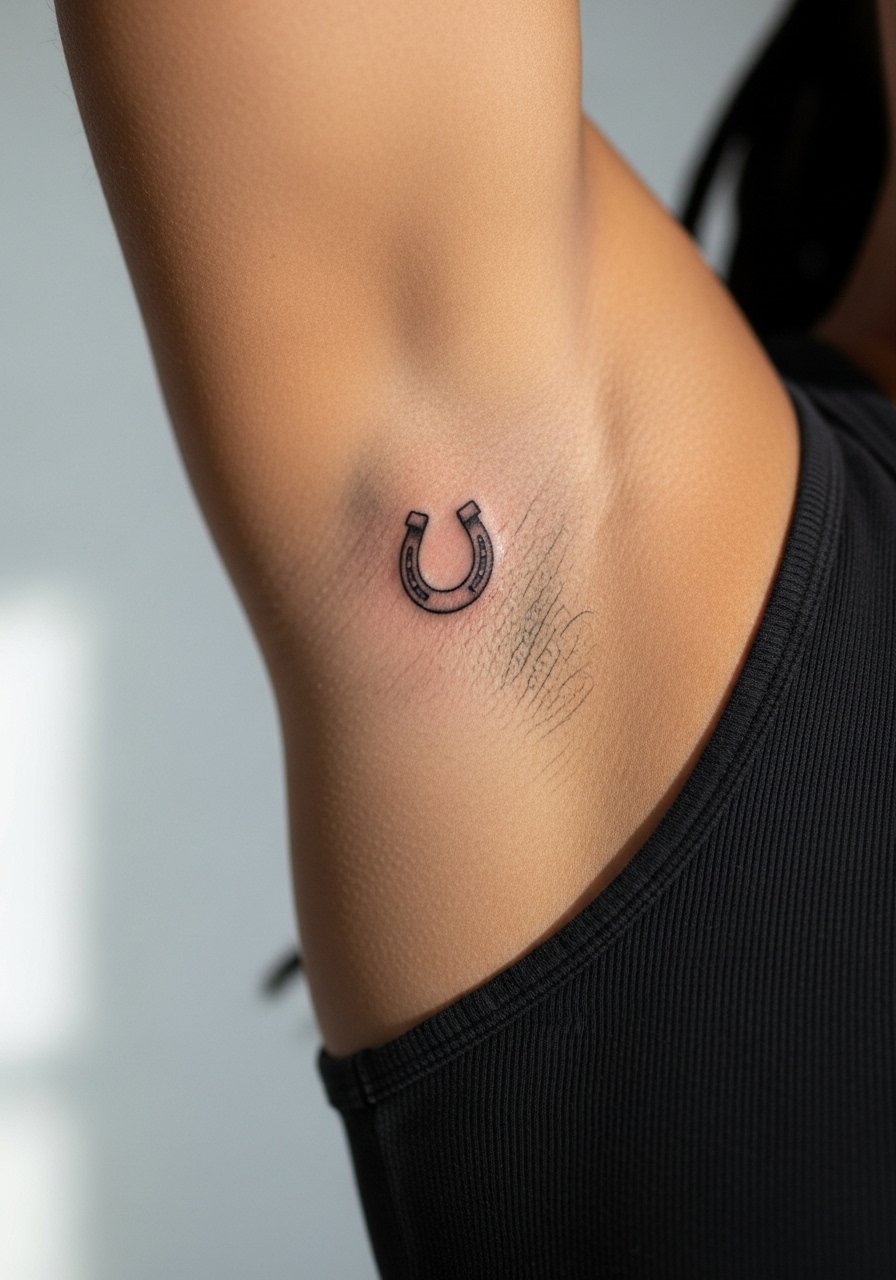
12. Petite Horseshoe on the Inner Bicep
Inner bicep is a great place for a mini horseshoe that stays relatively private and is sheltered from constant sun. I like a balanced outline with light stipple shading to suggest depth without heavy saturation. The session can be slightly uncomfortable when the artist works near the crease, but healing is straightforward since clothing rarely rubs directly on the area. For the appointment wear a tank top so the artist has clear access to the inner arm. This placement is forgiving if you want it to age without too many touch-ups.
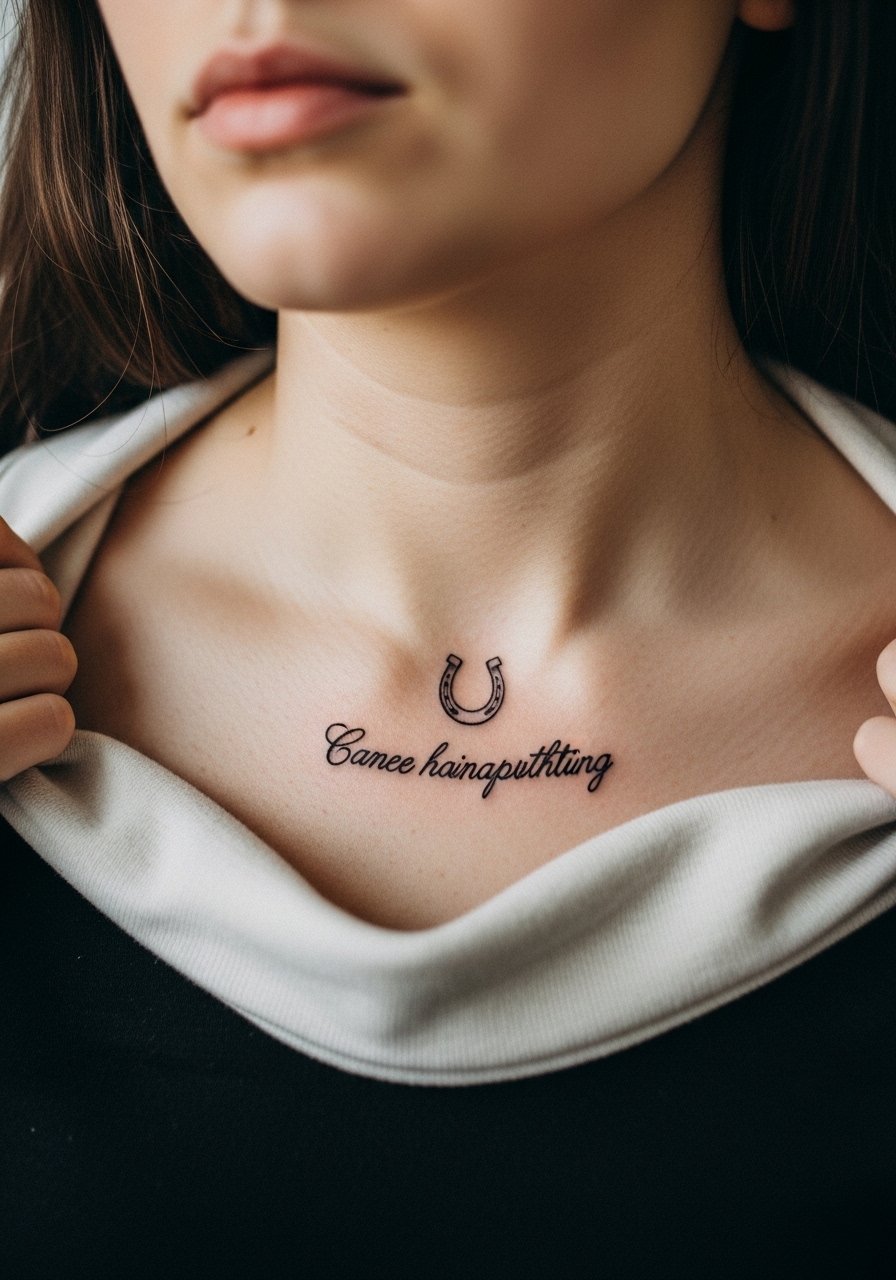
13. Little Horseshoe at the Collarbone Center, Script Underneath
A centered collarbone horseshoe with a tiny script line beneath reads like a personal mantra. My advice is to keep script large enough to survive a few years and choose a simple lowercase or serif style that the artist can execute with consistent spacing. The collarbone touch is quick and sharp, and healing needs short, loose necklines to avoid constant rubbing. Pair it with a thin chain pendant that sits above rather than on the fresh ink. Avoid asking for micro-lettering under the horseshoe which often becomes illegible.
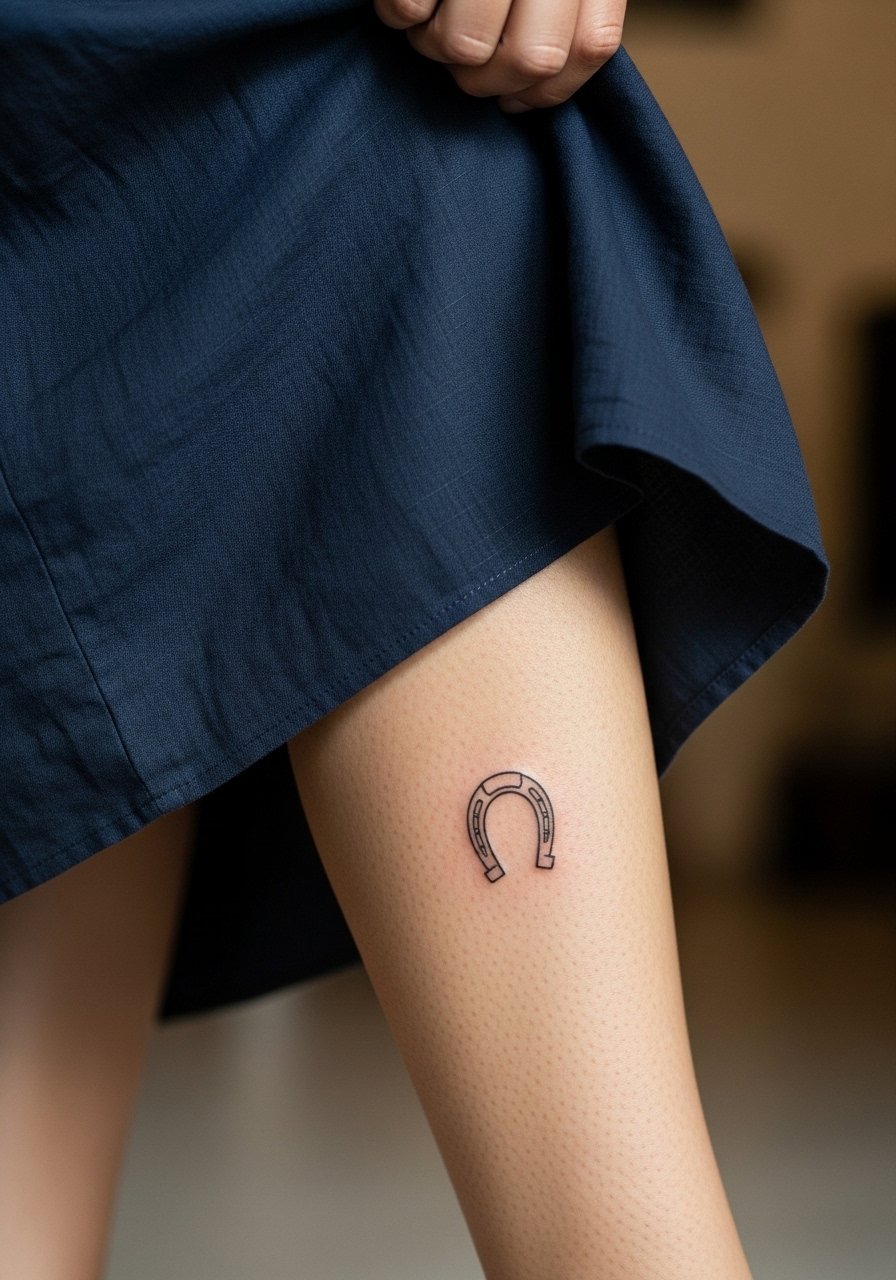
14. Tiny Horseshoe on the Outer Calf
Outer calf gives a mini horseshoe room to be slightly larger without losing its charm. I recommend a small but bold outline with a soft stipple shadow down one side to imply depth while avoiding heavy saturation. Session time is moderate and discomfort is low. For styling try cropped trousers or a lightweight midi skirt that shows off the calf in warm months. Avoid asking for tight, intricate detail that needs absolute clarity at micro scale.
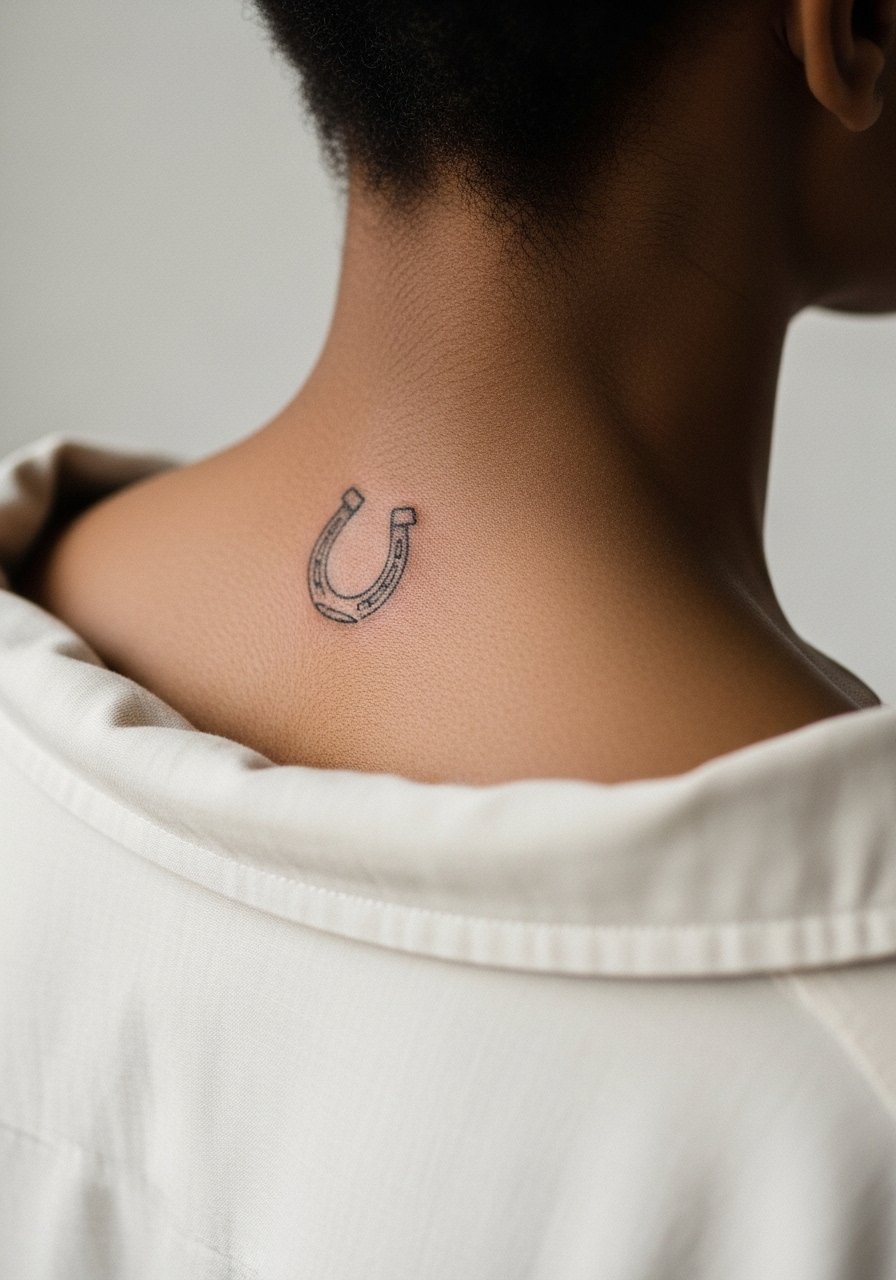
15. Micro Horseshoe on the Nape of the Neck, Low Placement
A small nape horseshoe can be visible through certain haircuts and hidden in others. Request that the artist tattoos just below the hairline and frame it with a bit of negative space. The session is short and tolerable, but you should plan hair arrangements during healing so shampooing is gentle. For showing it off try a wide-neck top with hair up in a loose bun. Respect the placement when discussing visibility in professional contexts. A common mistake is placing it too high where hair prevents proper care.
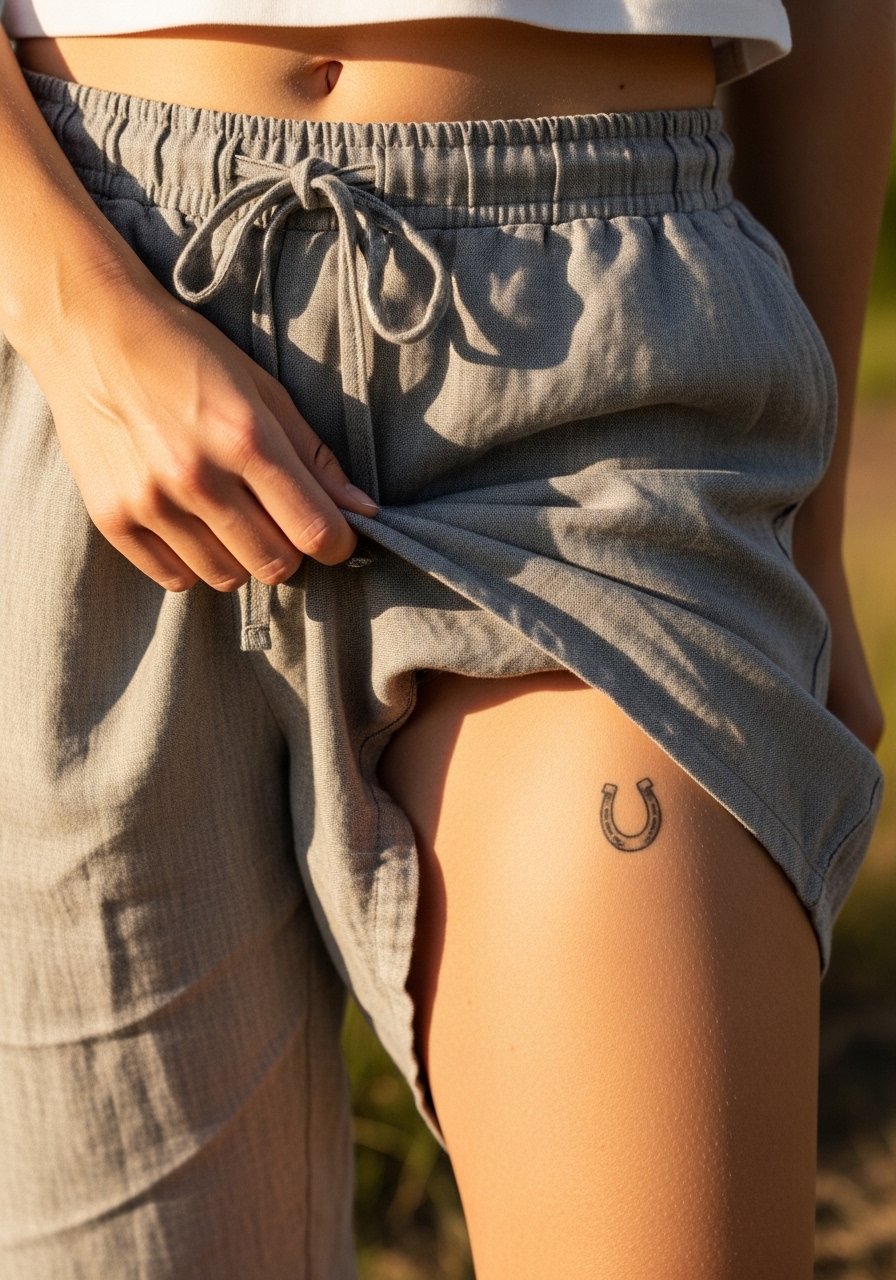
16. Little Horseshoe on the Outer Thigh
Outer thigh pieces age well because the area is low-friction and shielded from sun. I prefer a clean outline with slight dot work inside for texture, which keeps saturation low and predictable. The session may be longer if you add decoration, but pain is typically mild to moderate. For the appointment wear loose drawstring linen pants you can pull up without pressure. Common mistake is cramming too much detail into a small horseshoe which invites early touch-ups.
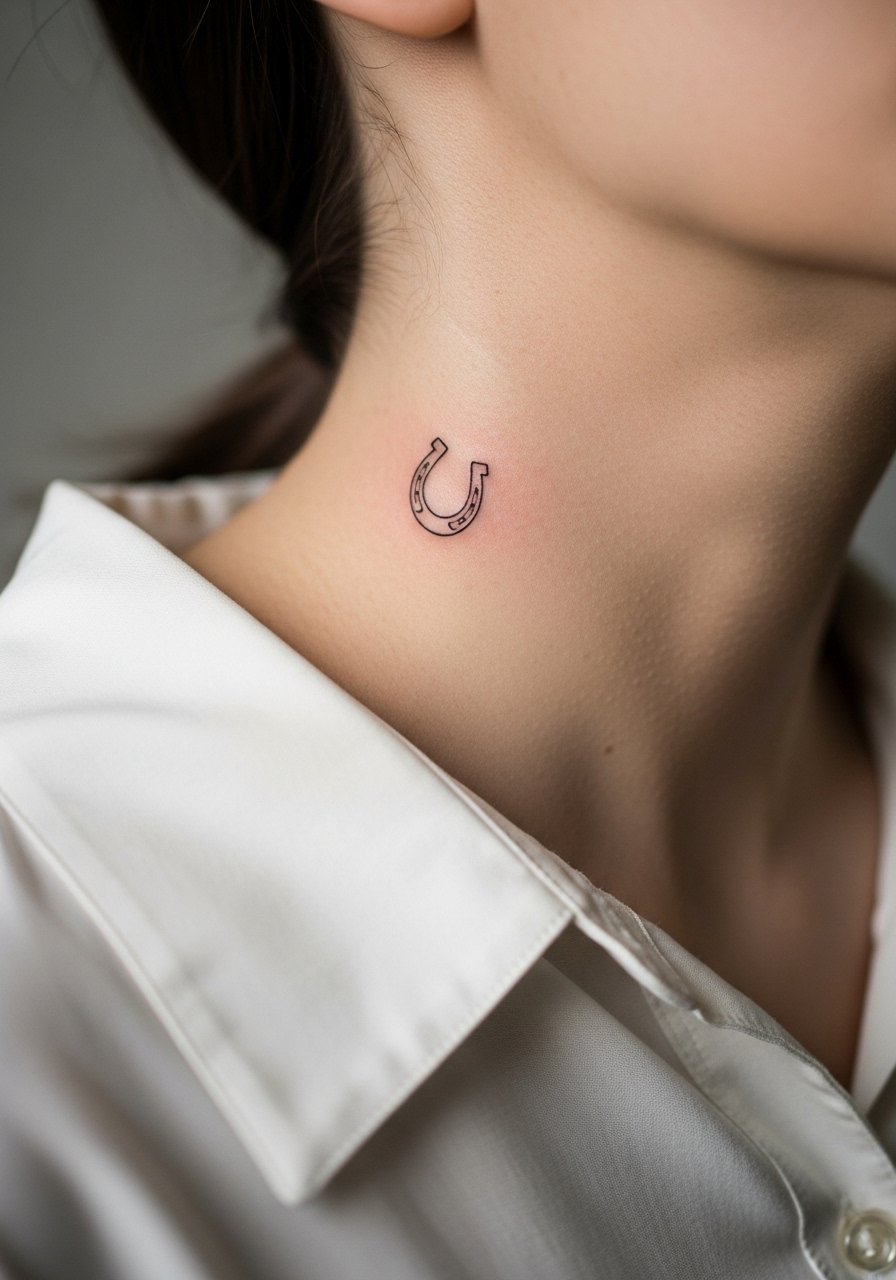
17. Tiny Horseshoe on the Side of the Neck
Side neck pieces attract attention and demand honest placement choices because the skin there is mobile and visible. I advise a simple, slightly thicker outline with no interior filigree so it reads well from a distance. The session is noticeable because the area is sensitive and exposed. For showing off choose a loose button-down shirt with the collar pulled to one side. Consider workplace visibility before committing. A frequent mistake is asking for minute ornamentation that ages into muddiness.
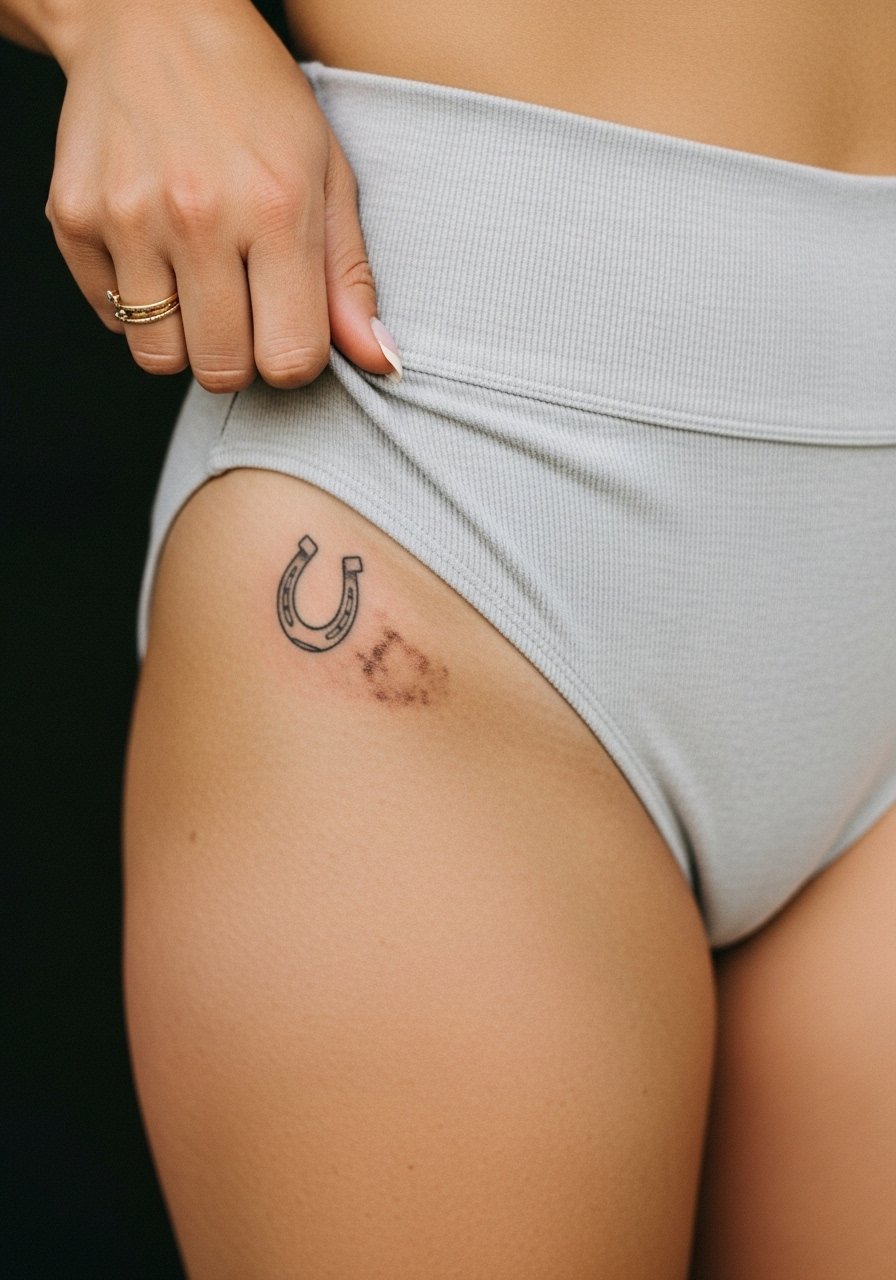
18. Mini Horseshoe on the Upper Hip, Edge of Bikini Line
Hip horseshoes are flirtatious and private by design, and they heal well under light clothing. I recommend a balanced outline with open interior space so pigment does not pool near the edge of the bikini line. For the session wear high-waisted bottoms or a swimsuit you can easily adjust without rubbing. Post-care requires avoiding tight waistbands in the first week. If you want to show it off choose high-cut swimwear. A common mistake is requesting dense shading close to the waistband which shifts with movement.
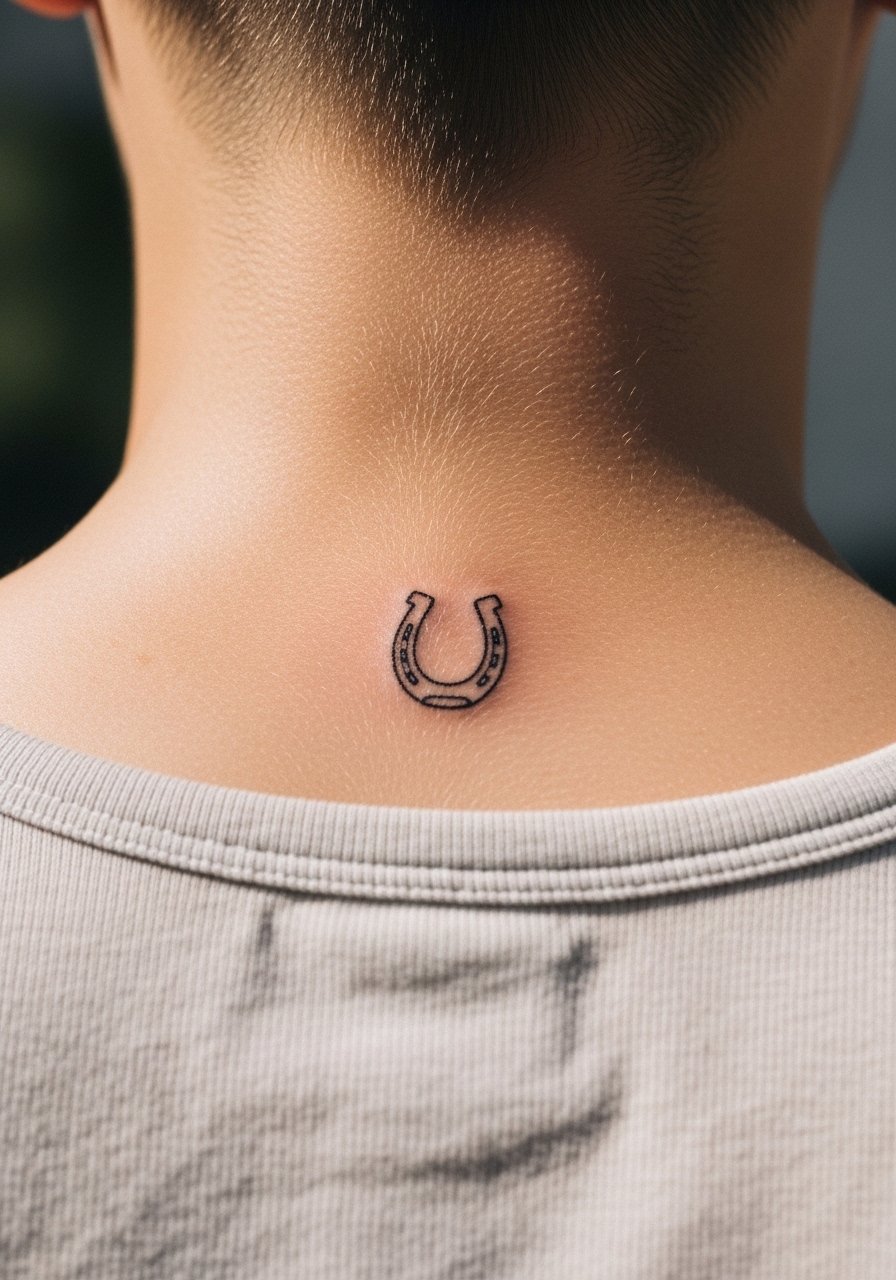
19. Tiny Horseshoe on the Center of the Back of the Neck, Low
Low center nape pieces sit just above shirt collars and are easy to conceal. I advise a crisp outline with a small gap at the bottom to maintain shape as skin moves. The session is quick and healing is straightforward if you avoid collars that rub. For showing off try a backless top or a wide-neck tee. People sometimes request very fine detail here which becomes unreadable with normal neck motion.
20. Micro Horseshoe on the Side of the Calf Near the Achilles Tendon
This low, lateral calf area is protected and ages well, but it sits close to sock lines so plan footwear in the first weeks. I recommend a lean outline with no interior shading to avoid uneven wear from shoe friction. The session is brief and discomfort is low. After healing, ankle boots or cropped pants show it off nicely. For the appointment wear pants you can roll easily. A common error is packing too many small decorative marks around the horseshoe which create a busy silhouette.
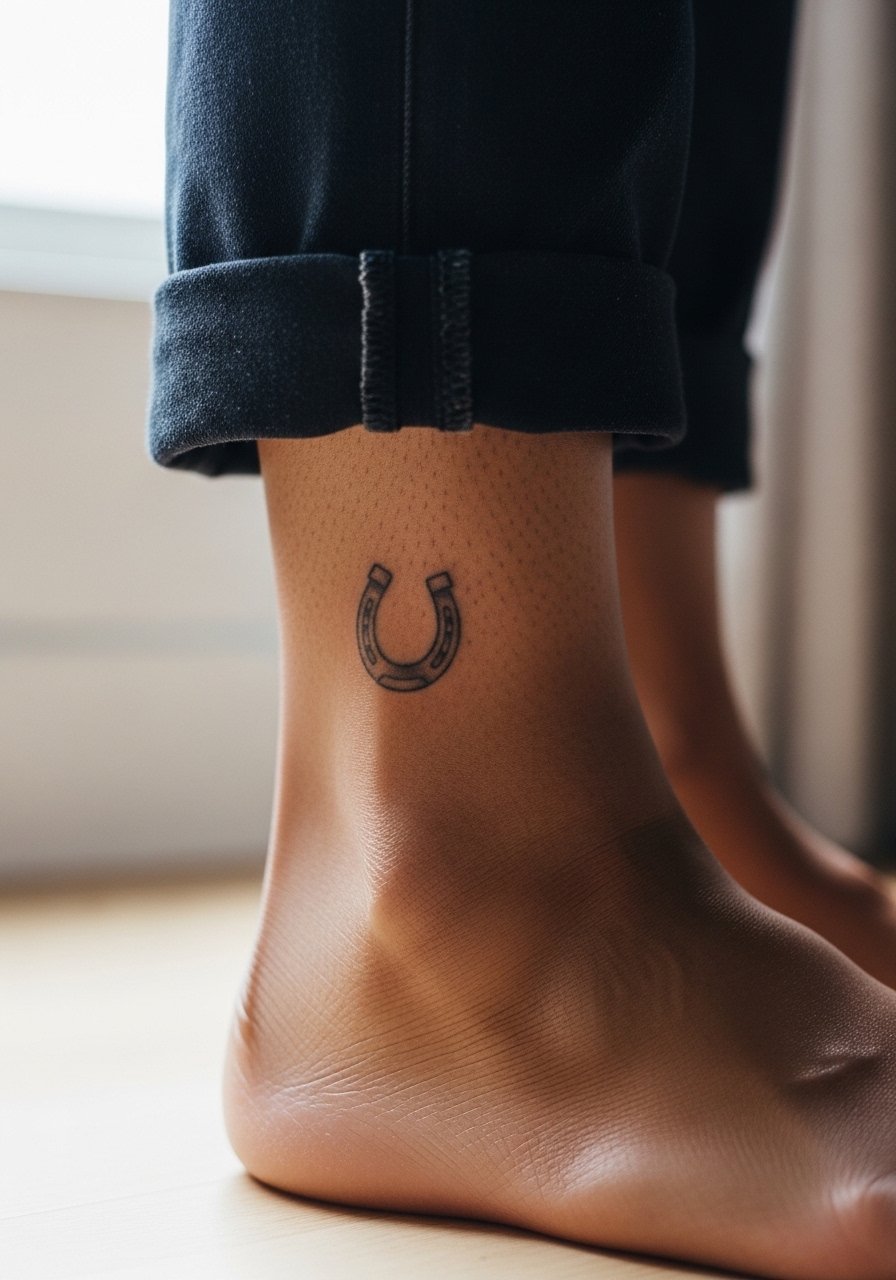
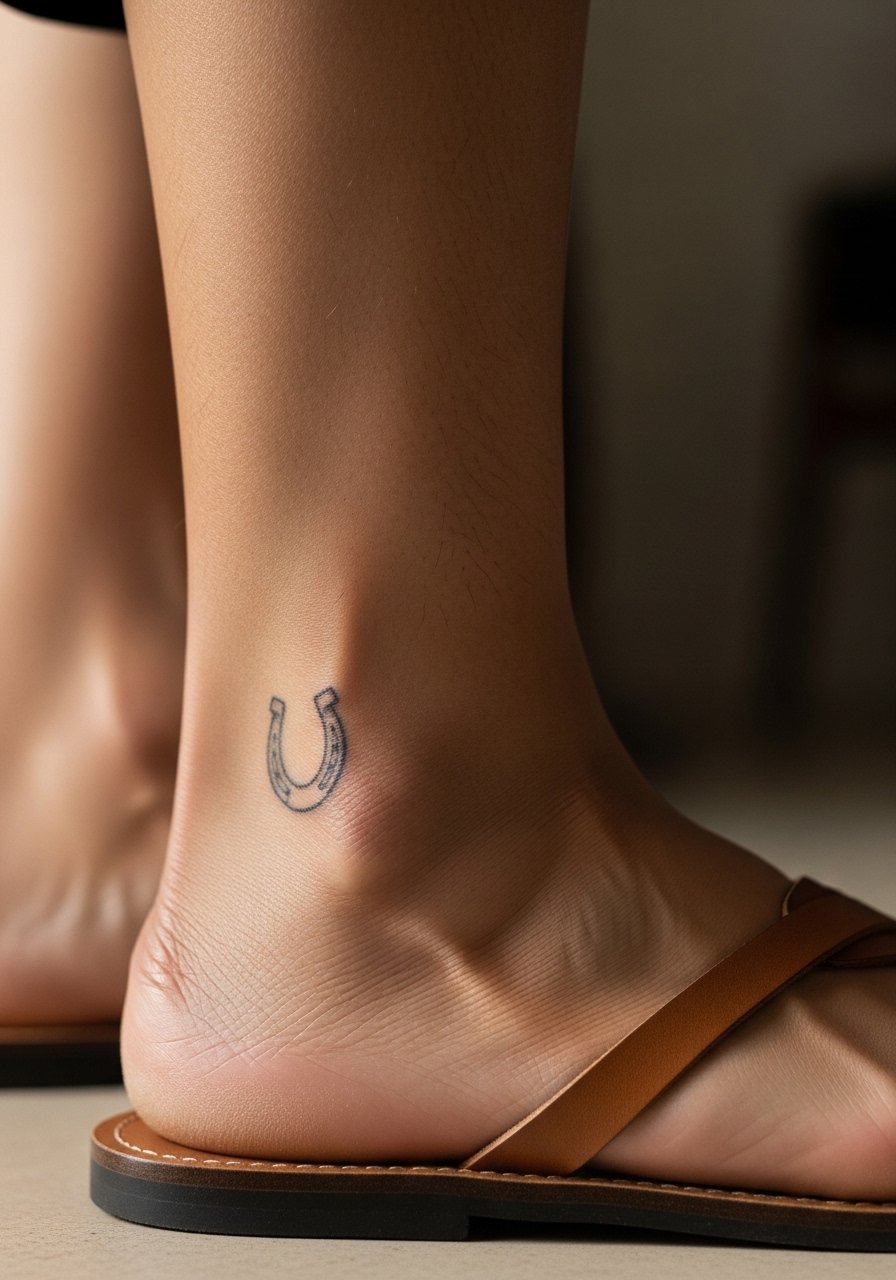
21. Tiny Horseshoe Above the Heel on the Outer Side of the Foot
This tiny spot above the heel is discreet and ages predictably if kept simple. Choose an open outline and avoid heavy dots near the heel edge where shoes can press. The session is quick though the skin is thin so expect a sharp sensation. After healing, low-profile shoes and sandals show it subtly. For the appointment slip into footwear you can remove easily. A common mistake is requesting dense fills which succumb to early wear from shoe contact.
Frequently Asked Questions
Q: How well do mini horseshoes hold up on fingers and why do artists disagree?
A: Fingers age differently because of constant washing and thin skin. One camp says finger inks need more frequent touch-ups and larger line weights. The other camp says experienced artists can place ink deeper and still get longer-lasting results. It depends on your daily hand use, your skin, and the artist technique. If you want more longevity ask about slightly bolder outlines and realistic touch-up plans.
Q: Can a tiny horseshoe on the ribcage be done with fine line without blurring?
A: Some artists avoid ultra-fine ribs because breathing and stretching can blur very tight lines. Others will do fine line with larger spacing and controlled depth to reduce that risk. Ask how they plan spacing and discuss a test stencil to visualize how the lines sit on the curve of your ribs.
Q: What should I wear to a tattoo appointment for an ankle or foot horseshoe?
A: Wear loose bottoms that you can roll up and shoes you can remove without tugging, like slip-on sandals. For ankle work a pair of sandals that do not press on the fresh ink keeps the area comfortable during travel home.
Q: Are small horseshoes suitable for cover-ups or are they only for fresh skin?
A: Mini horseshoes usually work best on fresh skin or minimal old work beneath them. Small cover-ups are tricky because you need enough contrast and saturation to mask existing pigment. Discuss options with an artist experienced in micro cover-ups and bring clear photos of the area.
Q: How often should I expect to schedule a touch-up for a mini horseshoe?
A: Expect different timelines depending on placement. High-friction places like fingers and ankles often need touch-ups within one to three years. Protected spots like the inner forearm and outer calf usually hold longer. Plan on a realistic check at year two to see if a light touch-up will keep the shape crisp.
