
Fine line four leaf clover tattoos read like a small secret on skin, simple and precise. Trends push ever-smaller placements, but longevity depends more on placement and spacing than on how tiny the leaves are. Pick a spot with low friction, ask for slightly heavier outer lines, and plan a realistic touch-up window. The sections below start with tiny wrists and work through bolder placements so you can match look, pain, and outfit choices.
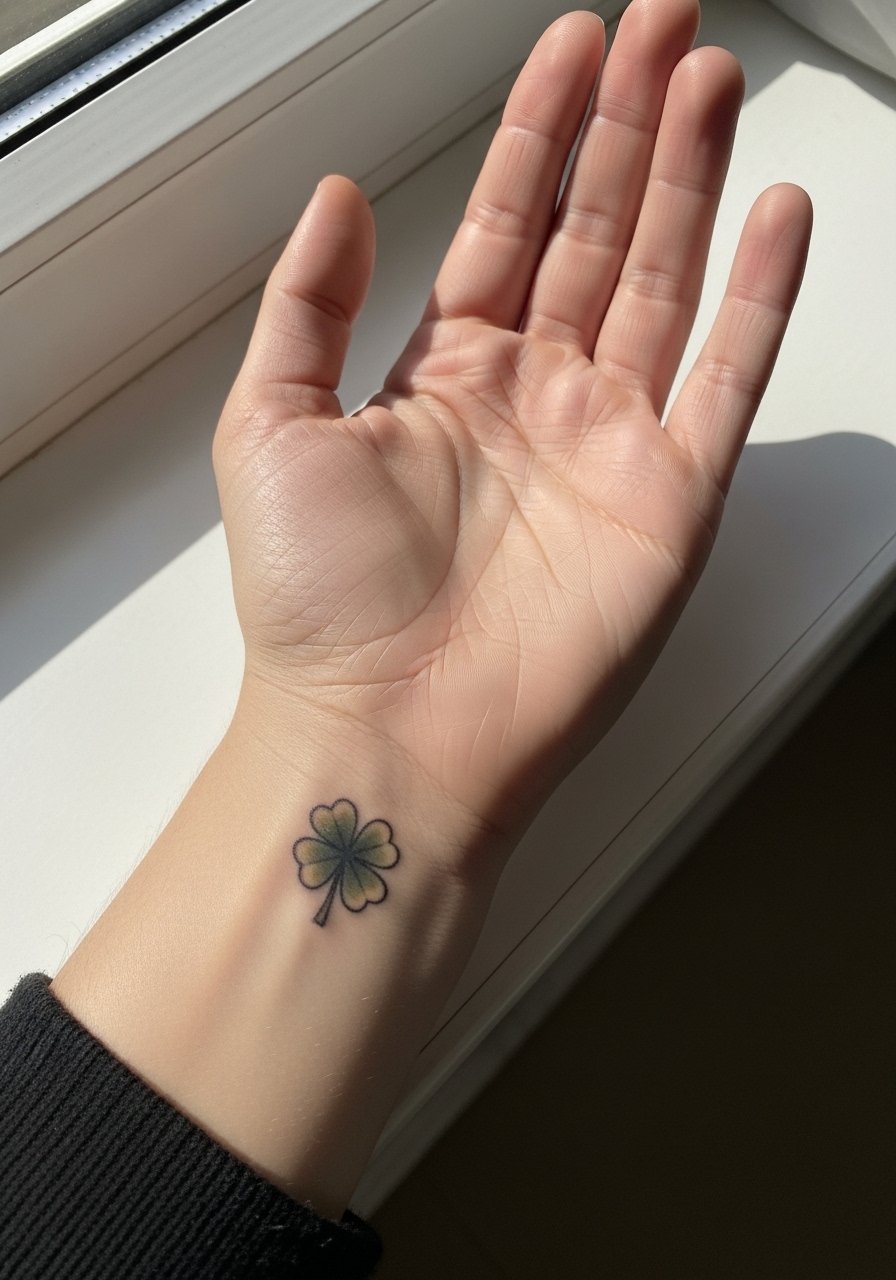
1. Tiny Fine Line on the Inner Wrist
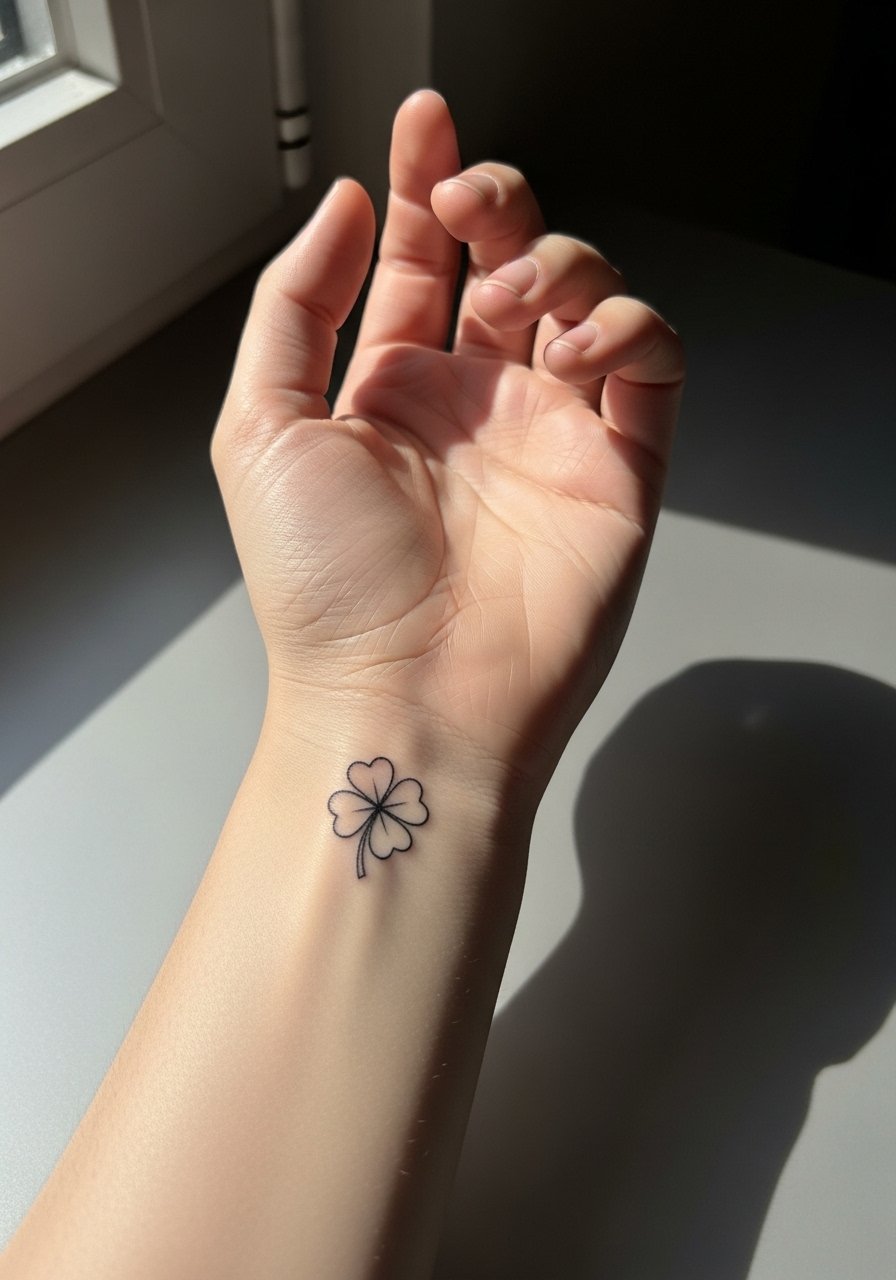
I've seen this placement a lot because it feels private and easy to peek at. Fair warning, the wrist is a friction zone from watches and sleeves, so expect a touch-up around year two or three for very thin stems. Tell your artist you want slightly stronger outer linework and spaced leaves so the clover keeps its shape as points soften. The session is quick and low on pain, about 20 to 40 minutes depending on detail. For showing it off, rolled-up sleeves or a minimalist watch frame the wrist without crowding the tiny linework.
2. Micro Clover Between Fingers
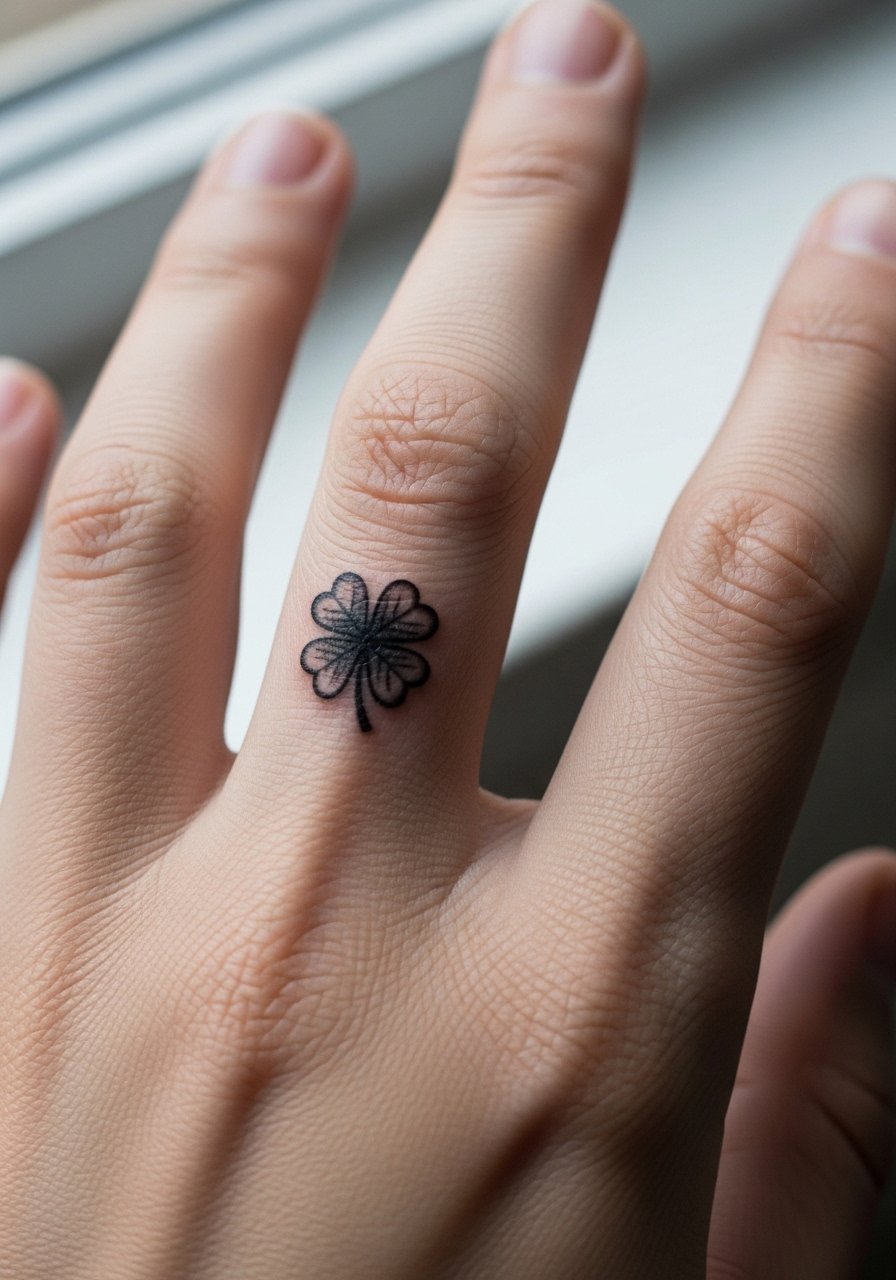
Finger placement reads sharp when fresh but faces constant wash and soap friction, so expect accelerated fading and possible touch-ups every 12 to 24 months. The biggest mistake is asking for too much interior detail. Keep the clover open, avoid filled-in leaves, and request shallow but confident linework to reduce blowout risk. The session is quick but uncomfortable, a higher pain point than the wrist. For the appointment wear a thin ring or glove-friendly clothing layer you can slide on after the stencil is set.
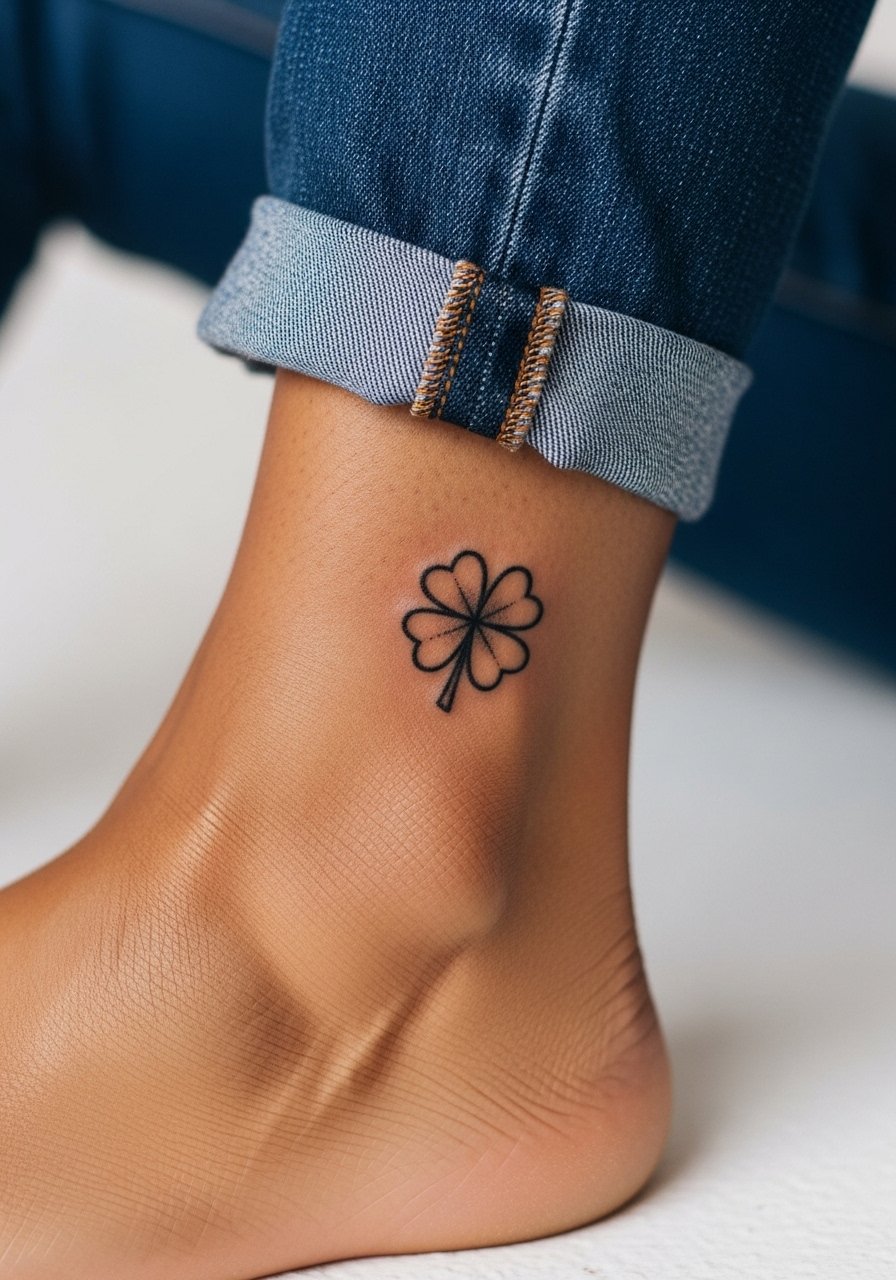
3. Ankle Outline Behind the Outer Malleolus
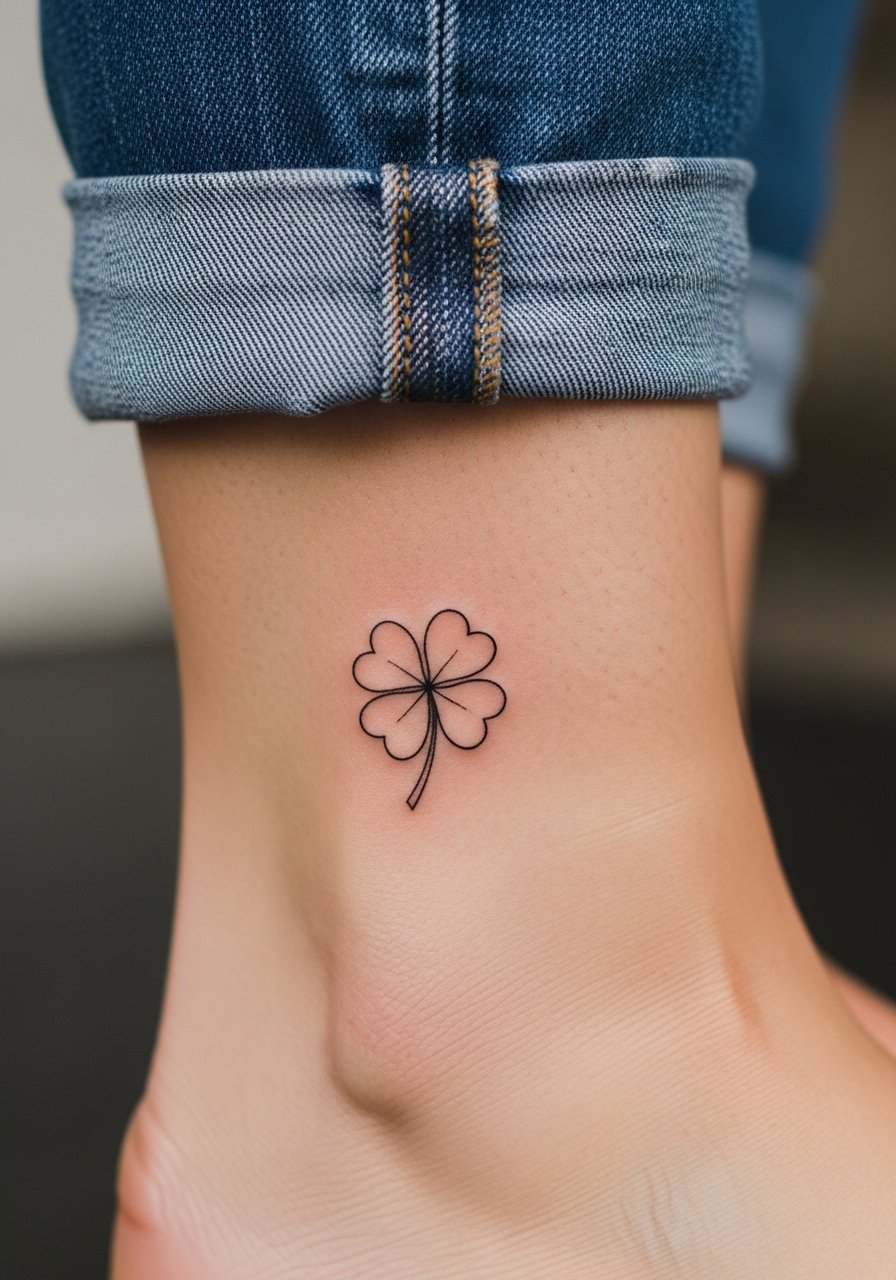
Ankle tattoos can look elegant because the surface moves when you walk, which makes a small clover feel dynamic. The downside is rubbing from socks and shoes, so avoid placing it exactly where a shoe seam sits. Ask the artist to map the stencil while you stand so they see how the skin folds. Pain is moderate, session time 20 to 45 minutes. Pair it with sandals or cropped trousers, and for nights out a delicate anklet draws attention without masking the linework.
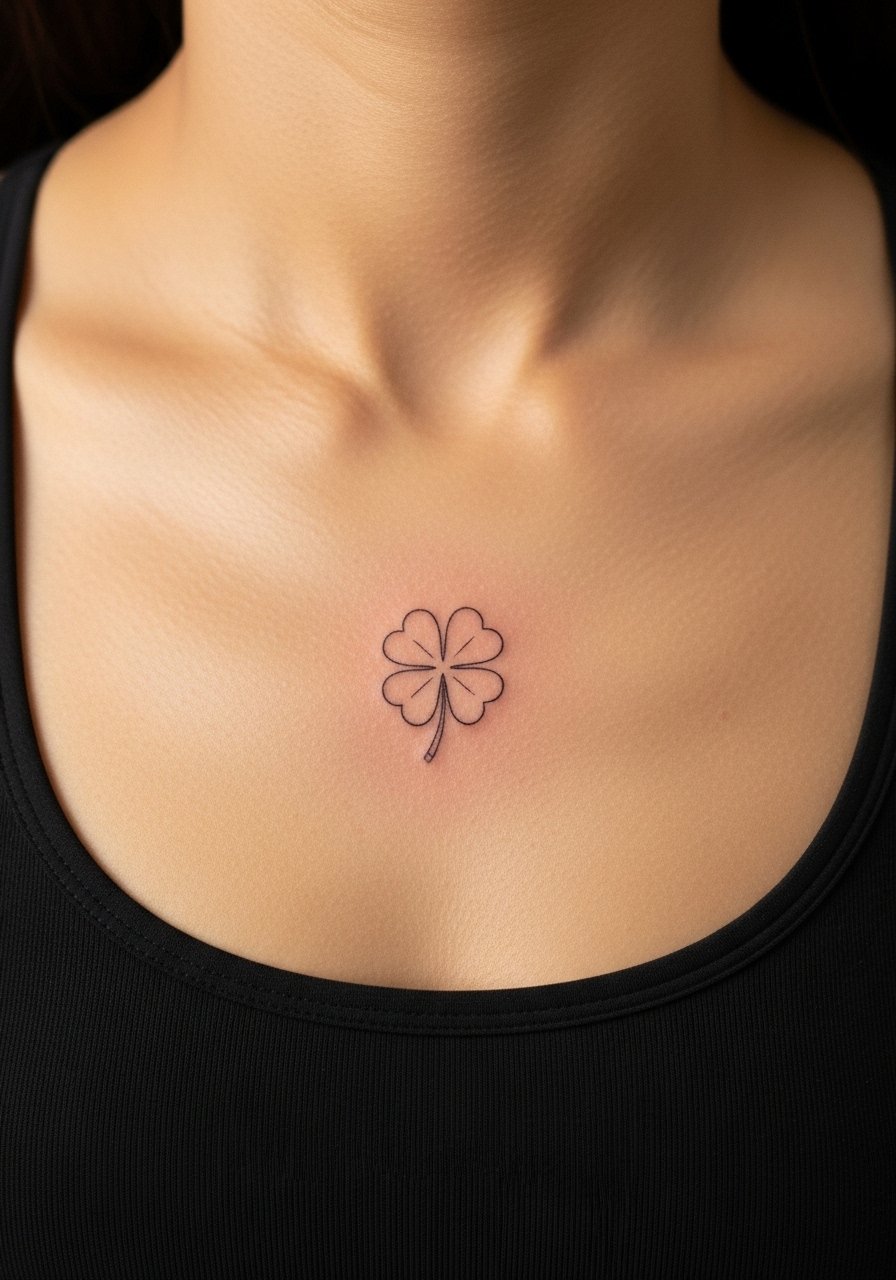
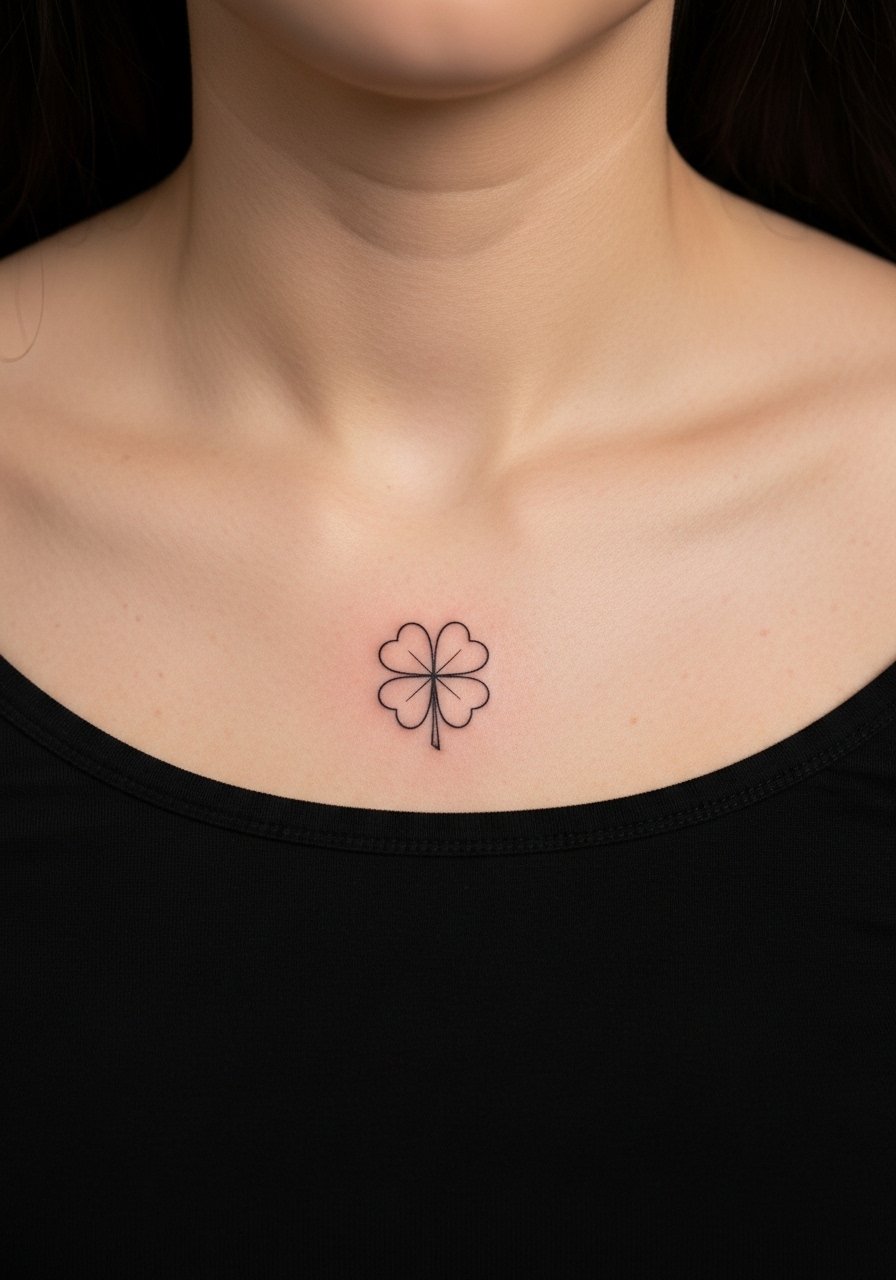
4. Small Clover on the Collarbone

The collarbone gives a clover space to breathe and it photographs well. Pain is higher than forearm but lower than ribs, and the skin there can show slight movement with the shoulder so outer lines should be confident. A common mistake is crowding the leaves too close to the bone where the skin is uneven. For the session wear a wide-neck shirt you can pull aside so the artist has clean access. Showing it off works best with open-neck tops that keep attention on the delicate linework.
5. Fine Line Clover on the Outer Forearm
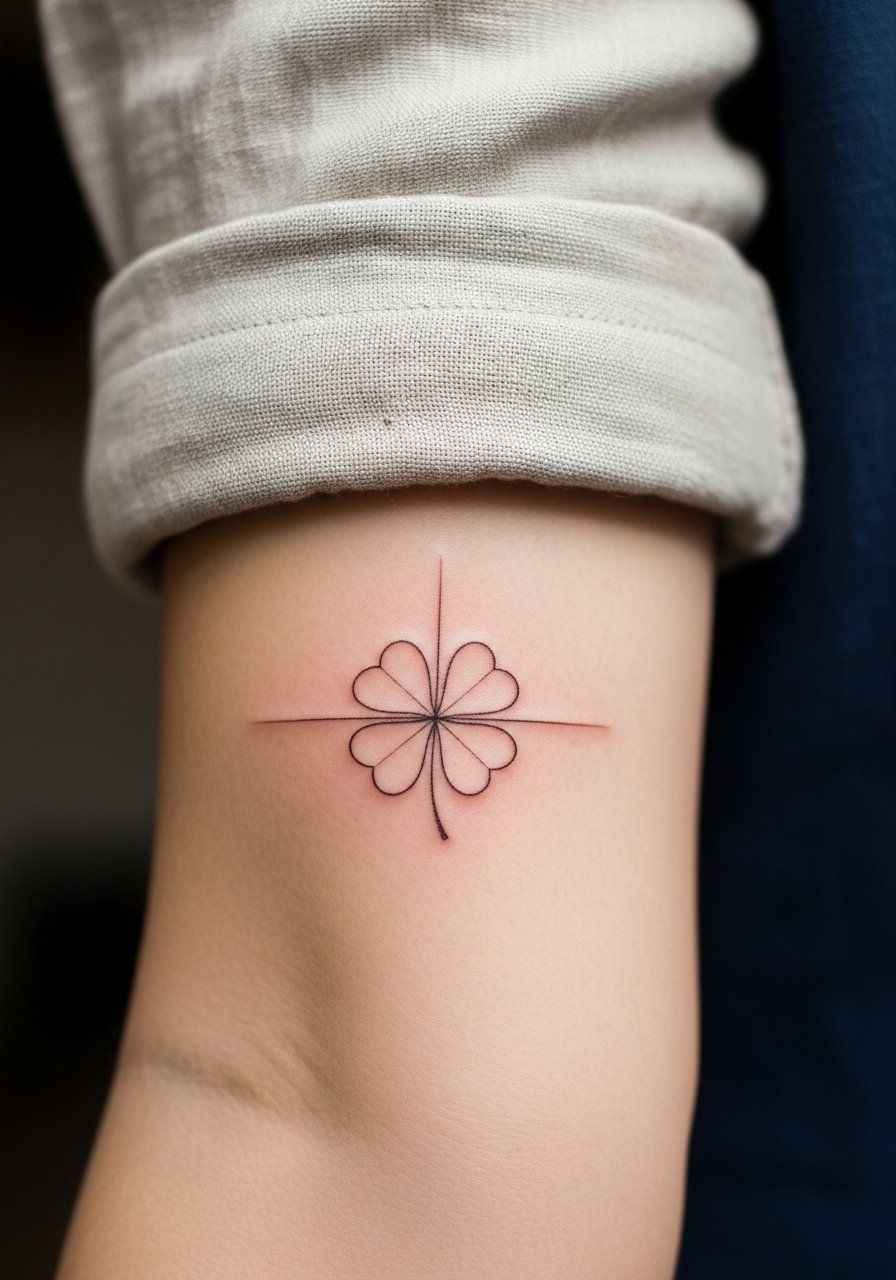
The forearm is a forgiving canvas for fine line clovers because the skin is relatively stable and visible. I've seen forearm clovers keep their clarity longer than wrist or finger pieces, with touch-ups often delayed until year three or four if spacing is right. For consultation, show exact reference images of line weight and ask for slightly thicker stems than you think you need. The session feels straightforward and lasts 30 to 60 minutes. For everyday styling, roll sleeves or wear a linen button-down to frame the tattoo.
6. Micro Clover Behind the Ear, Below the Hairline
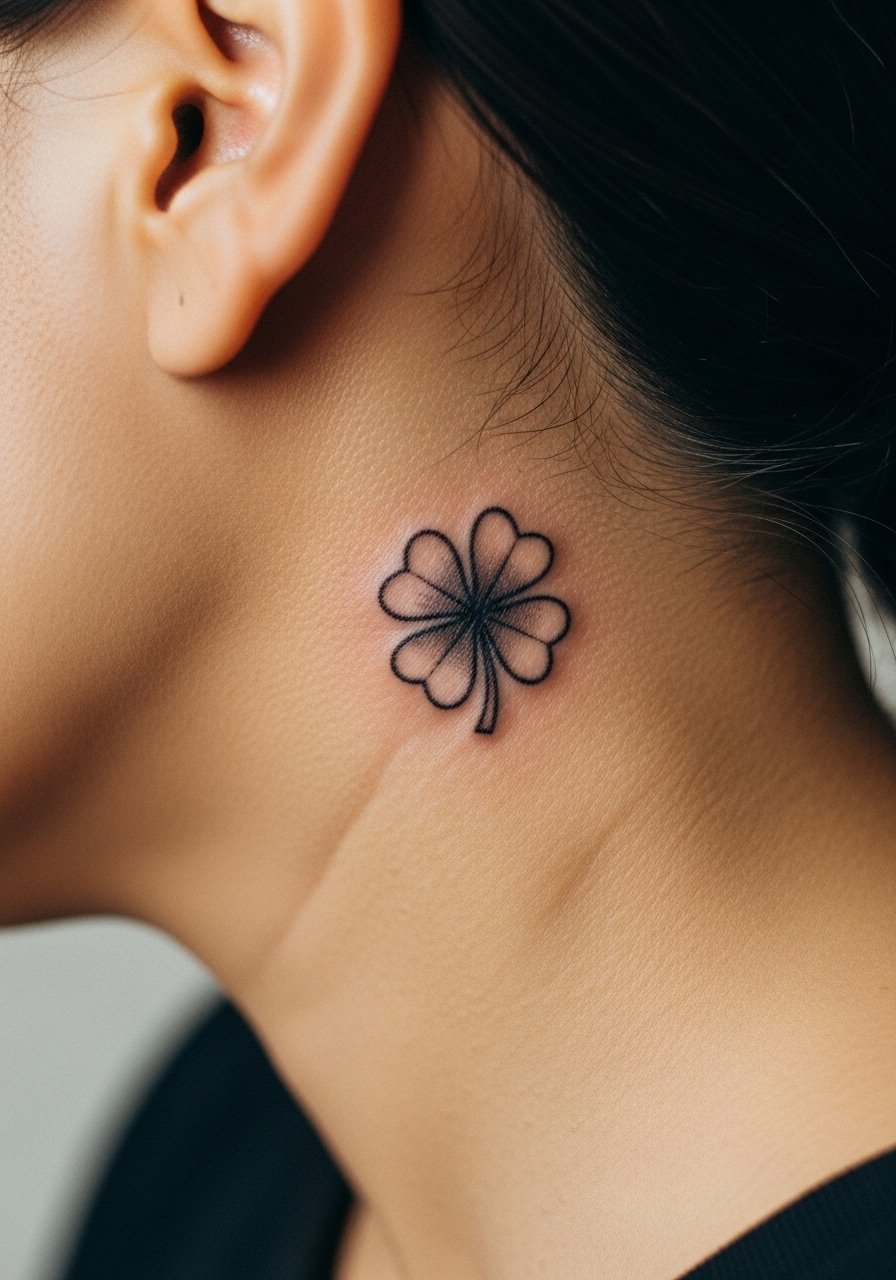
Behind the ear reads discreetly and can be a nice nod toward luck without shouting. Make sure you describe the exact spot below the hairline, because placement there changes healing and visibility. Artists debate micro work in this zone because one camp worries about hair growth and movement affecting lines, and the other camp says careful placement settles fine. Mention that debate in your consultation and ask how they approach shallow linework on that patch. The session is brief and can tingle more than a wrist piece. For the visit, wear your hair up or bring a clip so the artist has clear access.
Pre-Session Essentials
The small placements above demand different prep than larger pieces, and these items smooth the chair time and first week.
-
Stencil transfer paper kit. Lets you test exact placement on curved areas like the wrist and collarbone so the clover doesn't read distorted once you stand.
-
Topical numbing cream. Applied about 45 minutes before can take the edge off sensitive spots such as the fingers and behind the ear without altering linework when used correctly.
-
Thin protective film roll. Useful for finger and ankle clovers to reduce friction from washing and footwear during the first few days.
-
Fragrance-free body wash. Gentle cleansing matters for tiny linework on the wrist and forearm, where aggressive soaps speed fading.
-
Aquaphor healing ointment. A thin initial layer helps lock in moisture on delicate linework without clogging the channels the artist created.
7. Simple Clover at the Nape of the Neck
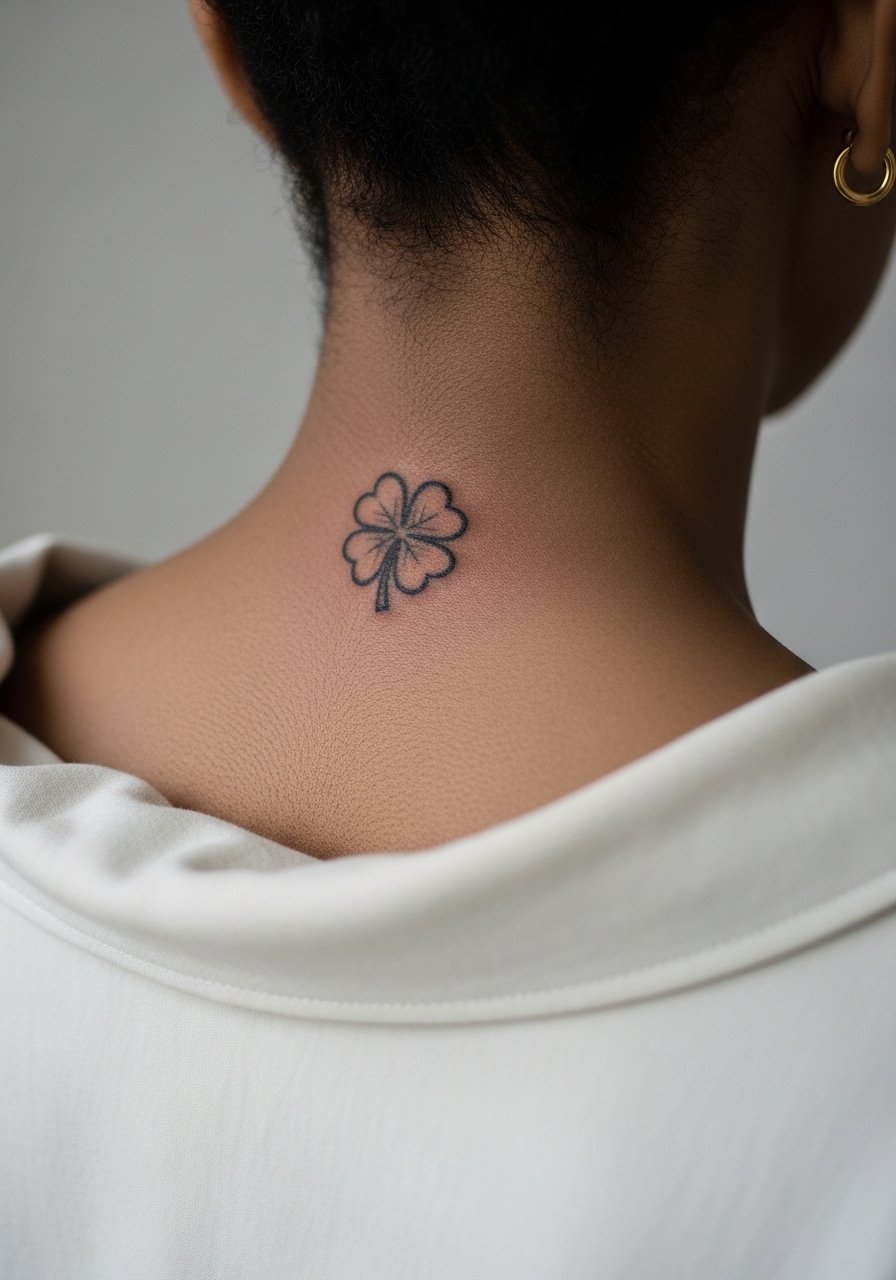
The nape is great if you want something that can be hidden by hair or shown with an updo. Expect moderate pain and short session time. A mistake I see often is choosing too small a clover where hair follicles or collar friction quickly obscure detail. Ask your artist to show the stencil with hair tied up and to map the leaves around any mole or scar. For showing it off consider high collars or hair clips that let the piece peek out when you want to display it.
8. Tiny Clover on the Side Ribcage
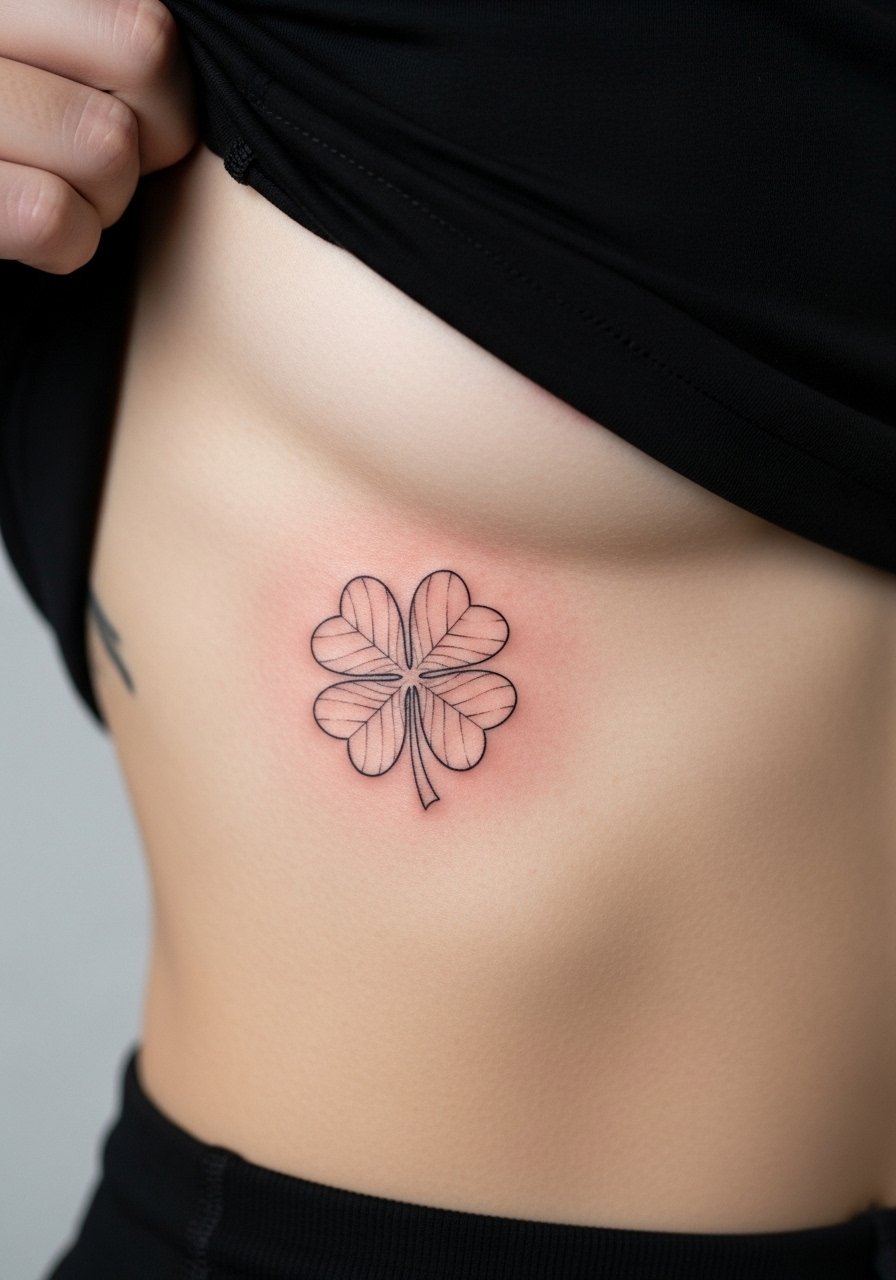
Ribcage placement magnifies pain but also makes a clover feel private and poetic. There is a real debate among artists about fine line on ribs. One camp says the skin stretch and breathing blur lines in two years. The other camp argues that with controlled needle depth and spacing the work can remain crisp. I recommend asking how the artist sets depth and whether they have rib examples in healed photos. Sessions here require you to be relaxed and expect the tattoo to take longer than wrist work, often broken into short passes. Wear a cropped top you can lift so the artist has clear access.
9. Minimal Clover on the Outer Shoulder
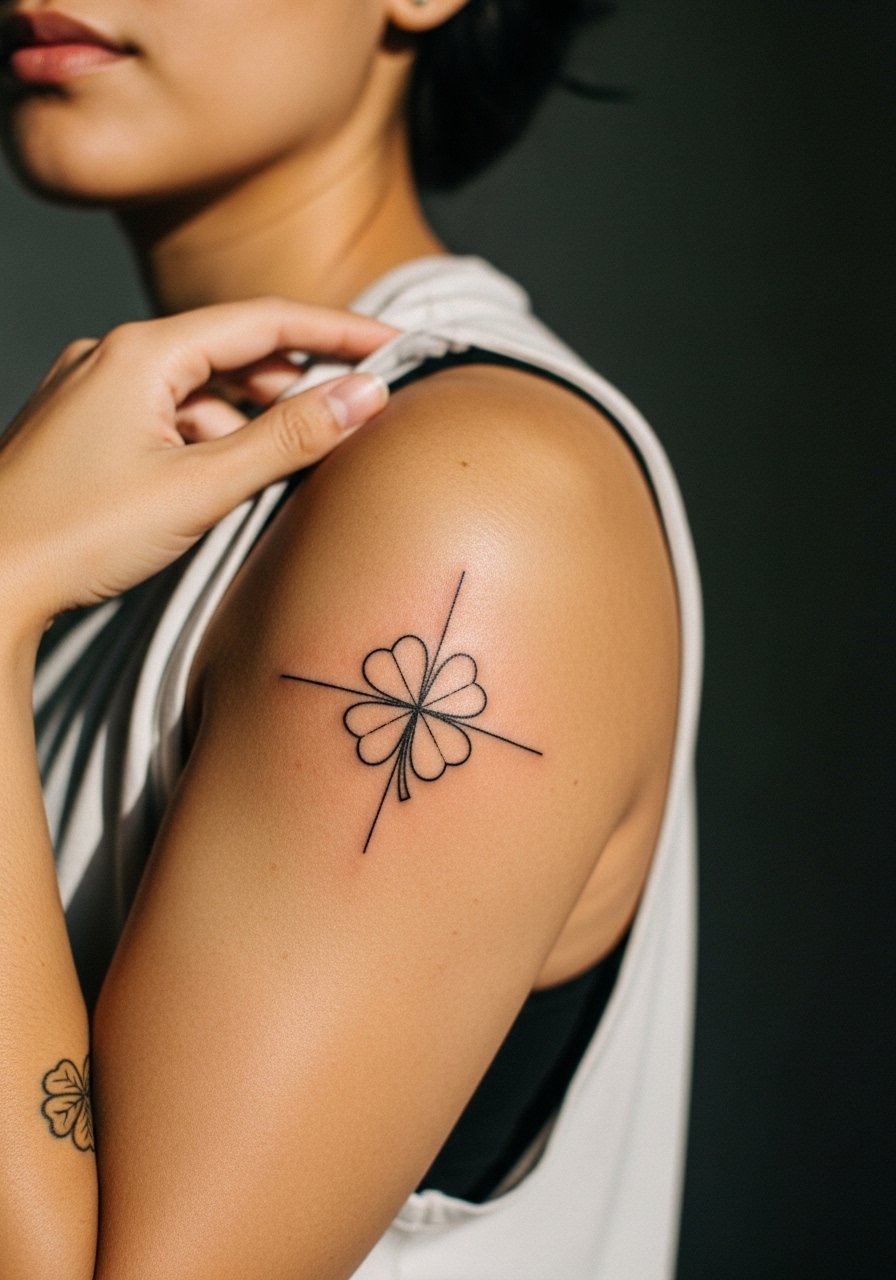
The shoulder gives a smooth curve so the clover sits naturally and ages well if not placed on too mobile a joint. For a clean result ask for slightly larger leaf tips so the silhouette reads from a distance. Pain is mild and sessions are quick. A common mistake is placing it on the edge of the deltoid where sleeves constantly rub. For the appointment wear a loose tank top you can slide to expose the area without tightness.
10. Micro Clover Near the Collar of the Wrist, Palmar Side
Palmar-side placements deal with frequent motion and heavy friction from gripping. Expect more fading and a higher chance of touch-up than outer wrist work. When you bring references, show the exact angle you want because the palm curves differently and small shifts can distort symmetry. Sessions feel slightly more intense and after healing you may need protective film for the first week. Keep ring and bracelet choices minimal for daily wear to avoid rubbing on the new lines.
11. Tiny Clover Above the Ankle Bone, Inner Side
Inner ankle placements are slightly more protected than the outer edge and they photograph well with shoes off. The skin there is thin so ask for a bit of spacing between leaves to prevent lines merging as the area settles. Pain is moderate and the session is short. During the first week avoid tight socks and wear sandals or shoes with a soft collar. A pair of slide sandals makes shore-friendly recovery easier while keeping the tattoo visible.
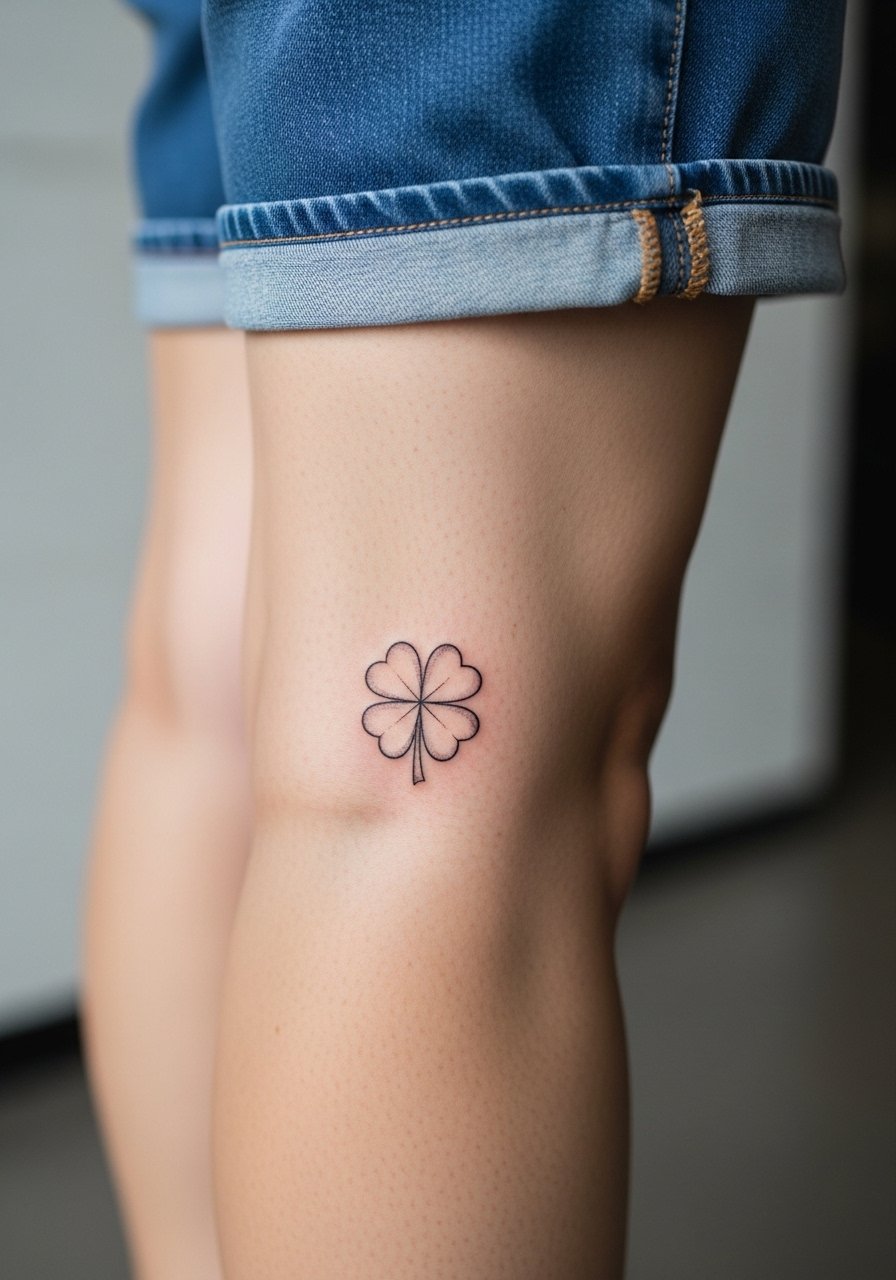
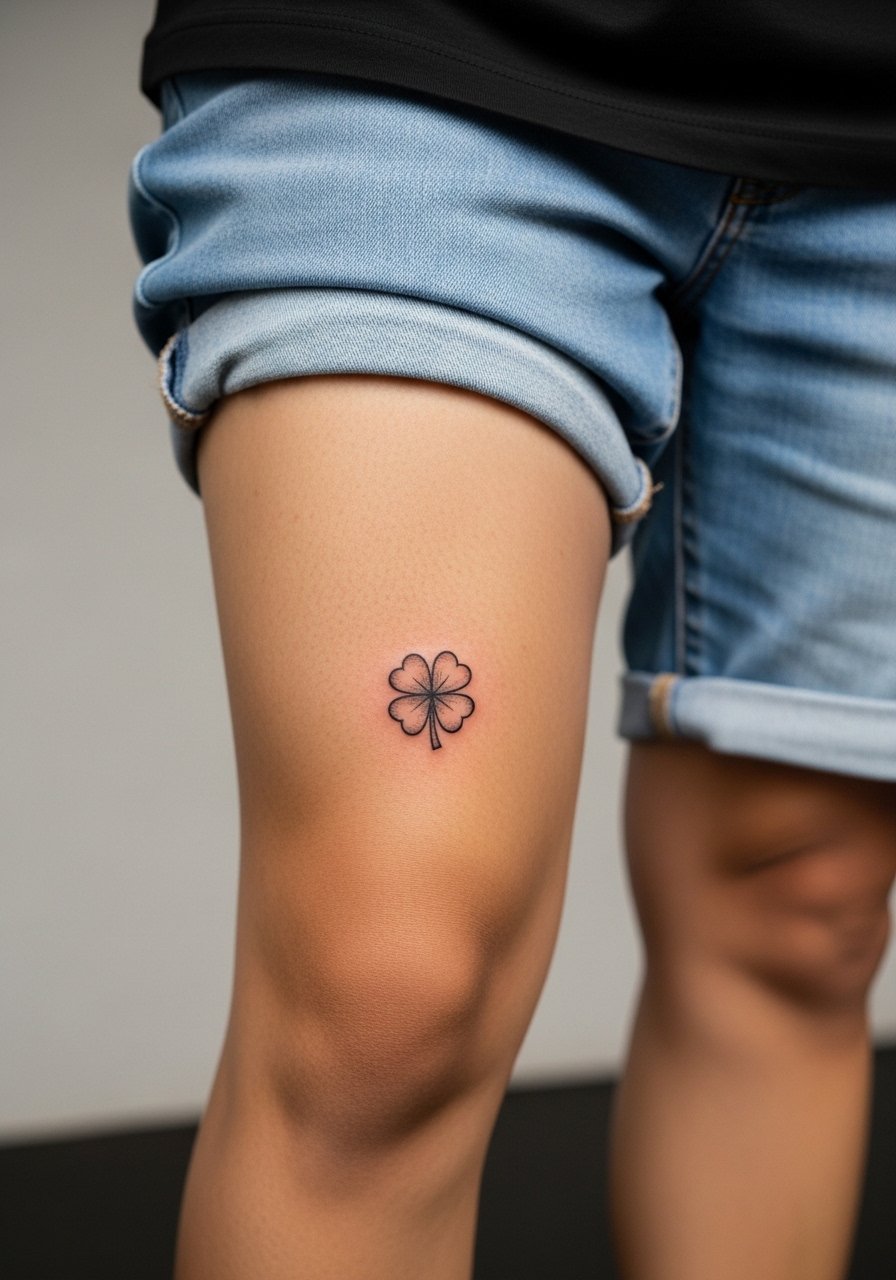
12. Minimal Clover on the Upper Thigh
Upper thigh clovers stay hidden when you want them to and they sit on a low-friction area, which helps line retention. The main mistake is requesting extremely thin stems with dense internal detail, which the saddle-like skin there can blur over time. Sessions are low pain compared with ribs or sternum, and you can often do longer sittings. For the appointment choose high-waisted shorts or loose drawstring pants so the artist can access the area and you stay comfortable during healing.
13. Micro Clover on the Side of the Hand

Side-of-hand tattoos are bright and visible, but they face heavy abrasion and sun exposure. Expect more frequent touch-ups and plan placement away from the knuckle crease to limit distortion. A common version that ages poorly is one where the leaves are filled or overly detailed. Keep it airy with open linework. The session is short and fairly painful, and you should be ready for a faster fading timeline than forearm work.
14. Small Clover on the Inner Bicep
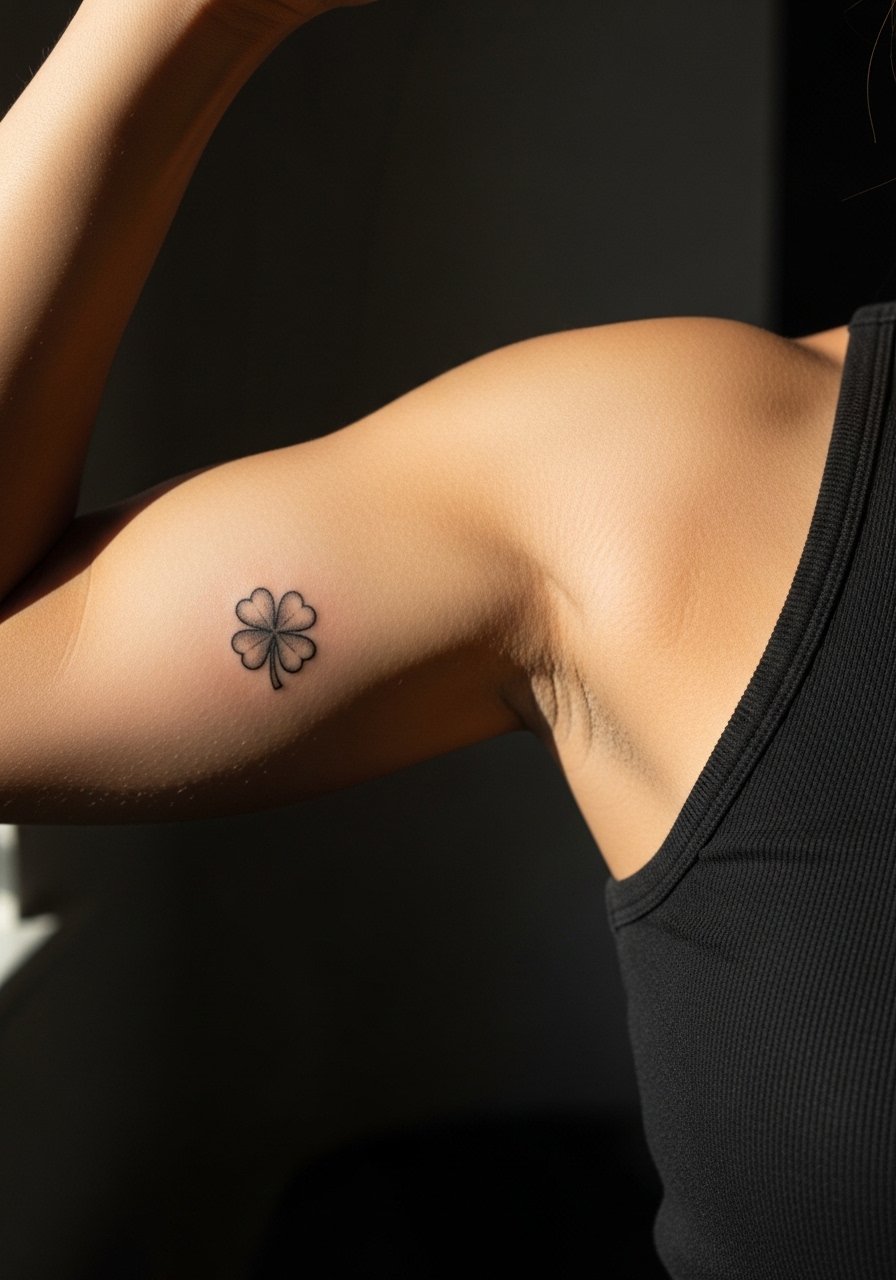
The inner bicep offers a soft canvas that protects delicate linework from the sun. People often underestimate how much the skin there moves with flexing, so ask for a bit of spacing between leaf edges. Pain is moderate and sessions are comfortable if you keep your arm relaxed. For the session wear a sleeveless tank top you can roll or slide to give the artist clean access without tugging at fabric.
15. Four Leaf Clover on the Outside of the Calf
Calf placements are durable because the skin there is stable and often covered. The main benefit is slower fading for fine line pieces compared with hands or fingers. A typical mistake is making the clover too small for the calf's scale, which can look lost from a distance. Sessions are low to moderate pain and you can expect to be seated comfortably for 30 to 60 minutes. For showing it off, pair with cropped trousers or skirts.
16. Tiny Clover Near the Sternum, Above the Bra Line
Sternum placements are intimate and require a specialist who understands how to tattoo near the chest. There is a clear split in opinion among artists about fine line here. One camp warns that movement from breathing and fabric friction blurs fine detail. The other camp says controlled depth and spacing make the work durable. I advise discussing both approaches and viewing healed examples. Pain is higher and sessions may be briefer but repeated if the artist prefers staged passes. For the appointment wear a fitted sports bra you can pull slightly aside.
17. Minimal Clover on the Lower Back, Off-Center
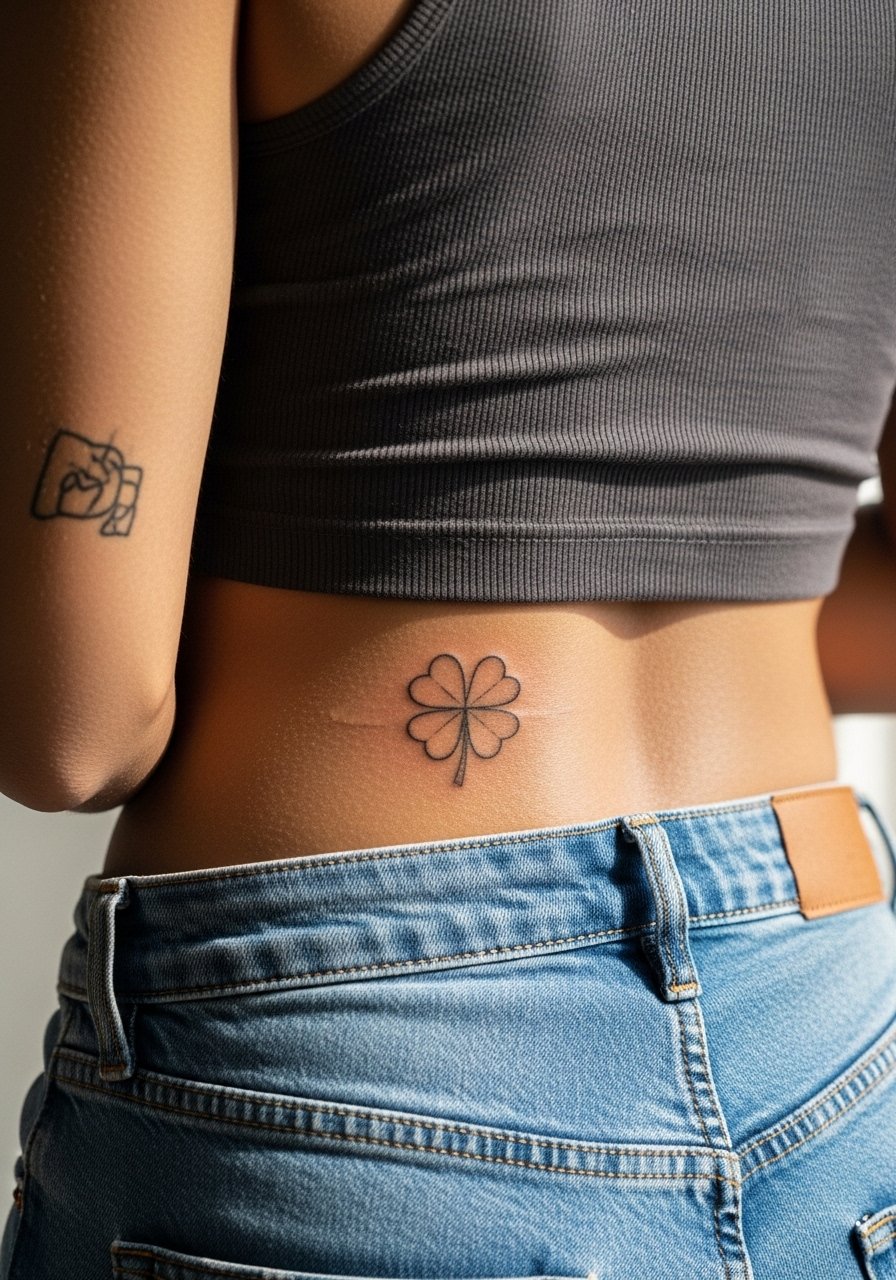
Lower back pieces take advantage of a flat surface and tend to age well when not near the waistband seam. The common error is centering small designs where pant waistlines will rub. Ask your artist to place it slightly off-center if you frequently wear low-rise clothing. The session is moderate and healing benefits from breathable, non-binding clothing. For recovery pick bottoms without a tight waistband and consider wearing high-waisted options for the first week.
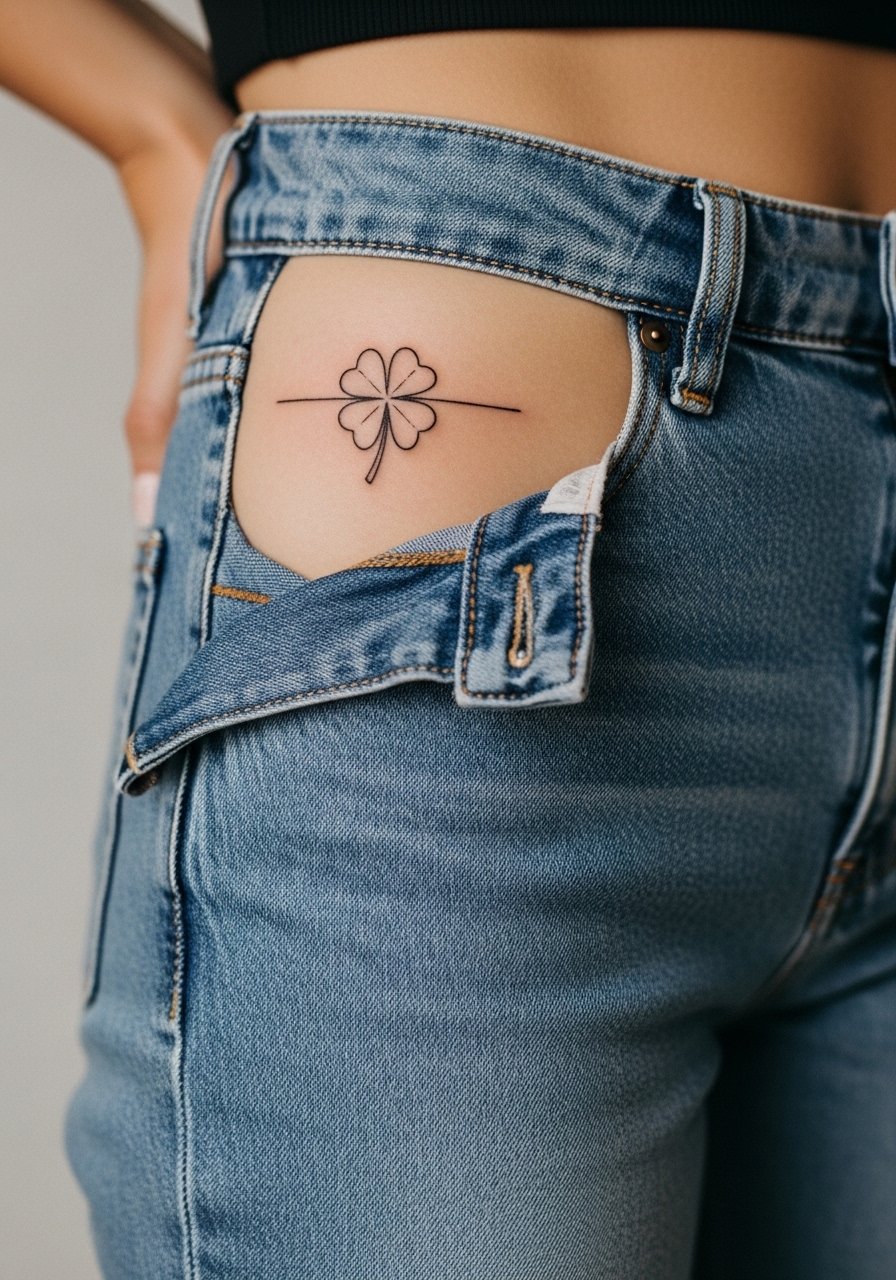
18. Tiny Clover on the Side Hip
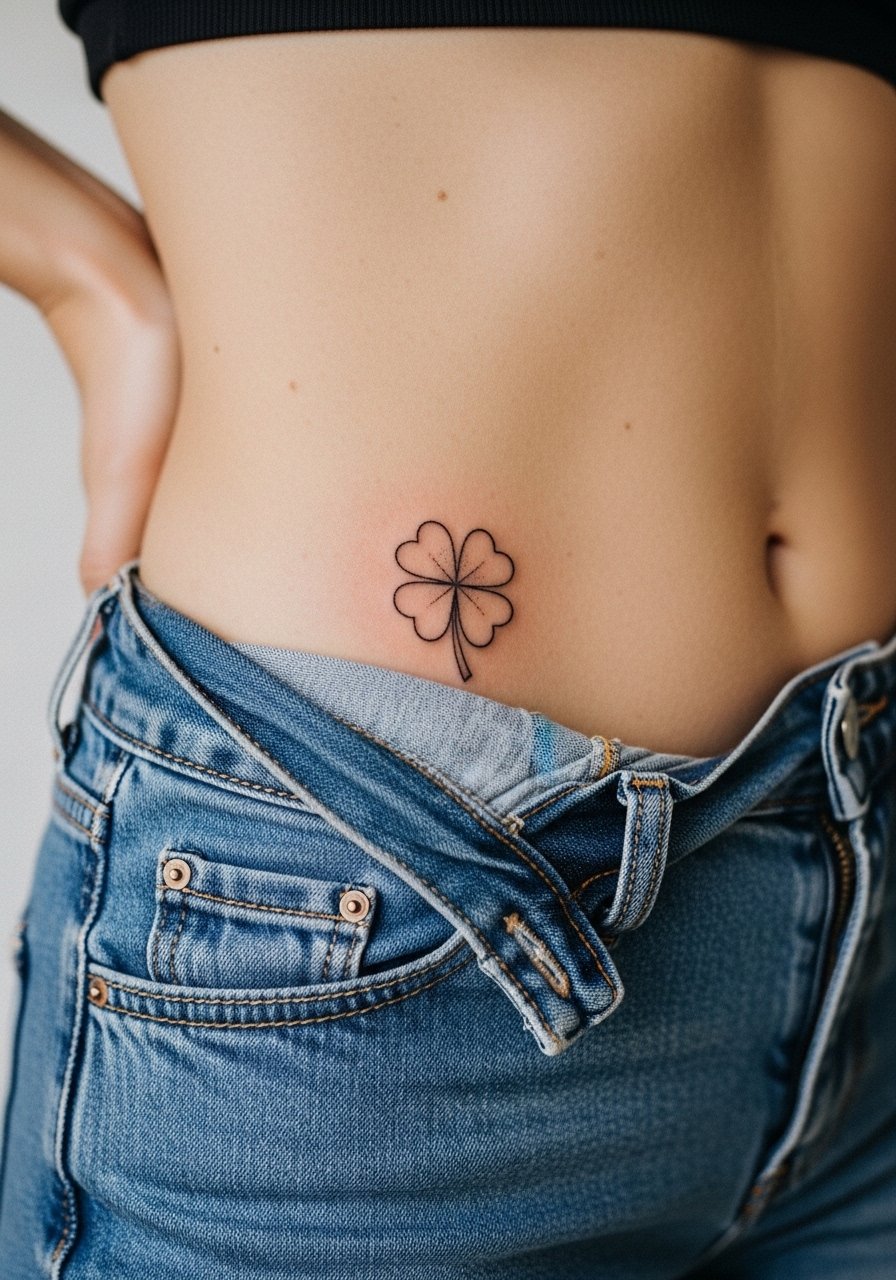
Hip clovers are playful and largely protected from daily abrasion. They work well with simple linework and a slightly larger outline so the silhouette reads under different fabrics. Sessions are low on pain and take less than an hour. During the session wear high-waisted bottoms that you can lower slightly so the artist can access the area without stretching the skin.
19. Minimal Clover on the Outer Thigh, Near the Knee
Outer thigh pieces are forgiving and allow a small clover to feel larger in context. Avoid placing it where shorts or leggings constantly rub the area. The skin there is stable so expect slow fading and longer touch-up intervals. Sessions are comfortable and you can be relaxed for longer sittings. For the appointment choose loose shorts or a wrap skirt to give the artist access without pressure.
20. Tiny Clover on the Chest Near the Clavicular Line
Upper chest locations show off small designs while remaining easy to hide with regular shirts. The error I see is asking for a clover right on the collarbone ridge where the skin is uneven and lines can look broken. Request placement slightly below the clavicle with a confident outer line to maintain shape. Pain is moderate and sessions short. For outfits, open-neck shirts or a thin chain necklace help frame the piece without covering it.
21. Micro Clover Behind the Knee, Inner Crease Area

Behind-knee placements age differently because of frequent flexing and skin folding. Expect some blurring if the clover is too intricate, so keep leaf shapes simple and spaced. The session is more uncomfortable than a static thigh piece and healing benefits from limited bending in the first few days. Wear loose bottoms and plan a recovery window where stretching is gentle. If you have circulation concerns discuss them with your artist before booking.
Frequently Asked Questions
Q: How small can a four leaf clover stay legible long term?
A: Tiny works if the artist leaves space between leaves and uses a slightly bolder outer line. I recommend a minimum visible leaf arc rather than a single dot for each leaf, because dots tend to fill in within a year depending on placement. Ask to see healed photos from the artist on similar skin tones.
Q: Should I expect different touch-up timelines for finger and forearm clovers?
A: Yes, fingers usually need touch-ups more often because of hand washing and friction. Forearm pieces often stretch time between touch-ups to three to five years if placed and spaced well. Plan for a realistic revisit window in your consultation.
Q: Are there styling tips to help show a tiny clover without damaging it?
A: Light jewelry and open sleeves frame small pieces without rubbing the ink. For wrists and ankles consider a minimalist watch or slide sandals that draw attention away from constant friction. During healing avoid tight bands directly over the fresh lines.
Q: Does skin tone change how a minimal line clover is inked?
A: Yes, artists may adjust line weight and contrast based on skin tone so the clover reads long term. Darker skin tones sometimes benefit from slightly stronger outer lines, while lighter tones can carry very fine work. Discuss healed examples across tones in consultation.
Q: If I want to hide a clover later, which placements are safest?
A: Inner thigh, ribcage, and sternum give the most control over visibility, while hands and fingers are hardest to hide. Think about work and lifestyle needs before you commit.
