
Fine line looks incredible fresh. The trick is knowing which tiny designs will still read sharp after a few summers of sun and sleeves. Expect some pain on certain placements, expect touch-ups around year three for very delicate work, and expect choices about spacing and line weight to decide longevity. Read on for 27 compact ideas and the exact wardrobe and consultation notes that make each one work.
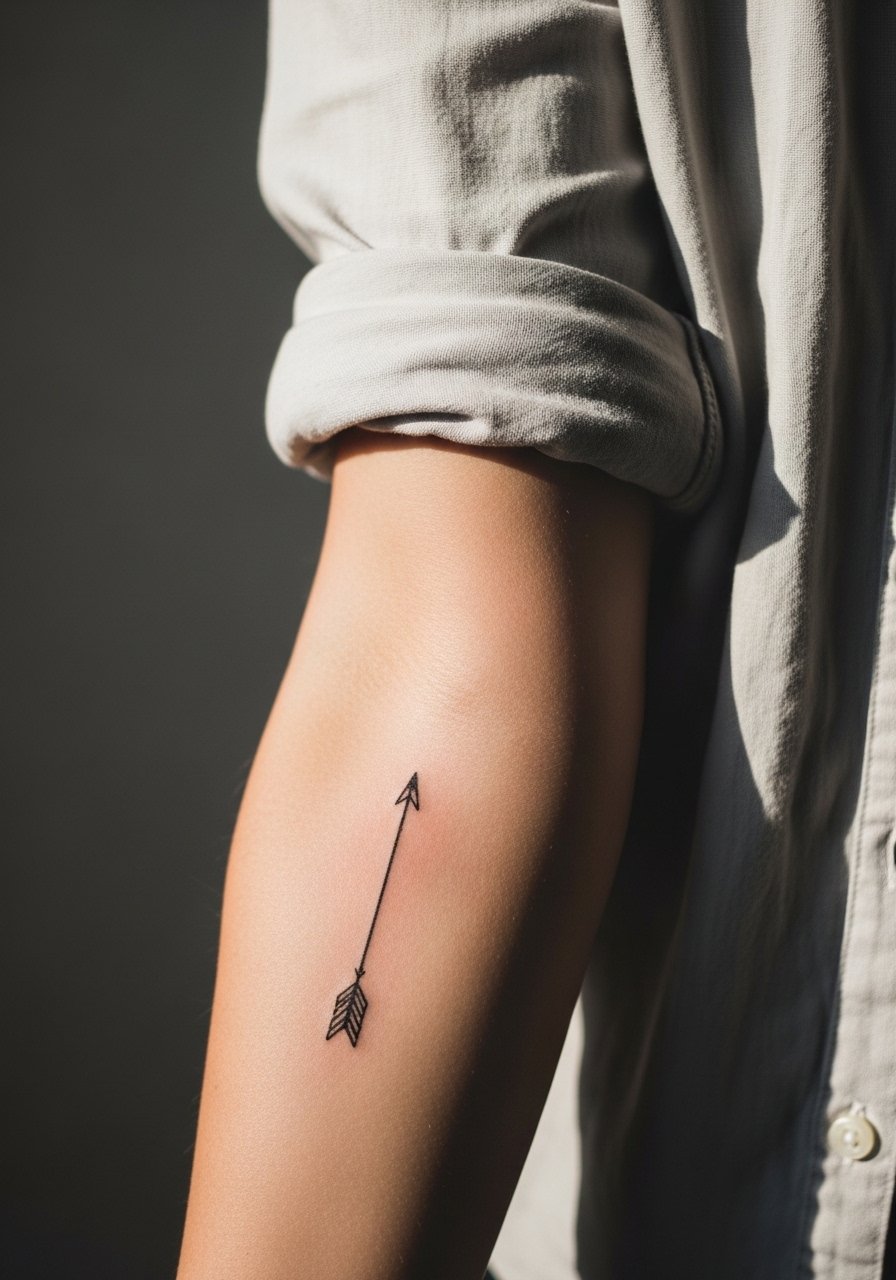
1. Single Arrow on Inner Forearm
This tiny arrow runs along the inner forearm in thin, confident linework. I recommend asking your artist for a slightly heavier spine line than the reference photo so the arrow still reads at year three. Fair warning, the inner forearm is forgiving but does show sun fading faster than the upper arm. For the session, wear a loose button-down shirt you can pull aside so the artist has clean access without tugging the fabric. Expect a 30 to 45 minute sit and a touch-up window at two to three years if you push the lines too fine.
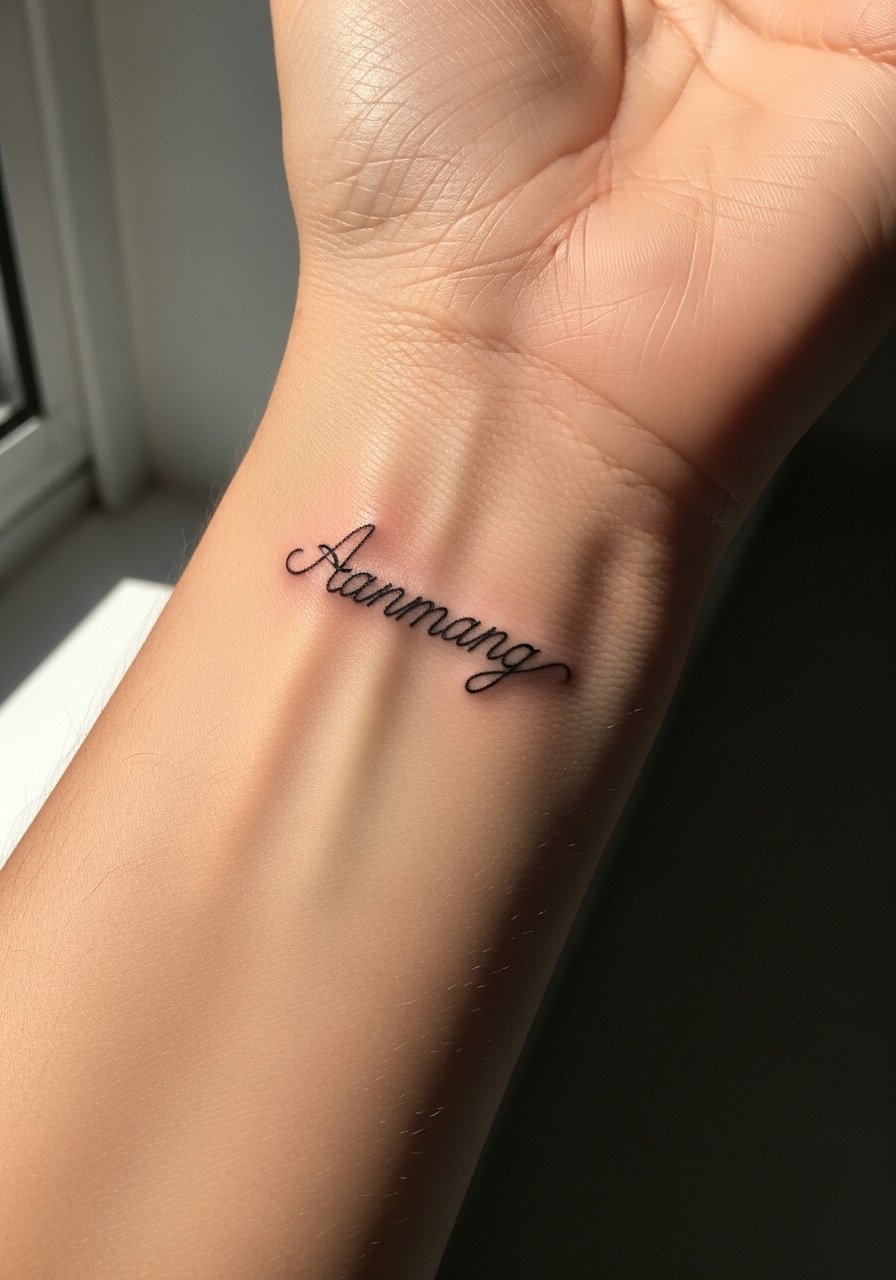
2. Micro Script Name on Wrist
A narrow, lowercase signature-style script on the outer wrist reads personal and restrained. The biggest mistake is requesting the exact same scale as a large chest script. Tiny letters need generous spacing to avoid merging after a year. When you consult, ask for a touch test transfer and for letters at least 3 mm apart. Wrist skin sees a lot of friction from watches and sleeves. For showing it off, a thin chain pendant necklace frames the area without competing. Plan for a quick 20 to 40 minute session and expect a possible light touch-up at year two.
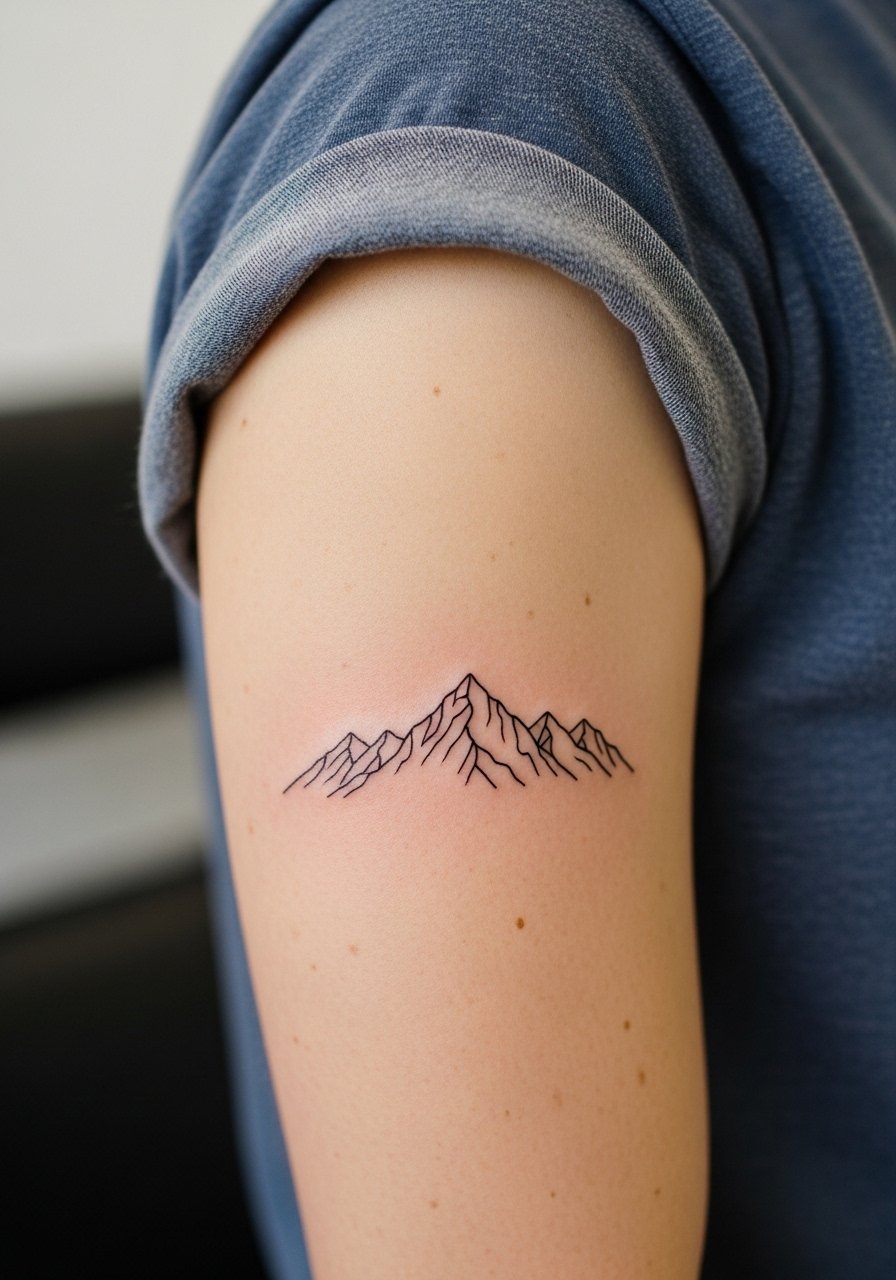
3. Minimalist Mountain Range on Upper Arm
A tiny, repeating mountain silhouette sits on the outer upper arm with clean peak-to-peak linework. I like this when clients want an outdoors nod without full scenery. Ask your artist to keep the peaks open and avoid tiny inner triangles that fill in over time. Upper arm is low pain and holds linework well. For the appointment, roll up a short-sleeve tee so the area stays relaxed. The session is usually 30 to 60 minutes depending on repeats. Over five years the silhouette softens slightly but the overall shape remains readable if spacing was respected.
4. Single Needle Dot Constellation on Ankle
Small dots linked with micro lines mimic a constellation across the ankle bone. Beware of going too dense. Tiny stipple dots clustered closely blur with movement and shoe friction. Tell your artist you want open star spacing and ask how they manage blowout risk at the ankle. Ankle sessions feel bony but quick, often under 30 minutes. This placement pairs well with rolled jeans or a pair of sandals to showcase the work. Expect touch-ups earlier than on the torso because of footwear rubbing and repeated washing.

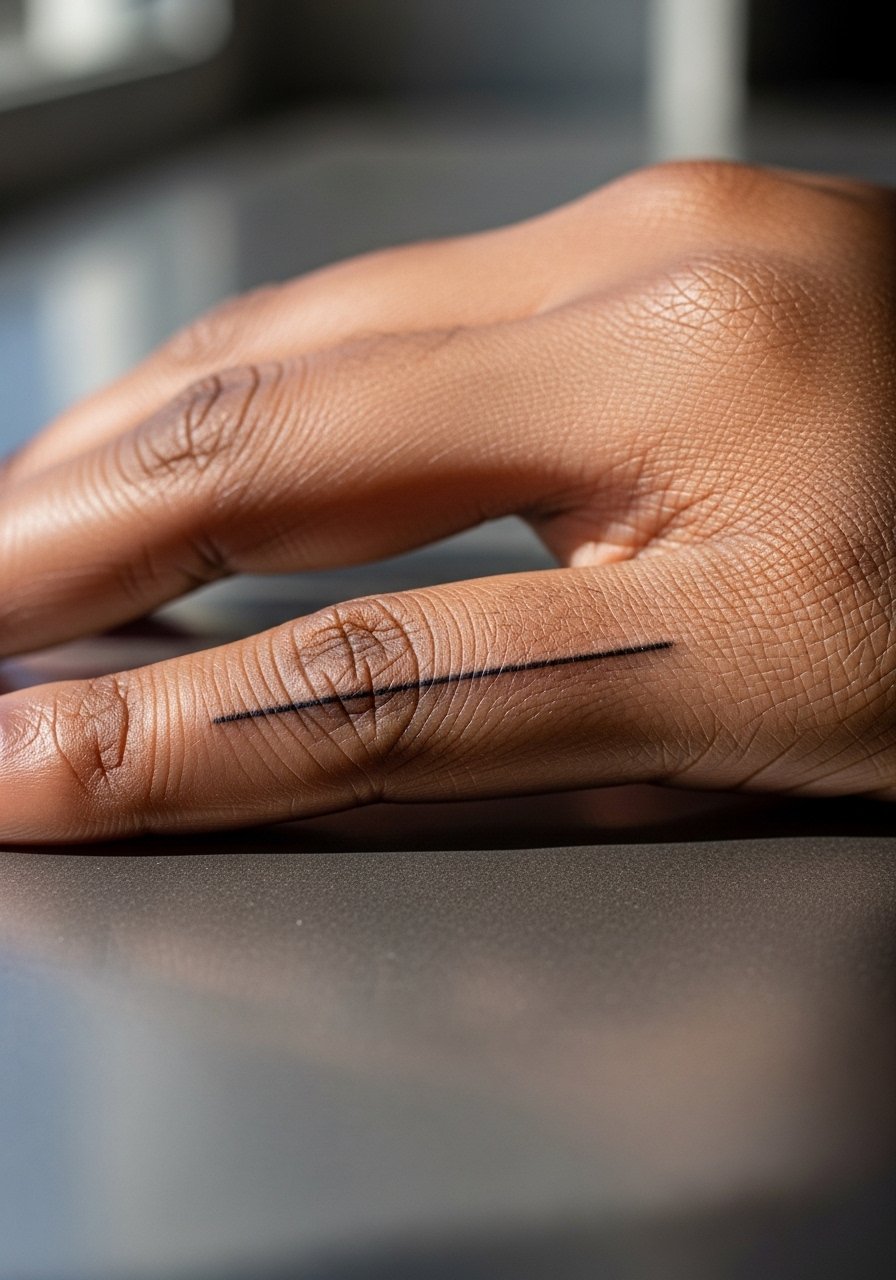
5. Thin Band Around Finger
A fine single-line band circling a finger reads simple and modern. Most mistakes come from placing it too low on knuckles or making the line so thin it disappears once healed. I advise asking for a slightly thicker thread of ink and for placement over the middle phalanx where skin is more stable. Fingers are notorious for fading and early touch-ups. For the session, bring a pair of cotton gloves to keep oils off the stencil before the artist starts. Expect shorter sessions but a higher likelihood of a touch-up within a year.

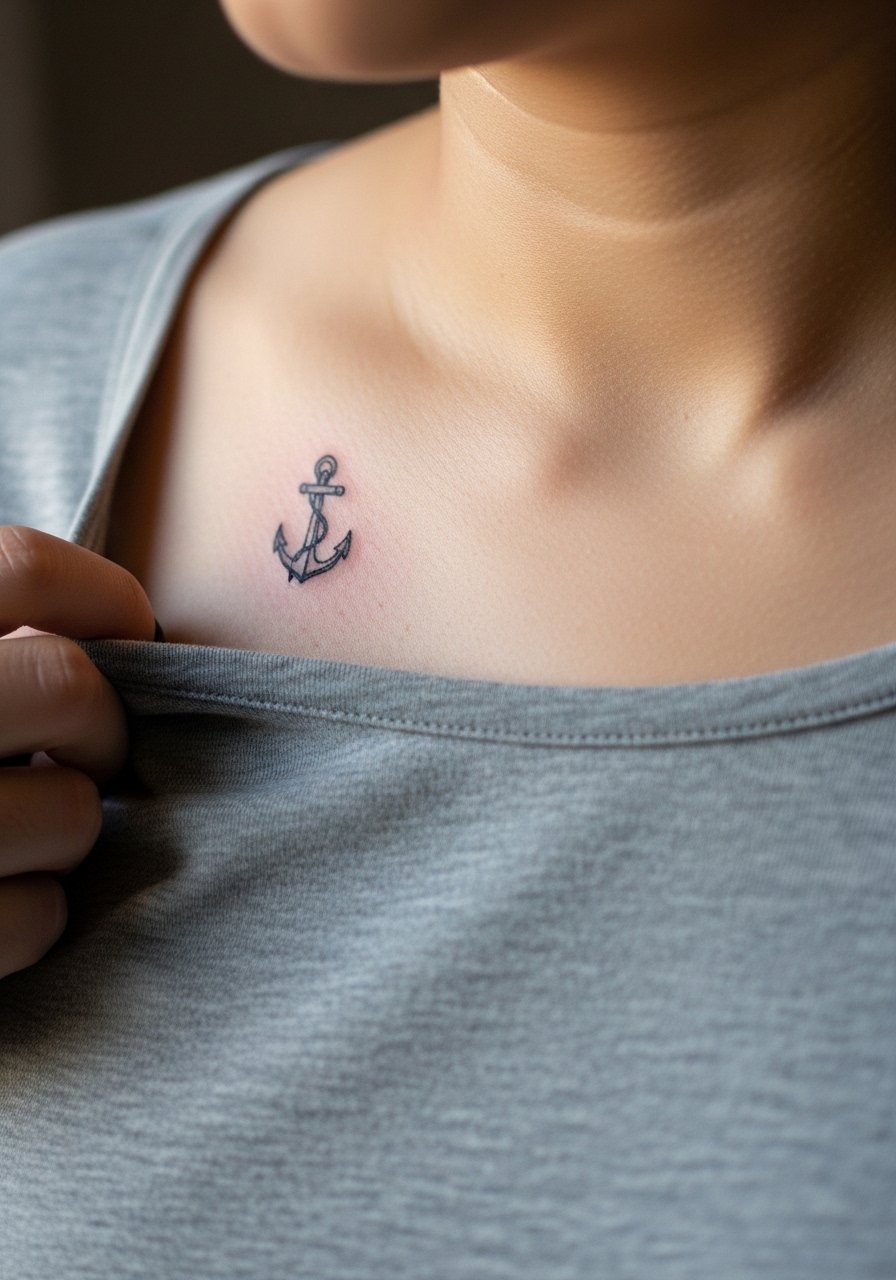
6. Tiny Anchor Near Collarbone
A micro anchor placed just above the collarbone is a subtle maritime nod. The collarbone moves a lot with posture, so lines too close to the bone can feel sharp during the session and thin out visually later. Ask your artist for slightly rounded corners and to center the anchor to the clavicle curve. For showing it off, pair with an open-back or wide-neck shirt that frames the area. Sessions run 20 to 45 minutes and this placement ages well if you avoid sun exposure.
Studio Day Picks
These items help with the small, visible placements above. They make prep and the first week easier for wrist, collarbone, and finger work.
-
Stencil transfer paper kit. Lets you preview tiny letter spacing and overall placement for wrist and collarbone pieces before the needle touches skin.
-
Topical numbing cream. Applied per instructions before session it takes the edge off on bony areas like the collarbone and ankle without smudging fine transfers.
-
Thin protective film roll. Useful for finger and wrist tattoos where friction from daily tasks can abrade early healing lines.
-
Fragrance-free gentle body wash. Cleanses delicate linework during showers without stripping ink or irritating fresh lines.
-
Aquaphor healing ointment. A thin layer during the first couple of days helps lock in moisture for fine line pieces without clogging channels.
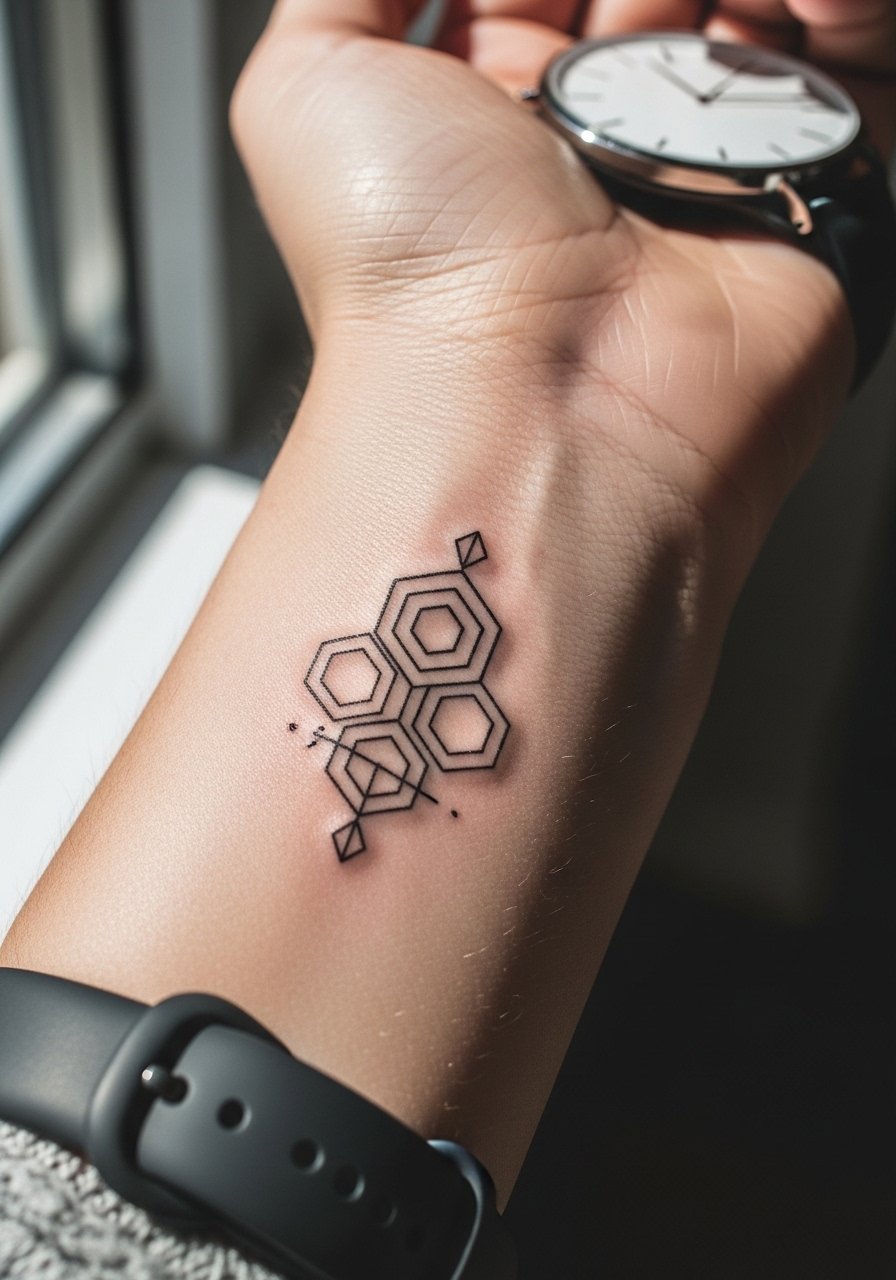
7. Single-Needle Geometric Wrist Cluster
A compact cluster of tiny geometric shapes sits on the outer wrist in connected single-needle linework. The common error is over-detailing into negative spaces that later fill. Tell your artist you prefer breathing room between shapes and to avoid dense dot shading. Wrist placement will need sun protection and cautious sleeve choices. For show-off outfits, a simple minimalist watch or slim bracelet complements the geometry without crowding the lines. Sessions are typically under an hour and touch-ups are common after one to two years if the spacing was tight.
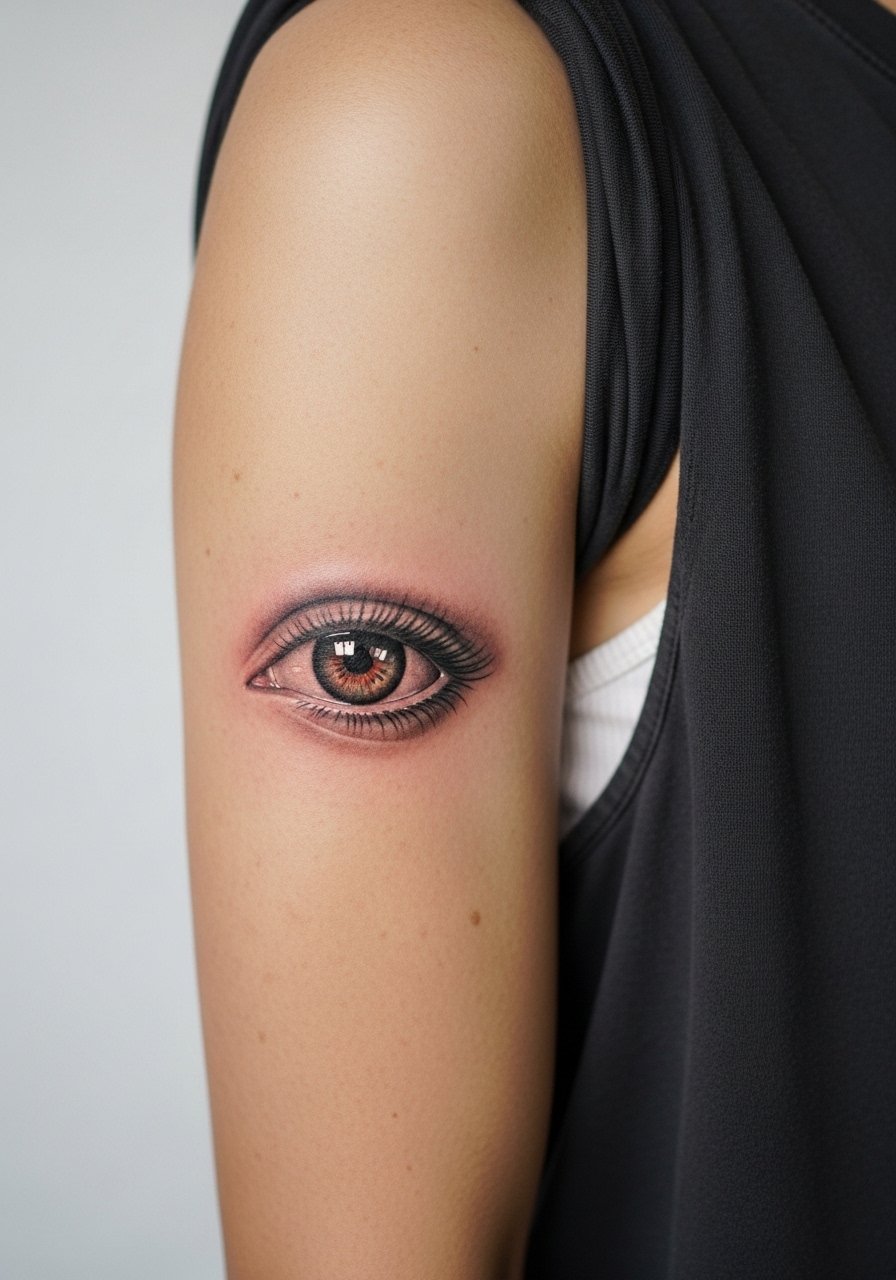
8. Micro Realism Eye on Upper Bicep
A tiny, realistic eye in fine stipple and single-line lashes sits on the outer upper bicep. Micro-realism needs a steady hand and recognition that tiny detail fades faster than bold strokes. Ask your artist for slightly less interior dot density and for clear contrast around the iris to maintain readability. Upper bicep is forgiving on pain and aging. For the session, wear a loose tank top so the artist can access the area without the shirt riding up uncomfortably. Plan for a 45 to 75 minute sit and a possible softening of inner detail at five years.
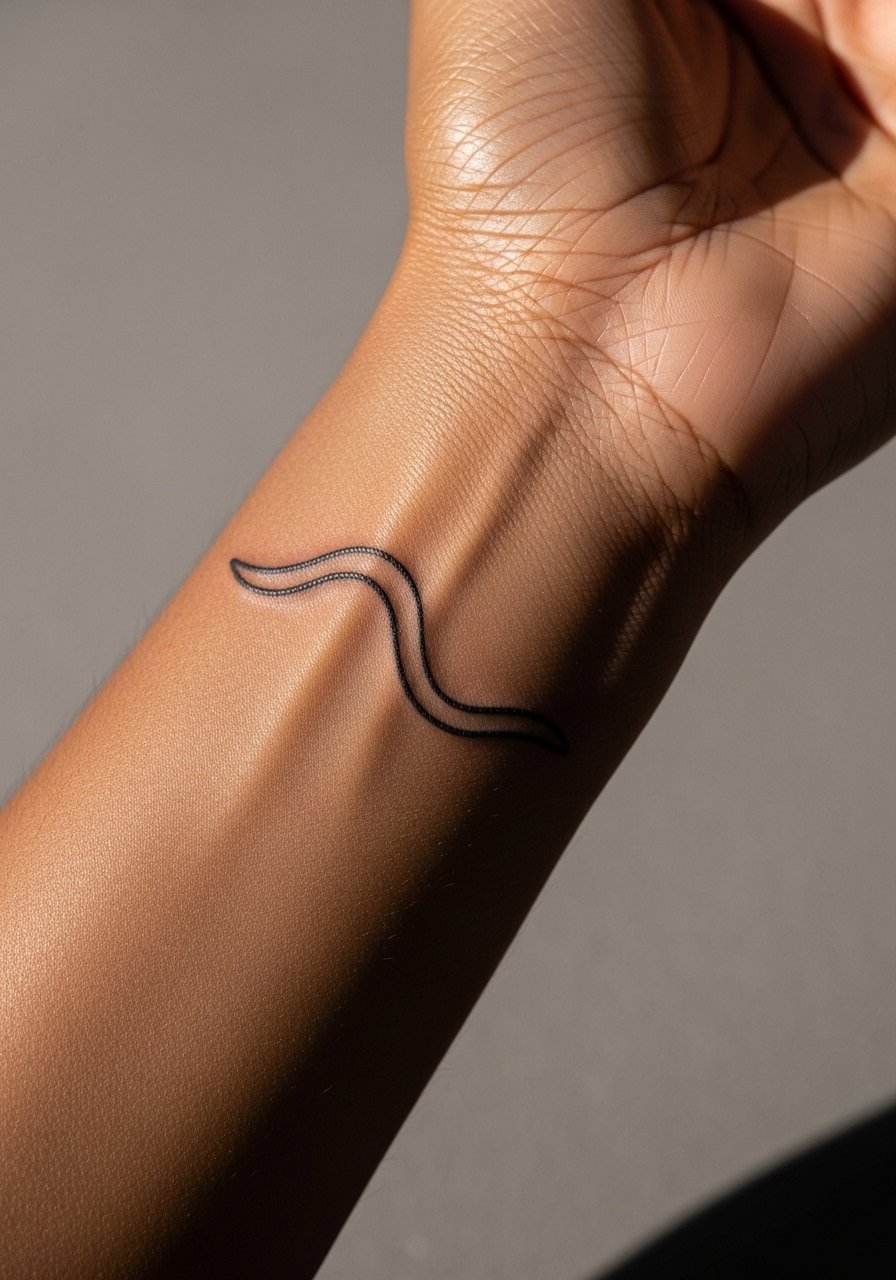
9. Single Line Wave on Side Wrist
A continuous single-line wave wraps gently around the side of the wrist. The risk here is over-slim lines that vanish under superficial fading. Ask for a balanced line weight that reads from a short distance. Wrist washes and frequent hand use make this one prone to blurring. Expect a 20 to 35 minute session. Because the wrist is visible, think about pairing it with rolled sleeves and a leather cuff bracelet when you want an accessory that frames but does not cover the wave. Touch-ups are more common on wrist pieces than on the torso.
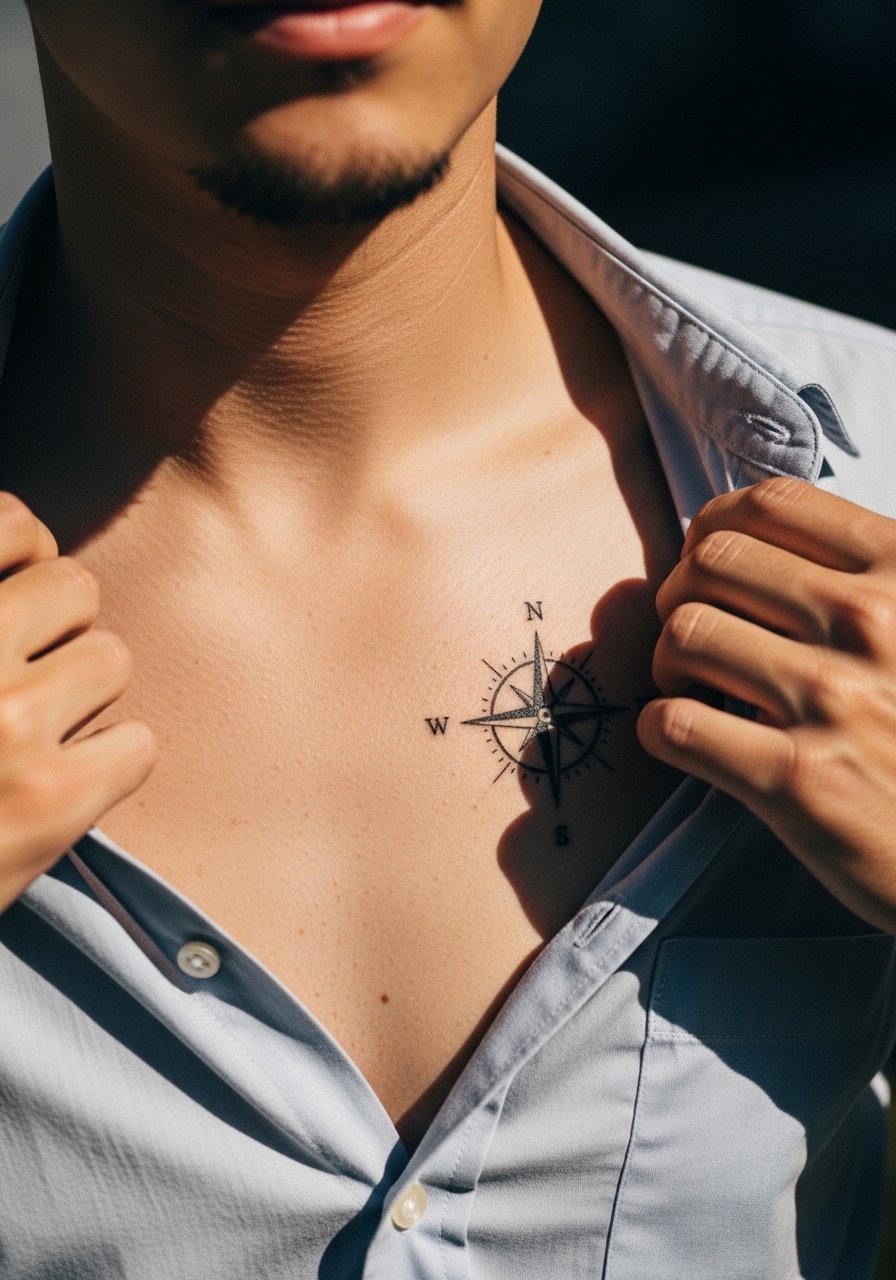
10. Minimal Compass on Upper Chest
A tiny compass placed near the upper chest sits just above the shirt line. Because this touches the sternum area visually, frame the consult like a placement question. Artists split on how fine compasses should be near the chest. One camp says chest movement and thin skin make tiny points blur, and the other camp says with the right depth and spacing it holds. Name both views during booking and ask which they practice. For the shoot or nights out, an open-collar shirt shows the tattoo without exposing the torso. Sessions run 30 to 60 minutes and expect long-term clarity if spacing is prioritized.
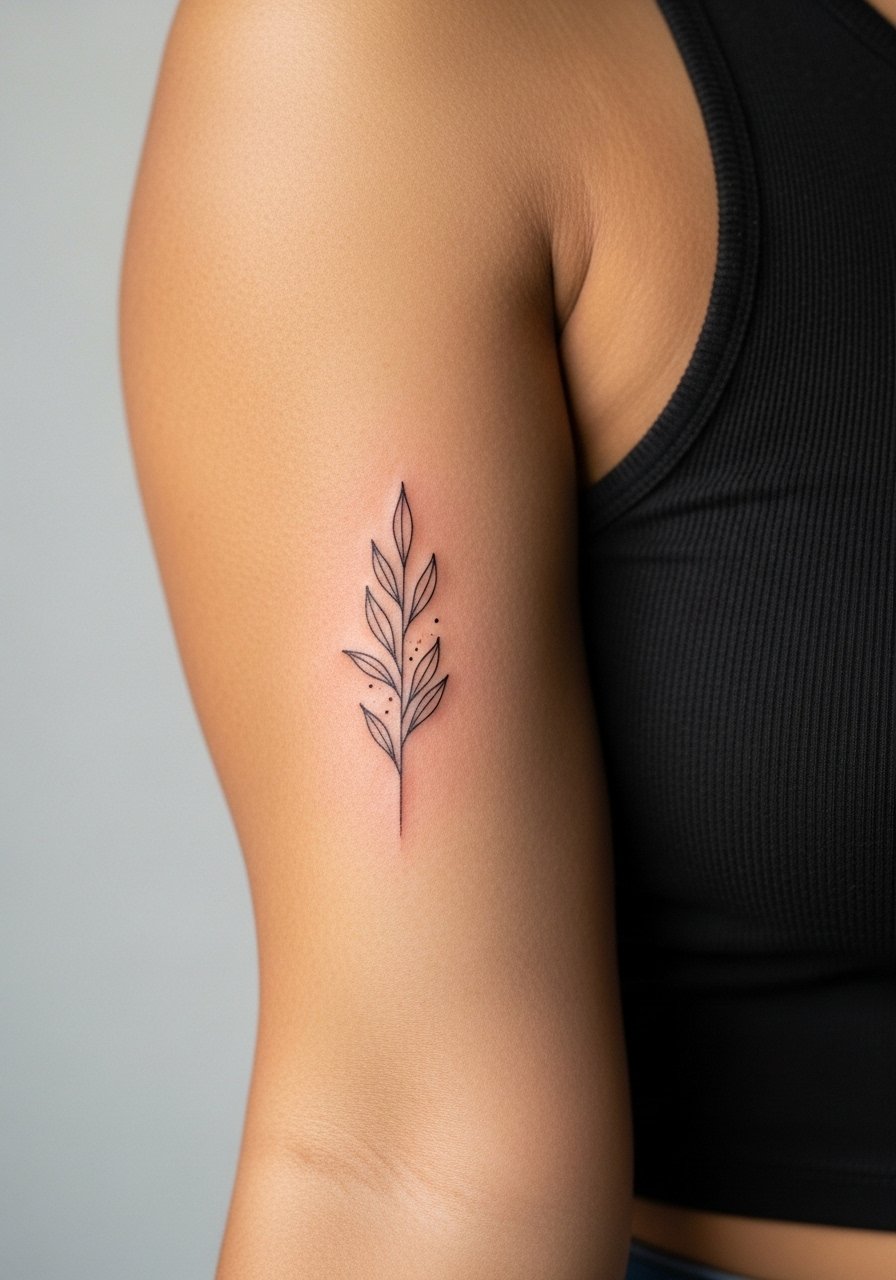
11. Tiny Botanical Stem on Inner Bicep
A slender stem with two leaves on the inner bicep is delicate and intimate. The inner bicep stretches more with movement, so the line weight should not be the thinnest possible. The common mistake is asking for needle-fine veins inside leaves that fuse. Tell your artist to favor simple contour lines and slight spacing in the leaves. For the session wear a tank top you can lift slightly. Expect medium pain and a session under an hour. This placement can remain crisp for years if spacing is respected.
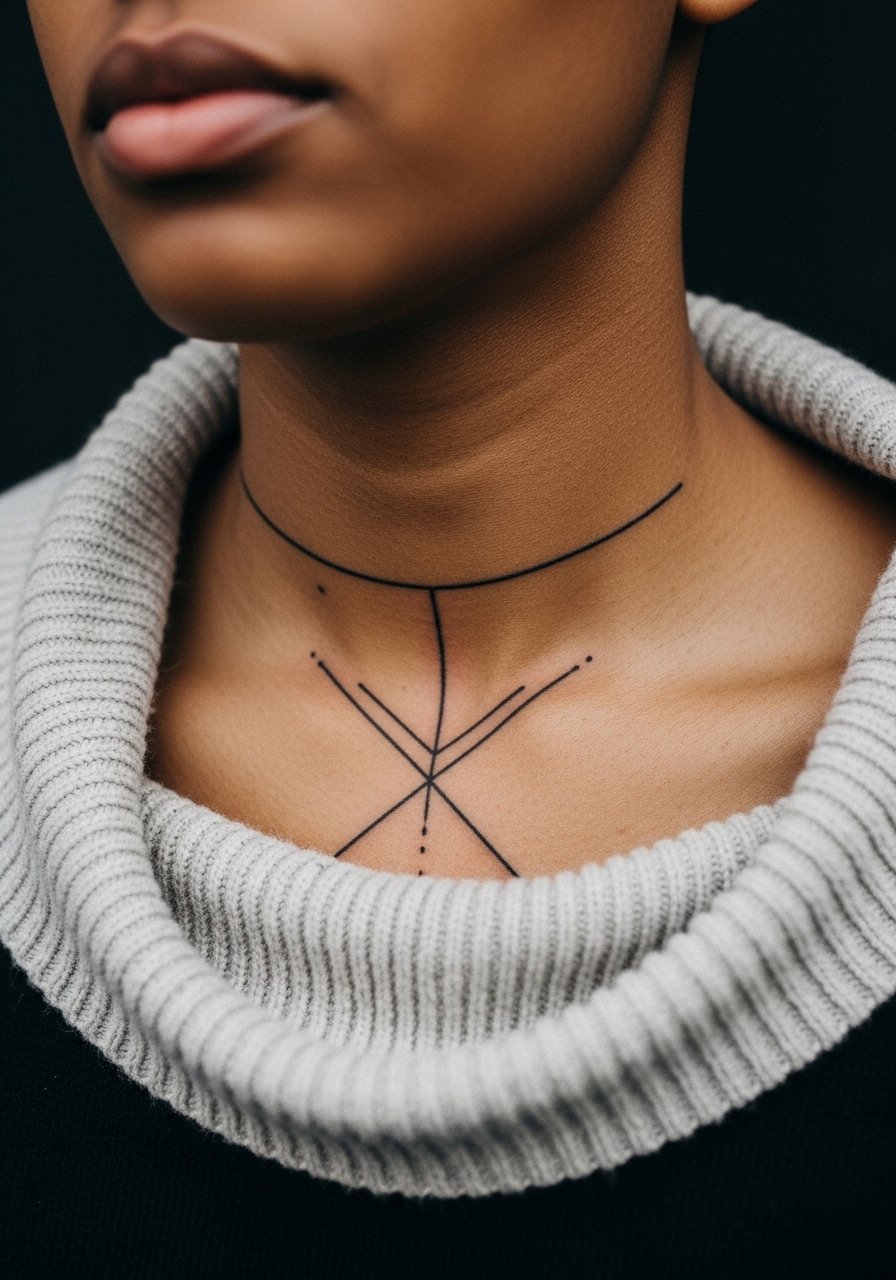
12. Small Geometric Chest Line Under Collarbone
A slim geometric bar or tiny pattern tucked under the collarbone requires careful placement to follow the bone. If placed over uneven tissue the lines can look off when you move. Request a transfer that sits when you breathe normally. The collarbone moves, so expect some discomfort during the session. For showing it off, a wide-neck sweater or open button shirt frames the area. Sessions are typically 30 to 50 minutes and clarity depends on initial spacing and sun protection after healing.
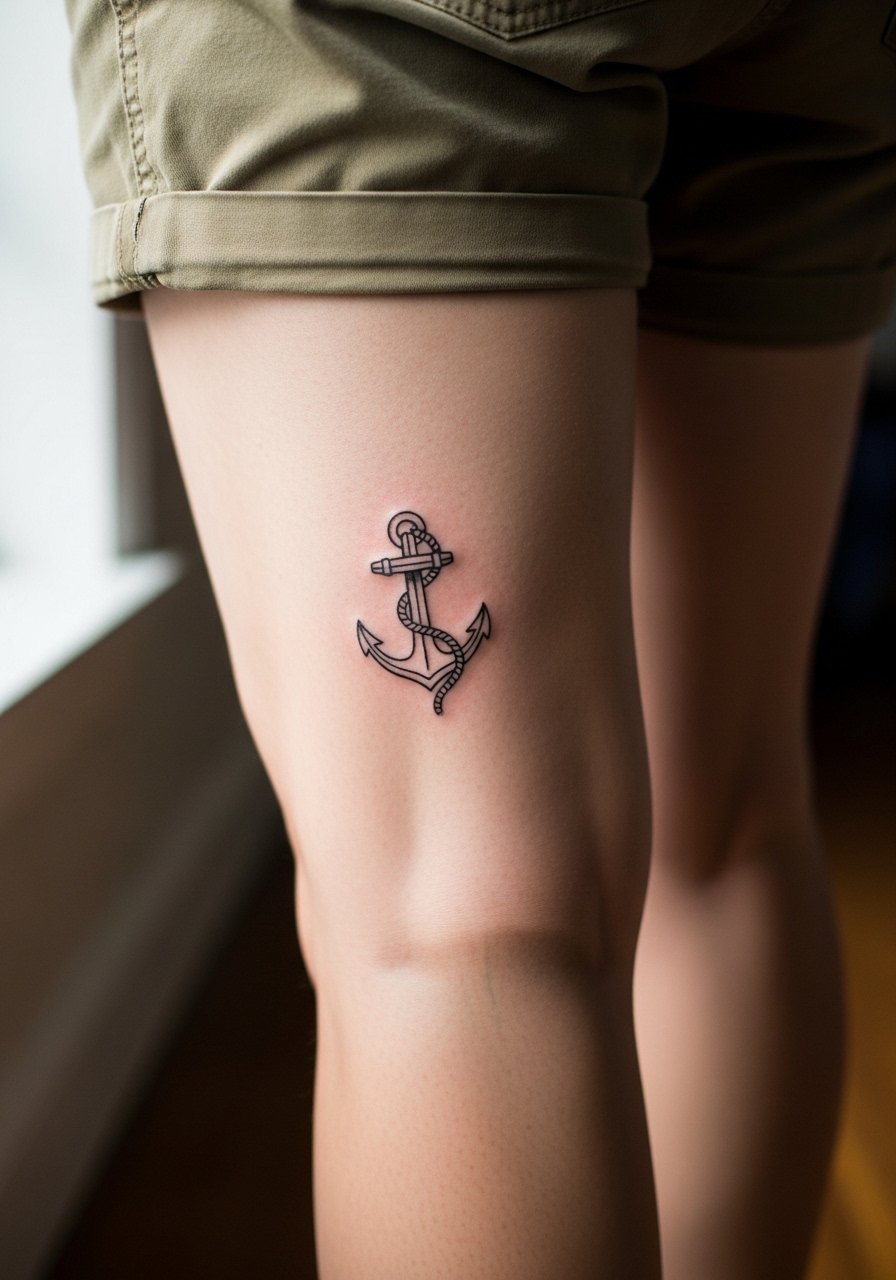
13. Fine Line Anchor on Calf
A small anchor on the outer calf sits vertically and keeps solid structure in long lines. The calf tolerates longer sessions and holds saturation well, so it is a reliable spot for delicate work. The main mistake is placing it too low where ankle movement rubs. Tell your artist you want it centered above the widest point of the calf to read in motion. For casual show-off looks, pair with rolled jeans or shorts. Expect a 30 to 60 minute session and strong longevity compared with hand or foot pieces.
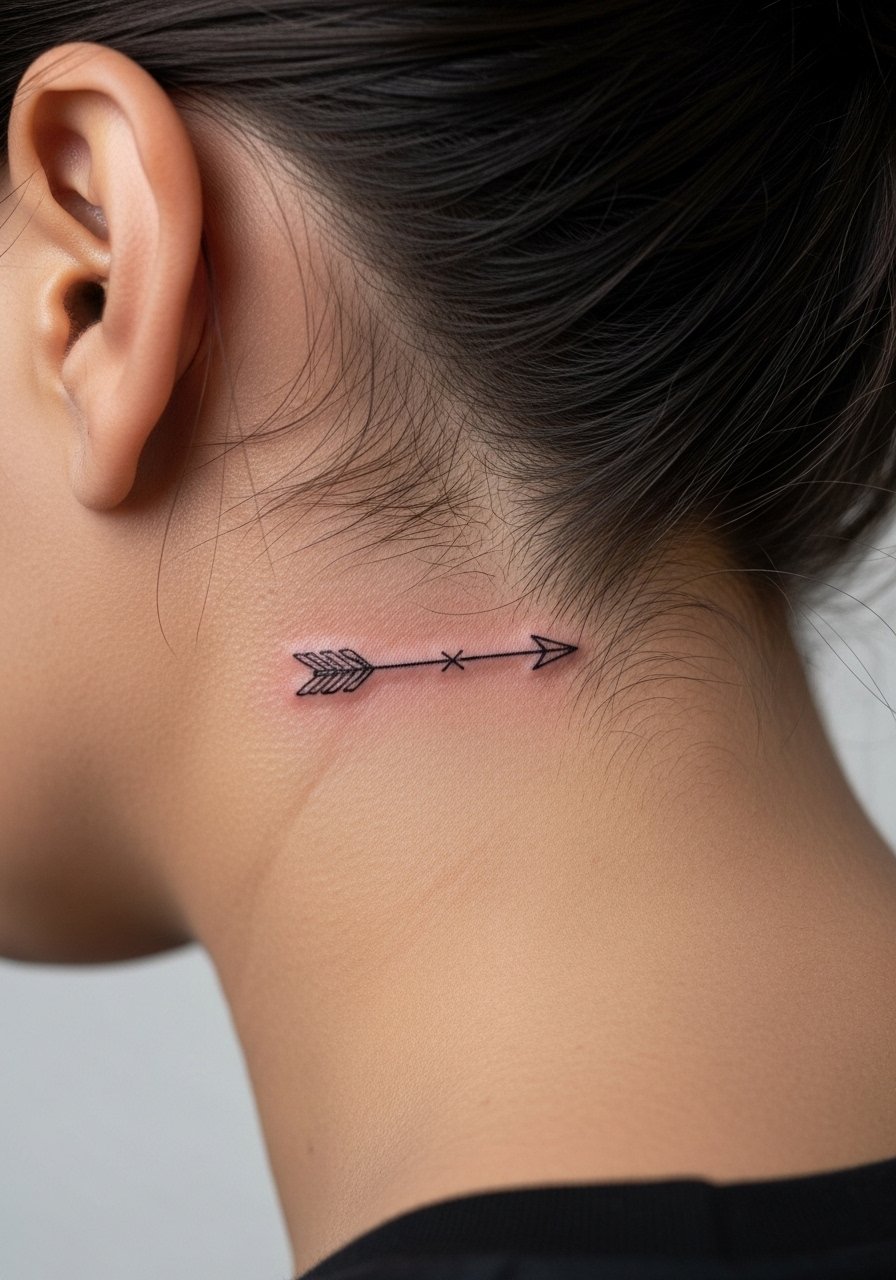
14. Micro Arrow Behind the Ear
A tiny arrow placed on the skin just behind the ear follows the hairline placement rules. For safety, describe it as behind the ear below the hairline on the neck so the image and consult are clear. The skin here is thin and artists often debate visibility versus longevity. One camp says the area heals unpredictably and lines can blur. The other camp says when done shallow and with spacing it holds fine. Wear hair pushed back and a soft headband for the session so the artist can place the stencil accurately. Sessions are short but demand precision.
15. Minimalist Script on Ribcage
A narrow, horizontal script across the ribcage reads bold while staying small. Rib tattoos age differently due to stretching and movement. Artists split into two camps. One group argues ribs blur lines within two years because the skin shifts. The other group says with proper depth and spacing fine line can settle well. Discuss both perspectives with your artist and ask to see healed rib examples from their portfolio. For the session, wear a cropped athletic top you can lift slightly so only the rib area is exposed. Expect higher pain and a longer session with possible touch-ups.

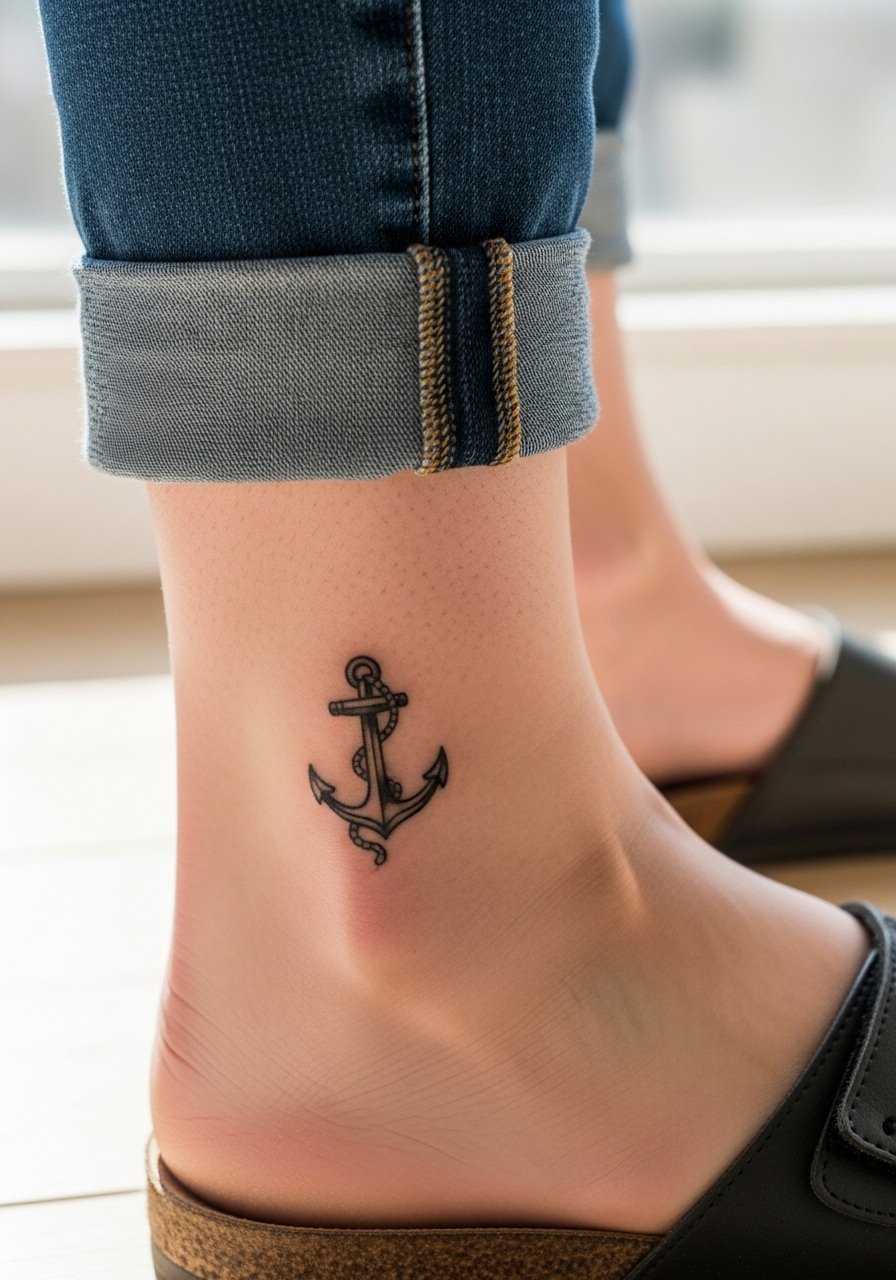
16. Tiny Anchor on Ankle Bone
A small anchor stamped near the ankle bone should avoid being too small over textured skin. Ankles experience shoe friction and moisture, so ask your artist for a slightly bolder outline than the tiniest reference. For the session, wear jeans rolled up and a pair of sandals to avoid rubbing the area during first week wear. Sessions are short and healing can be patchy if shoes press on the site. Expect a touch-up sooner than on the torso.
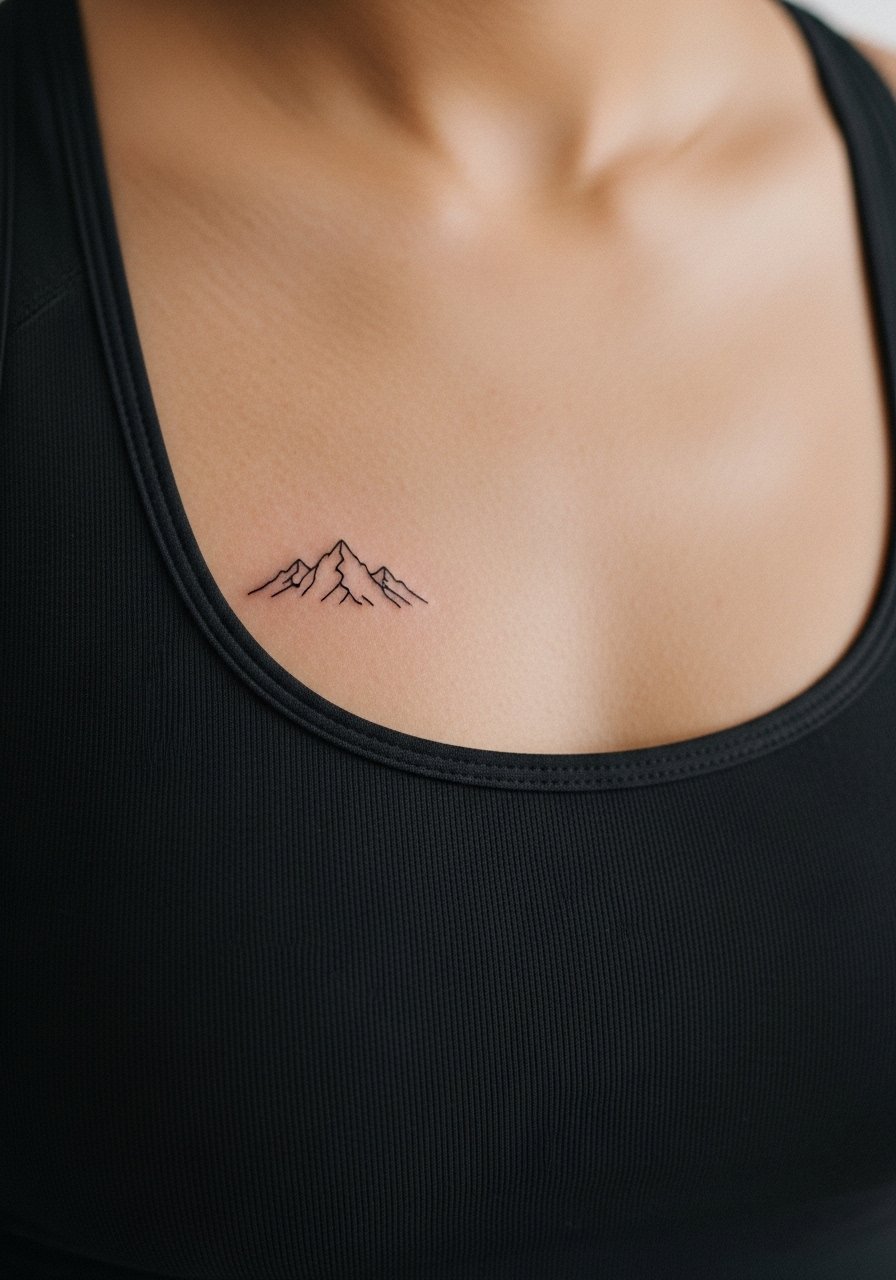
17. Single Line Mountain on Sternum Edge
A tiny mountain line at the edge of the sternum needs a clothing descriptor for the image and consult. Describe the image as the tattoo visible above or below a fitted sports bra so the artist understands exposure. The sternum area can be sensitive and moves with breathing, which affects line settling. For the session, wear a fitted sports bra or strapless top so only the sternum zone is exposed. Expect strong initial contrast and potential softening over time. Pain can be higher and touch-ups are not uncommon.
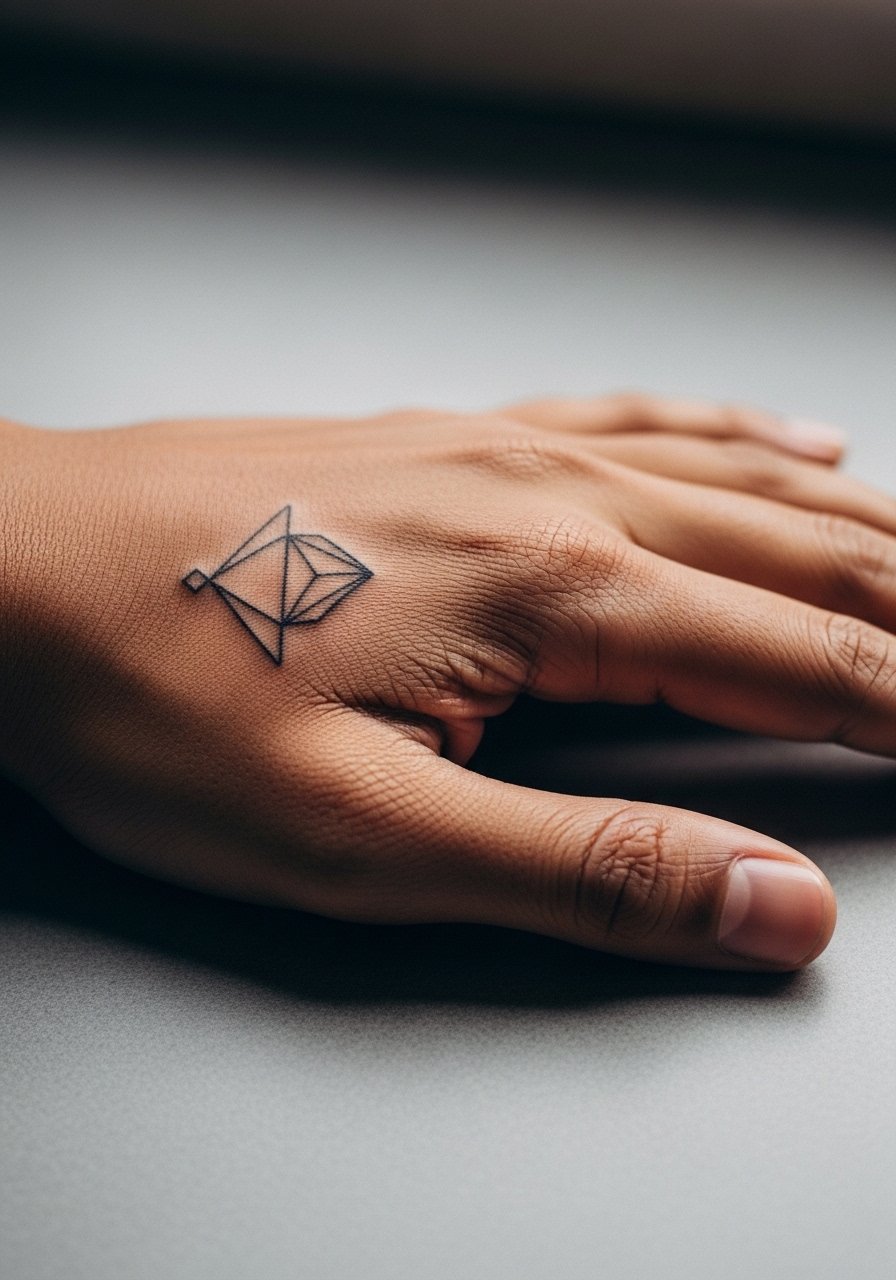
18. Tiny Geometric Tattoo on Hand Side
A compact geometric symbol placed on the side of the hand is bold for its scale. Hands are high-touch zones and the skin renews quickly, so expect earlier fading. The usual mistake is over-detailing. Ask your artist to simplify shapes and to place designs on flatter areas of the hand to reduce distortion. For showing it off, keep accessories minimal and consider a simple leather ring or band that does not rub the tattoo. Expect quick sessions but frequent retouch windows for hand pieces.
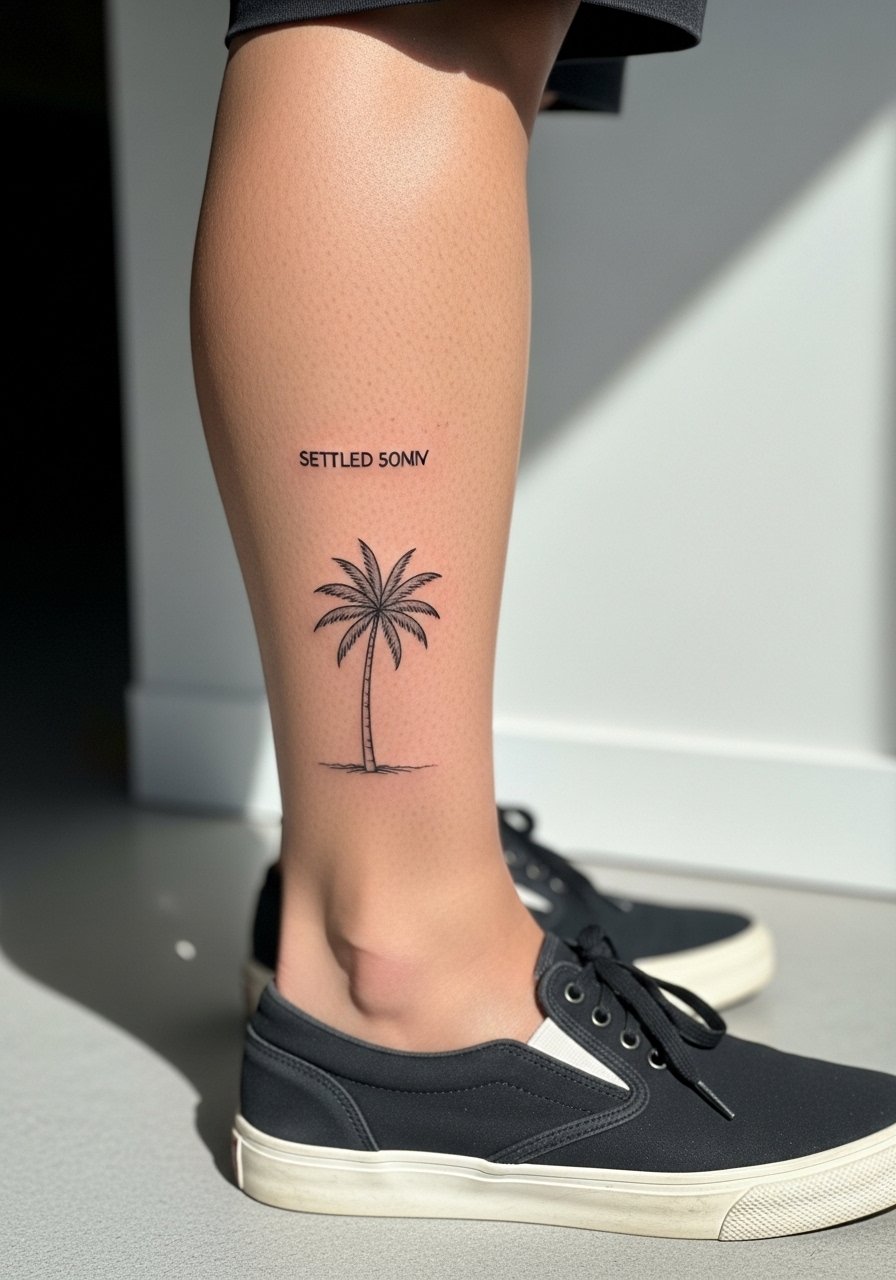
19. Minimal Palm Tree on Lower Calf
A slim palm tree silhouette on the lower calf works with longer muscle stretches and keeps the design readable. The lower calf tolerates movement and sun better than feet. The common mistake is placing the trunk too thin for repeated tensile stress. Ask for a modest trunk thickness and for the fronds to be simplified. For casual summer shows, pair with low-cut sneakers or shorts so the tattoo reads without competing garments. Sessions usually last 30 to 60 minutes and age reliably.
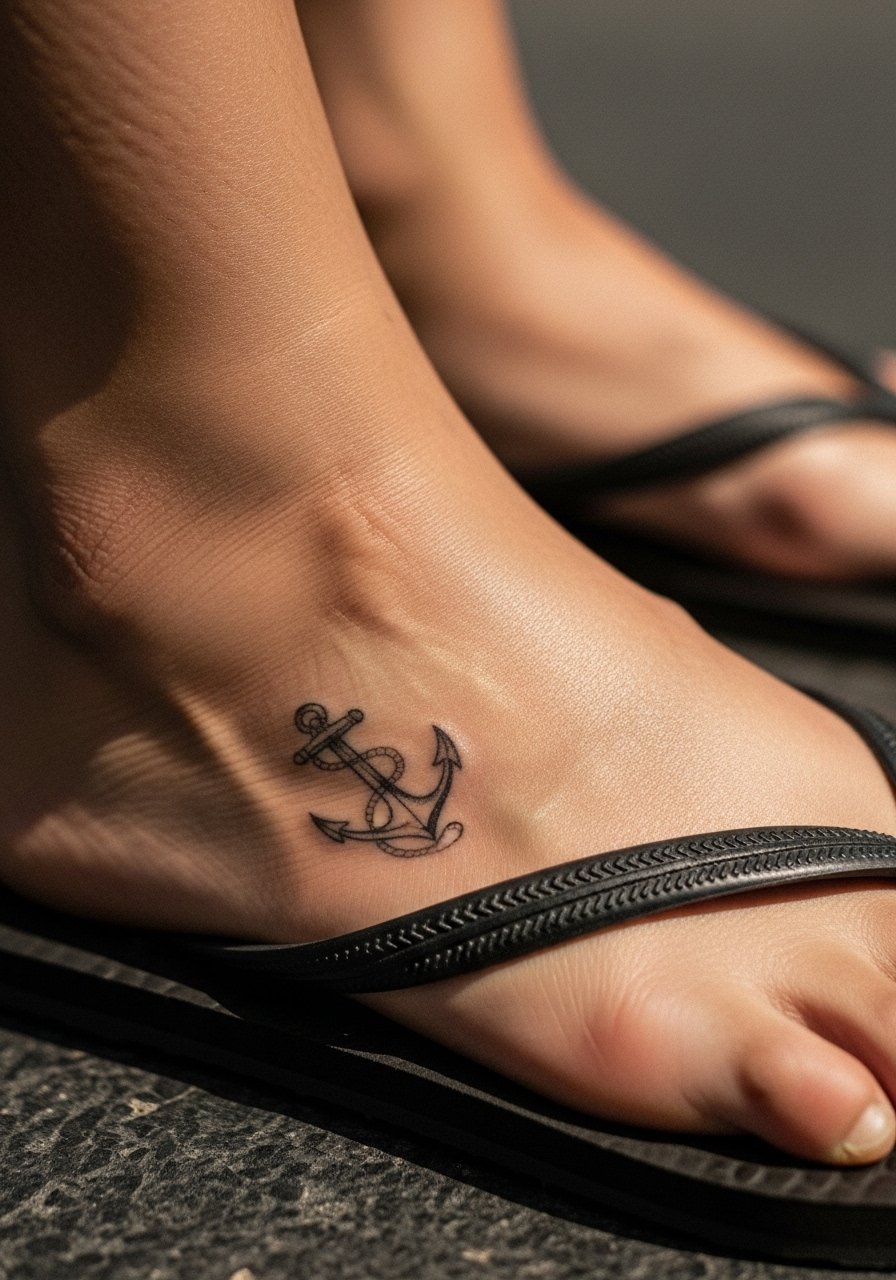
20. Small Anchor on the Side of the Foot
A tiny anchor on the side of the foot looks delicate but requires care. Foot skin sheds and footwear causes friction. Ask your artist to place the anchor on a slightly broader plane on the foot and to keep the trunk line a bit stronger. For the session and early healing, wear sandals or slip-ons and bring a pair of flip-flops to avoid pressure. Expect a short session and a likely touch-up after several months once you see how shoes affect ink retention.
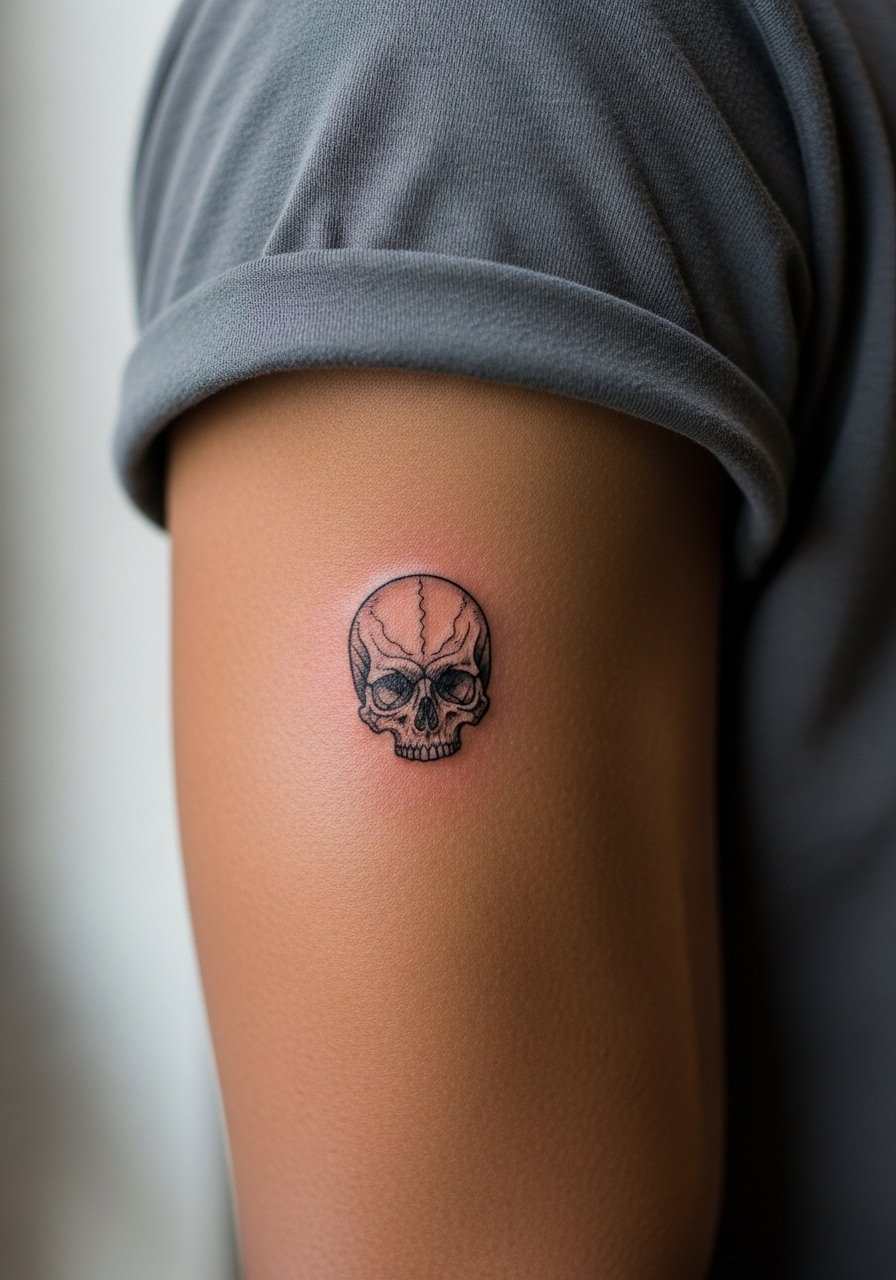
21. Single Needle Line Skull on Upper Arm
A tiny, single-needle skull on the outer upper arm reads graphic and small. The upper arm holds detail well, but micro skulls can lose inner shading. Ask your artist to focus on a clear contour and avoid minute internal stippling that blurs. For showing it off casually, roll sleeves or wear a short-sleeve cotton tee. Sessions are typically 45 minutes and the piece will keep its silhouette long term with minimal touch-ups.
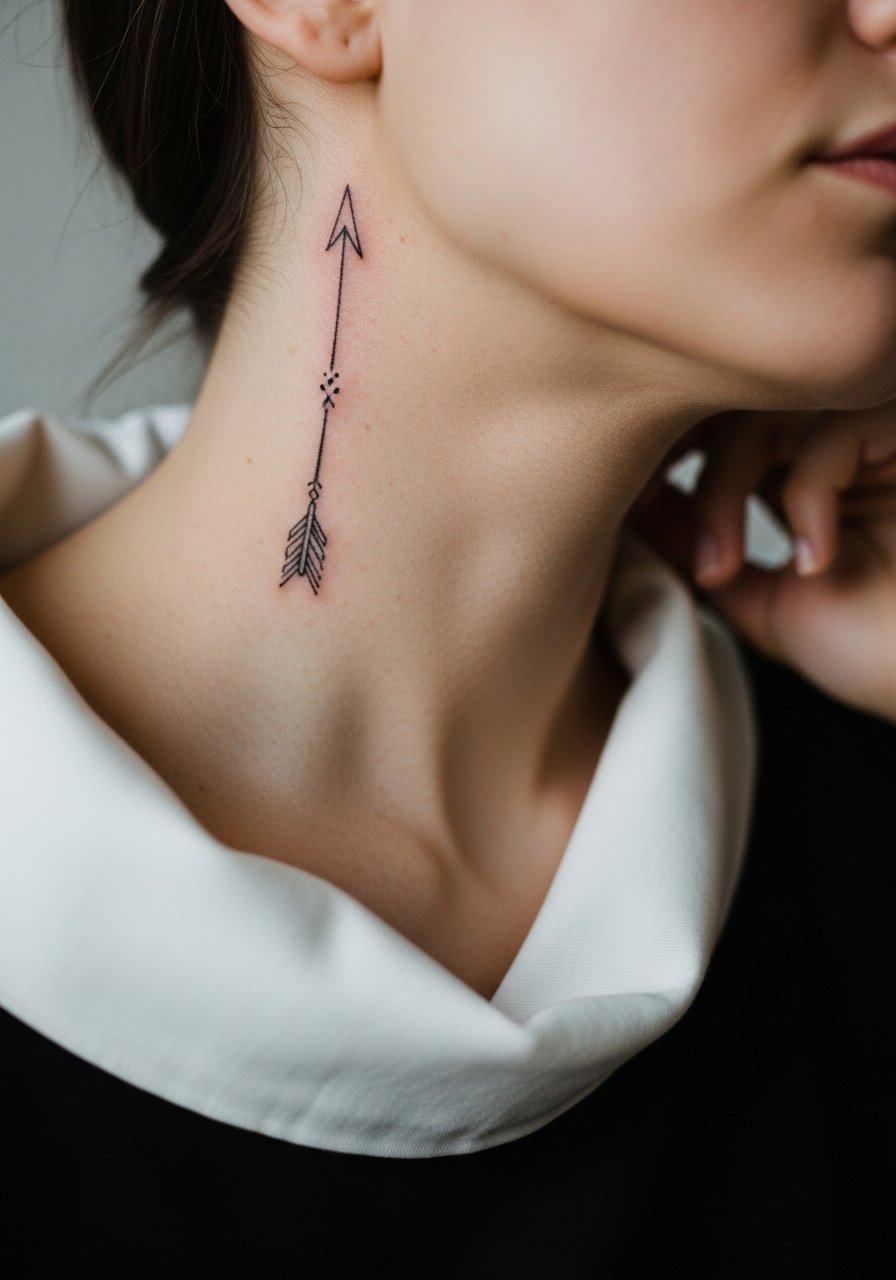
22. Tiny Arrow on the Side of the Neck
A slim arrow on the side neck must be pictured with clothing to avoid unintended exposure. Ask to show it with a wide-neck shirt collar so only the neck area is visible. Neck skin can warp with movement and sun exposure. Discuss longevity openly with your artist because some prefer bolder lines here. For the session wear a wide-neck shirt to reveal just the side neck. Sessions are short but the area can require touch-ups sooner than torso placements.
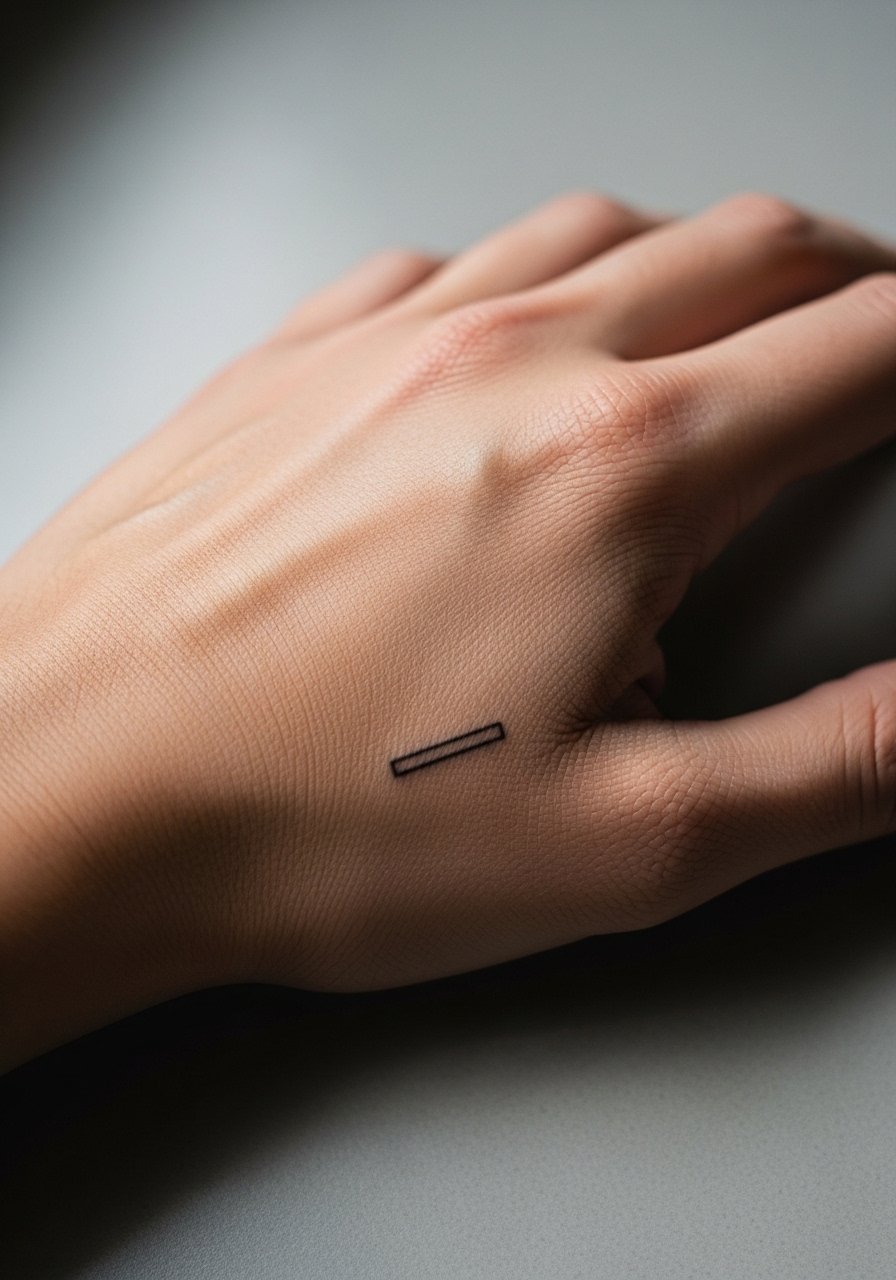
23. Tiny Bar on the Heel Edge of the Palm
A thin bar placed on the heel edge of the palm is subtle and tactile. Palms experience heavy abrasion which makes longevity an issue. The common mistake is expecting palm lines to last like forearm lines. If you want permanence, choose a slightly bolder bar and accept more frequent touch-ups. For the session, avoid lotions and keep the hand dry. Sessions are brief and the result can look crisp for weeks before gradual fading, unlike other skin zones.
24. Minimal Spine Line Along the Finger
A tiny vertical line along the finger side creates a minimalist column look. Fingers heal uniquely because of constant movement and washing. Ask for a low-placement on the finger to avoid knuckle wear and request a slightly thicker line so the column reads at a glance. For showing it off wear a minimalist ring that does not sit over the tattoo. Sessions are brief but budget time for touch-ups as the skin renews more rapidly here.
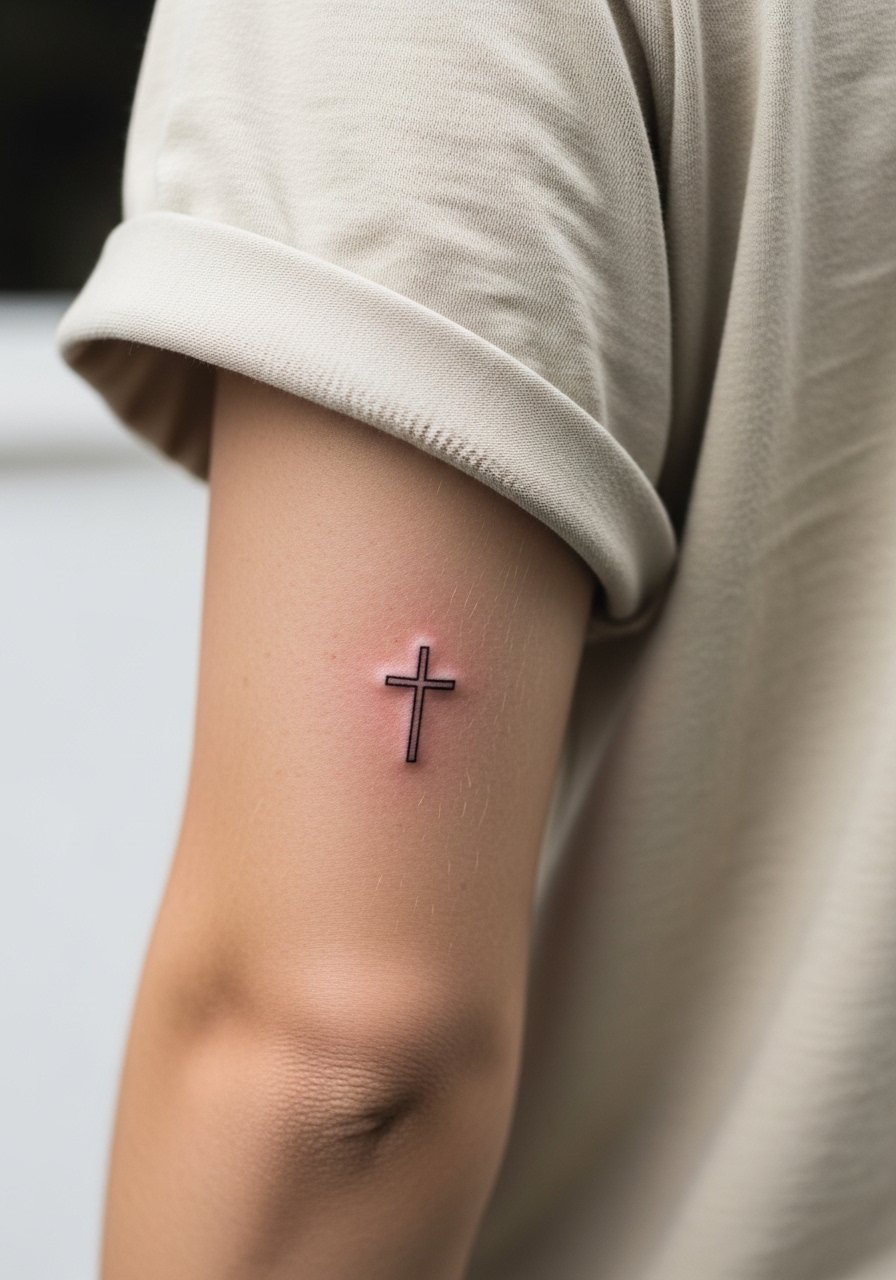
25. Tiny Cross on the Back of the Arm Near Elbow
A small cross placed just above the elbow crease on the back of the arm follows muscle movement. Avoid placing too close to the crease or the symbol will distort when the elbow bends. Ask for an offset that sits on the flatter tricep area. For the session wear a loose short-sleeve tee so the artist can easily access and keep the arm relaxed. Sessions last 20 to 40 minutes and this area holds linework reasonably well.
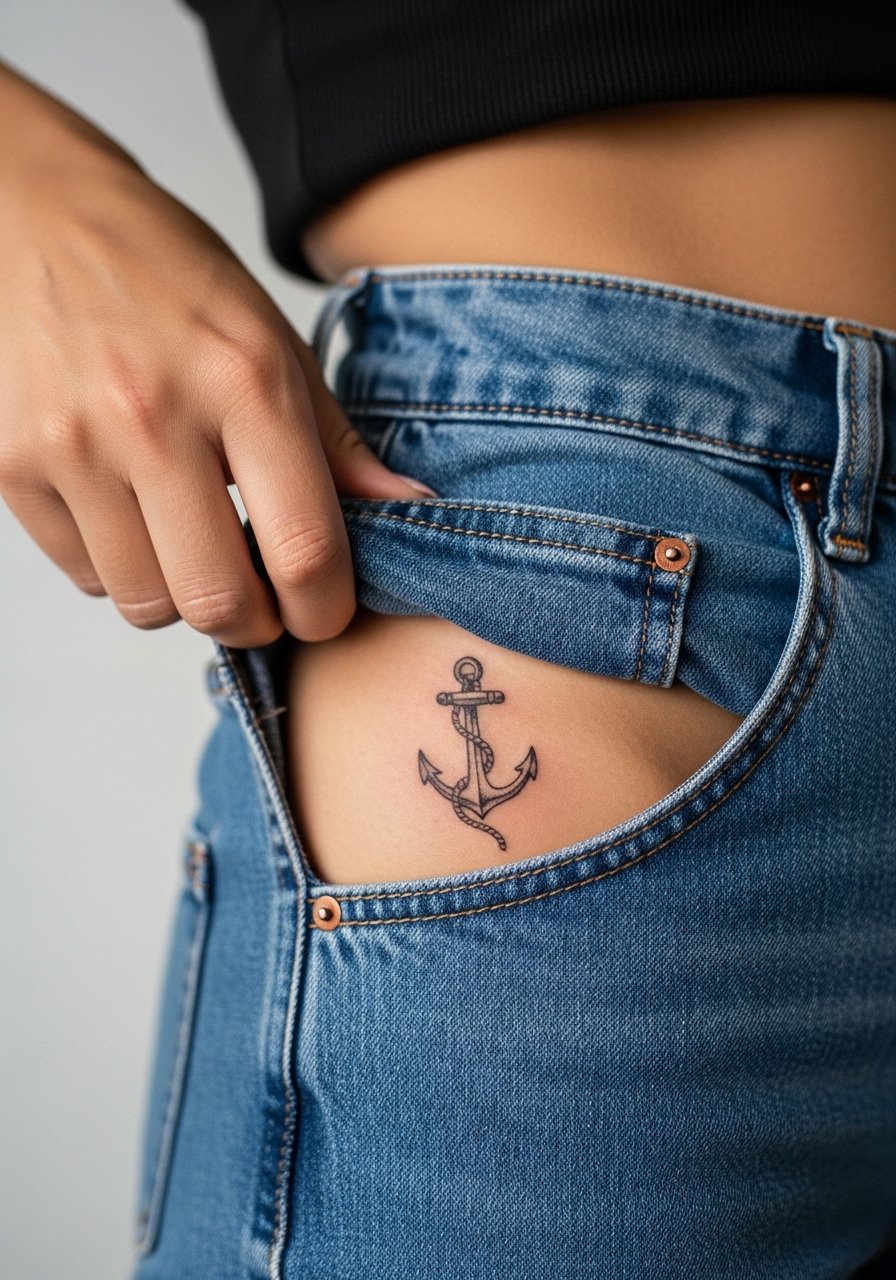
26. Fine Line Anchor on the Hip
A petite anchor on the hip must be framed so the image shows only the hip area. For the prompt and consult, describe the subject in high-waisted denim or a swimsuit bottom so the artist sees the exact exposure. Hips move with body shape and clothing lines. Request a slight increase in line weight and ask about how the piece behaves with weight changes. For the session wear high-waisted jeans you can lower slightly or a swimsuit bottom so only the hip is exposed. Expect medium pain and good long-term readability with proper placement.
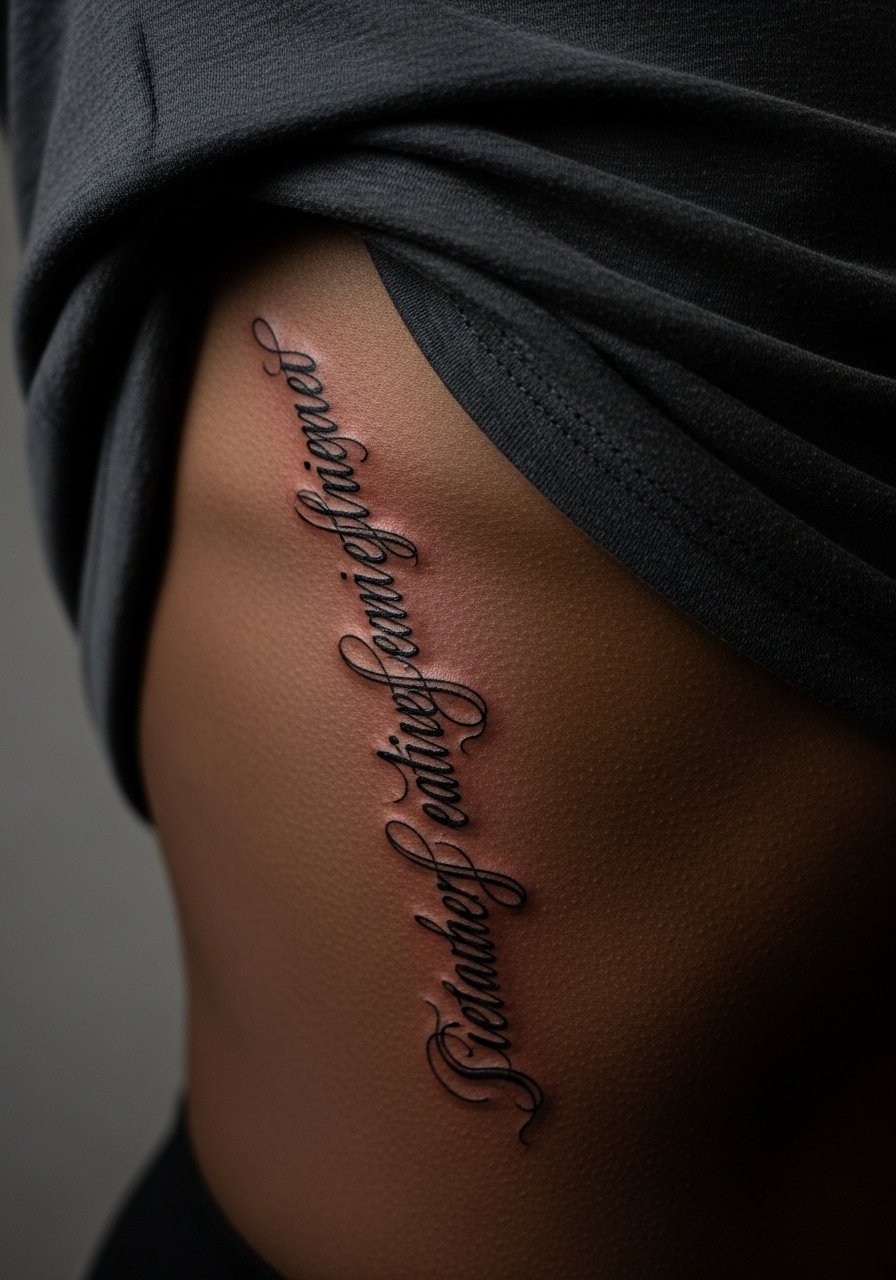
27. Slim Script Along the Side Rib
A narrow script following the rib contour looks elegant but demands spacing. The ribcage causes stretching during breathing and can soften tiny script if letters are too close. Ask for letter spacing that allows breathing room and request a transfer check while you are sitting and standing. For the session wear a cropped tee or wrap skirt you can adjust to expose only the rib zone. Expect a higher pain level and a longer session. Touch-ups are common for rib work if minute spacing was used.
Frequently Asked Questions
Q: How long do very fine single-needle pieces typically hold before needing a touch-up?
A: From what I have seen, very fine single-needle pieces often need a touch-up around the two to four year mark. Placement matters a lot. High-friction areas like hands and fingers need earlier touch-ups than upper arms and calves. Also keep sun exposure low to stretch that window.
Q: Are rib and sternum fine lines worth it if the pain and touch-up risk are higher?
A: It depends on how much you value placement over longevity. Rib and sternum spots can look striking and intimate. The trade-off is higher pain and a greater chance of softening. Talk through the two camps on this with your artist and ask to see healed photos from their portfolio before committing.
Q: What clothing should I wear to a collarbone or sternum session to make the process easier?
A: Wear items you can pull aside without exposing your whole torso. For collarbone, a wide-neck or open-collar shirt works. For sternum, a fitted sports bra or bandeau that reveals only the area is best. Those choices make positioning easier and keep you comfortable during longer sessions.
Q: Do hand and finger tattoos affect professional opportunities?
A: In some industries visible hand tattoos still matter. If you are concerned, consider placements on the inner forearm or side of the wrist that can be covered with a watch or sleeve. Also ask artists for placement options that sit lower on the finger or which can be concealed by jewelry.
Q: How should I find an artist who understands fine line longevity without naming anyone directly?
A: Use discovery pathways like local shop directories, event listings for conventions, and hashtag searches that show healed photos. Ask for healed work specifically, not fresh photos, and request references from clients who had similar placements. A short conversation about their touch-up policy and healed examples tells you more than a flashy portfolio image.
