
Fine line hammerhead tattoos are everywhere online right now, but what holds up and what needs a touch-up at year two are two different conversations. I see three repeat problems at consultations: delicate wrist lines that wash out, surprise shop minimums that blow a small tattoo budget, and forearm outlines that distort after body changes. Read on for 17 clean minimalist hammerhead options and the practical details to book the right one.
1. Minimalist Hammerhead Outline on the Inner Forearm

I recommend this when you want visibility without bulk. Ask your artist for a two to three millimeter line weight that reads at two to four inches, and request the stencil be checked under normal daylight before needles touch skin. Common mistake is asking for lines so thin they look delicate fresh and then mostly disappear after six to twelve months. Expect one session under an hour, low to medium pain, and a touch-up at year two if you sunbathe a lot. For showing it off, a rolled-cuff chambray shirt frames inner-forearm work without stealing attention.
2. Fine Line Hammerhead with Wave Accents on the Wrist
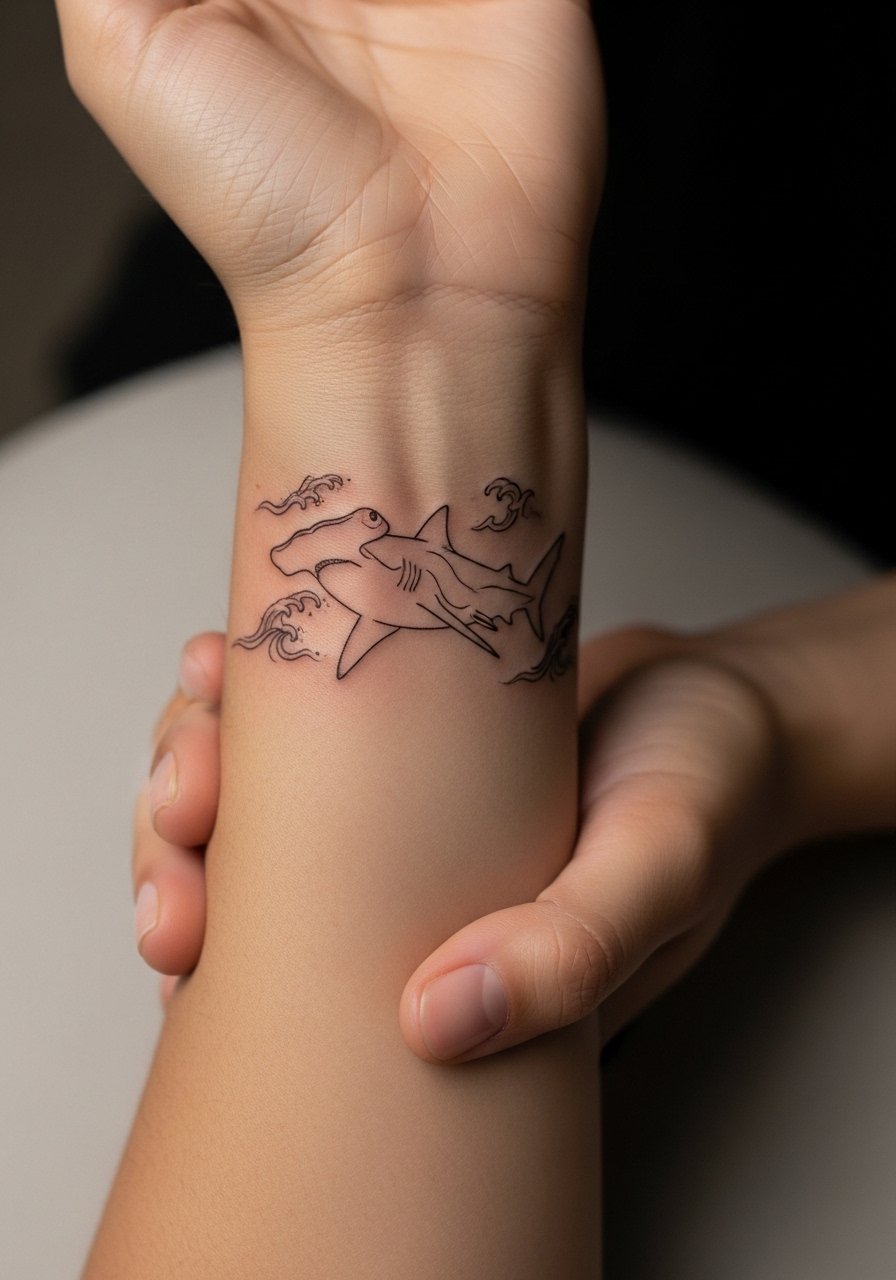
Wrist pieces look delicate but face friction from watches and sleeves, so tell your artist you want slightly bolder anchor lines around the fine details. Artists split on this approach. One camp says fine line can fade fast on wrists and needs scheduled touch-ups. The other camp argues that with slightly deeper placement and careful spacing, fine line settles beautifully. Name both camps in your consultation and ask where your artist stands. Session time is short, pain is low to medium, and expect a touch-up inside one to three years for most people.
3. Geometric Hammerhead Silhouette on the Ankle

Ankle silhouettes solve visibility on a curved area because the geometry reads well even if skin stretches or clothing nudges it. The common mistake is packing too many tiny angles into a three-inch piece. Tell your artist to simplify negative space so lines have room to breathe. Pain is low to medium for most. For festival-ready wear pair the piece with strappy summer sandals, try a strappy flat sandal that keeps the ankle visible and fuss-free.
4. Micro Hammerhead Dotwork on the Finger
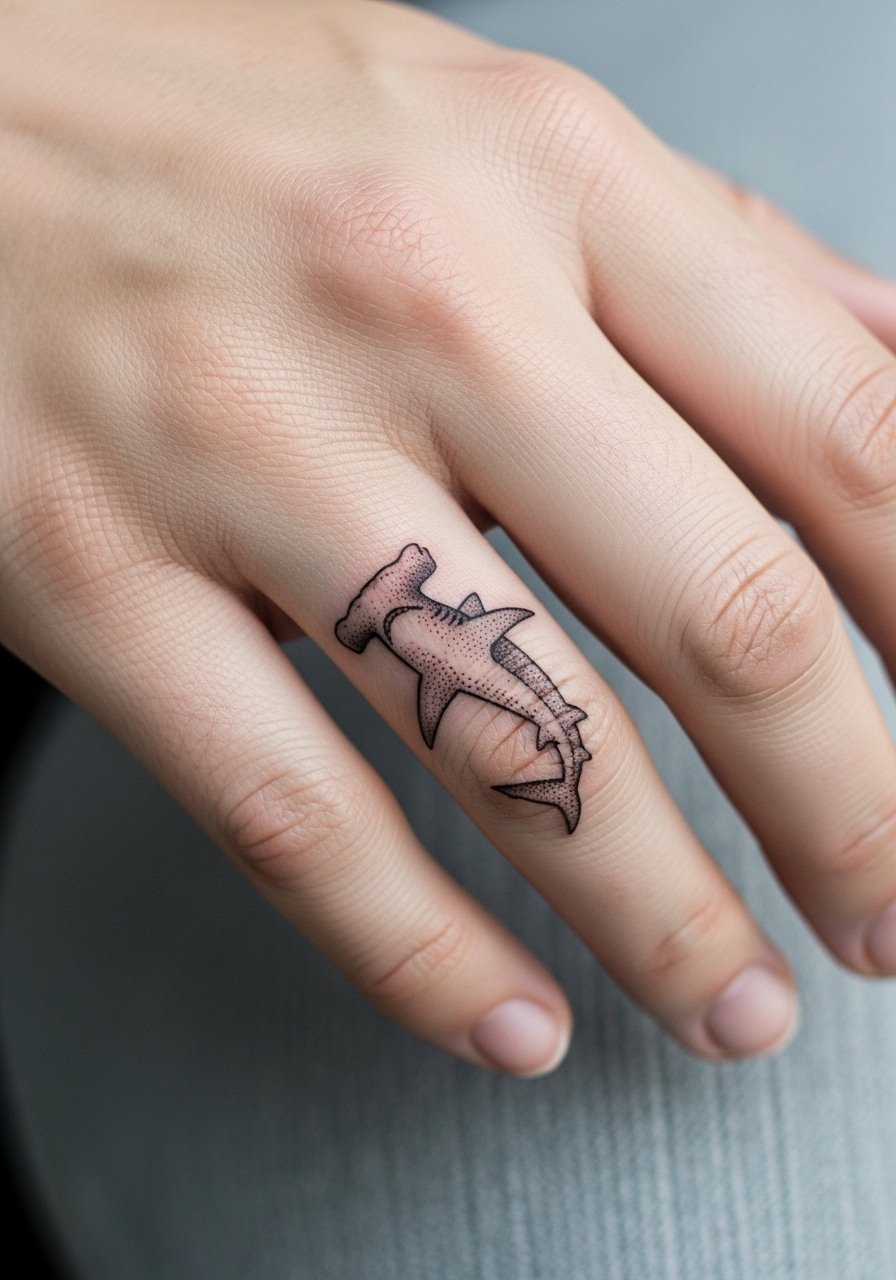
Finger micro work is personal and intimate because regular hand washing and friction speed fading. If you want dots, ask for clustered stippling and a slightly thicker outline so the silhouette survives daily wear. A common error is expecting the same longevity as an upper-arm piece. Pain is low but healing needs patience; finger tattoos often need touch-ups at year one or two. This is a great choice for someone who wants a small constant emblem, but accept periodic maintenance and occasional re-inking.
5. Negative Space Hammerhead on the Collarbone
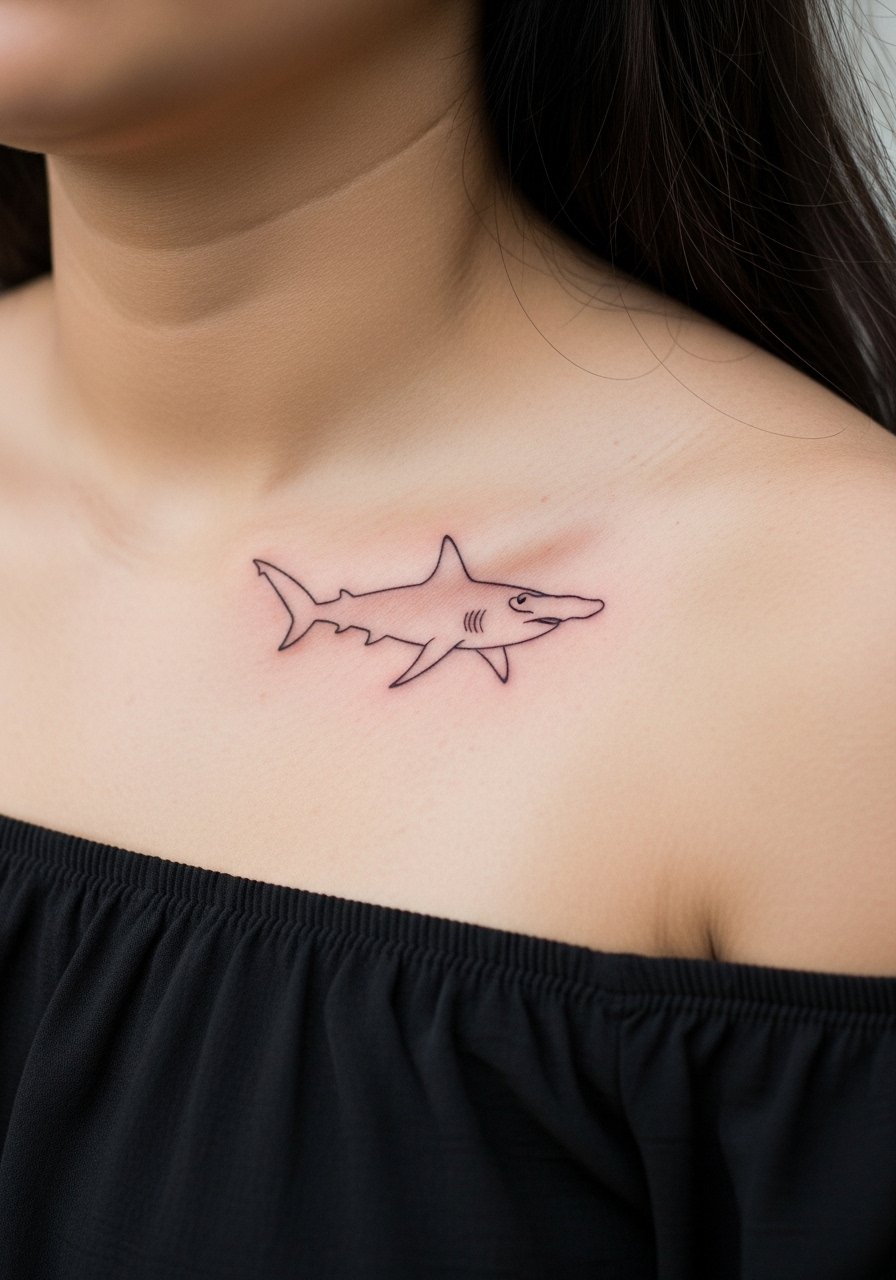
This composition uses skin as the shape, so the outline around empty space needs clean, steady linework. Ask for slightly wider spacing inside the negative area so it does not look like a patch of missing ink as it heals. Pain is low for most, and a strapless session setup works best. To show it off, try an off shoulder linen blouse that sits off the clavicle and lets the negative space read with jewelry.
6. Single-Needle Hammerhead Profile on the Ribcage
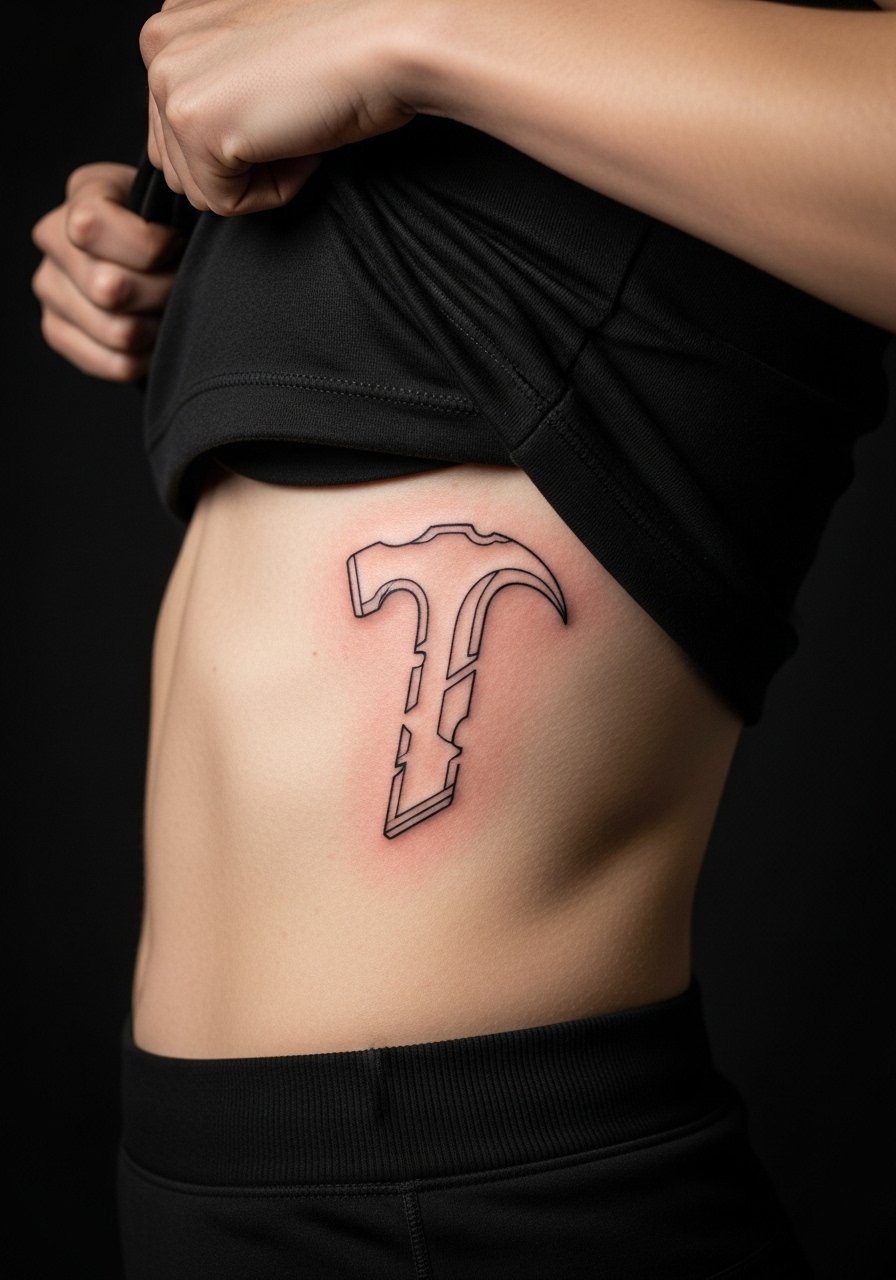
Fair warning: ribs are in the higher pain range for most people. Single-needle work looks incredible in a vertical five-inch profile, but the big mistake is asking too much detail in too small a space. Artists are split on fine line on ribs. One group says the stretch and breath of the torso blurs thin lines within two years. The other group believes careful needle depth and spacing keep fine work readable long term. If you choose ribs, plan for 1 to 2 sessions and discuss touch-up expectations explicitly. Wear a top you can lift or pull aside easily; numbing is an option many people use here.
Studio Day Picks
The wrist and ribcage pieces above demand different prep than forearm shapes, so a few session essentials make the first 24 hours smoother.
-
Stencil transfer paper kit. Lets you test exact placement on the skin before the needle work begins, which helps with forearm and collarbone designs above.
-
Topical numbing cream. Apply as directed before a sensitive ribcage or inner-bicep session to ease anxiety and keep you still.
-
Thin protective film roll. Useful for finger and wrist tattoos that see constant washing and friction during the first week.
-
Fragrance free gentle body wash. Use this for rinsing healing pieces to avoid irritation that can dull fine line edges.
-
Aquaphor healing ointment. A thin layer during the first 48 hours helps keep moisture in without burying tiny line channels, especially on delicate wrist work.
7. Abstract Hammerhead with Hammer Motif on the Calf

Calf pieces can run larger and still read minimalist, which is why the hammer motif works here. The main mistake is forcing heavy detail into a narrow panel. Request bold architectural lines and a working height of about six inches so the shape elongates the leg rather than crowding it. Pain is moderate and healing is straightforward. When you want to show this off, a high low midi skirt or rolled slim joggers keeps the calf visible without fuss.
8. Minimalist Hammerhead Eye Focus Behind the Ear
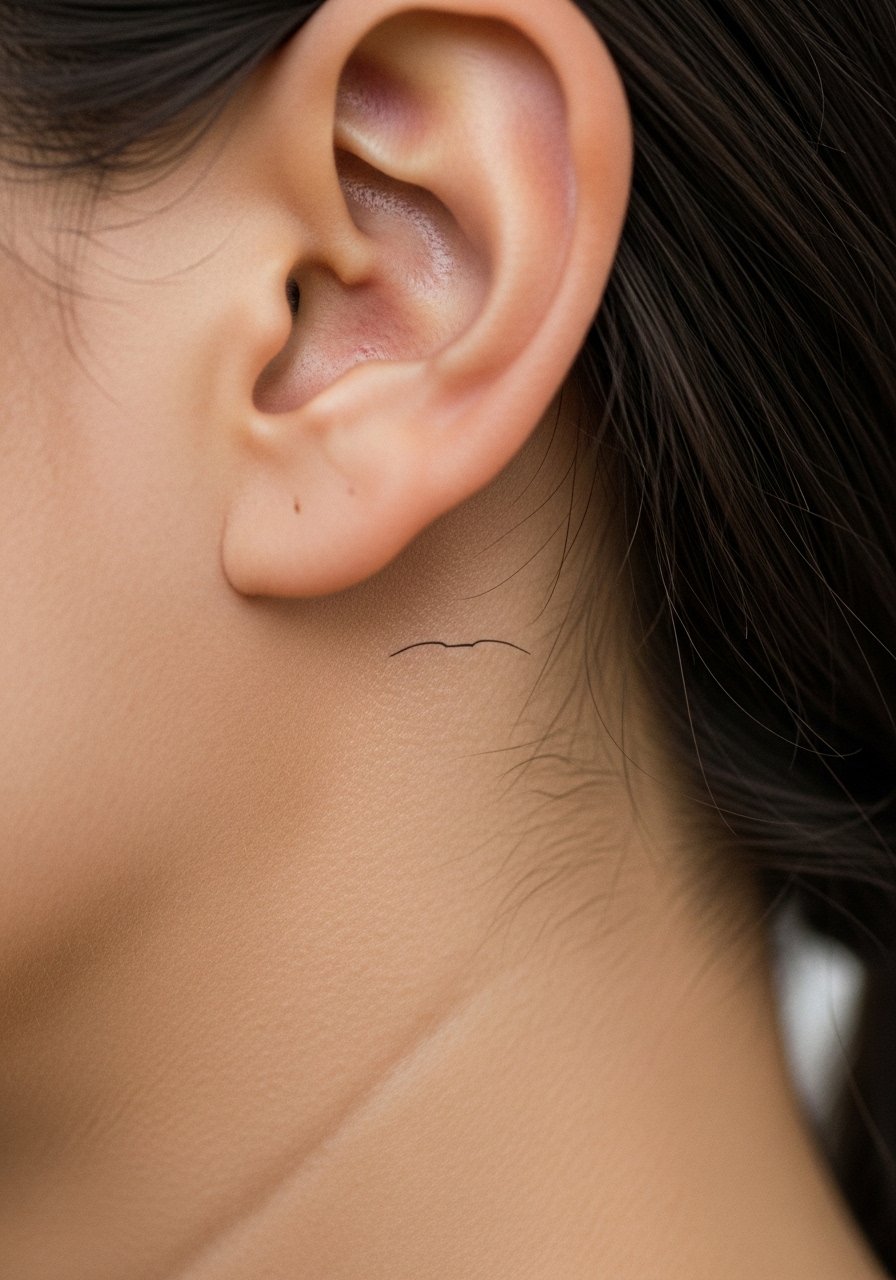
Tiny marks behind the ear are impulsive and private. The common mistake is asking for excessive detail in a 1.5-inch area, which blurs quickly. Ask for a single-point focal dot and a short, tapered line to convey the eye without density. Healing is quick but requires keeping hair away for the first few days. Sensitive placement note: this area needs a gentle, experienced touch and a clean studio setup because visibility and cleaning are slightly more awkward than an arm piece.
9. Hammerhead Shark Fin Only on the Shoulder Blade
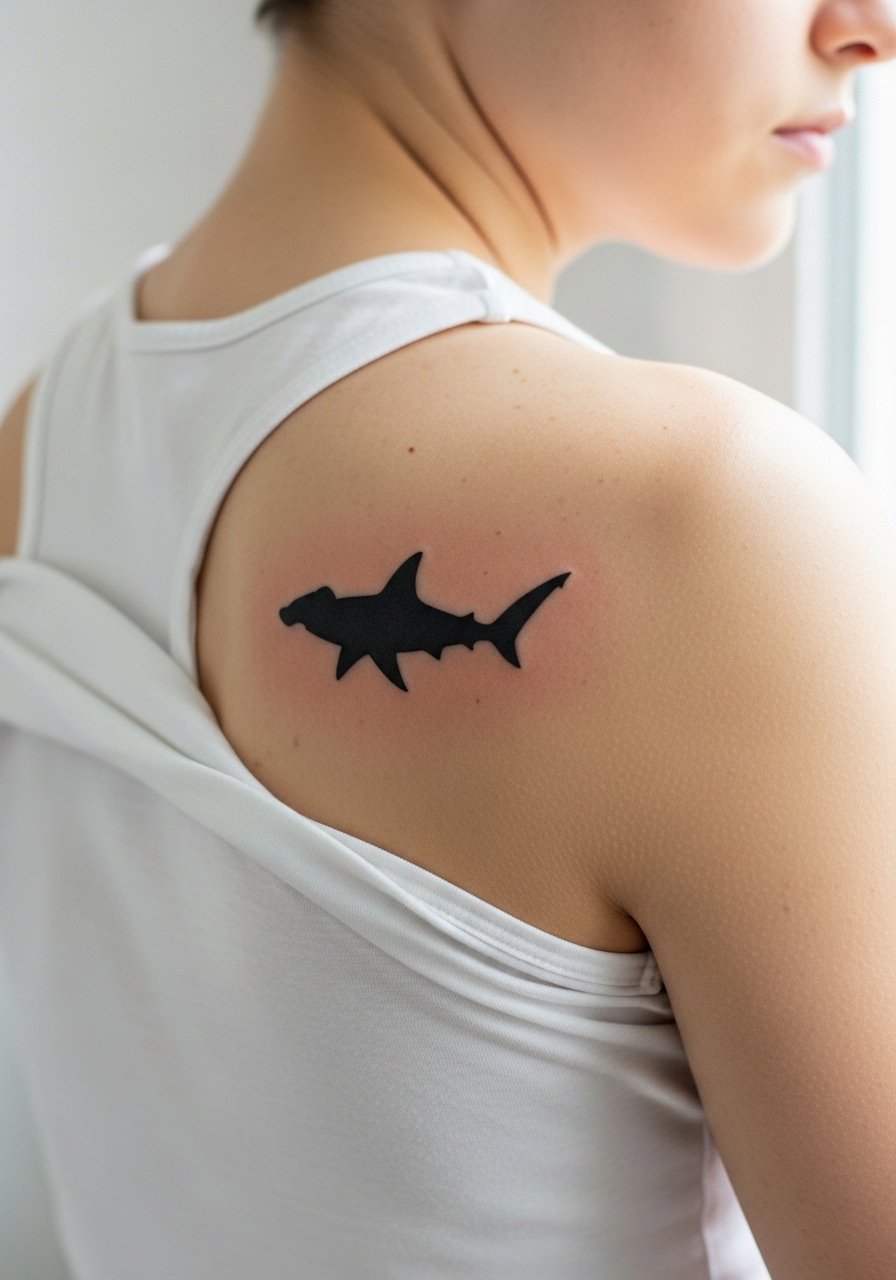
A fin-only silhouette solves coverage problems while keeping a strong shape under clothing. The error is overfilling the fin so it reads as a blotch on darkening skin. Tell your artist you want a three by four inch silhouette with a clean top edge and tapered base. Pain is low and it hides comfortably under shirts. Pair this with a sleeveless racerback tank for summer shows without shoulder straps obscuring the piece.
10. Fine Line Hammerhead Swimming on the Thigh
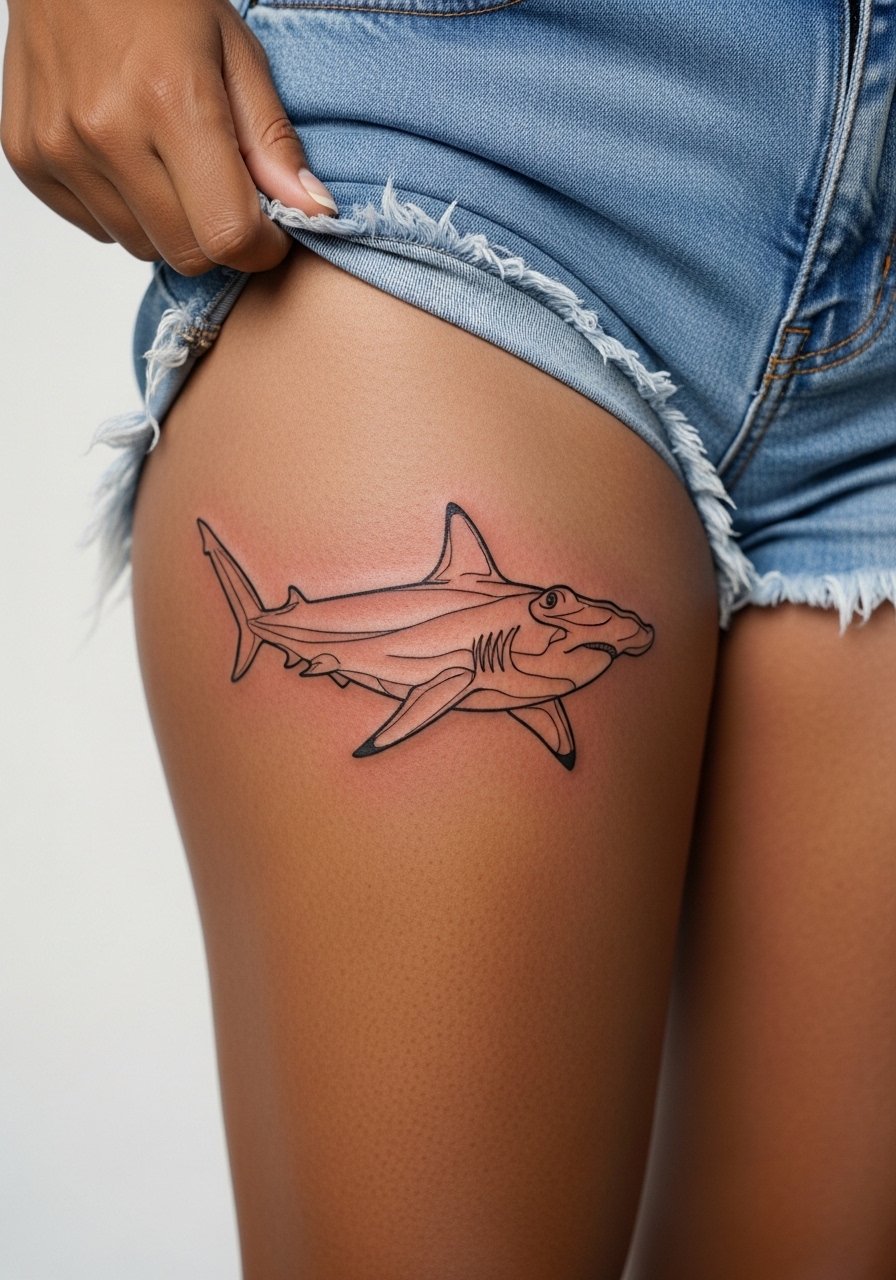
Thigh pieces age well because the skin there moves less aggressively than arms. The trick is matching the line flow to muscle direction so the shark appears to swim with movement. A runner or athlete will want the lines to contour muscle, not fight it. Ask for five-inch length and directional flow lines. Pain is medium for most people and healing is easy with loose shorts. For showing the design, a pair of high waisted denim shorts keeps the artwork visible and comfortable.
11. Blackwork Hammerhead Headshot on the Bicep
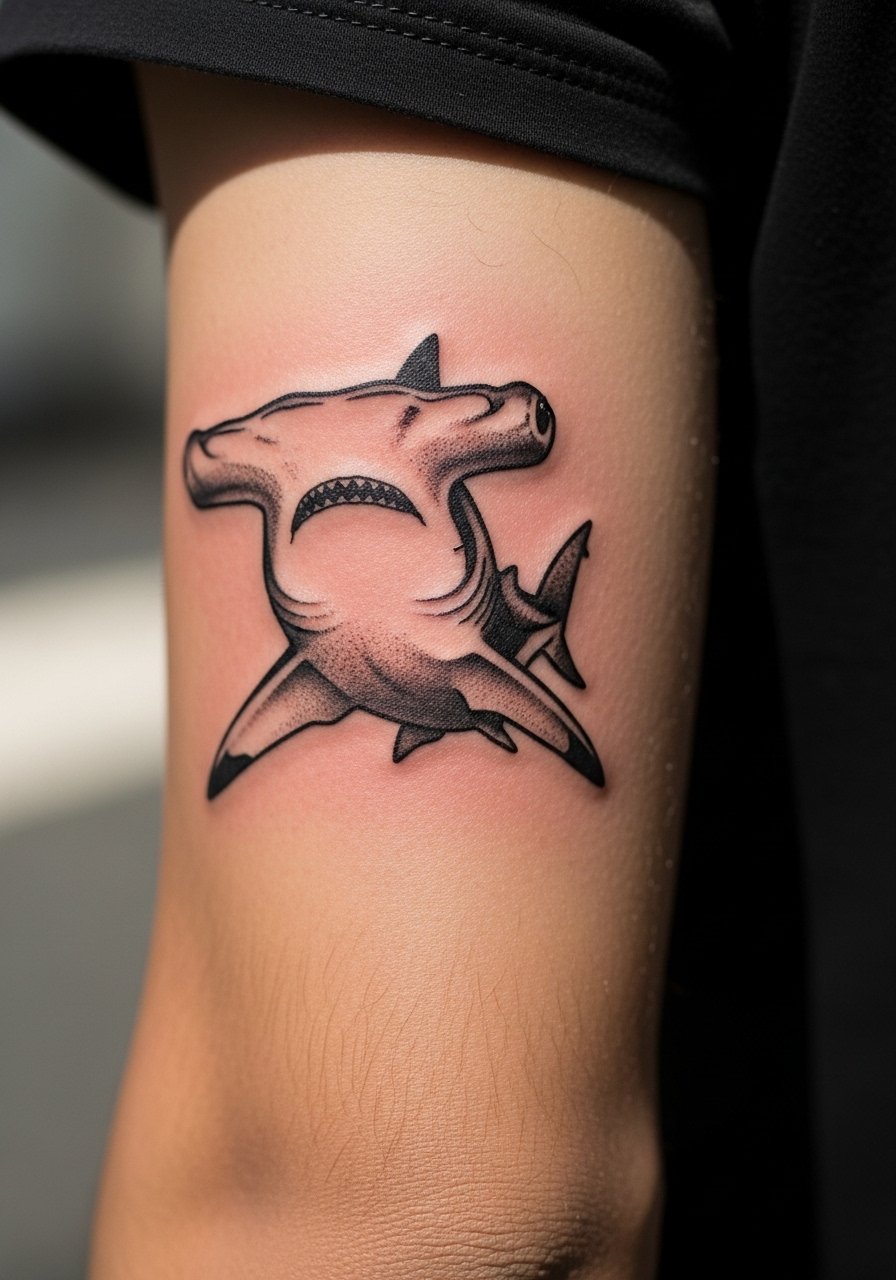
Biceps are great for bold blackwork because the skin takes saturation well and the area can show without fuss. The usual mistake is applying heavy black without considering curvature, which can look warped when the arm flexes. Ask for mockup photos with the arm both relaxed and flexed. Session time is usually a single visit for a four-inch headshot, and touch-ups are uncommon so long as saturation is even.
12. Ornamental Hammerhead Frame Along the Spine
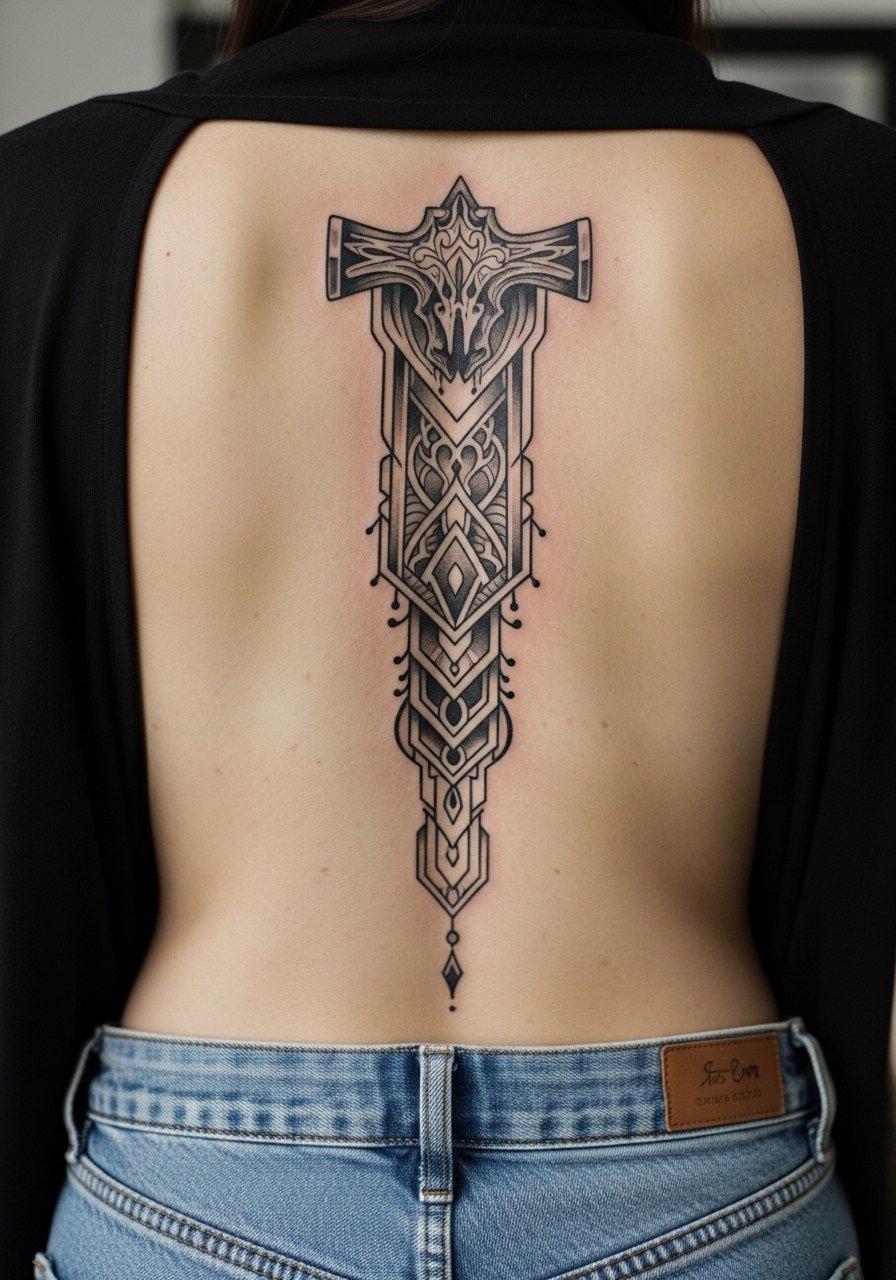
Vertical ornamental frames play to the spine's symmetry and give a structured feel. The common error is packing repetitive filigree too tight, which blurs in years of wear. Ask for spacing between patterns and a tapered top and bottom so the frame breathes. This placement often needs two sessions for a six to eight inch piece. For session comfort and reveal, a simple tank top and high-waisted jeans that can be lowered slightly make access and modesty easy.
13. Single-Needle Profile on the Inner Bicep
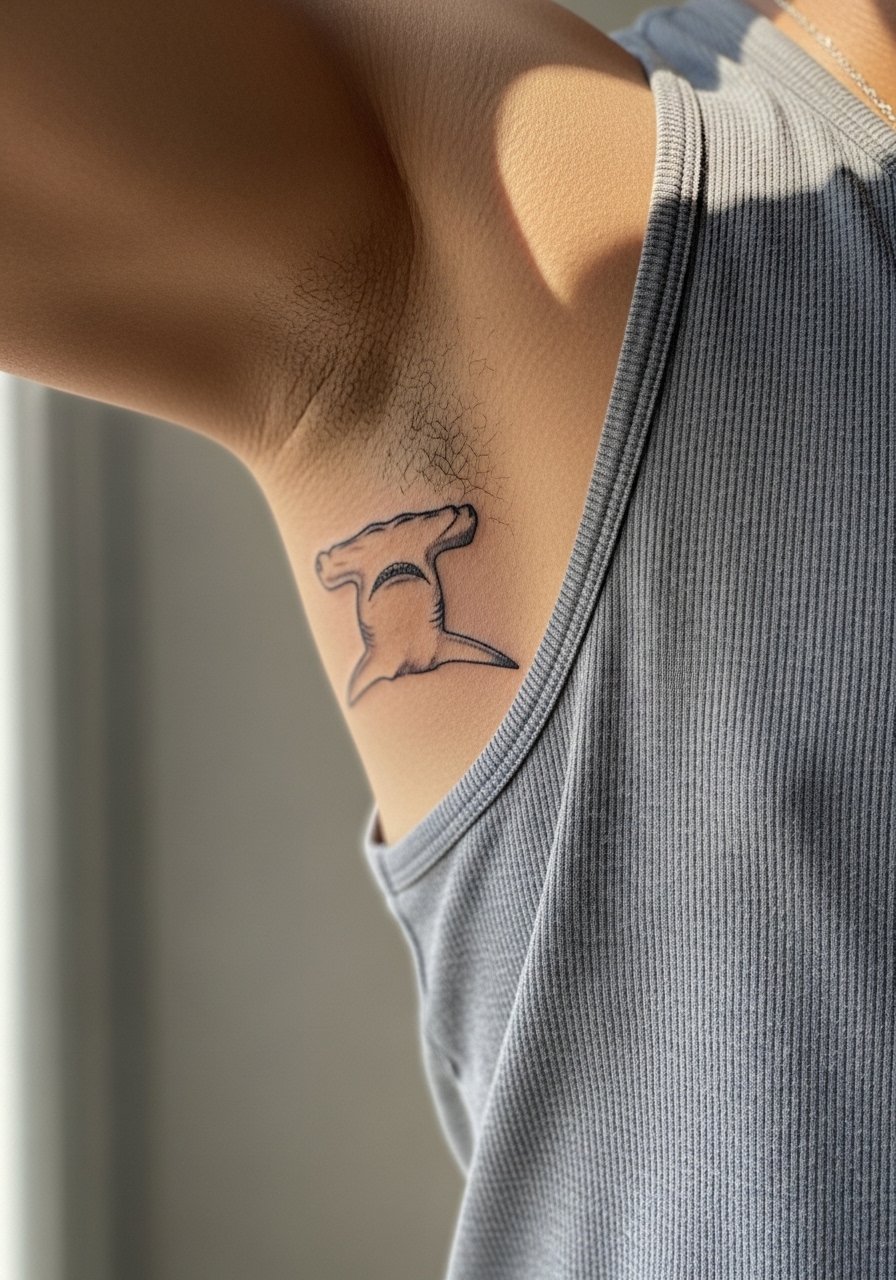
Inner bicep work reads intimate and sits under clothing often, so the outcome can be a private reminder. Expect medium pain and a one-hour session for a compact three to four inch profile. The biggest mistakes are asking for ultra-thin single-needle lines without discussing touch-up plans, and underestimating how often the area rubs against fabric. Wear a tank top you can raise so the artist has clear access and you leave the studio comfortable.
14. Constellation Dots Paired with a Minimalist Fin on the Upper Arm
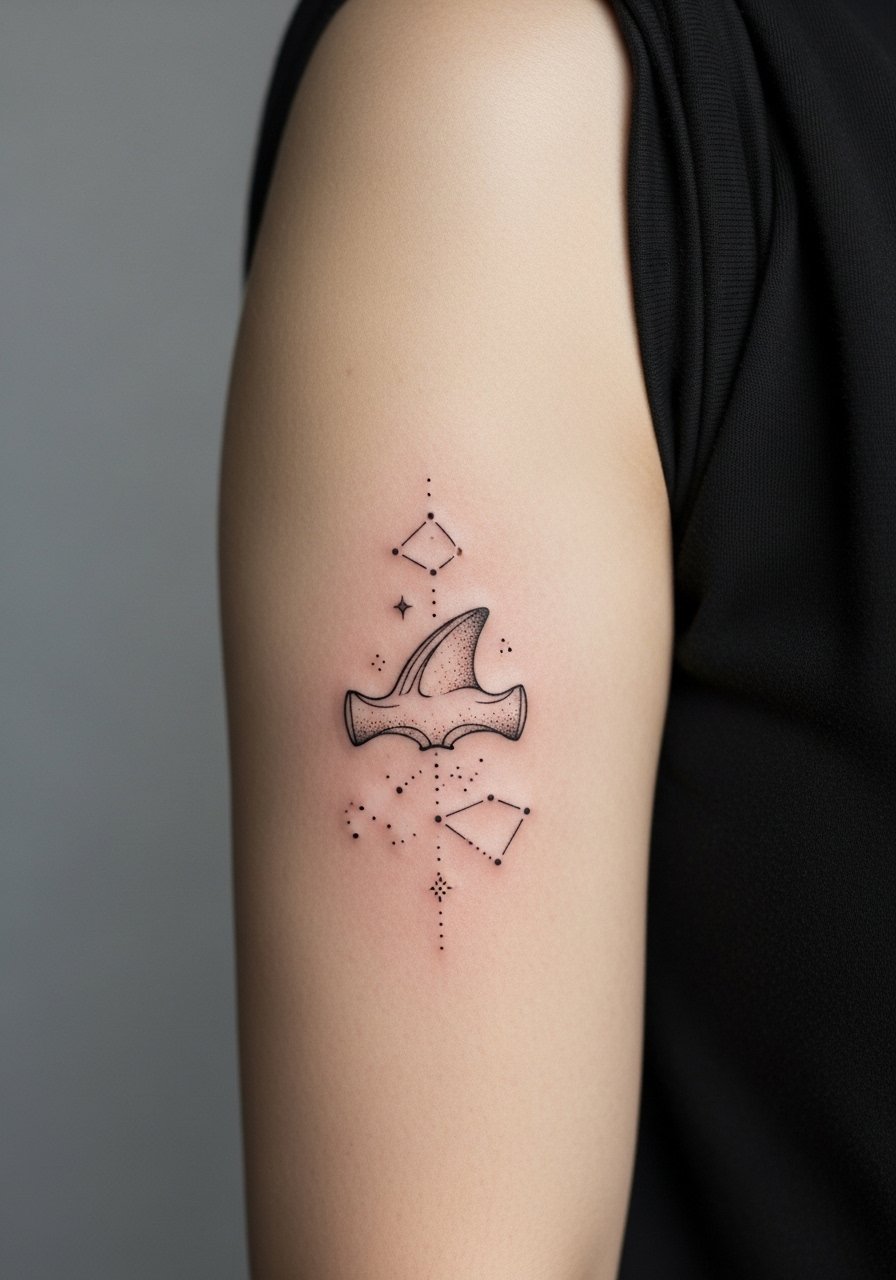
This idea is one of the rarer pairings that keeps the shark minimal and personal. Ask for tiny constellation dots spaced loosely around the fin so the stars do not crowd the silhouette. A common misstep is aligning dots too close to the main linework, which makes the composition read muddled. Pain is low to medium and touch-ups may be needed for the dots after two years depending on sun exposure.
15. Minimal Dorsal Curve on the Back of the Neck
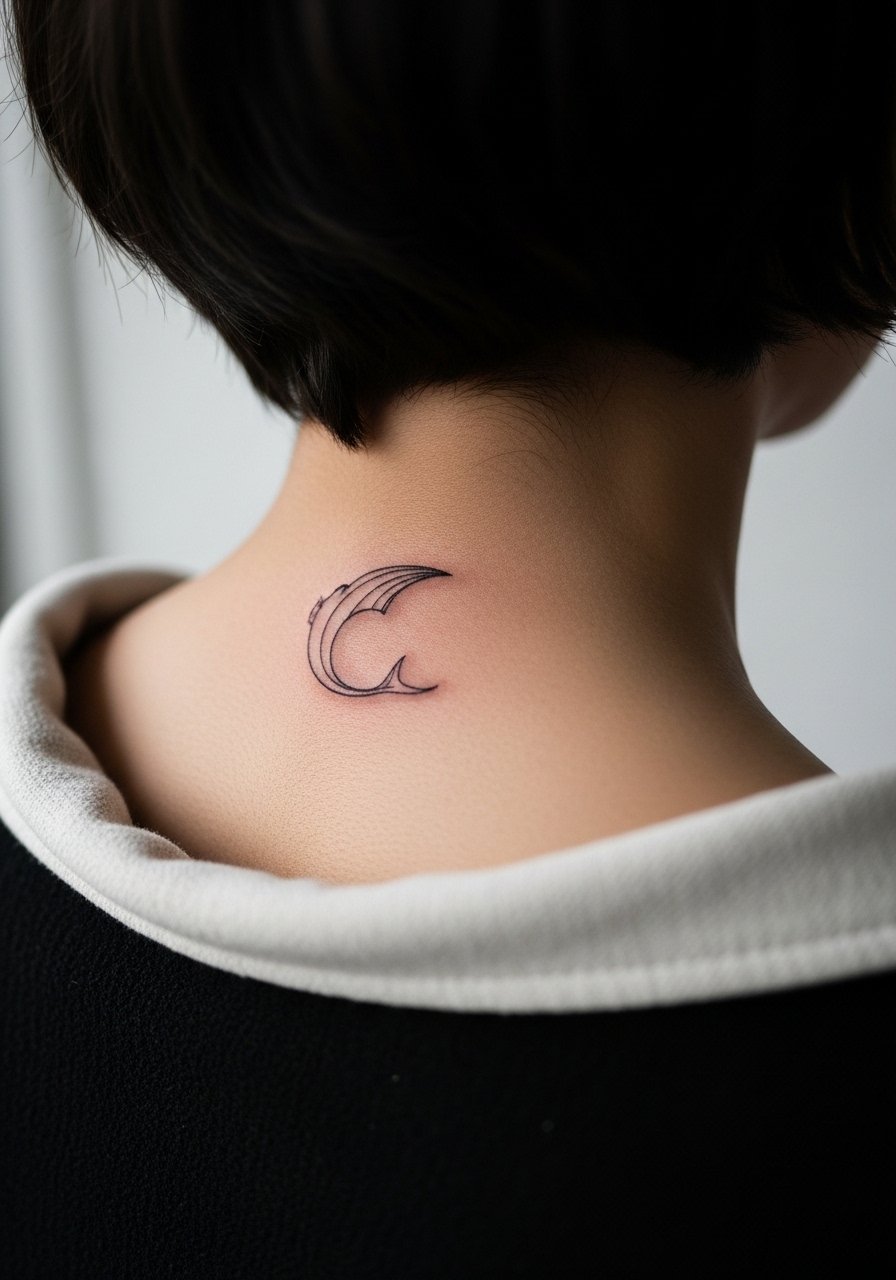
Neck placements are small, visible, and slightly higher risk professionally for some people. Ask your artist for a compact single-line curve and a clear conversation about visibility. The usual mistake is oversizing a neck piece because it looks small in photos. Pain is lower than ribs but higher than an arm piece. Session wear should be a wide-neck shirt so you can show just the nape during the appointment.
16. Micro Tail Loop Behind the Ankle
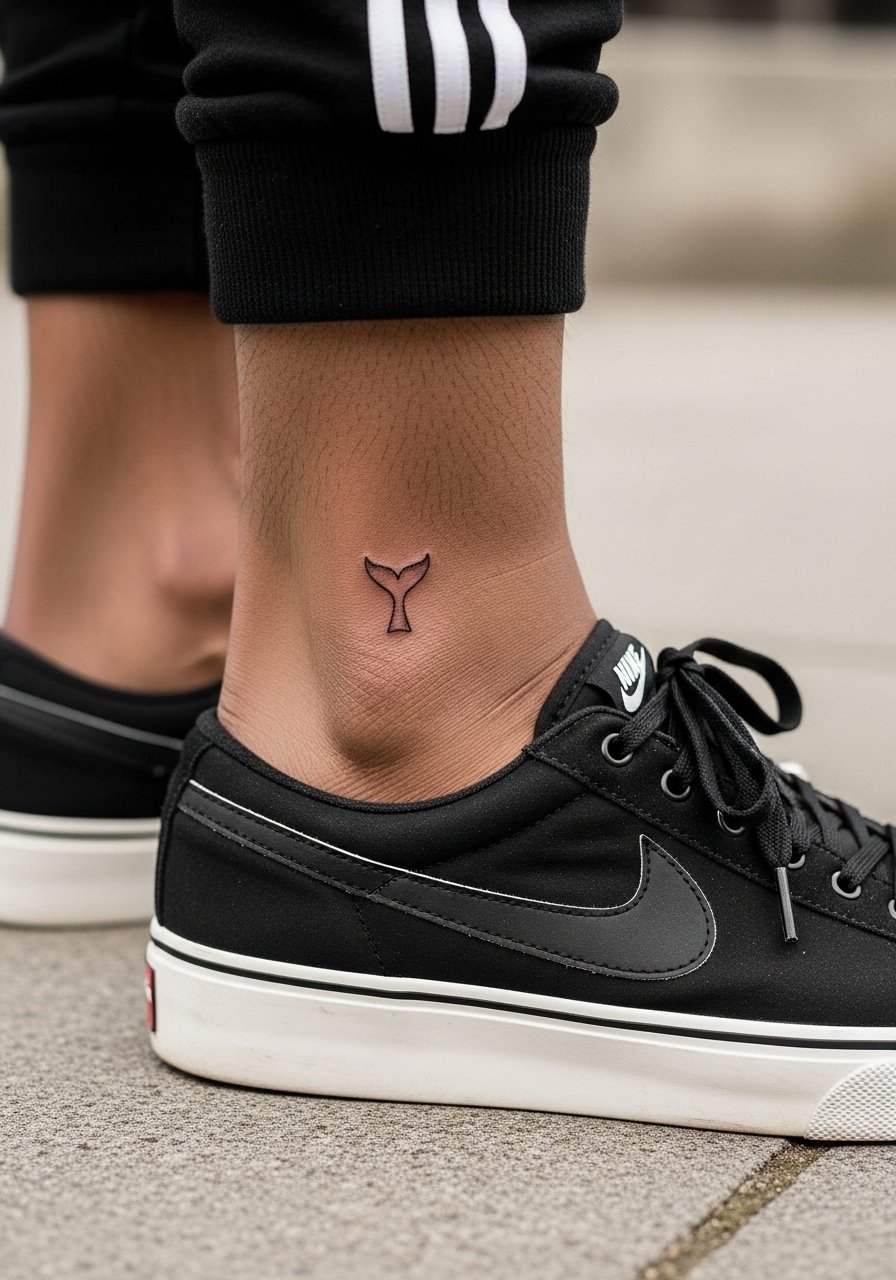
A micro tail loop is decorative and subtle, useful if you want minimalism with motion. The main issue is placement friction from socks and shoes while healing. Mention this to your artist and plan for protective bandaging for the first 48 hours. Pain is low and sessions are quick, but expect a touch-up at year one in most cases.
17. Thigh Runner Contour with Flow Lines
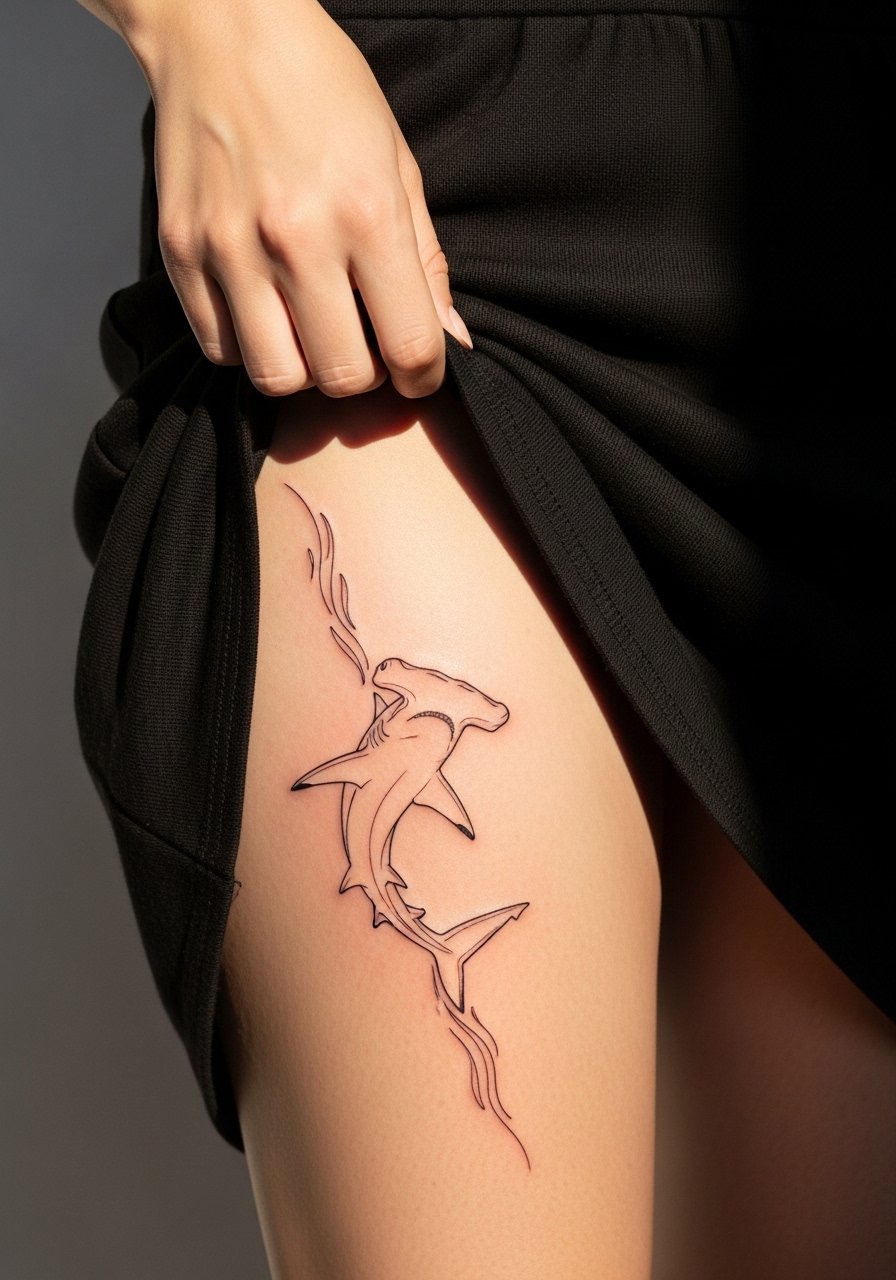
This is one of the under-covered ideas that suits runners and athletes. Ask for flow lines that match your muscle direction so the piece looks like motion when you run. A common mistake is ignoring how shorts and compression sleeves will sit over the design during training. Pain is medium, healing is easy with loose clothing, and a high-waisted short or asymmetrical skirt keeps the art visible for recovery photos.
Frequently Asked Questions
Q: Will fine line hammerhead tattoos on wrists and fingers blur faster than bold outlines?
A: From what I've seen, fine line on high-friction zones like fingers and outer wrists will soften sooner than bolder outlines. Two realistic approaches are asking for slightly heavier anchor lines up front or budgeting for a touch-up at year one to two. Talk to an artist about needle depth and spacing so you know which camp they fall into before booking.
Q: How can I avoid getting hit by a shop minimum on a small minimalist shark?
A: Ask for a flat rate for pieces under three inches and mention your maximum budget during the consultation. Some shops offer guest-spot pricing or flat fees for quick flash work. If a studio insists on a minimum that feels out of range, consider booking a guest spot or searching directories that filter by style and price.
Q: My forearm tattoo stretched after gaining weight. Which placements are safer for minimalists?
A: Low-movement areas like the inner wrist, ankle, and upper thigh tend to hold linework shape better through body changes. Forearms can still work but discuss expected shape changes with your artist and consider an ankle or collarbone alternative if you expect significant fluctuation.
Q: Saniderm or dry healing for a tiny hammerhead—what do artists say?
A: Artists and hobbyists are split. One camp swears by thin protective films like Saniderm for the first few days to reduce infection risk. The other camp prefers short-term dry healing for breathability. My advice is to ask your artist which method they use day to day and follow their protocol. If you need added confidence, choose a studio that explains their reasoning clearly.
Q: What should I wear to a ribcage or collarbone session to make the appointment easier?
A: For collarbone work wear a strapless bra or a wide-neck shirt you can pull aside. For ribs wear a cropped athletic top you can lift or a zip-up hoodie you can open. A strapless bra works well for collarbone sessions because it keeps access clean and you leave the studio covered.
