
Sitting in the chair with the stencil on is the moment most people realize they should have asked a few smarter questions. Minimalist tattoos look deceptively simple on a screen. The difference between a mark that reads clean after five years and one that blurs into a shadow often comes down to placement, line weight, and a tiny bit of foresight at consultation. Start here for designs that read sharp now and age more predictably.
1. Fine Line Arrow on Inner Forearm
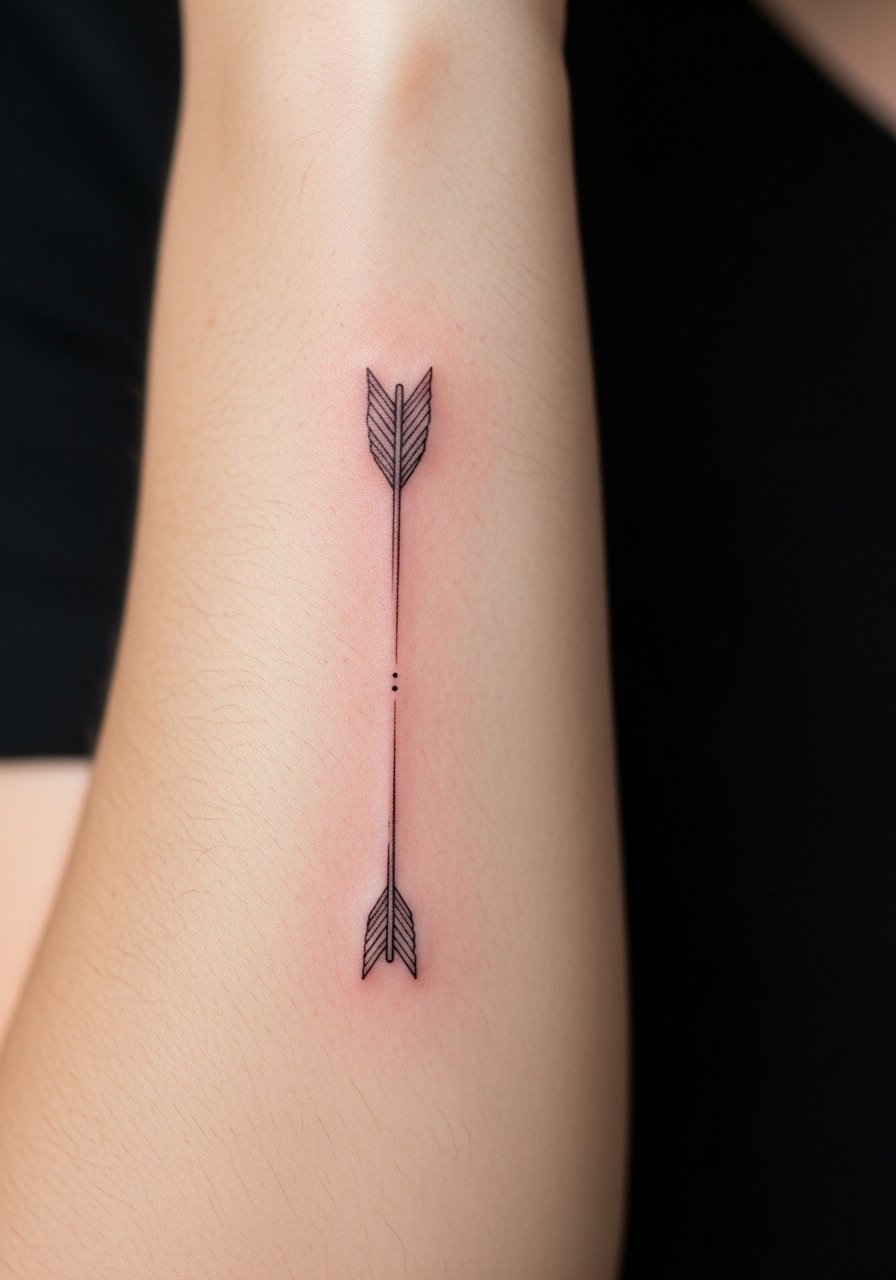
An inner forearm arrow is a classic minimalist pick that reads clean because the skin there is relatively stable. I usually tell people to ask for slightly heavier line weight than the tiniest needle the artist offers. Ask your artist for a single-needle line that sits a touch deeper than a micro stroke so the arrow keeps its crisp point after a year. Expect low to moderate pain and a session under an hour. Common mistakes include shrinking the design too small and crowding the shaft with extras, which makes the tip merge over time. For showing it off, roll up a linen button-up shirt so the forearm sits visible without competing with patterns.
2. Mini Mountain Range on Upper Arm
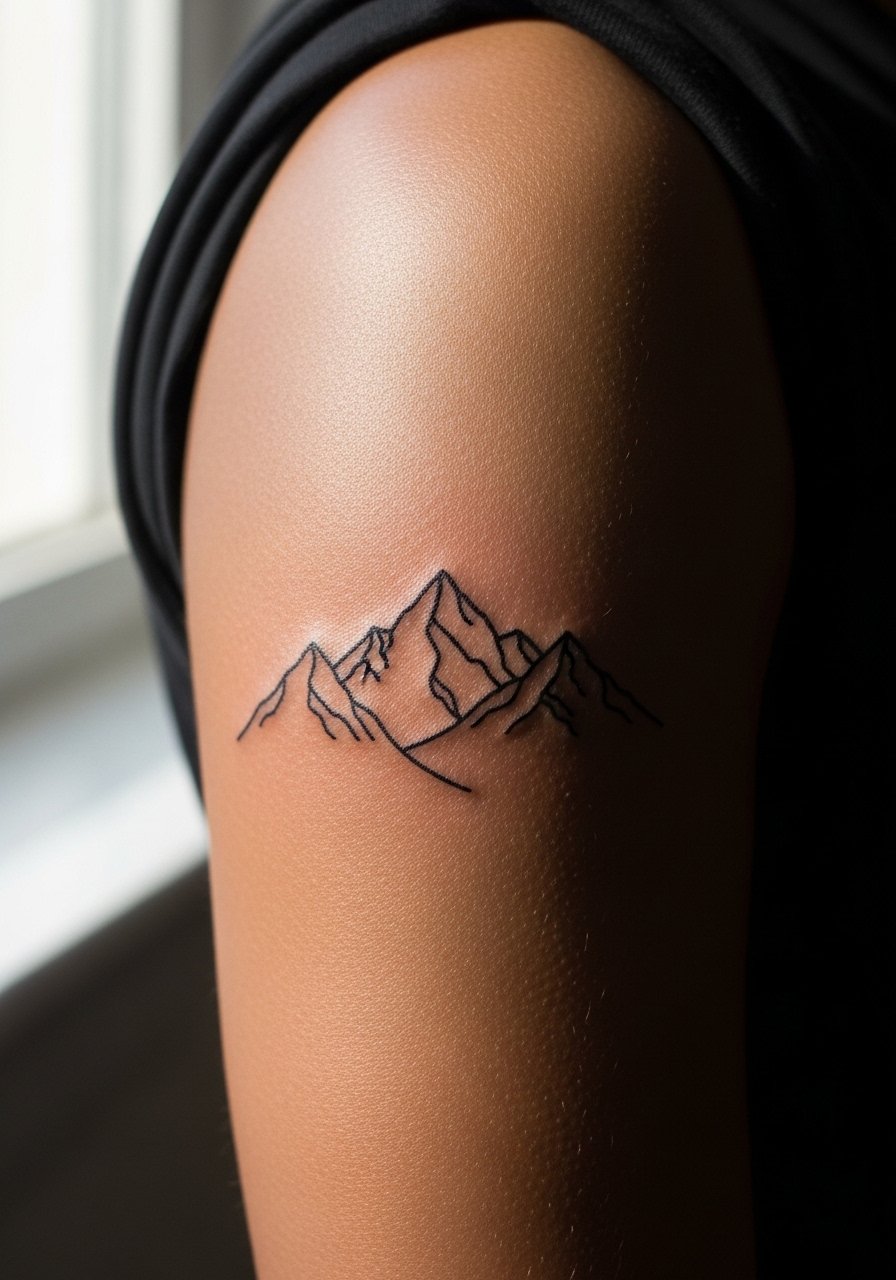
A compact mountain silhouette works well on the upper arm because the curvature gives the design subtle depth. In consultation mention you want negative space between peaks so the design breathes when it settles. The session runs 30 to 60 minutes and the pain is usually mild. A frequent mistake is over-detailing the peaks, which turns a clean silhouette into a smudge after a few years. If you like to show it off, wear a short sleeve crew neck tee with the sleeve hitting just above the ink. That styling frames the shape without crowding it.
3. Single Wave Line on the Wrist

A single wave line is subtle and personal on the wrist, but it lives in a high-friction zone. Tell your artist you want a slightly bolder stroke than you think you need because hand and wrist ink face constant washing and abrasion. The session is quick, often under 30 minutes, though the wrist can feel sharper than the forearm. Common regrets come from making the wave tiny and delicate, which makes it vanish faster. For the session, wear a loose sleeve you can roll up easily. To keep the wrist visible in everyday outfits try a minimalist watch like a minimalist watch that frames the tattoo without covering it.
4. Concentric Circle Stack on Upper Chest
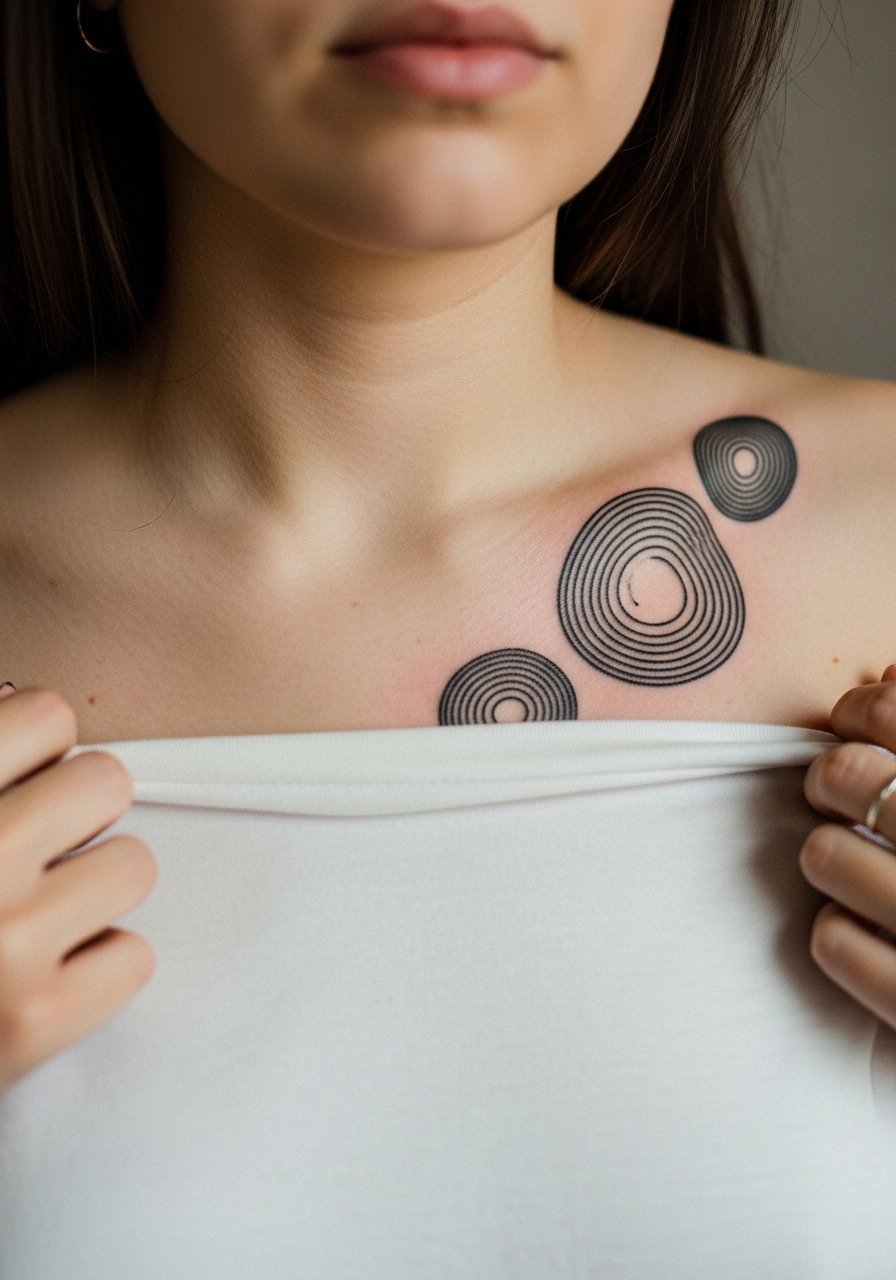
Small stacked circles look refined across the upper chest because the collarbone line enhances symmetry. For this placement ask your artist to map the stack so the top circle sits just above the clavicle line. This area can sting more than the arm, and sessions usually run 45 to 75 minutes. A common error is placing the stack too close together, which leads to merging in dense work. There is a debate around fine line chest work. One camp says chest skin moves and stretches too much for ultra-thin strokes. The other camp says with correct spacing and depth those lines hold. Ask the artist which side they are on and why. Showing this with an open shirt works well, so try a relaxed crew neck tee you can unbutton or pull aside during the session.
5. Tiny Compass on Inner Wrist
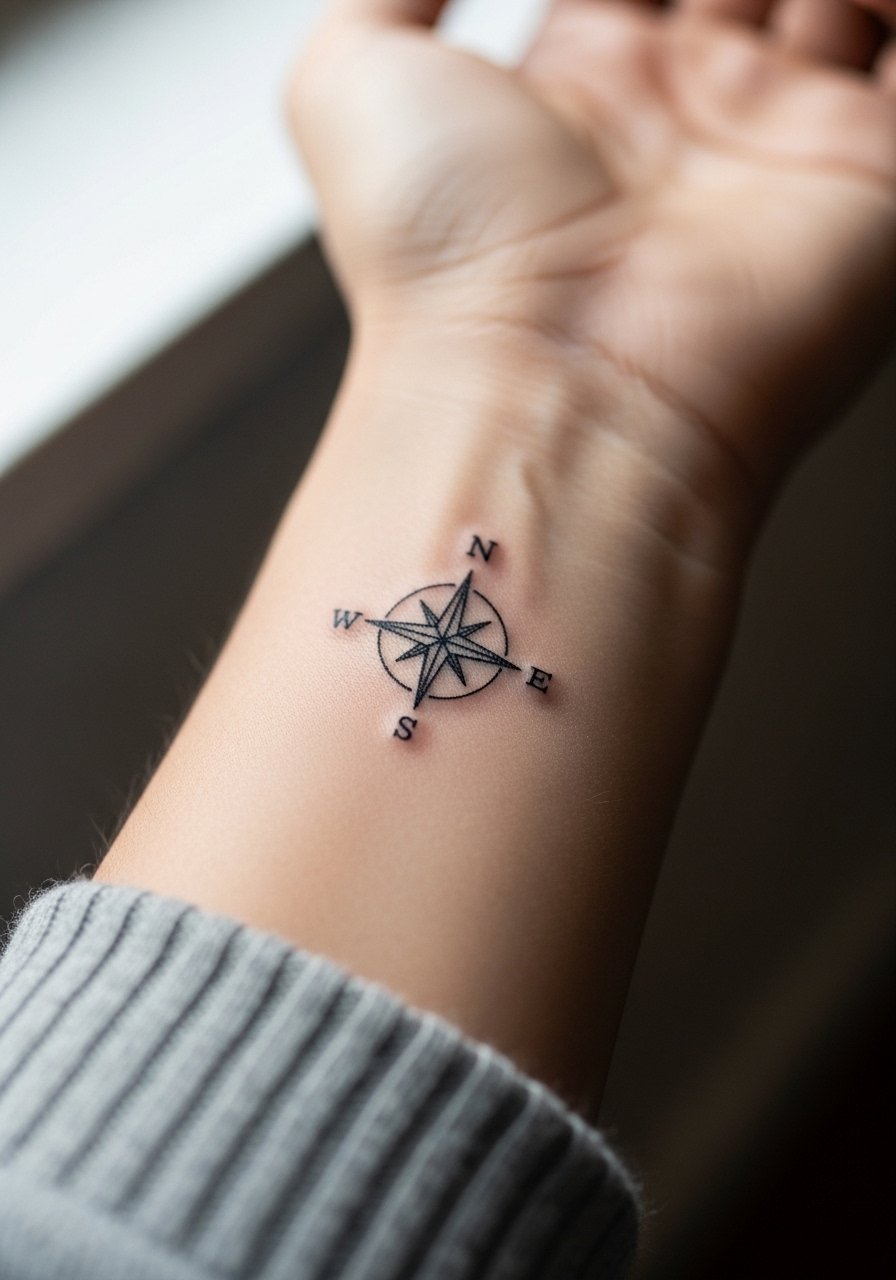
A tiny compass is a compact symbol that reads clearly when the cardinal points are kept minimal. During consultation specify you want the primary axes thicker than the secondary markers so the design reads from a distance and still holds up. The inner wrist is sensitive and sessions are short, usually under 30 minutes. A mistake I see is overloading the compass with tiny decorative details that merge after healing. For showing it, pair the piece with a thin bracelet stack. A thin bracelet stack complements the compass while keeping attention on the dial.
6. Negative Space Animal Silhouette on Bicep
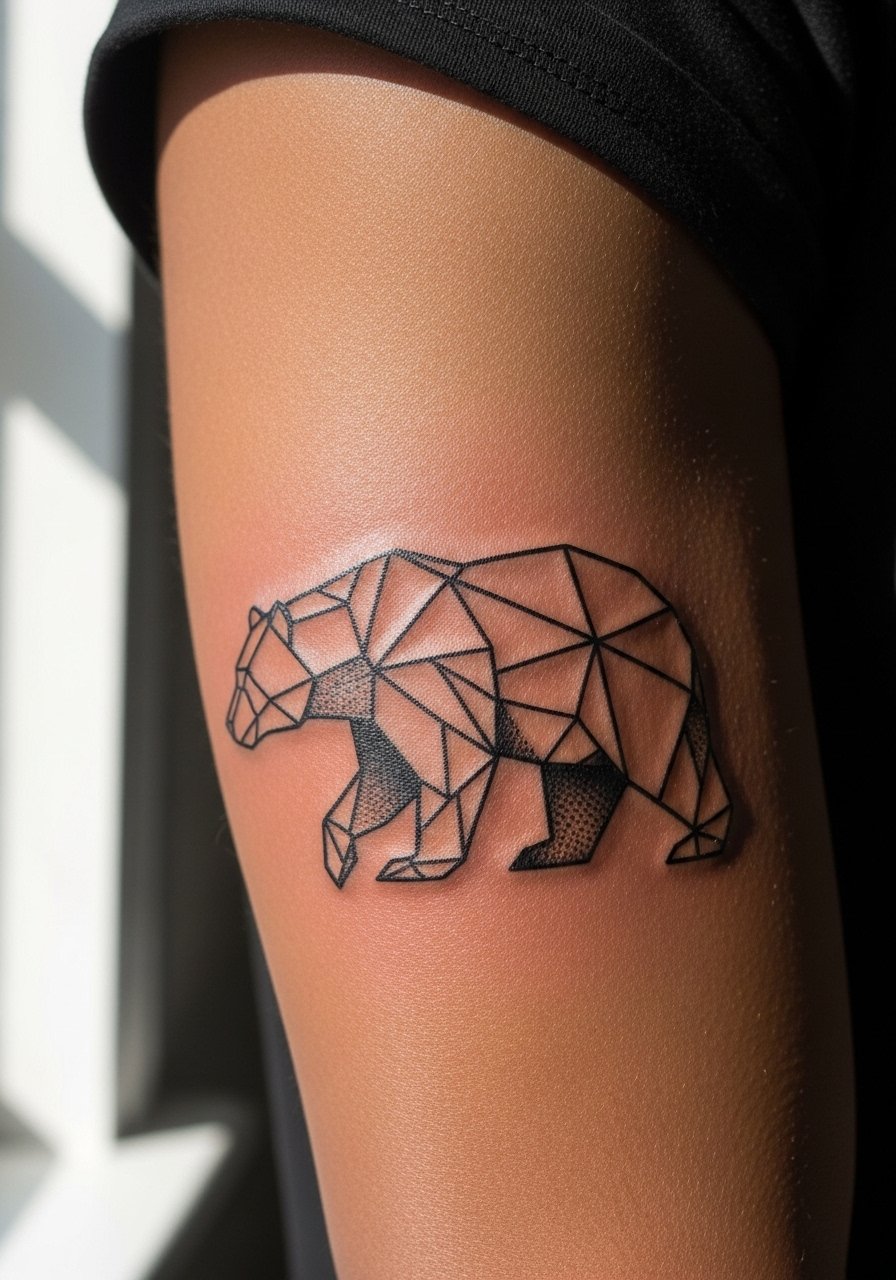
Geometric animals carved with negative space give a masculine, architectural feel on the bicep. Tell the artist you want clear voids inside the figure so the silhouette does not rely on tiny inner lines. Sessions can run one to two hours depending on size and shading. A common mistake is compressing too many facets into a small patch, which makes the negative space disappear when it heals. Expect low to moderate pain and a design that carries well into a longer sleeve if you later decide to expand. Artists also split on fine line versus bolder approaches for geometric animals. One camp prefers heavier linework so shapes remain readable at year five. The other camp favors precise fine line shading and schedules a touch-up at year two. Decide which aging plan you prefer before booking.
Studio Day Picks
The first six ideas include wrists, chest, and upper-arm work, so these picks smooth the session and early healing window.
-
Stencil transfer paper kit. Lets you preview placement on skin before the needle, which is important for the symmetric chest and wrist pieces above.
-
Topical numbing cream. Applied about 45 minutes before can ease the sharper wrist and chest sessions without affecting the linework.
-
Thin protective film roll. Keeps high-friction zones like the wrist and inner forearm protected during the first days of healing.
-
Fragrance free gentle body wash. Cleanses without irritating delicate lines for the fine work shown above.
-
Aquaphor healing ointment. A thin layer in the first few days helps prevent scabbing that can dull fine line pieces.
7. Single-Word Script Along Collarbone
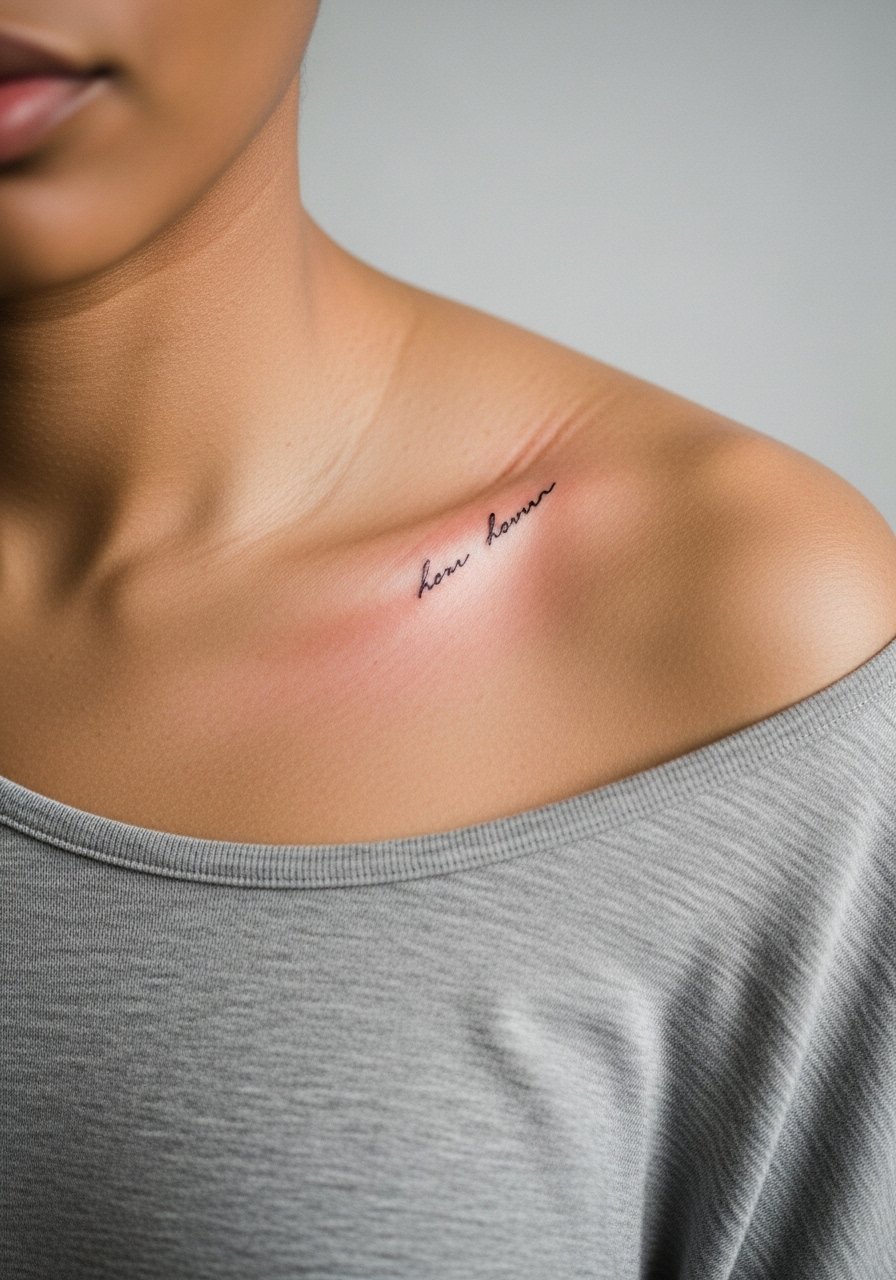
A short script along the collarbone reads clean if you choose a clear, simple typeface and keep the word short. Tell the artist the exact font weight you want and ask for a small proof stencil before the needle. Pain is moderate near the bone and sessions are brief. The common mistake is requesting tiny ornate lettering that blurs into an unreadable line. For wardrobe, an open collar or minimal pendant necklace works well to frame the script without masking it. If this placement matters for work, think about how often you want it visible.
8. Micro Portrait on Upper Arm

Micro portraits are a bold choice in minimalist form because they rely on precise linework and subtle shading. During consult bring clear references and ask for a small test area of shading so you both agree on tonal range. These sessions can take one to two hours based on size and detail. A typical error is compressing too much facial detail into a tiny footprint, which causes the features to soften into an ambiguous blur. The upper arm gives you room, which helps the portrait breathe over time. For session comfort wear a fitted tank top so the artist has access without you feeling exposed.
9. Dotwork Constellation on Ankle
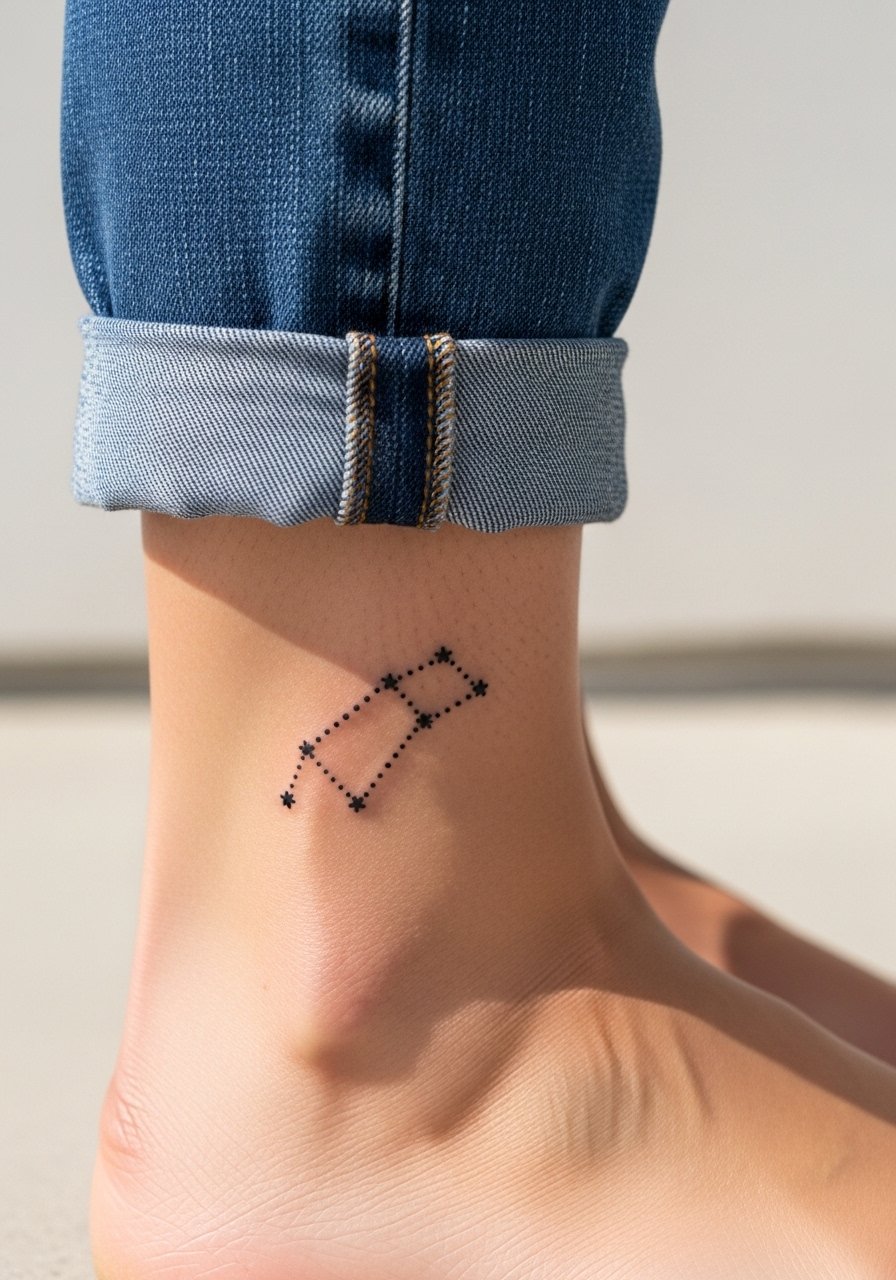
A dotwork constellation reads delicate and modern on the ankle, but it sits in a friction zone if you tuck pants over it. Ask for slightly larger spacing between star dots and for the artist to vary dot size so the pattern stays legible. Sessions are short, around 30 to 45 minutes, and pain is low to moderate. One mistake is packing stars too close, which makes the dots blend as they settle. For showing it off choose low-cut sneakers or rolled jeans and consider a minimal ankle bracelet if you want low-key accents without covering the ink.
10. Single-Needle Line Mountain on Calf

The calf offers a forgiving canvas for a longer linear mountain motif because muscle and skin are stable when clothed. Specify you want the peaks spaced and scaled so each angle holds up when the leg moves. Sessions vary from 30 minutes to an hour and pain is low to moderate. A common error is wrapping the design too tightly around the calf, which distorts movement and makes lines look uneven as muscles flex. For the session pick loose shorts so the artist can access the area without tight cuffs rubbing on fresh ink.
11. Single-Word Wrist Lettering
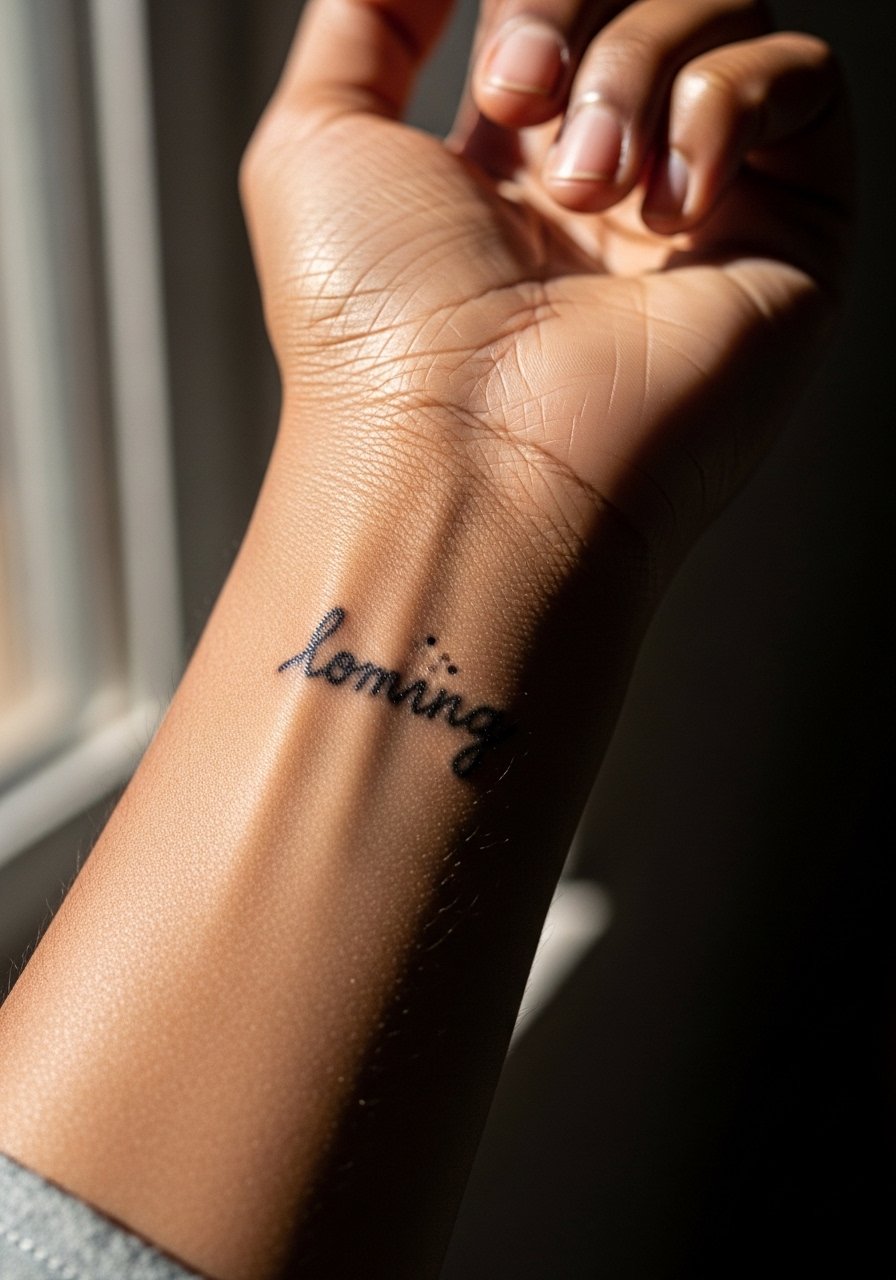
Wrist lettering is intimate and legible when the type is chunky enough to survive daily washing. Ask for slightly heavier stroke weight and spaced letters. Sessions are short but the wrist is sensitive. People often regret picking long words that run out of room, which leads to tiny cramped letters. For styling, pair the script with a minimalist watch on the opposite wrist to balance the look. Keep in mind hand and wrist ink can require touch-ups earlier than upper-arm pieces.
12. Thin Geometric Ring on Finger

Finger bands are striking but they face constant use and abrasion. If you want this, choose a slightly bolder line that can be re-touched later and accept that finger work often needs maintenance. Sessions are quick and pain is moderate. A common mistake is expecting a forever-perfect band without planning for touch-ups. Because of the wear, ask the artist about a yearly check-in. Finger pieces pair with minimal rings or bare fingers to keep attention on the ink.
13. Abstract Line Composition on Sternum

An abstract sternum piece uses the body's center to create a symmetric focal point. The sternum can be painful, and sessions range from 45 minutes to two hours depending on scale. Tell your artist you want intentional spacing and negative space so the composition keeps its shape as it heals. A mistake is packing too many intersecting lines without breathing room, which can turn the center into a blur. For the session wear a fitted sports bra or a zip hoodie you can lower so only the tattooed area is exposed. If you plan to show it off, a low-profile neckline helps the design sit naturally with clothing.
14. Tiny Arrow Behind the Ear
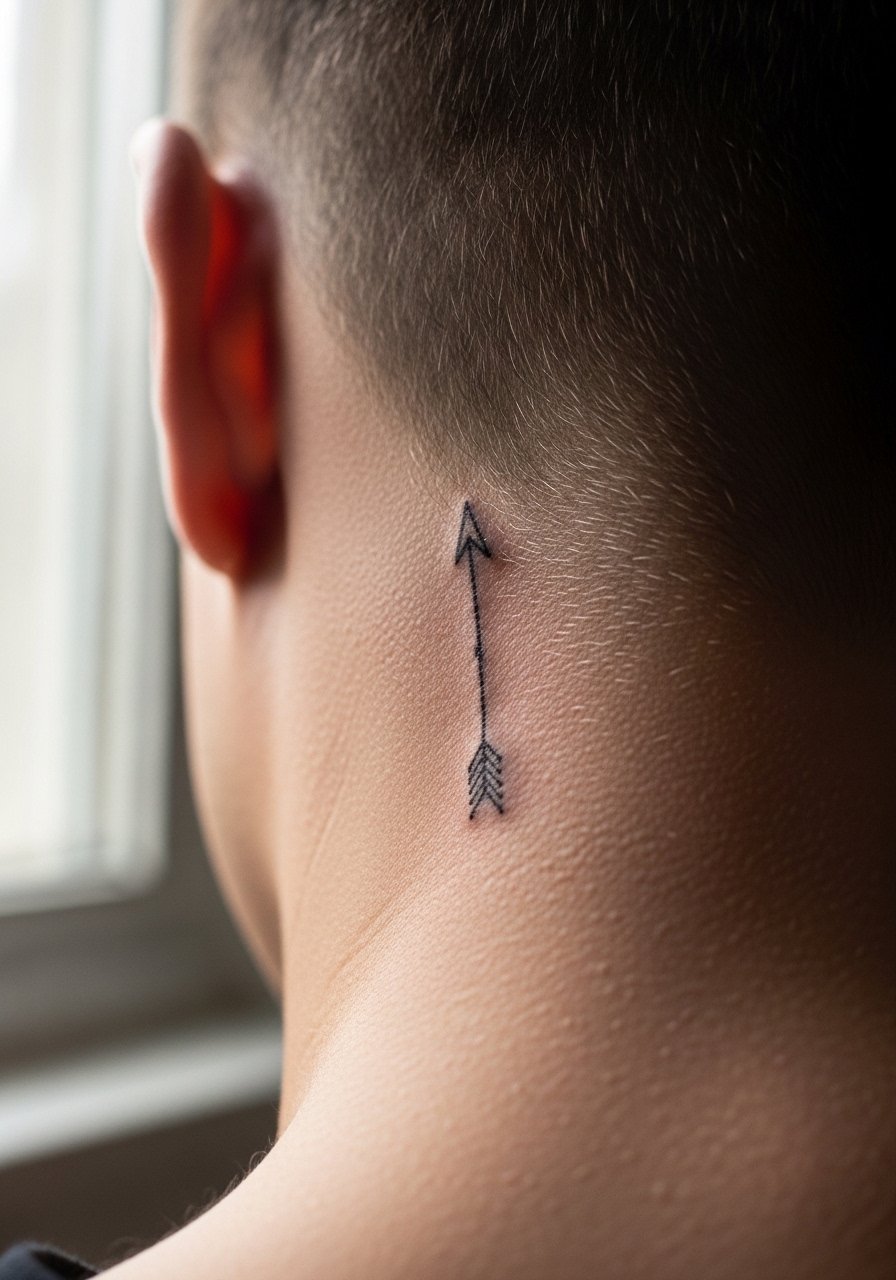
Behind-the-ear pieces are intimate and easy to conceal with hair. For this placement describe exact positioning below the hairline so the artist frames the arrow against the neck curve. Sessions are quick and pain is typically mild but sensitive. Avoid asking for complex detail in this small area since it tends to blur. A styling tip is to wear your hair up when you want the piece visible, so consider a hair clip bun that complements the reveal.
15. Stipple Shaded Bear on Shoulder
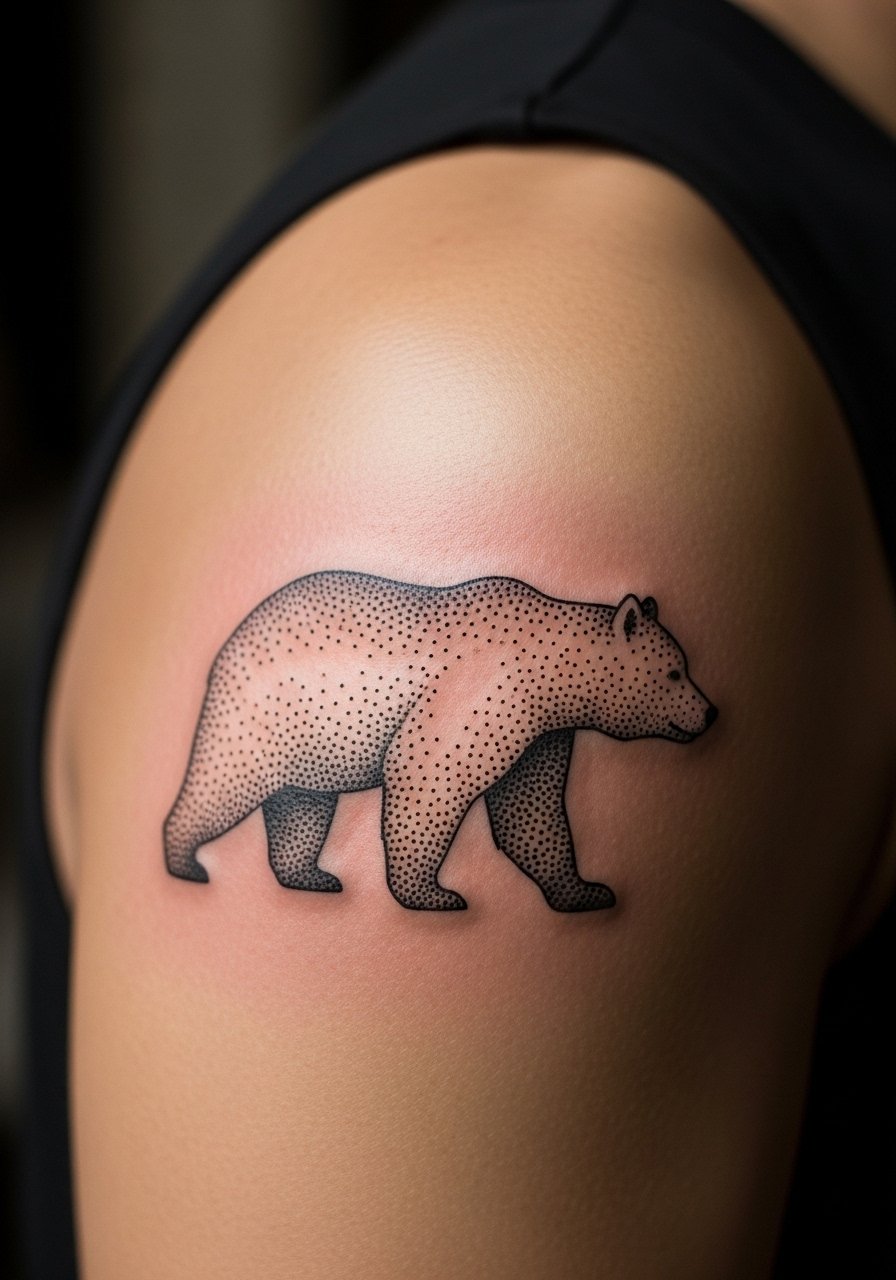
Stipple shading gives texture without heavy saturation, which is great on the shoulder because the skin there handles dots well. During consult ask for wider dot spacing and points of negative space so the shape reads at arm's length. Sessions run one to two hours and the shoulder is forgiving on pain. A frequent mistake is asking for dense stipple that ends up reading like a patch of gray. For showing this off, short sleeves or a short sleeve crew neck tee that hits mid-shoulder frame the piece nicely.
16. Minimalist Wave on Side Rib
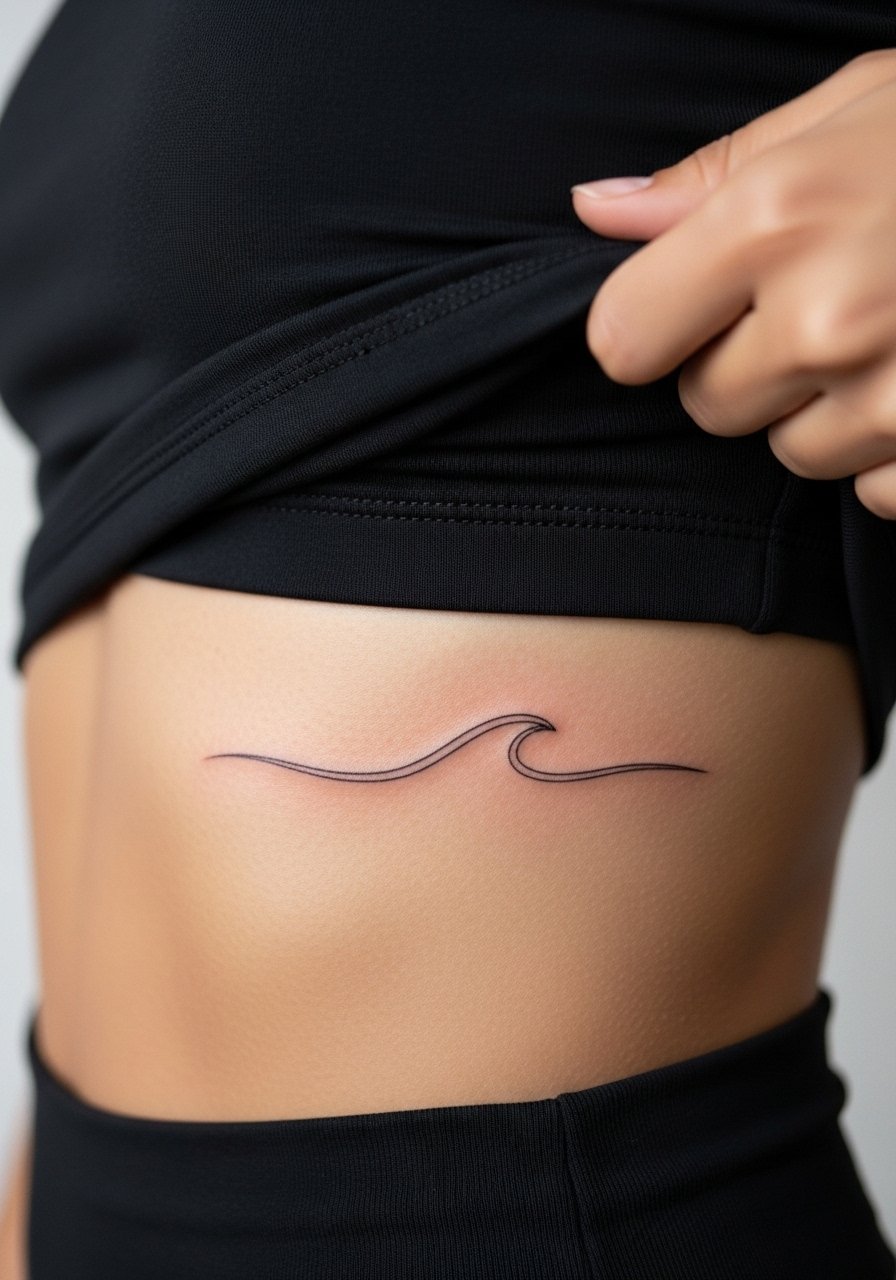
Rib placements carry more pain but reward you with private, sculptural pieces. Ask for a spaced line with a bit more thickness than the most delicate option so the wave does not blur as the skin moves. Sessions tend to be longer and may require breaks. One common mistake is choosing micro-thin line weight for the rib, which almost always needs a touch-up earlier. For the session wear a cropped top or a shirt you can lift slightly so only the rib area is exposed. Hand ink and rib work both spark debate over healing methods. One camp swears by protective film for ribs to reduce movement irritation. The other camp prefers traditional dry healing with only light ointment. Pick the route that matches your skin and your artist's aftercare routine.
17. Small Compass at Back of Neck

A tiny compass at the nape reads clean when centered and scaled to the neck width. Ask for a design that sits just below the hairline so it peeks out rather than sits fully exposed. Sessions are brief but the neck is sensitive. A typical mistake is choosing overly intricate points that merge as the skin moves. For showing and concealing, a wide-neck shirt works well and lets you decide how often it is visible.
Frequently Asked Questions
Q: Will fine line tattoos like the arrow and compass blur faster than bolder work?
A: Fine line pieces can lose crispness sooner because they use less saturation and thinner strokes. One group of artists prefers thicker lines so the design survives without early touch-ups. The other group argues that precise depth and spacing make fine line last. Ask your artist how they handle line depth and book a touch-up window if you want the ultra-thin look.
Q: How should I dress on appointment day for chest, sternum, or rib work?
A: Wear clothing that exposes only the area the artist needs. For chest and collarbone pull aside a wide-neck shirt. For sternum wear a fitted sports bra. For ribs pick a cropped top. A loose button-down is a good multi-use option if you have different placements in the same session. A loose button-down shirt is easy to remove or shift without getting hair or fabric in the work area.
Q: Do ankle and finger tattoos need more maintenance than upper arm work?
A: Yes, high-friction zones like ankles and fingers wear faster because of washing, shoes, and daily use. Expect earlier touch-ups and plan design spacing accordingly. Choosing slightly bolder lines and periodic maintenance keeps these pieces readable.
Q: Are there rules about showing cultural patterns like mandalas in minimalist style?
A: Patterns with cultural origin deserve respect. If you pick a motif tied to a tradition consider adapting elements rather than copying sacred symbols exactly. Talk with your artist about sources and intent so the final design sits thoughtfully in its cultural context.
Q: How often should I schedule a touch-up for fine line or dotwork pieces?
A: Many people plan a check-in around year two for fine line or dotwork, though some need touch-ups earlier depending on placement and skin. If your artist offers a complimentary touch-up window, use it. If not, expect to budget for a small session when you notice softening.
