
Fine line aesthetics are everywhere online, and a lot of those delicate stencils look incredible on a screen but need more planning to hold up on skin. Some pieces age into soft, readable marks and others blur into indistinct smudges. Below are 17 stencil templates that balance the look people love with practical choices to avoid early fading, placement problems, and transfer surprises.
1. Single-Line Wave on Inner Wrist
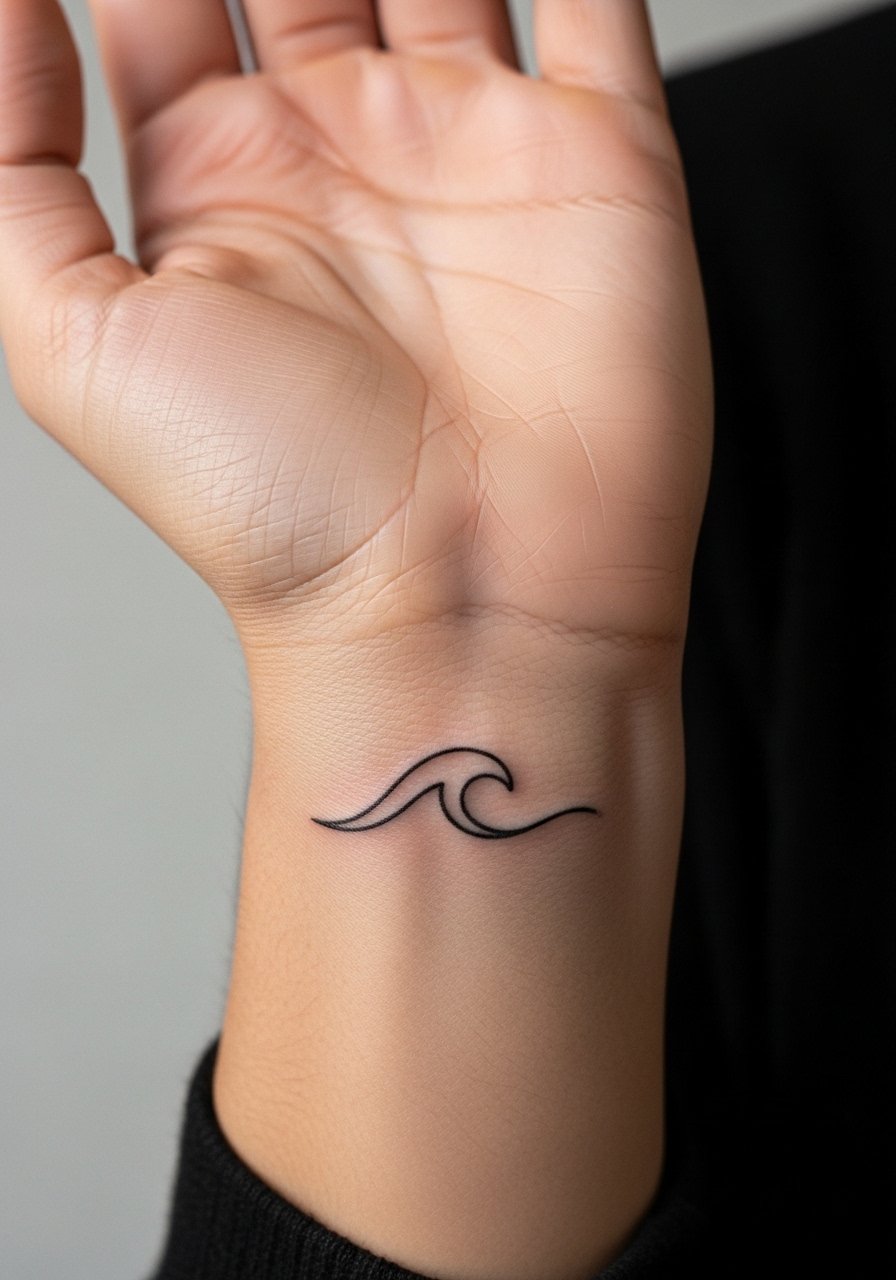
I see this design a lot because it reads simple and personal on small scales. For longevity, ask for single-needle linework with slightly heavier spacing between turns so the curls do not merge after two years. Common mistake is asking for the tiniest version possible, which increases blowout risk on a high-motion wrist. Expect a short session and moderate pain. For the appointment, wear a linen button up shirt you can roll or pull aside so the artist has clear access. At six months the line should look crisp, at two years thinner but readable, and a touch-up at year two to three is normal.
2. Geometric Triangle on Outer Forearm
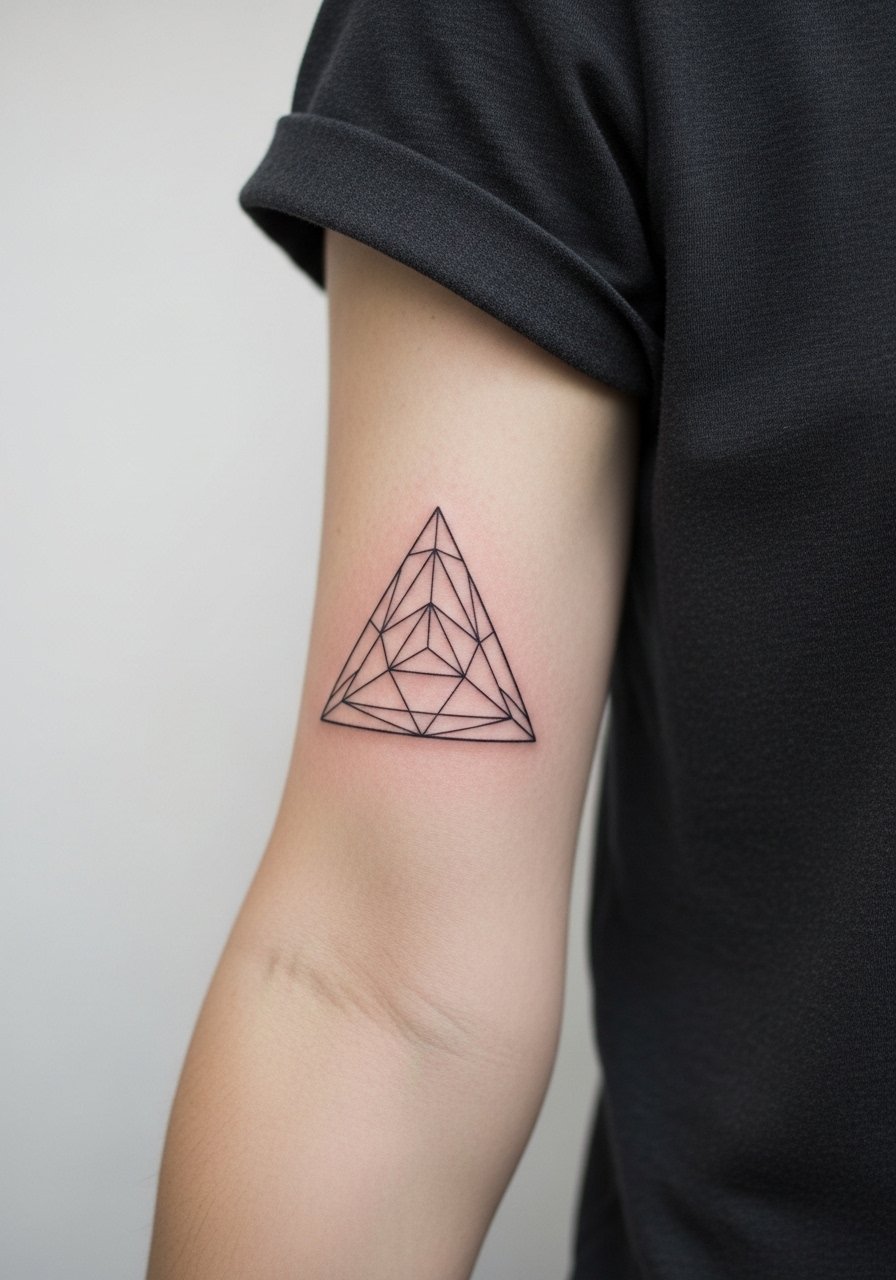
This one works when the triangle has room for the corner points to breathe. The biggest error is cramming dense geometry into under two inches. Tell your artist you want proportional spacing and ask them to print a scaled stencil first to check on the arm. Pain is low and session time is short. For showing it off, pair the piece with a fitted olive crewneck tee and a minimal leather cuff. Over time the geometry keeps its character better than lots of tiny intersecting lines.
3. Minimalist Arrow on the Ankle
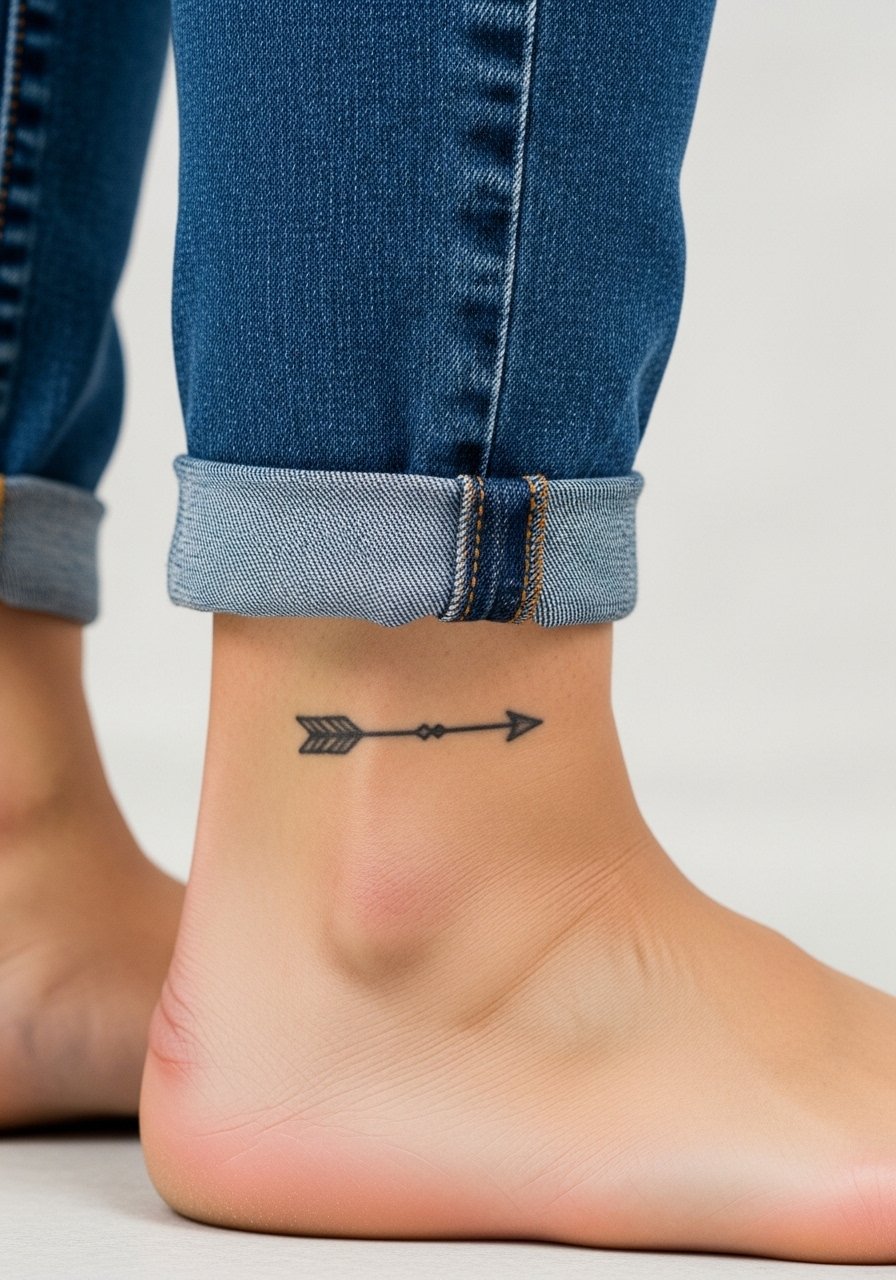
Ankle placements see a lot of friction from shoes and socks, so pick a slightly bolder line weight than you'd use on a wrist. The common failure is asking for the slimmest needle and then being surprised when the ink fades faster. Expect a brief session and moderate discomfort if the ankle bone is close. Wear cuffed jeans or a cuffed straight leg jeans to the appointment so the artist can roll your pant leg without tugging the area. Plan for a touch-up at 12 to 18 months if you use thicker socks or run frequently.
4. Dotted Constellation on the Collarbone
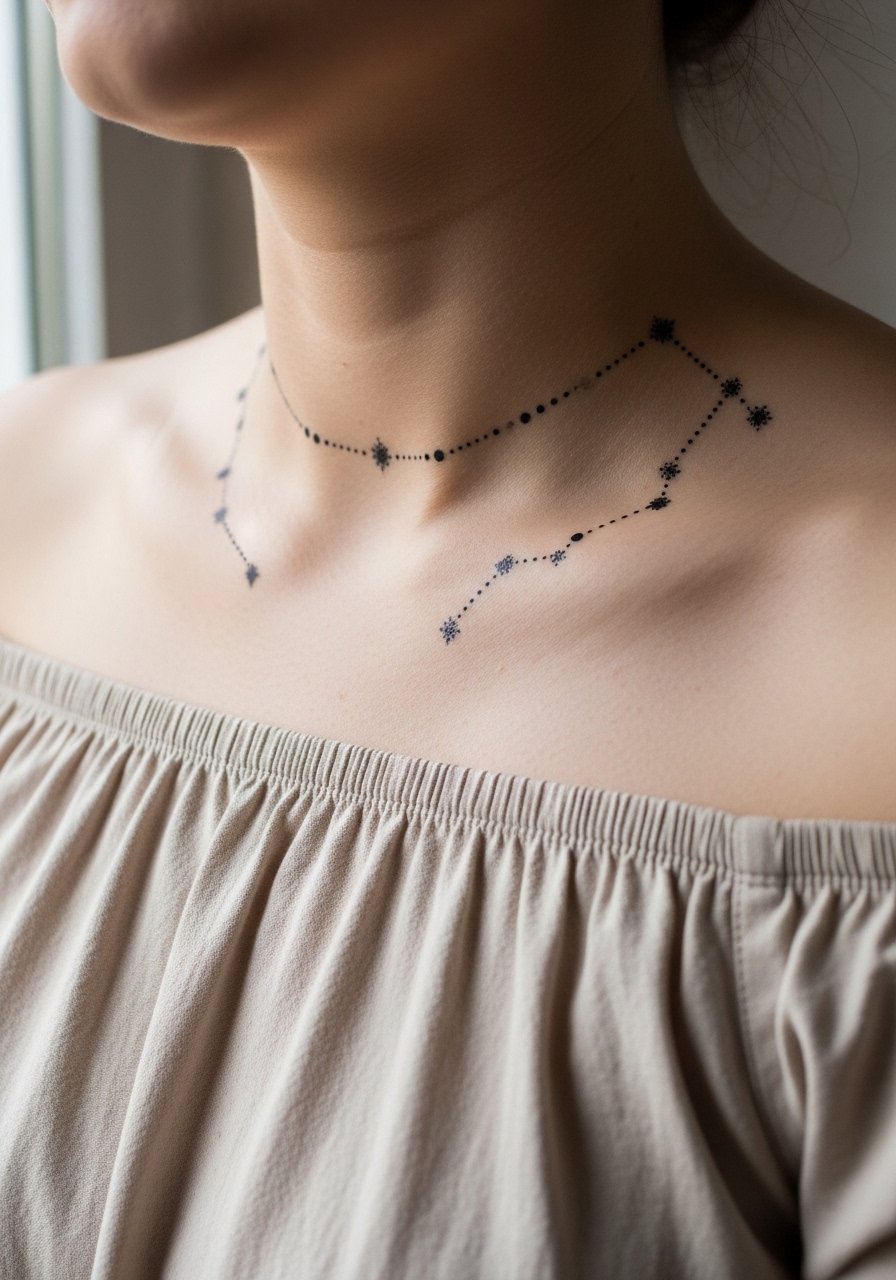
Dot work reads beautifully across the collarbone because the skin there keeps detail well. The mistake is making the dots too dense in a tiny area which causes muddying as it heals. Ask for a spaced stipple pattern and a scaled mockup that follows your collarbone curve. Pain is low to moderate. For showing it off, try an off shoulder blouse and a thin layered necklace that leads toward the dots without covering them. Expect crispness at six months and slow softening; a touch-up is optional if you want the points redefined.
5. Thin Outline Mountain on the Calf
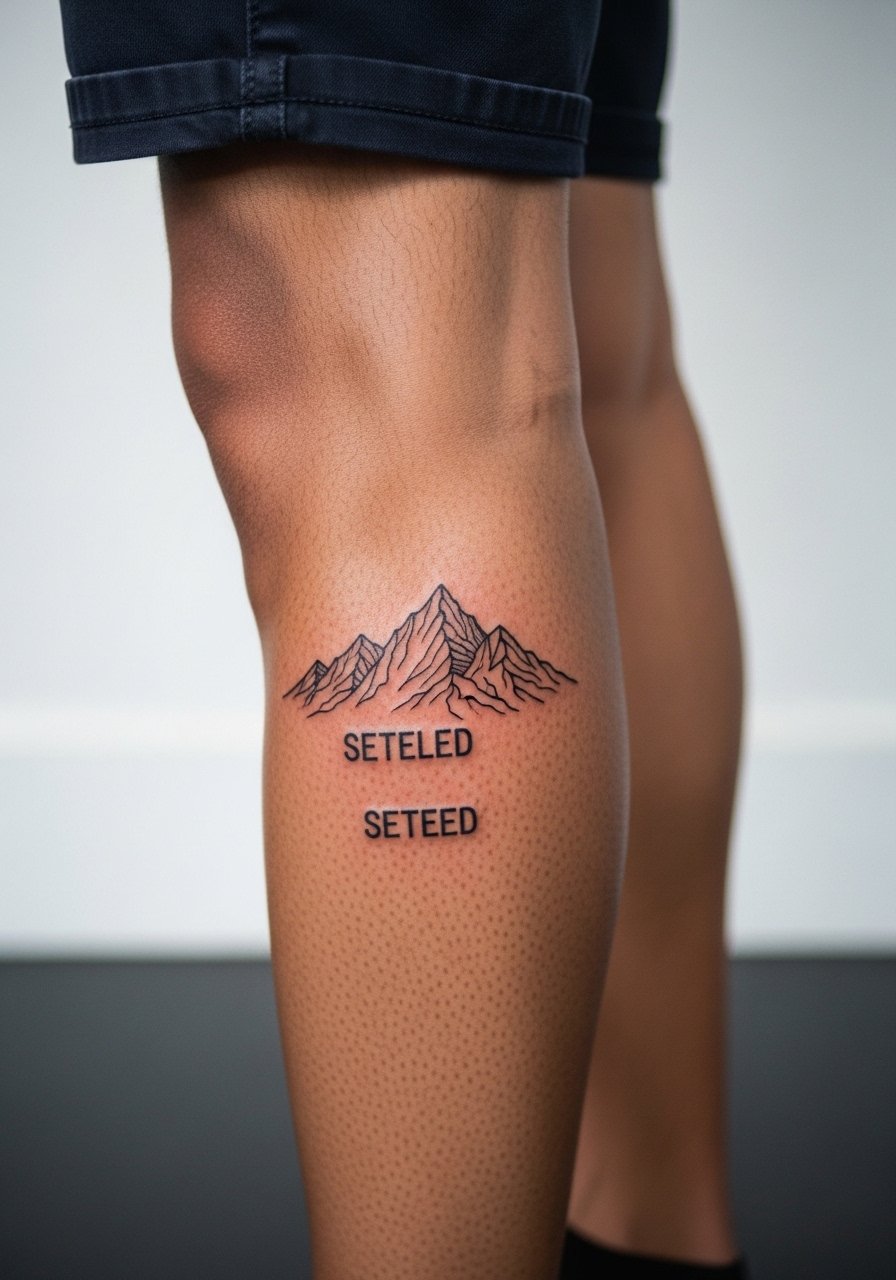
Calf skin tolerates slightly larger compositions and keeps linework readable for years. The common error is adding heavy shading into a minimalist outline which defeats the minimalist intent and ages differently. During consultation, request clear outer contours and a light option for subtle gray shading only if needed. Session time can be longer than wrist pieces and pain is moderate. For the appointment choose shorts so the artist can access the outer calf easily. Over time the outline stays legible better than dense interior details.
6. Single-Needle Leaf on the Ribcage
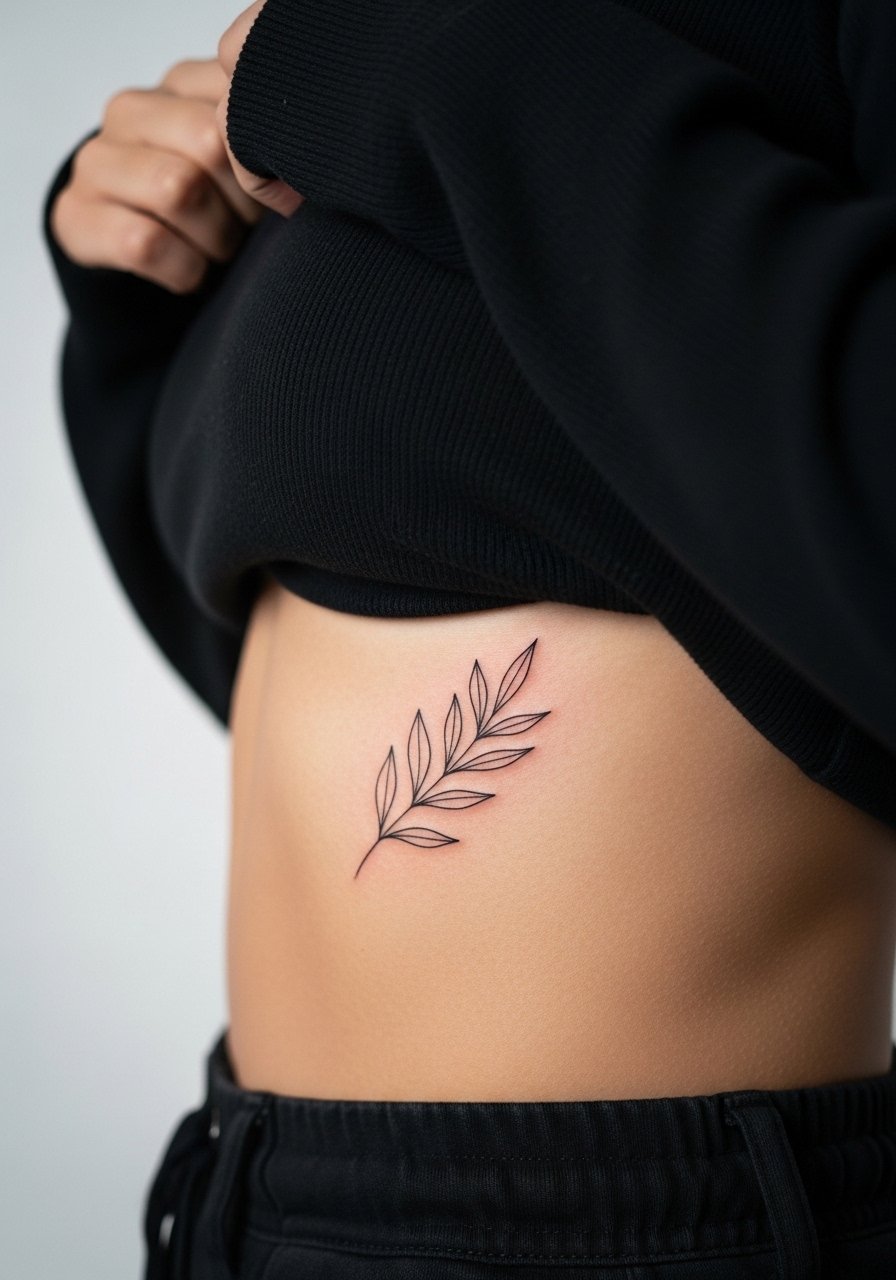
Fair warning, the ribcage rates high on the pain scale. I recommend single-needle botanical curves with a hair thicker line weight and deliberate spacing to reduce blowout on this stretch-prone area. Artists are split about single-needle work on ribs. One camp says the skin movement and thin dermis blur those lines within a couple of years. The other camp points to careful depth and spacing as the solution. Ask your artist which approach they use and see healed photos on similar placements. Wear a button-front shirt you can unbutton for access. Expect a single session but budget for a possible touch-up after healing.
Studio Day Picks
The wrist, calf, and rib pieces above place different demands on transfer quality and session access, so pack a few focused items for the chair day.
-
PurdysTattoo stencil sheets. Ready-to-apply sheets help you preview placement at home and are handy for the ankle and finger stencils in the list above.
-
TracyBTattoos PDF stencil bundle. Scalable PDFs let you print exact sizes to test on the skin before the appointment, which improves forearm and collarbone alignment.
-
Stencil transfer paper kit. A simple transfer kit is useful for checking how line weight looks on your particular skin tone, especially for the leaf and mountain ideas.
-
Thin protective film roll. Keeps ankle and wrist pieces cleaner during the first week of wear when clothing rub can be an issue.
-
Spirit stencil paper. This brand often gives a crisp transfer on curved areas like the forearm and shoulder, which matters when you need exact placement.
7. Minimalist Moon Phase on the Shoulder
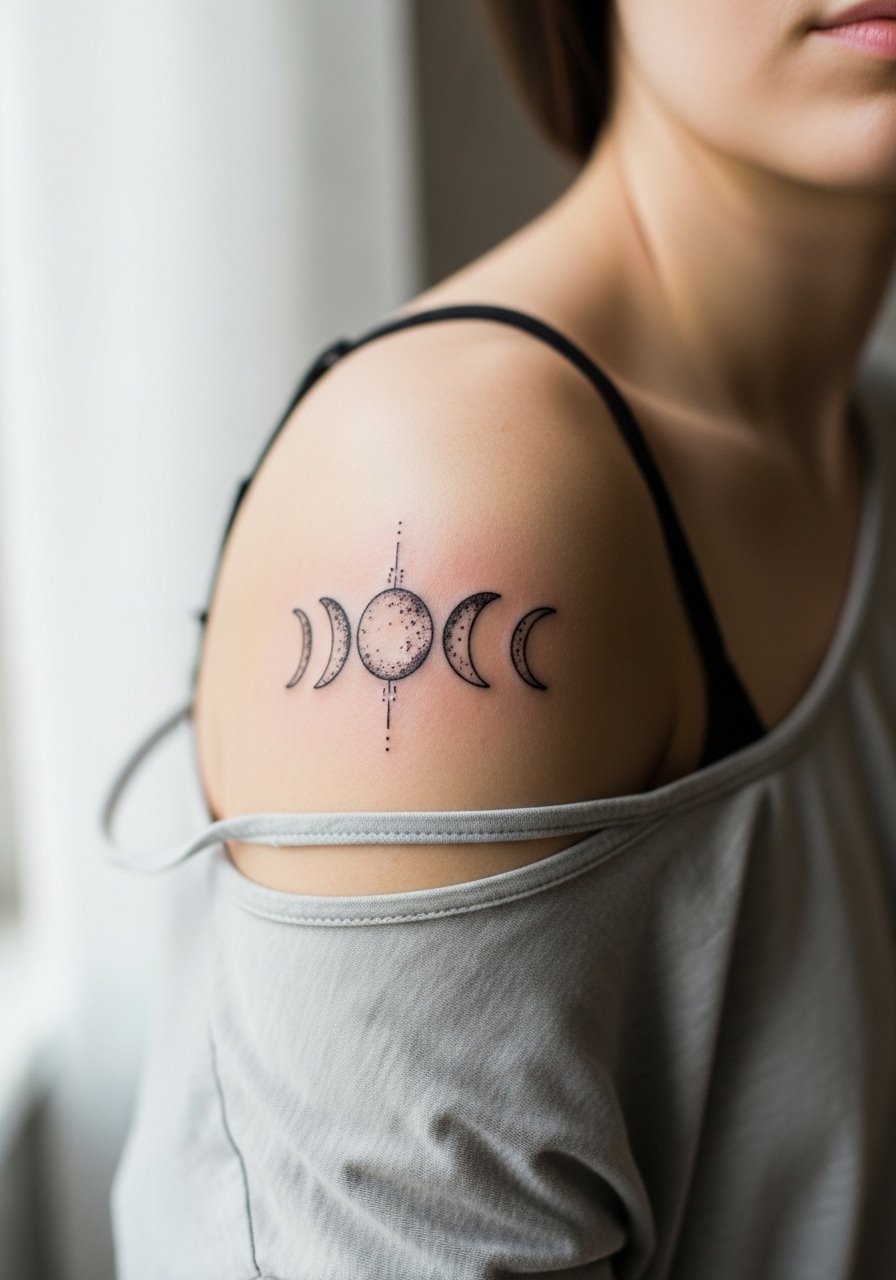
Shoulder placements sit well with circular motifs because the flat-ish surface keeps spacing consistent. The error is compressing phases into under two inches which invites merging. Ask your artist to map the phases along the shoulder curve and confirm line weight for lasting clarity. Pain is low and session time is brief. For the appointment, wear a racerback tank or a loose button-down you can pull aside. After six months phases read clean; minimal softening can appear by year three in sun-exposed areas.
8. Elongated Hourglass on the Thigh
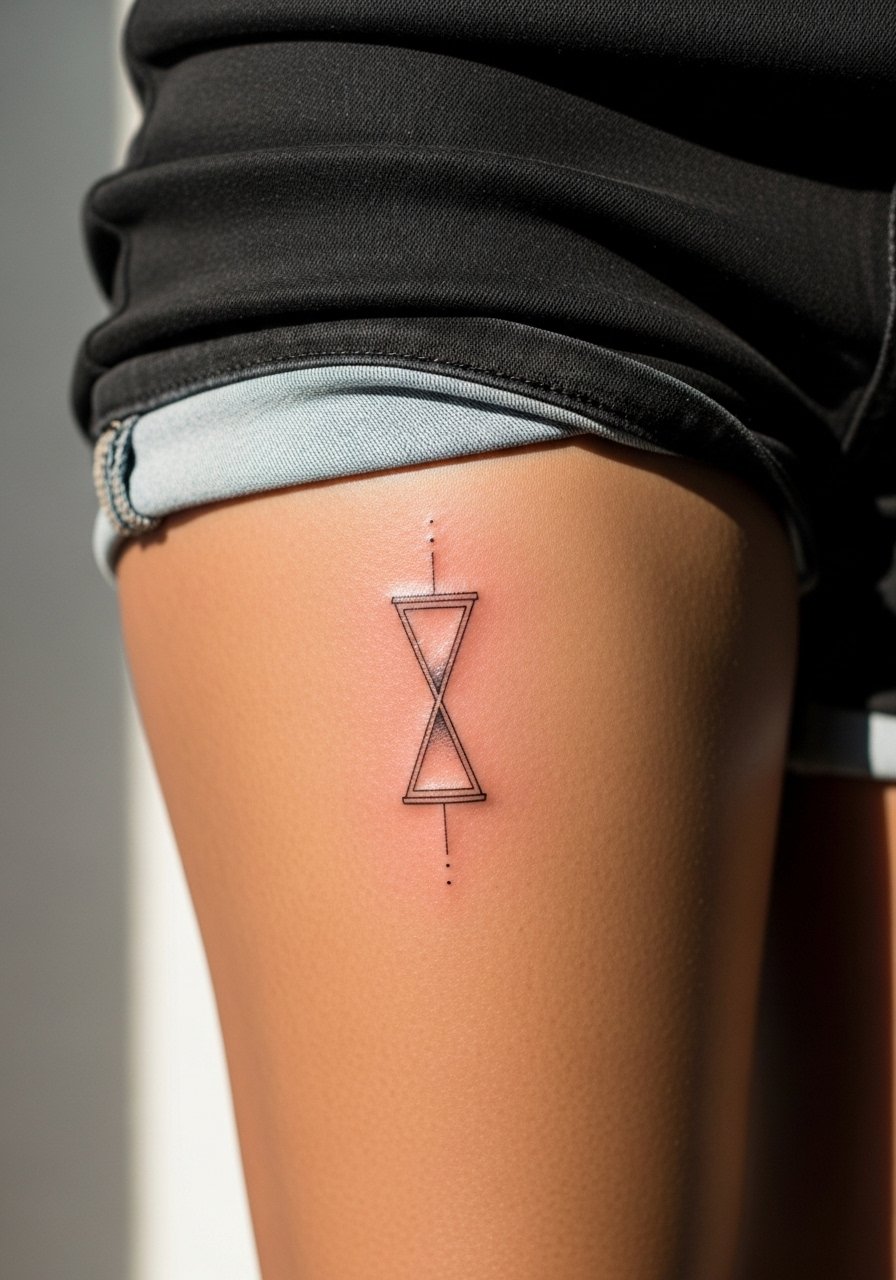
Inner thigh work can be a choice for privacy and dramatic shape. Pain is moderate to high in spots and the biggest mistake is over-detailing in a narrow vertical. Ask for elongated proportions and modest negative space inside the hourglass so the silhouette reads over time. Session wear should let the artist access the inner thigh without tugging, such as high-waisted shorts you can shift. Expect a one-session piece that may need a touch-up if weight or skin changes alter the shape.
9. Dotwork Heart Outline on the Nape
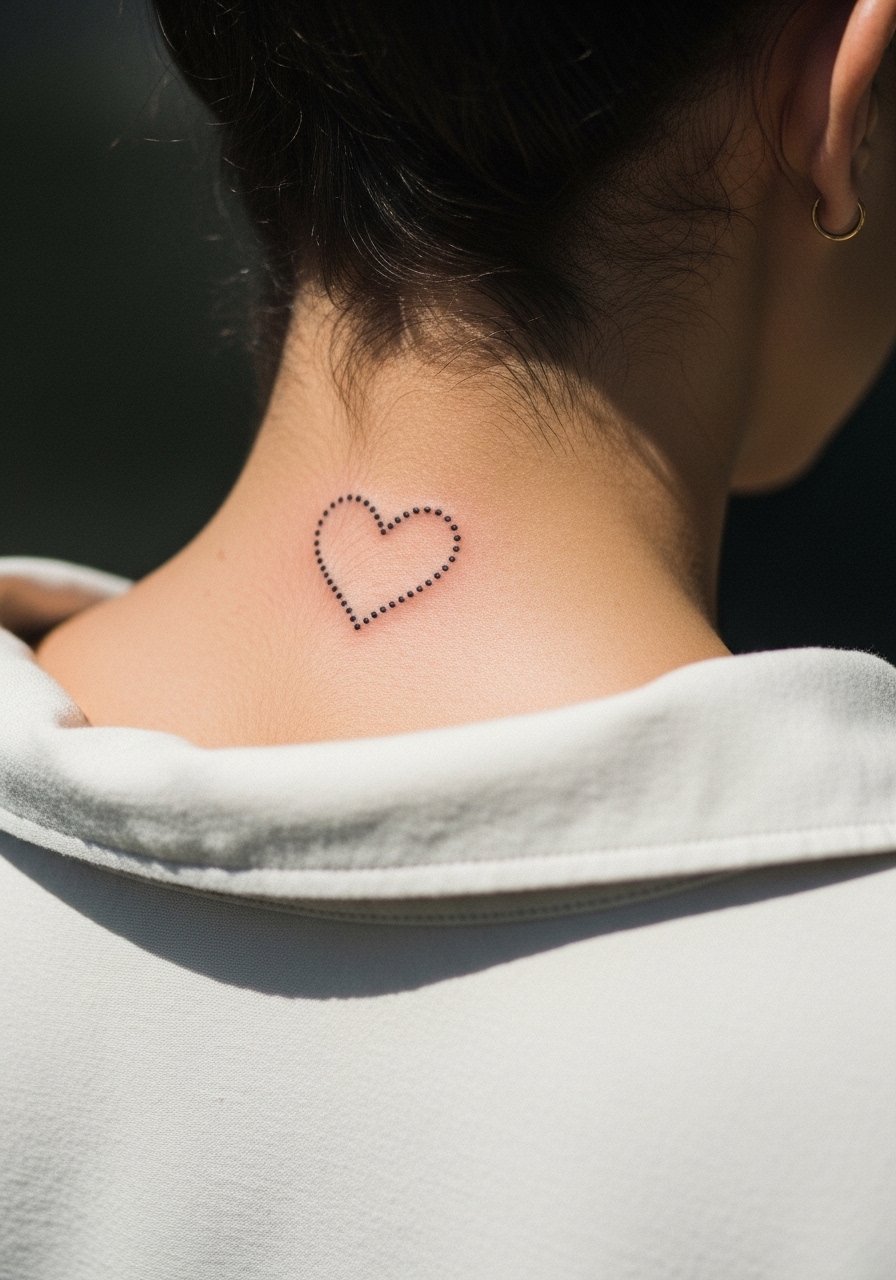
Nape tattoos sit where hair movement and collars can rub the area while healing. The typical error is placing dense dots in a tiny heart which softens into a fuzzier shape. Request spaced dot work and a stencil check while seated so the placement sits under your hairline correctly. Pain is low to moderate. For showing it off, a collared shirt you can pull aside for the session helps the artist and keeps healing cleaner. Plan on checking how the contrast looks on your skin tone before finalizing the stencil.
10. Single Stroke Bird on Upper Back
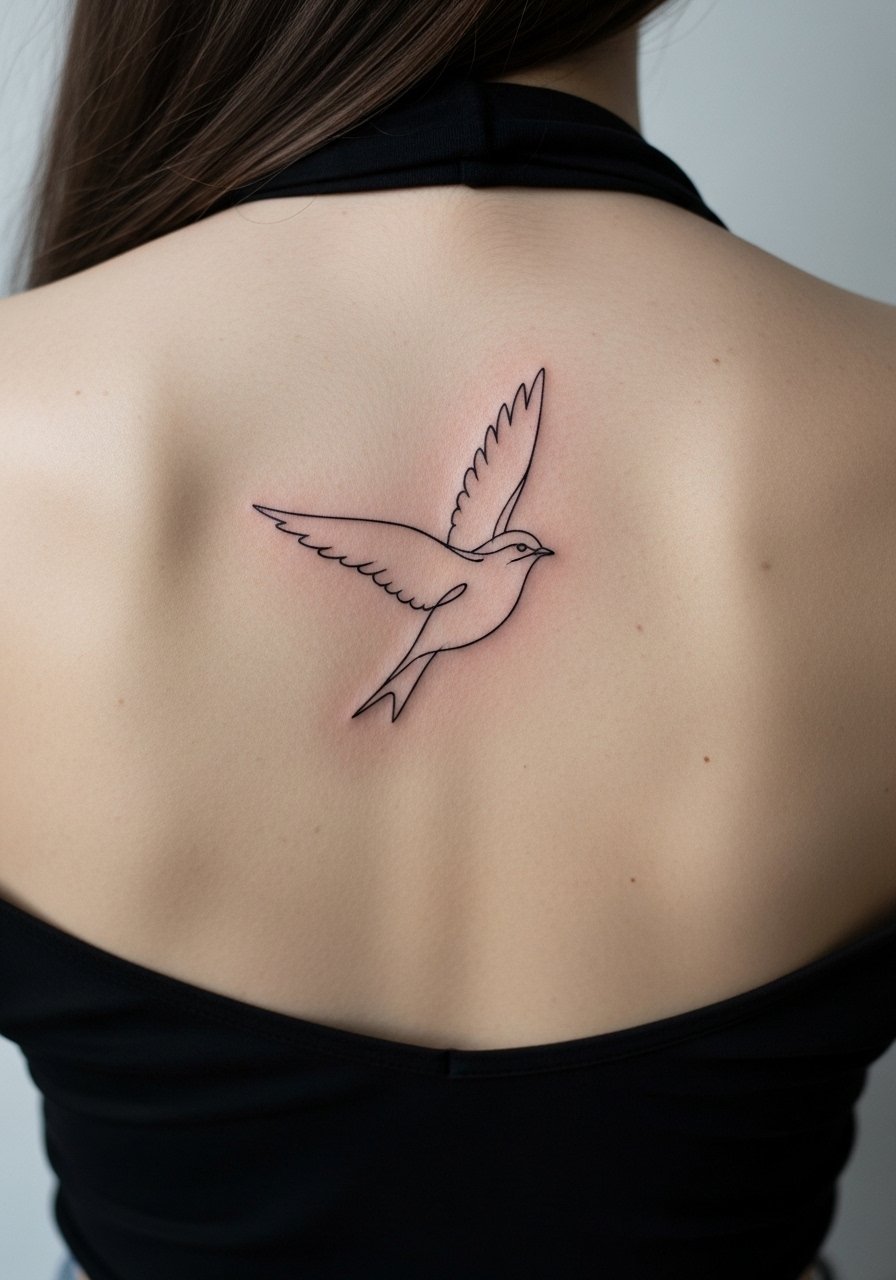
Upper back work gives room for sweeping single-stroke motifs that age gracefully because the area sees less friction. A common mistake is placing the bird too close to the spine where healing can feel odd in prone positions. Ask for a centered placement that follows the shoulder blades. Session time is moderate and the pain is low on most people. Show this piece with a low back halter top or a racerback tank for evenings out. Over five years the silhouette tends to remain readable if lines are kept clean and not overfilled.
11. Thin Infinity Loop on the Finger
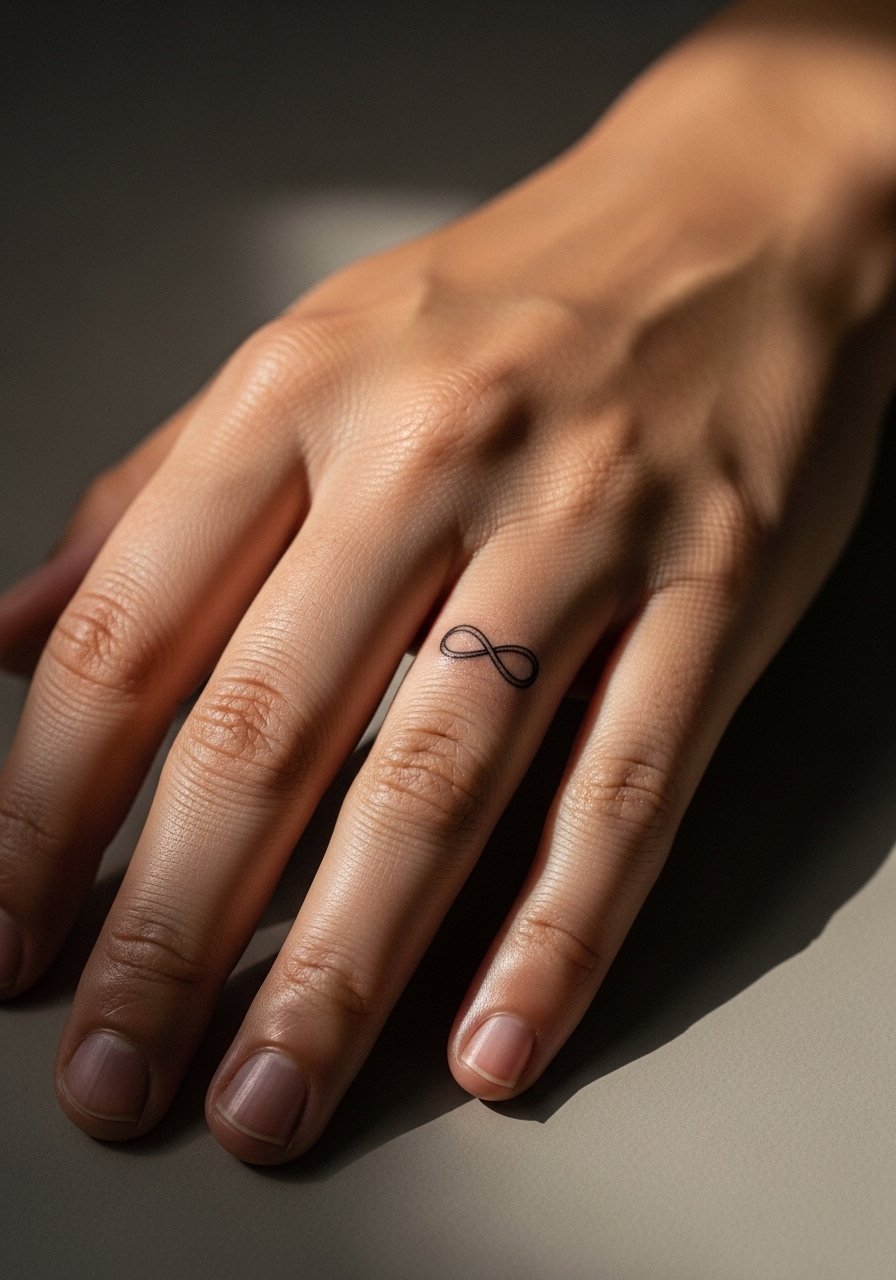
Finger work ages differently because constant washing and friction speed fading. The usual request for hairline thinness is what causes early blur. Ask for a slightly stronger line weight and plan a touch-up at 12 to 18 months. Pain is high and session time is brief. For styling, keep hands minimal with a thin stackable rings look and a neutral manicure so the loop reads without clutter. Expect blurred edges sooner than wrist pieces, and ask your artist about their touch-up policy.
12. Sun Ray Burst on the Upper Arm
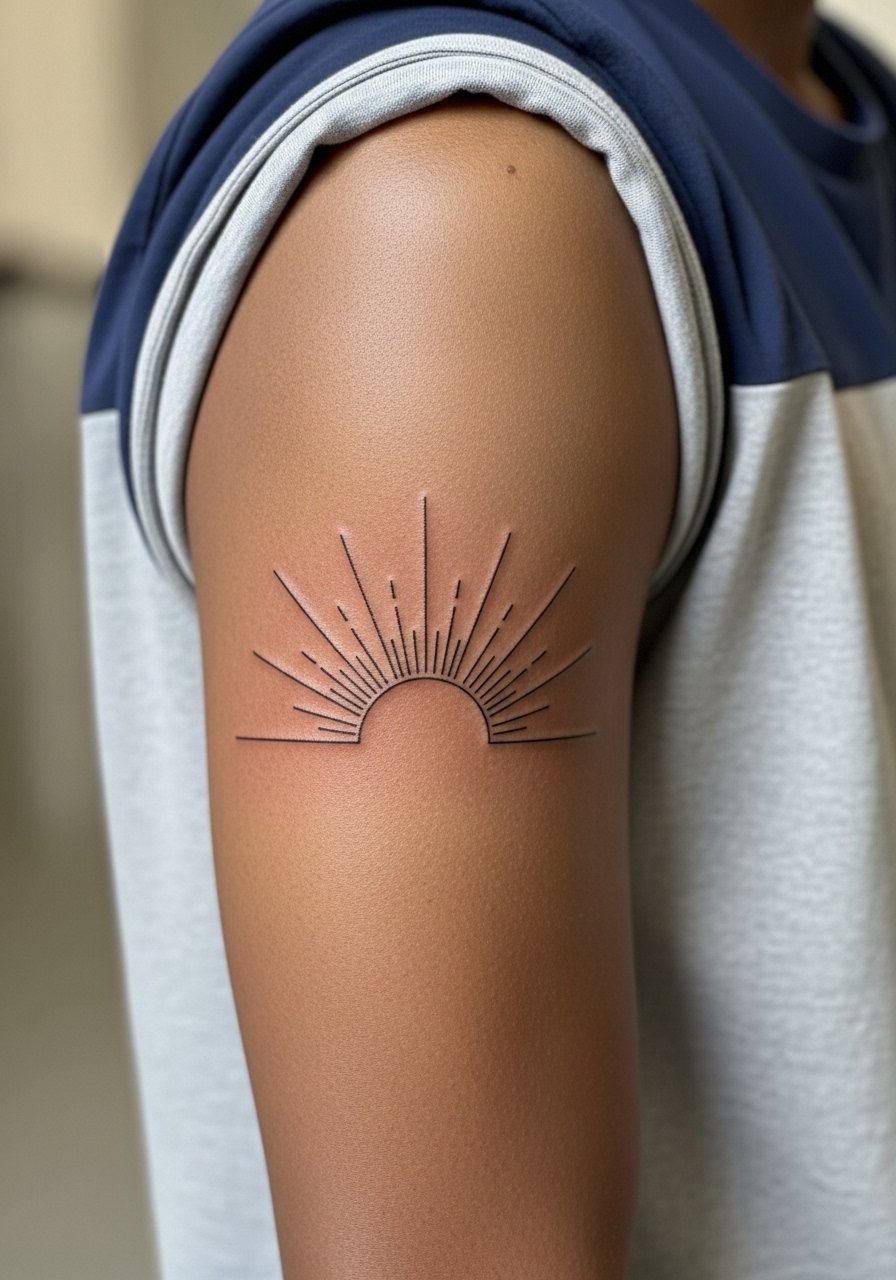
Outer upper arm is forgiving for radial layouts because the skin holds spacing well. The mistake is compressing many rays into a small circle which causes merging as it heals. Request broader spacing and clear outer rays for longevity. Pain is moderate and session time is short. For the session wear a loose button-down shirt you can easily pull aside. Over time the burst keeps its graphic quality if you protect it from heavy sun.
13. Protective Stencil for Multi-Session Forearm Alignment
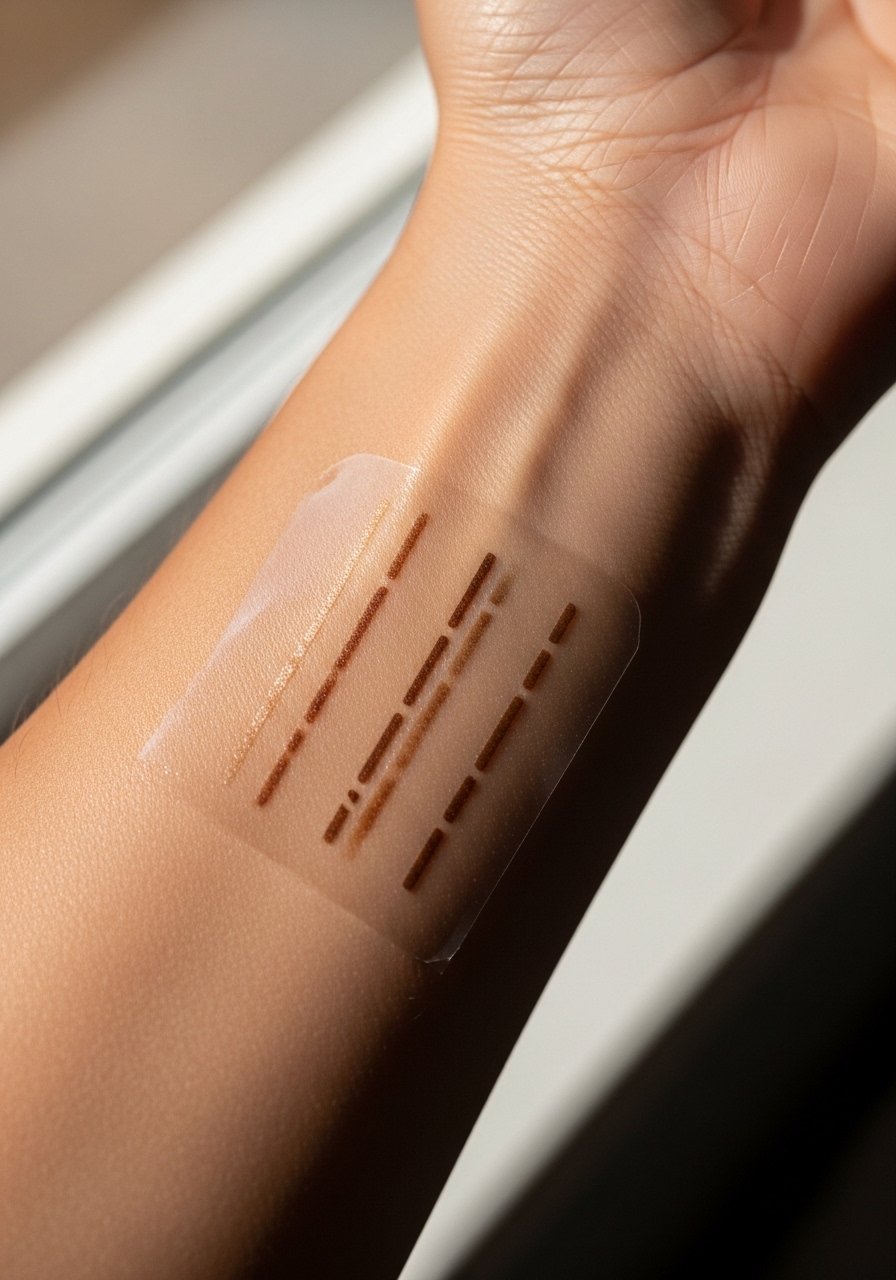
This template is less about the final image and more about technique. Using a robust protective stencil sheet for multi-session alignment keeps a long forearm piece consistent across appointments. Tell your artist you want a protective overlay so the same reference lines are reused. The common pitfall is shifting reference points between sessions which causes misaligned elements. This is also useful if you plan a guest artist hop. Expect slightly more prep time at each session while the overlay is positioned.
14. Scalable PDF Stencil Bundle for Exact Sizing
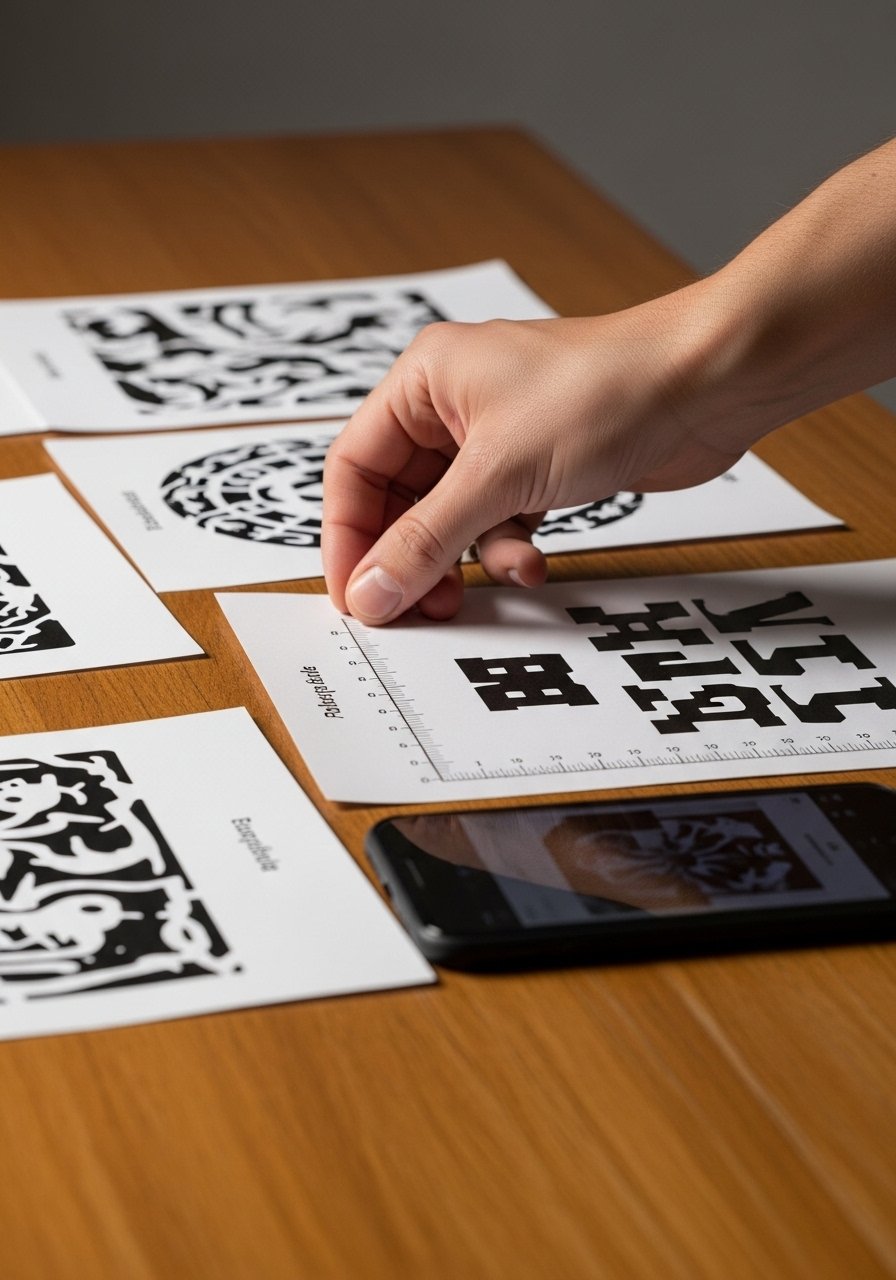
Bring scalable PDFs that let you and the artist print exact sizes on transfer paper. I recommend requesting a few size options printed on your own skin with temporary transfers to confirm final dimensions. The mistake is relying only on a photo mockup that does not account for curvature. This approach helps with collarbone and forearm pieces where curvature changes perceived size. It shortens consultation back-and-forth and gives you control over how the design will sit on your real body.
15. Negative-Space Crescent on the Thumb Side
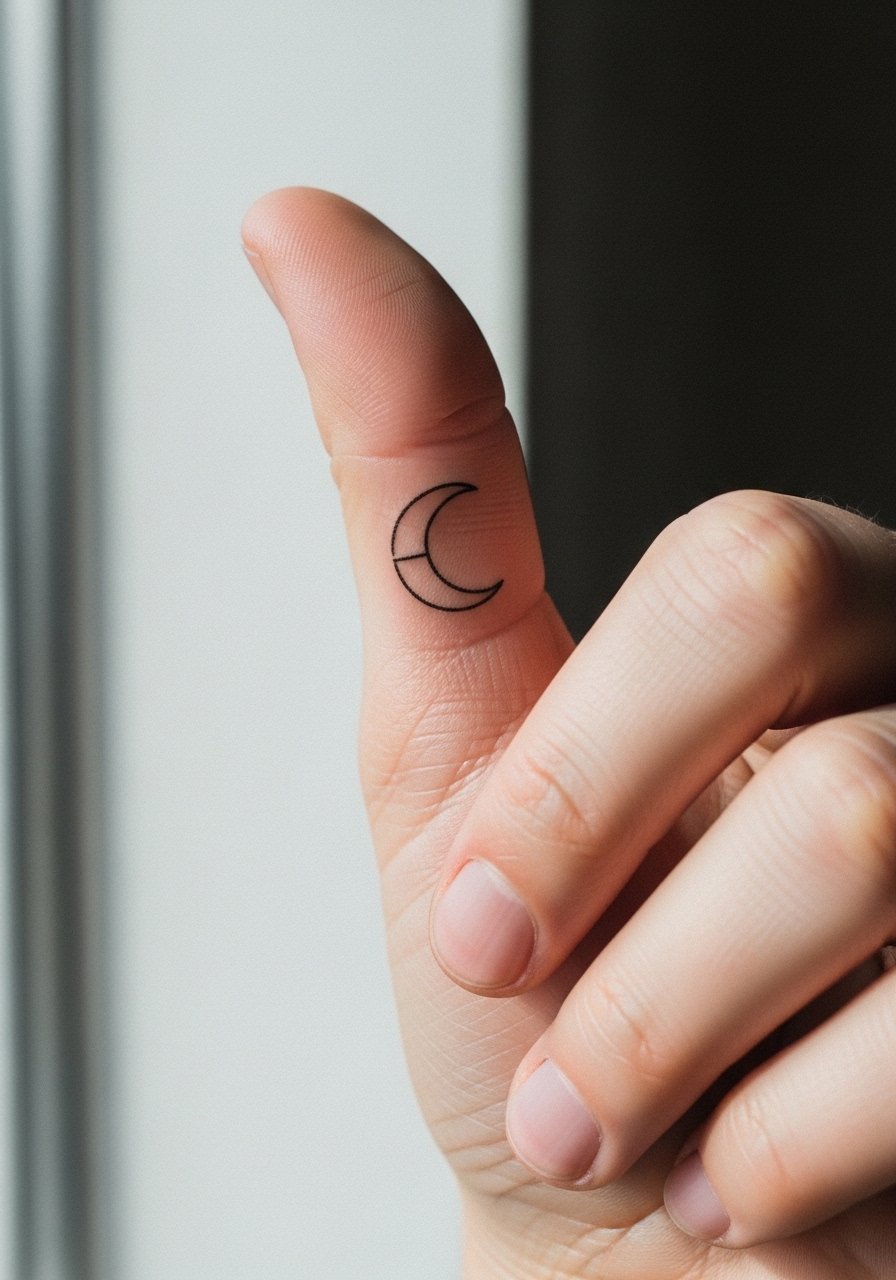
Negative-space designs can increase contrast on darker skin tones where thin lines sometimes wash out. The common error is making the negative shape too small to read. Ask the artist to test a temporary transfer first so you can see the contrast against your skin tone. Pain is high and touch-ups are likely in the first year due to constant hand use. Keep expectations realistic about how long a thumb-side motif will stay crisp.
16. Compass Outline on the Outer Calf
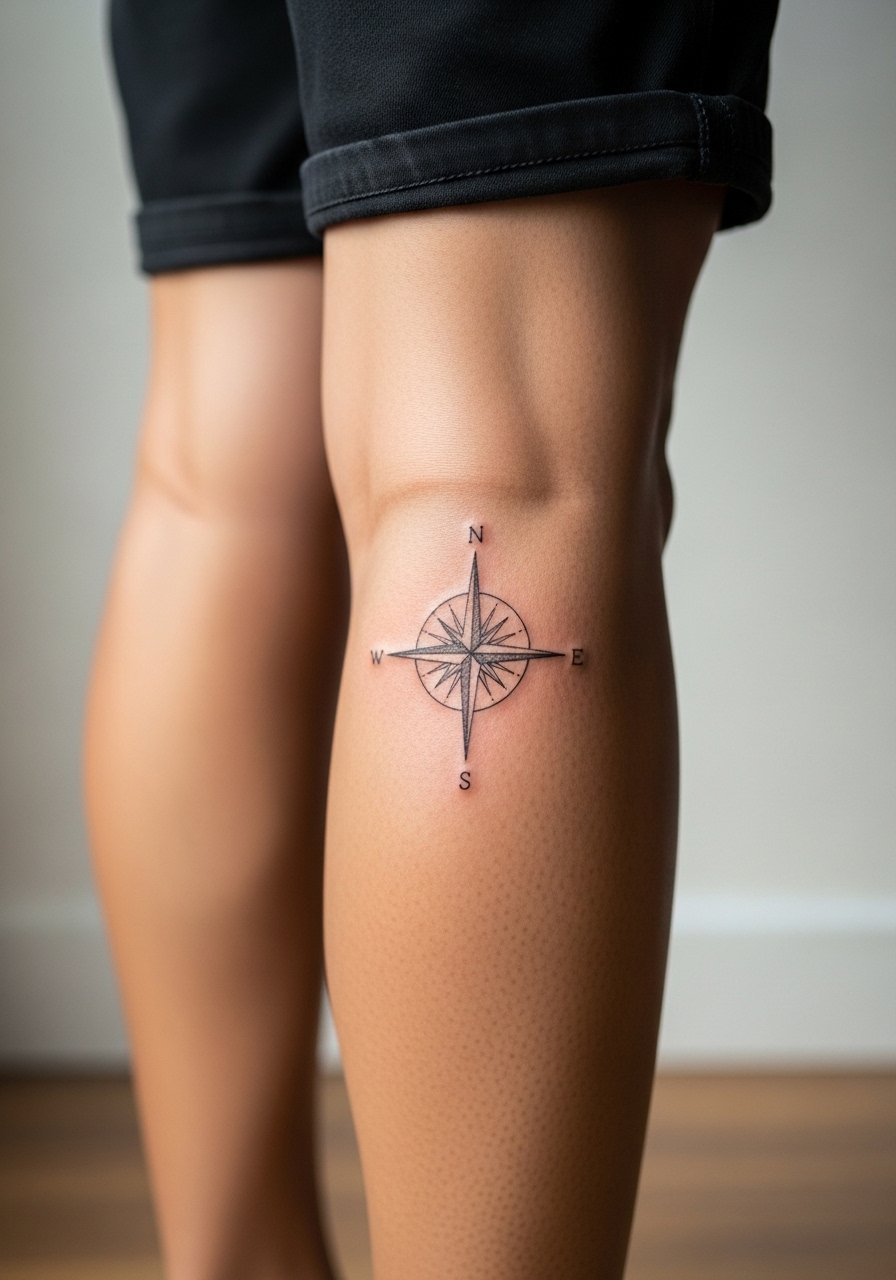
A compass benefits from clear cardinal points and open negative space between spokes. People sometimes request tiny compasses which lose directional clarity after healing. Ask for spaced points and a slightly bolder outer ring for longevity. Pain and session length are moderate. The outer calf is forgiving and the piece will age better than compact, detailed variants. For showing it off wear mid-length skirts or shorts that frame the calf.
17. Inner Bicep Script in Minimalist Typeface
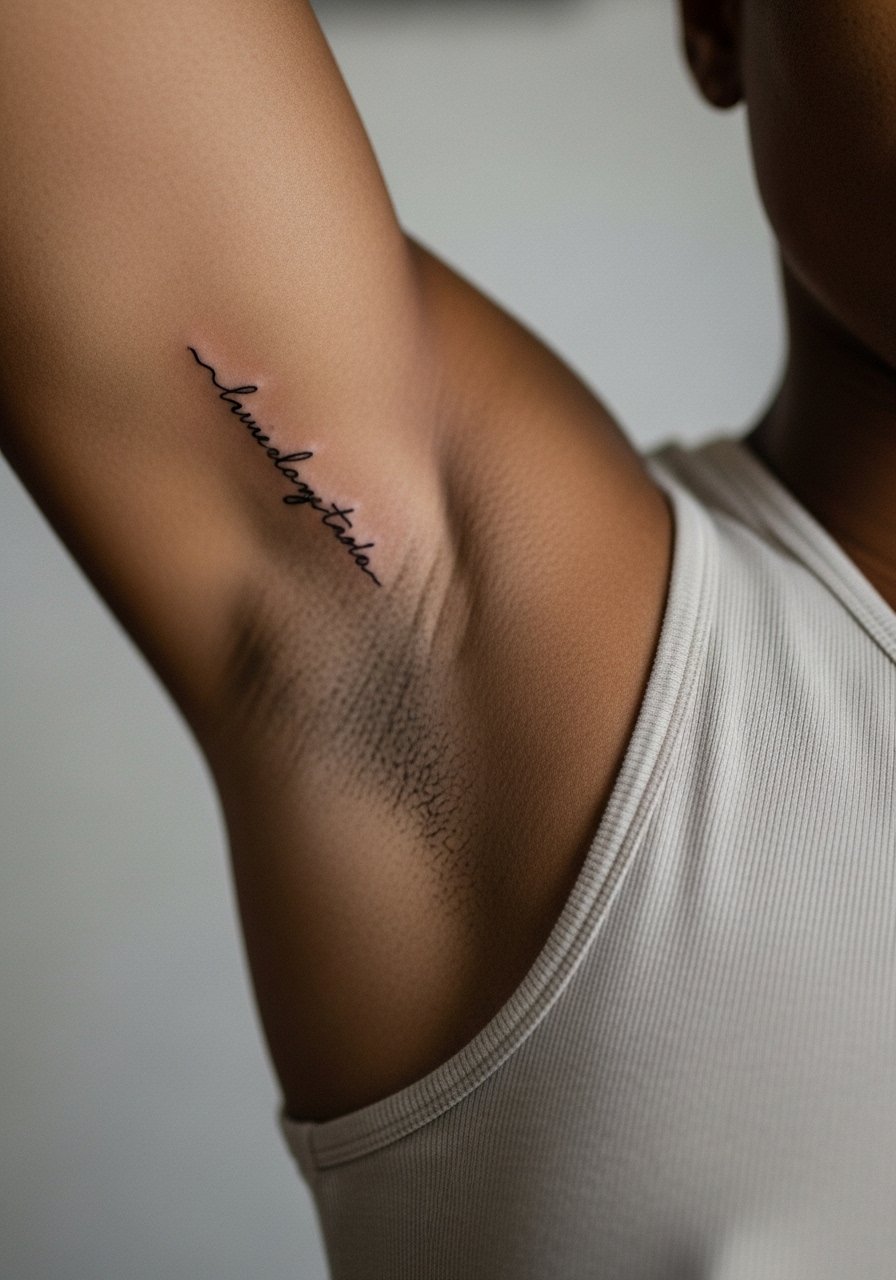
Inner bicep placements can keep script private but the skin can be delicate. The usual mistake is choosing a dense, ornate typeface that smudges in close letter spacing. Pick a minimalist typeface with clear spacing and ask your artist to print a stencil so you can watch the placement while seated. Expect higher pain in certain spots. For the session wear a tank top that gives clean access without exposing more than necessary. Plan for a check-in after healing to see if any letters need a careful touch-up.
Frequently Asked Questions
Q: Will thin single-needle tattoos blur faster on fingers and ribs?
A: From what I have seen, fingers and ribs are the two spots that show blur sooner. The skin movement and friction on fingers plus the thin dermis on ribs increase the chance of ink spread. Ask for slightly heavier line weight and a touch-up plan when you book.
Q: How should I test a PDF stencil for placement before the session?
A: Print the design at full size and use adhesive stencil paper or temporary transfer methods to place it on the intended area. Wear the same clothing you plan to wear to the shop so you can see how collars or sleeves will interact with the tattoo.
Q: Should I pick Spirit paper or printable PDFs for a crisp transfer?
A: Artists split on this. One camp says Spirit paper gives the cleanest blueprint on curved skin. The other prefers scalable PDFs for precise sizing. A practical approach is to bring both a PDF and Spirit transfer samples so the artist can choose what works on your skin and placement.
Q: What should I wear to a shoulder or upper back session?
A: Choose clothing that exposes only the area and can be adjusted without full undressing. A racerback tank or a button-down you can pull aside works well and keeps you comfortable during longer sessions.
Q: How often do minimalist wrist and ankle pieces need touch-ups?
A: Expect wrist and ankle pieces to settle into a thinner line by year two. Many people plan a light touch-up between 12 and 24 months, depending on activity, sun exposure, and how the skin accepted the ink.
Q: Are there stencil-drawing skills I can bring to consultations to speed things up?
A: Yes. Bringing clean vector references, scaled PDFs, or even a traced overlay of where you want the design to sit helps the artist align details faster. It also makes it easier to discuss spacing and line weight before the needle hits the skin.
