
Fine line wolves dominate feeds right now, but trend and longevity do not always match. I see clients pick tiny wrist silhouettes for the aesthetic and then come back for touch-ups sooner than they expected, or pick a delicate collarbone piece that needed bolder spacing to age well. This list balances what looks great fresh with what holds up, and it starts with a simple howling silhouette you can get in a single session.
1. Minimalist Howling Wolf Silhouette on the Inner Wrist
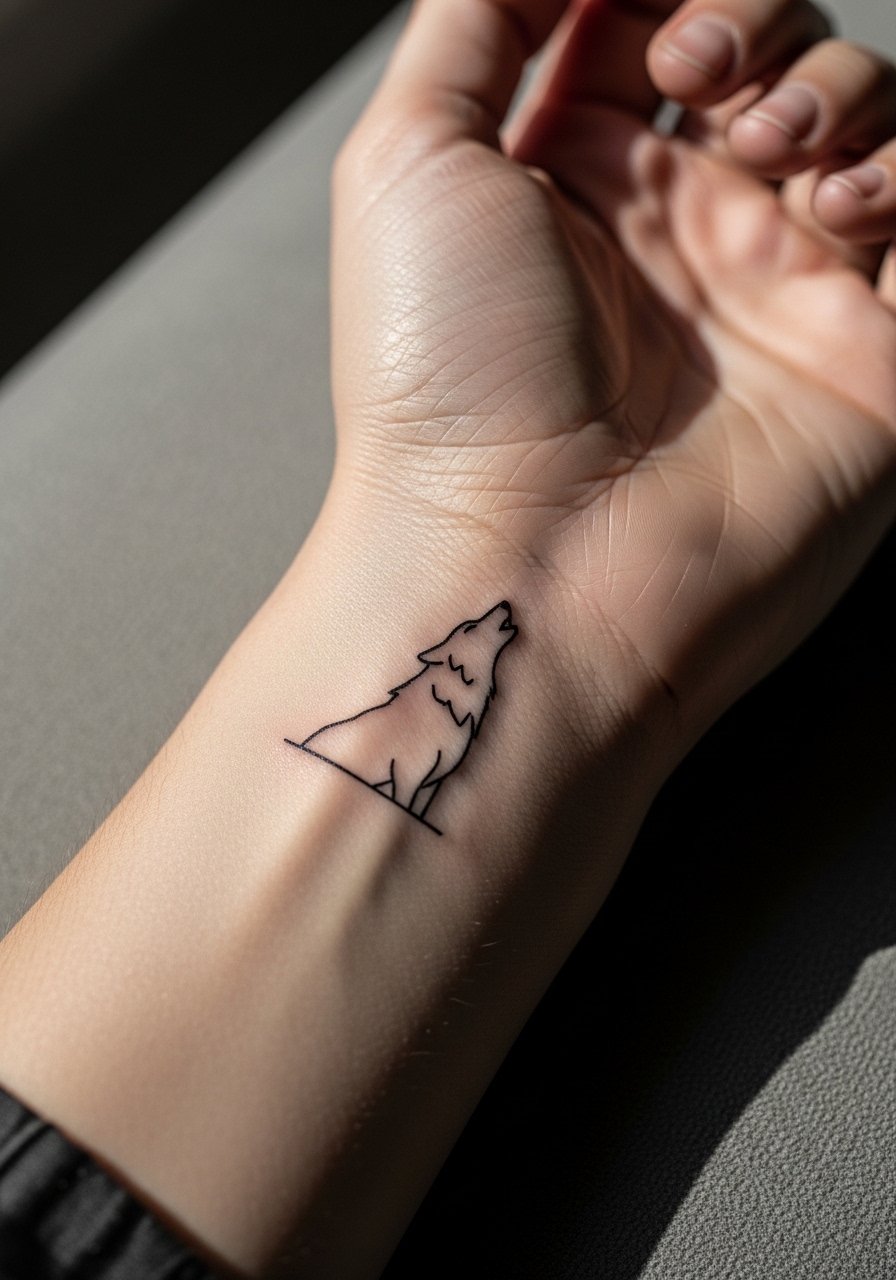
I recommend this when you want a tiny piece you can glance at daily. Expect a short session and low saturation, but fair warning, wrists see constant washing and friction. Ask your artist for slightly thicker linework than the absolute thinnest needle, and plan a touch-up window around 12 to 18 months if lines soften. For the appointment, wear a sleeveless tank top so the artist has clear access. The common mistake is asking for hair-fine lines with zero spacing. That looks delicate at first and then blurs. Pain sits low to medium on most scales for this placement.
2. Geometric Wolf Head Outline on the Outer Forearm
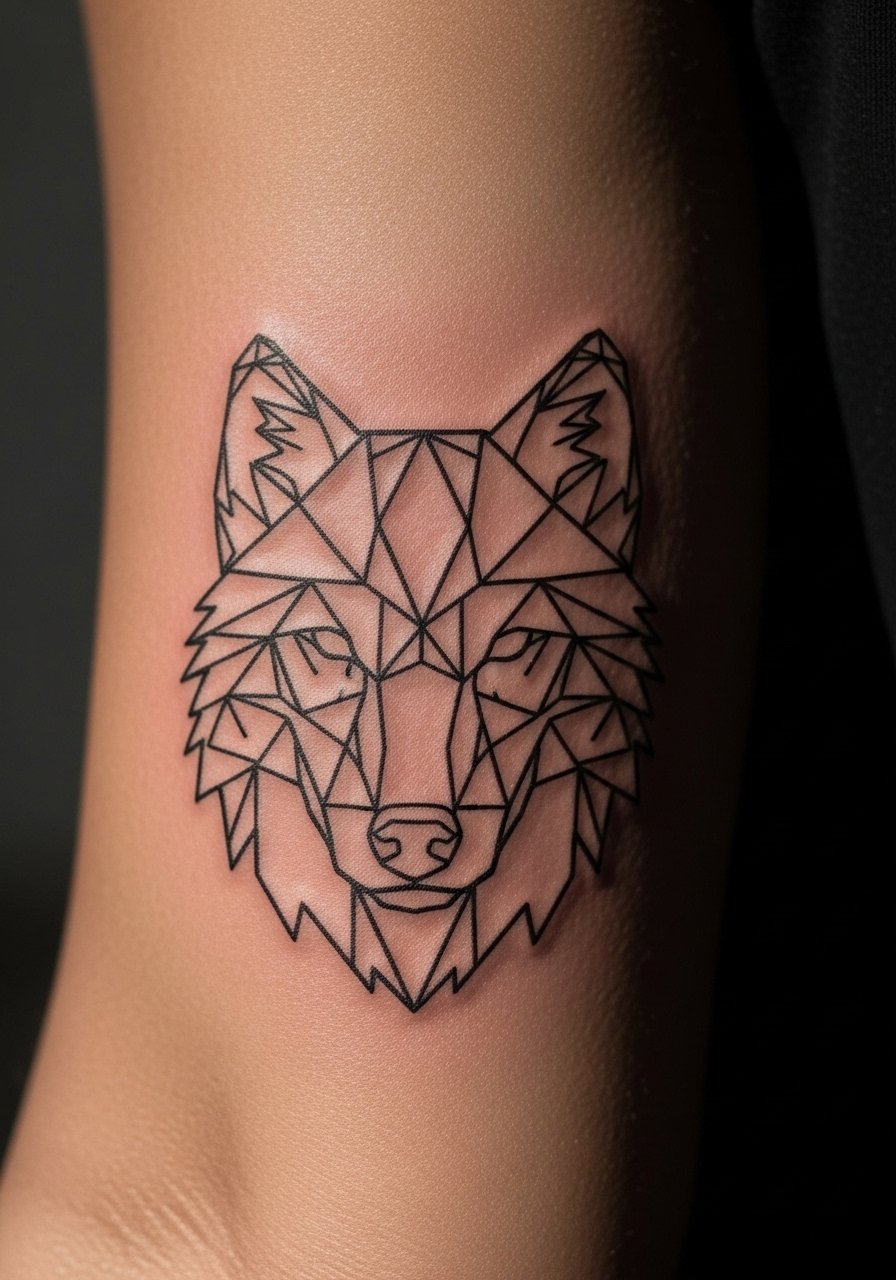
This is for someone who wants structure and strength in a modern frame. The forearm handles sharper angles well because the skin sits flat and stretch is minimal. Tell your artist you want negative-space panels and slightly increased spacing between intersecting lines so the geometry does not merge as it heals. Forearm pain is usually mild, and sessions are often a single hour for a 3-inch piece. Pair this with a rolled cuff chambray shirt when you want to show it off. A rookie move is squeezing too many tiny triangles into the face. Give the lines room to breathe.
3. Tiny Lone Wolf Profile at the Ankle
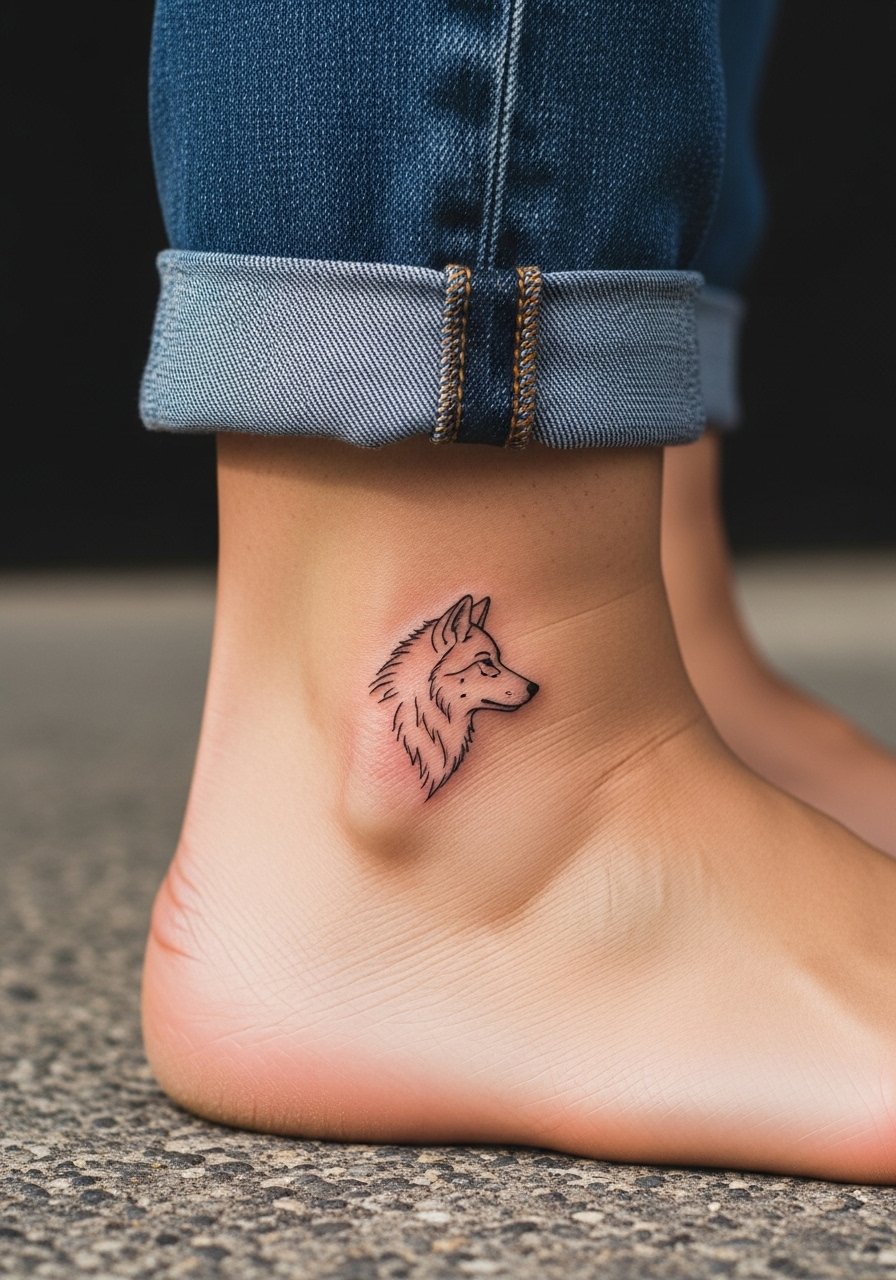
This micro-minimalist pick is common for first tattoos because it reads discreetly and heals quickly. Expect a single-needle look that can be sensitive on the ankle, especially near bone. There is a real debate here. One camp says fine line at this size is elegant and worth the trade-off. The other camp argues that tiny single-needle work fades faster and needs touch-ups at year two or three. My practical advice is to opt for slightly bolder single lines and discuss a planned touch-up window with your artist. For showing it off, cuffed jeans and espadrille flats work well. Watch for blowout risk on very thin ankles.
4. Wolf with Moon Phases Lineart on the Collarbone
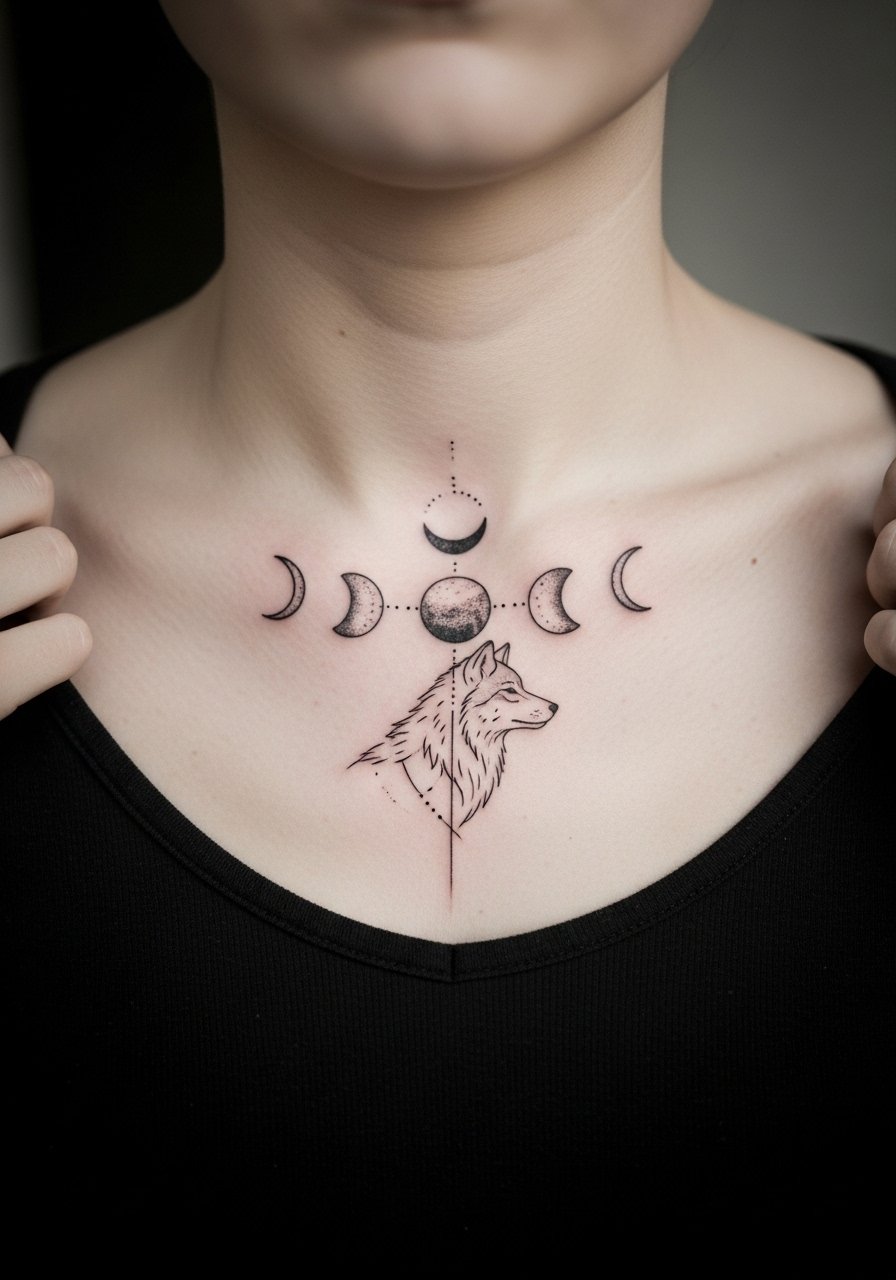
This layered symbolic piece is about cycles rather than size. Collarbone pieces photograph beautifully but the skin there moves with breathing and clothing. Ask for slightly thicker spacing between moon crescents and for the wolf outline to have clean negative-space highlights. For the session, pull on a wide-neck shirt you can shift aside easily. A common misstep is packing too many tiny moons into a narrow band. Expect medium pain and consider a two-session approach if you want gray wash to add depth.
5. Simple Wolf Silhouette Against Stars on the Shoulder Blade
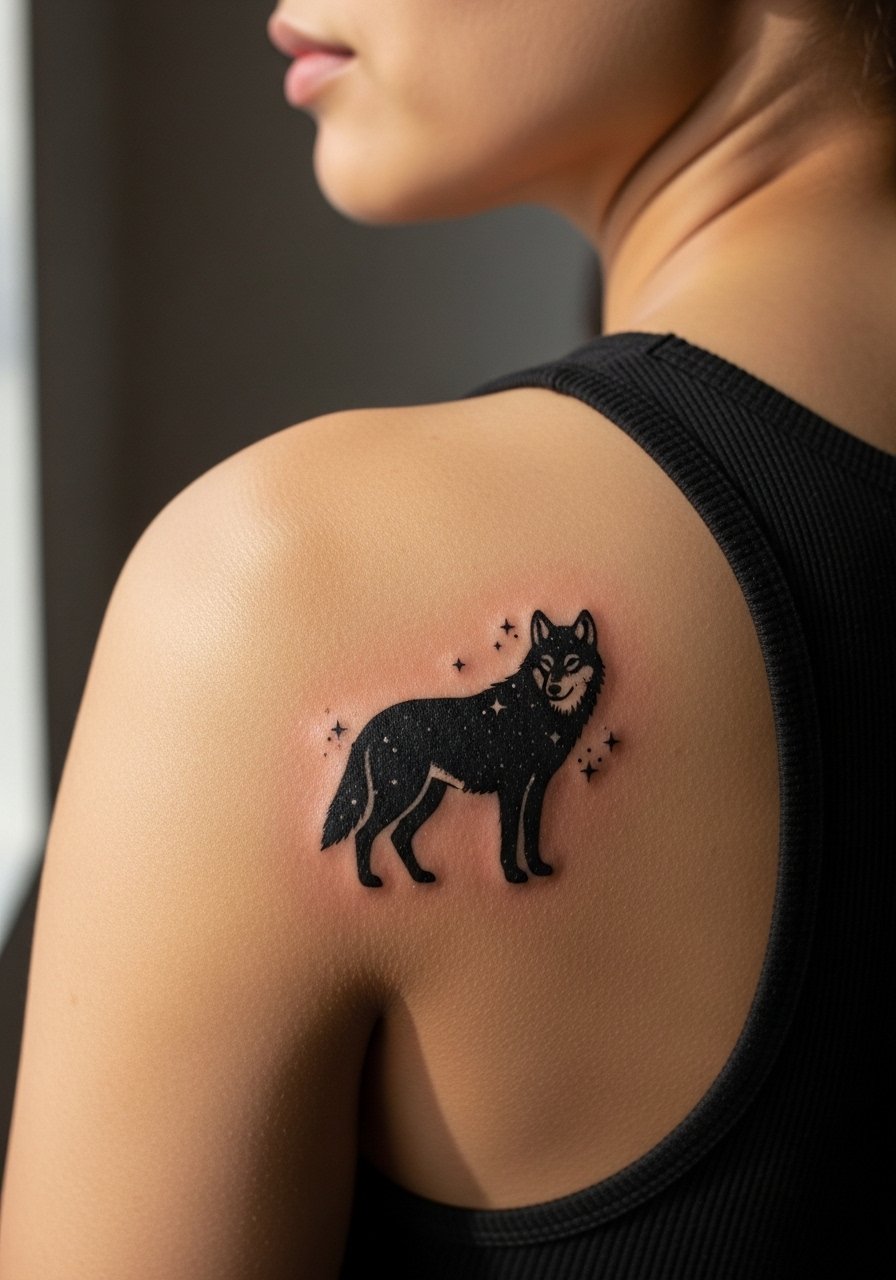
The shoulder blade is forgiving for solid black silhouettes because the area experiences little daily abrasion. This makes it a low-maintenance choice if you want a clean black fill. During consults, I tell people to specify the star placement and negative-space edges so the silhouette reads on darker skin tones. For show-off outfits, a strappy tank top or backless dress frames the piece without hiding it. Sessions are usually single visits unless you add large fills. Longevity here is strong compared with high-friction zones.
6. Fine Line Wolf Paw Print on the Ankle
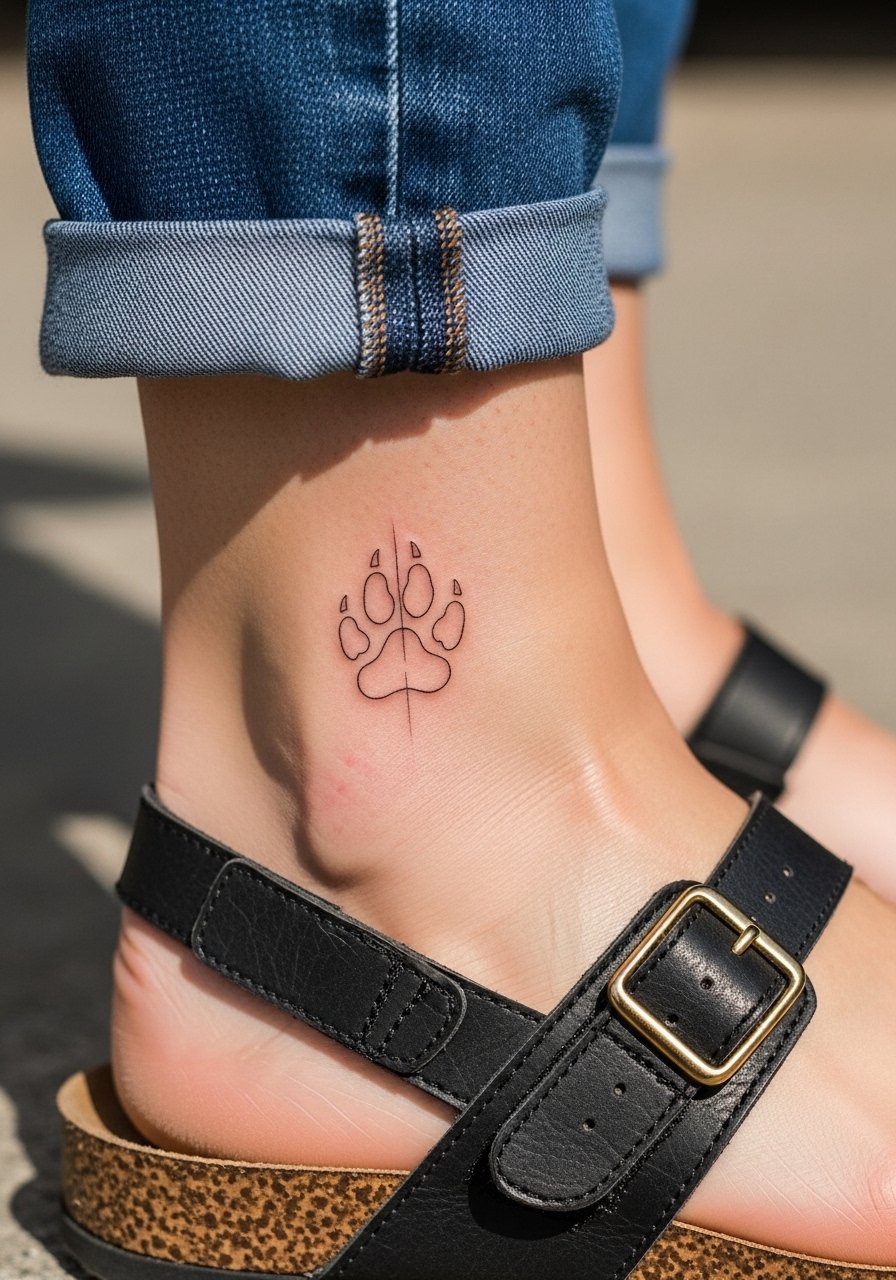
This tiny symbol reads as a quiet marker of strength. The ankle sees a lot of moving parts and rubbing, so ask the artist to scale the pads slightly larger than the reference. The biggest mistake is insisting on ultra-fine dots for the pads with no contrast, which blurs into a smudge. For the appointment, wear no-show socks and loose joggers so the artist can access the area. Expect a touch-up window at 12 to 18 months for single-needle dots, especially if you wear tight shoes often.
Studio Day Picks
Those first six picks include wrists, forearms, ankles, a collarbone piece, and a shoulder blade design, so a few practical items smooth the session and early healing.
- Stencil transfer paper kit. Lets you test placement on moving skin before the needle starts, which is especially helpful for wrist and collarbone lines.
- Topical numbing cream. Applied before the session can reduce the sharp edge on ankle and collarbone placements without affecting the linework.
- Thin protective film roll. Useful for low-profile wrist and ankle pieces that face daily friction and toe straps.
- Fragrance-free gentle body wash. Cleanses the area during showers without stripping the fresh linework that tiny designs depend on.
- Aquaphor Healing Ointment. Thin layers in the first days help keep fine line channels supple while the skin forms a stable surface.
7. Abstract Wolf Geometric Triangle on the Outer Thigh
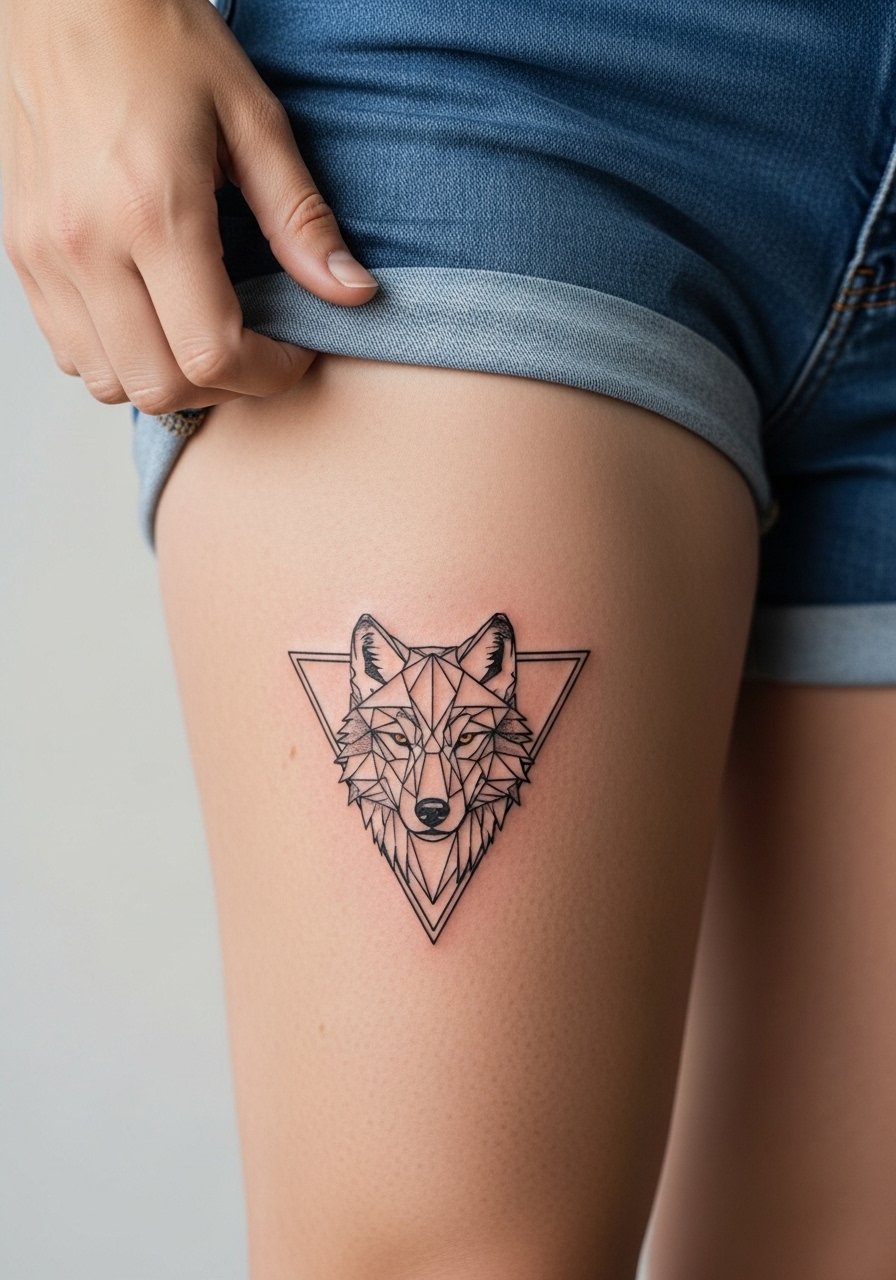
The thigh is forgiving for geometric density because the canvas is broad and tissue shifts less with small weight changes. Tell your artist you want clean intersections and slightly larger negative spaces inside the triangle to prevent lines from merging. Session wear should be high waist shorts or loose drawstring shorts so you can expose the zone without discomfort. Thigh pieces are lower on the pain chart and age well if line spacing is generous. Avoid packing micro-angles into a tiny footprint.
8. Minimalist Wolf Eye Close-Up Behind the Ear
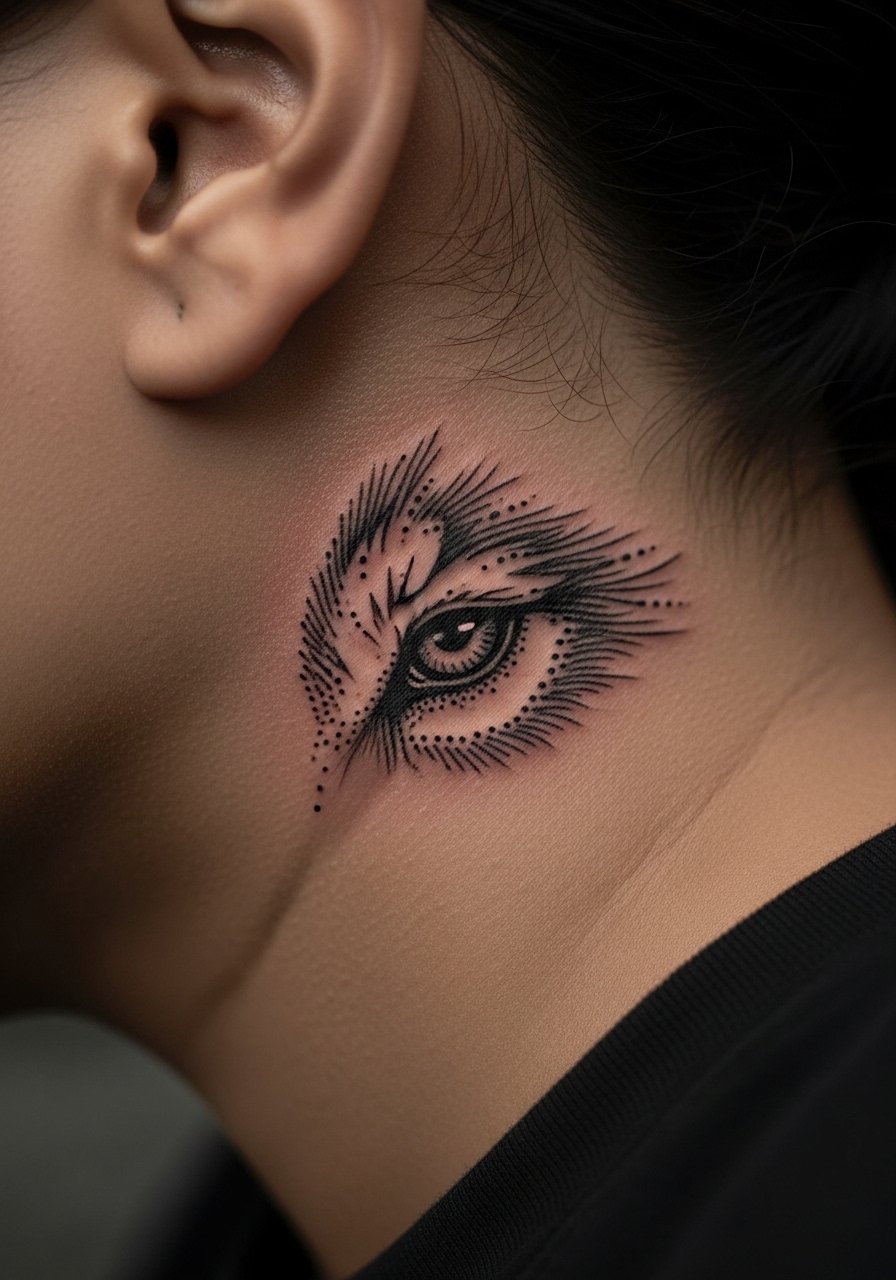
Behind-the-ear placements are intimate and can be hidden under hair. They also require a specific framing for photos and sessions. Ask for dotwork shading with a single point of contrast so the pupil does not wash out on darker tones. For this sensitive site, expect a quick but intense sting and a short session. Note that you must specify exact positioning below the hairline so the artist avoids the cartilage edge. This spot eludes casual visibility, so plan how often you want it seen.
9. Lone Wolf Forearm Outline on the Inner Forearm

Inner forearm placements look great in day-to-day life because they are visible and flat. I advise clients to ask for linework that reads at arm distance and to avoid ultra-fine cross-hatching that can clog. There is an ongoing disagreement in the community about fine line longevity. One group insists the style ages gracefully and the soft wear is part of the appeal. The other group warns that fine needle work needs a touch-up sooner than bolder lines. My practical middle ground is to choose slightly thicker single lines and agree a refresh at year two if needed. For session clothing, roll a cuffed button-down or wear a loose fit button shirt you can slide aside.
10. Wolf and Moon Minimalist Duo on the Ribcage
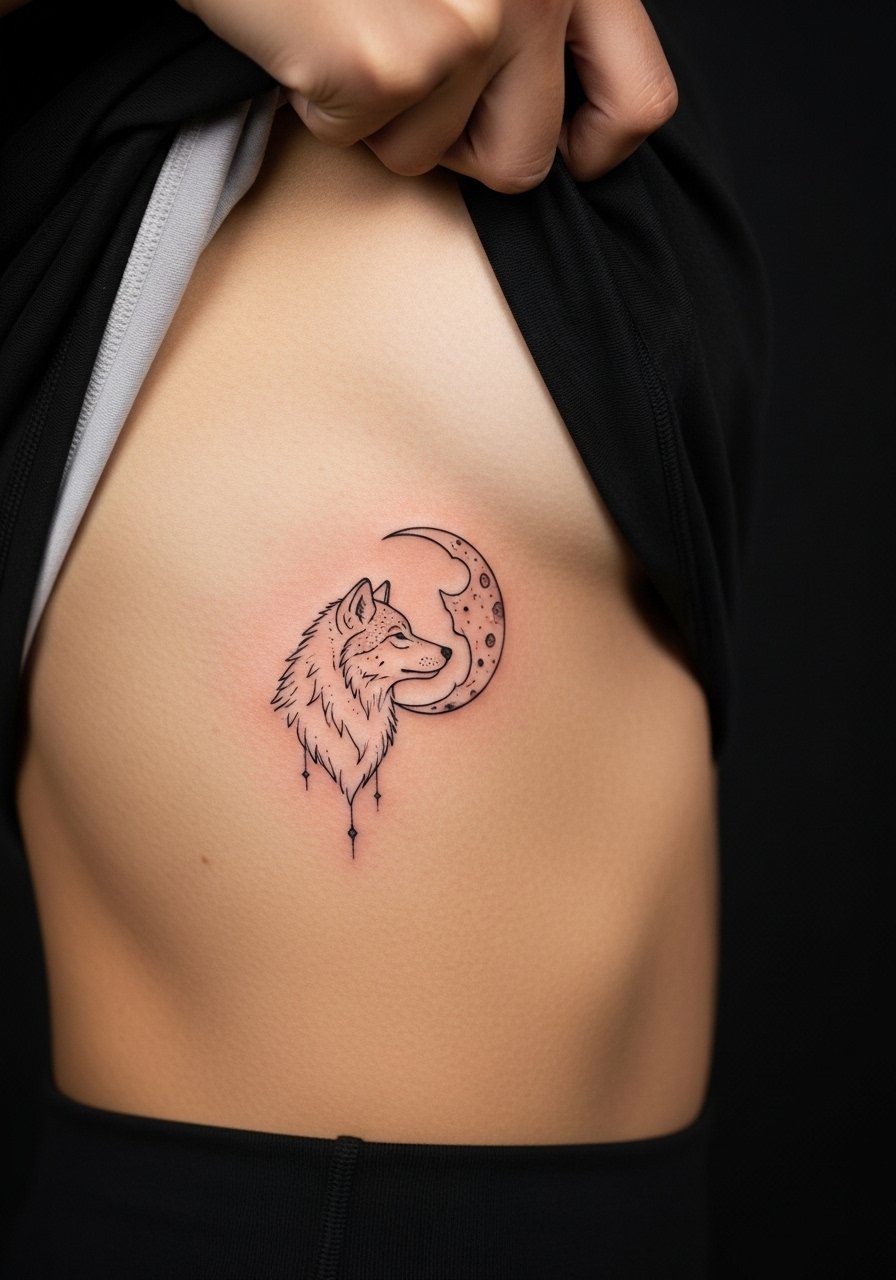
Ribcage pieces have higher pain profiles but they read dramatically when healed. They also test fine line durability because the skin stretches with movement. Artists split into two camps about ribs. One camp says the area stretches and thin lines blur quickly. The other camp counters that with experienced depth control and spacing, ribs accept fine line work well. Before you book, ask where an artist stands on that divide. For the session, wear a fitted sports bra or a cropped top you can lift easily. Expect longer sessions if you add subtle gray washes.
11. Tribal Minimalist Wolf Armband on the Upper Arm

If you want a compact armband that reads from a distance, go for bold, clean curves rather than busy patterning. Upper arm skin handles saturation and will keep bold blacks strong over time. Tell your artist you prefer solid negative-space breaks so the band does not look like a single thick block. Pain is low and sessions are usually a single visit. This style carries cultural weight in some contexts, so consider a small variation that nods to tradition without copying sacred designs directly.
12. Wolf Woman Fusion Outline Along the Spine

A vertical spine piece reads as a personal emblem and looks especially striking under open-back dresses. The skin along the spine moves differently, so ask for consistent spacing and a reference showing scale against vertebrae. For the session, a thin tank you can slide down to expose the area works best. The main mistake is adding too many small ornaments that compete with the fused figure. Expect medium pain and a two-session plan if you want shading around the fusion.
13. Negative Space Wolf Eyes on the Collarbone

Negative space lets the skin itself become part of the design, which is useful on medium and darker tones where contrast needs careful planning. Request proofing on skin prior to the session so you can confirm that the negative gaps will read as intended. Off-shoulder blouses in cream linen complement the shape when you want to show it. The common error is making the negative zones too narrow, which leads to visual collapse after healing. Ask for mock placements before the first poke.
14. Tiny Sternum Wolf Tooth Minimal Piece

Sternum tattoos sit near the centerline and often come with increased sensitivity. Keep the design compact and clear. I advise simple single-line tooth shapes rather than intricate filigree because the sternum area can obscure small detail as it heals. Wear a strapless or sports bra for the session so the artist has access without exposing unrelated areas. Think ahead about how chest contact from clothing or seat belts will affect early healing.
15. Constellation Wolf Ankle Band

An ankle band that reads like a constellation plays well with summer footwear and cuffed jeans. For longevity, keep the dot clusters slightly larger than you might sketch on a screen. A simple mistake is packing too many tiny stars close to a thin outline. For the session, wear pants you can roll up and a skirt or shorts for aftercare ease. The piece tolerates light touch-ups if dots spread in high-friction zones.
16. Howling Mountain Wolf on the Calf

Calf placements offer a pleasing vertical canvas and age well because they avoid constant rubbing. This design combines simple silhouette with angular mountain lines. Tell the artist you want clear separation between the wolf edge and the mountain marks to prevent visual merging over time. Session time is moderate and pain is usually low to medium. For casual reveal, pair with high socks or rolled shorts. Avoid cramming dense detail into the wolf head.
17. Dotwork Minimalist Wolf Face on the Bicep
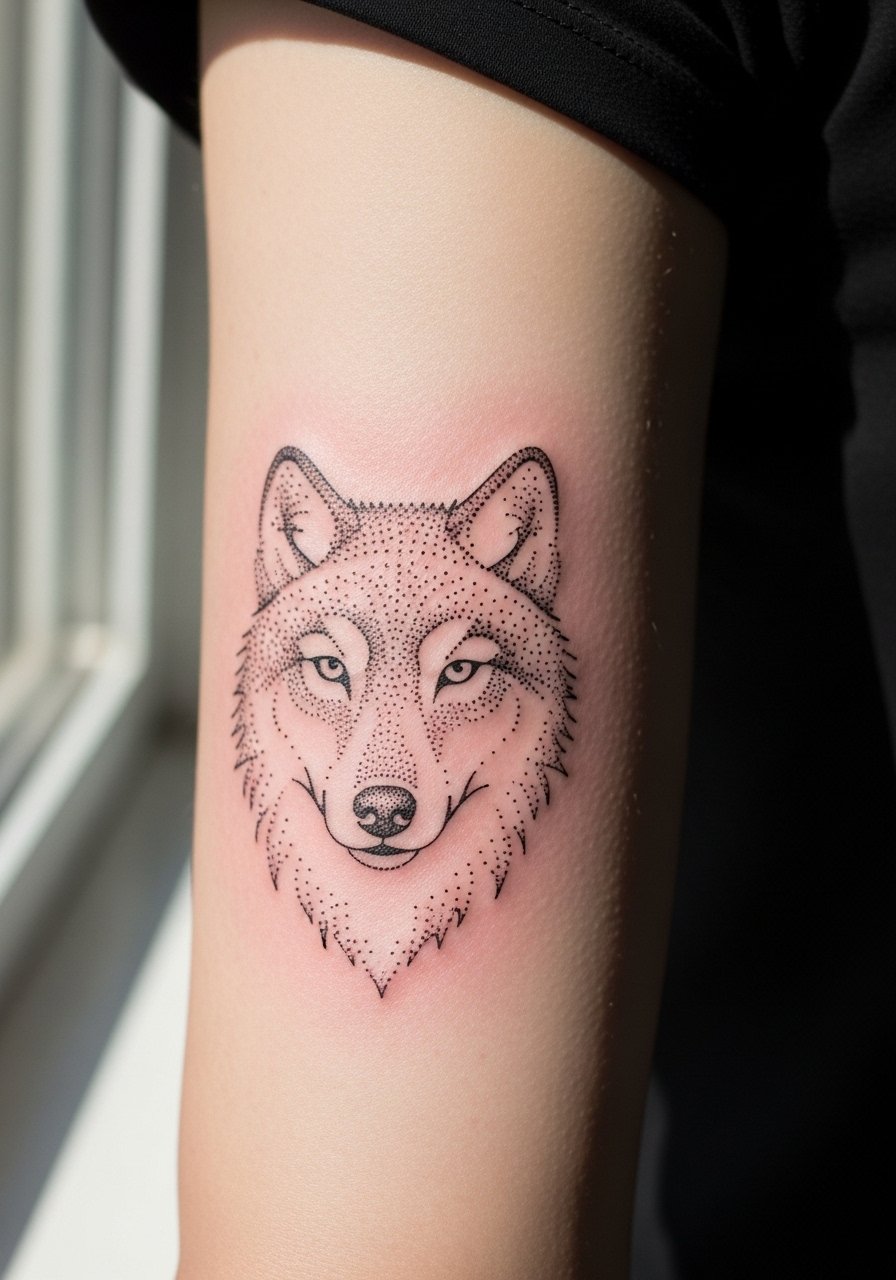
Stipple shading gives a soft intensity without heavy saturation. The bicep accepts dotwork well when spread evenly. Ask your artist for a healed mock-up showing dot spacing so you know the density will hold. Bicep sessions are comfortable for most people and usually finish in one appointment. The common error is asking for dense dot masses that blend into a gray patch. Keep the dots airy and ask about a touch-up if contrast dips after six months.
18. Mirrored Wolf Pair Across the Upper Back
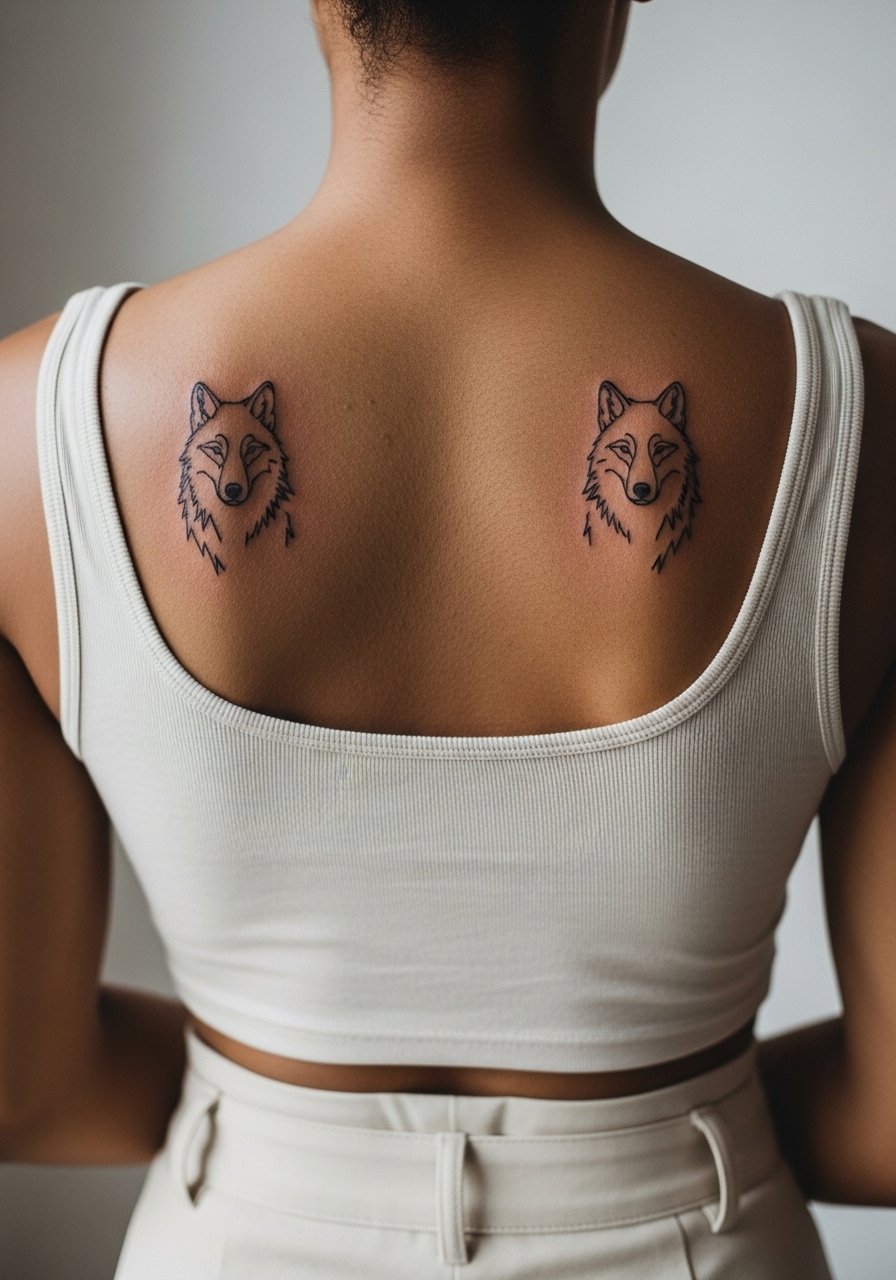
Symmetry reads clean across the upper back because the layout is stable against movement. Be explicit about spacing and mirror alignment in the consult so both sides sit at the same height. This area heals reliably and can be shown off with backless or strappy tops. One mistake people make is insisting on minute asymmetrical details that disrupt the mirror effect. Sessions are straightforward and usually finish without extra touch-ups unless one side takes ink differently.
19. Wolf Outline Bracelet on the Wrist
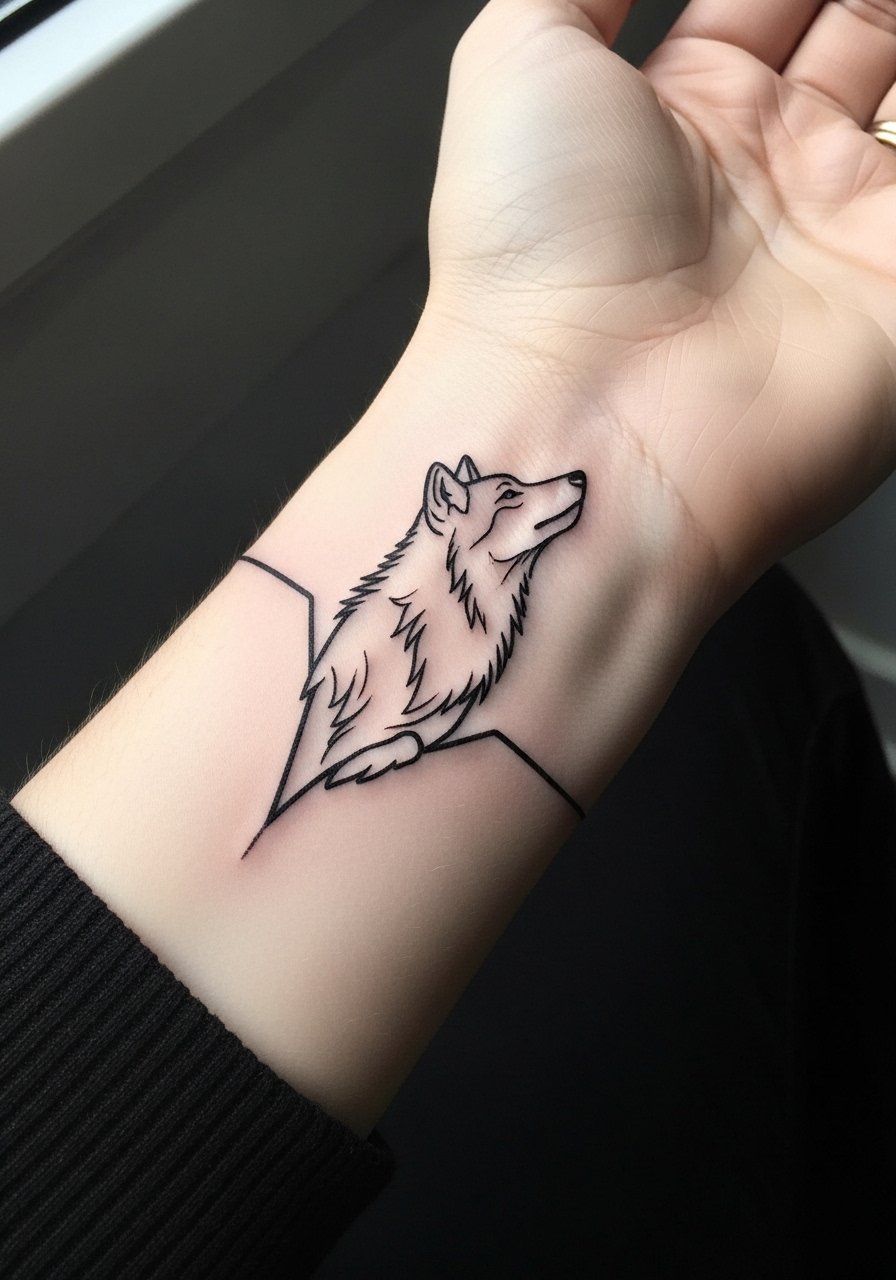
A wraparound wrist outline reads like jewelry and pairs with dainty bracelets for a cohesive look. Ask the artist to mark where you normally wear a watch or bangle so the design sits without conflict. For showing it off, a dainty chain bracelet on the opposite wrist balances attention. The wrist faces constant washing, so plan a touch-up at year one if line thinning appears. Avoid tiny overlapping loops that invite early blur.
20. Geometric Wolf Mask on the Outer Thigh
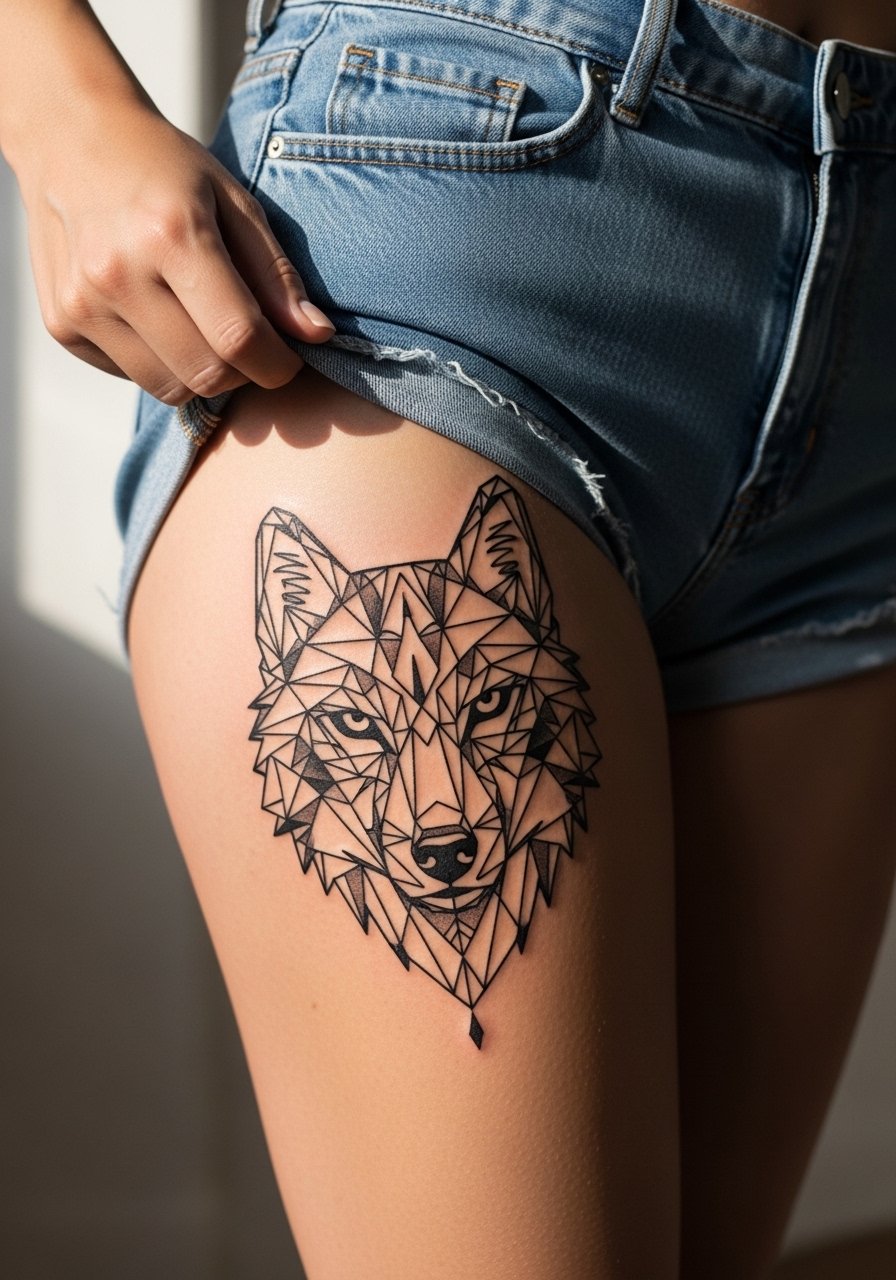
A mask-like composition gives modern anonymity to the motif and the thigh holds the geometry without distortion. Tell your artist you want bold outer lines and inner negative spaces calibrated for photos and movement. Thigh pieces are comfortable to sit through and heal well when you avoid tight clothing in the first two weeks. Pair this with slit skirts or high-waisted shorts when you want it visible. Avoid compressing patterns into a small footprint.
21. Mini Wolf and Script on the Inner Bicep
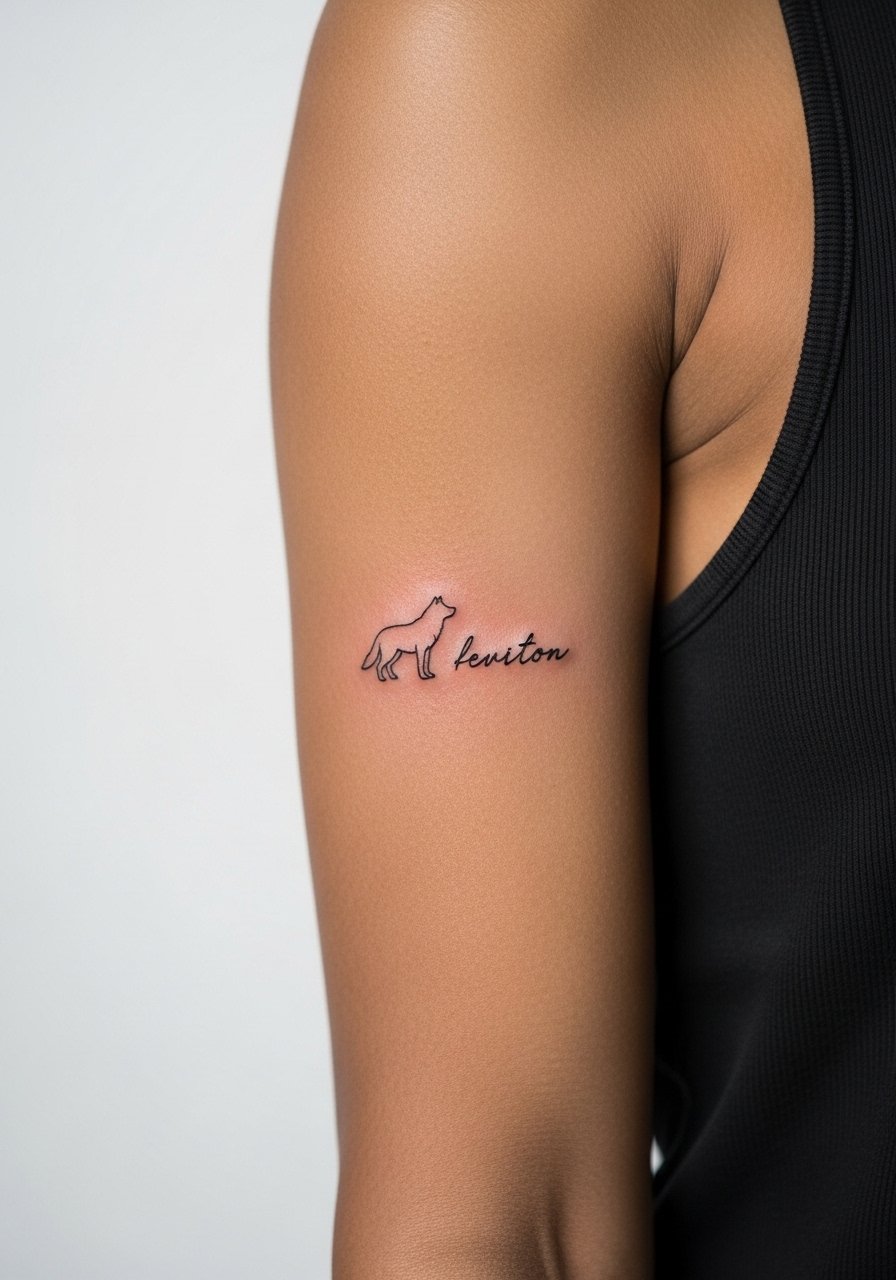
The inner bicep is intimate and can be sensitive during the session. Keep the wolf tiny and the script short so both elements breathe. Exact text must be confirmed in the consult because lettering in this zone can blur if too thin. For session wear, a tank top is ideal so the artist has clear access. A common mistake is packing long phrases into the inner bicep. Choose one simple word or initials to avoid overcrowding. Expect medium pain and a likely touch-up at year two for fine lettering.
Frequently Asked Questions
Q: How much does a minimalist wolf tattoo typically cost, and what affects the price range?
A: Typical ranges depend on size and placement. Tiny wrist or ankle pieces often run about $80-$300. Forearm geometric outlines commonly fall in the $150-$400 range. Larger collarbone, ribcage, or back pieces can be $200-$700 depending on shading and session count. Factors that affect price include studio minimums, artist experience, the need for multiple sessions, and whether custom flash or revisions are requested.
Q: Will a fine line wolf fade faster than a bolder wolf outline, and how do I plan for that?
A: Fine line work tends to show softer aging because the ink sits in thinner channels. One group of artists favors the subtle fade as an aesthetic, while another group recommends thicker lines for longevity. If you prefer fine line, ask for slightly increased spacing and plan a touch-up at year two to three. Also protect the area from sun exposure to slow contrast loss.
Q: What should someone with darker skin know about getting a minimalist wolf tattoo so it photographs and heals with contrast?
A: On darker skin tones, contrast comes from thoughtful negative space and slightly heavier outlines where needed. Ask your artist to show healed examples on similar skin tones and discuss using negative-space highlights so eyes and small moon phases keep definition. Subtle gray shading can help but test placement with transfers first.
Q: How do I handle studio cancellations and deposits to avoid losing my spot?
A: Ask about deposit and refund policies before booking and confirm the appointment in writing. Some booking platforms offer cancellation insurance or easier rescheduling. If an artist cancels more than once, request a refund or rebook with a guaranteed policy. Clear communication up front reduces the chance of last-minute issues.
Q: Can weight changes distort small wolf tattoos on ankles or hips, and which placements resist stretching best?
A: Areas like the forearm and shoulder blade resist visible distortion better than ankles, hips, and lower abdomen when body size changes. If you anticipate weight fluctuation, choose flatter, lower-stretch zones such as the outer forearm or upper back. For hips and ankle pieces, allow for slightly larger scale or accept that a future touch-up or small cover-up might be needed.
Q: What should I wear to the appointment for a collarbone or ribcage wolf design?
A: Wear a wide-neck shirt, sports bra, or an open button-down that you can shift to expose only the tattoo zone. For a collarbone piece, an off-shoulder blouse pulled aside works well. For a ribcage session, a fitted sports bra that can be lifted slightly keeps exposure minimal and professional.
