
Fine line Princess Mononoke pieces are everywhere on saved boards right now, but the tattoos that still read clean after five years are not always the ones that looked best fresh. Placement, line weight, and how much negative space you leave matter more than the photo you hand your artist. Below are 21 design ideas that balance immediate impact with how they age, plus practical notes for the consultation and what to wear to your session.
1. Fine Line Kodama Row on Inner Forearm
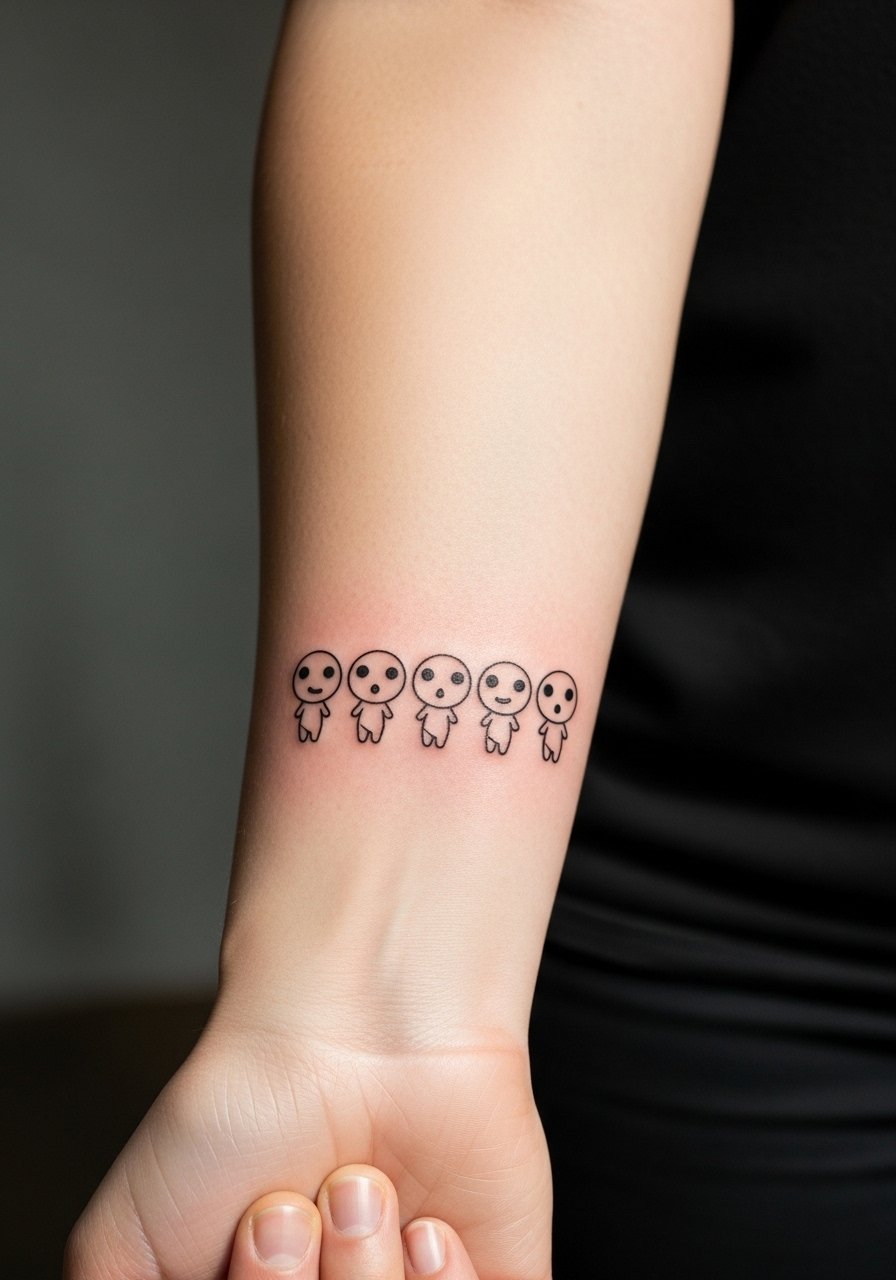
I like Kodama as a forearm motif because the thin linework reads like a charm bracelet without crowding the arm. Tell your artist you want single-needle outlines with small negative space between each spirit so the shapes do not merge as they heal. Fair warning, the inner forearm gets a fair bit of sun and friction, so expect a touch-up around year three if you are outdoors a lot. For the session wear a short-sleeve button-up you can roll or pull aside without rubbing the fresh lines.
2. Minimal Kodama Wrist Trio
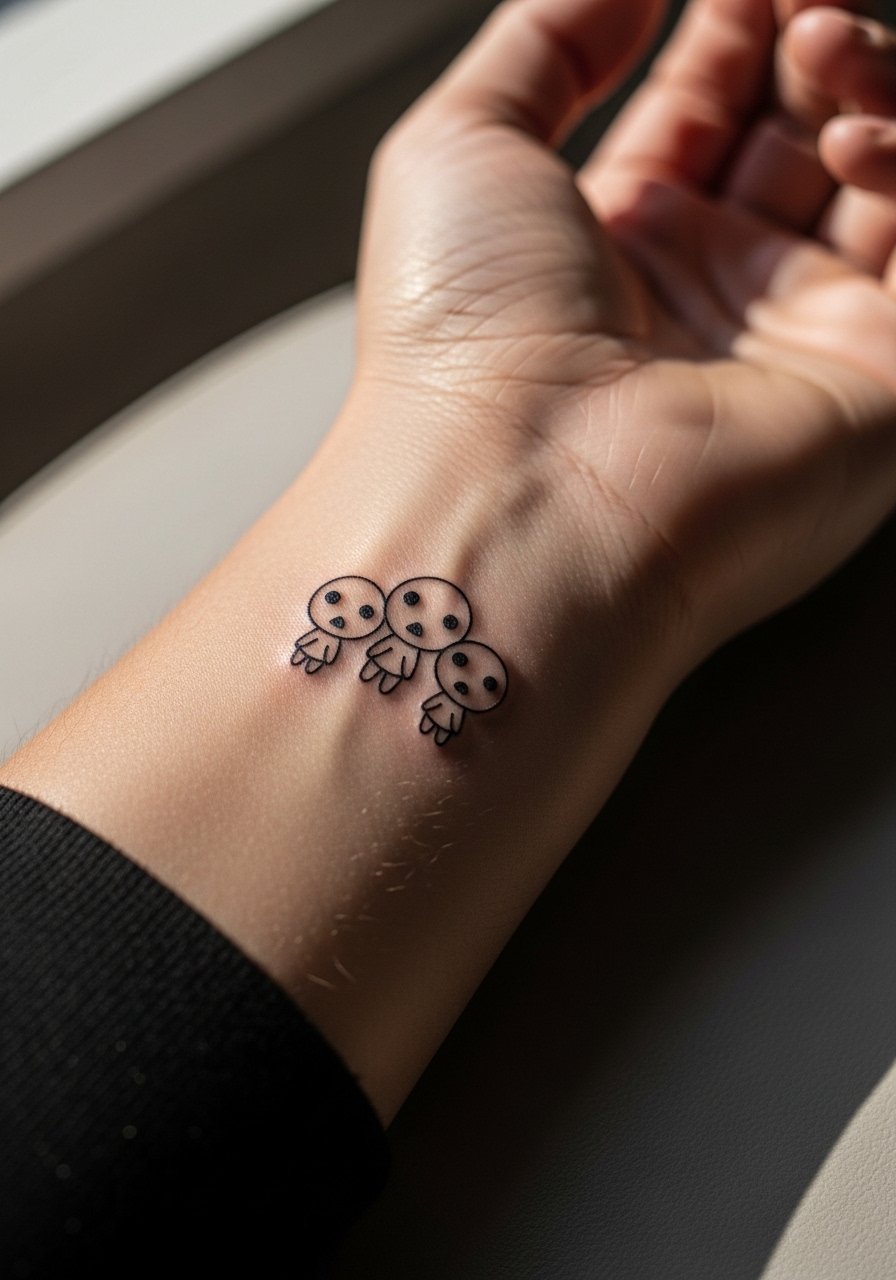
Tiny Kodama on the wrist is a low-key way to show fandom. Ask for slightly bolder outlines than you might for a forearm piece so the design does not blur into a thin gray line under constant washing. The main mistake is requesting ultra-micro details between the figures. That detail disappears faster than people expect. Plan on a 30 to 45 minute session and bring a sleeveless tank so the artist has clean access and you do not snag jewelry during the work.
3. Neo-Traditional San Wolf Mask on Ankle
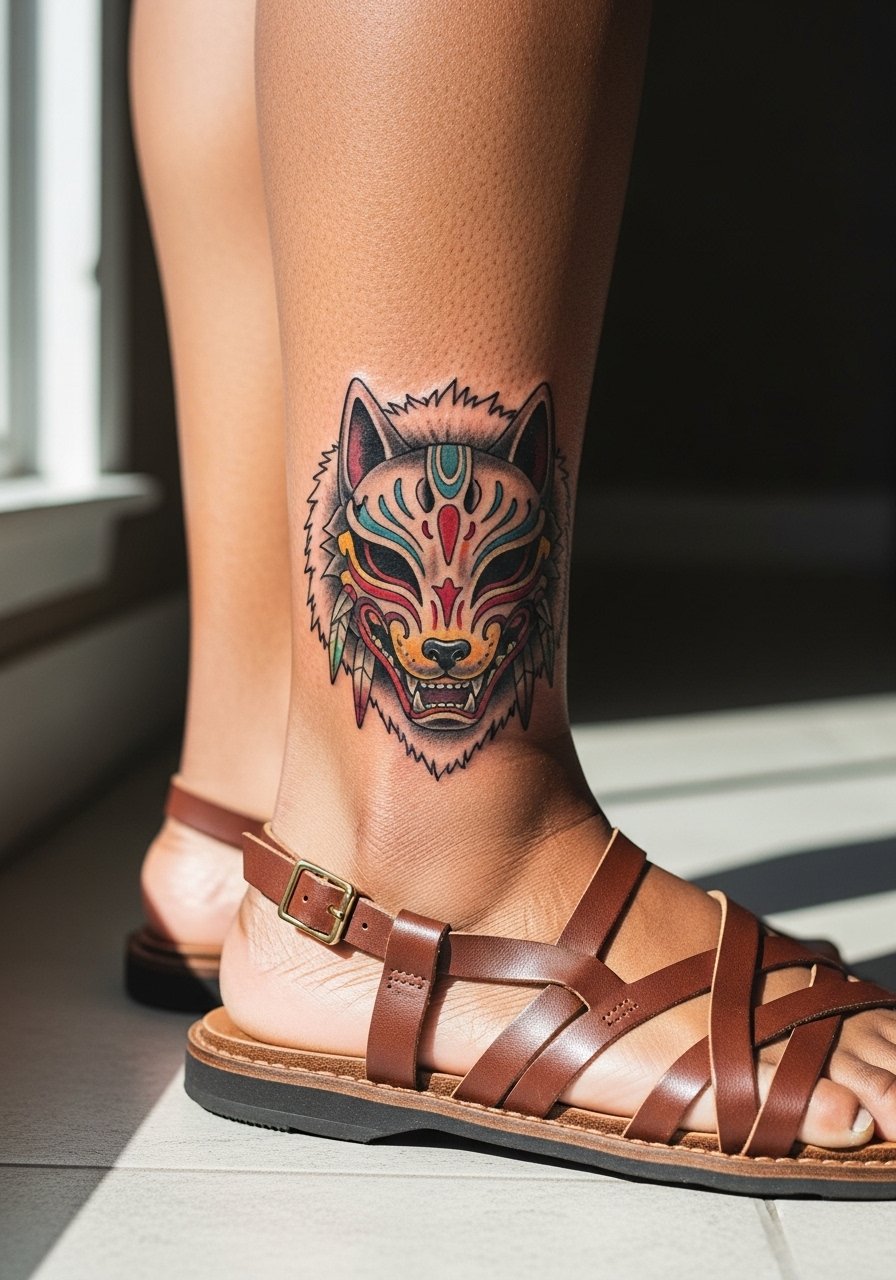
A neo-traditional wolf mask on the ankle gives bold lines and saturated fills that read well even with the friction from socks and shoes. The session can sting where bone is close to skin, expect a one to two hour slot for linework and color. Ask for solid outlines and good saturation rather than tiny gradient work. Show-off pairing works in summer, so wear strappy heeled sandals or roll your jeans to let it breathe while it heals. Keep in mind ankle pieces often need a touch-up after heavy hiking seasons.
4. Blackwork Boar God Shoulder Panel
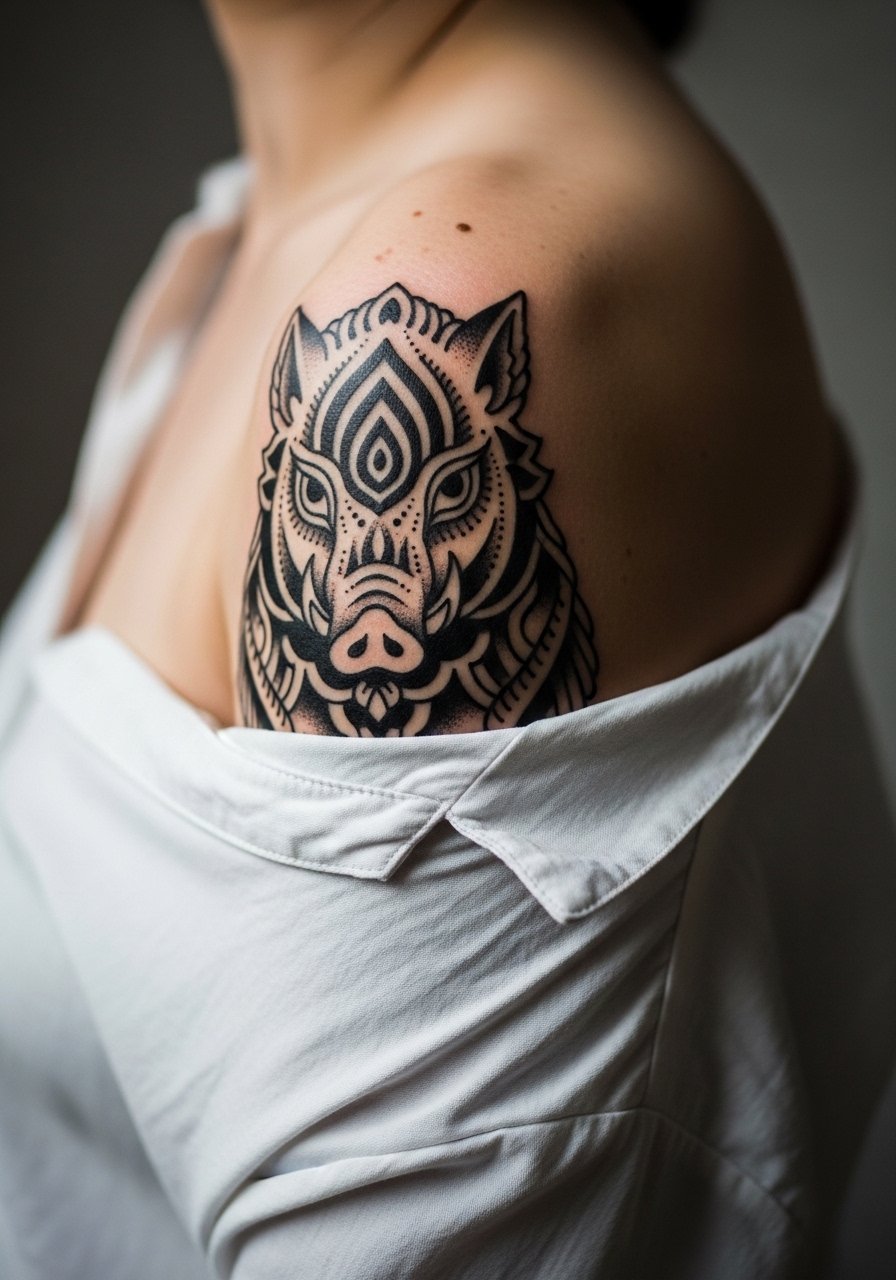
This bold shoulder piece uses saturated black and negative space for contrast that lasts. Shoulder skin tolerates saturation well, and the natural curvature helps the design read from multiple angles. The common error is packing too many small elements into the shoulder blade area where movement and stretch can soften tiny details. For session comfort wear a loose button-down shirt you can slide off one arm or pull aside for access. Expect good longevity with one touch-up around year three for saturation refresh.
5. Watercolor Forest Scene on Thigh
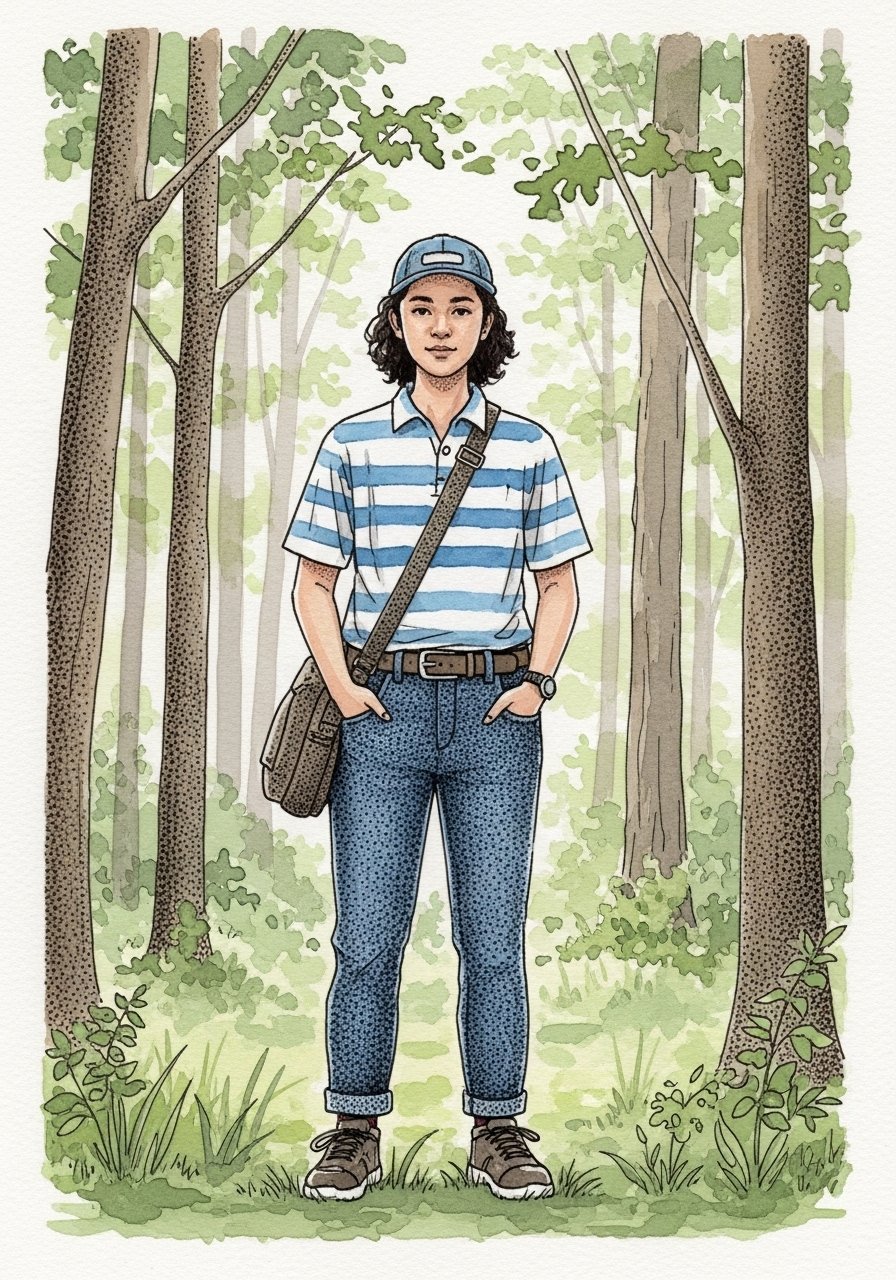
Thighs are ideal for watercolor washes because the area has enough real estate for flowing color. Ask for light stipple work around heavier spots so the washes have structure. The aging reality is that watercolor fades faster than solid black, but the thigh is less exposed to sun so it holds better than forearms. Wear high waist denim shorts or loose shorts to the session so the artist can roll the leg up without pressure on the fresh paint. Touch-ups are common at year two to refresh color if you want it vivid.
6. Ashitaka Curse Mark Across the Collarbone
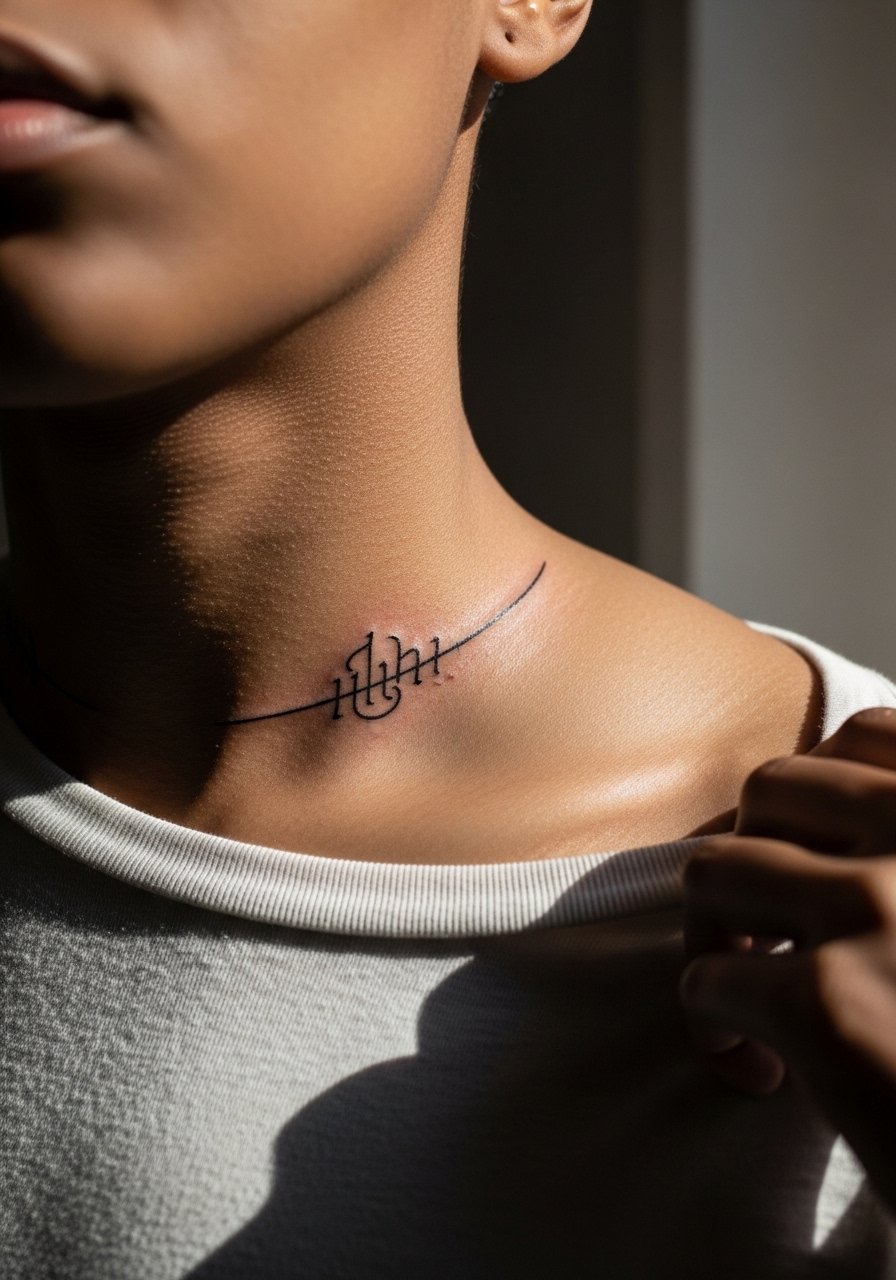
A collarbone curse mark needs precise line weight so it sits clean against chest movement. The major mistake is making the mark too thin across active skin, where motion and necklaces can cause early blurring. Describe the exact line weight you want in consultation and test with a stencil. For showing it off pick v neck silk blouses that frame the line without crowding it. The area can sting more than the arm, but touch-ups at year three are a realistic expectation.
Studio Day Picks
The pieces above include wrist, ankle, thigh, shoulder, and collarbone work, all of which ask for different prep. These items make the session and the first week easier.
-
Stencil transfer paper kit. Lets you preview exact placement on the wrist and forearm designs above before the needle hits skin.
-
Topical numbing cream. Applied per label 45 minutes before reduces edge pain for collarbone and ankle placements.
-
Thin protective film roll. Useful for ankle and wrist pieces where friction from shoes or watches is constant in the first week.
-
Fragrance-free gentle body wash. Cleans the healing zones without irritating fine line work on forearms and collarbones.
-
Aquaphor healing ointment. A thin layer in the initial days can lock in moisture for delicate single-needle pieces.
7. Micro-Realism Wolf Profile on Upper Arm
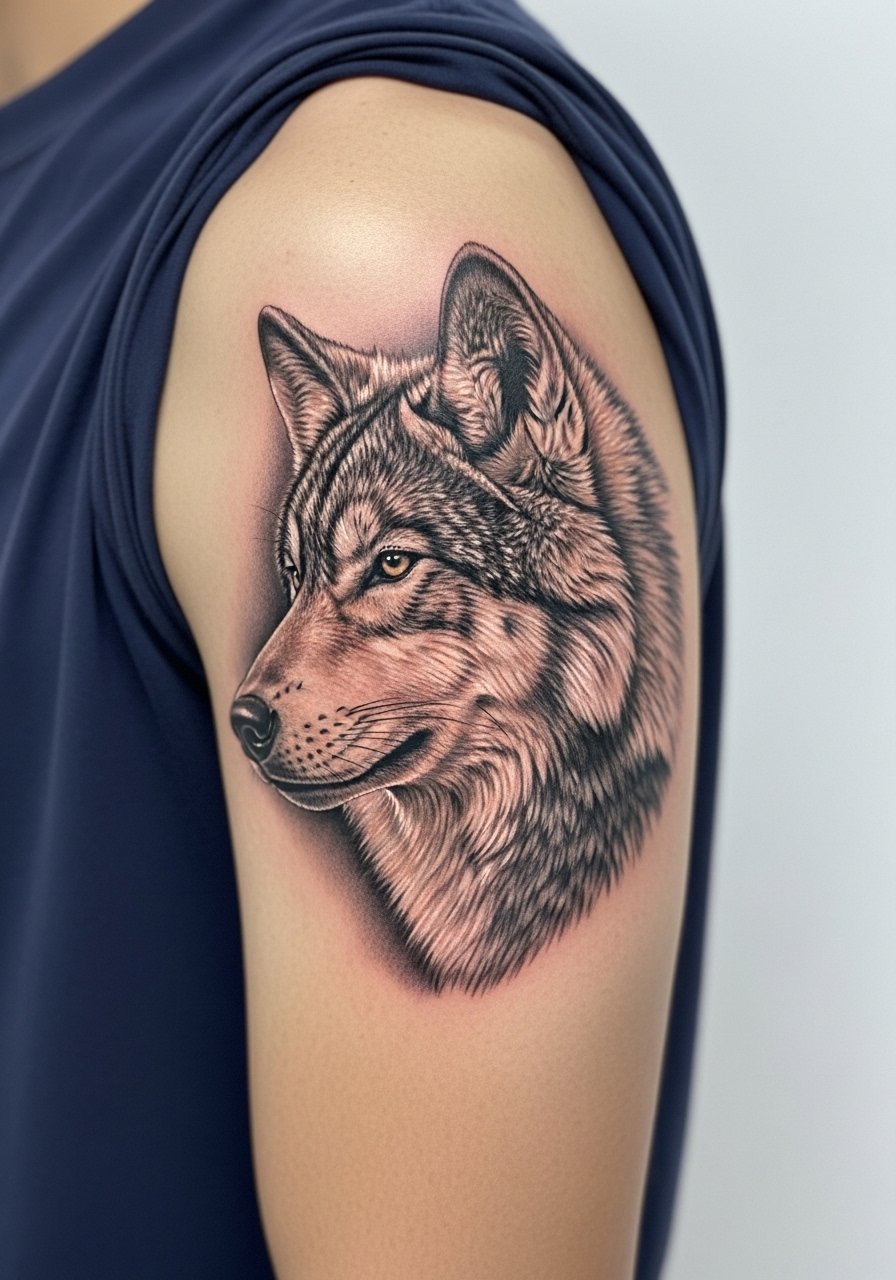
Micro-realism works well on the upper arm where you can preserve tiny contrasts without much stretch. The consultation note is to bring clear reference photos of the mask at the size you want. A common error is shrinking a detailed reference down too small which removes the values the artist needs. The session usually runs one to two hours depending on shading. For showing it off you can pair with rolled sleeves or a thin leather cuff, try a thin leather cuff bracelet that sits on the opposite arm for contrast.
8. Stylized Forest Sleeve Band
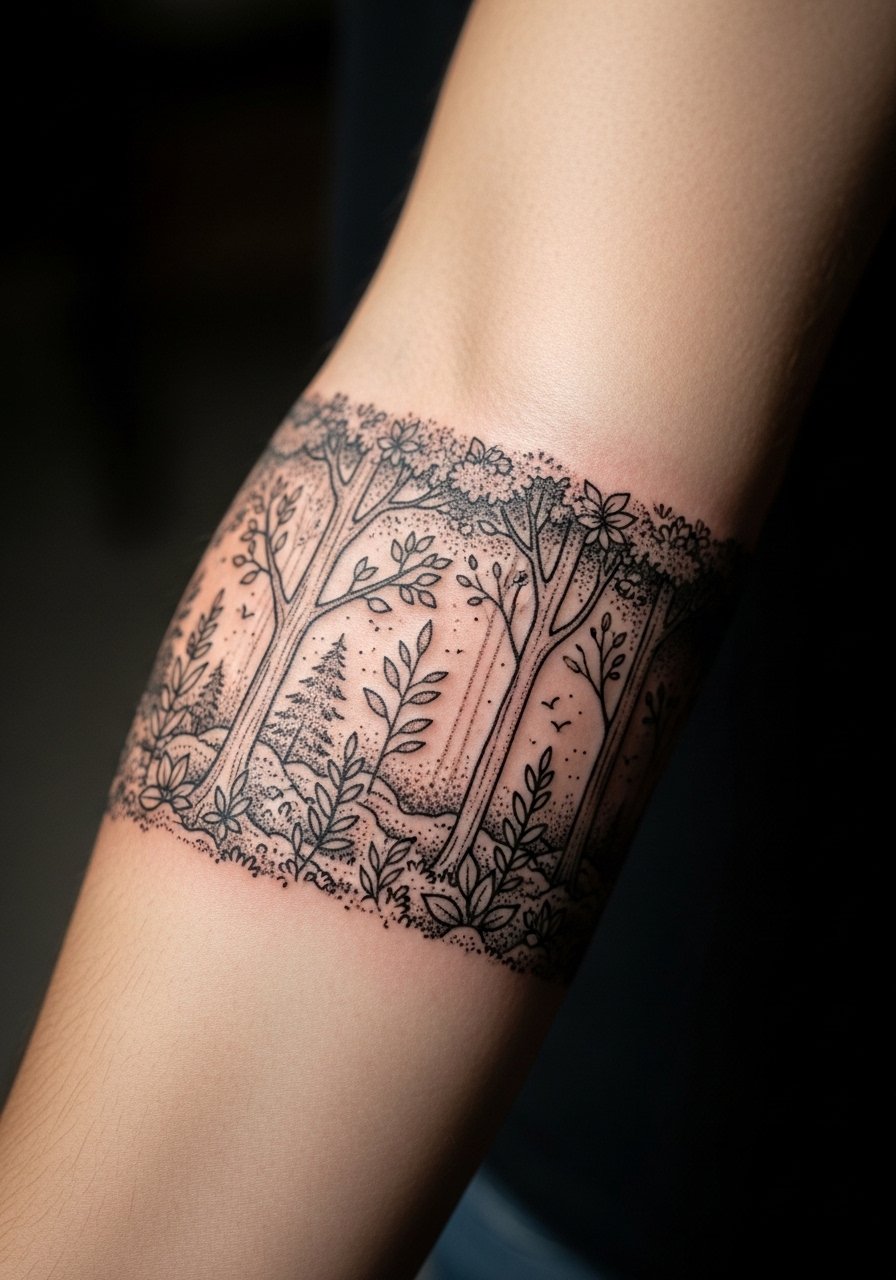
A band sleeve that wraps the forearm can mix Kodama, ferns, and negative space for a compact sleeve that reads well at a glance. The biggest mistake is over-detailing the wrap so it looks cluttered when you move. Ask your artist to plan negative space at the inner curve to let the elements breathe. Expect three to five hours across two sessions depending on saturation. For session comfort bring a short-sleeve button-up to keep the area accessible and avoid rolling fabric over fresh ink.
9. Small Wolf Paw on the Back of the Hand
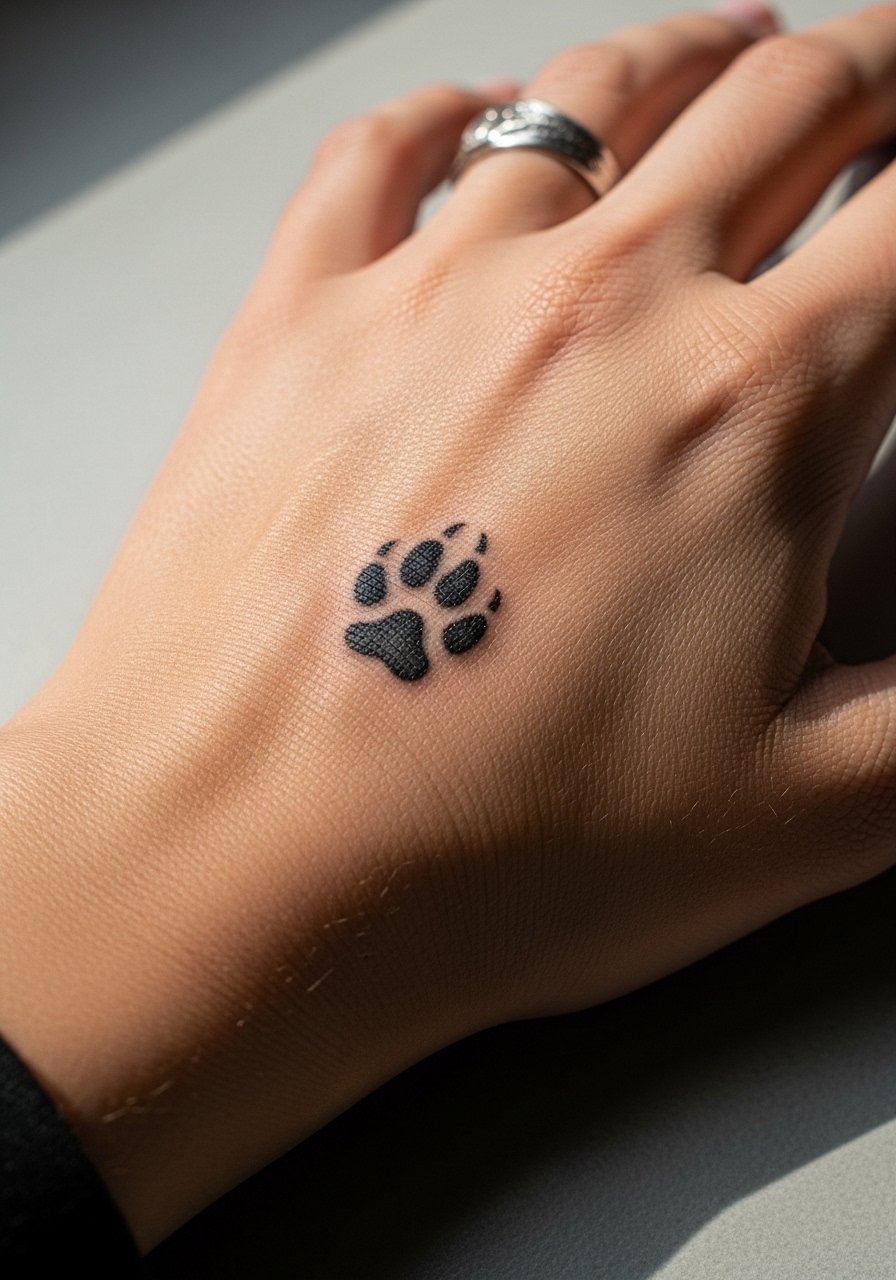
Hand tattoos carry a higher blowout and fade risk because skin there is thin and subject to constant washing. If you want a small paw, ask for bold simplified shapes rather than tiny fur details. Hands usually need touch-ups within 1 to 2 years to keep solid lines. Keep in mind some employers still judge visible hand tattoos. The session is quick but painful where bone is close. For showing it off later consider dainty rings rather than busy bracelets.
10. Geometric Mask Halo Behind the Ear
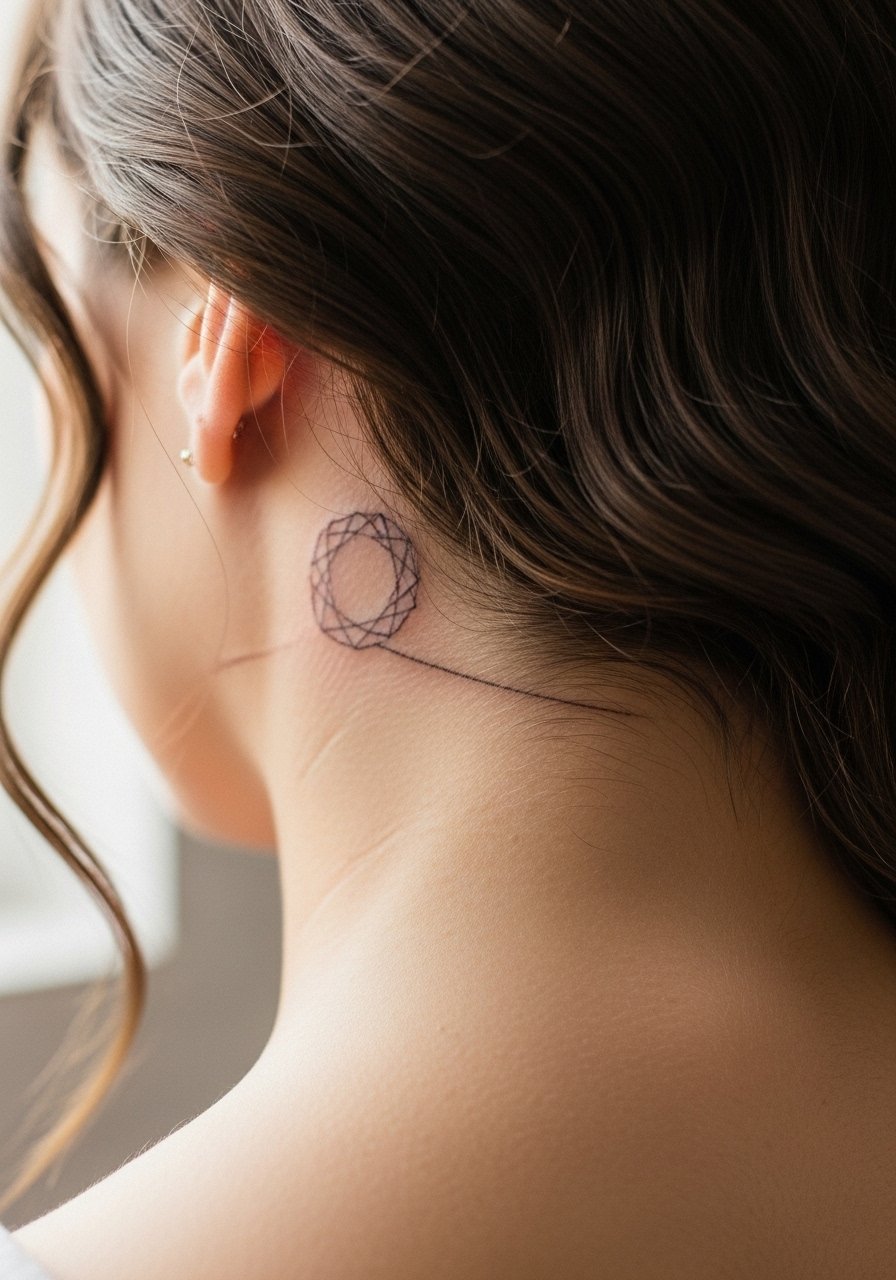
Behind-the-ear work demands simple geometry at small scale. Artists split on tiny detail there because one camp says the movement and thin skin blur lines quickly and the other camp says with correct depth it holds. Name this debate in your consultation and ask the artist which approach they recommend for this spot. Since the area is compact, session time is short and numbing is less useful. For session comfort clip hair back and bring a light sweater with a wide collar so the neck area is exposed without full shoulder reveal.
11. Half-Sleeve Patchwork: Kodama, Wolf, and Forest
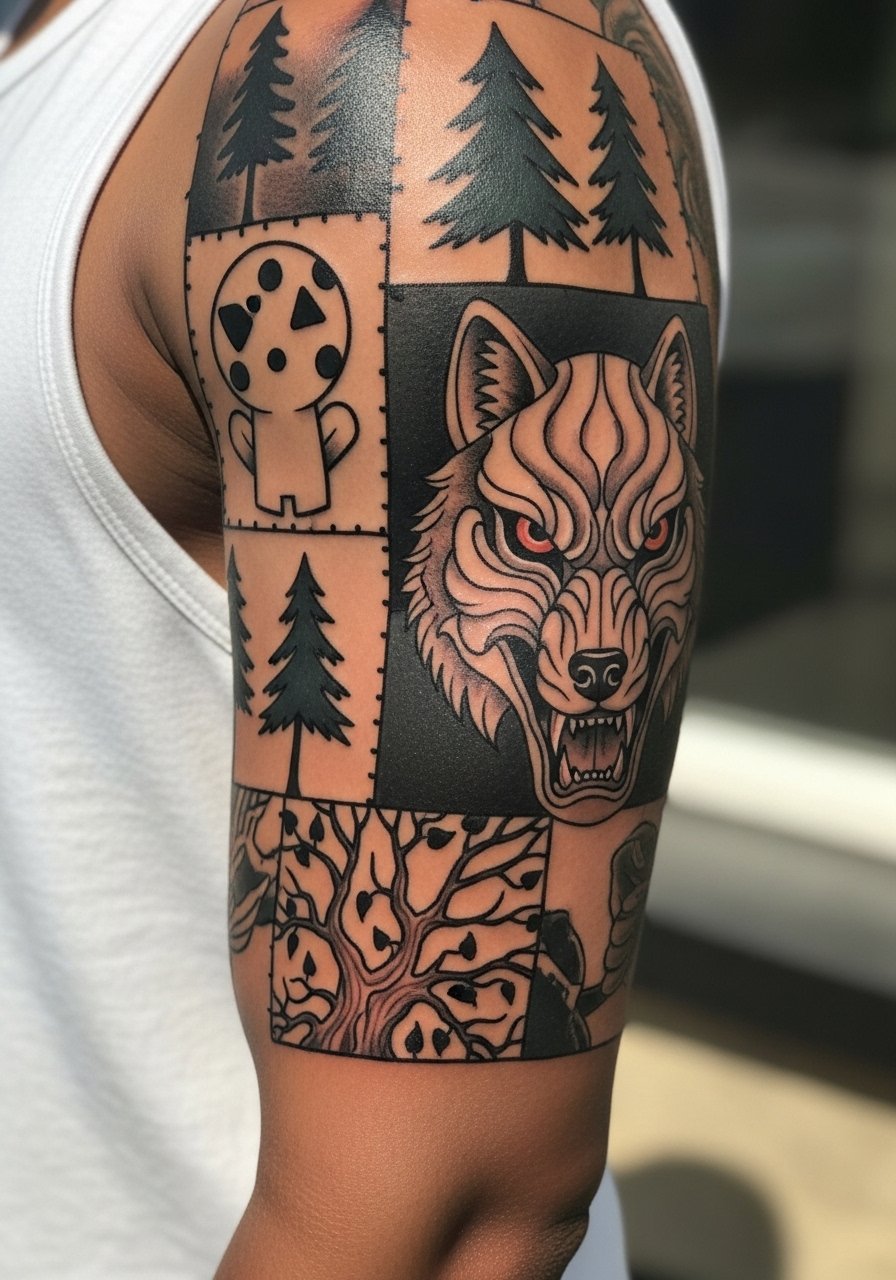
Patchwork sleeves are an exercise in balance. The trick is to plan negative space so each element keeps its identity over time. During consultation map which element sits where and which will get bold outlines. A frequent mistake is letting a small detail like stipple shading crowd a Kodama face. Expect the project to take multiple sessions across months. For show-off wear rolled-sleeve chambray or a sleeveless top that leaves the arm visible between sessions.
12. Watercolor Wolf Silhouette on Calf
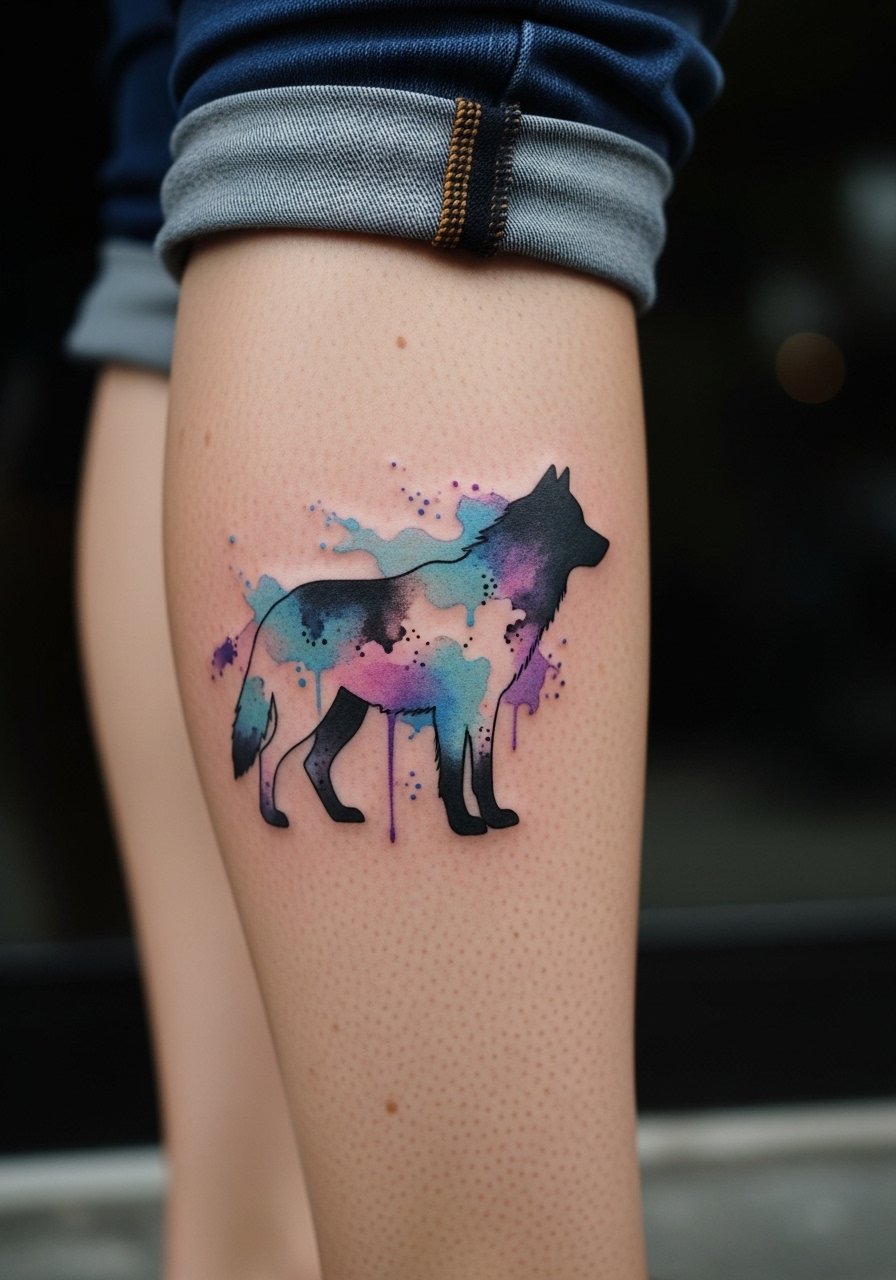
Calf placements handle color washes well because the skin is thick and less exposed to daily abrasion. Ask for slightly denser pigment near the silhouette edges so the wash reads against skin tone. The common aging issue is that watercolor softens and needs periodic refresh if you want it vivid. Session time is comfortable because you can sit and rest the leg. For show-off pairings, cropped jeans or a rolled pant leg works, so bring cropped straight jeans to test visibility after healing.
13. Single Needle Script Quote Along the Ribcage
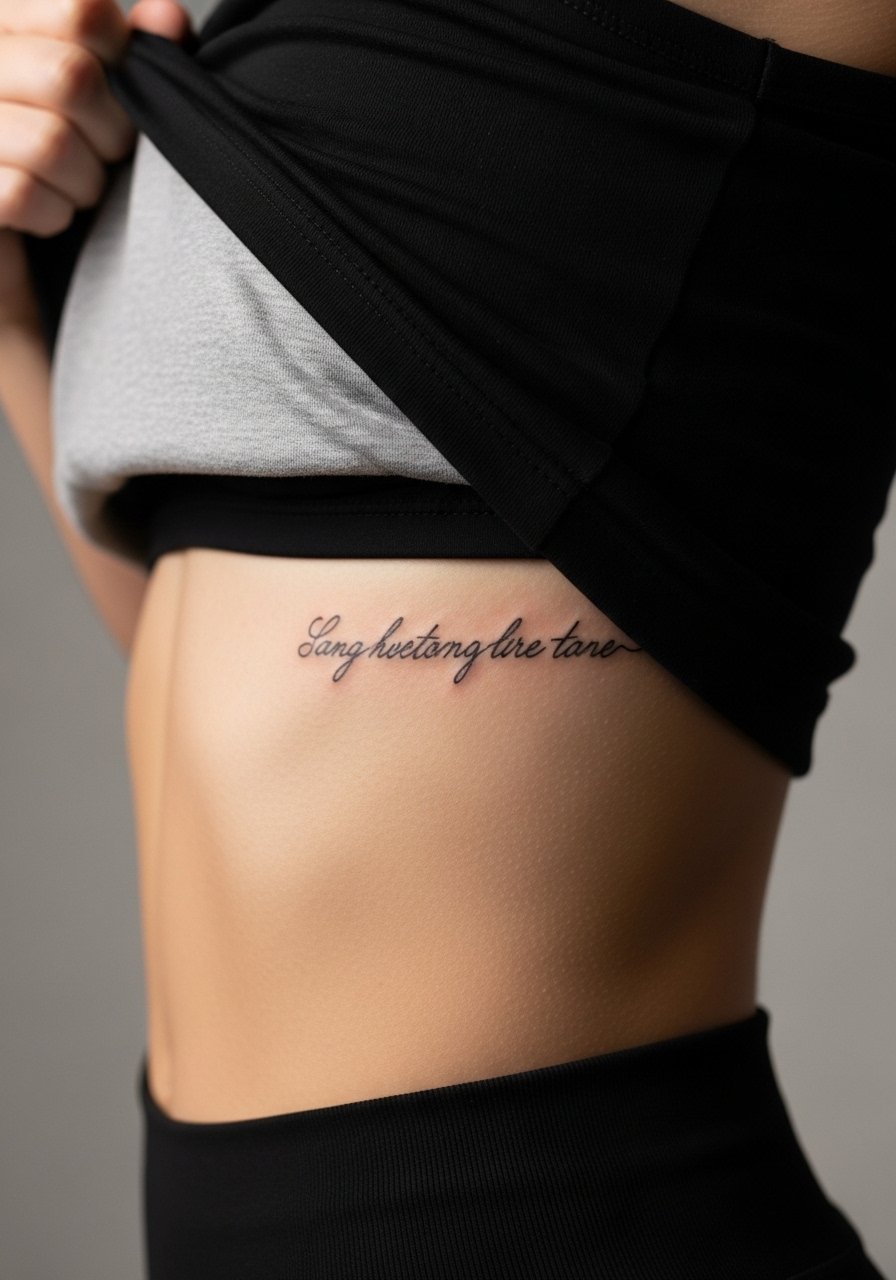
Ribcage script is beautiful but carries controversy among artists. One camp warns that single-needle lines on ribs blur within two years due to constant expansion when breathing. The other camp says experienced fine-line artists can place and space letters so they settle clean. Ask the artist which camp they fall into and request a slightly larger letter spacing than the reference. Sessions can be long and painful. Wear a cropped top you can lift and plan for a touch-up at year two if the letters soften.
14. Stipple-Shaded Forest Crest on Upper Back
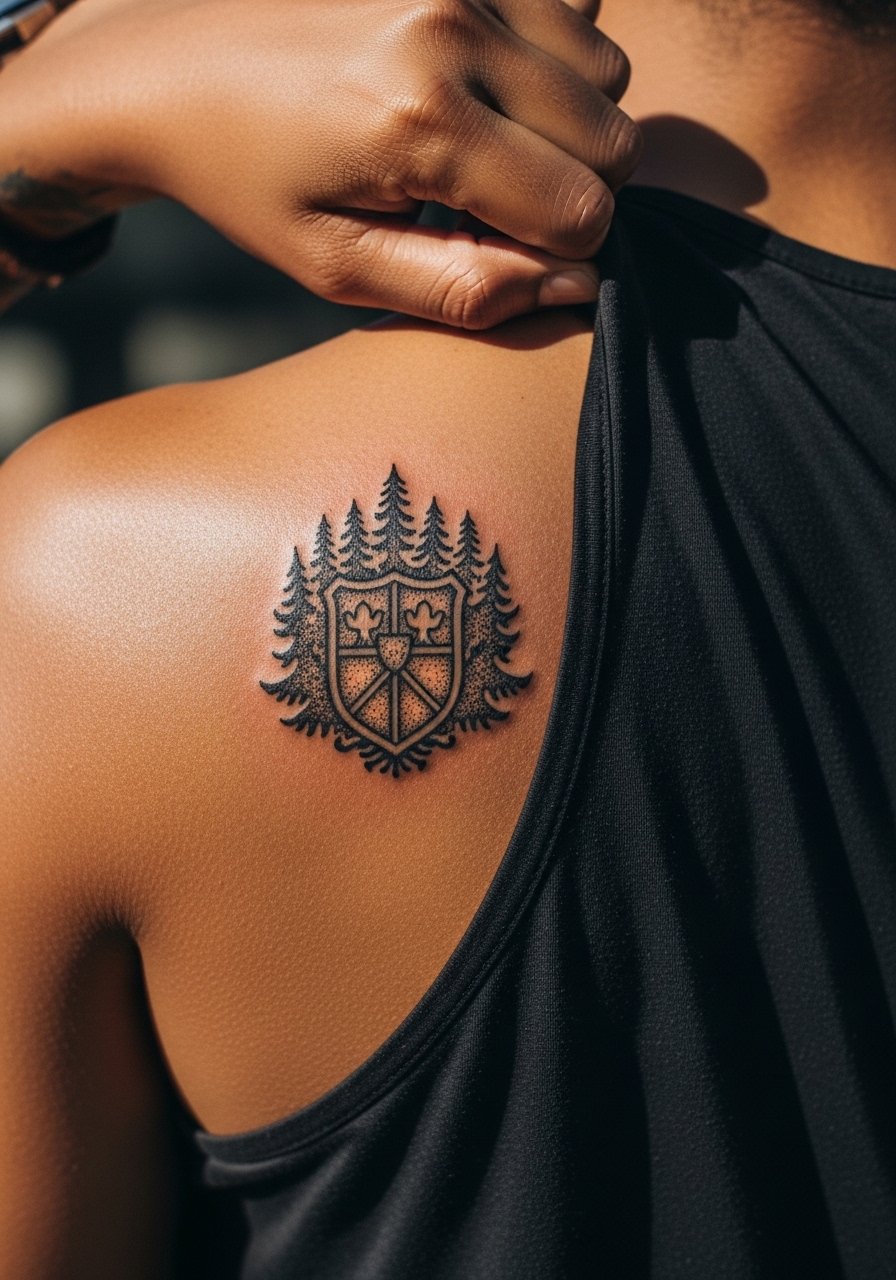
Upper back work is a great place for stipple shading because the skin holds dot density well. Tell your artist you want a mix of whip shading and stipple to define tree trunks without dense blocks of gray. The common mistake is asking for heavy continuous shading which can gray out on darker skin tones. Session-wise you will be on your stomach for a while, so bring a pillow for comfort. For show-off wear open-back tops after healing.
15. Collarbone Mini Forest Cluster
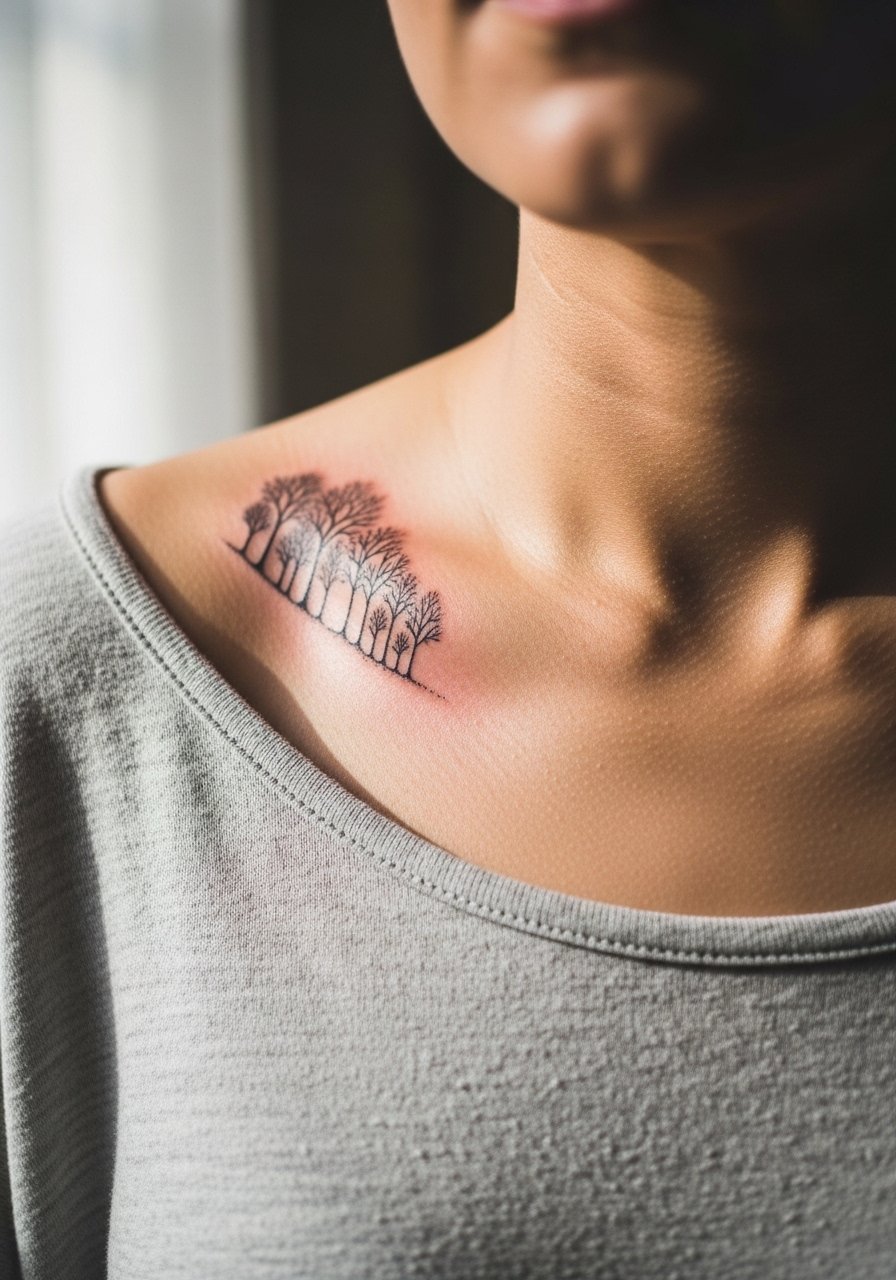
A mini forest cluster sits nicely on the collarbone as a delicate accent. Avoid micro stems and tiny leaves that collapse into a blur over time. Ask for slightly heavier trunk lines with lighter leaf stipple so the silhouette remains legible at five years. The collarbone moves constantly with breathing and neck motion, so plan for a touch-up if you want the crisp edge to remain. For evening wear, try a delicate gold chain necklace that sits just above the cluster without rubbing it.
16. Neo-Japanese Wave with Forest Elements on Lower Leg
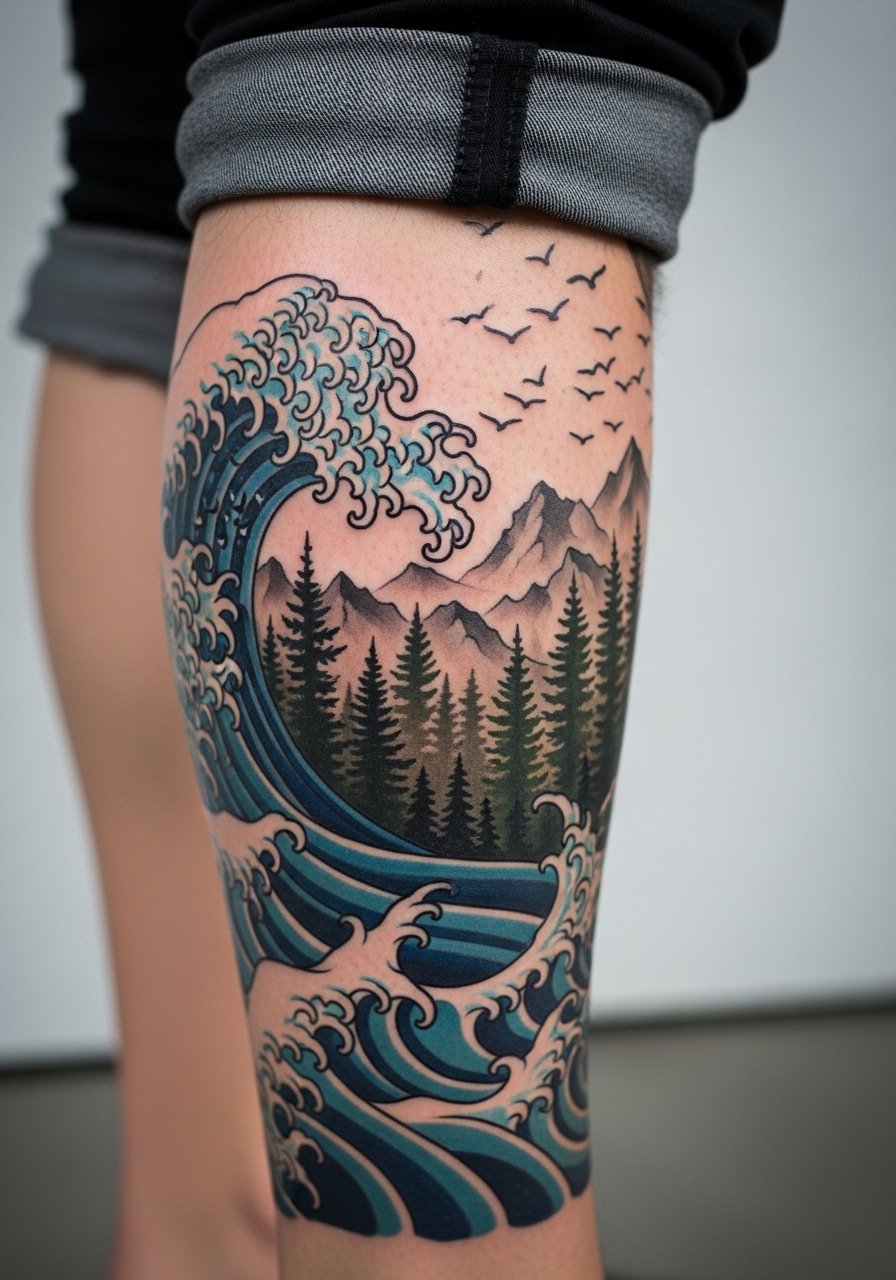
Combining Japanese wave motifs with forest silhouettes gives a dynamic look that references the film’s visual language without copying any single frame. The lower leg tolerates saturated black and mid tones, but small parallel lines can blur if placed too tightly. Request bolder separations between wave lines. The session is medium intensity and you might need multiple passes for saturation. After healing, pair the piece with summer sandals or rolled trousers.
17. Minimalist Moon and Mask on the Nape
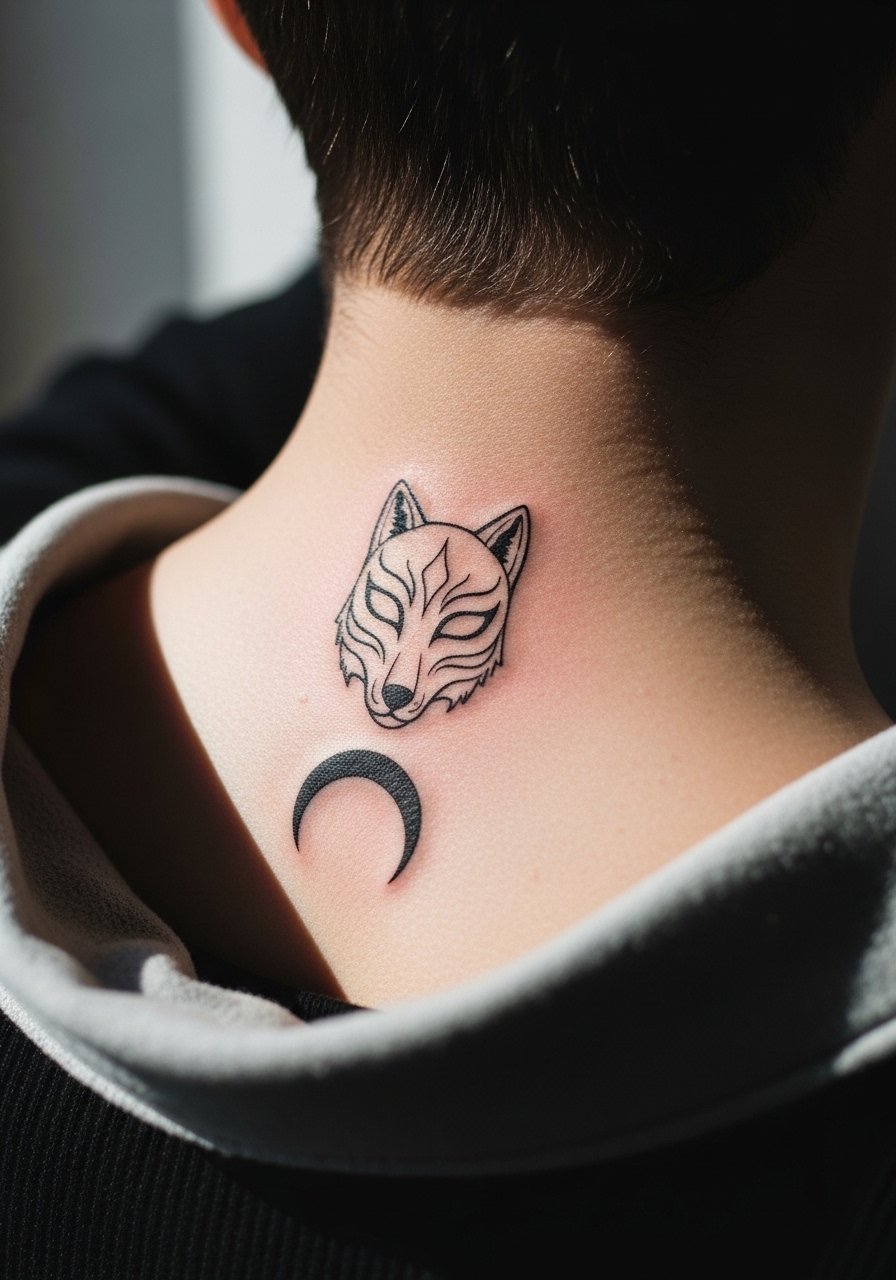
Nape tattoos are discrete and frame up hair styles well. Because neck skin moves a lot, ask for slightly bolder shapes and avoid tiny line fills that collapse. The session includes a few sensitive spots but is generally short. After healing, wear hairstyles that expose the nape or tuck hair to show the motif. If you want easy access for cover-ups, mention that to the artist during consult.
18. Thigh-High Boar God with Watercolor Background
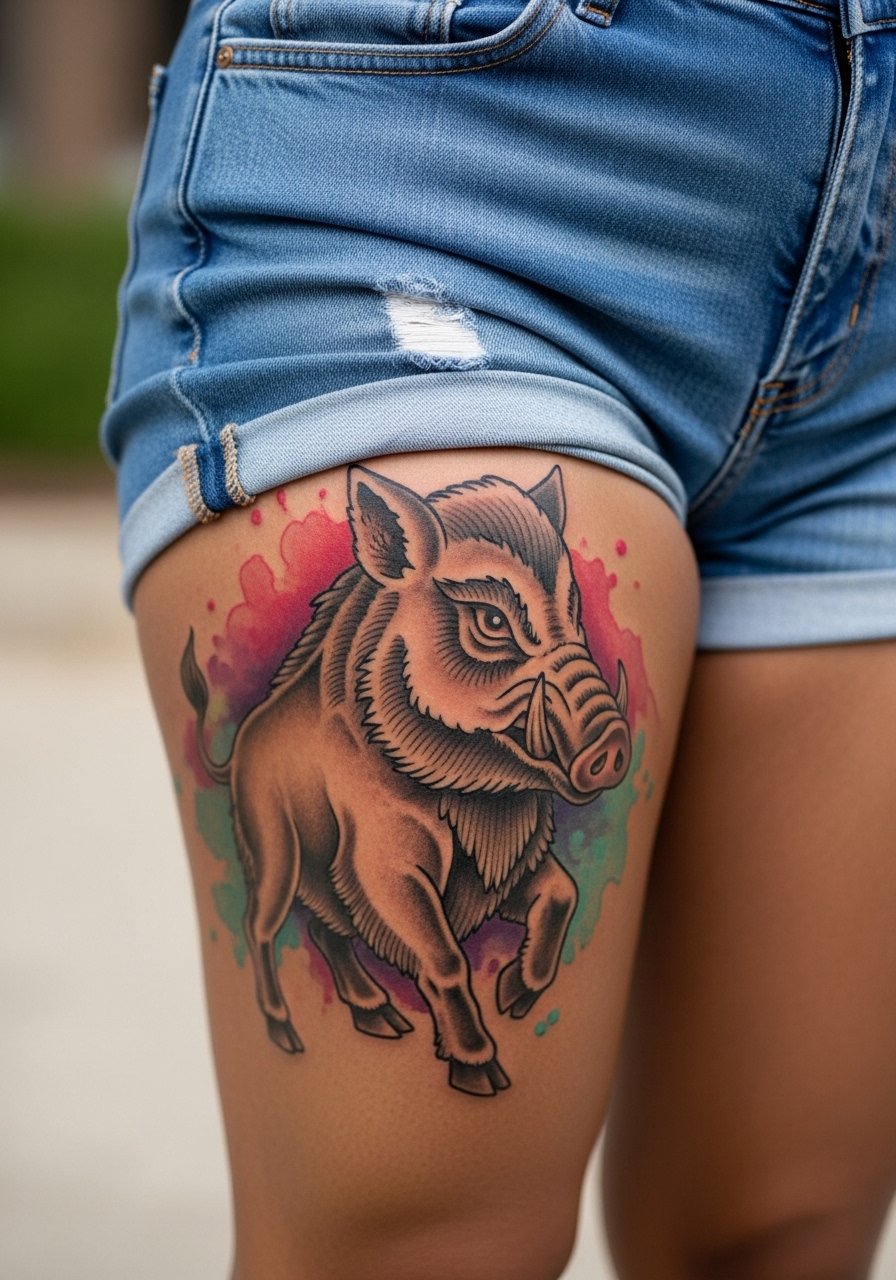
A thigh-high piece is great for elaborate compositions and dramatic watercolor backgrounds. Ask for areas of saturated black to anchor the watercolor so the design keeps contrast as the pigment softens. The good mistake to avoid is asking for too many small color gradients that require frequent touch-ups. For session comfort wear loose shorts or a skirt to access the thigh easily without rubbing the new work. Thigh work typically ages nicely because it avoids constant sun exposure.
19. Small Curse Mark Behind the Ear with Dot Work Accent
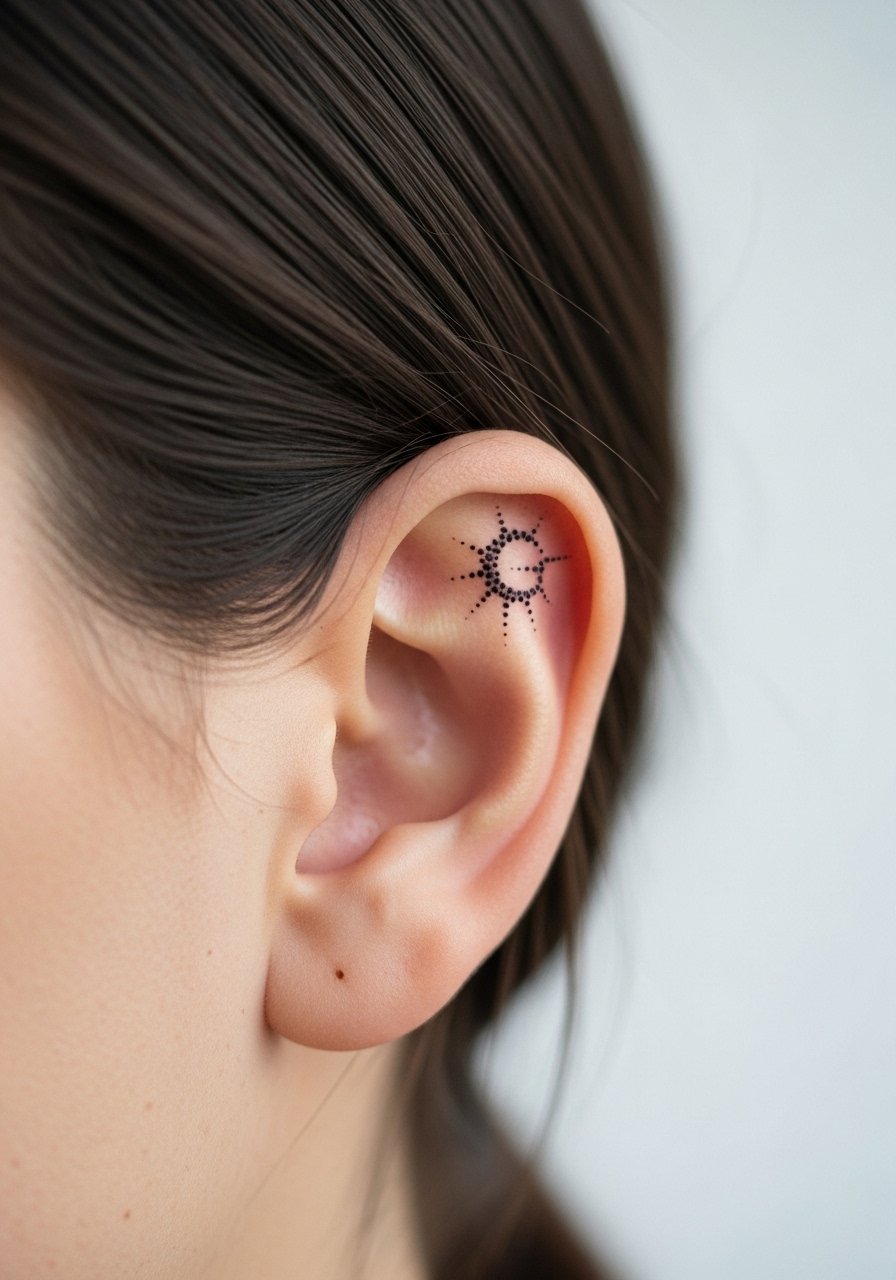
Behind-the-ear placements need compact, bold shapes rather than micro lines. Because of the thin skin, artists differ on whether single-needle detail will last. Ask them to show healed examples from similar spots and to place small dot work at a scale that holds. Sessions are quick but you may leave with a slight tenderness. Keep hair away from the area during the first week to minimize friction.
20. Forest Spine Column with Negative Space Trees
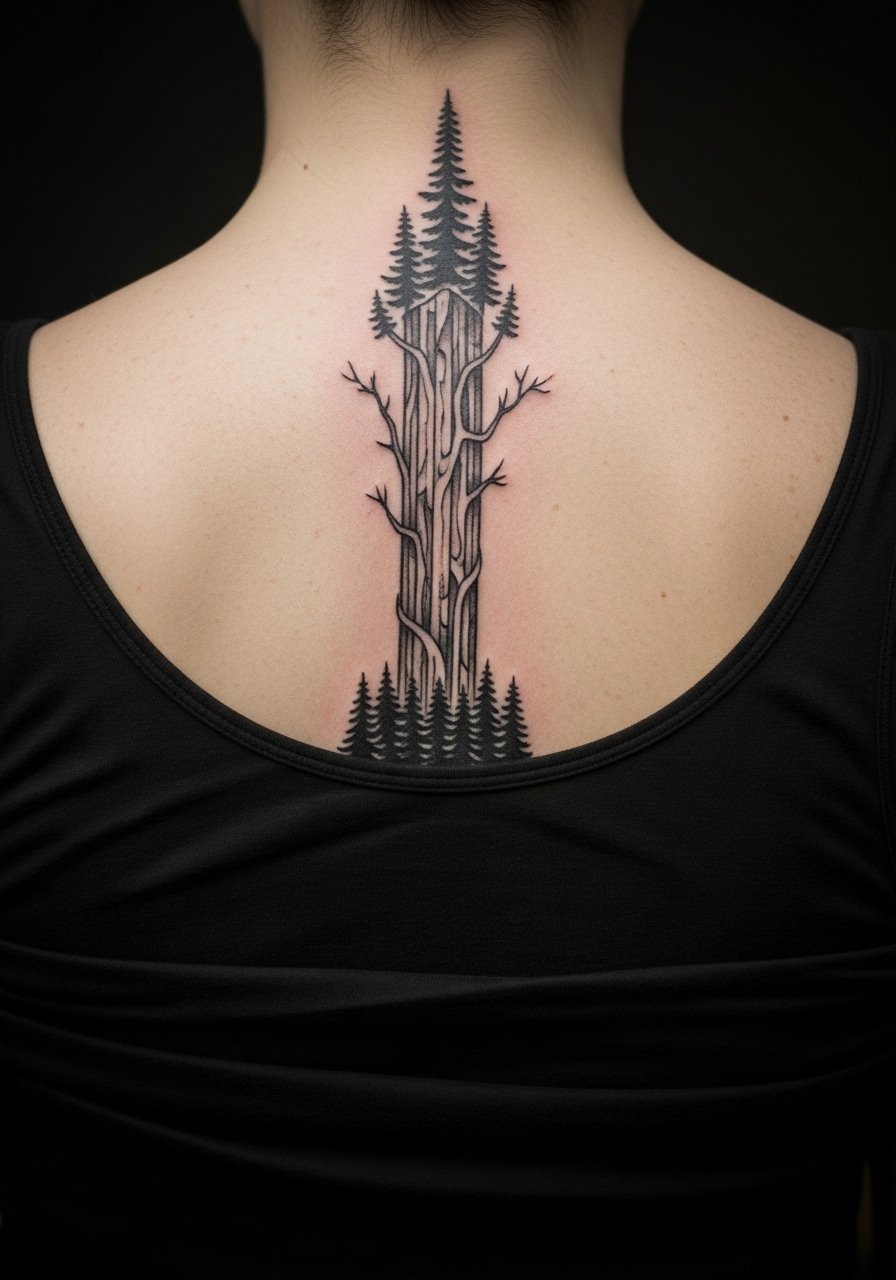
Spine columns look striking because the negative space enhances silhouette. The trick is to keep tree spacing consistent so the linework does not blend on movement. An error I see is crowding small branches into the spinal curve. Sessions can be longer because positioning is tricky. For showing the healed piece, open-back dresses or halter tops frame the column best.
21. Tiny Forest Ring Around the Ankle
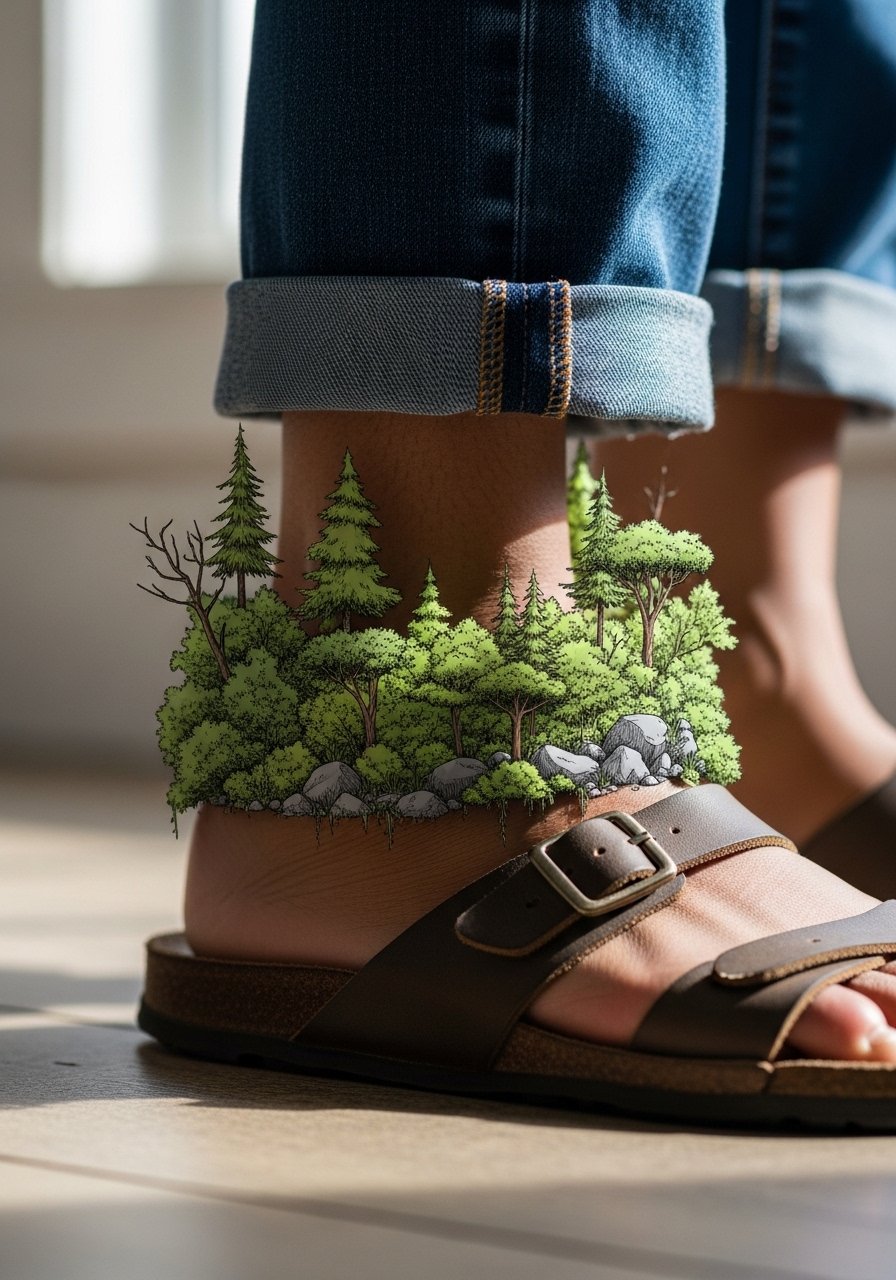
An ankle ring with tiny trees is a discreet nod to the film. Avoid micro leaf textures that grind away from abrasion with shoes. Ask for simplified silhouettes with slightly stronger trunk lines. The ankle often needs touch-ups after heavy walking seasons. For summer showing try strappy sandals or roll jeans to keep it visible.
Frequently Asked Questions
Q: Will fine line Princess Mononoke tattoos blur faster than neo-traditional or blackwork pieces?
A: In my experience fine line pieces require more thoughtful placement and spacing because the lines are thinner. Blackwork and neo-traditional saturation tend to hold up longer because the pigment sits more densely. Expect to compare touch-up timelines and ask your artist for examples of healed fine line work on the exact placement you want.
Q: Are ribcage script or single-needle pieces a bad idea if I want long-term clarity?
A: Artists split into two camps on ribs. One camp says the skin stretch from breathing makes single-needle lines soften within a couple of years. The other camp believes careful depth and spacing make them last. The practical step is to ask your artist which approach they use and to test a slightly larger scale than the reference for longevity.
Q: How should I dress to a shoulder or upper back session to make setup easy?
A: Wear a loose button-down shirt or a wide-neck top you can slide off one shoulder or pull aside without exposing your entire torso. That keeps the area accessible while keeping you comfortable. A loose button-down shirt is a common and useful choice.
Q: Do watercolor tattoos need different aftercare than traditional blackwork?
A: The aftercare window is similar, but watercolor relies on pigment distribution and will often need touch-ups sooner to keep the color fresh. Keep sun exposure low during healing and consider a color refresh at year two if you want saturation restored.
Q: What should I say in the consultation to avoid a design that fades into a blur?
A: Ask about line weight, needle grouping, and how they plan negative space. Request healed examples of similar placements and sizes. If your design mixes styles ask the artist which element they would emphasize for longevity so the piece reads at a distance and close up.
Q: Are hand and finger tattoos practical for long-term detail from Princess Mononoke motifs?
A: Hands and fingers are high-friction zones and small detail fades quickly. If you want a hand or finger nod to the film, simplify the motif into bold shapes and accept touch-ups as likely within the first two years. The session is brief but the maintenance is real.
