
Fine line tattoos are trendy right now, but the pieces that still look sharp five years from now are the ones planned with spacing and placement in mind. Small forearm designs age well when the artist sizes linework for skin movement and avoids packing detail into a tiny area. Below are 17 compact forearm ideas that read clean on a rolled sleeve, with notes on pain, session time, how the work heals, and what to wear to the appointment.
1. Minimalist Arrow on Inner Forearm
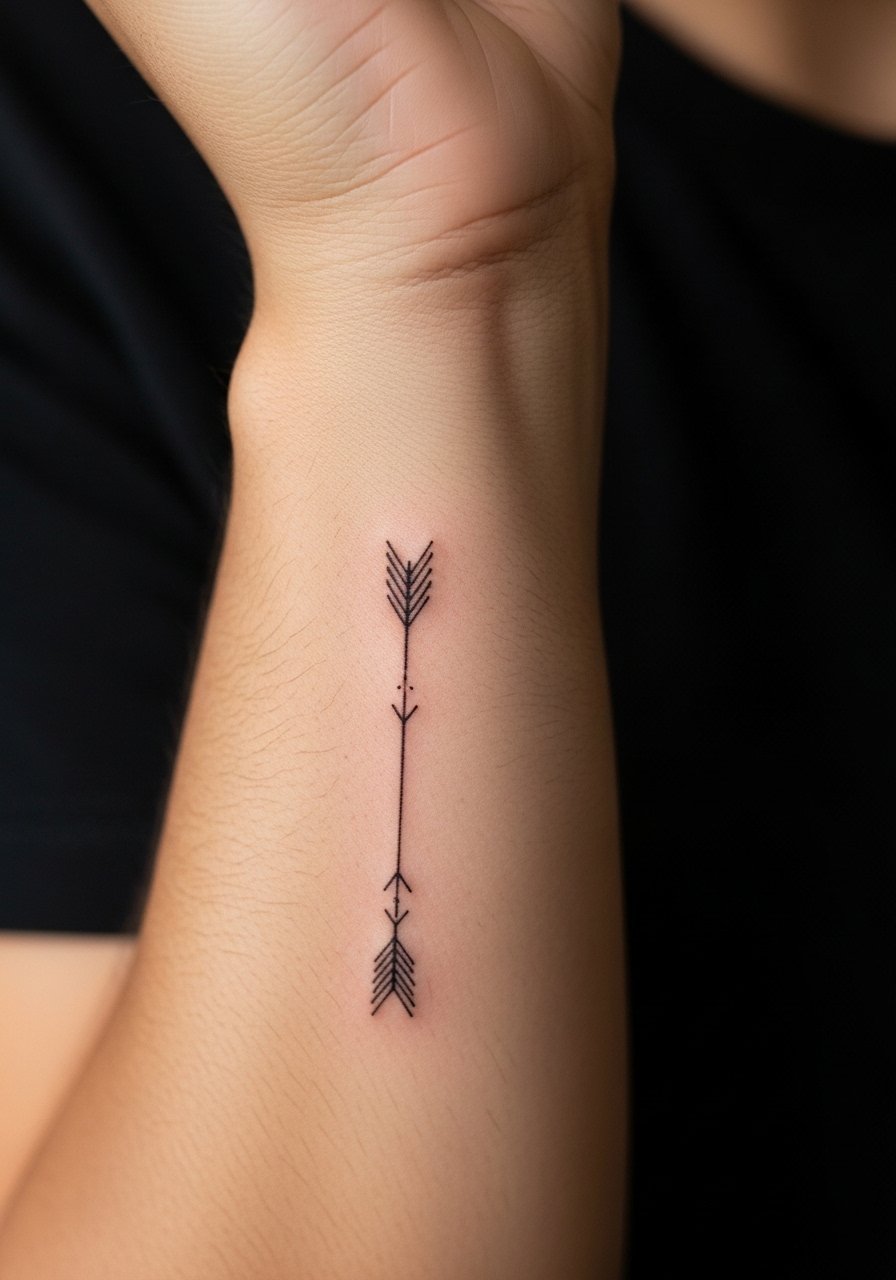
I recommend a 2.5 inch single-arrow in crisp fine line when you want a low-fuss piece that still reads clean. Pain is lower on the inner forearm than on ribs, and most sessions take 20 to 40 minutes. Tell your artist you want consistent single-needle line weight with a little breathing room around the shaft so the lines do not merge over time. The usual mistake is shrinking the design to fit a narrow wrist band, which invites blowout. For the appointment, wear a rolled cuff chambray shirt you can push up without tugging, and bring a slim sleeve you can roll back easily.
2. Geometric Line Triangle on Outer Forearm
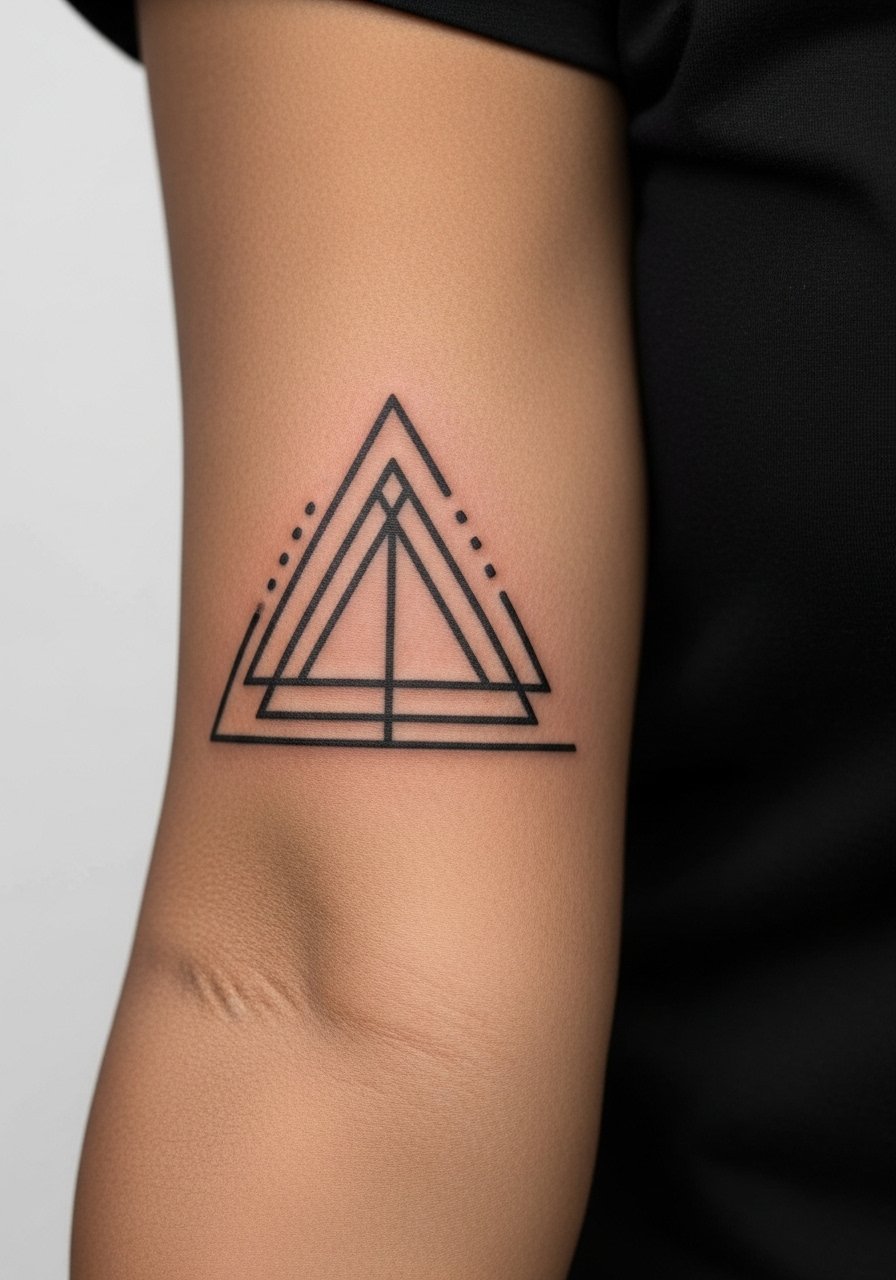
A single 3 inch triangle in geometric blackwork reads modern without dominating the arm. Outer forearm skin tolerates slightly heavier linework, so the artist can push line weight for longevity. Common errors include cramming interior detail that looks sharp fresh but softens into muddiness. During consultation ask for evenly spaced negative space inside the triangle to prevent dense areas from merging. Expect a 30 to 60 minute session and a touch-up window around year two if you want exact crispness. Pair the finished piece with a fitted henley shirt when showing it off.
3. Fine Line Mountain Outline on Low Forearm

A 3.5 to 4 inch mountain outline works well low on the forearm because the design follows natural arm movement. The low forearm has moderate pain and usually fits a single 45 to 60 minute session. Ask your artist for subtle gray wash under the peaks rather than dense dot work, so the piece keeps clarity at two and five years healed. The most common mistake is stacking tiny peaks too close together. For a casual show-off look, roll a linen long sleeve shirt to the elbow and wear a minimalist leather watch on the opposite wrist.
4. Traditional Anchor Transitioning to Forearm

If you like traditional flash but want flexibility to hide the work, place a 3 to 4 inch anchor high on the forearm that can flow up into a bicep piece later. Expect two shorter sessions rather than one long sit if color fills are involved. The big mistake is trying to cram an overly complex scene into a small anchor; keep the banner and rope simple so saturation settles evenly. This placement is slightly more painful at the fold near the elbow, so plan a comfortable shirt you can pull aside. For showing it off, a vintage band tee with rolled sleeves frames the bold lines without distracting from the artwork.
5. Script Quote on Inner Forearm
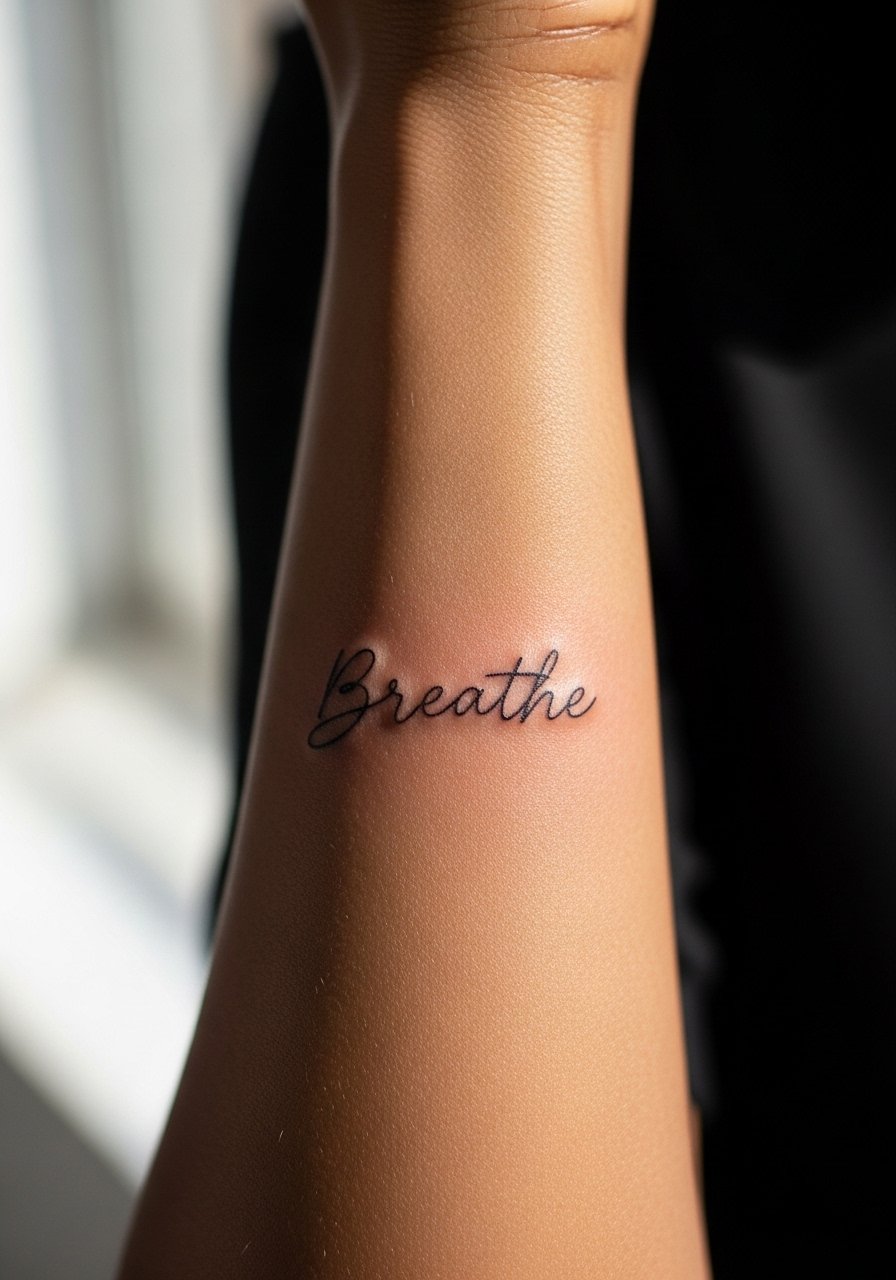
A short, two to three word script reads clean on the inner forearm if letter spacing is generous and the artist uses steady single-needle work. Inner forearm placement offers lower pain and high readability during daily movement, which exposes small flaws if kerning is tight. Tell your artist the exact typeface you want and request a printed stencil at life size to confirm proportion. The common mistake is choosing overly ornate script that collapses when healed. Session time is usually 30 to 45 minutes. Wear a short sleeve button up you can roll back for easy access.
6. Micro-Realism Wolf Head on Outer Forearm
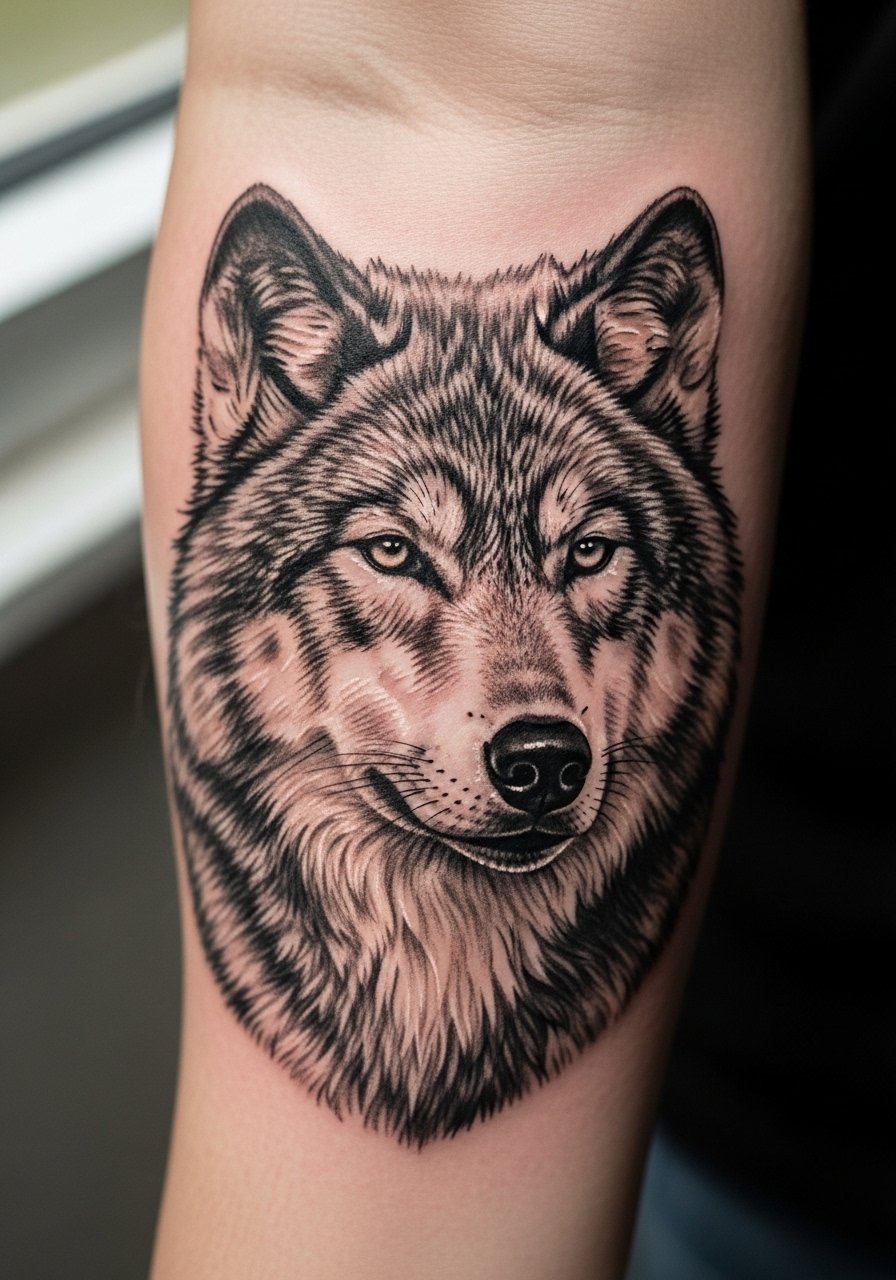
A compact 3 inch micro-realism wolf makes for a striking forearm center piece without becoming a sleeve anchor. Micro-realism demands precise stipple shading and tight contrast, so book a 60 to 90 minute session and be ready for a possible second pass for perfect saturation. Common mistakes are under-saturating mid-tones, which leaves the image flat after a year. Outer forearm is forgiving with saturation but watch for blowout if the artist goes too deep. Pair this piece with a clean white crewneck tee and pushed sleeves so the realism stays the focus.
Studio Day Picks
The inner and outer forearm pieces above vary by access and friction, so a small kit that helps with stencil placement and first-day comfort makes the session smoother.
- Stencil transfer paper kit. Lets you preview the exact placement on skin before the needle hits, which is useful for script and geometric pieces in ideas 1 through 6.
- Topical numbing cream. Applied per instructions it eases the edge on inner forearm work without changing the linework if the artist approves.
- Thin protective film roll. Keeps low forearm and wrist pieces clean during the first few days when friction from sleeves and washing is highest.
- Fragrance-free gentle body wash. Mild cleansing helps fine line work heal without irritation that sometimes causes scabbing and ink loss.
- Aquaphor healing ointment. A thin layer during the initial healing window prevents excessive dryness that can pull pigment from fine single-needle lines.
7. Nature Leaf Cluster on Low Forearm
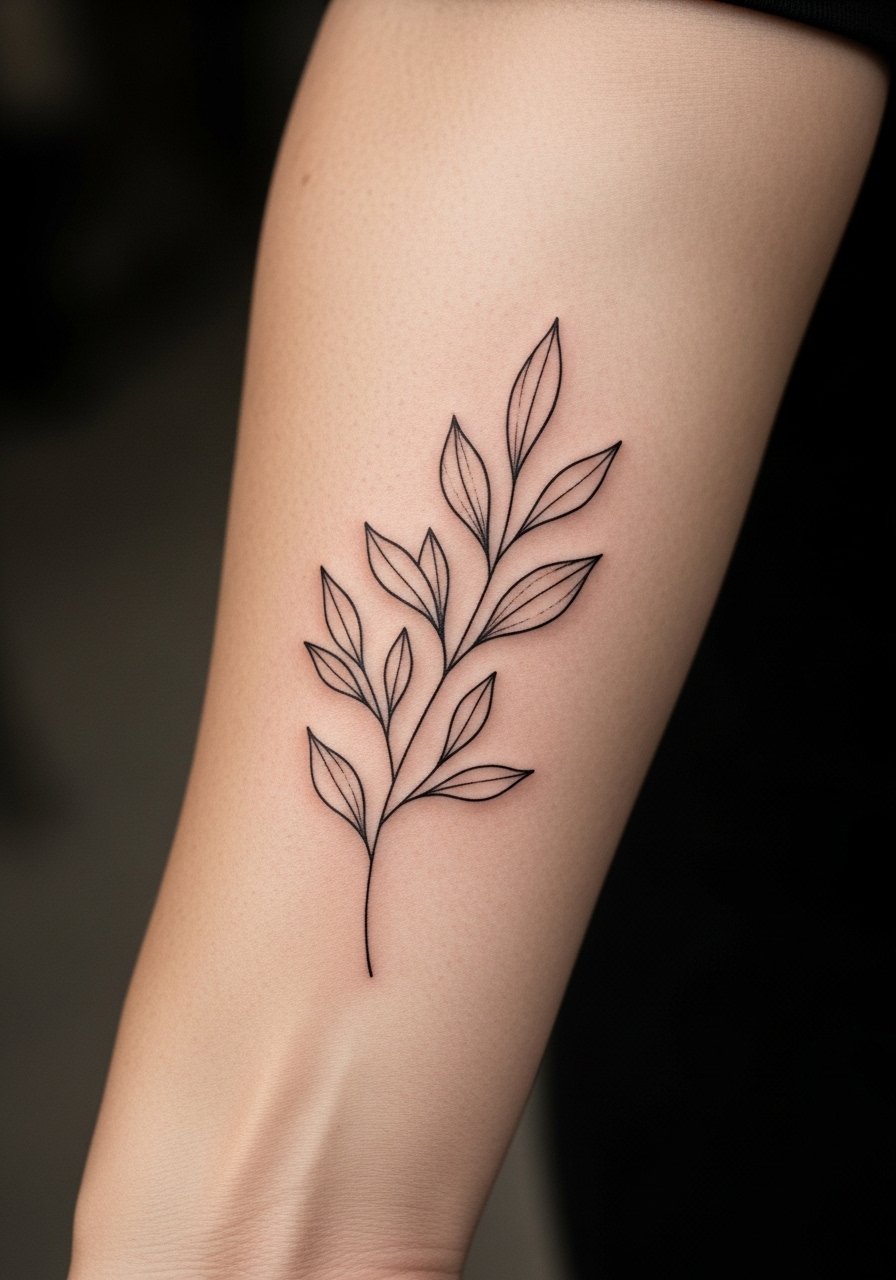
A 2 to 3 inch cluster of leaves that follows the low forearm curve looks organic and moves with the arm. Pain is mild and most sessions finish in 30 to 45 minutes. Ask for single-needle outlines and light negative space between leaves so stipple shading can breathe. The mistake people make is requesting heavy fill inside each leaf which ages into blotchy patches. Over five years the gentle linework keeps form if spacing is preserved. For a pulled-together look, roll a linen long sleeve shirt to the elbow and keep jewelry minimal.
8. Rose Outline with Thorn on Inner Forearm
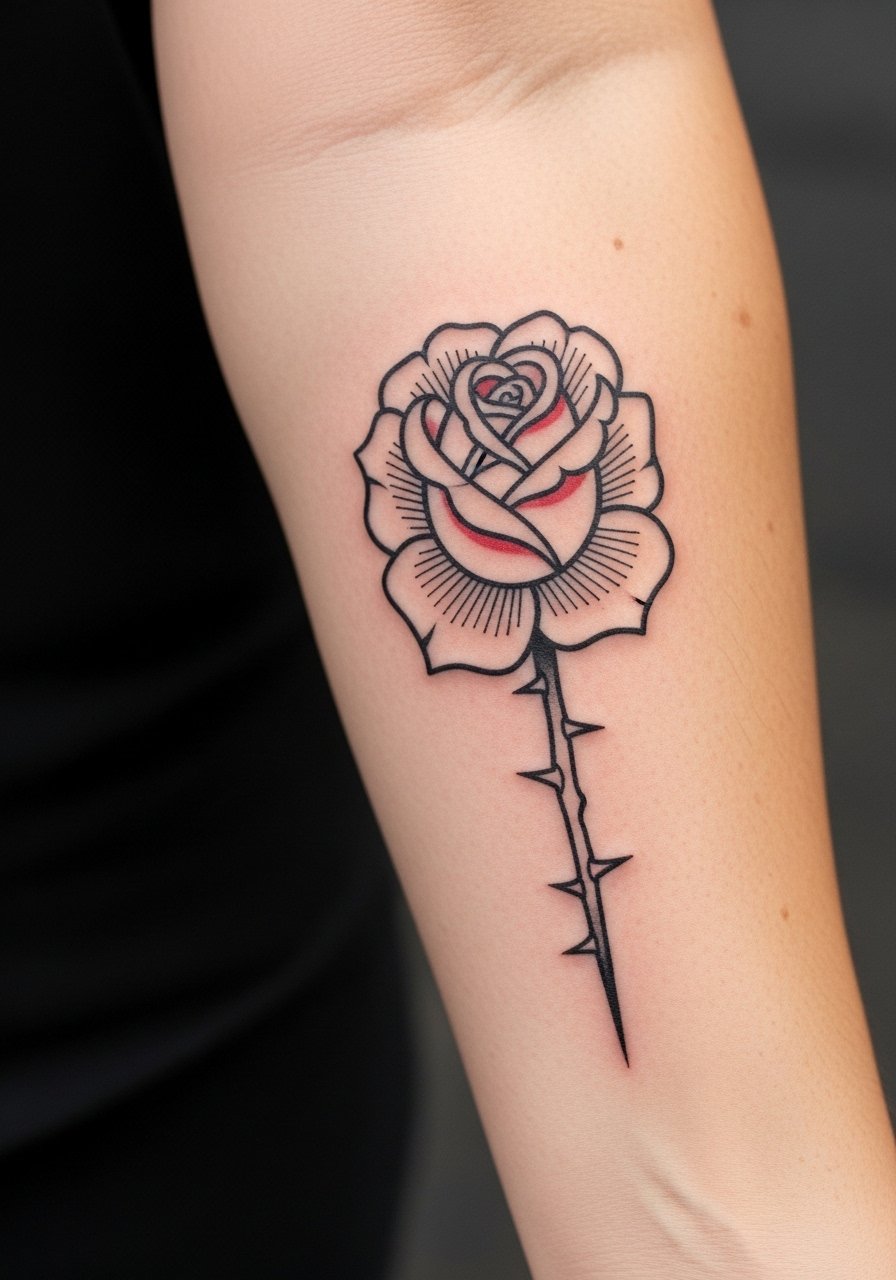
A 3 inch rose outline balances decorative linework with a spare use of color for longevity. Inner forearm placement reads clearly but shows every line, so request clean bold outlines and restrained color fills. A common error is using dense color patches that fade unevenly. Expect a 45 to 75 minute session and a likely touch-up at year two if you want saturated red to remain vivid. If career considerations matter, remember inner forearm is highly visible while wearing short sleeves.
9. Compass Minimalist on Forearm Center
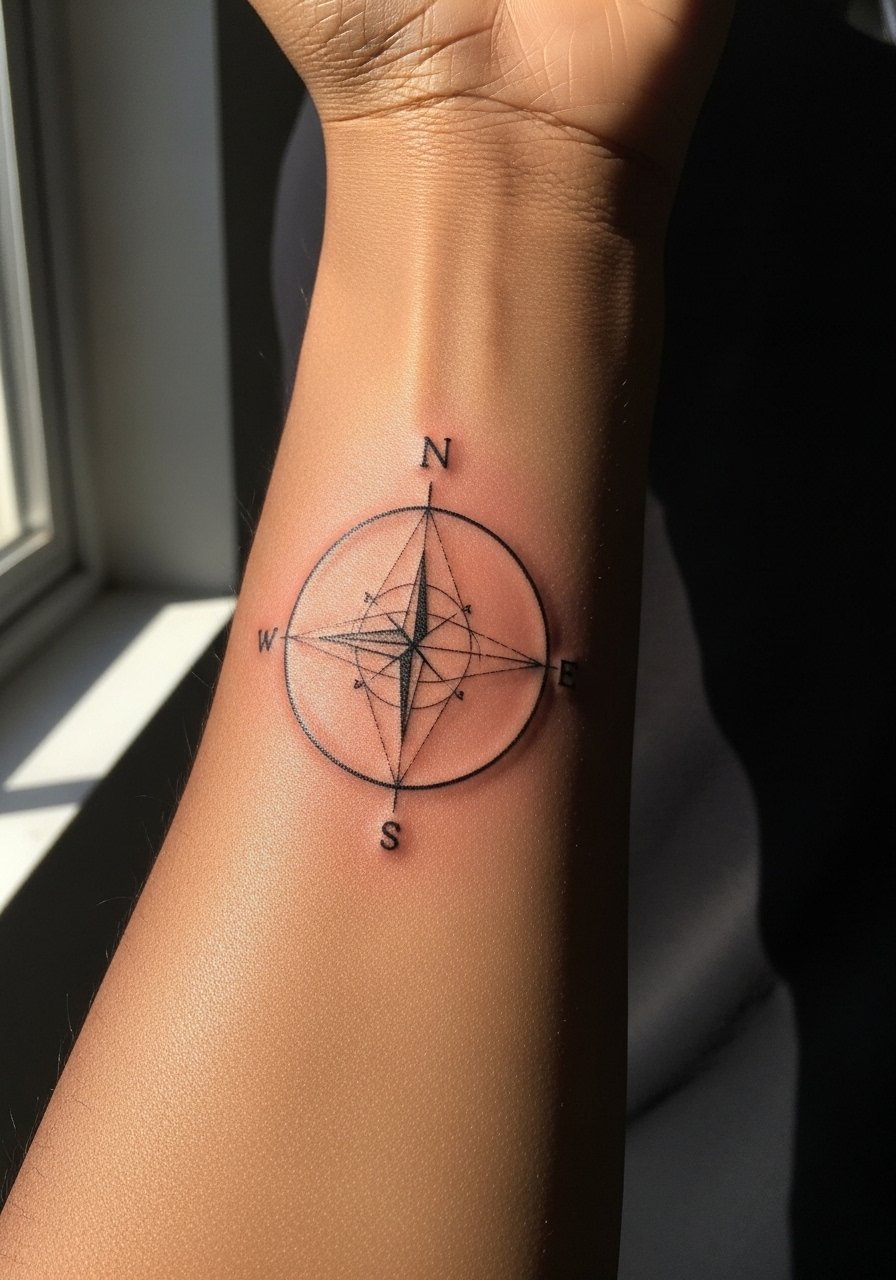
A 2.5 inch minimalist compass is a compact travel motif that benefits from precise spacing. The outer forearm center tolerates slightly thicker line weight for longevity, but too much density blunts the compass points after a few years. There's a divide among artists on fine line permanence. One camp says fine single-needle work will soften quickly on any moving canvas. The other camp argues correct depth and spacing preserves the details. Ask your artist where they stand and request a slightly heavier yet still delicate line if you want the compass to read at year five. For showing it off, a clean white crewneck t-shirt with pushed sleeves frames the center placement.
10. Skull with Banner on High Forearm
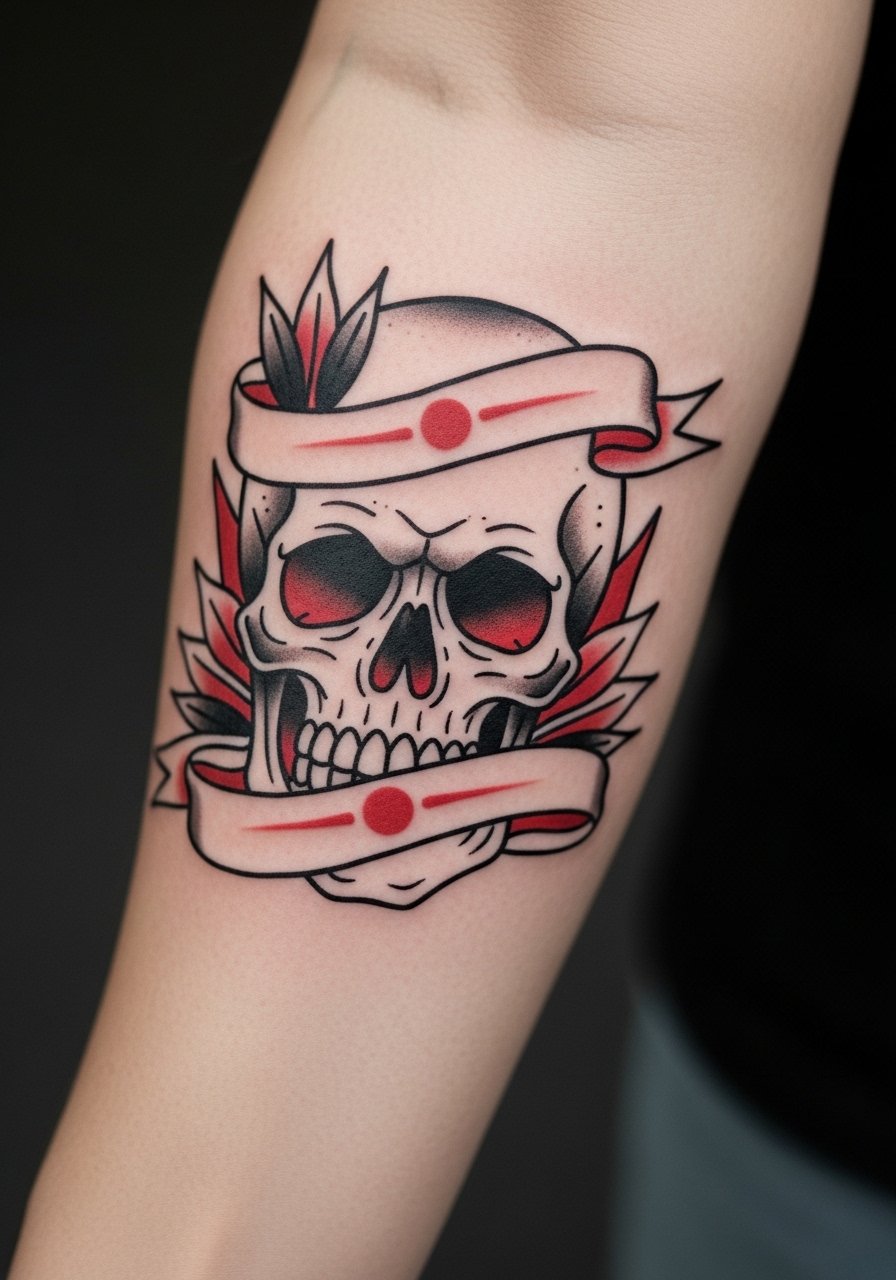
A 3 to 4 inch skull with a banner sits well high on the forearm where the lines can be bold without risk of early blur. Traditional flash relies on strong saturation and bold outlines, so expect two shorter sessions if color fills are included. The usual mistake is shrinking the skull so facial details get lost. Keep the face elements simple and the banner roomy for readable text. Pain is moderate near the fold, so wear a button-down you can slide aside without stretching the skin.
11. Feather Quill Script from Inner Arm to Forearm
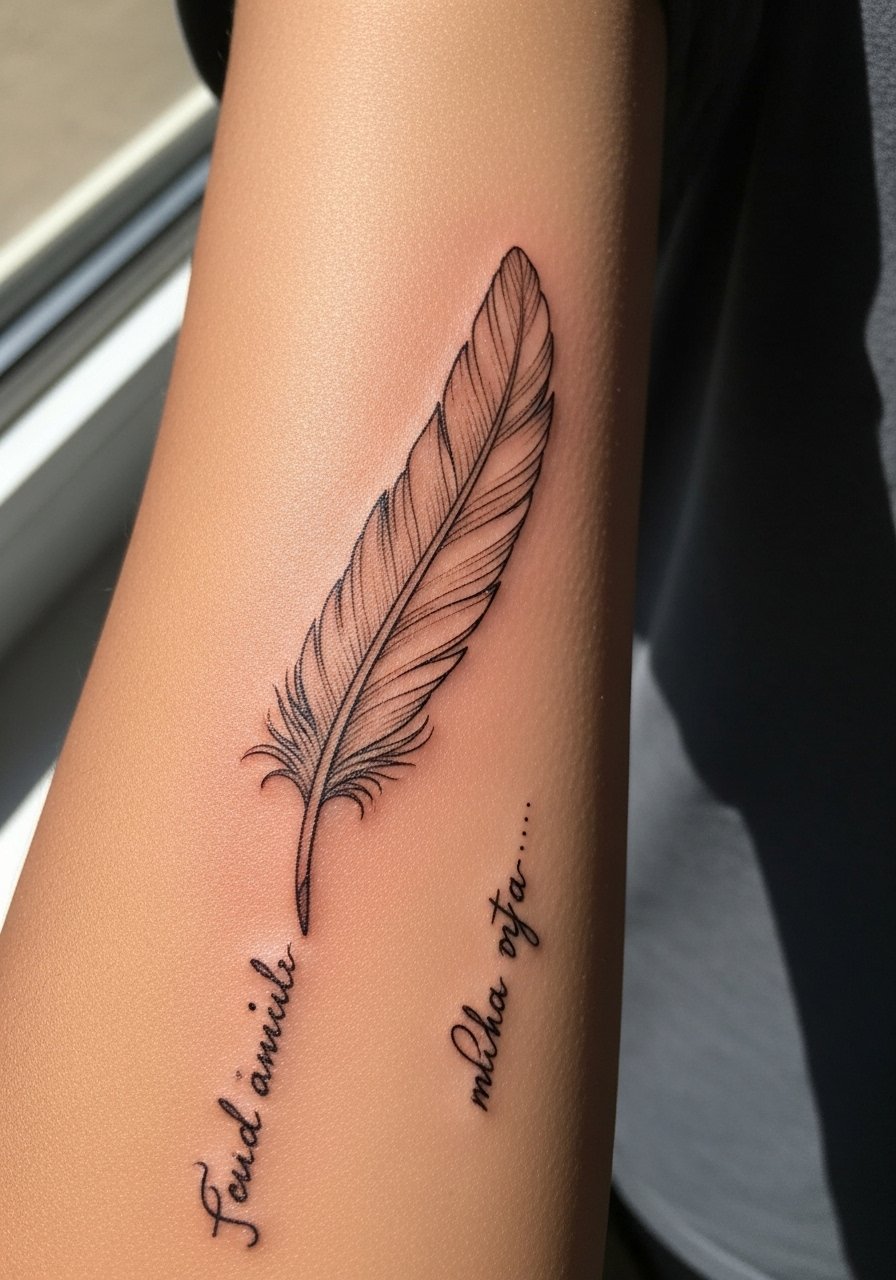
A four inch feather quill that flows into a short line of script takes advantage of inner arm real estate and movement. The elongated placement reads graceful when the quill tapers and the script spacing is generous. The common error is choosing a dense cursive that collapses when healed. Ask the artist to draft the quill with stipple shading and to scale the script to 12 to 16 point equivalent so it stays legible. Sessions typically run 45 to 75 minutes. For the appointment wear a short sleeve button up you can pull back easily.
12. Hourglass Symbol on Outer Forearm
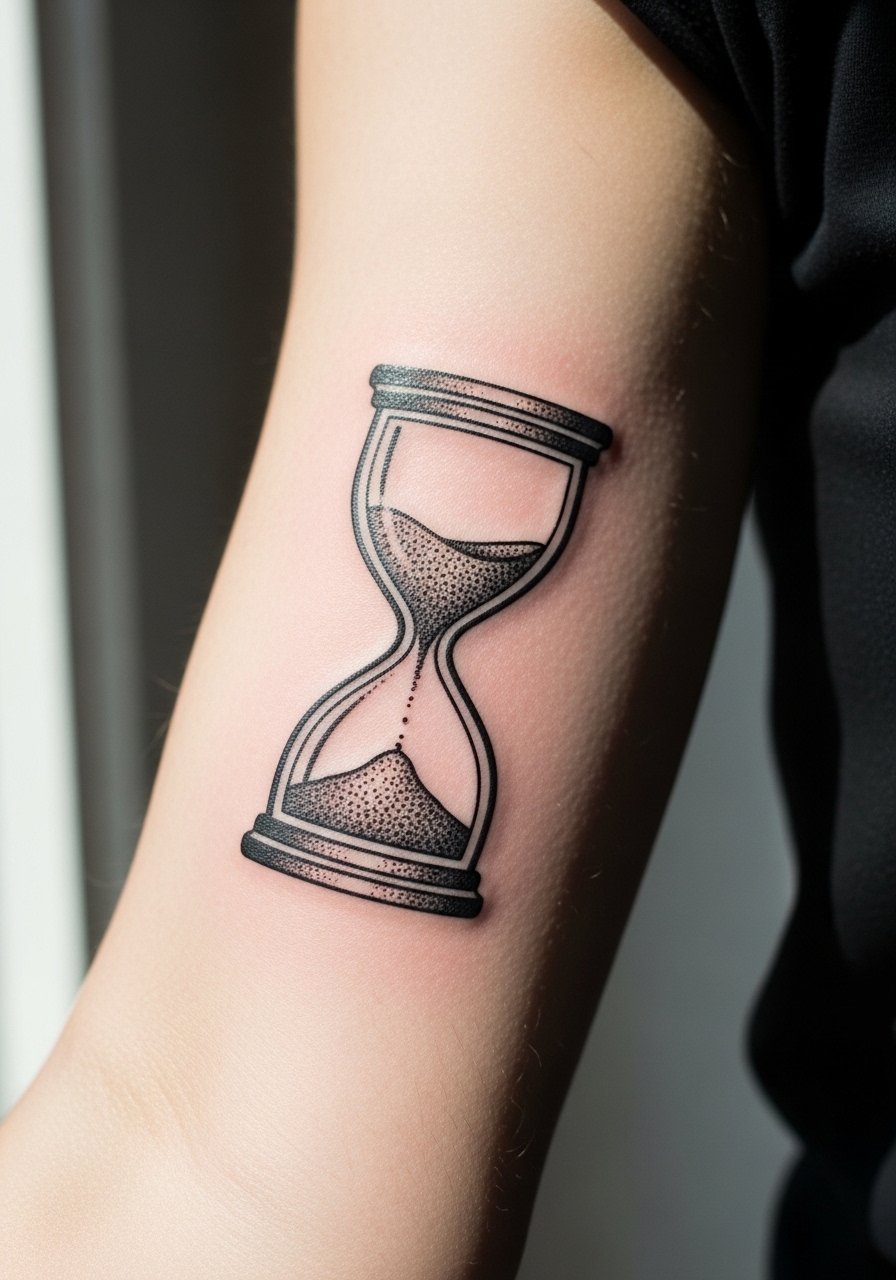
A compact hourglass around 2.5 inches makes a strong symbolic statement without heavy detail. Outer forearm placement handles slightly denser blackwork well, but the mistake is adding small sand grains that blur over time. Keep the hourglass geometry open and request slightly thicker outer lines to hold shape as the piece heals. Expect a 30 to 45 minute session and plan for a potential light touch-up if you want perfect crisp edges after two years. For a casual reveal, an open flannel or fitted henley works well.
13. Small Anchor on Low Forearm for Concealment Options
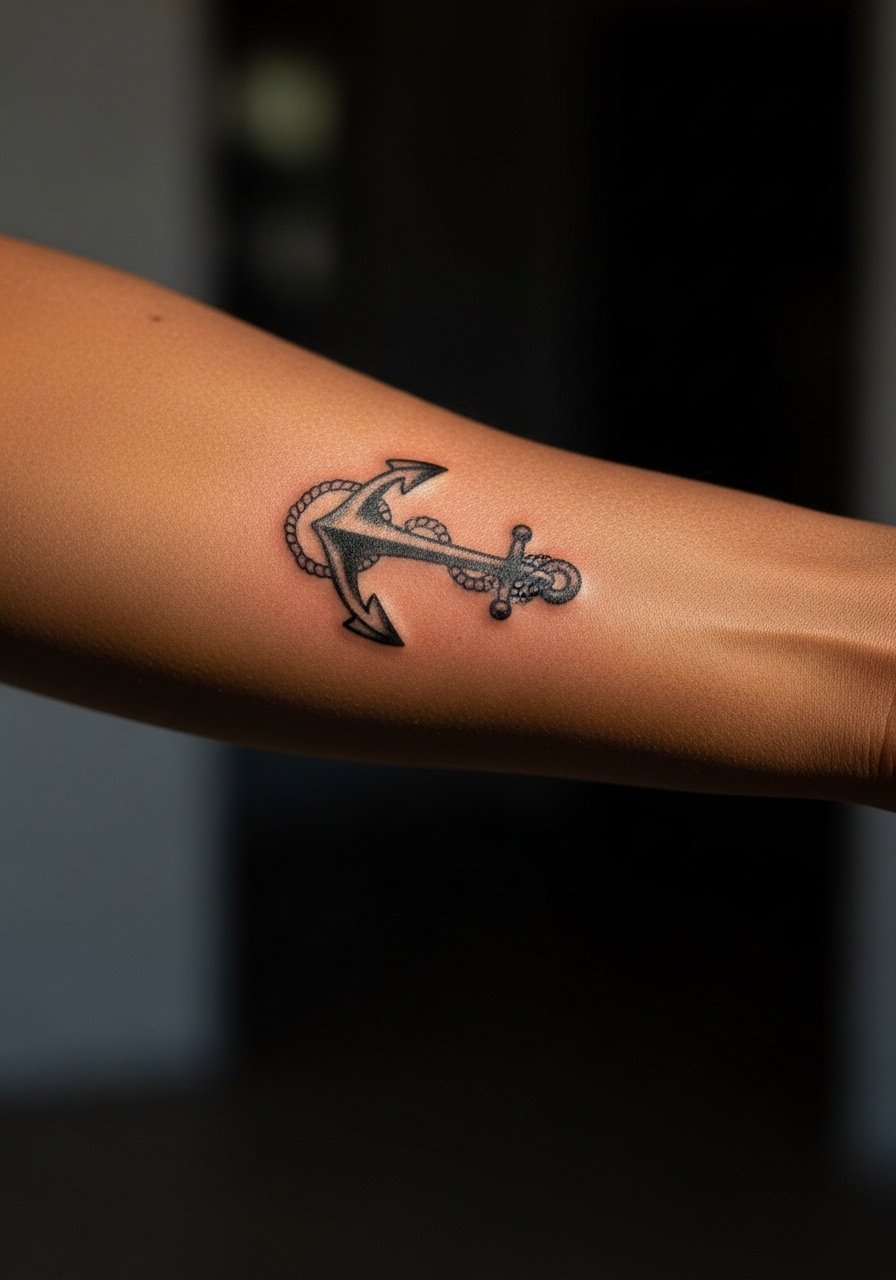
A tiny 2.5 inch anchor placed lower on the forearm offers a vintage look that is easy to conceal by swapping to long sleeves. This placement is forgiving for quick sessions of 30 minutes, but the biggest mistake is asking for too much interior color in a small anchor. Request bold outline with minimal fill so the silhouette holds up. For session day wear a loose tee that you can slide up without rubbing the fresh ink. To show the piece off, a rolled sleeve vintage band tee gives the anchor that classic context.
14. Single-Line Wave on Forearm Edge
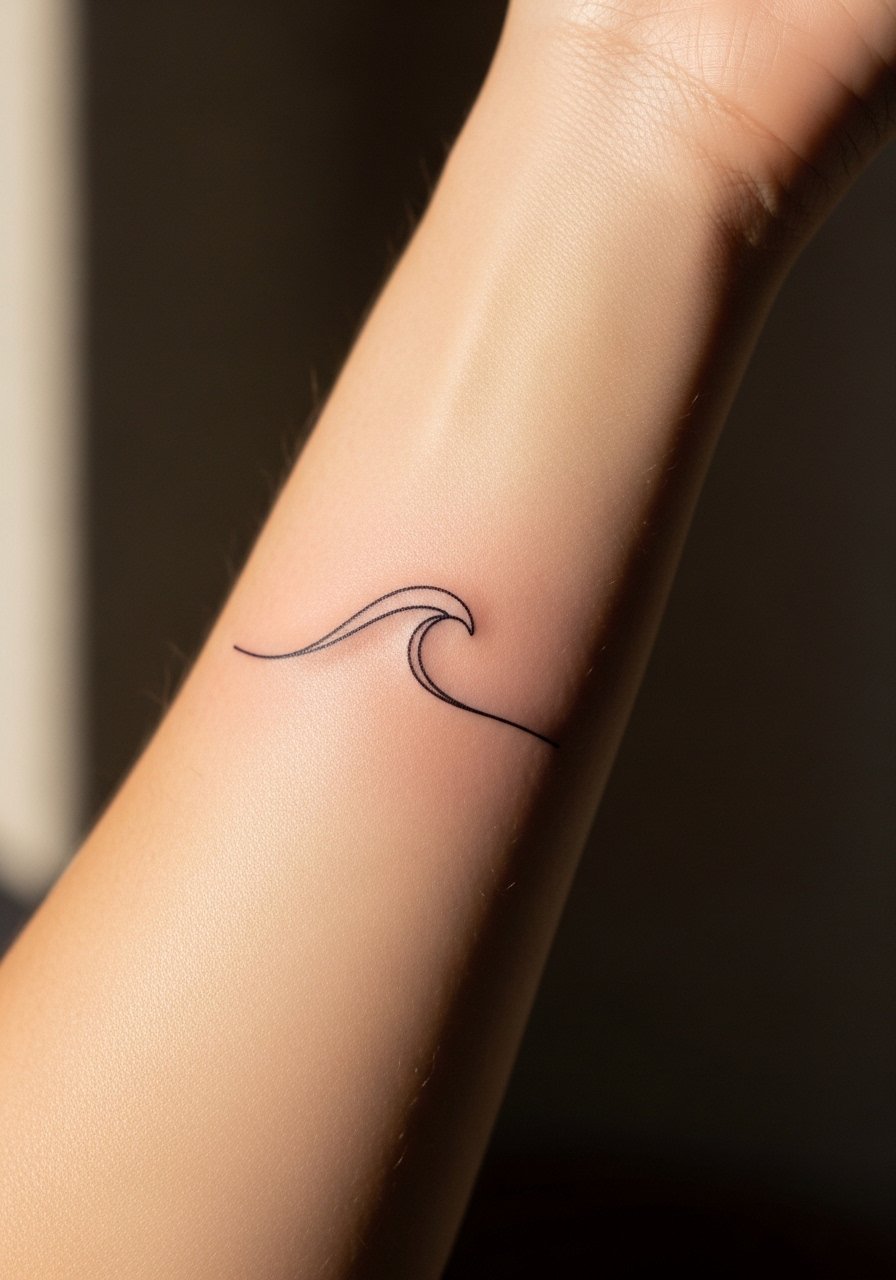
A continuous single-line wave follows the forearm edge and translates motion into a very small design. Pain is low and most artists finish this in 20 to 30 minutes. The common error is making the line too thin and too long, which invites blowout or fragmentation over time. Ask for an uninterrupted motion with slight micro-thickening at the peaks so the rhythm reads at year three. Keep aftercare gentle and avoid tight sleeves for the first week so the line does not scuff.
15. Tiny Constellation Wrist-to-Forearm Cluster
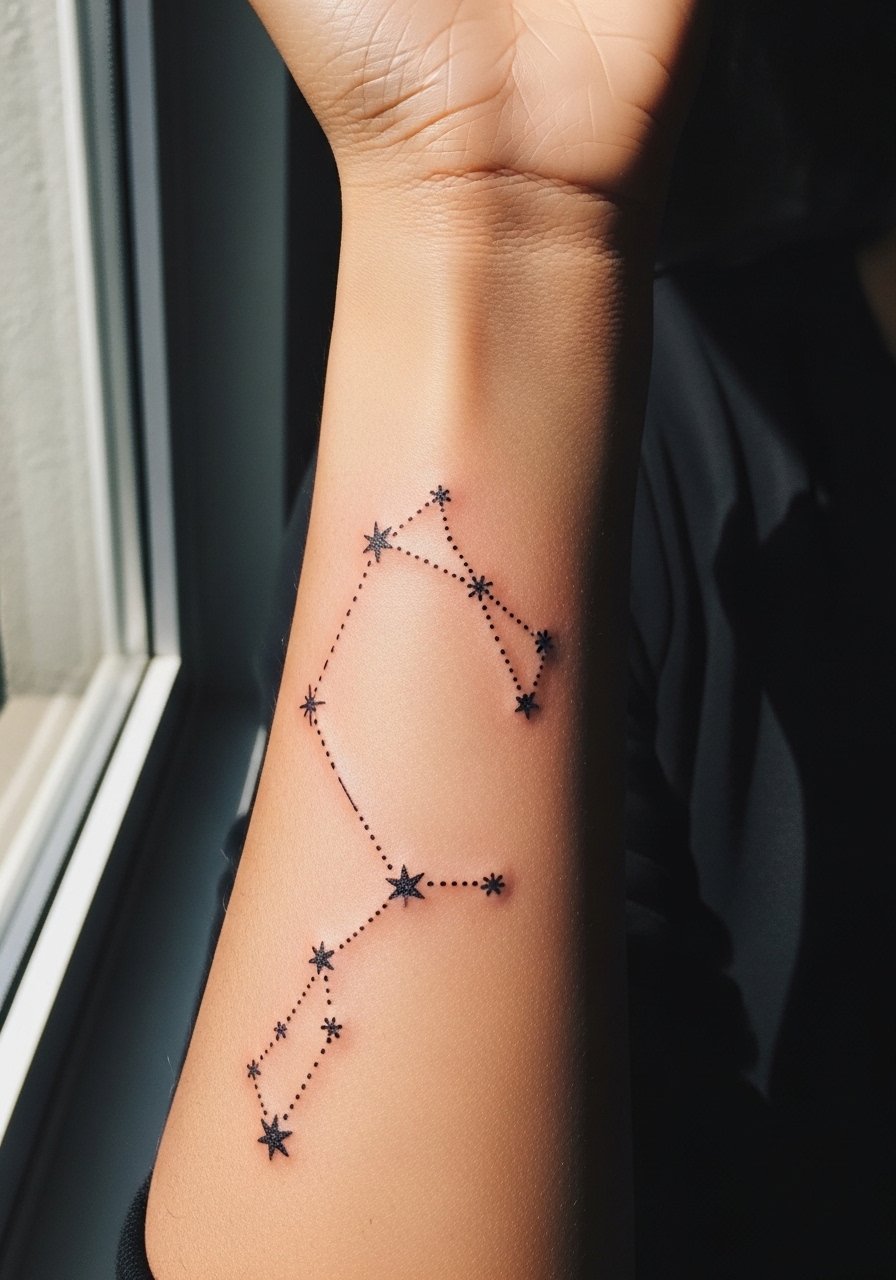
A small constellation cluster of dots and short connectors reads clean when spacing between points is deliberate. Wrist-to-forearm placement sees a lot of washing and rubbing, so the main mistake is placing dots too close. Ask for slightly larger negative spaces between stars and for stipple shading instead of dense black dots. Sessions run 20 to 40 minutes. For showing this delicate work, push sleeves to a white crewneck tee cuff so the dots sit against a simple backdrop.
16. Minimalist Compass Needle Near Elbow
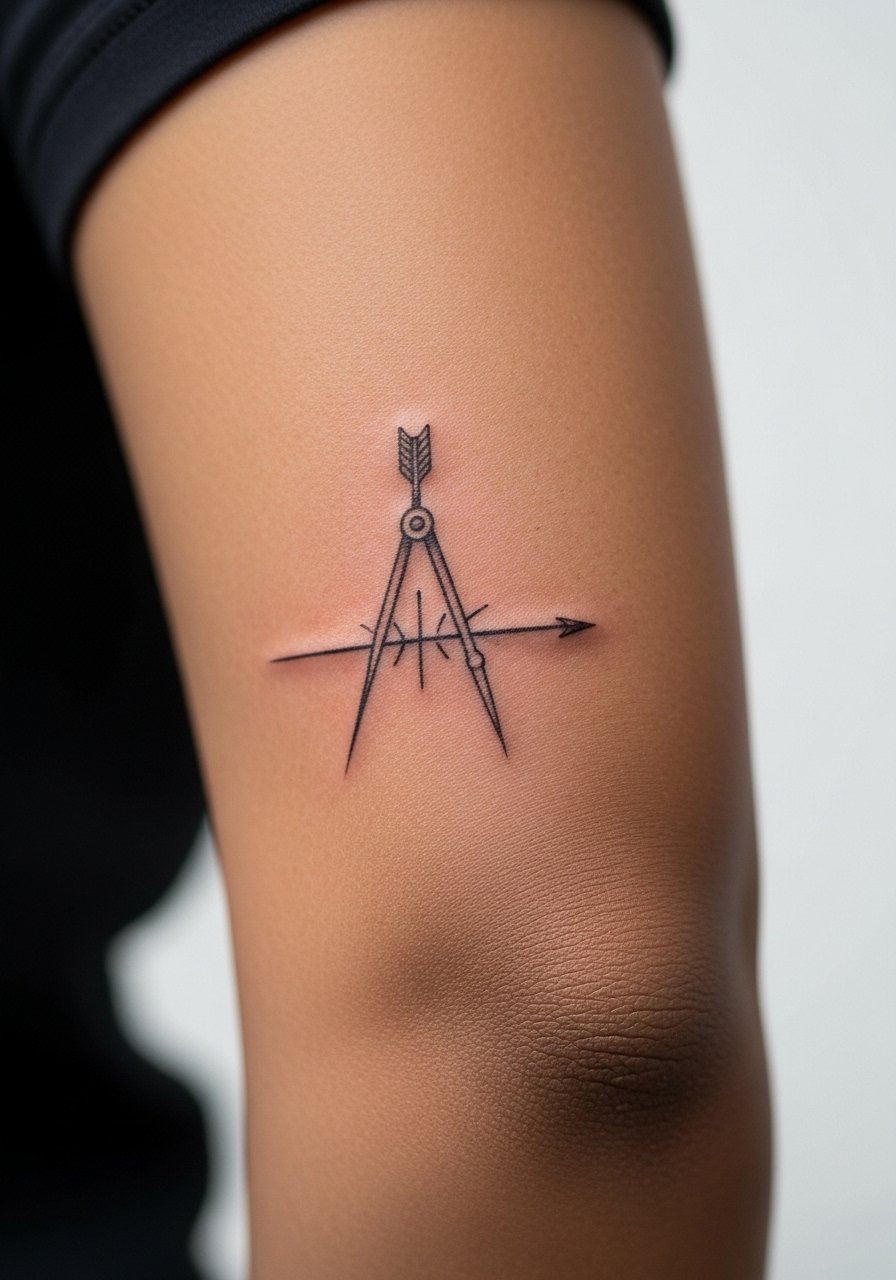
Placing a tiny compass needle near the elbow crease uses the curved canvas to dramatic effect, but beware that crease movement can soften ultra-thin lines. The common mistake is insisting on the absolute finest single-needle thickness without discussing longevity. Request a modest increase in line weight and ask the artist about touch-up timing. The session is short, typically 20 to 30 minutes, and you should avoid heavy elbow bending in the first few days while the area scabs.
17. Series Patchwork Pieces to Build Later
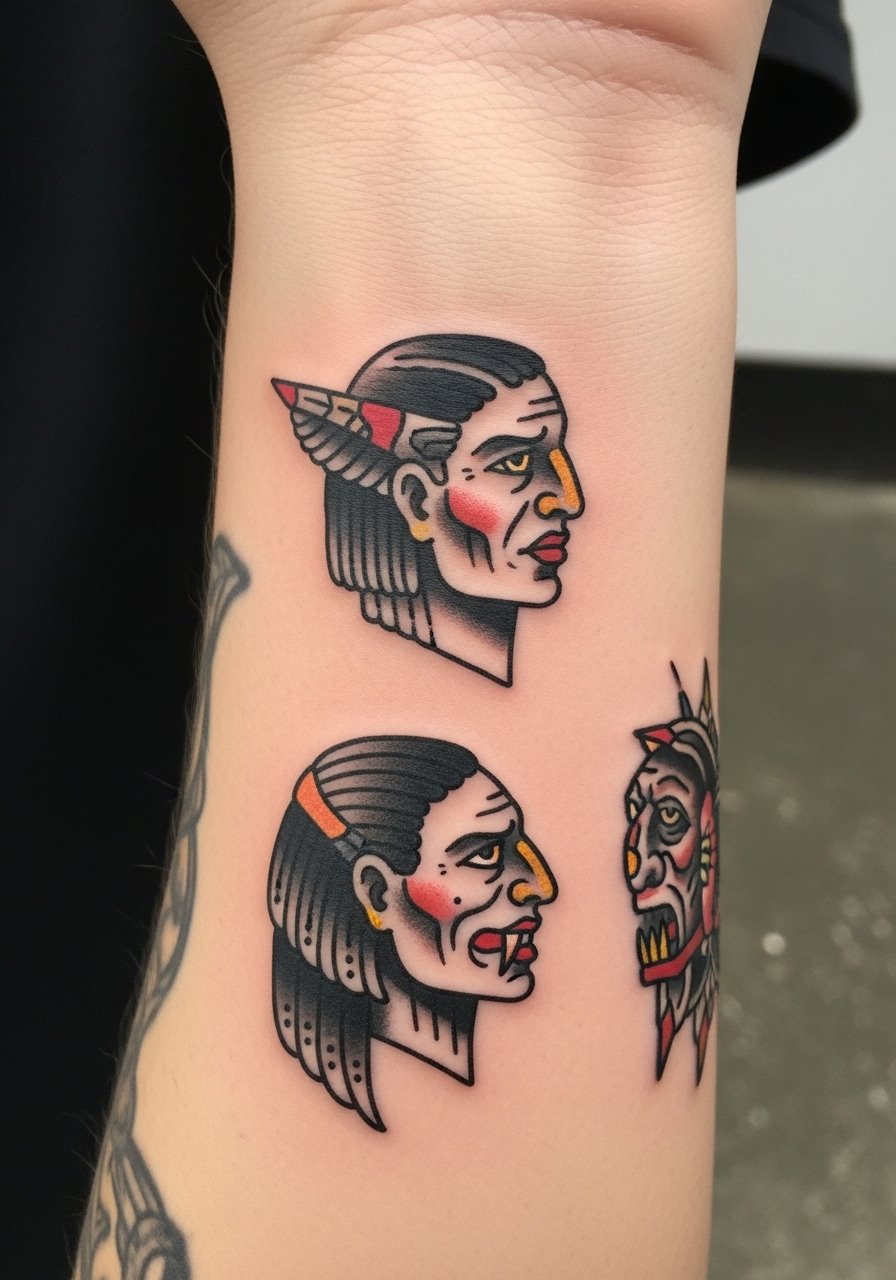
Instead of committing to one larger flash piece, consider a series of 2 to 3 small patches spaced across the forearm that can later knit into a sleeve. I see this approach work well because each patch gets the necessary breathing room and the overall composition grows organically. The usual error is placing patches too close initially. Tell your artist you want future connectivity potential and to leave consistent negative space between elements. Session times vary by patch, but most small flash pieces finish in 30 to 60 minutes each. For session comfort wear a loose button-down you can slide the sleeve out of without stretching the area.
Frequently Asked Questions
Q: Will fine line forearm tattoos blur faster than traditional work?
A: From what I've seen, fine line tattoos can soften sooner than bold traditional pieces because the ink sits in thinner channels. One camp says fine single-needle work blurs quickly on moving areas. The other camp counters that correct depth and spacing preserve detail. Ask your artist about line weight and spacing and plan for a possible touch-up around year two or three.
Q: How should I dress for a forearm session so the artist has easy access?
A: Wear a loose short sleeve button up or a tank so the artist can roll your sleeve without pulling fabric across the stencil. If your piece sits high toward the bicep, a cotton button down that you can pull to the side works best. A short sleeve button up is a reliable option for most forearm placements.
Q: Do wrist and low forearm pieces need different aftercare than a high forearm design?
A: They do. Wrist and low forearm areas get more friction from clothing and washing, so they often require gentler handling and may scab more easily. Keep those areas protected from tight cuffs during the first week and follow the specific product guidance your artist gives. The protective film in the kit above helps reduce early friction for wrist work.
Q: How visible are touch-ups for small forearm tattoos after a few years?
A: Touch-ups on well-spaced small pieces are usually subtle. If the original piece was sized with longevity in mind, a light touch-up can bring back crispness. Overworked detail makes touch-ups more obvious, so size and spacing decisions in the initial session matter more than the fact of a touch-up itself.
Q: Are there industry disagreements about numbing creams and saturation?
A: Yes. Some artists avoid topical numbing because it can slightly affect saturation and stretch the skin during application. Other artists use them carefully and say they reduce the session stress without compromising linework. If you plan to use numbing cream, mention it during consultation and follow the artist's guidance.
