
Fine line tattoos are everywhere on saved boards, and the problem is obvious when they start to fade. The trend-forward pieces that look miraculous fresh often need touch-ups sooner than people expect, and small placements bring extra challenges like friction and booking snafus. If you want a tiny Naruto nod that actually ages well, these 27 micro ideas balance aesthetics with the practical details you should bring up in consultation.
1. Tiny Headband Outline with Spiral Symbol

I've seen more wrist headbands than I can count and the most common regret is going too thin. Ask for slightly bolder linework so the spiral reads after a year, and tell your artist you want 0.25mm or heavier line weight rather than a single hairline. Expect a quick 20-30 minute session and mild wrist sting. The wrist gets a lot of friction from watches and sleeves so request a touch-up at 8-12 months. For showing it off, pair with a thin silver chain bracelet on the opposite wrist and roll sleeves to mid-forearm during outings.
2. Fine Line Nine-Tails Fox Mask Silhouette
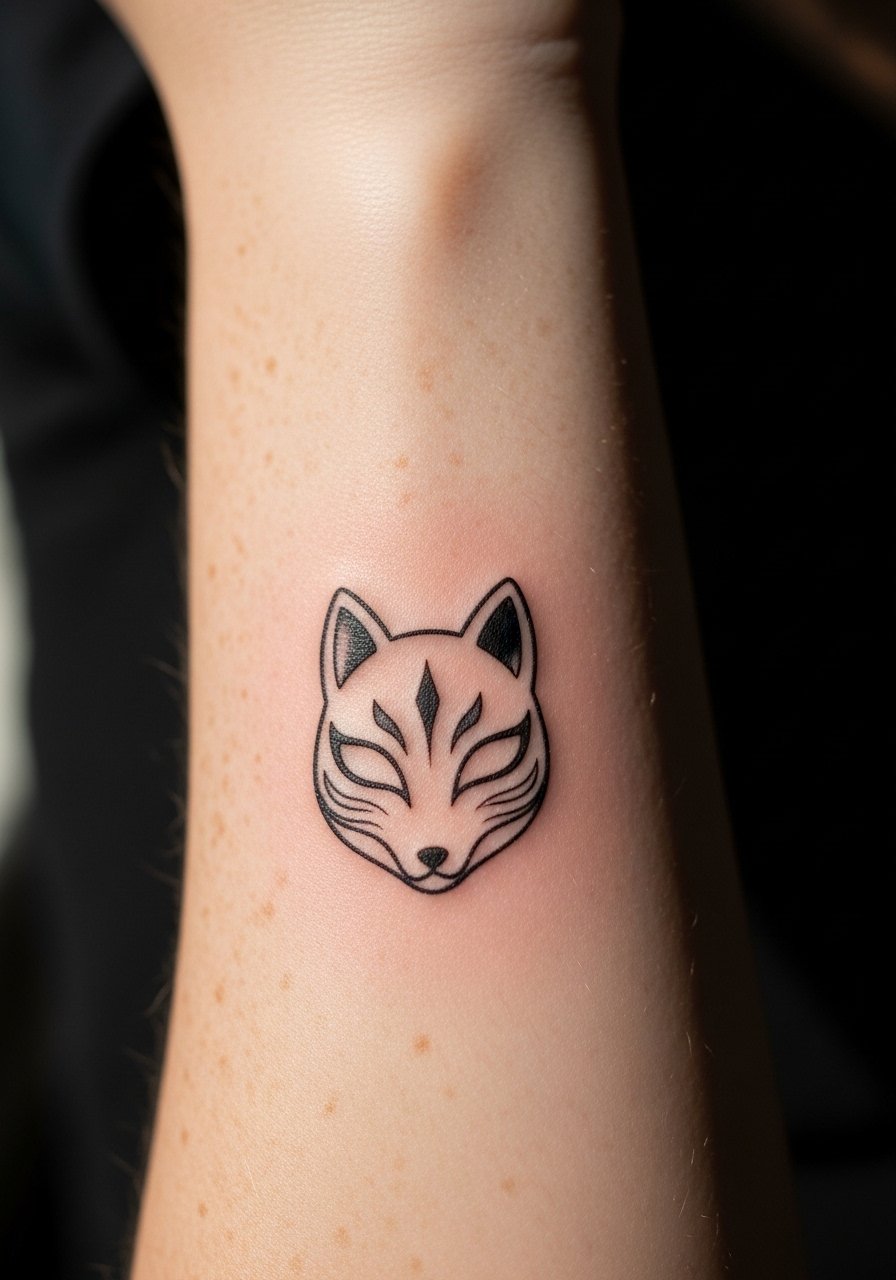
The inner forearm is forgiving and shows detail well. For a tiny fox mask, ask your artist for clean negative space in the eyes and a little stipple shading rather than tiny color fills that can bleed. This one feels like a three-quarter hour sit and the pain is low. The aging story is good if you favor strong black over delicate hatching. When you consult, bring a silhouette reference and say you want the mask simplified to a single readable shape. To highlight the piece, push up a cream cable knit sweater sleeve and wear a dainty gold cuff on the other arm.
3. Micro Rasengan Orb with Motion Lines

Behind-the-ear placements hide well and heal quickly if you sleep carefully. Color accents like blues for a tiny Rasengan look cool but can fade faster than black. Artists split on color here, with one camp saying micro color reads beautifully in festival lighting and the other camp warning color chips on small scales. Ask the artist about pigment choice and expect one quick session. For session wear, tie your hair up and skip earrings so the artist has full access. When you show it off, a half-up bun works best with a simple small stud earrings look.
4. Crossed Kunai and Shuriken Blackwork

Collarbones take bold black well and tiny blackwork reads longer than threadlike lines. This design ages strongly because the contrast stays visible on medium and dark skin tones. Bring reference images that show the exact balance of negative space and solid fill you want. The session is short and the collarbone will throb more than an arm. For evening wear, an off shoulder blouse showcases the bold cloud without competing jewelry.
5. Watercolor Kurama Chakra Swirl
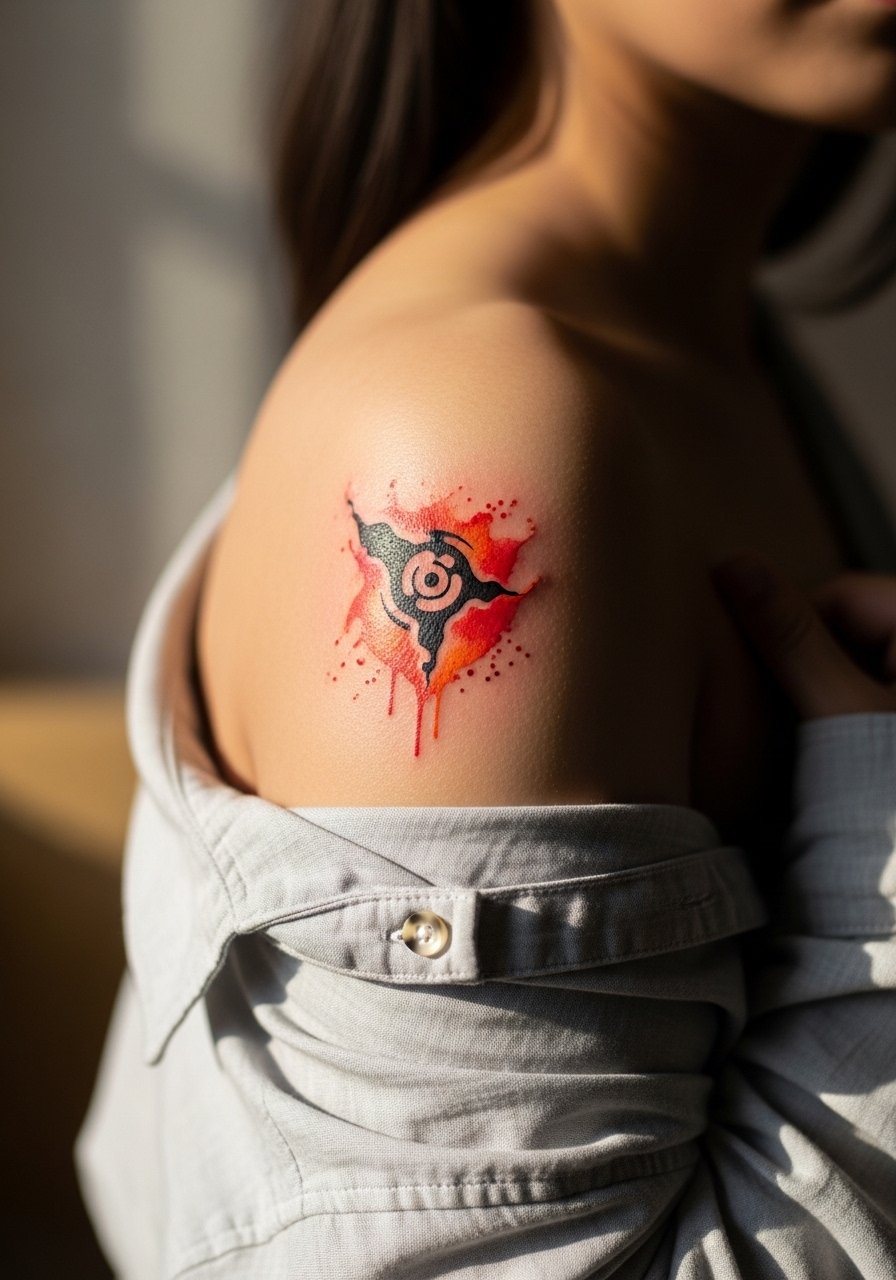
Shoulder blade watercolor can be gorgeous but it bleeds faster on tiny scales. If you love the effect, ask for the color to sit inside a thin black or gray outline so the form keeps reading as pigments soften. This takes longer than a pure line piece, often a couple of short passes, and may need a touch-up for saturation. For the session, wear a loose button-down shirt you can pull aside. Leave bold color pieces to artists who show healed examples.
6. Neo-Traditional Whisker Marks on Cheekbone

Facial placements carry extra social considerations and need confident, precise linework. The cheekbone is visible and heals differently than skin on the arm. Ask your artist for single-session saturation with small red accents rather than heavy color layers. The pain is light and touch-ups are common for facial tats because makeup and skincare can affect healing. Pair with a sleek ponytail and subtle highlighter. Wear the hair back to the session and skip makeup. Note that some shops treat face tattoos like specialized work and may require a longer consult.
Pre-Session Essentials
The wrist, cheekbone, and behind-the-ear pieces above heal under different stresses than larger forearm work, so a few specific items smooth the session and the first week.
-
Badger Tattoo Balm. A thin, non-greasy balm people use for dry-healing fine line pieces to avoid grease buildup that can soften tiny detail.
-
CeraVe Healing Ointment. A lower-cost, non-comedogenic option that works well in humid climates and for sensitive facial placements.
-
Australian Gold Aftercare Spray. No-touch misting helps with awkward zones like behind the ear and ankle so you avoid rubbing creams into tight spots.
-
Hada Labo Hydrating Lotion. Lightweight hydration that keeps micro tattoos from drying out without adding slick residue that can smear thin lines.
-
Second Skin protective film. Useful for short wrapped windows on high-friction spots like the wrist or finger to limit scabbing and preserve tight linework.
7. Minimalist Sharingan Eye with Tomoe Ripples
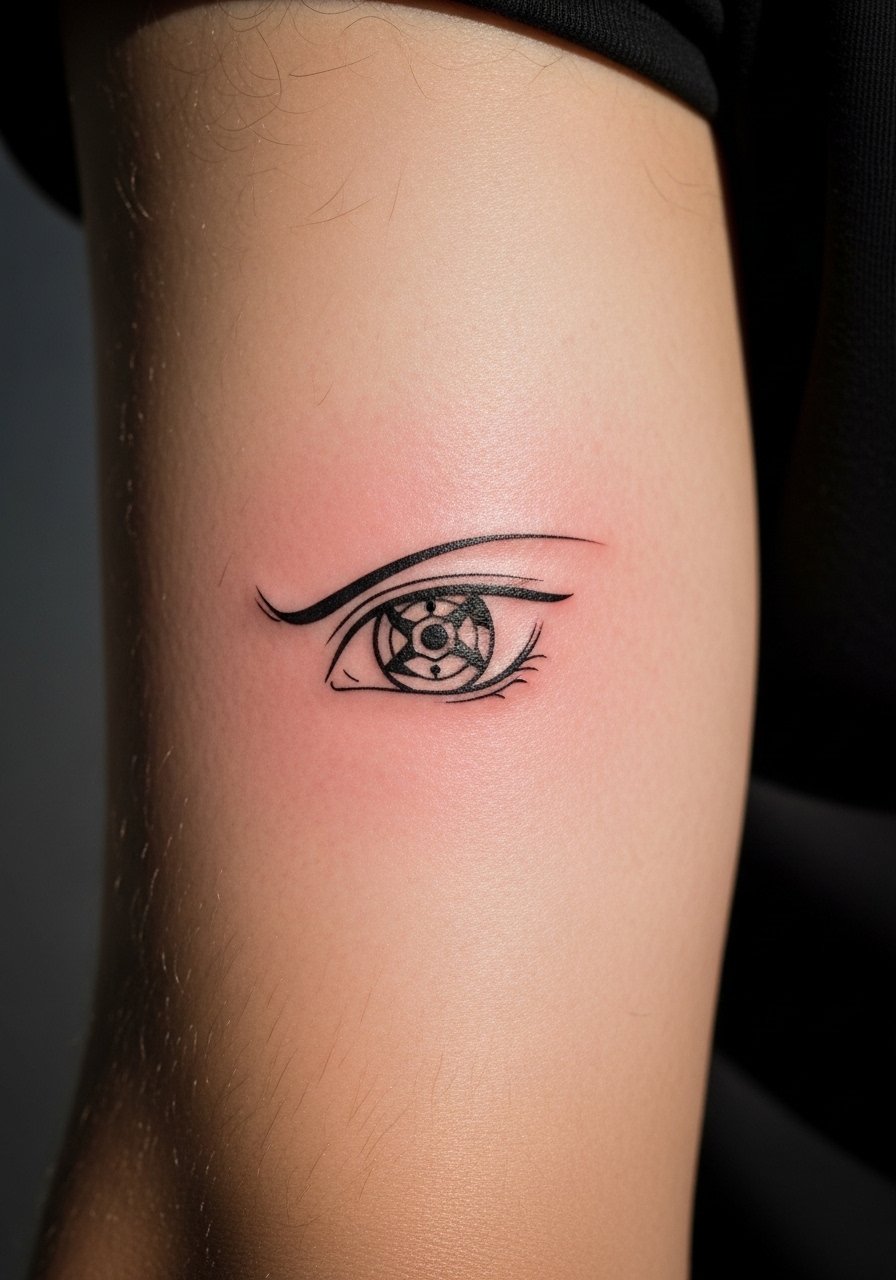
Inner biceps handle tiny circular designs well because the skin lies flat when the arm rests. For a Sharingan, keep the tomoe simple and avoid tiny inner texture that can blur. Mention to your artist you want solid black with clean negative space for the tomoe rather than micro shading. Pain is moderate when the arm is held wide open, so bring a water bottle and expect a short session. Styling note for the reveal look is understated, so pair with a loose button-down shirt you can roll up to mid-bicep.
8. Ornamental Akatsuki Cloud Outline Filled with Red
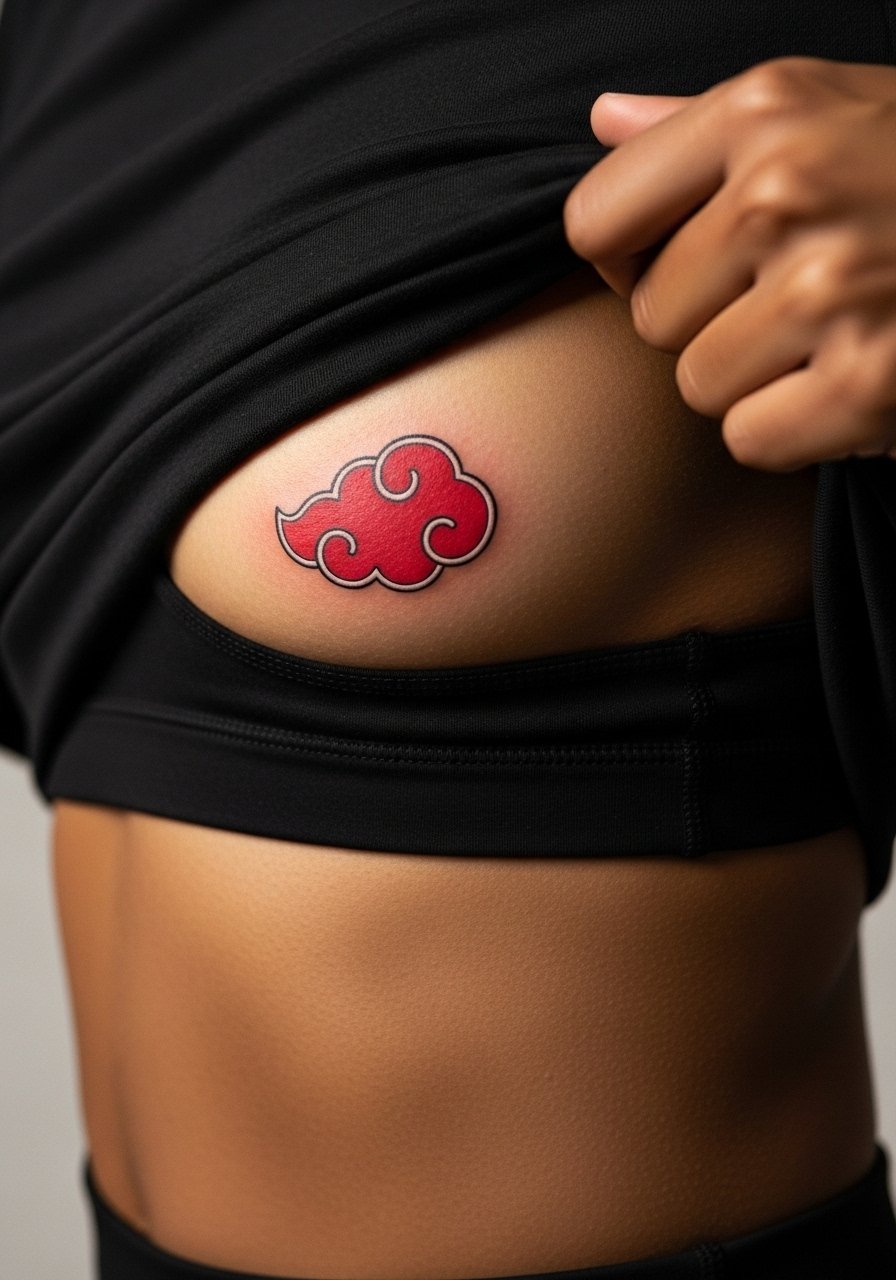
Ribcage work is painful and the skin there moves with breathing. The design reads best as slightly larger than a coin so the red fill keeps contrast. Be honest in consults about pain tolerance and plan for one longer session. There is a debate about whether red pigments fade faster on darker tones. One group says red can remain vivid with proper saturation. The other cautions that red needs touch-ups earlier. Ask the artist how they handle small color fills on ribs and consider a brief test patch if you are worried.
9. Ignorant Style Chibi Naruto Running Pose

Calf placements are great for playful micro cartoons because movement makes the design feel alive. Chibi Naruto works well at 1.5 to 2 inches here and the session is low to moderate pain. Ask for bold outlines rather than hairline drawing to keep the chibi readable when you flex. For gym days, show it off with high-water shorts and sneakers, and consider ankle athletic socks for casual wear that frames the piece.
10. Fine Line Hokage Hat Silhouette with Leaf
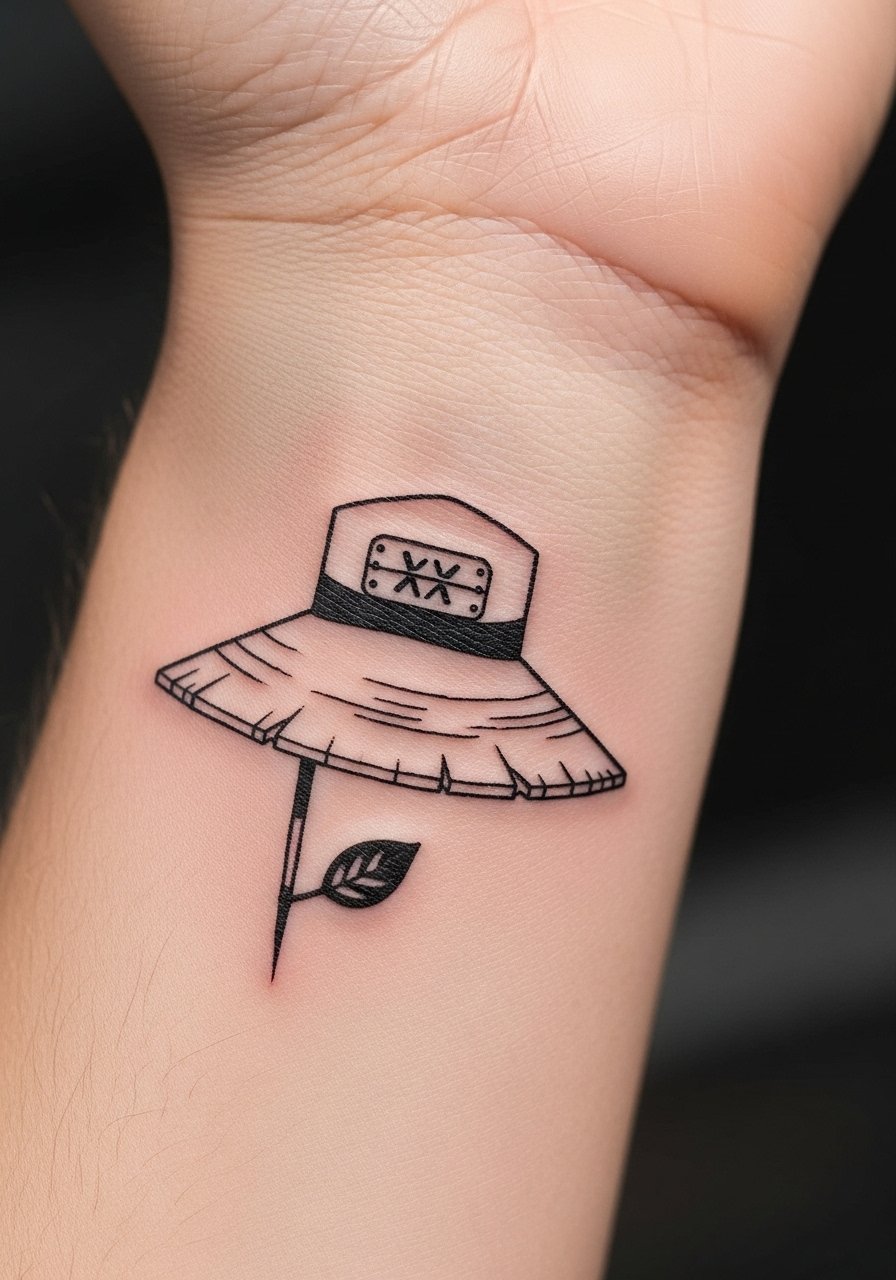
Wrist cuffs look great but suffer abrasion from watches and bracelets. For the Hokage hat, request slightly bolder contour lines and avoid tiny interior hatch marks. The session is brief and the sting is minimal. Expect to plan for a touch-up at the year mark if you want the silhouette to stay crisp. Pair with a linen button down shirt rolled to mid-forearm for a clean display during casual outings.
11. Black and Gray Sage Mode Frog Outline

Ankle tattoos see shoes, socks, and constant rubbing that soften fine detail. The frog silhouette benefits from solid black outlines with subtle gray shading to preserve form. Ask the artist to bolden the outline about 20 percent more than you think you need. The session is low to moderate pain but requires foot elevation during the appointment. Show it off in summer with strappy flat sandals and cuffed jeans.
12. Micro Chibi Sasuke Snake Summon on a Finger
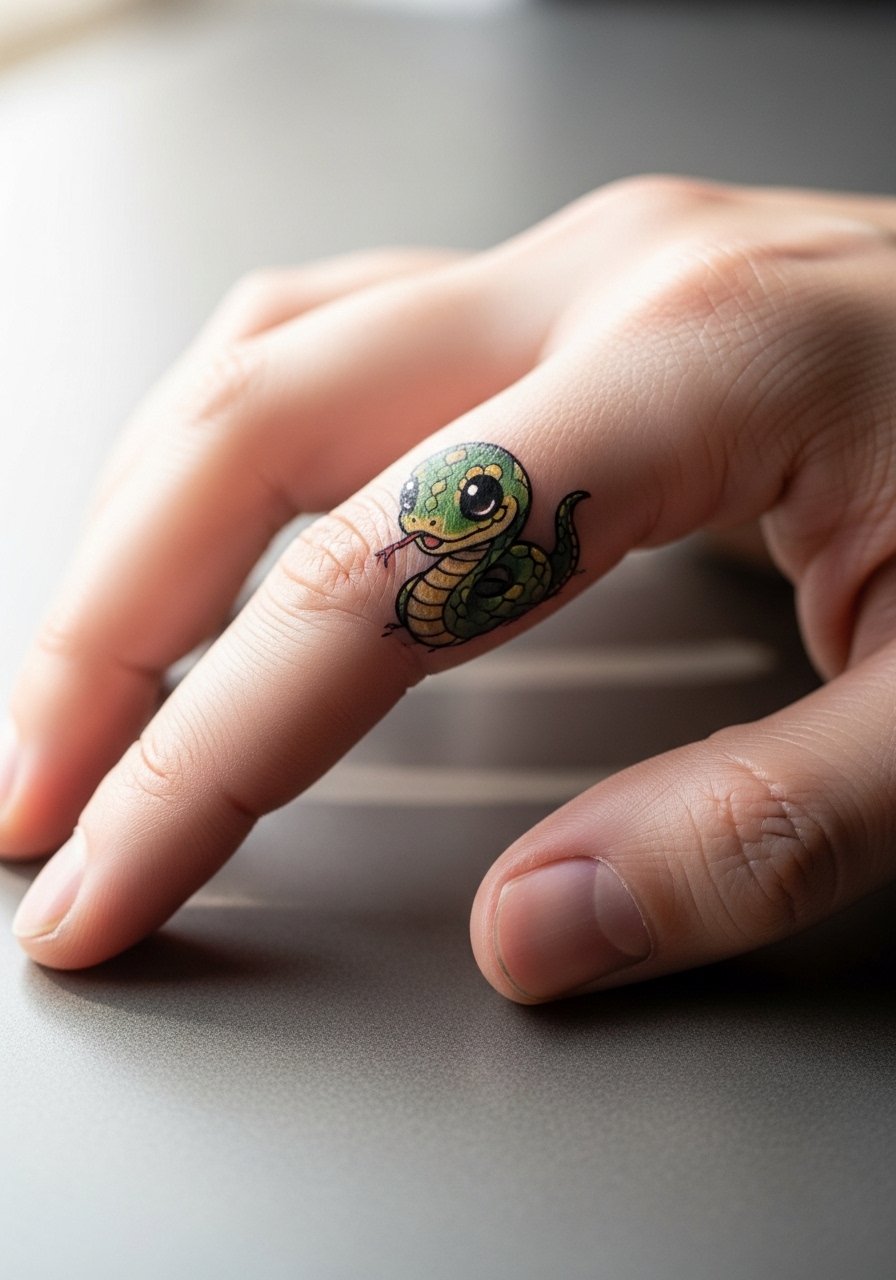
Fingers are tricky because skin sheds and lines blur faster. For a micro Sasuke snake, keep the design extremely simple with solid black and avoid tiny interior details. The session is quick but touch-ups within a year are common. During the consult, ask if the artist recommends top coat protection or a short wrapped window. For styling, stack thin rings on adjacent fingers. Try these with thin stackable rings to complement the tiny summon without covering it.
13. Traditional Ramen Bowl with Naruto Chopsticks
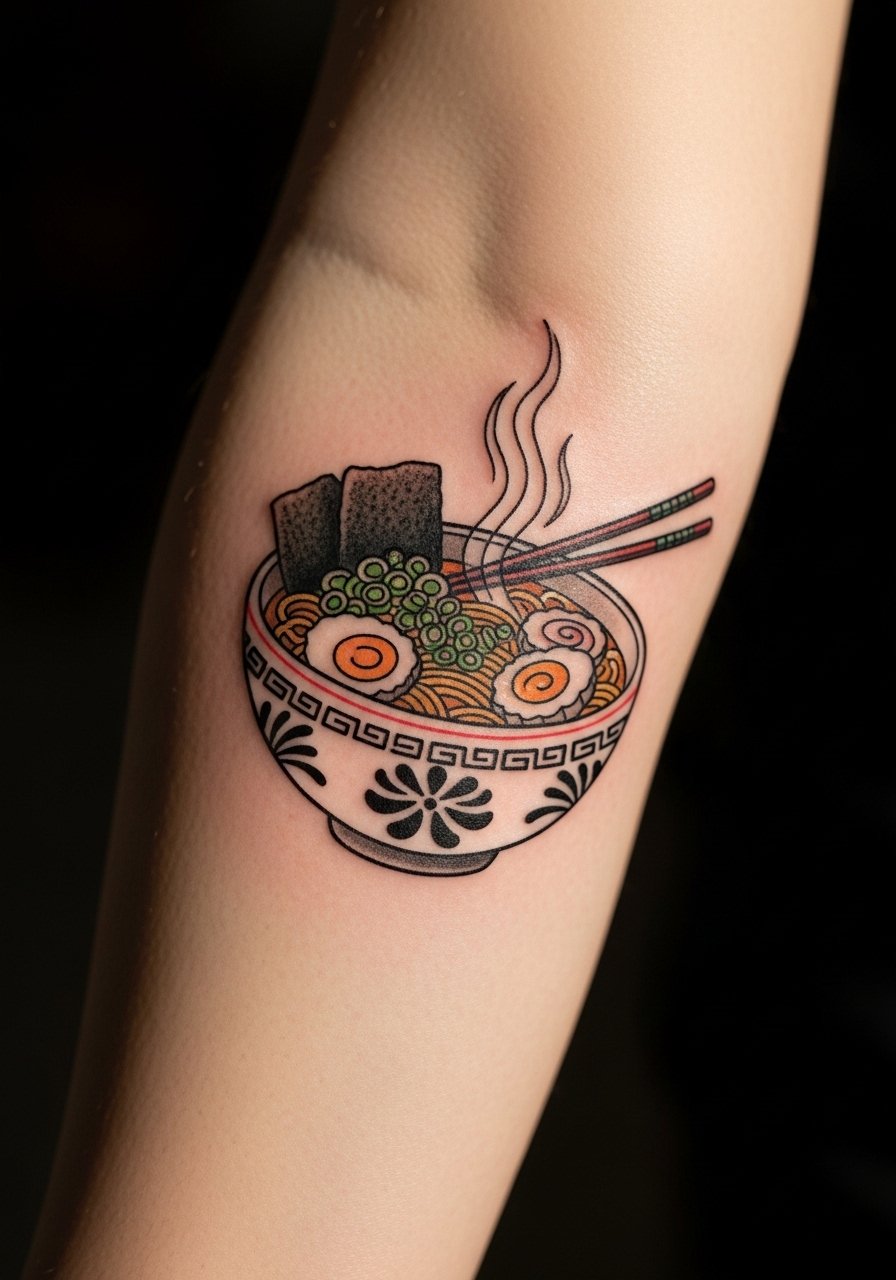
Foodie pieces like a ramen bowl age well if the color is saturated inside clear black outlines. Outer forearms take color and show detail. Tell your artist you want the bowl simplified with a strong black rim and small color zones rather than painterly watercolor. Session time is short and pain is low. Pair it with rolled-up short sleeves or a cream cable knit sweater pushed up to frame the art.
14. Minimalist Leaf Symbol for Hidden Fans
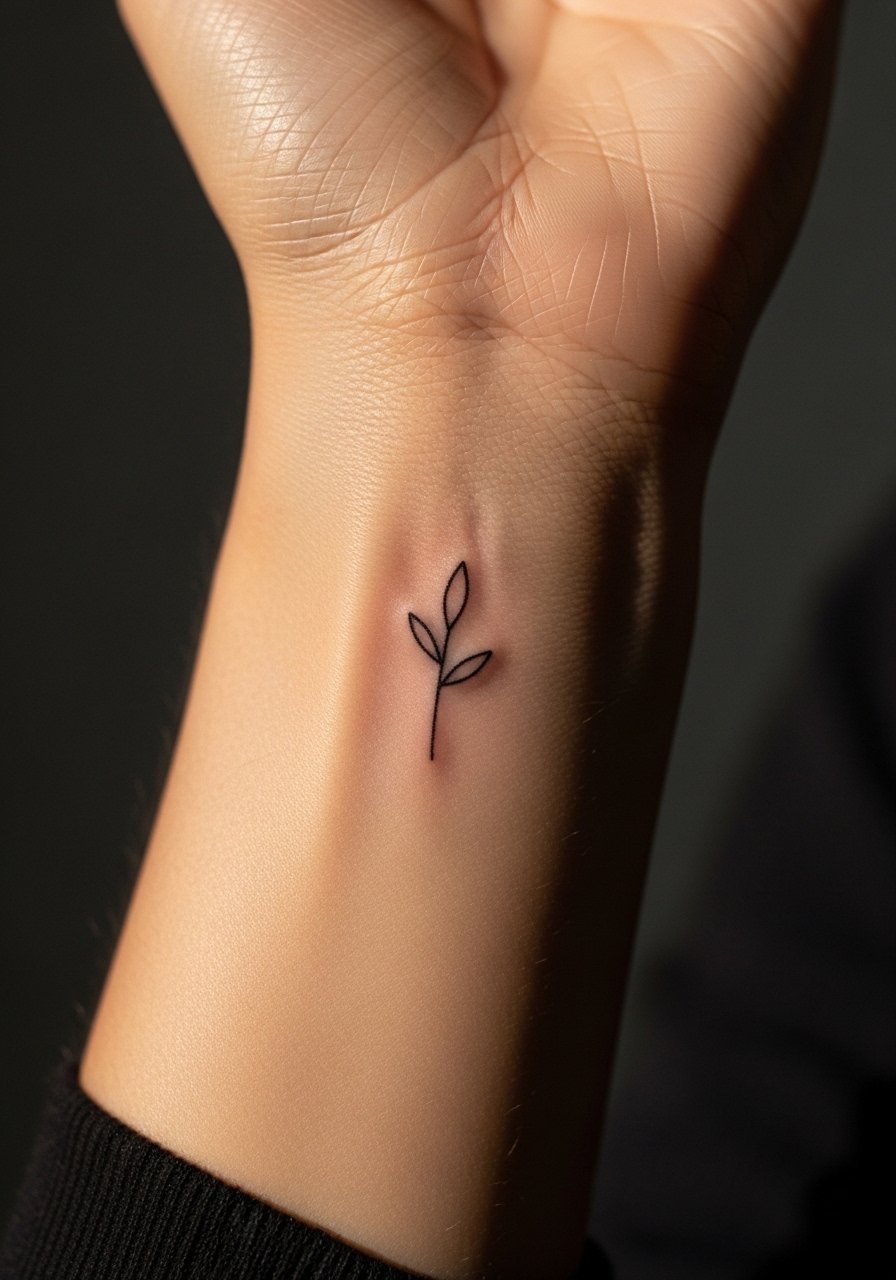
This small emblem is perfect for people who want discretion at work. The inner wrist sees constant contact so request slightly heavier linework and plan for a touch-up sooner than on the forearm. The appointment is brief and pain is low. For daily styling, a thin chain pendant necklace sits above a cuff and keeps attention centered on wrist accessories.
15. Tiny Uzumaki Crest with Subtle Dot Work
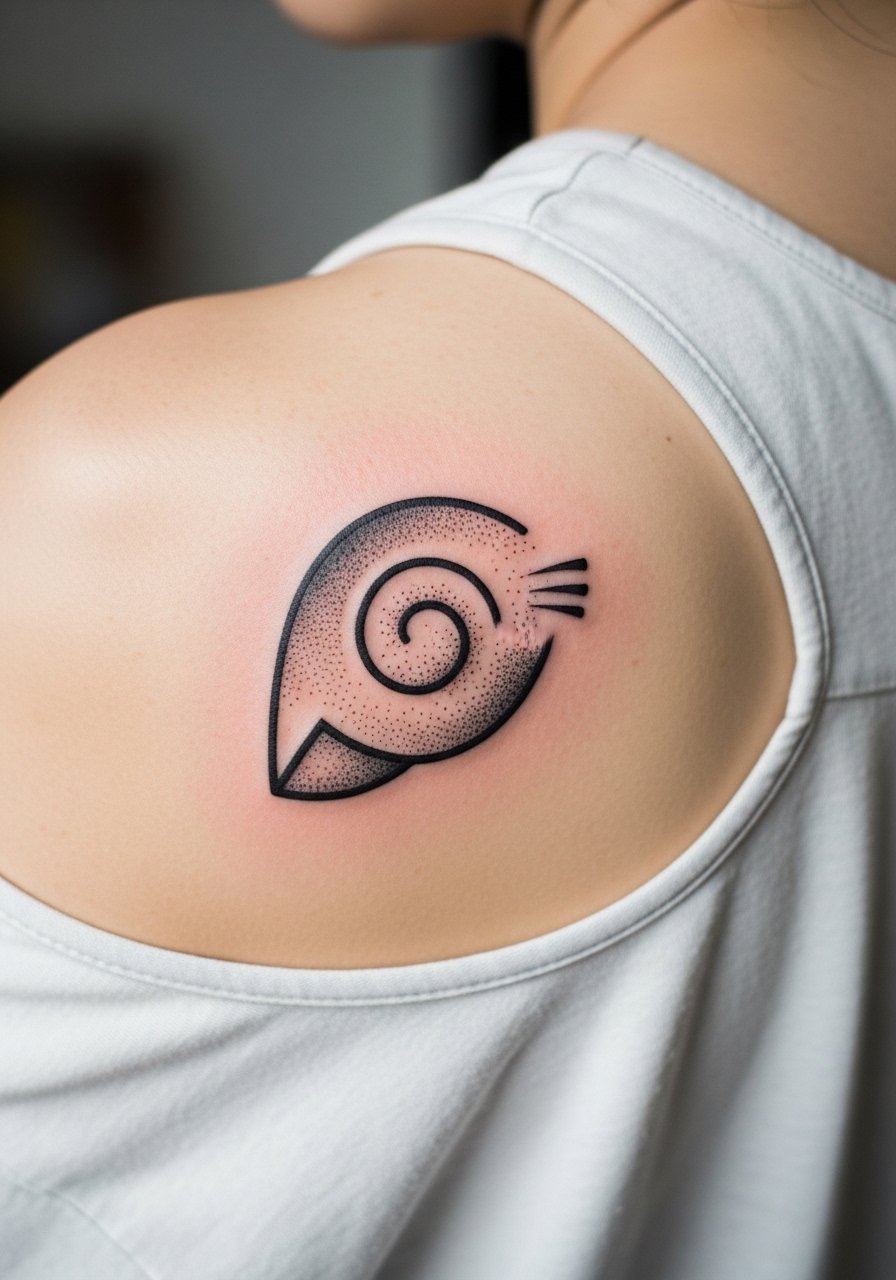
Shoulder-back placements hide under clothing and age well since they avoid constant friction. Dot work complements the crest by adding texture without heavy fill that would blur. Tell your artist you prefer stipple shading rather than dense gray. The session is easy and healing is straightforward. For the session, wear a loose tank top you can pull aside so the artist has clear access.
16. Tiny Toad Summon Silhouette Near the Ankle
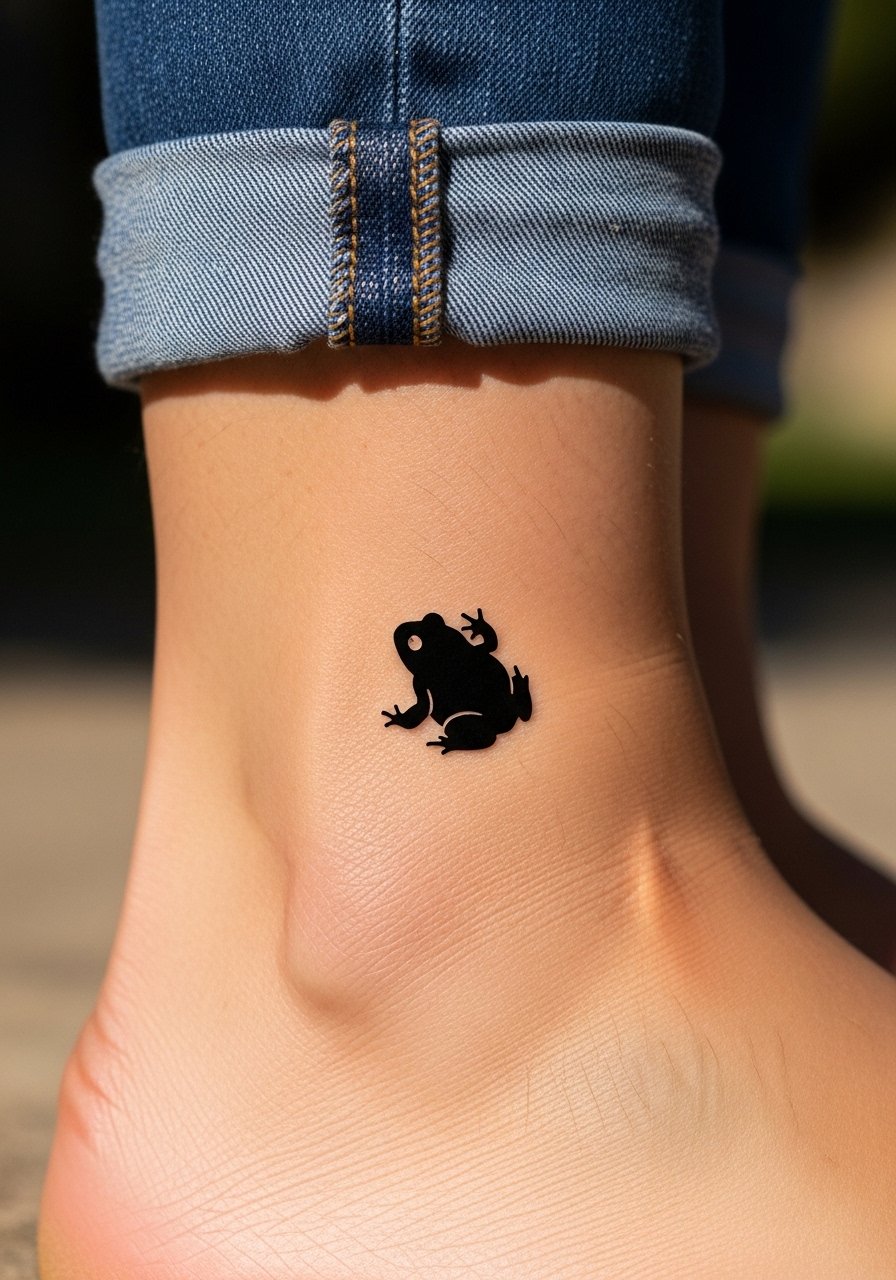
Ankle silhouettes should favor solid black to counter shoe friction. The toad shape is forgiving and reads well at tiny sizes. Expect a short session and light soreness while sitting. For casual outfits, a cuffed ankle jeans silhouette frames the art and makes it visible in summer.
17. UV-Reactive Kurama Accent for Rave Fans
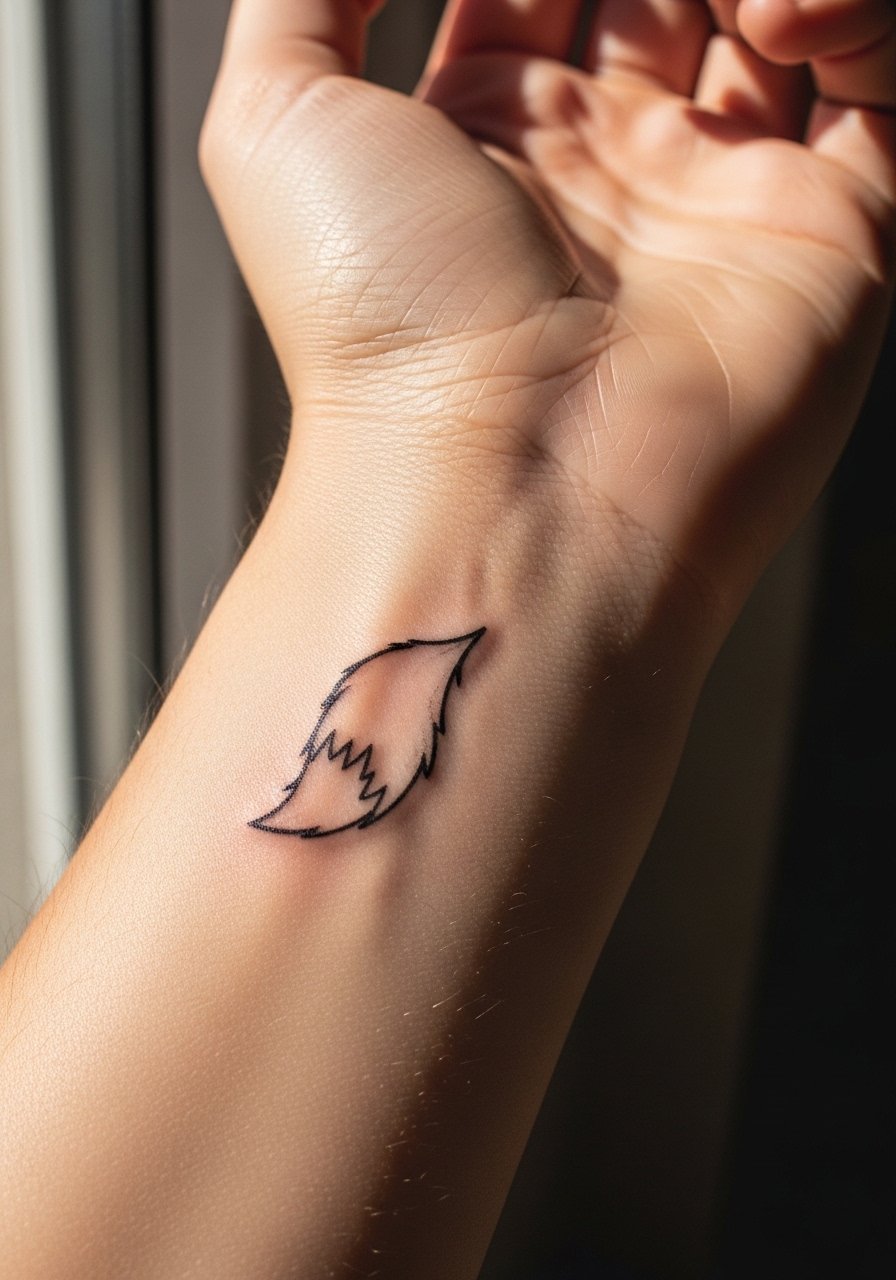
UV-reactive ink is niche and needs an artist who has safe experience with it. One camp loves the party-ready glow under blacklight, while another warns that UV pigments can be patchy and need careful application. If you pursue this, ask explicitly about the ink brand and healed examples. The session can be comparable in length to a fine line piece and touch-ups are more likely. For showing it off, pair with festival gear and a racerback tank so the wrist or shoulder area is visible.
18. Small Shuriken Row Along the Collarbone
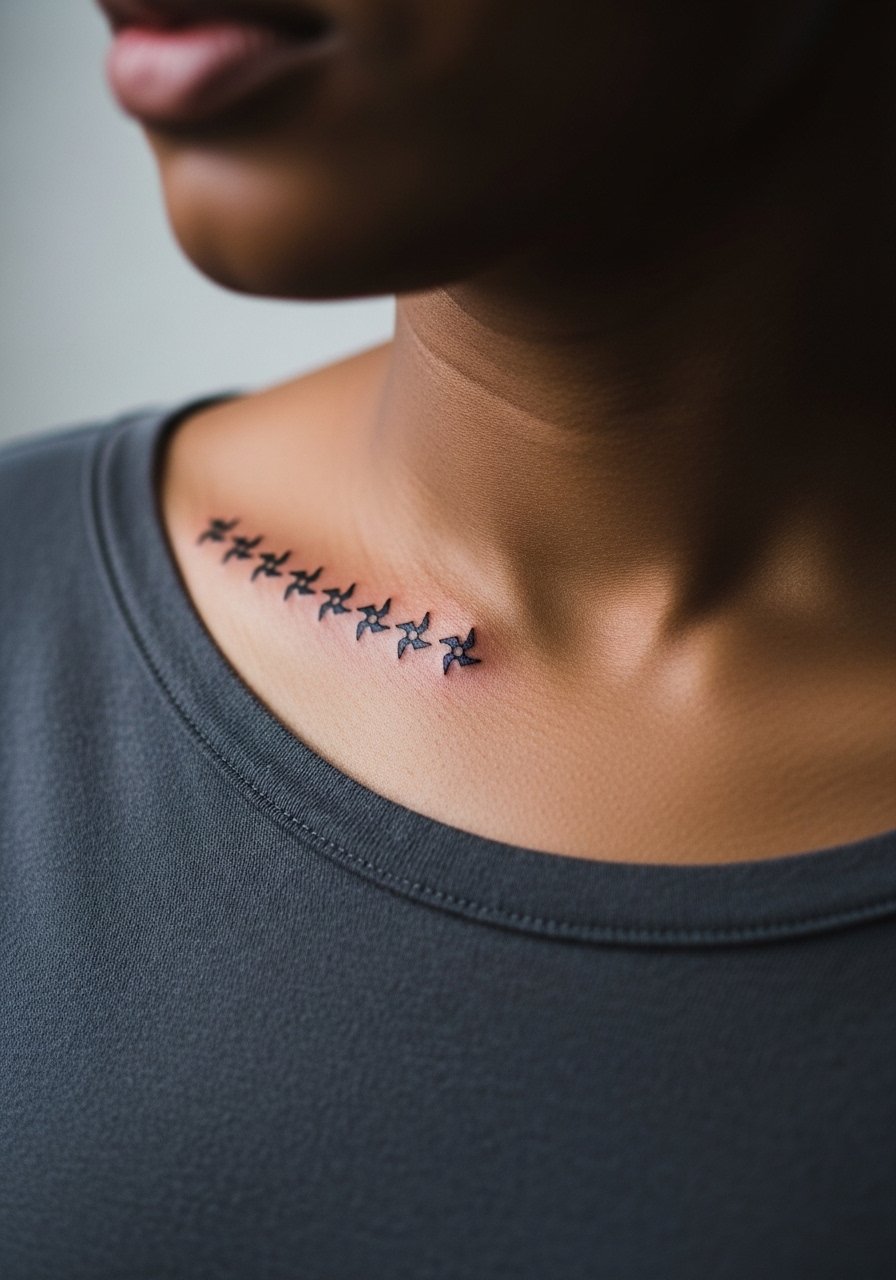
A row of tiny shuriken reads like punctuation along the collarbone and benefits from bold outlines rather than micro detail. The collarbone can be tender during the sit. In the consult, ask the artist to space each shuriken to avoid merging over time. For outfit pairing, wear an off shoulder blouse to highlight the sequence.
19. Tiny Ten-Tails Sigil on the Nape

Neck placements are visible and some shops treat them as specialized. The back of neck works for tiny sigils because you can hide them with hair. When you book, bring a photo of the exact placement you want. The session is quick and healing is straightforward if you keep sun exposure low. For easy concealment, plan hairstyles that let you show it when you want.
20. Minimal Kakashi Mask Outline Behind the Ear
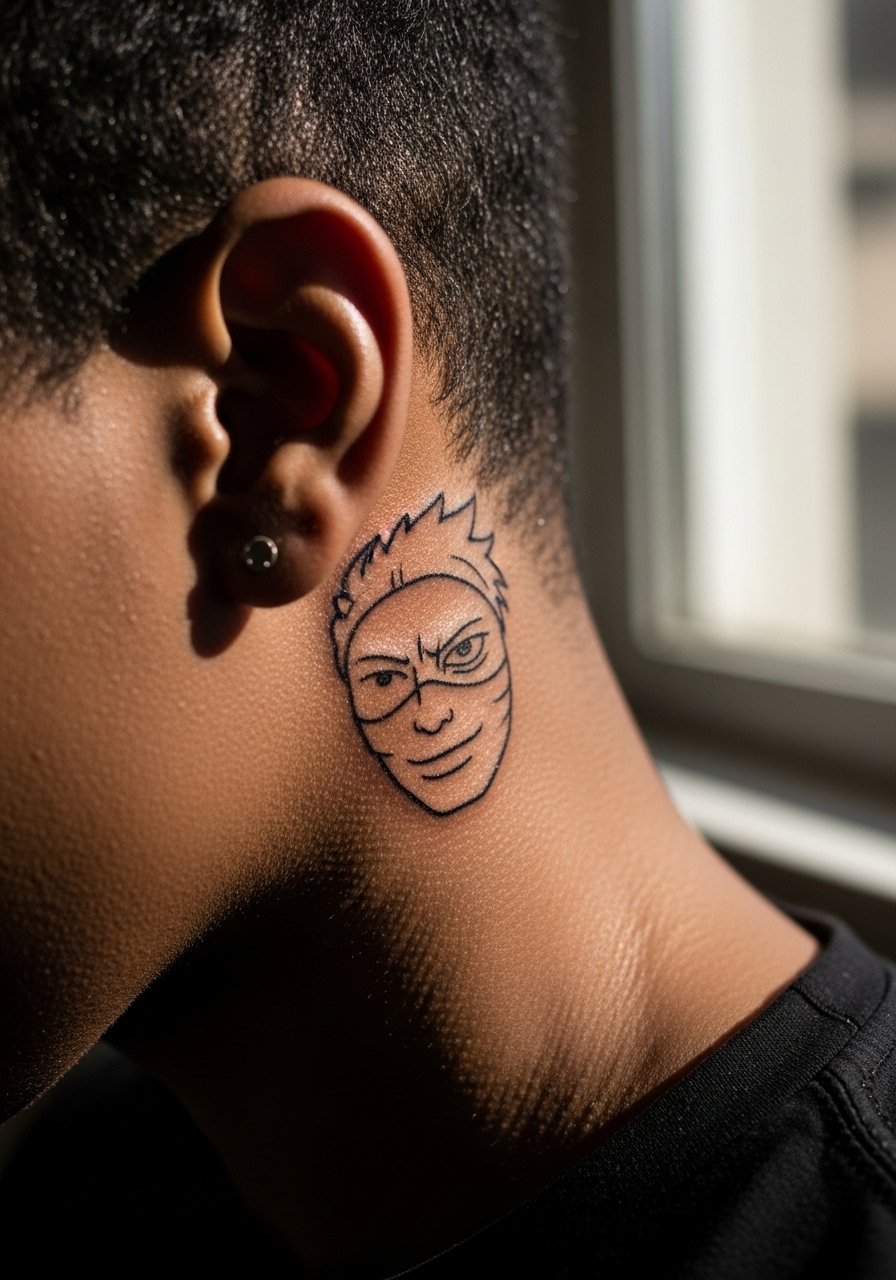
Behind-ear pieces are subtle and heal fast with careful aftercare. Keep the mask outline simple and avoid shading that can clump on small contours. The session is short and the pain is low if you do not press on the ear. Tie hair up day of the appointment and bring a hair claw clip to keep the area clean and visible.
21. Small Sakura Blossom with Naruto Spiral Center
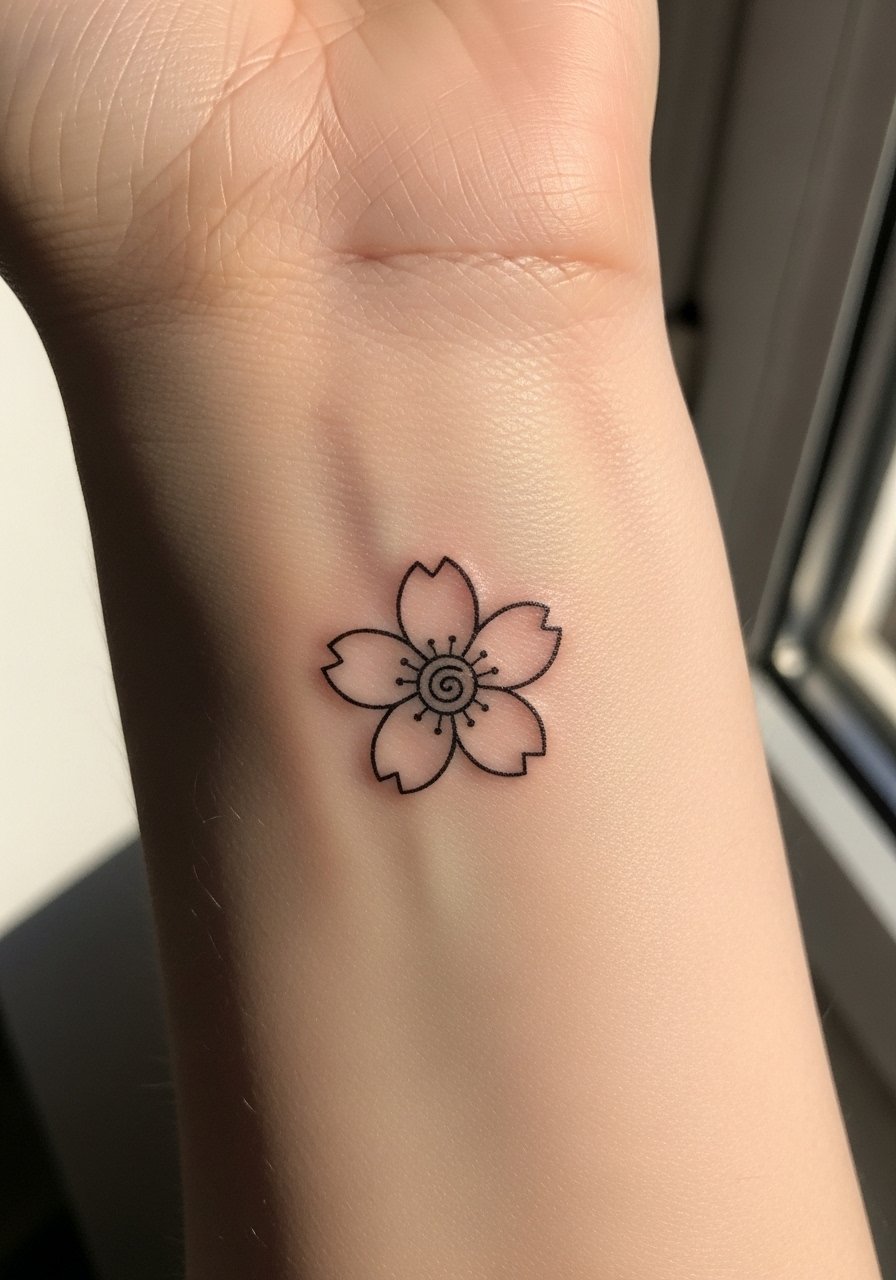
Botanical pieces are flattering on wrists when kept minimal. Pair a tiny blossom with a spiral center to nod to Naruto lore without using character faces. Ask your artist for a single black outline with minimal interior dots rather than wash shading. The session is short and the area heals predictably. Style with a thin silver chain bracelet on the other wrist to balance the look.
22. Tiny Uchiha Crest with a Single Tomoe
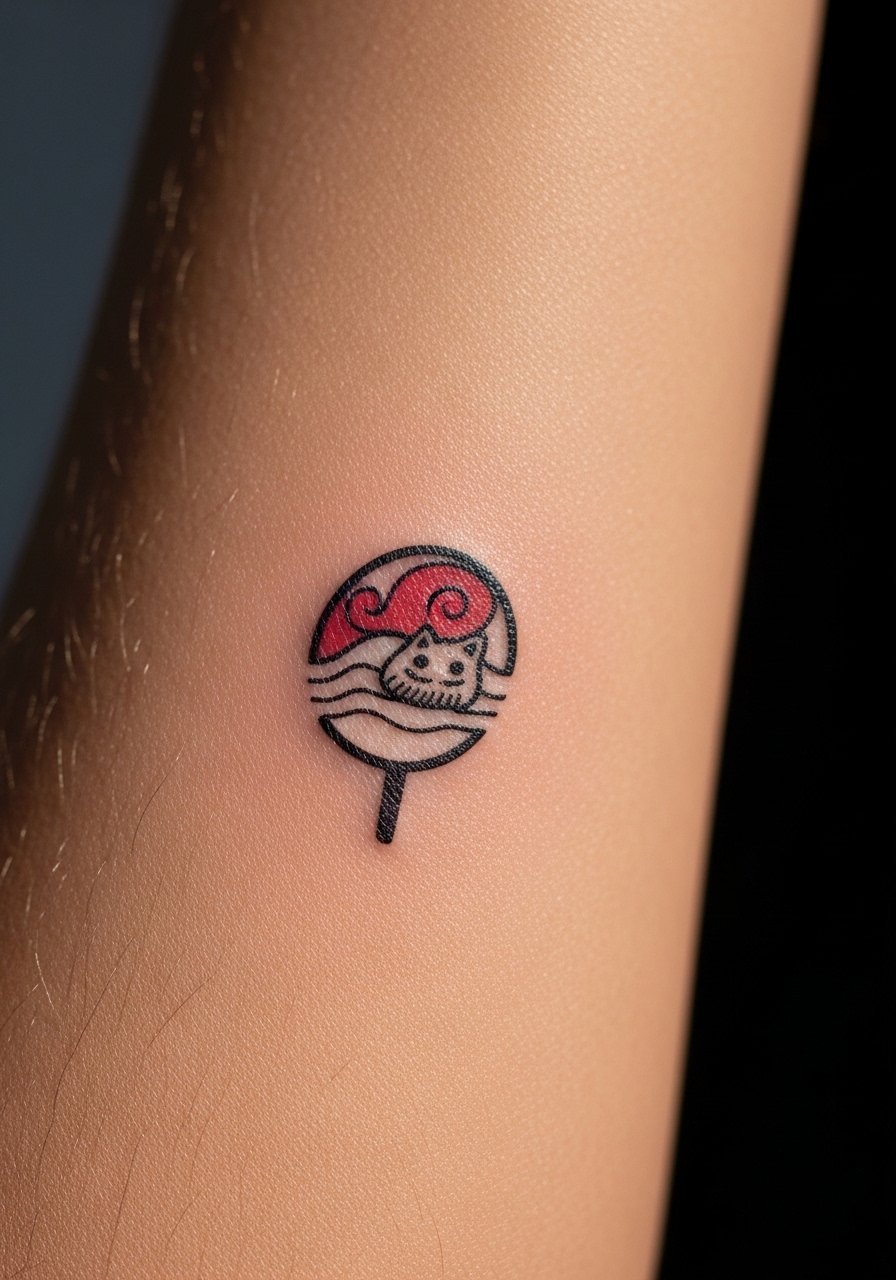
Inner forearm placements allow tiny heraldry to maintain clarity. For a single tomoe, favor a bold center that keeps contrast as the piece heals. The session is quick and pain is low. Tell your artist you want a simplified crest so they avoid micro textures that close up over time. Show it off with rolled sleeves and a dainty gold cuff on the opposite arm.
23. Finger Grip Tape Kunai Illusion

Finger placements that mimic grip tape textures are clever for climbers and athletes but they need bold strokes. The skin there sheds and abrasion from gear will fade fine detail. The session is quick and recovery is fast though touch-ups are common. Avoid tiny shading and ask for clean blackwork only. For wearing off the wall, stack with thin stackable rings on adjacent digits.
24. Tiny Rinnegan Concentric Dot Work on the Thumb
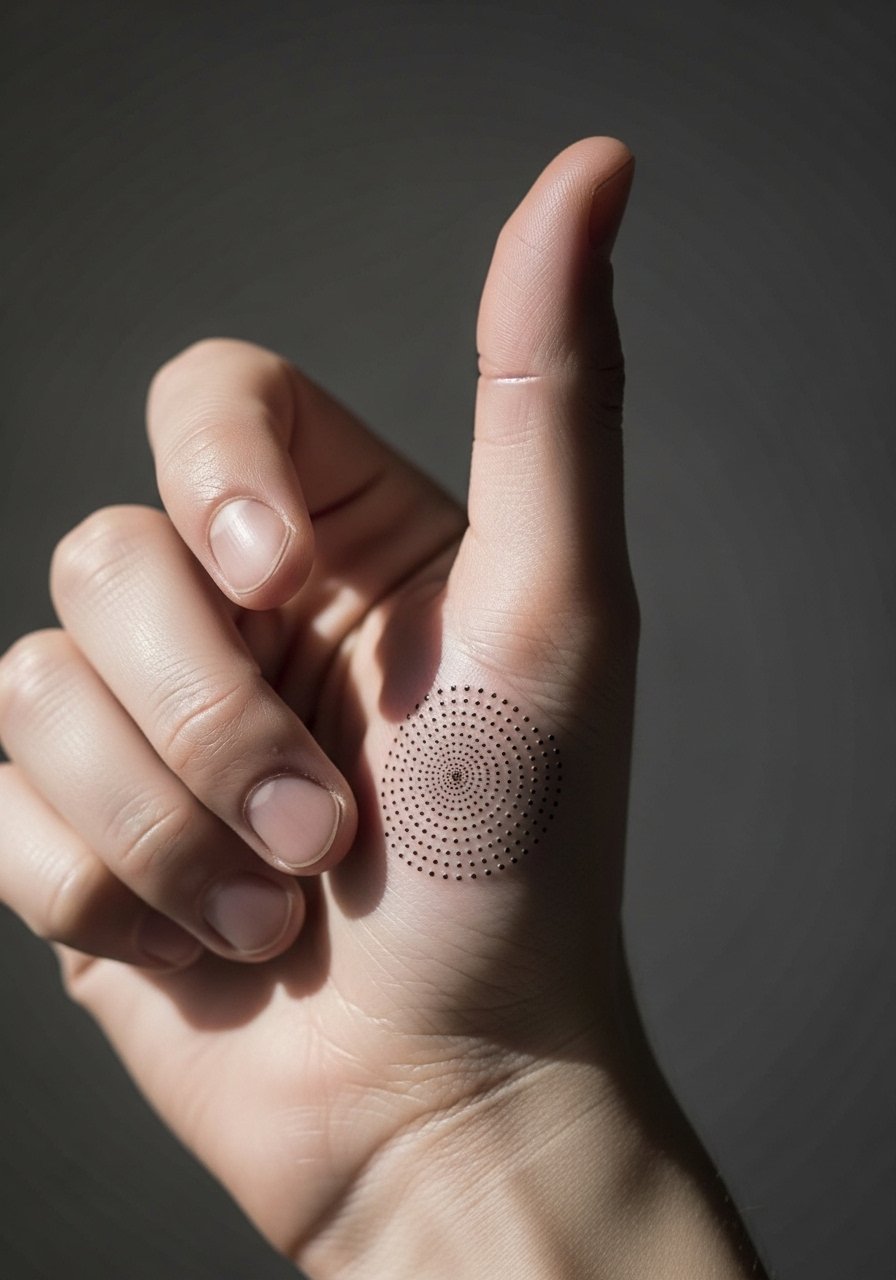
Thumb spots can be high-friction. Dot work reads well because it distributes pigment, but expect faster fading due to hand use. The sit is quick and the sting is mild. Ask your artist if they recommend a short wrapped window or Saniderm for the first few days. Keep in mind many artists treat hand and thumb work as higher maintenance.
25. Miniature Leaf Village Map on the Side Ribcage

Ribcage maps make for intimate placements but they move with breathing and body changes. Fine line maps should be scaled up slightly to avoid merging in dense areas. This is a higher pain placement and a longer session. Discuss spacing in your consult so the map keeps readable over time. Plan for at least one follow-up if you want crisp details.
26. Tiny Controller Grip Naruto on the Thumbpad
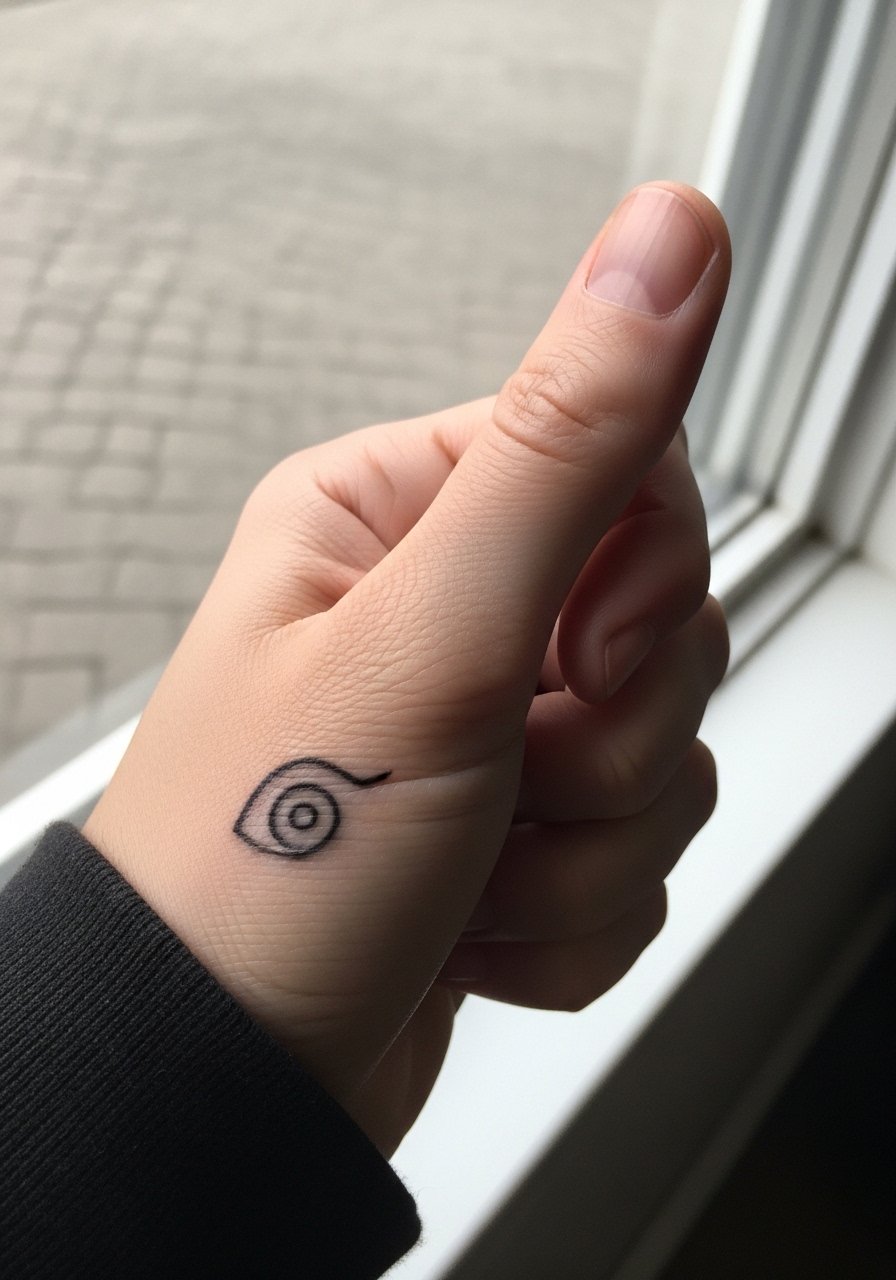
This gaming placement is playful but sees heavy wear from controllers and daily use. Keep the design extra simple and bold. Ask about touch-up frequency ahead of time because thumbs fade faster. For the session, expect under 30 minutes and mild discomfort. The piece pairs well with low-profile gaming gloves or ergonomic grips.
27. Matching Sibling Set: Whisker vs. Sharingan
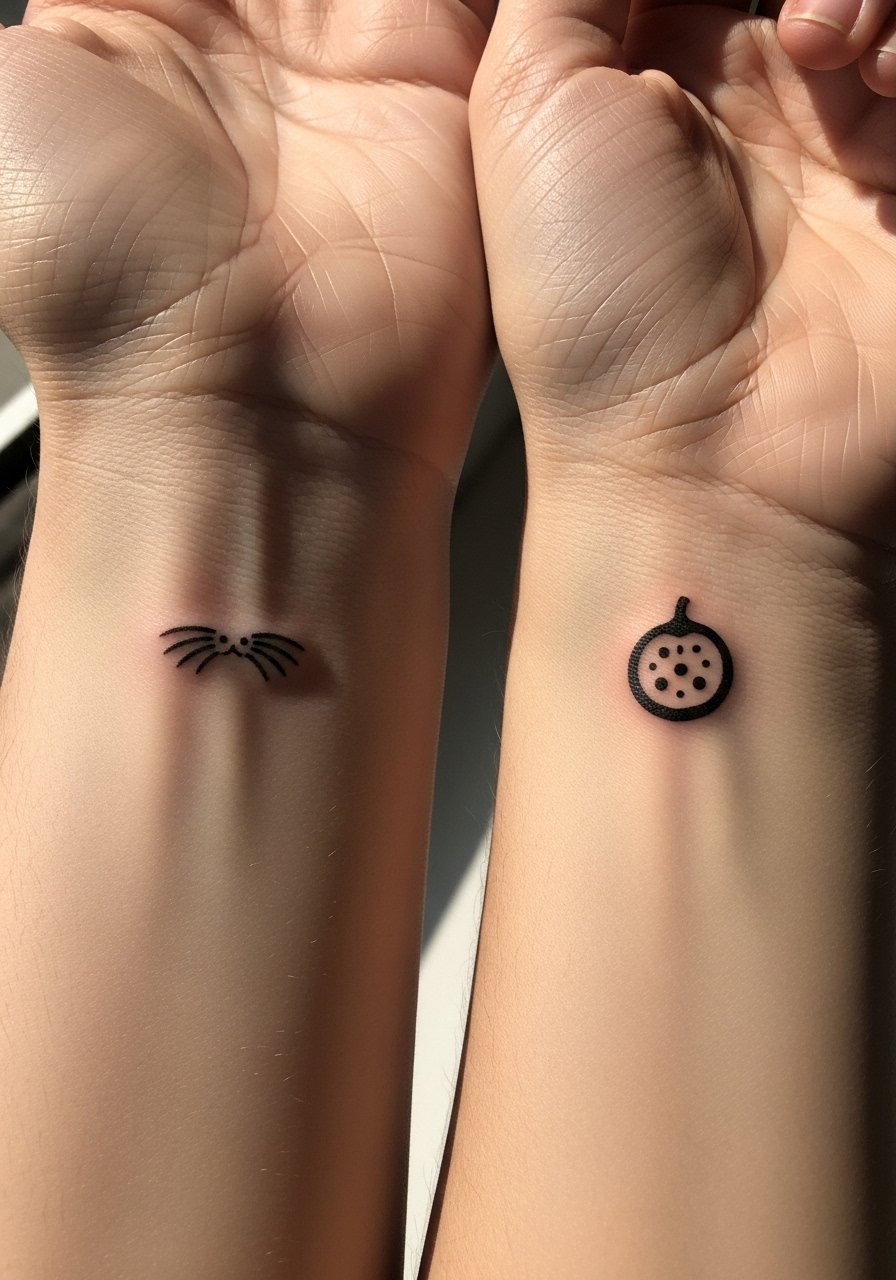
Matching micro sets are a smart solution for people who want a pair without committing to large pieces. One person can take a whisker mark while the other uses a single tomoe or spiral to echo the relationship. Keep both designs simple and request matching line weights so they age similarly. During the consult, ask the artist to stencil both on skin to confirm scale. For showing the match, wear coordinating rolled sleeves and a thin chain bracelet to frame each wrist without covering the art.
Frequently Asked Questions
Q: Will fine line Naruto headbands blur faster on the wrist than on the forearm?
A: Yes, wrists are higher-friction zones and thin lines can soften sooner there. If you want a wrist headband, ask the artist to increase line weight modestly and plan a touch-up at 8-12 months. Consider wrapping the wrist lightly during the first week to limit rubbing from clothing.
Q: I have dark skin. Which tiny Naruto styles read best?
A: Bold blackwork and single-shape silhouettes like Akatsuki clouds or solid fox masks tend to pop more reliably than ultra-fine hatching. A small white ink highlight is sometimes used but results vary. Tell your artist your skin tone and ask for healed examples they have on similar tones.
Q: Are behind-the-ear Rasengan or Kakashi mask pieces high maintenance?
A: Behind-the-ear spots heal fast but can be awkward for aftercare. No-touch sprays and careful pillow positioning help. If you plan festival wear, discuss UV or color choices with the artist because color accents can fade faster and may need touch-ups.
Q: How do I avoid a finger Naruto tattoo turning into a smudge?
A: Keep the design exceptionally simple and bold. Avoid tiny interiors, and ask the artist about short protective films for the first few days. Expect a higher likelihood of touch-ups than for forearm or shoulder work.
Q: Is it safe to get UV-reactive ink for a tiny Nine-Tails accent?
A: It is niche and you should only proceed if the artist has healed examples. UV pigments behave differently and may require more frequent maintenance. Ask for brand names and healed photos before booking.
Q: What should I wear to a collarbone or cheekbone session?
A: For collarbone work, a strapless top or wide-neck shirt that you can pull slightly aside is ideal. For cheekbone sessions, tie your hair back and skip makeup. A simple wide-neck shirt that allows clean access makes the session quicker and more comfortable.
Q: If I want matching sibling tattoos, how do I ensure they age similarly?
A: Use the same artist, match line weights, and pick placements that experience similar friction. Avoid mixing a tiny wrist mark with a finger piece if you want them to look the same over time.
