
Fine line work is everywhere online, but what actually holds up on skin looks less like a viral post and more like simple geometry and bold outlines done with restraint. If you want a traditional look that reads clean for years, pick strong contours, conservative spacing, and smart placement. Below are 21 simple traditional tattoo ideas with notes on aging, touch-ups, and how to wear them so they look intentional long after the stencil comes off.
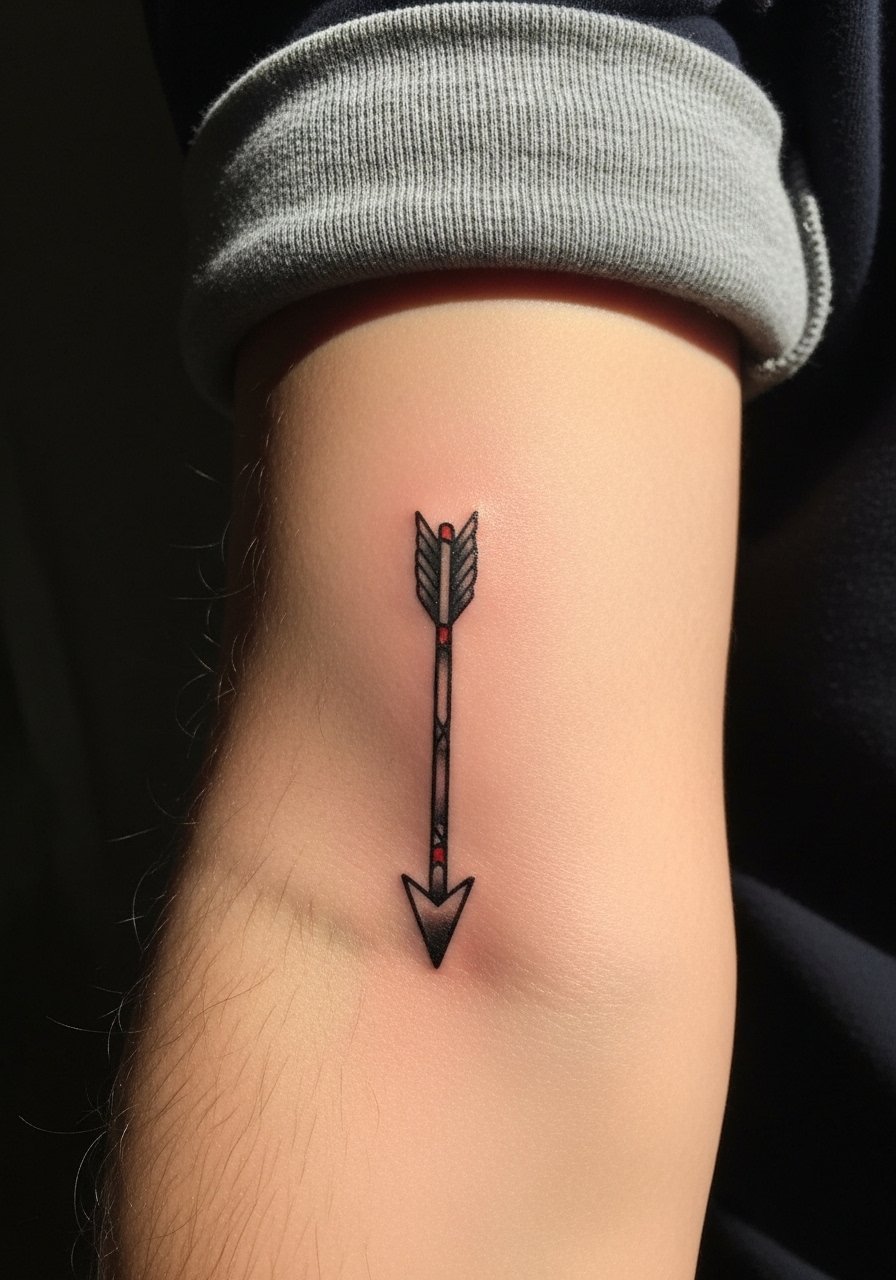
1. Small Classic Arrow on Inner Forearm
This is the kind of piece that reads like a quiet statement and wears well. I've seen small arrows keep crisp linework for five years when the artist uses bold outlines and gives the shaft room to breathe. Tell your artist you want heavier outer linework and slightly more spacing between inner details so the shaft does not merge over time. Pain is low for the inner forearm and a single short session usually does it. Show it off with rolled-up sleeves and a simple loose button-down shirt that frames the forearm without covering the design.
2. Tiny Traditional Rose on the Wrist
Wrist roses are visible and they ask for bold linework to survive daily washing and sunlight. Fair warning, wrist skin moves and gets friction from watches and bracelets. Ask for slightly thicker outer lines and avoid heavy interior color fields that can pool. Session time is short but plan for a touch-up around year three for fine details. For showing off the wrist without crowding the rose, try a single delicate bracelet like a thin chain pendant bracelet that sits below the bloom.

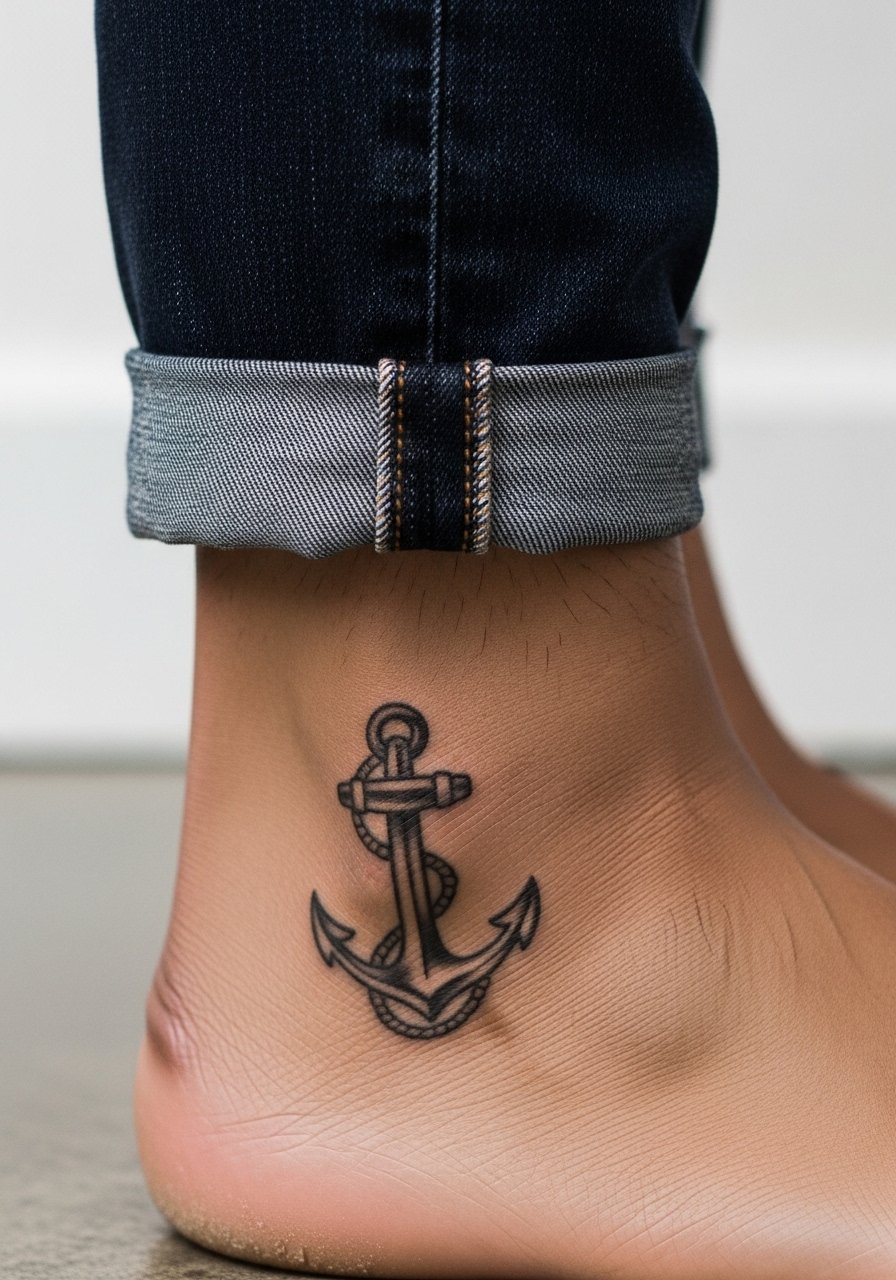
3. Anchor Above the Ankle
Ankle anchors feel nautical and age predictably if the anchor is scaled to the area. The biggest mistake people make is demanding tiny detail on the anchor flukes. Keep the anchor slightly larger so the linework does not blur into one solid shape after a few years. The session is quick but the ankle is a pressure spot, so expect a moderate sting. Pair this piece with sandals or rolled jeans and a subtle minimalist ankle bracelet when you want to show it off.
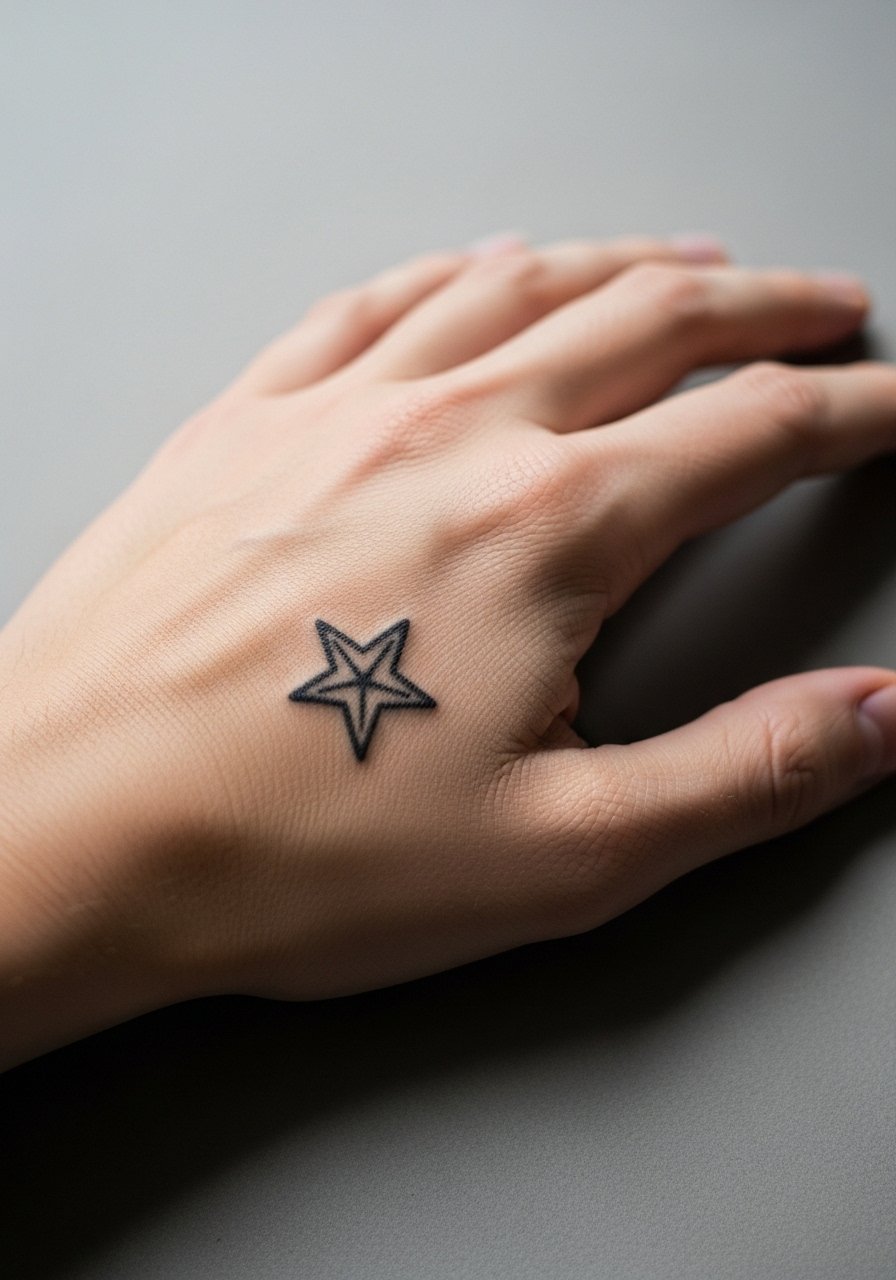
4. Tiny Sailor Star on the Back of the Hand
Hand pieces still spark debate. One camp says hands fade quickly and face hiring issues. The other camp argues that with bold outlines and acceptance of annual touch-ups, hand tattoos can look intentional. Call this out with your artist before booking. If you go ahead, choose a simple star with thick outer lines and accept that color will fade faster than on the arm. Hands are high-friction and need more touch-ups. For the session wear, keep your hand clean and avoid putting pressure on it for the first 48 hours.
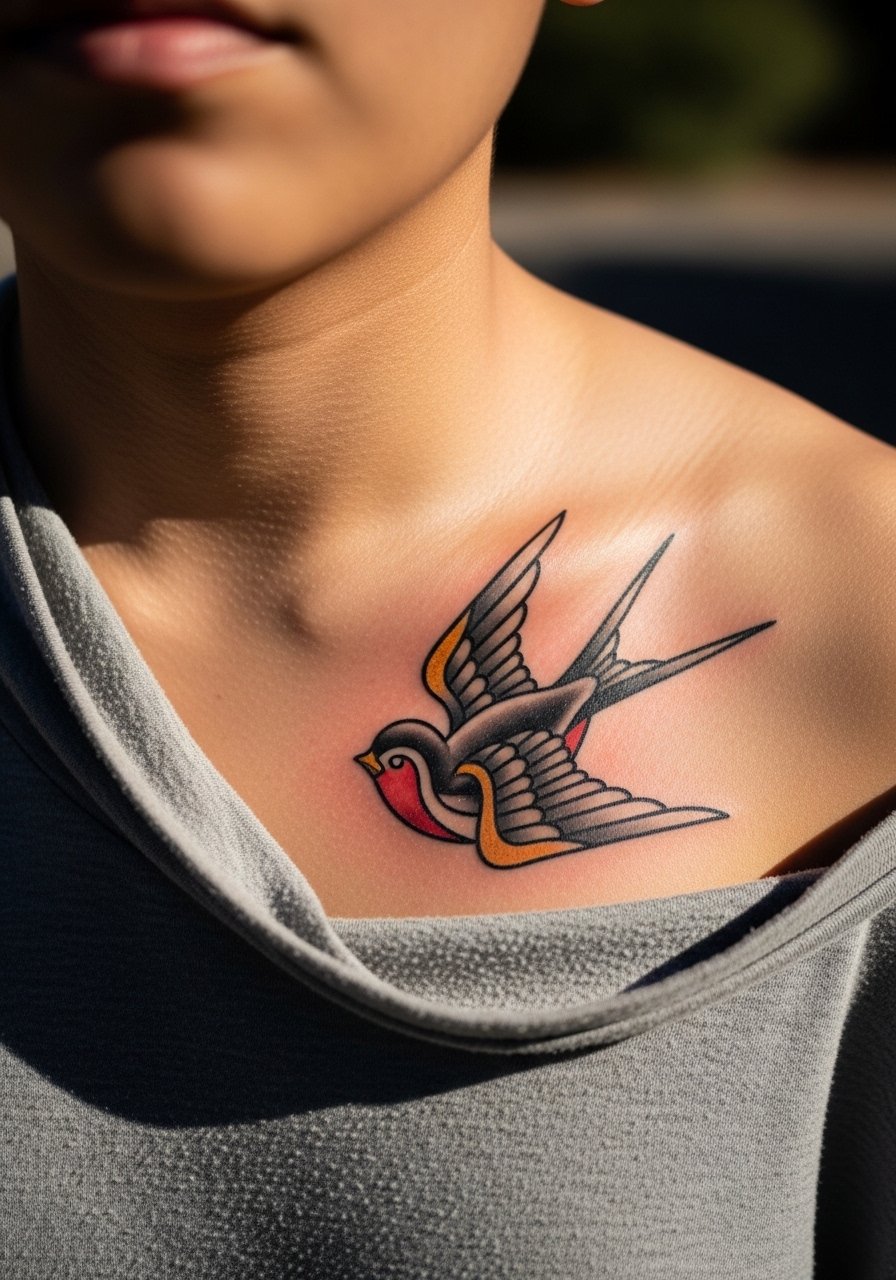
5. Classic Nautical Swallow on the Upper Chest
Chest pieces read bold even when small because of the flat plane and natural cadence of the collarbone. For upper chest placement, wear a wide-neck shirt pulled slightly to the side for the session so the artist has clear access. Ask for a slightly higher contrast between outline and fill so the swallow keeps its silhouette after a few years. Pain sits in the middle compared with ribs. Pair this with an open collar linen shirt to reveal the swallow without feeling exposed.
6. Ribcage Traditional Floral
Artists split on fine line work on ribs. One group says the skin stretch and breathing blur fine details within two years. The other group says with proper needle depth and spacing it settles fine. Name both camps and ask which approach your artist uses. For longevity, pick bold outlines around the main petals and leave inner areas more open. The rib is one of the higher pain placements but it yields dramatic curves that move with the body. For the session, wear a cropped top or a shirt you can lift, and consider bringing a heat pack for after the session if the area feels cold.

7. Anchor and Rope on the Outer Calf
There is a quiet benefit to calf placements. They are low-friction, which helps saturation and linework last. The outer calf tolerates standard traditional saturation well and the area feels less painful than the ankle. If you want the rope to look textured, ask for stipple shading rather than tiny crosshatching, which can blur. Session time runs moderate depending on the size. For showing this off, wear loose drawstring linen pants you can roll up without pinching the skin.

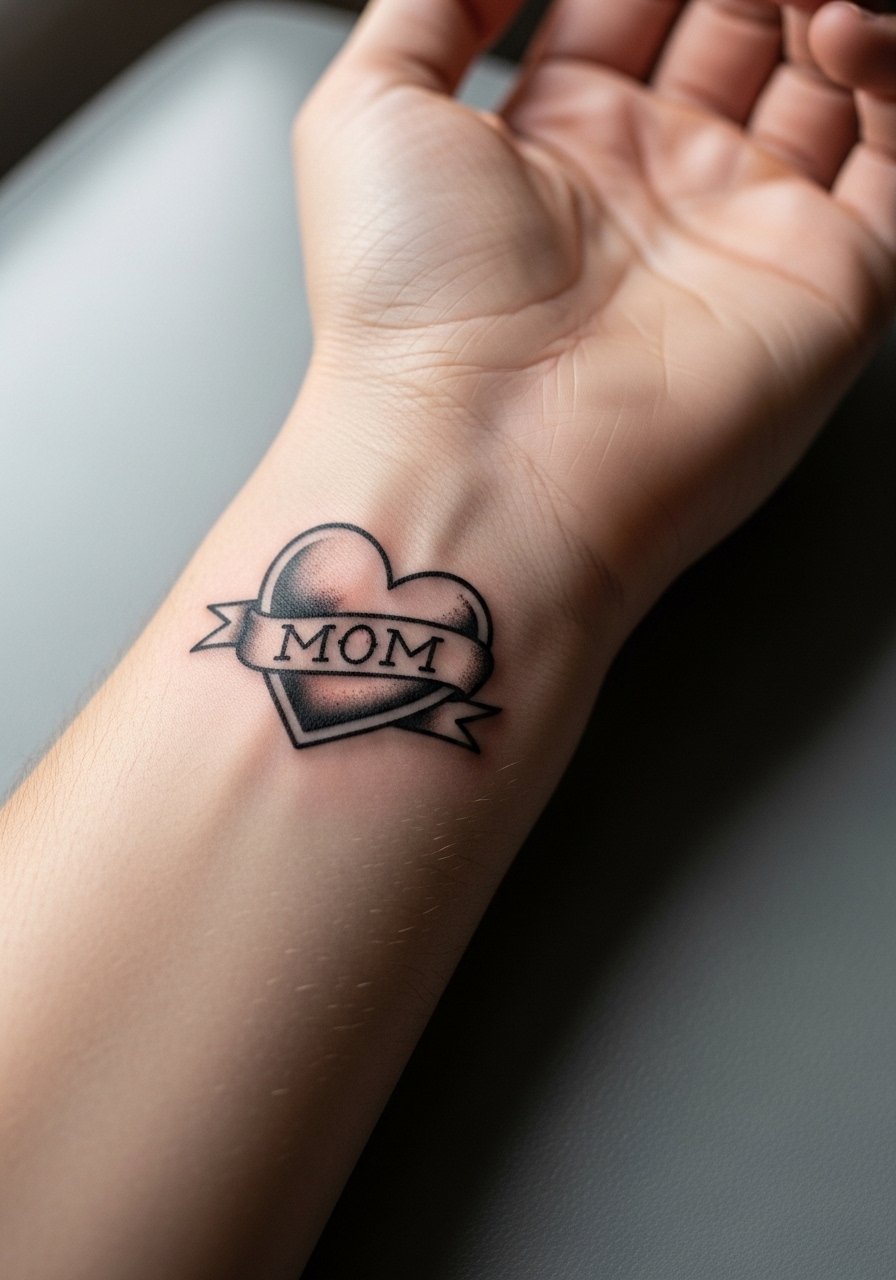
8. Tiny Heart with Banner on the Wrist
This is a classic flash piece that reads like old-school sheets. The common mistake is adding too many tiny words in the banner. Keep short text or initials and request a bolder banner edge to preserve legibility. Expect a quick session and a likely touch-up at the two to three year mark. For the session itself, leave jewelry at home and wear a loose button-down shirt so the wrist is easy to access.
9. Simple Rose on the Shoulder Cap
Shoulder caps are forgiving over time because the skin moves less and is often covered by clothing that protects the tattoo from sun. For a rose here, request strong outer linework and saturation in the petals. The session is comfortable for most people and requires minimal aftercare beyond standard cleansing. Pair this with a loose tank top for the studio day and for easy showing during summer.

10. Tiny Anchor on the Finger
Fingers are notorious for fading. One camp believes finger tattoos rarely stay crisp for more than a year because of constant washing and thin skin. The other camp argues that bold simple designs survive longer if you accept regular touch-ups. If you want a finger anchor, opt for thick linework and minimal interior detail. Tell your artist you know a touch-up at year one is likely. Keep in mind some workplaces still frown on visible hand tattoos, so factor that into placement choice.

11. Simple Ship Wheel on the Upper Arm
Upper arm pieces are classic for a reason. The area ages well because of muscle and less direct sun in everyday dress. For a ship wheel, insist on clear negative space between spokes and sturdy outer lines. This placement is low on pain and often finished in a single session. For styling, rolled sleeves and a mid-weight knit show the piece without competing with patterns. Try pairing with a minimalist watch when you want to keep focus on the wheel.

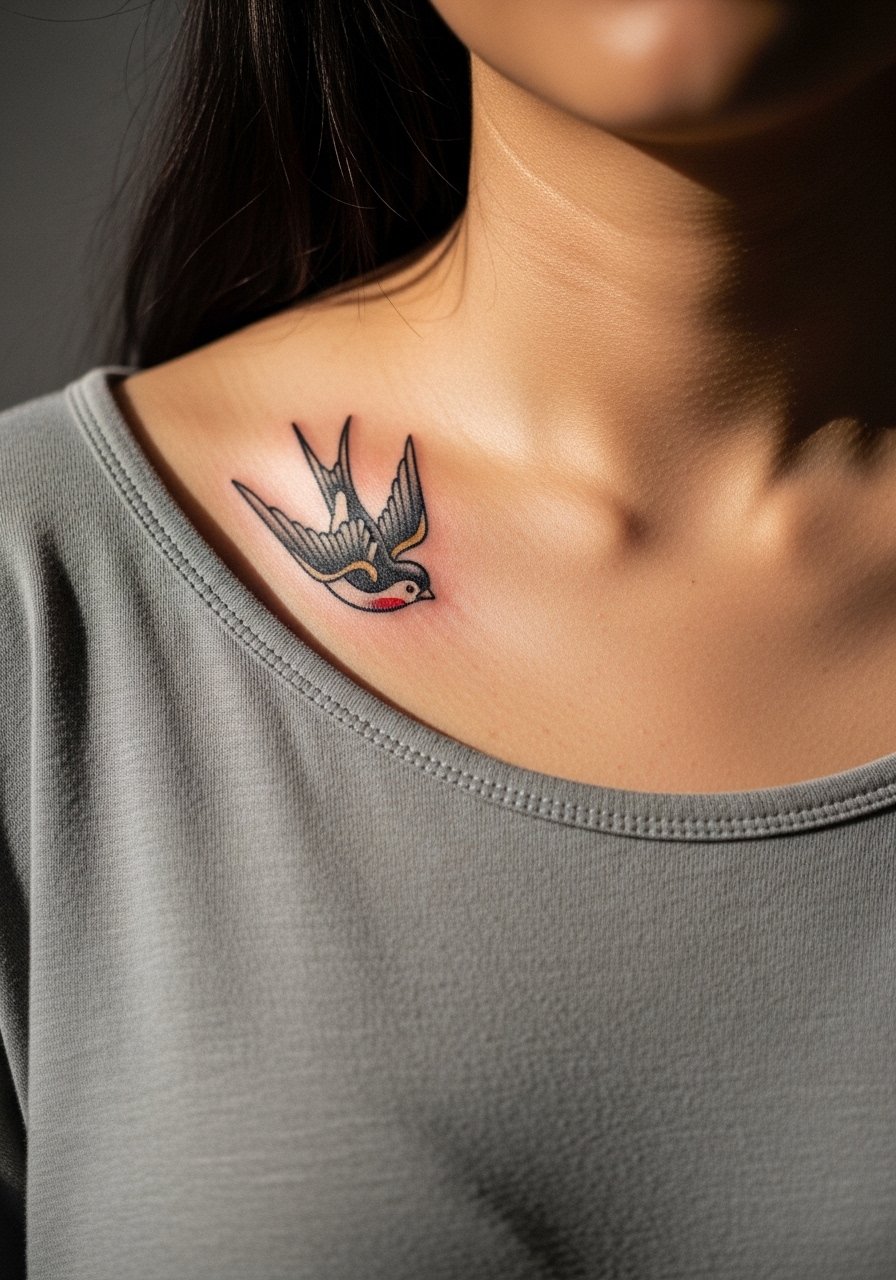
12. Small Swallow Behind the Collarbone
Collarbone work sits where jewelry and neckline choices matter. Ask for a design positioned to fit naturally with the collarbone curve and request slightly heavier outer lines so the swallow retains its silhouette. The area can be tender but shows well with low-cut shirts. For the session, wear a shirt you can pull sideways like an open collar. Expect a light to moderate pain level and a touch-up depending on sun exposure.
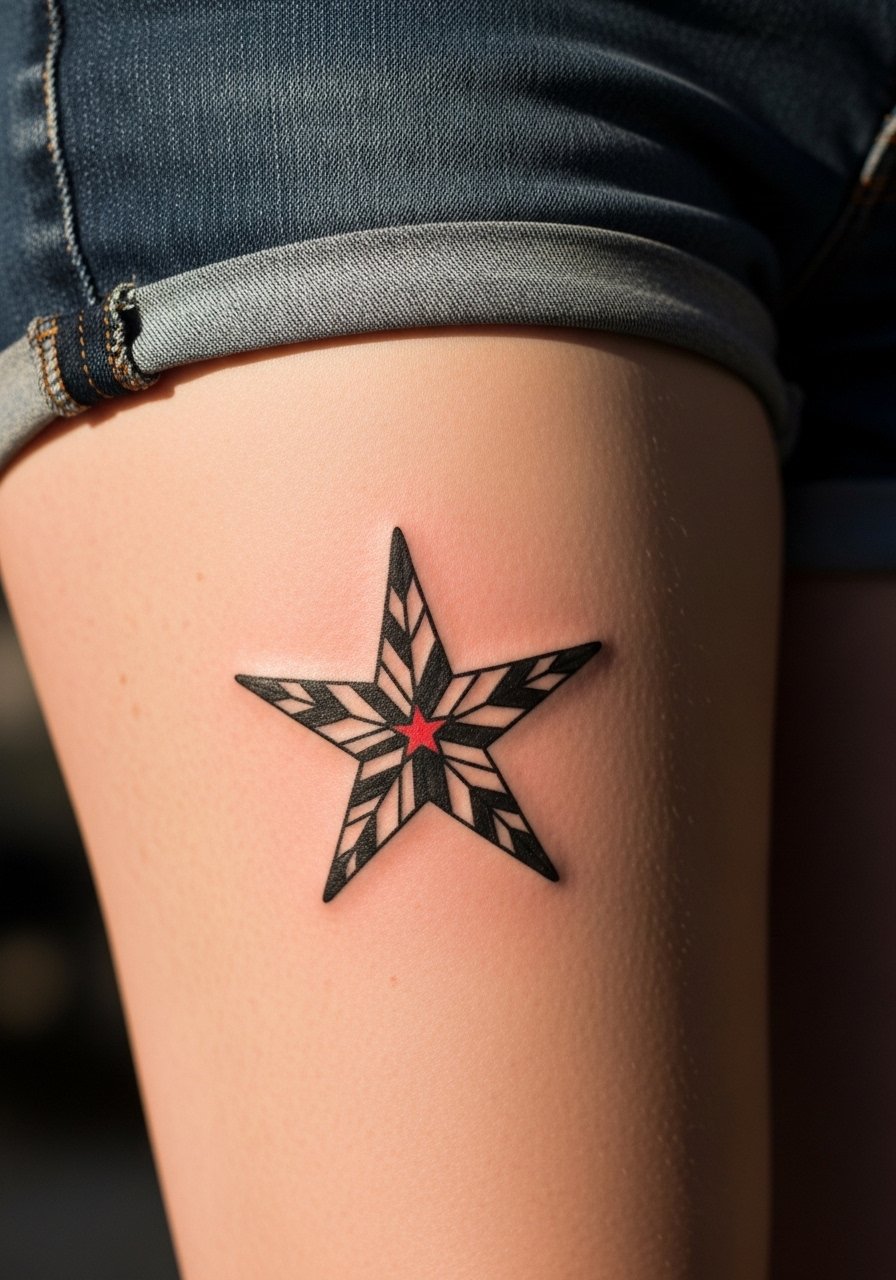
13. Nautical Star on the Upper Thigh
Thigh pieces let you go slightly bigger while keeping a discrete silhouette. The upper thigh holds saturation well and is less impacted by daily washing. The mistake is making the star too thin. Thicker lines help preserve the crisp edges over years. For the session, wear loose shorts or a skirt you can shift, and plan a comfortable seating cushion if the session runs long. When you want to show it, a swimsuit bottom with a higher cut frames the piece cleanly.
14. Traditional Owl on the Shoulder Blade
There is an ongoing discussion about saturated color on darker skin. One camp says deep black outlines and simplified color blocks translate best across tones. The other camp points out that careful color choices and contrast can produce vivid results on darker skin with proper saturation. For the shoulder blade, emphasize strong blackwork and high contrast for outlines. This area handles saturation well and allows for a more complex owl without frequent touch-ups. The session can be longer if you expand size.

15. Simple Swallow Along the Rib Line
Rib swallows are dramatic but demand planning. If you want the piece to curve with your ribs, bring reference photos that show similar poses. The common mistake is going too dense with internal detail. Keep the swallow slightly larger and rely on outline and selective fill so shapes do not run together. Pain is higher here and the session can require breaks. For the session wear, a cropped athletic top that you can lift will make access easier.

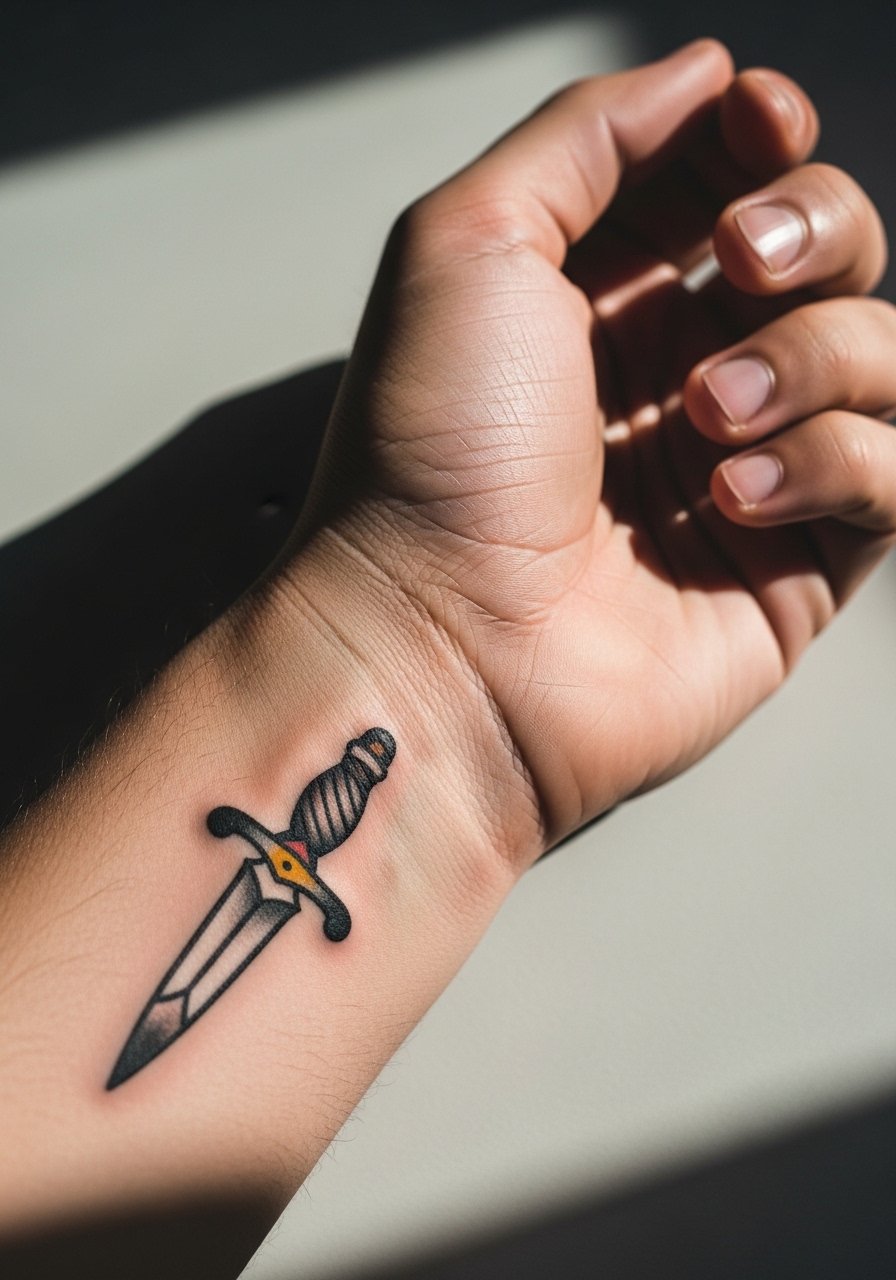
16. Tiny Dagger on the Side of the Wrist
Side-of-wrist daggers read like classic flash and keep their edge when the outline is bolder than the interior detail. The wrist sees frequent sun and friction so darker outlines matter. Expect a short session with possible touch-up in two years depending on your daily exposures. For showing the dagger, a thin leather bracelet or cuff sits above it and keeps attention on the design. Try a thin leather cuff bracelet for styling that does not crowd the wrist.
17. Classic Anchor on the Bicep
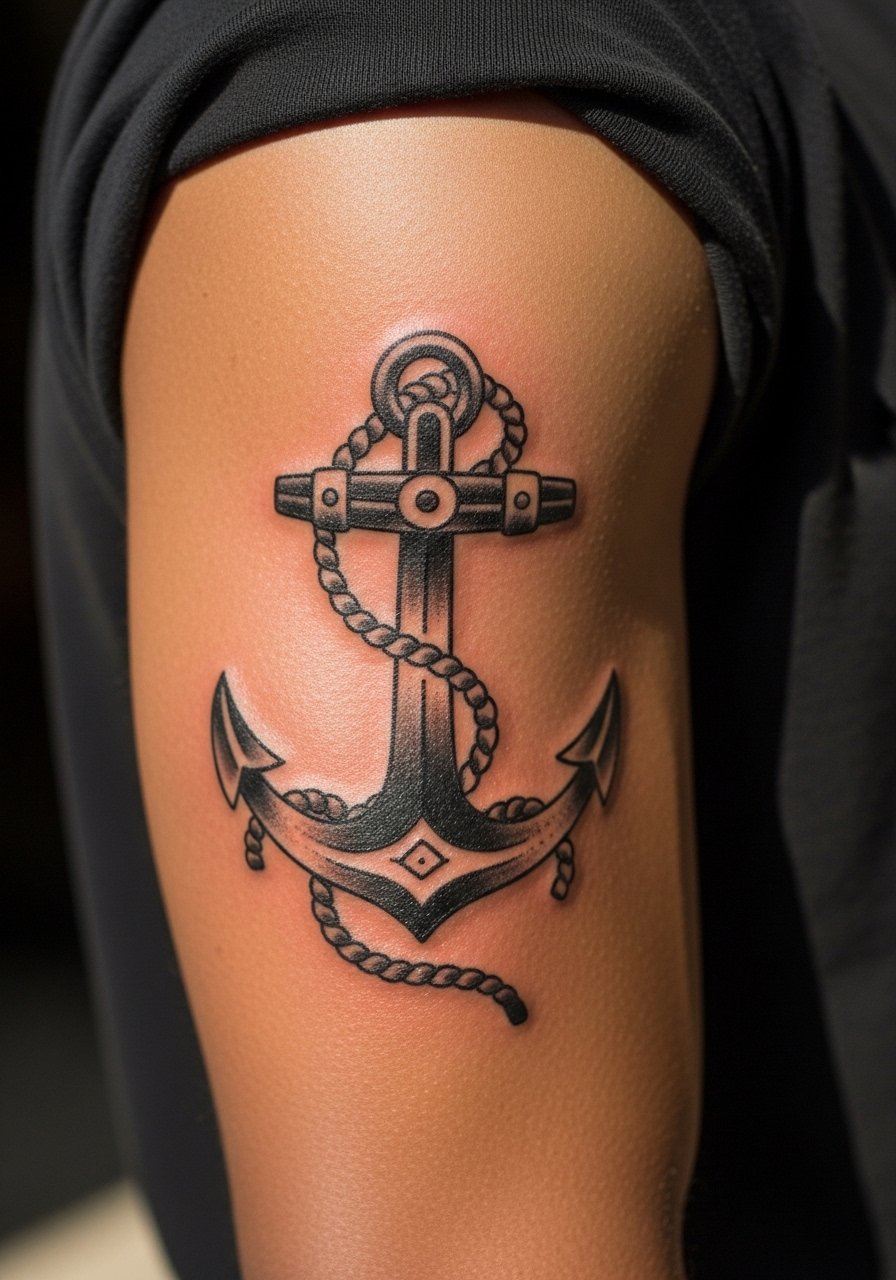
The bicep is forgiving and lets traditional saturation age gracefully. For an anchor, use a clear silhouette and avoid tiny interior motifs that might melt together. The session is comfortable and often completed in one sitting. If you plan a sleeve later, discuss how the piece will interface with future work. To find an artist who understands tradition, search local shop directories, tattoo convention listings, relevant hashtags, and community threads rather than relying on a single social post.
18. Small Sparrow on the Collarbone Center
Center-collarbone sparrows are subtle but visible. For longevity pick bold contour lines and minimal internal shading. The area feels tender for some people but shows well under necklaces. When getting this piece, have the artist place the bird slightly above the bone to avoid the harsh contour. For showing off, a thin chain pendant necklace sits just above the bird and frames it without blocking the view.

19. Minimalist Traditional Compass on the Forearm
Compasses are great for forearms because the long shape matches the limb. The usual error is packing in too many fine marks inside the face. Keep the outer ring bold and the interior markings simplified so the compass can be read at a glance years later. Pain is mild and sessions are short to moderate. For the session, wear a loose button-down shirt so the artist can roll the sleeve without pressure on the skin.

20. Tiny Ship on the Calf
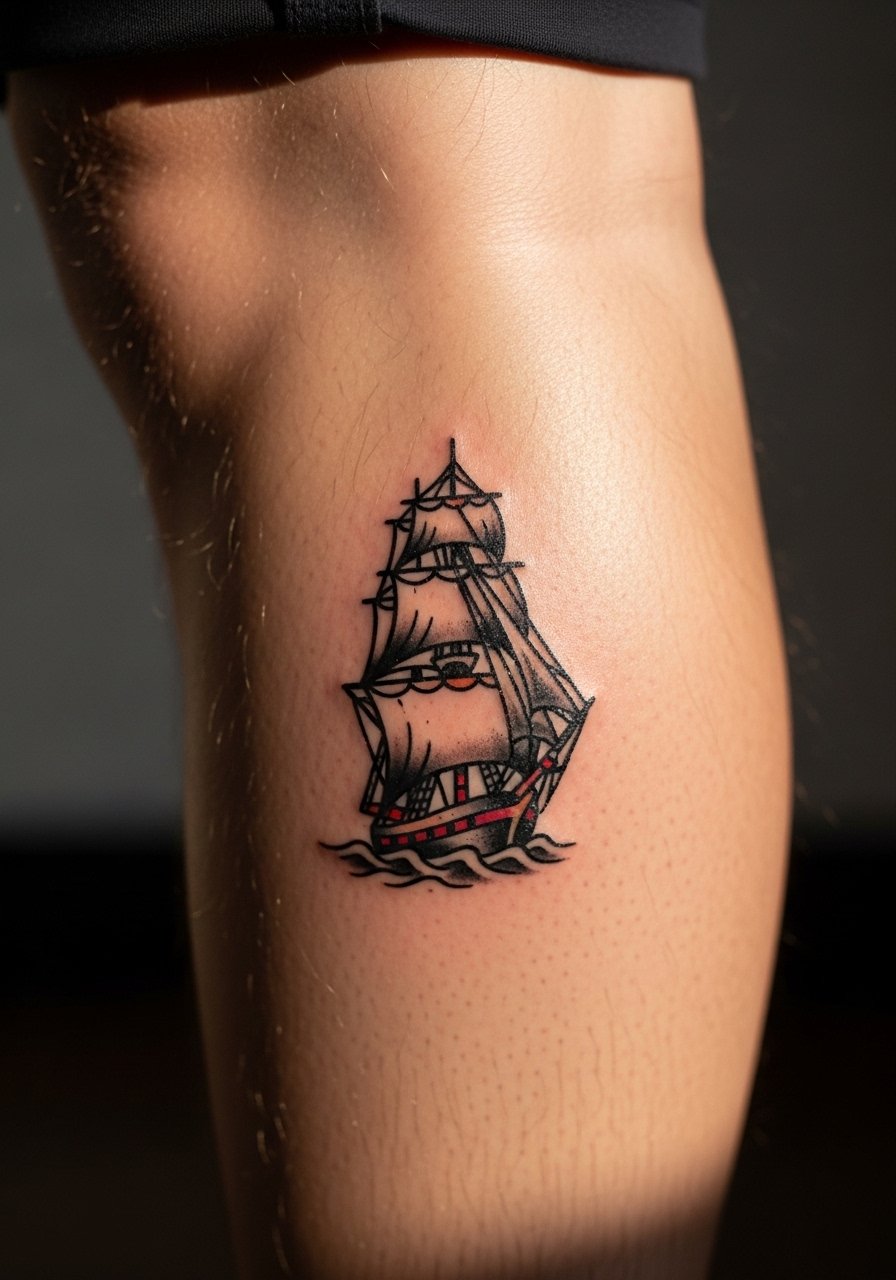
Small ships on the calf age well because of lower sun exposure. Avoid tiny masts and rigging that will blur. Instead go for a simplified silhouette with strong hull line and balanced sails. The session is comfortable and healing benefits from keeping the area elevated if swelling shows. Pair the piece with high socks or rolled pants in cooler months and casual canvas sneakers when you want to show it off.
21. Tiny Traditional Anchor on the Inner Wrist
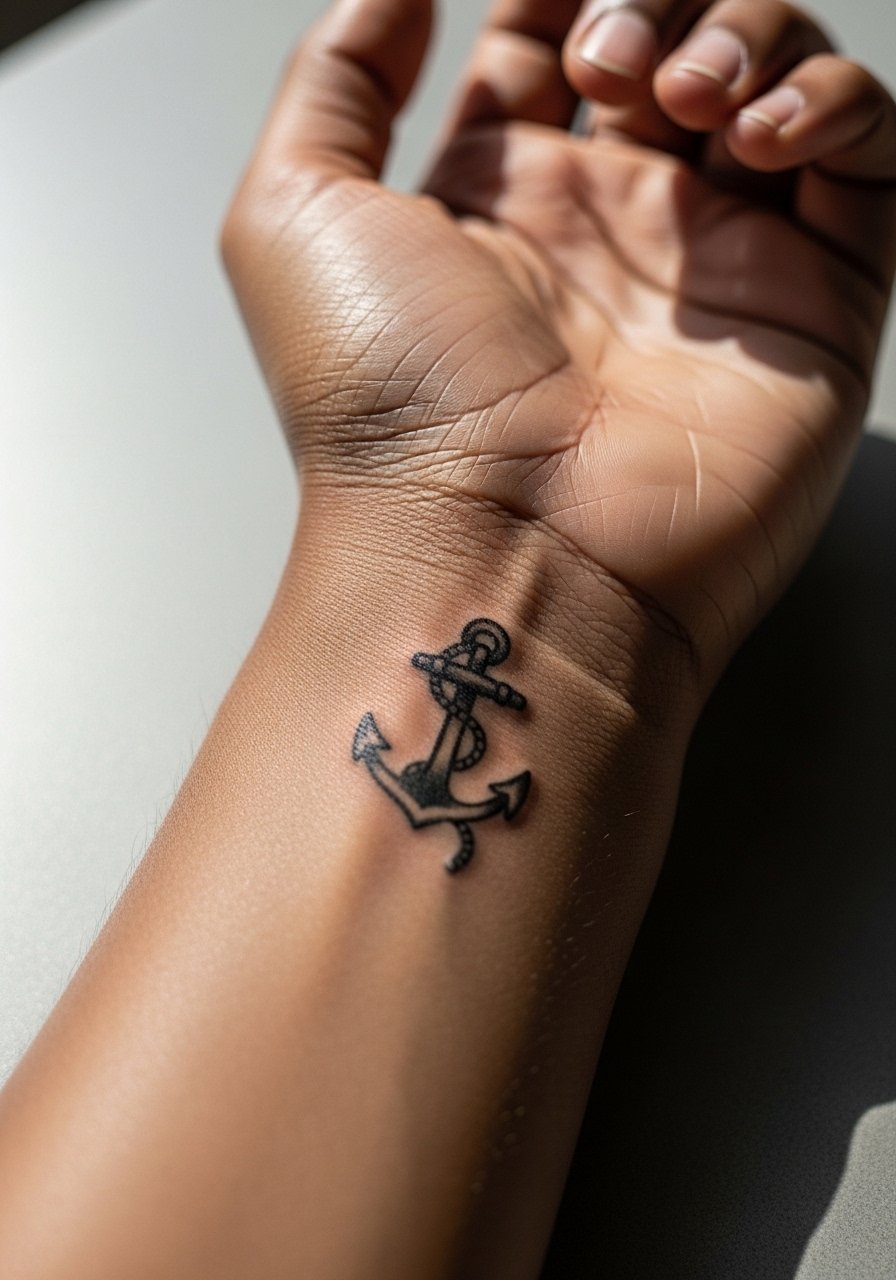
Inner wrist anchors are small but visible. The common mistake is placing the design too close to the wrist crease. Ask the artist to leave a small buffer so movement does not push the ink into the crease. Expect a short, mildly sensitive session and plan for a likely touch-up in a couple of years. For lightweight showing, a delicate chain bracelet sits above the anchor and keeps focus on the motif.
Studio Day Picks
The small wrist, chest, and rib pieces above need different prep than larger forearm and calf work, so a few targeted items smooth the session and the first week.
-
Stencil transfer sheets. Lets you preview line placement on tricky curved zones like the wrist and ribcage before the needle hits skin.
-
Topical numbing cream. Applied according to the product directions it can make higher-pain areas like the ribs or sternum more manageable.
-
Thin protective film roll. Useful for finger and wrist tattoos that face friction from washing and clothing in the first few days.
-
Fragrance-free gentle body wash. Keeps healing linework clean without irritating sensitive skin or bright colors.
-
Aquaphor healing ointment. A thin layer during the first few days helps lock in moisture for fine line work without clogging the skin.
Frequently Asked Questions
Q: Will the fine line pieces on wrists and fingers need touch-ups more often than pieces on the upper arm?
A: Yes. Thin lines on high-motion and high-wash areas tend to fade faster. Forearm and upper arm pieces usually keep saturation and edge better. Expect a possible touch-up around year two to four for fingers and wrists. Your artist can estimate based on your skin type and lifestyle.
Q: How should I choose between bold traditional saturation and simpler linework for darker skin tones?
A: Both approaches work. One camp favors thick black outlines and simplified color for contrast. The other camp uses careful color selection and stronger saturation to achieve vibrancy. Talk to artists who have healed pieces on darker skin and ask to see healed photos in similar lighting.
Q: Are ribcage traditional pieces worth the pain if I want something that still looks good in five years?
A: The ribs age nicely if you keep outlines clear and avoid tiny interior detail. It hurts more than the arm but the result can be dramatic and durable if placed and spaced correctly. Bring references and plan a session with breaks.
Q: What should I wear to the studio for a sternum, chest, or inner-thigh piece?
A: Wear clothing that makes access simple. For chest or sternum, a wide-neck shirt or fitted sports bra works. For inner thigh, shorts you can shift slightly are best. For small chest pieces you plan to show off later, an open-back midi dress is a good example of how the placement looks with clothing.
Q: If I want a traditional motif but plan a sleeve, how do I keep pieces cohesive?
A: Share future sleeve plans in the consultation. Ask the artist to design with compatible line weights and spacing so new pieces can integrate. Using similar outer line thickness across pieces creates a visual language that ties together as you add work.
Q: Is there a safe way to find artists without relying on a single social post?
A: Yes. Use a mix of local shop directories, convention listings, community threads on forums and subreddit communities, and hashtag searches that match your style. Look for healed photos and ask for references of similar placements rather than just fresh work.
