
Fine line and saturated blackwork both show up in Soul Eater fan ink, but they age differently. The designs that still read crisp after three years are usually the ones that start with intentional spacing and bold anchors rather than tiny, competing details. Below are 17 traditionally styled Soul Eater tattoo ideas with placement notes, what to ask your artist, how each choice heals over time, and real wardrobe tips to show the work off.
1. Scythe Silhouette on Outer Forearm
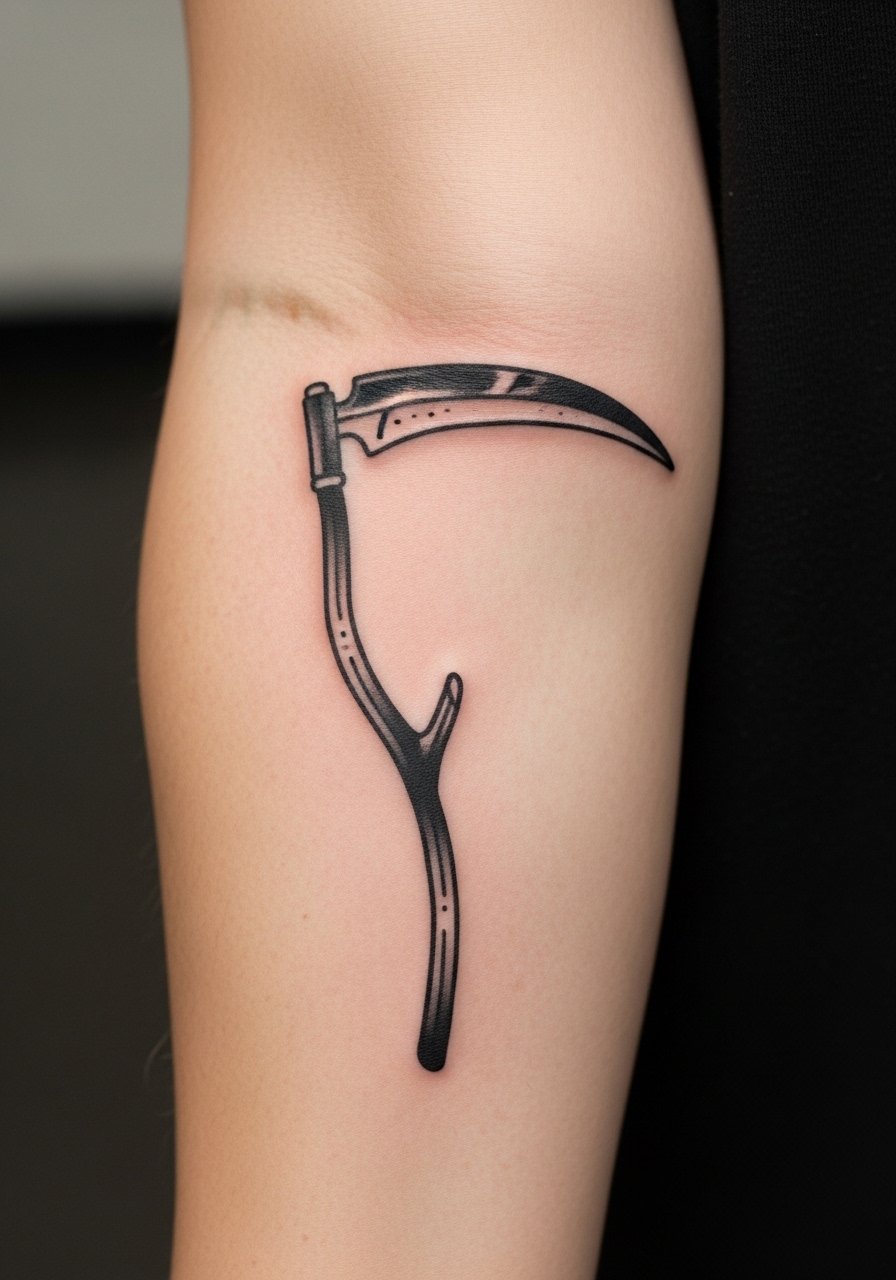
There is something about a solid scythe read from across a room that fits traditional techniques. I recommend this for anyone who wants a recognizable Soul Eater motif without portrait detail. Ask your artist for bold outlines and a small area of saturated black to anchor the composition. The forearm tolerates saturation well, so the piece will keep contrast at year three and beyond. Common mistake is shrinking the blade too small for the forearm width, which leads to crowded linework and premature blurring. Pain on the outer forearm is moderate, and a single session of 60 to 90 minutes usually covers it with touch-ups rarely needed before year five. For showing it off, roll sleeves and wear a loose button-down shirt to keep the tattoo visible without rubbing.
2. Skull-Mouth Crest on Upper Arm
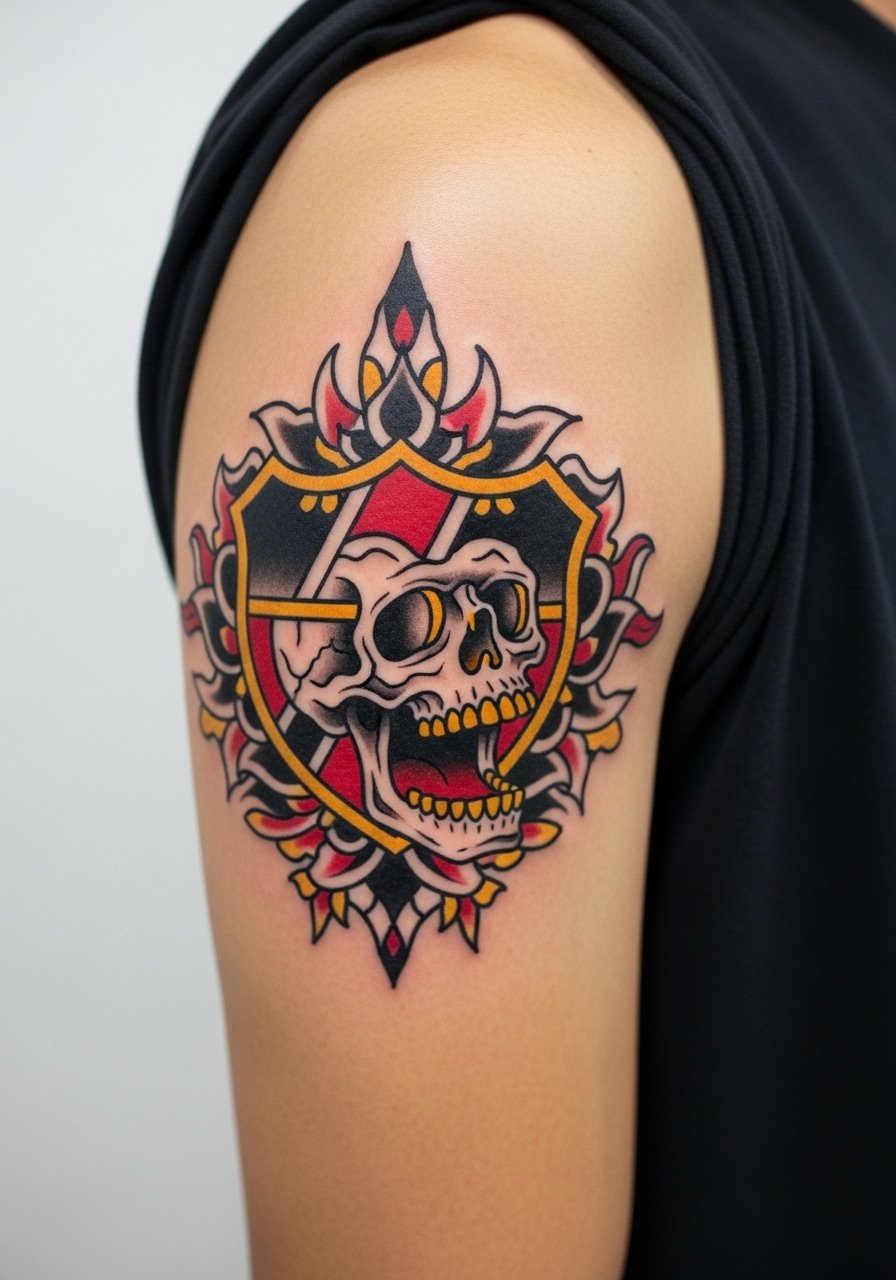
Artists split on portrait-style anime faces in a traditional shell. One camp argues faithful likenesses translate poorly into bold traditional linework because facial subtleties get lost. The other camp says a stylized crest keeps the character recognizable and ages better. If you fall on the stylized side, ask for simplified features and heavier black saturation around the jaw to prevent softening. The upper arm is forgiving for saturation and touch-ups. Expect the piece to look very sharp at six months and retain its silhouette at two to five years if the blacks stay dense. A mistake I see often is over-detailing the teeth area. Tell your artist you want shape and contrast rather than micro-details.
3. Blair-Style Cat Pop on Calf
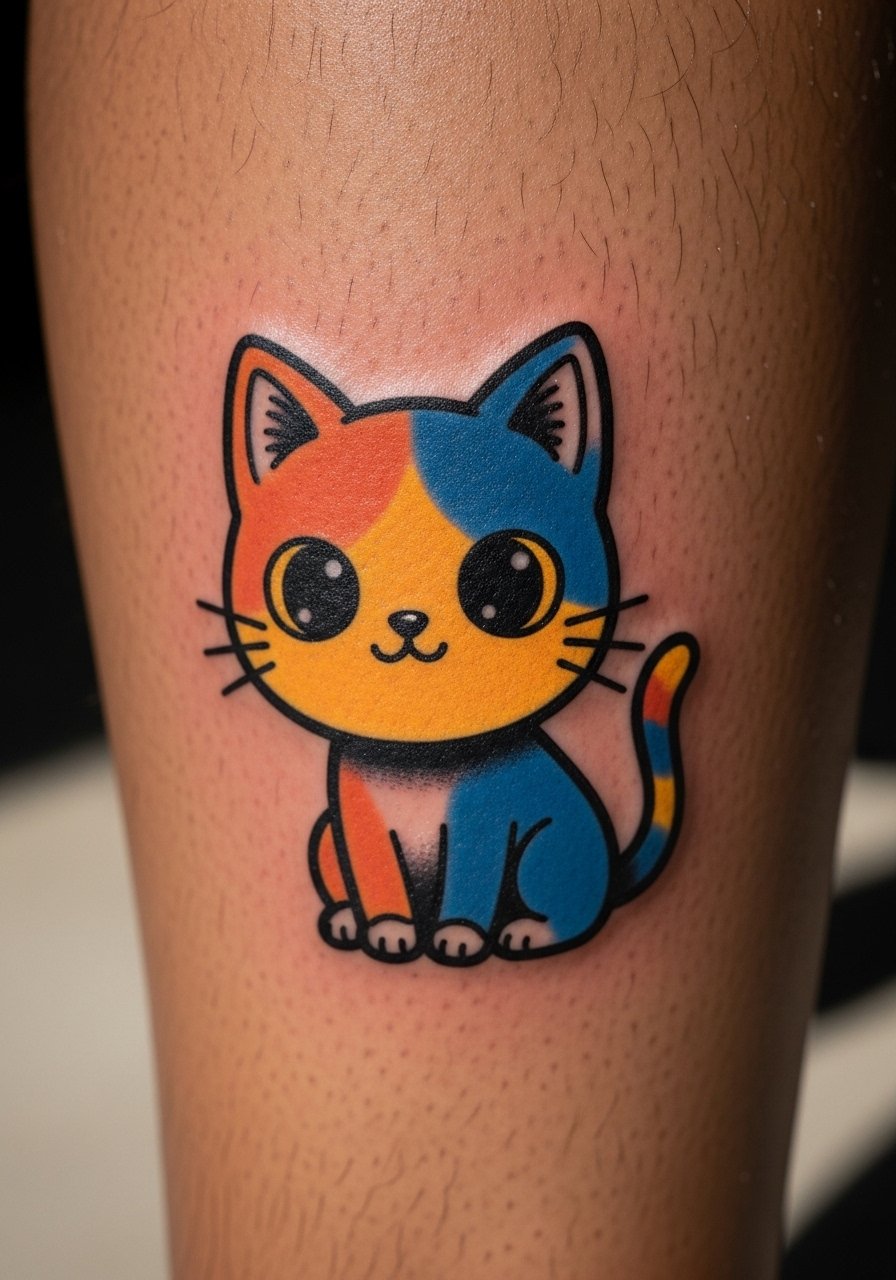
I've seen calf placements hold color and linework well over time, which makes them ideal for character-driven, slightly cartoony pieces. The calf lets the artist work with scale so the cat retains its expression without tiny detail. Tell the artist to map negative space around the eyes so the face reads from a distance. Session sensation is low to moderate because the muscle provides padding, and a single 90-minute session often covers it. A common error is shrinking the face to fit inside a small ankle frame. For showing this off in summer, pair it with flat leather sandals so the calf becomes part of the outfit.
4. Paired Weapon Duo at the Collarbone
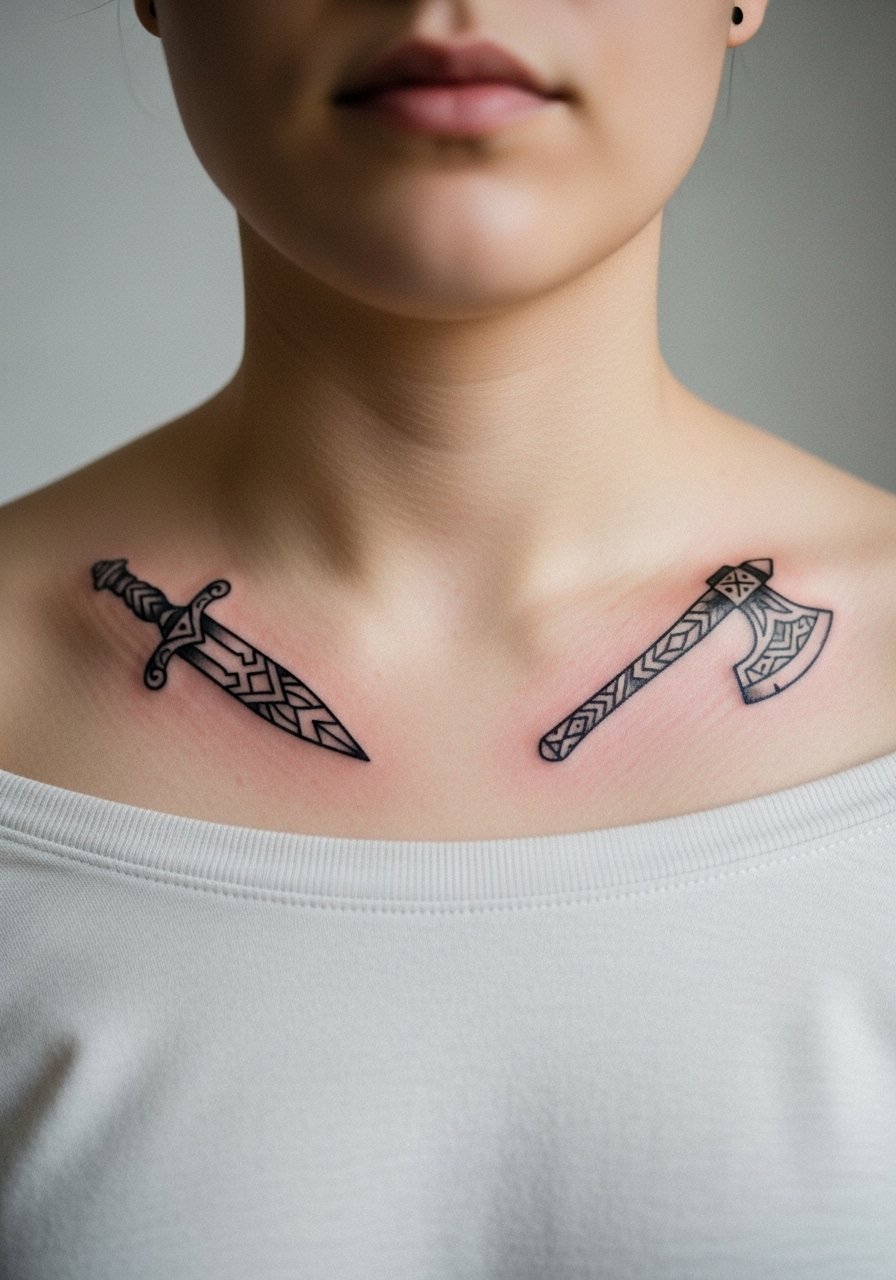
Fair warning: collarbone placements are higher on the pain scale because the skin sits close to bone. The upside is that small, high-contrast designs read crisp when healed if you keep the linework bold and the fills simple. I recommend a mirrored duo that curves with the bone. During consultation, request slightly thicker outer lines than you would for a wrist piece to give the artwork room to age. The common mistake is insisting on ultra-fine detail there, which tends to blur against the bone over time. For session access, wear a wide-neck shirt you can pull aside.
5. Death City Skyline Band on Bicep
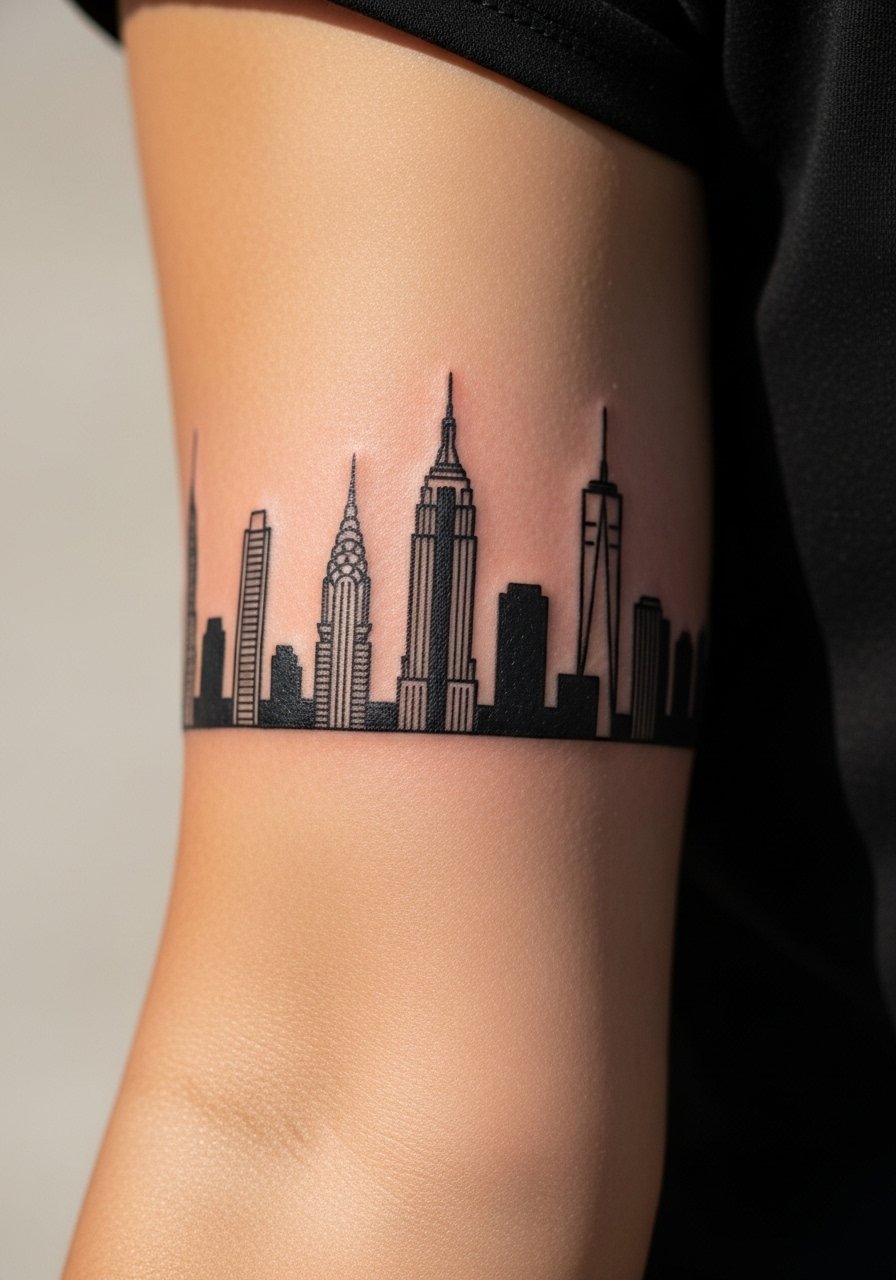
There is a practical reason to make skyline bands slightly wider than they look on an iPad. The curvature of the bicep compresses thin lines over time, so give the skyline buildings breathing room. Tell your artist to plan negative space at the edges and to avoid tiny architectural detail. Pain is moderate, and a 90 to 120-minute block usually does the band. At two years the edges will soften a touch, but a confident silhouette remains. Style this with sleeveless tops; a classic muscle tank frames the band without covering it.
6. Minimalist Script "Soul" on Inner Wrist
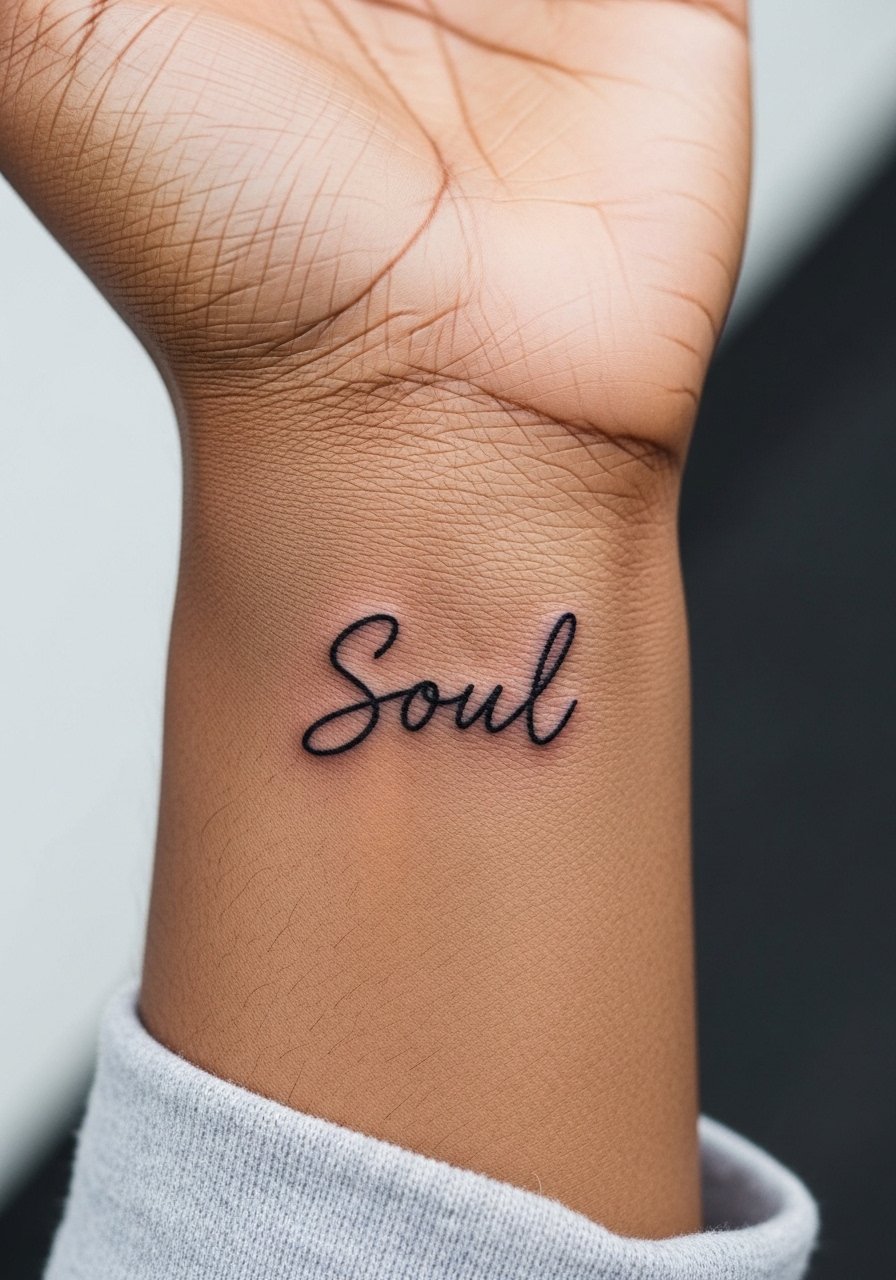
Wrist pieces live under a lot of friction, so minimalist scripts need spacing and slightly heavier strokes than you might expect. For this one, tell your artist the exact letter spacing and size you want. At six months the letters look crisp, and by year two the narrow strokes might soften, so expect touch-ups around year three for clean blackletter edges. The wrist hurts more than the calf, and the session is short, usually 30 to 45 minutes. For showing it off, stacked dainty bracelets can frame the script. Try a set of stackable rings and thin bracelets that keep attention on the wrist without rubbing the healing skin.
Studio Day Picks
The wrist and bicep pieces above heal differently from calf and upper-arm work, so a few targeted items smooth the session and the first week.
-
Stencil transfer paper kit. Lets you preview the line placement on skin, which is crucial for the collarbone and wrist designs above.
-
Topical numbing cream. Applied according to shop guidance it takes the edge off collarbone and wrist sensitivity without affecting the artist's work.
-
Thin protective film roll. Keeps small wrist and finger tattoos clean during the first week of handwashing and daily friction.
-
Fragrance-free gentle body wash. Cleanses healing areas like forearms and calves without irritating the linework.
-
Aquaphor healing ointment. A thin layer in the first few days helps maintain moisture for fine strokes without clogging.
7. Maka-and-Soul Silhouette Sleeve Accent
When you sit down with an artist for a sleeve accent, bring references that show scale and negative space. For a paired silhouette piece, I suggest blocking in the solid shapes first and adding minimal linework for facial suggestion only. That approach keeps the characters readable at a distance and avoids the portrait trap where tiny facial lines turn into a blur. Sleeve work can take multiple sessions and feels like steady chatter in the chair more than sharp pain. The biggest mistake is crowding other elements too close. For the session, a loose tank top gives clear access and keeps you comfortable.
8. Demon-Weapon Close-Up Under Shoulder Blade
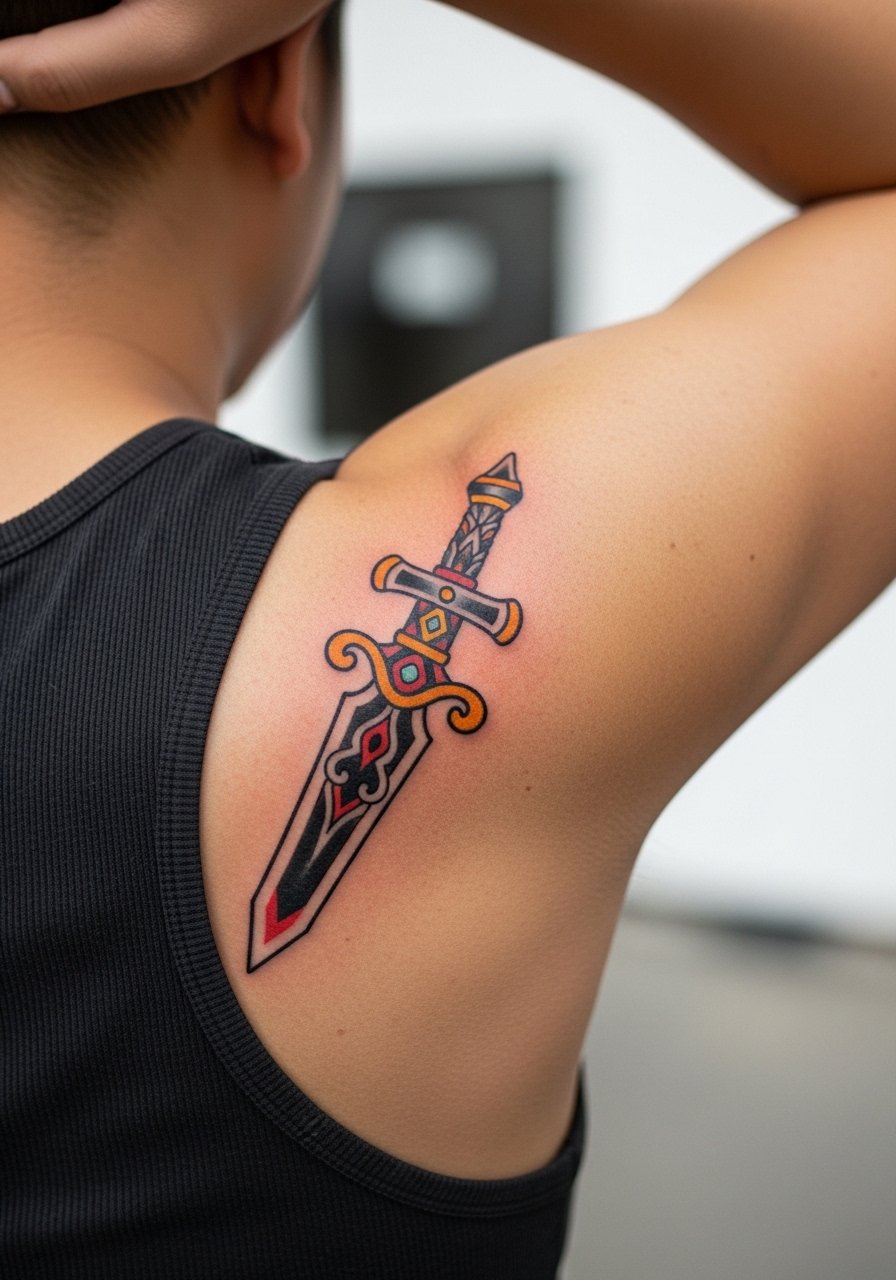
I've noticed that under-shoulder placements take saturation well if the artist uses confident lineweight and keeps the piece a touch larger than you expect. Tell the artist you want negative space around the weapon edge so it maintains shape when you move. The spot is moderate on pain because of muscle padding, and a single 90-minute session often suffices for a close-up. A common error is asking for tiny chiselled details that flatten at two years. For session access, wear a tank top you can lift slightly so the artist has room to reach the area.
9. Comic-Panel Ribcage Strip
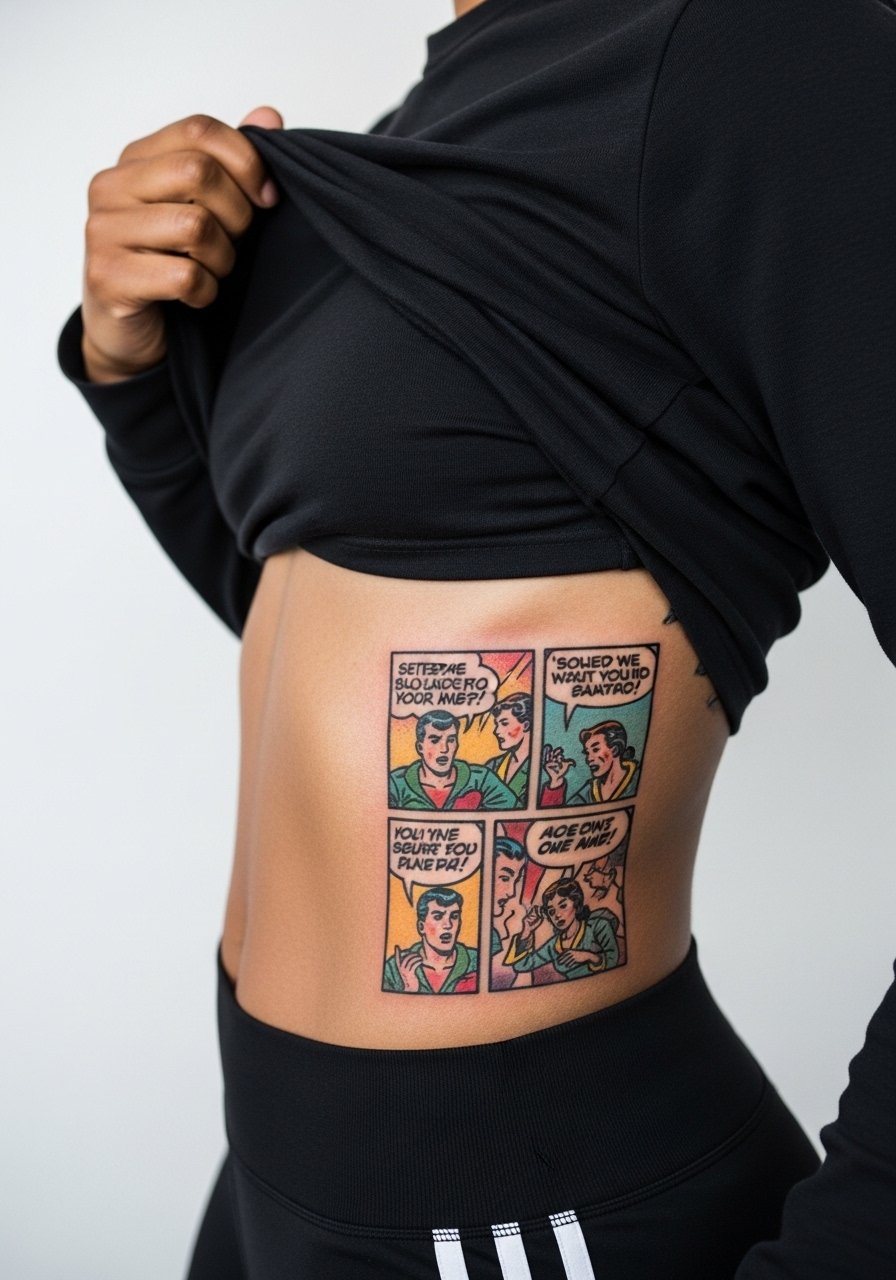
Fine line work on ribs sparks debate in the community. One group says dense linework on the ribcage blurs quickly because the skin there shifts with breathing. The other group maintains that with proper needle depth and spacing, rib pieces can hold detail for years. If you want panels on the ribs, choose bold frames and limited internal detail. Pain is high and sessions are often split. At six months the panels look crisp if you avoid friction from waistbands. A real mistake is compressing multiple tiny panels into the same vertical space. For the appointment, wear a cropped top you can lift slightly.
10. Witch Hat Skull on Thigh
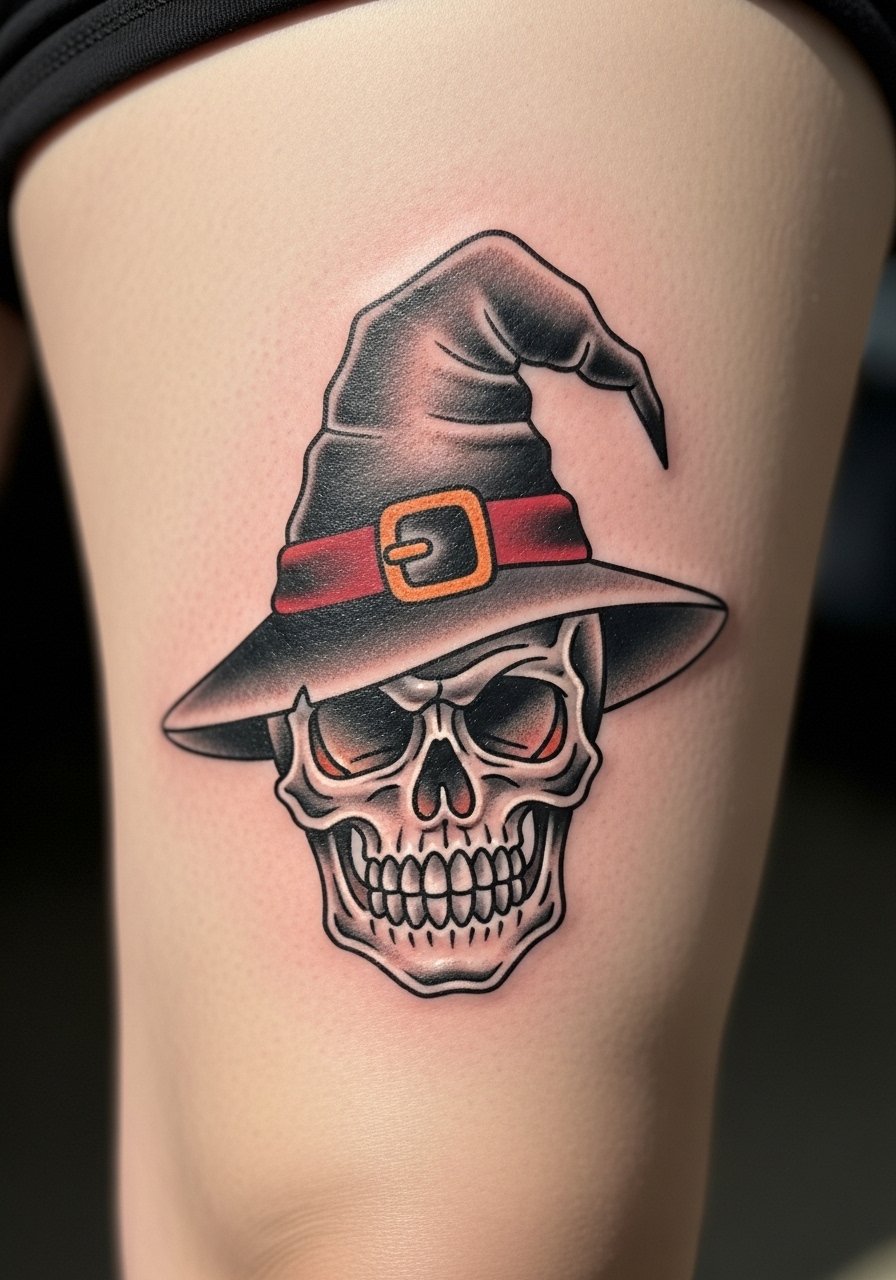
Thigh pieces are forgiving and hold color well, so they work for slightly larger, playful designs. Ask your artist to keep the hat brim thick enough that the silhouette reads when you wear shorts. The session sensation is moderate because muscle cushions the needle, and a 90 to 120-minute block typically handles it. Over-detailing the hat band is a common error that ages into visual noise. For showing off in warm months, high-waisted shorts or a pair of denim cutoffs frame the thigh without hiding the artwork.
11. Crescent Moon Soul-Resonance on Ankle
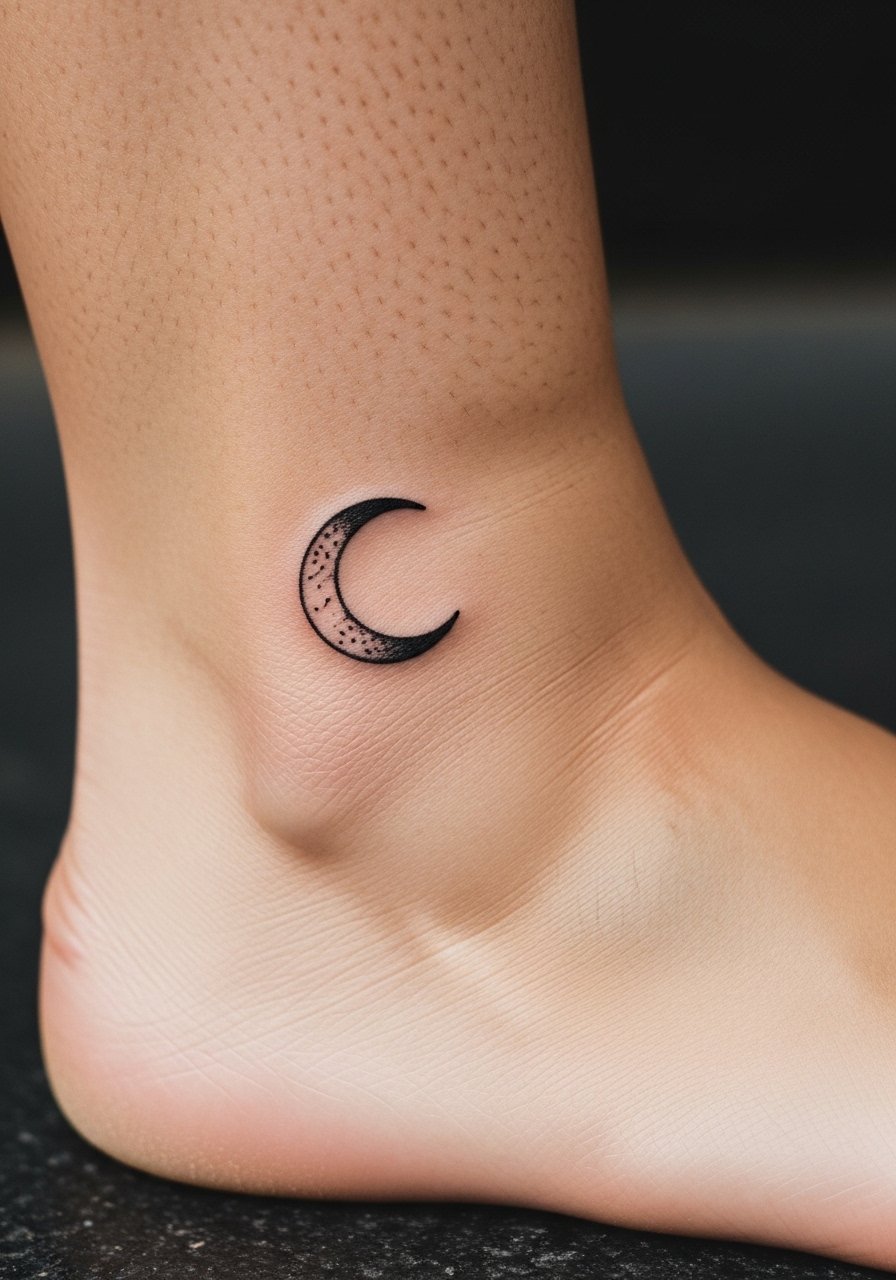
Ankle tattoos live under constant friction from shoes and socks, so keep the crescent slightly larger than you sketch. Ask for a reinforced outer line and minimal internal detail to reduce early fading. Pain is sharp for short bursts. Expect the piece to look crisp at six months and to possibly need touch-up by year two because of friction. The frequent mistake is insisting on microdots inside the crescent. For footwear that reveals the design, choose low-profile sandals or roll jeans up, and consider slide sandals that reduce rubbing.
12. Chibi Portrait on the Back of the Hand
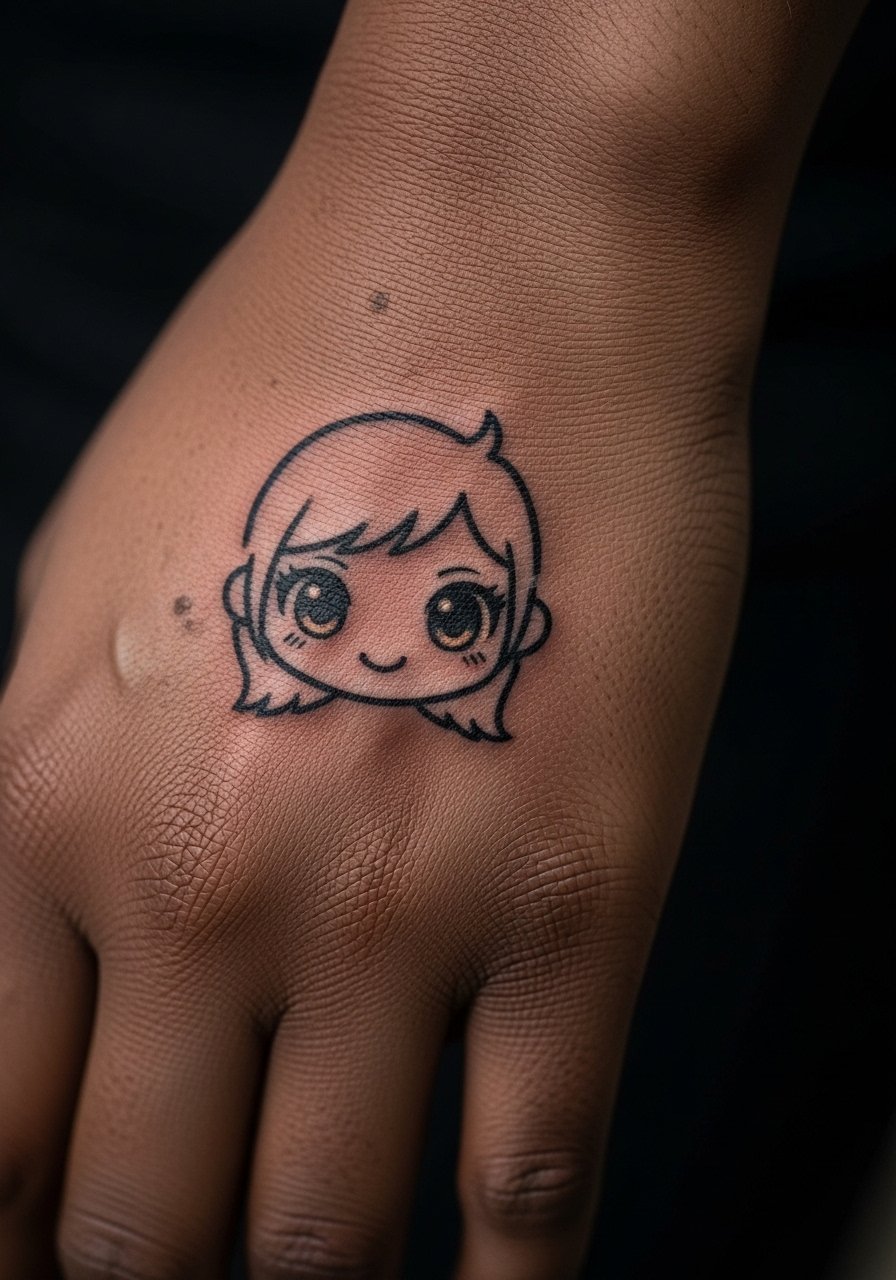
Hand tattoos still affect hiring in some industries, so think about career implications before committing. The back of the hand is a high-wear zone, so chibi portraits need larger, bolder features to remain legible. Tell the artist you prefer defined outlines over tiny facial details. The session is brief but sharp, and touch-ups are likely within one to three years. A common mistake is placing microtext near the knuckles. For showing off, keep rings minimal. Try a pair of simple stackable rings that complement the portrait without covering it.
13. Rose and Scythe Sternum Accent
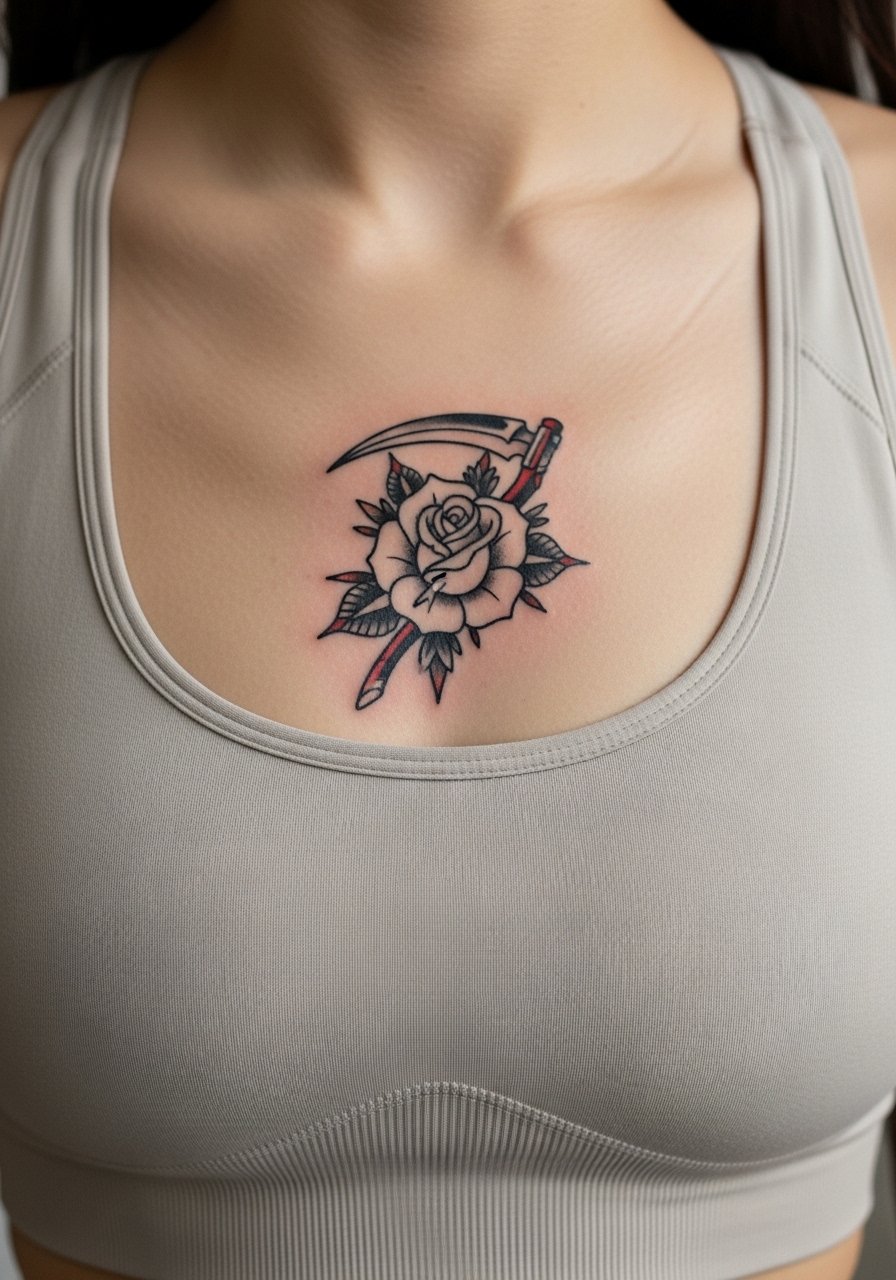
Sternum placements demand respect from both the artist and the client. The location is sensitive and moves with breathing, so larger, simplified elements age more predictably. I recommend a bold outer border on the rose and a few areas of solid black to stabilize the scythe. The pain is high, and sessions may be broken into shorter blocks. Expect the piece to read strong at six months if you avoid tight tops that rub the area. Many people make the mistake of asking for tiny stipple shading across the sternum, which can blur with movement.
14. Pocket-Watch Motif on Calf
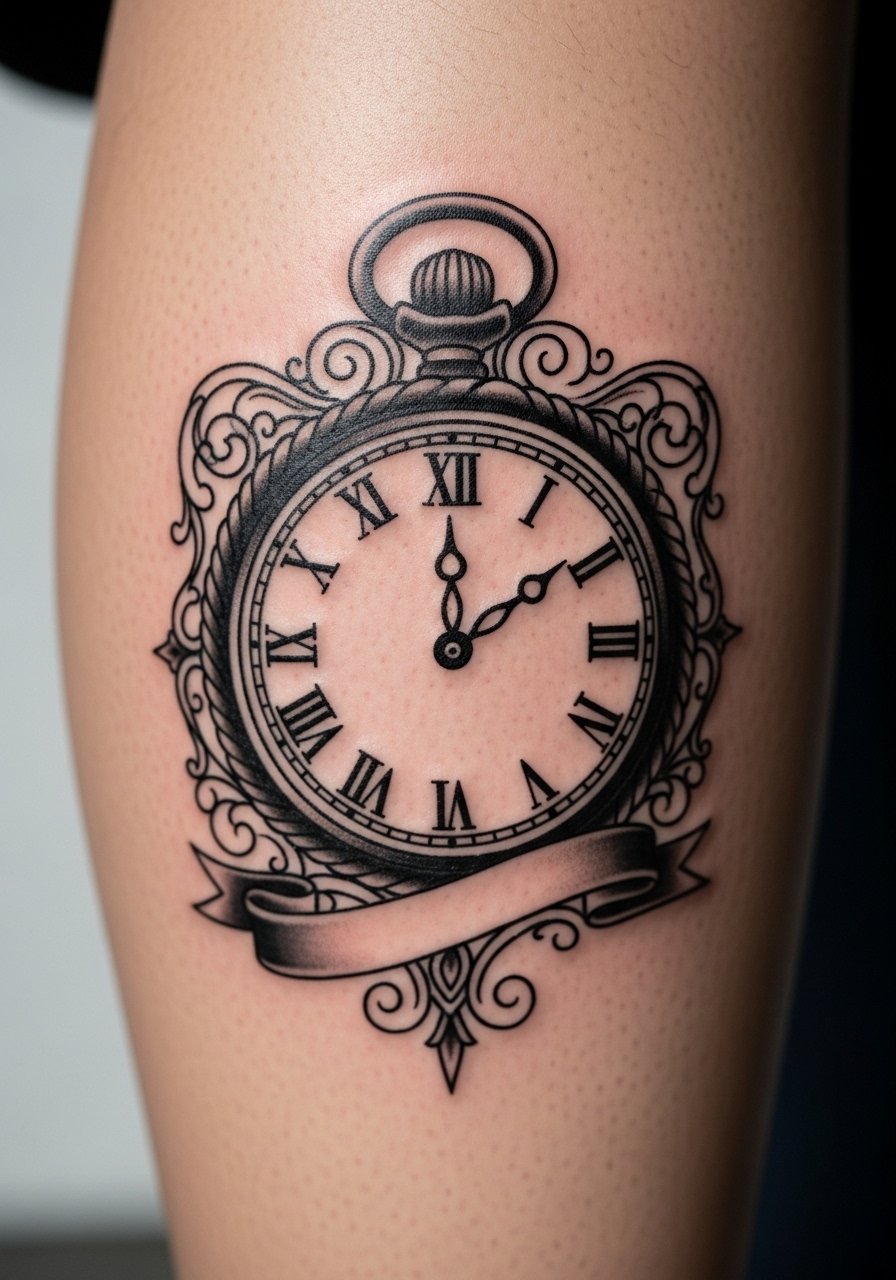
A pocket-watch allows for bold numerals that age well. For a Soul Eater twist, anchor the watch with a high-contrast drop shadow and avoid micro-etching on the face. The calf takes saturation and touch-ups well. At two years the numerals remain readable if the watch face had solid negative space planned around the hands. The common mistake is adding tiny script inside the watch face that becomes illegible. Pair this design with rolled jeans so the calf is visible, and try a pair of tapered rolled jeans for casual show-off.
15. Full Back Blackwork Demon Silhouette
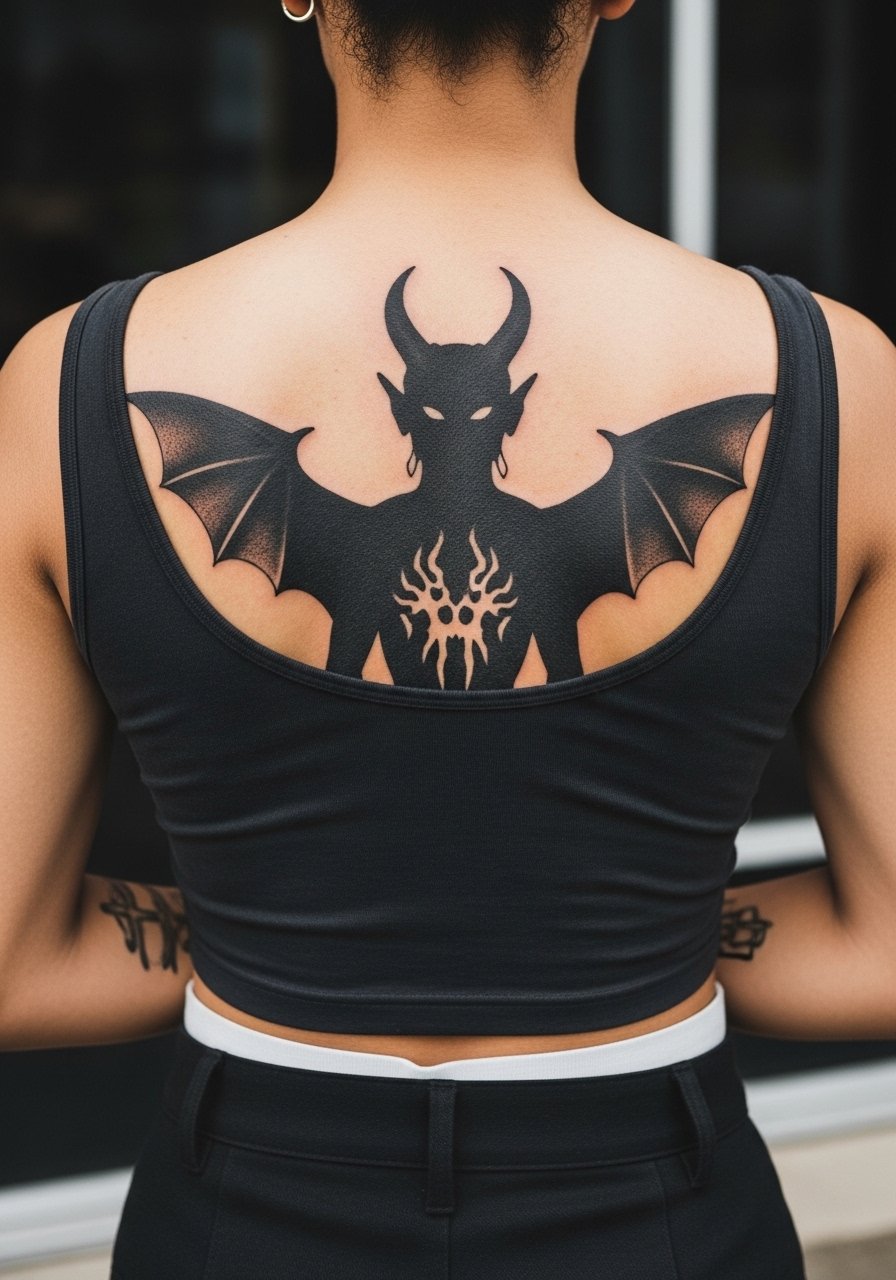
Large blackwork pieces age into bold statements because saturation gives them staying power. For a full back silhouette, plan the negative spaces so the demon reads whether you are clothed or not. Sessions for this scale are multiple and demand stamina. Expect the initial sessions to be tiring but manageable with breaks. A real mistake is trying to pack in small decorative flash that competes with the silhouette. For evening show-off, open-back tops or dresses pair well. Consider an open-back dress when you want the back on display.
16. Tiny Crescent Behind the Ear
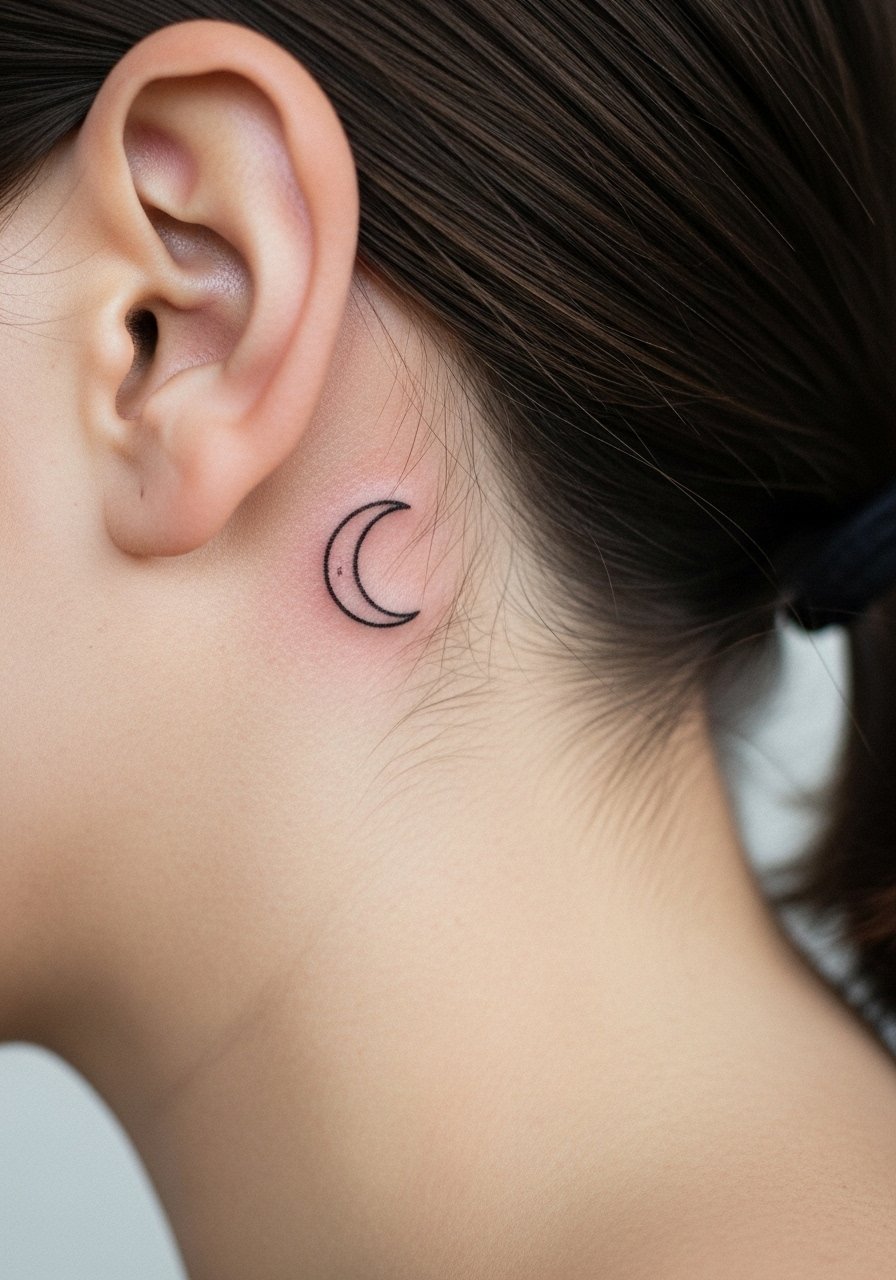
Behind-the-ear pieces are discreet and personal, but the skin there is thin and the area needs an artist experienced with delicate placements. Keep the motif tiny yet bold enough that the crescent does not dissolve into a freckle. Pain is brief and sharp. A common error is asking for micro-shading in that spot. For session access, let hair be loose so the artist can part it and work without forcing exposure.
17. Forearm Chain Cuff with Skull Bead
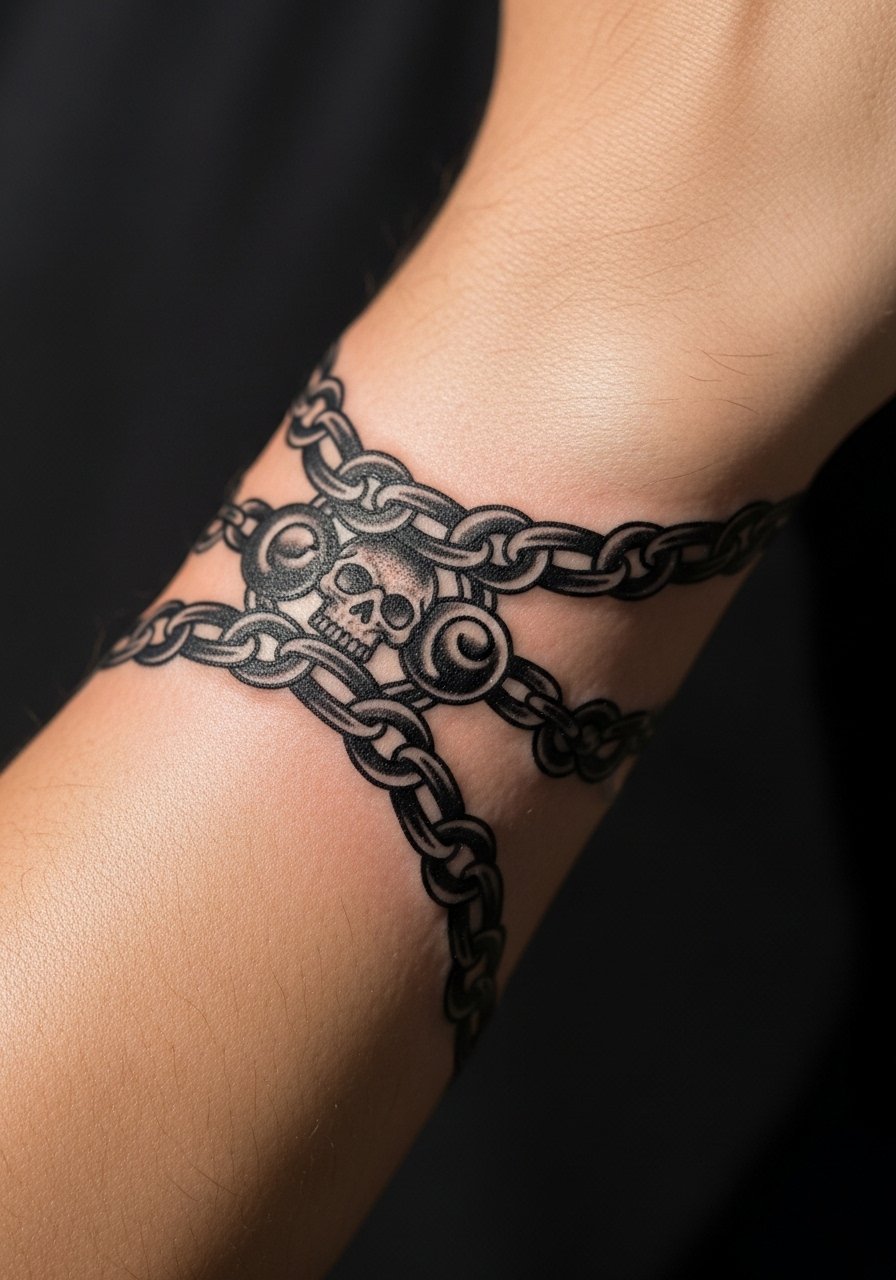
A chain cuff works as a sleeve terminator that naturally ages well when lines are spaced. Tell the artist you want slightly wider links than you sketch so they do not blur together at two years. Pain is moderate and the session usually fits into a 60 to 90-minute slot. People often ask for too many tiny beads along the chain, which reads noisy after healing. Roll your sleeves to show the cuff. A rolled-up linen shirt complements the cuff and keeps the forearm visible without friction.
Frequently Asked Questions
Q: How do I decide between a faithful character portrait and a traditional stylized version for Soul Eater motifs?
A: It depends on how you want the tattoo to age and how bold you want it to read from a distance. Traditional stylized versions use simplified features and heavier black anchors so they hold contrast longer. Faithful portraits can look amazing fresh but often need more touch-ups. Ask your artist to show healed examples in their portfolio that match the approach you prefer.
Q: Will fine line Soul Eater details survive on ribs or sternum?
A: Fine line in high-movement spots like ribs and sternum is riskier. One camp says the skin movement blurs fine work early. The other camp says skilled spacing and slightly heavier lineweight can make it work. If you pick ribs, plan for larger spacing, expect a more painful session, and budget for touch-ups at two to five years.
Q: How often will I need touch-ups for wrist, hand, and ankle placements?
A: Those zones see a lot of friction, so expect touch-ups earlier than thicker-skin areas. In my experience wrist and ankle work often need attention around year two to three. Hands sometimes require a touch-up within the first year. Preventive measures like protective film in the first week and avoiding tight shoes help, but the anatomy drives the timeline.
Q: What should I wear to a sternum or ribcage appointment?
A: Wear a fitted sports bra or a cropped top that you can lift slightly so the artist has clear access without you being exposed. A zip-up hoodie is also useful to pull on after the session. If you want a quick option, a fitted sports bra gives the artist room while keeping you comfortable.
Q: Are there cultural concerns I should consider for Soul Eater-inspired symbols that draw on existing motifs?
A: Yes. Some motifs trace to broader cultural or spiritual patterns. If a design borrows from a specific tradition, consider adapting elements rather than copying sacred patterns verbatim. A respectful conversation with your artist about origin and intent helps avoid unintended appropriation and results in a design that sits well with you over time.
