
Fine line Pooh drawings and saturated watercolor pieces compete for attention online, but what looks brilliant the day you leave the shop sometimes blurs into mush two years later. Placement, spacing, and needle depth matter more than the thumbnail you saved. I picked 17 Winnie the Pooh concepts that read sweet in photos and still read like tattoos after years, plus what to say in the consult and how to show them off.
1. Black-and-Gray Pooh on Inner Forearm
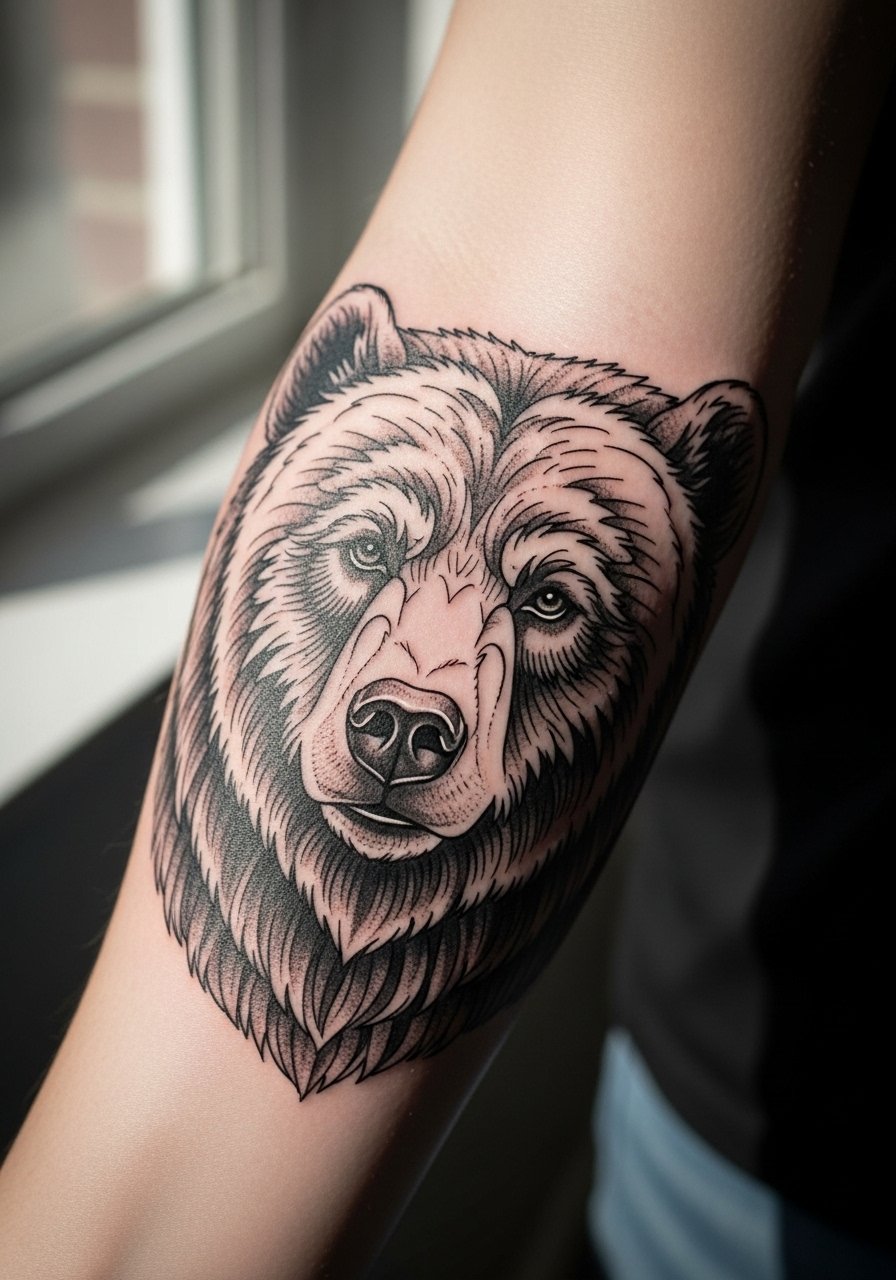
I recommend black-and-gray when you want clarity that lasts. Ask your artist for slightly bolder linework than a pure fine-line reference, because thin lines on the inner forearm can soften where the skin flexes. Common mistake is requesting micro lineweight and expecting decade-long crispness. Expect one touch-up around year three for maintenance rather than a full overhaul. For the session wear a loose short-sleeve button-down you can pull aside without tugging the ink. The forearm usually rates a moderate pain level and a single-hour session if kept small.
2. Pooh with a Honey Pot, Neo-Traditional Splash
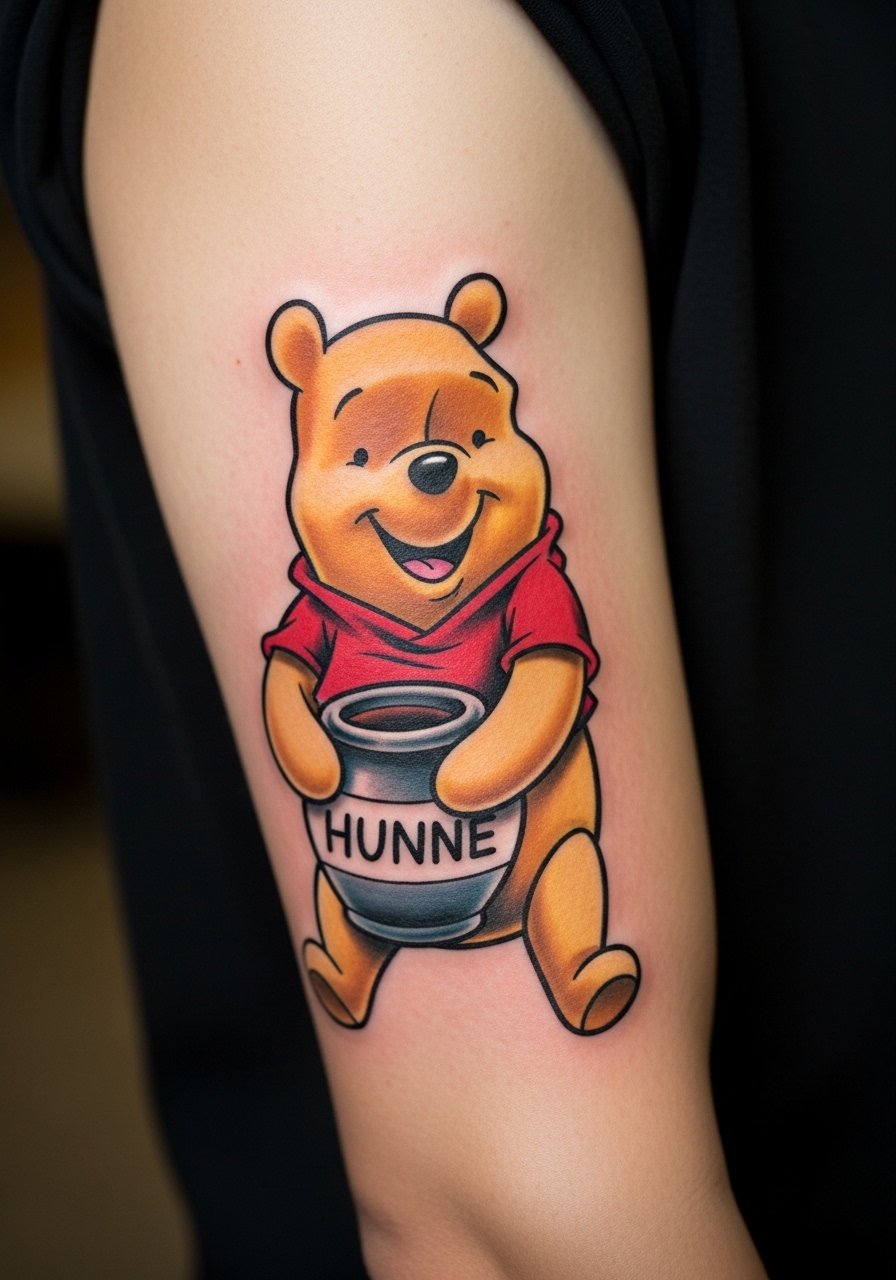
This style uses bold outlines and saturated fills so the honey and Pooh read from a distance. Tell the artist you want punchy black outlines with layered color saturation rather than soft watercolor blending. That prevents early patchy fade in high-motion zones. A typical session runs one to two hours depending on size, and the bicep tolerates saturation well. For showing it off try a rolled-up sleeve or a sleeveless linen top to keep the design visible without covering the outline. Expect less blowout risk here than on thin-skinned placements.
3. Tiny Silhouette Pooh on the Wrist
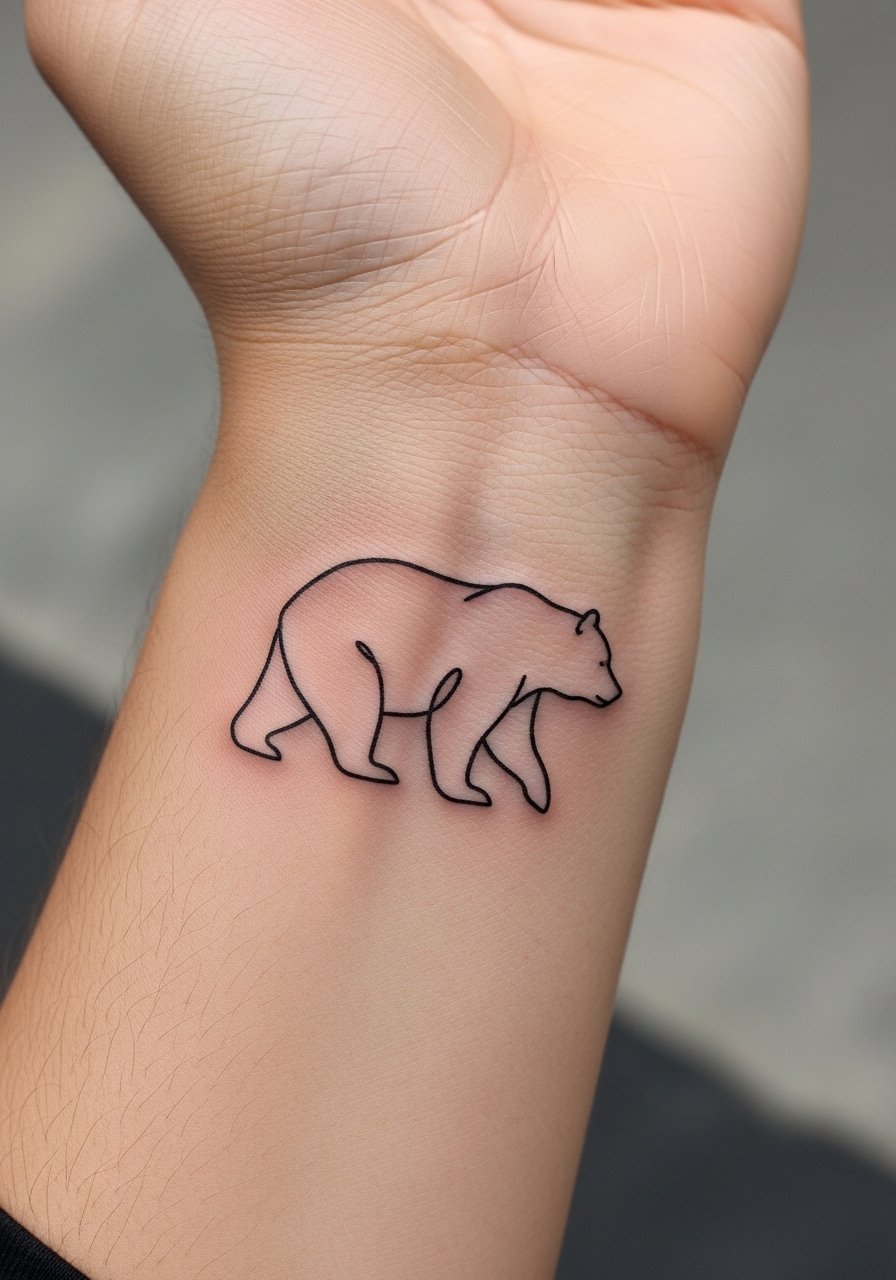
Wrist tattoos read small and sweet but require generous negative space. The biggest mistake is packing too much detail into a palm-size area. Ask for a slightly larger silhouette than you think you need, and accept that a micro version may need a touch-up sooner. The wrist is a high-motion, high-wash zone so plan for touch-up around year two to three. For the session wear a thin chain bracelet style watch that you can remove easily so the artist has clear access. Pain on the wrist is higher than the bicep but manageable for short sessions.
4. Watercolor Pooh with Butterfly, Shoulder Blade
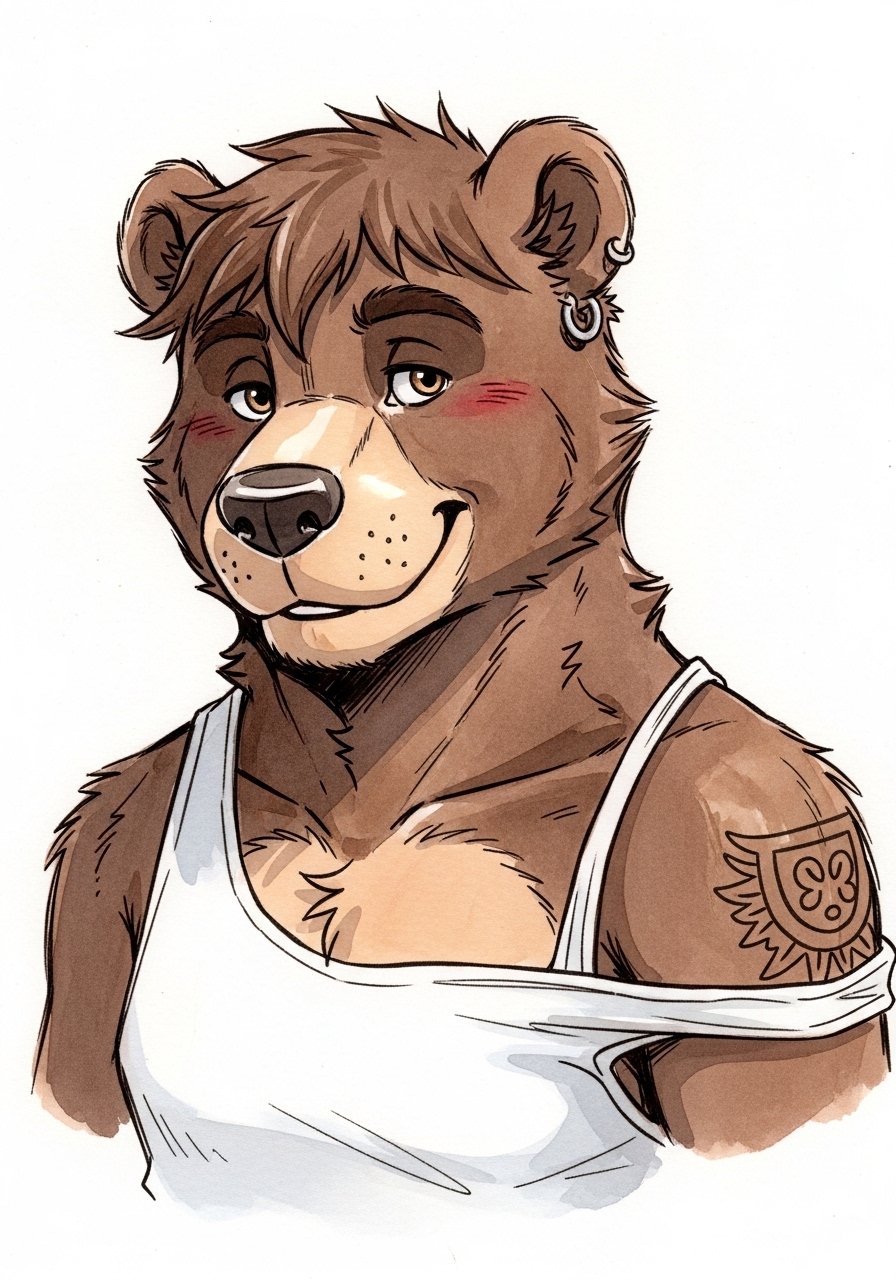
Watercolor gives movement and joy but can fade unevenly on high-sun zones. For the shoulder blade, ask for a subtle outline to anchor the colors so the image keeps shape as pigments soften. Artists debate whether watercolor needs bolder anchors or pure blends. One camp advises bolder anchors for longevity. The other camp prefers preserving the painterly effect and offering touch-ups later. I suggest a middle ground. This placement pairs with open-back tops, and you can wear a racerback tank to show it when you want. Session time usually runs one to two hours depending on color saturation.
5. Pooh and Piglet Duo, Upper Arm Wrap
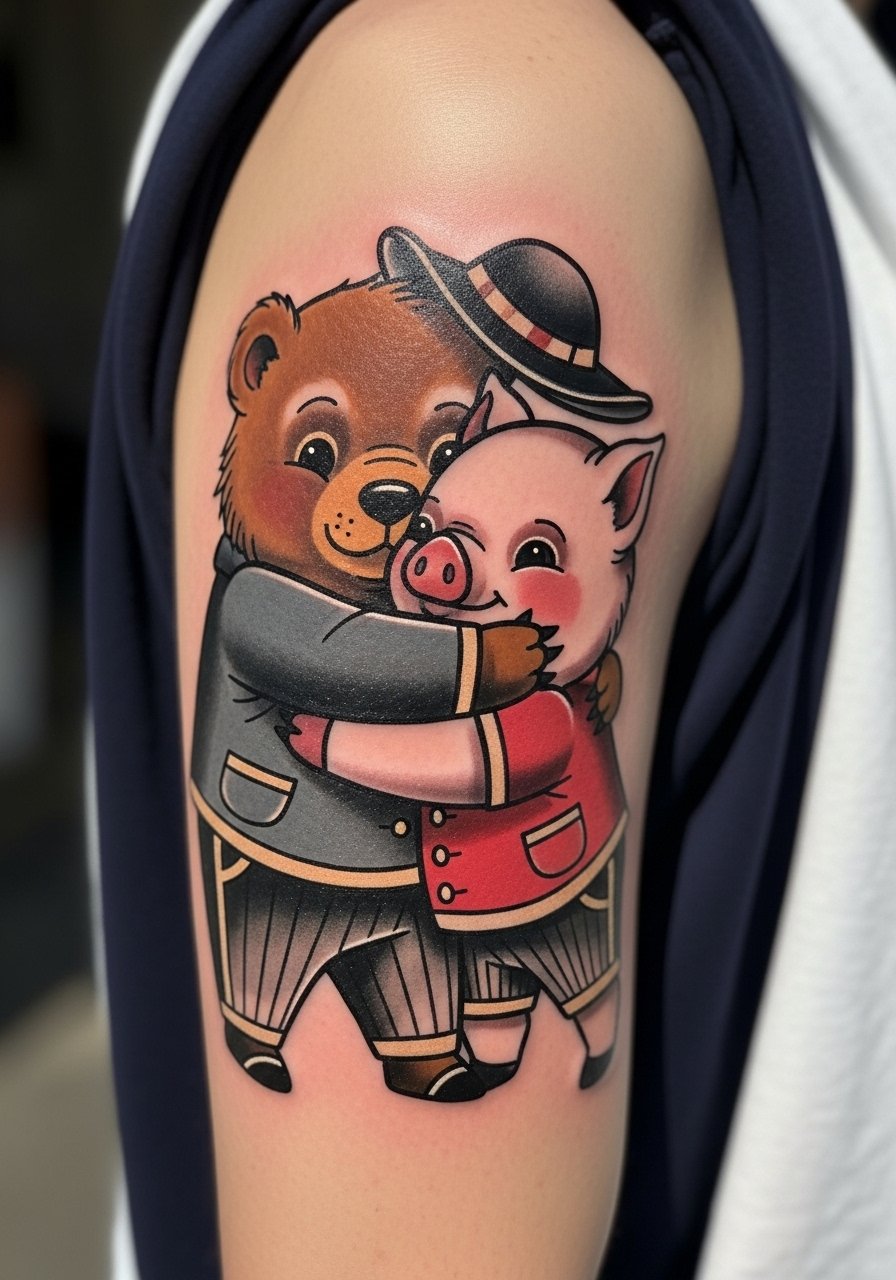
Group pieces like Pooh with Piglet read best when the composition breathes. During consultation sketch how much spacing you want between characters so details do not merge as the piece ages. The upper arm lets artists use stronger saturation without as much risk of blowout. A common mistake is compressing multiple faces into a small circle. For session comfort wear a loose short-sleeve tee you can roll up easily. Expect a two-hour session for mid-sized wraps and touch-ups at year three if saturation softens.
6. Gangster-Style Pooh, Chest Accent
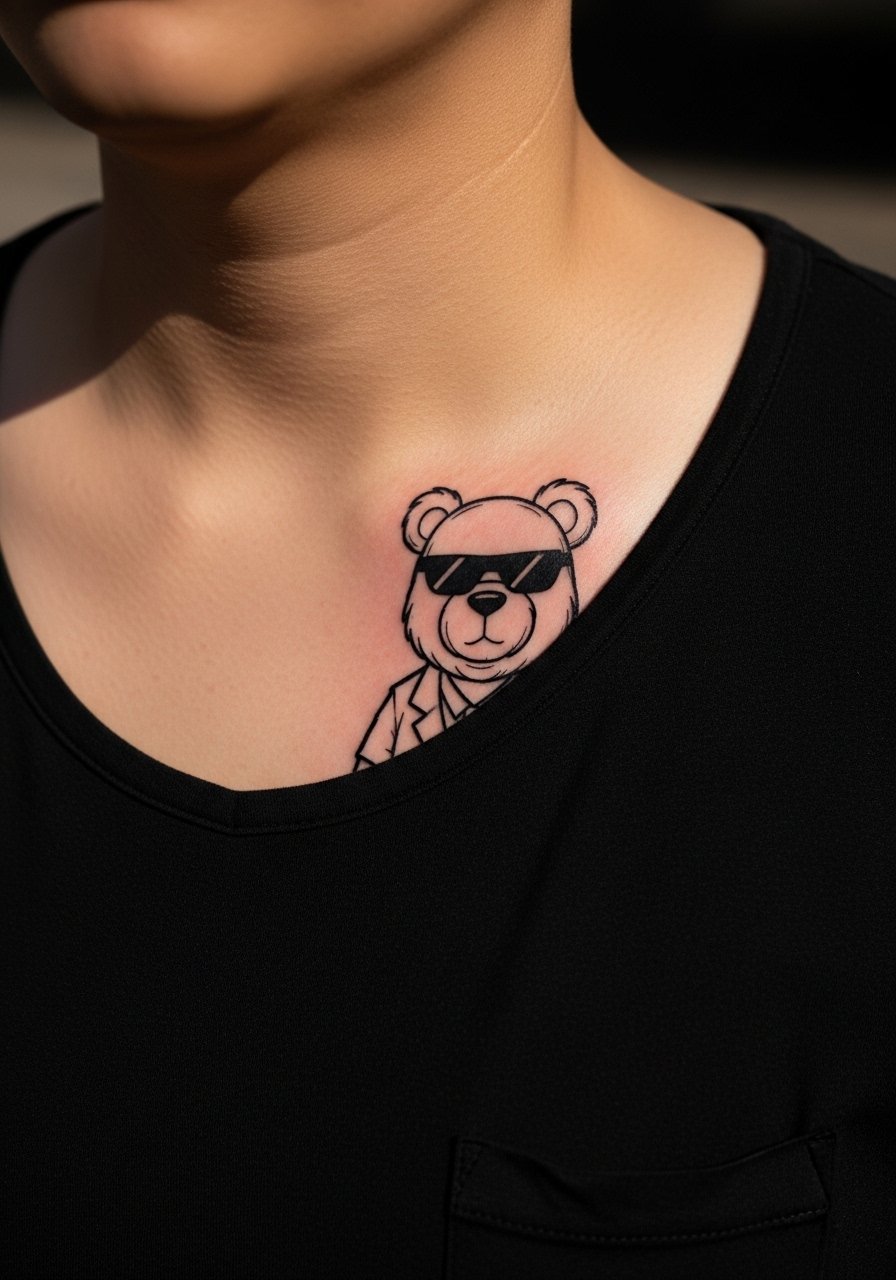
The gangster Pooh idea plays on contrast between innocence and grit. For chest work, tell your artist exactly how bold you want the shadows and whether the figure should read from a few feet away. Chest skin moves a lot with breathing so line spacing matters. Controversy comes up around character-based designs. One camp treats altered characters as playful fan art and accepts bold reinterpretations. The other camp warns about trademarked imagery and careful use when selling or promoting commercial work. If your plan is purely personal, discuss stylization that keeps the piece clearly custom. For the session, a wide-neck shirt you can pull aside is the easiest option. Chest sessions can be uncomfortable for some people, and you may need breaks.
Studio Day Picks
The forearm, wrist, and chest pieces above have different prep needs, and a few simple items smooth the appointment and the first week of healing.
-
Stencil transfer paper kit. Lets you and the artist test placement and scale on skin before the needle touches it, which is crucial for small wrist or chest work.
-
Topical numbing cream. Applied according to directions it can make wrist and chest sessions more tolerable without impacting linework when used correctly.
-
Thin protective film roll. Useful for keeping forearm and wrist tattoos clean through the first few days of frequent handwashing.
-
Fragrance-free body wash. Gentle cleansing helps prevent irritation on newly tattooed skin without stripping color.
-
Aquaphor healing ointment. A thin layer in the initial 48 hours helps protect fine line and saturated areas while skin forms its early barrier.
7. Pooh with Balloon, Outer Ankle
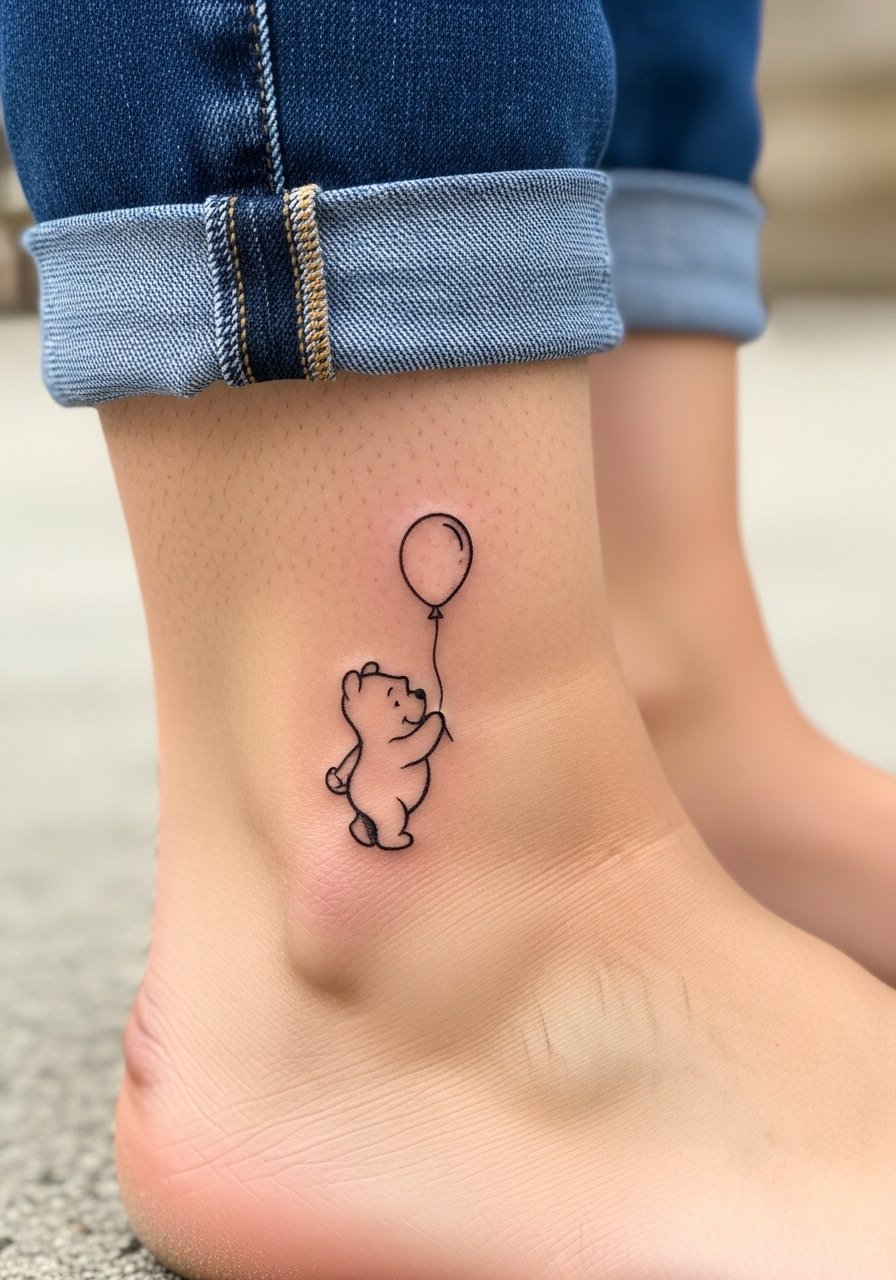
Ankle placements read charming and are easy to hide, but they endure shoe friction and frequent washing. Ask for slightly bolder balloons than your reference to prevent early fading along the edges. The common error is choosing tiny lettering or thin linework that turns fuzzy. For session clothing, wear pants you can roll up easily and bring sandals. A minimalist ankle bracelet pairs well for showing the piece without covering the tattoo. Ankle sessions are short but can sting more because skin lies close to bone.
8. Micro-Realism Pooh Portrait on Inner Bicep
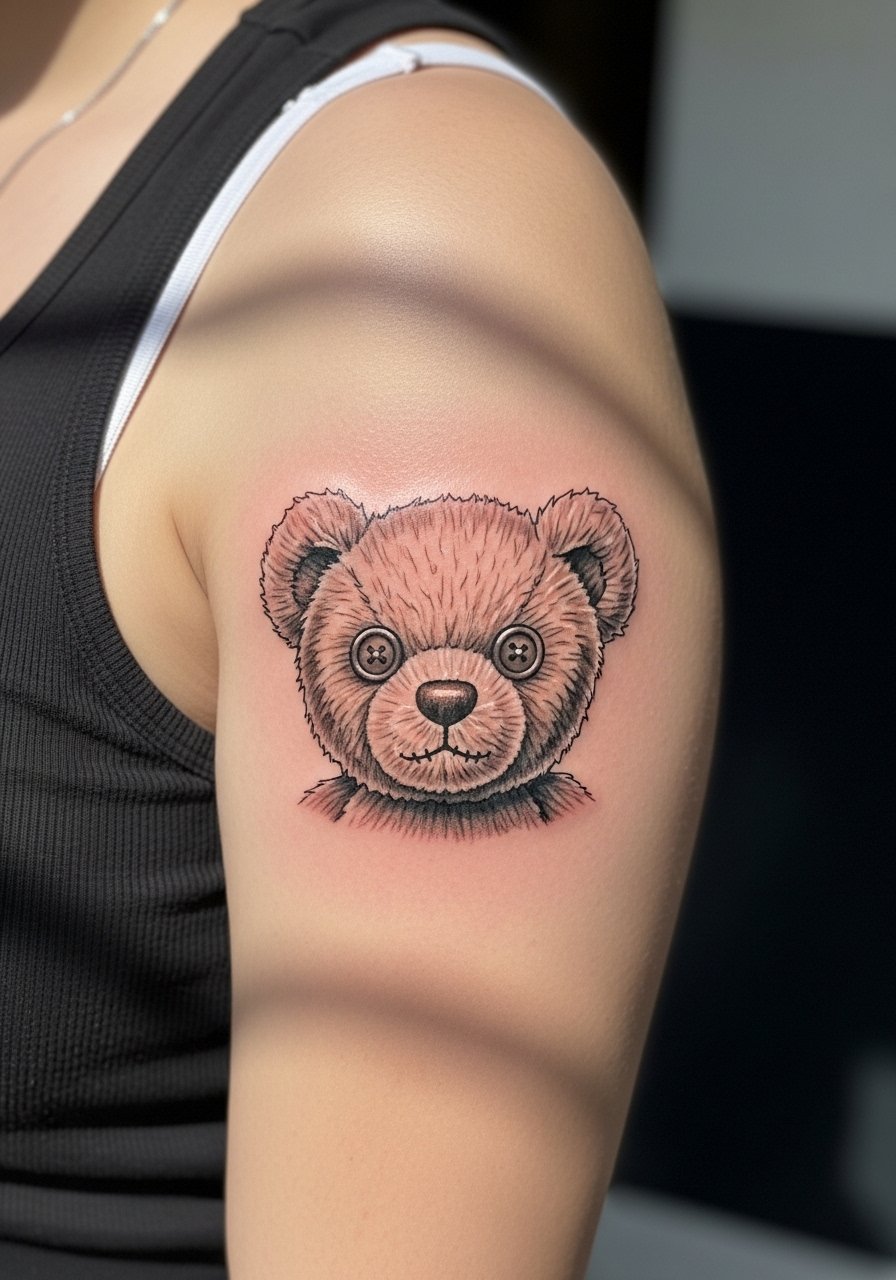
Micro-realism demands precise linework and tight shading. The inner bicep can make that detail read beautifully, but it is a tricky spot since the area stretches with arm movement. During consult ask for reference photos at similar sizes so the artist can scale accurately. A frequent mistake is overscaling fine details into too-small pieces. Touch-up timelines for micro-realism are often sooner because tiny details can blur. Inner bicep sessions are moderate in pain and require a tank top you can lift or pull aside for access. Expect a two-hour slot for a small portrait.
9. Linework Pooh with Floral Wreath, Collarbone
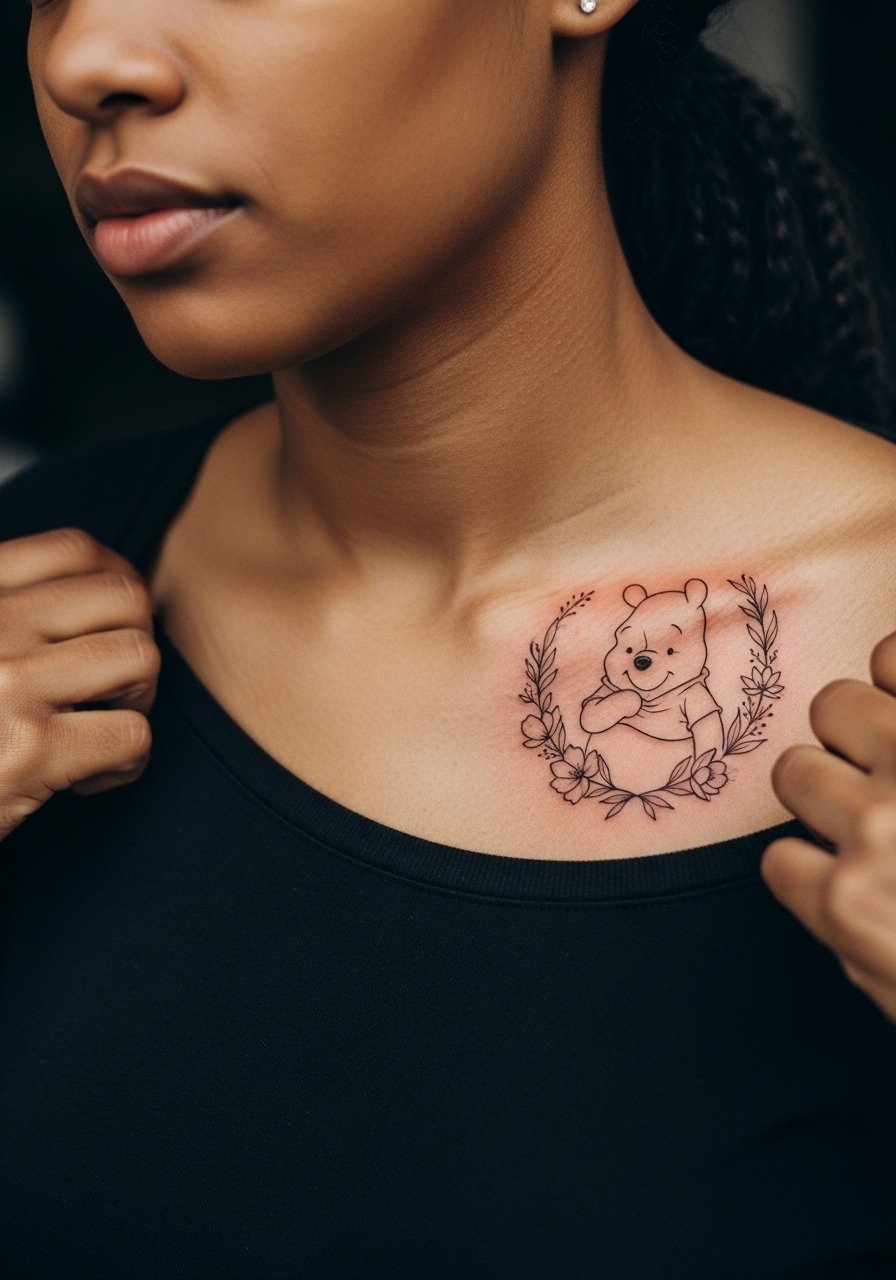
Collarbone work looks refined with airy linework, but the area sits over a bony ridge so lines must avoid sitting too tight to the bone. Ask for slightly more spacing between lines than you might normally want to keep the wreath readable as it ages. A common misstep is requesting dense dot work right over the collarbone where blowout risk rises. For showing off, pair the piece with a thin chain pendant necklace that sits above the wreath. Expect a one to one-and-a-half-hour session and possible touch-up at year three depending on sun exposure.
10. Pooh Floating with Balloons, Back of Shoulder
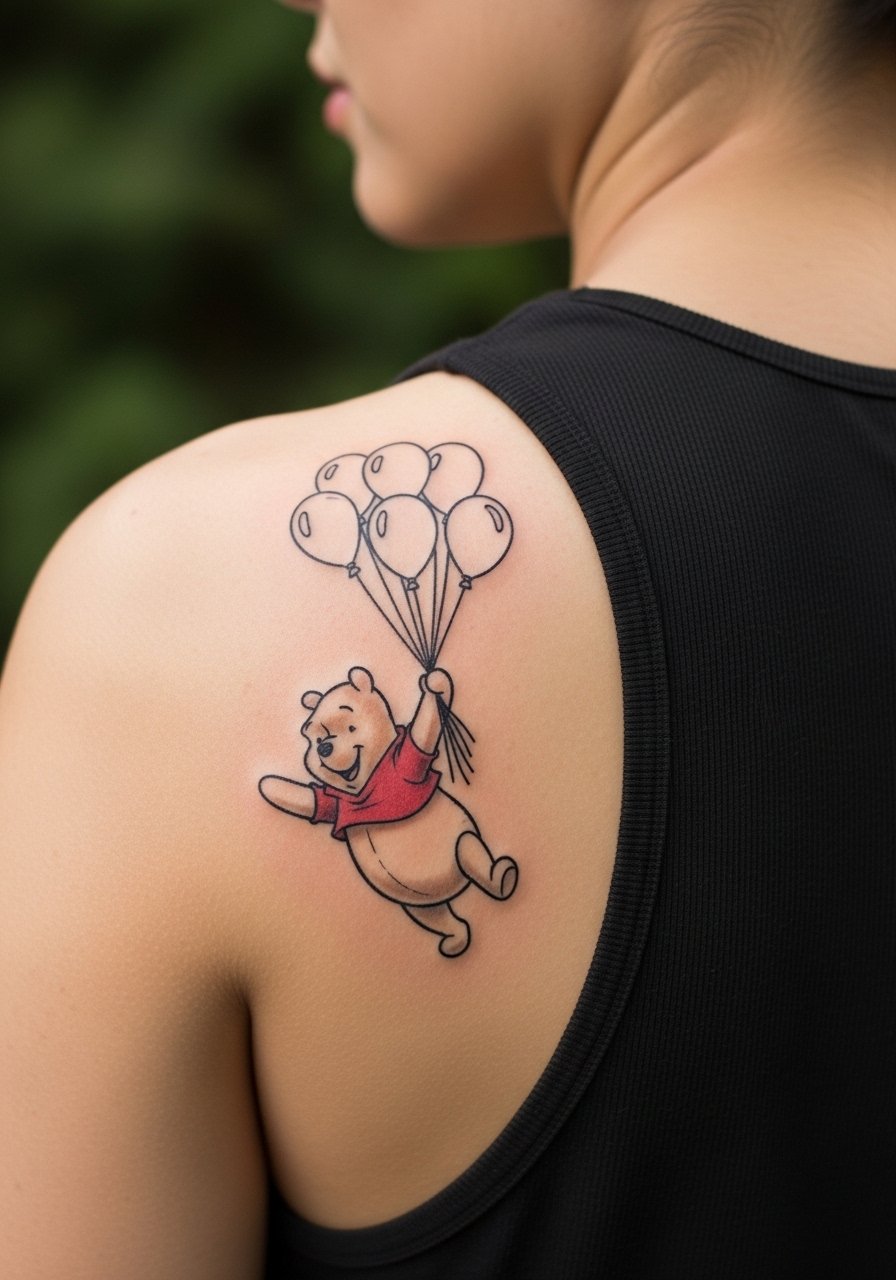
This composition is a great mid-size option that sits well when you want to show or hide it. For the back of shoulder, communication about curvature is key. Ask your artist to mock the composition on skin while you move your arm so the balloons do not distort at rest. A mistake is centering the design without checking how fabric or posture will cover it. The shoulder handles color saturation well and usually ages more predictably. Session time is often under two hours for a medium piece and pain is usually mild.
11. Watercolor Pooh with Moon, Ribcage
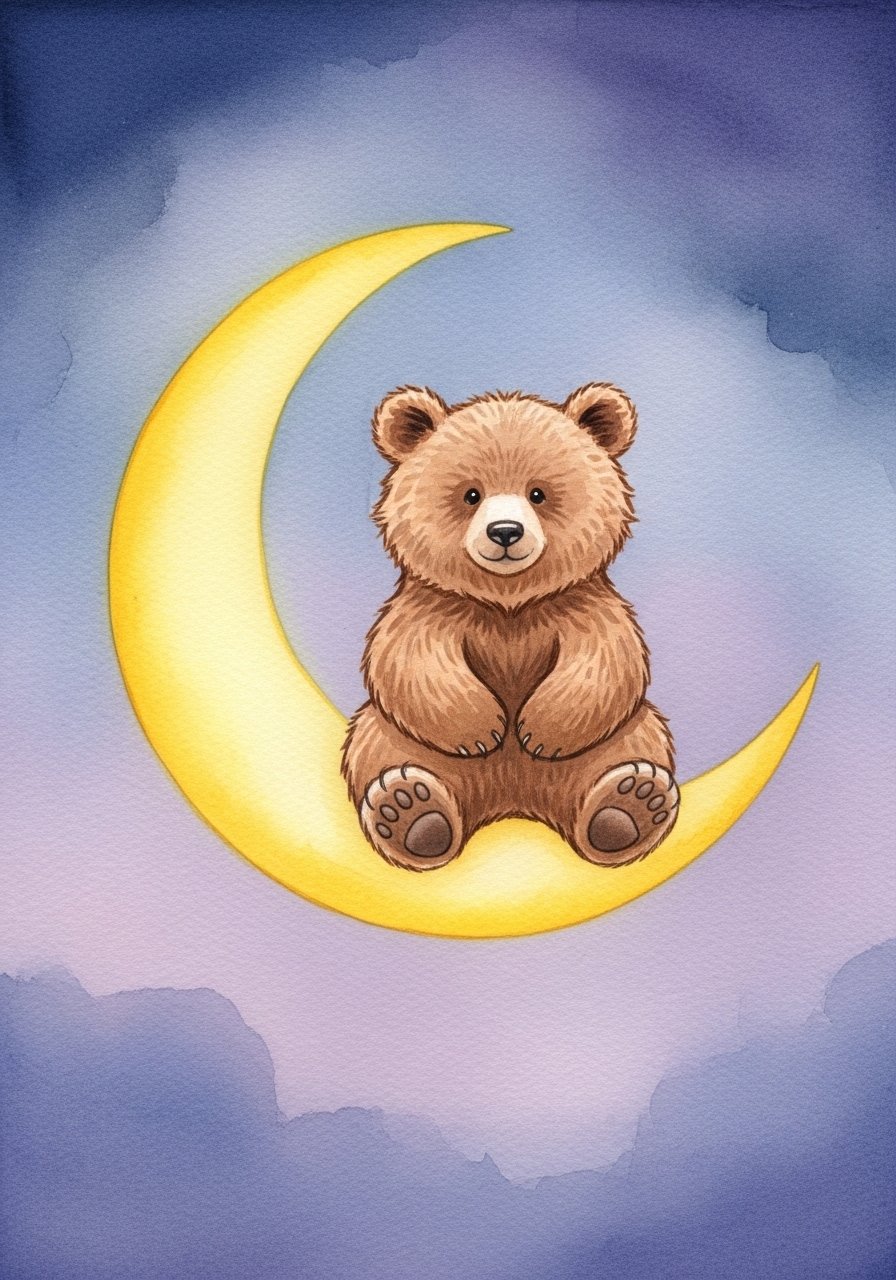
Ribcage sessions split opinions on fine line durability. One camp says the skin stretch and movement blur delicate work quickly. The other camp argues that with correct needle depth and spacing, ribs can hold fine detail. Name both camps and ask your artist which approach they use. Watercolor portraits here look stunning but expect more pain and longer healing because the area moves and rubs with clothing. For the session wear a cropped top you can lift easily. Plan on a longer booking and accept a likely touch-up at year two or three.
12. Pooh with Honeycomb Geometric, Calf
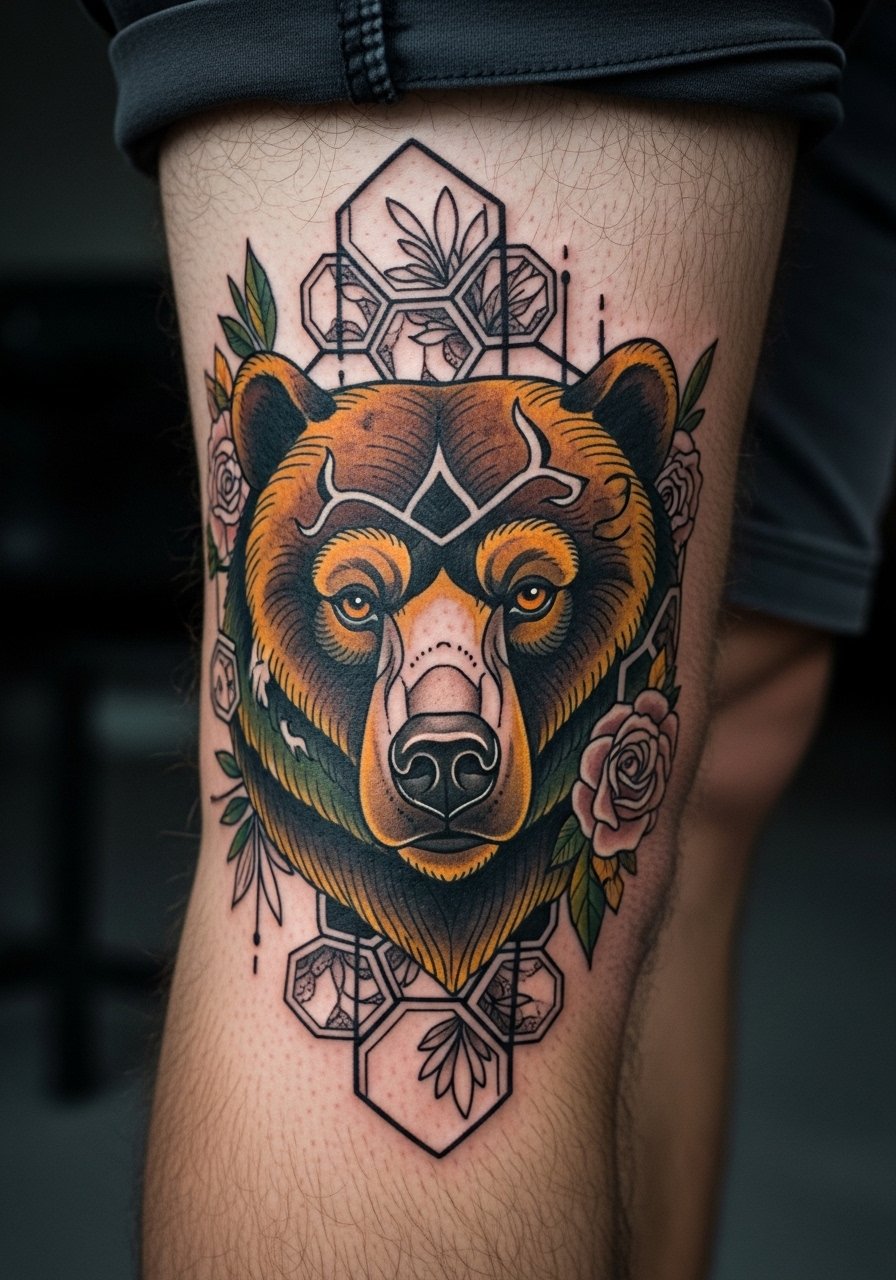
Calf placements handle geometry and saturation well because of thicker skin and fewer flex points. When combining geometry with a character, tell the artist how strict you want the honeycomb edges to remain; crisp edges require slightly bolder linework. A frequent error is too tight geometric detail that softens in two to three years. For the session wear loose drawstring shorts or shorts you can pull up without friction. Pain is typically low to moderate and touch-ups are minimal if spacing is planned right.
13. Classic Book-Illustration Pooh, Upper Back
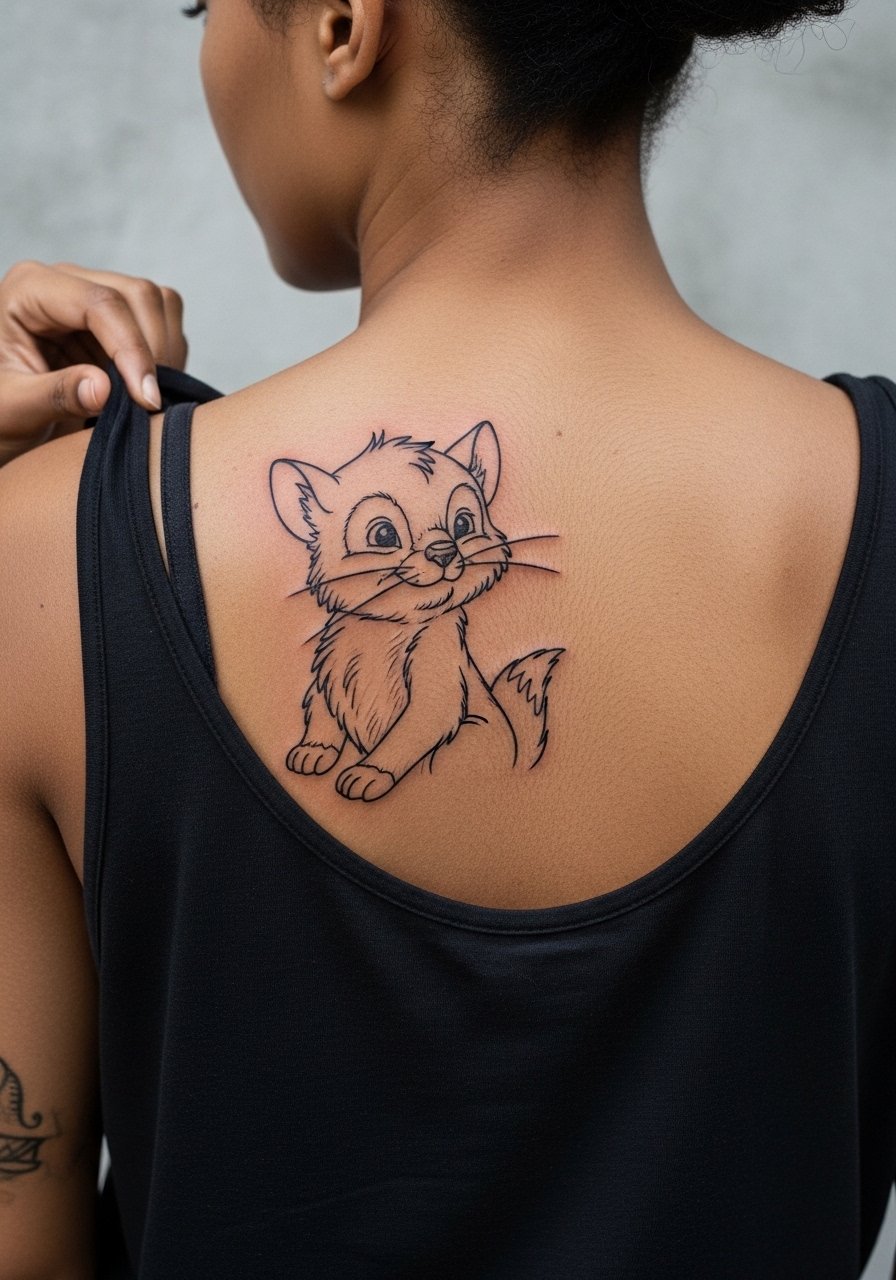
Book-illustration style uses crisp linework and controlled shading to echo the originals without copying. Ask for the piece to be treated as custom flash so the artist adapts lineweight to skin texture. The upper back gives room for scale which helps preserve detail over time. A common mistake is insisting on tiny script or tiny facial detail. For showing it off wear an open-back dress or a loose tank top. Session time can vary widely depending on size but larger pieces here age more predictably.
14. Pooh with Balloon Trail, Side Hip
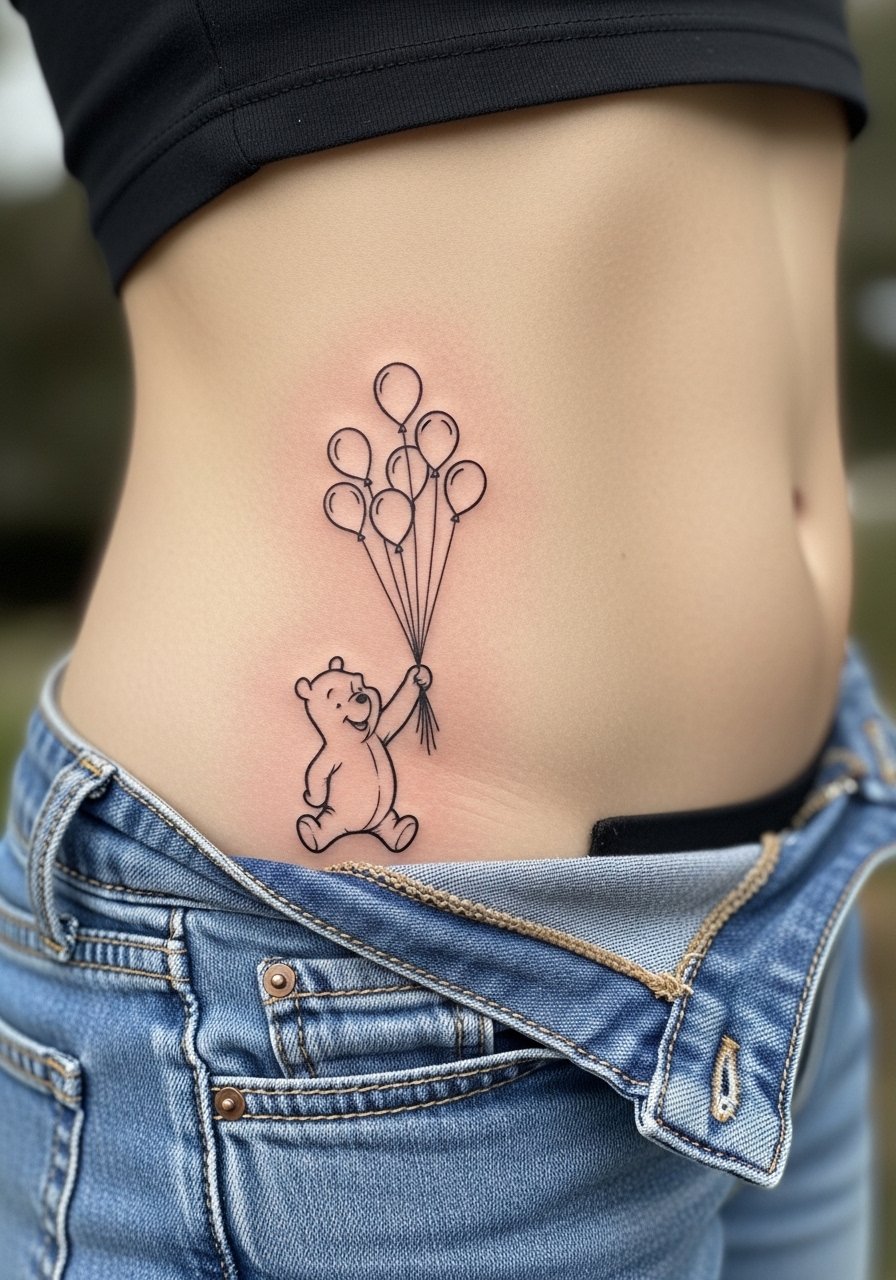
Hip placements let you hide work easily but expect more movement with weight changes. During consultation discuss how the trail will wrap with body contours and whether you want it to remain vertical as you sit. The common error is placing too many tiny elements that get lost. For the session wear high-waisted bottoms you can lower slightly and consider a cropped tee. Pain varies for hip work and sessions tend to be moderate.
15. Pooh Footprints Dedication, Inner Thigh
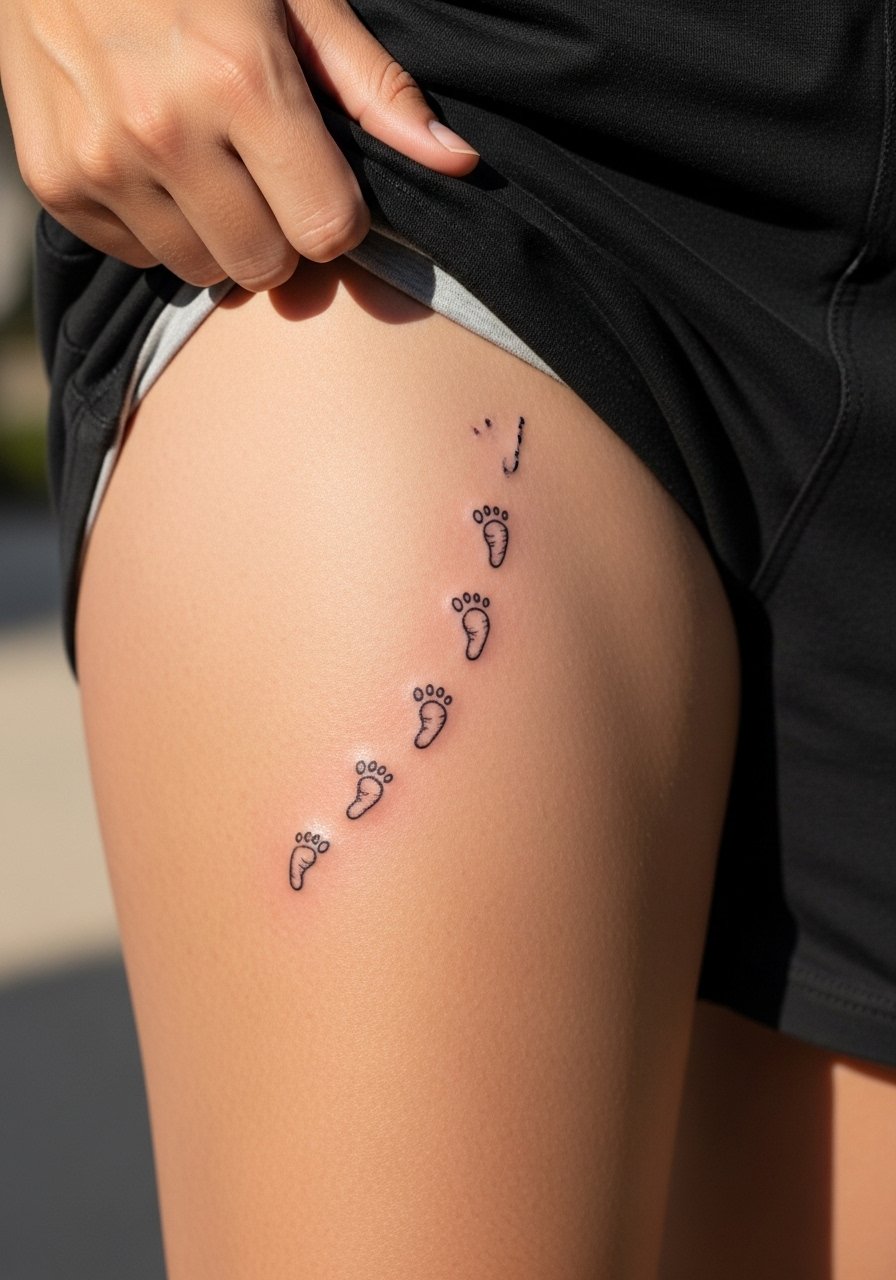
Inner thigh pieces require discretion and a thoughtful consult about scale. If this is a dedication to a child or milestone, plan spacing so footprints remain readable through normal skin shifts. A common mistake is requesting micro symbols that blur. For the appointment wear shorts you can shift and expect a private consult area in the studio. Healing tends to need a bit more attention because of clothes rubbing, and touch-ups are common after six months if the area did not settle evenly.
16. Pooh Negative-Space Outline, Finger Side
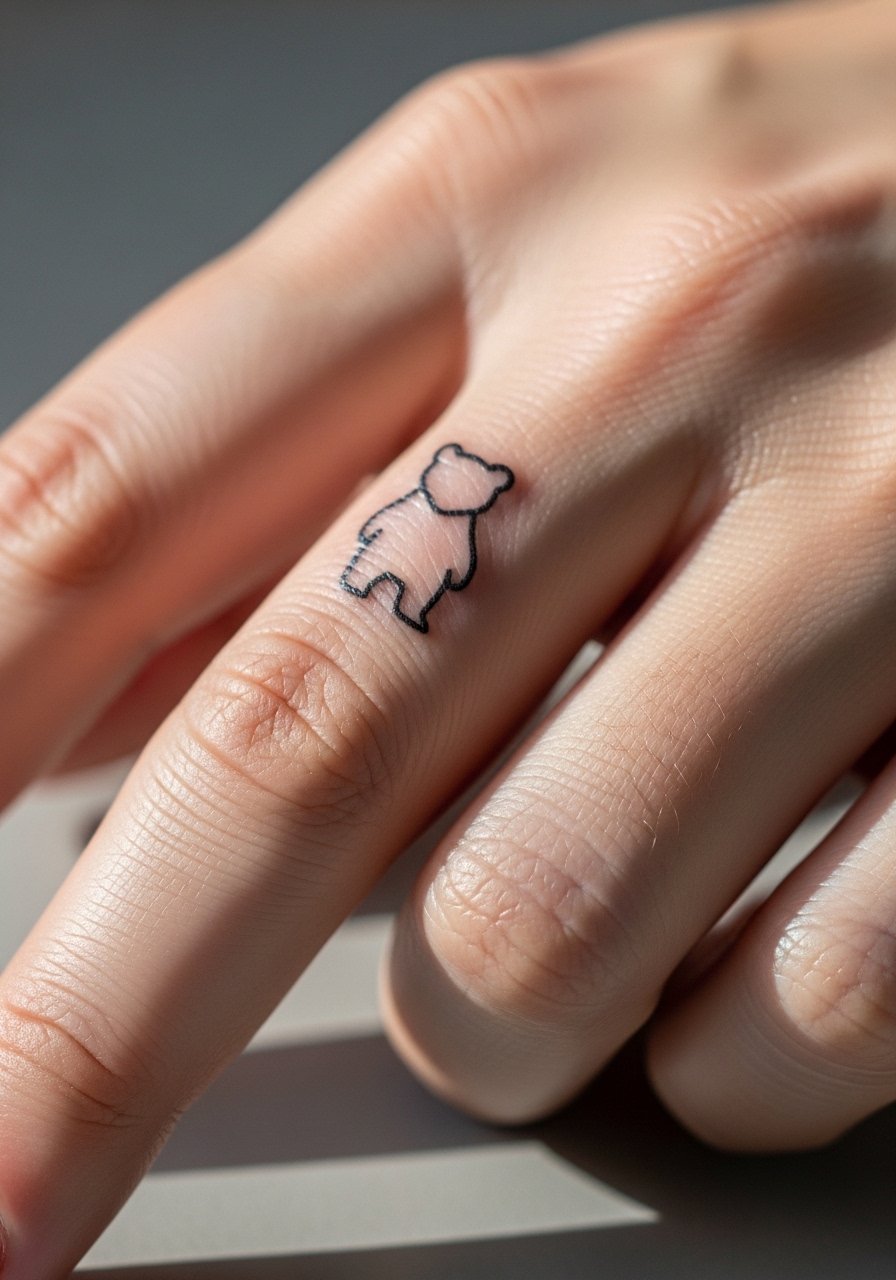
Finger tattoos are convenient but notoriously prone to fade and partial loss. The negative-space outline is clever because it uses skin tone as part of the design, but expect a higher touch-up rate. During consult ask about lining strategy that avoids tiny enclosed shapes which heal poorly on fingers. A common error is thinking finger work is low commitment. Plan for touch-ups at year one and again at year three. Keep the design simple and accept that maintenance is part of the trade.
17. Pooh in a Moonlit Forest, Full Thigh Panel

Thigh panels give room for atmosphere and narrative, so you can build a scene with trees, moonlight, and a small Pooh figure. Tell your artist how dense you want the stipple shading versus whip shading so they can plan saturation and longevity. The thigh tolerates heavier work and usually keeps detail longer than thinner areas. A mistake is cramming too many tiny elements into tight zones. For the session wear a skirt or shorts you can shift without discomfort. Expect multi-hour sessions for larger panels and a likely touch-up the first year if you sit for multiple appointments.
Frequently Asked Questions
Q: How do watercolor Pooh tattoos compare to neo-traditional styles for longevity on the shoulder blade?
A: Watercolor prioritizes painterly washes which can soften faster under sun exposure. Neo-traditional uses anchors in the linework that help the image hold. On the shoulder blade the skin tolerates color well so either works, but ask your artist whether they plan anchor lines or full-blend washes and plan touch-ups accordingly.
Q: Will a fine-line Pooh on the ribcage blur within two years?
A: Ribs are a contested placement. One camp reports faster blurring due to skin movement. The other says correct needle depth and spacing keep lines stable. The practical step is to discuss lineweight and spacing in your consult and accept the likelihood of a touch-up at year two or three.
Q: What should I wear to a chest or collarbone session to make the appointment easier?
A: Choose clothing that the artist can shift without exposing more skin than needed. For collarbone or chest, a wide-neck shirt you can pull slightly aside or a sports bra that unclasps works best. A loose button-down shirt is another easy option for access.
Q: Are character-based reinterpretations like gangster Pooh risky from a copyright perspective?
A: People fall into two camps. Some view stylized character tattoos as personal fan expression. Others caution about using trademarked characters in commercial contexts or reproducing exact proprietary art. If your plan is personal body art, stylize the piece so it reads as custom rather than a direct copy.
Q: How many touch-ups should I expect for a small wrist or finger Pooh?
A: Fingers and wrists see more washing and friction so plan for at least one touch-up within the first one to two years. Fingers often need more frequent maintenance. Larger or bolder versions usually need fewer touch-ups than micro detailed pieces.
Q: Can I get a consultation remotely with reference photos first?
A: Many studios accept photos ahead of time to scope size and placement, but an in-person stencil test is invaluable for final positioning. Use remote consults to narrow style and budget and reserve an in-studio time to confirm scale and movement before the needle.
